
[Walkthrough] Poppy Playtime Chapter 4 : Safe Heaven [EN]
Poppy Playtime Chapter 4 Safe Heaven is an episodic horror video game developed and published by developer Mob Entertainment. The player takes on the role of a former employee of the toy manufacturing company Playtime Co., who revisits the abandoned toy factory 10 years after its staff disappeared. Available on PC Steam.
Summary
The Cave
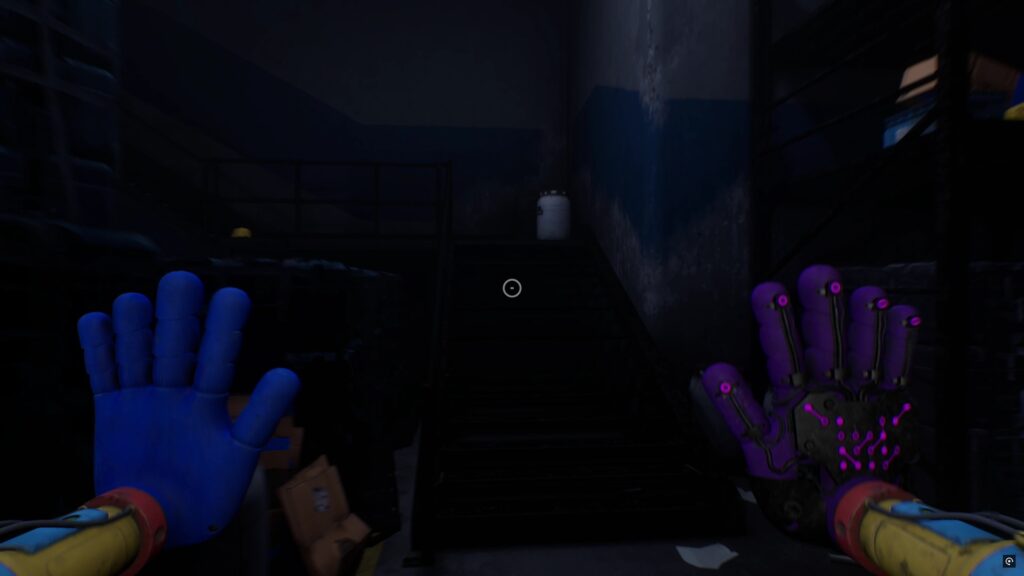
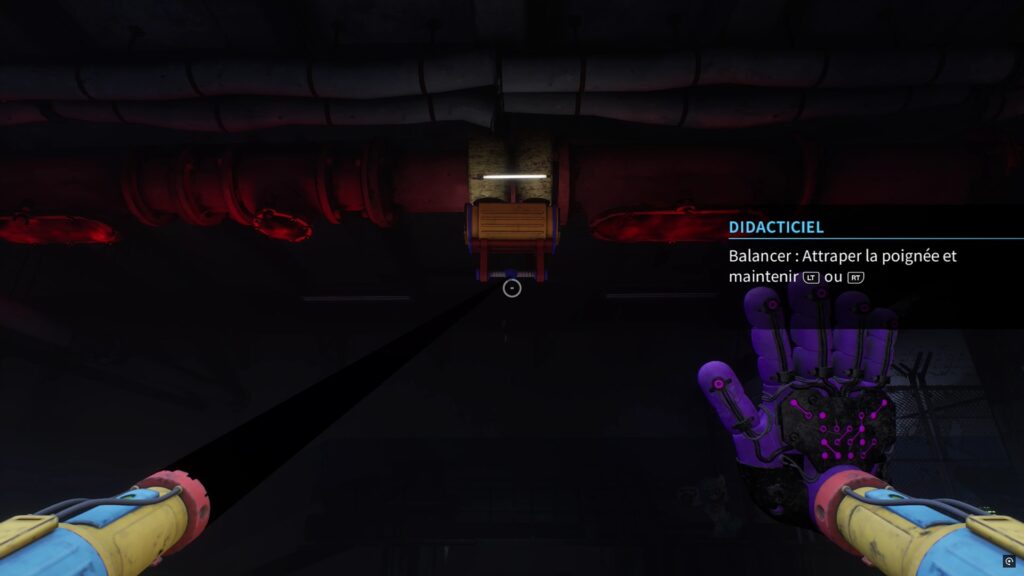
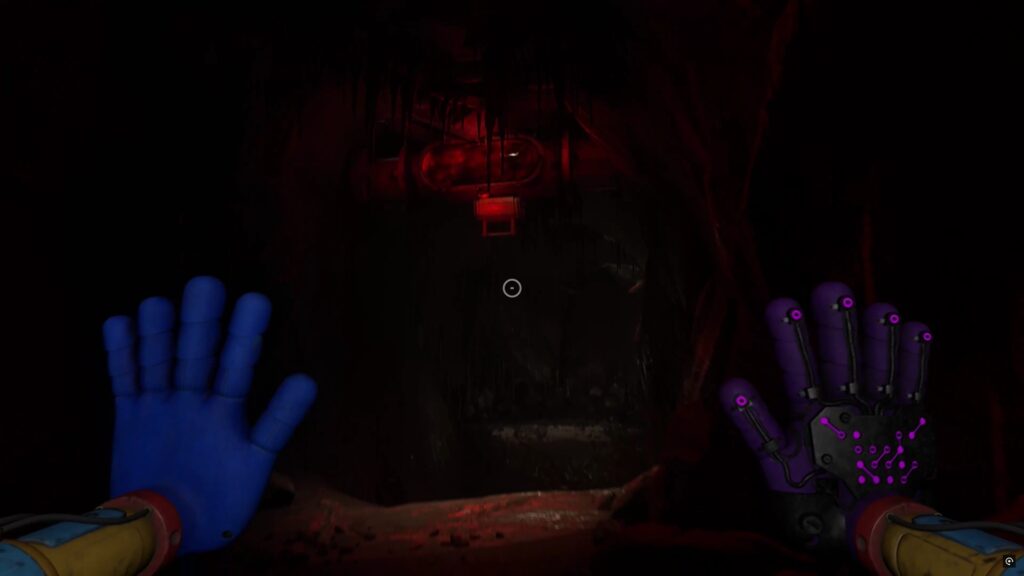
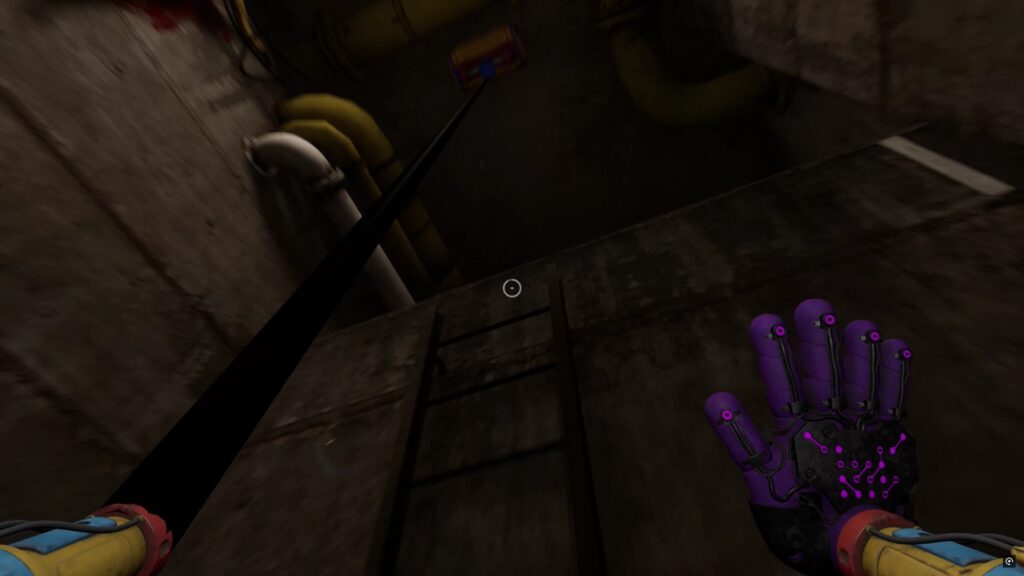
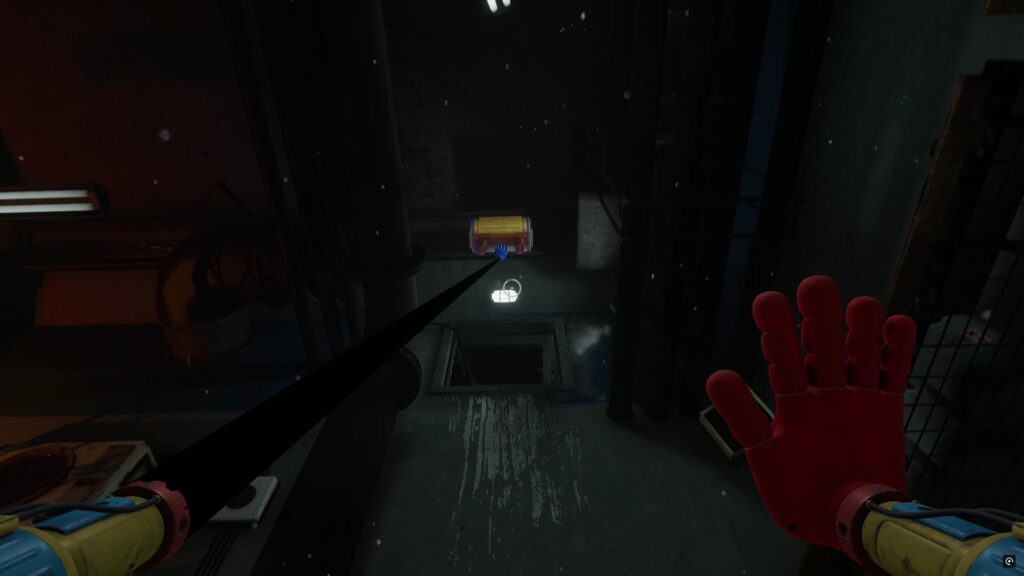
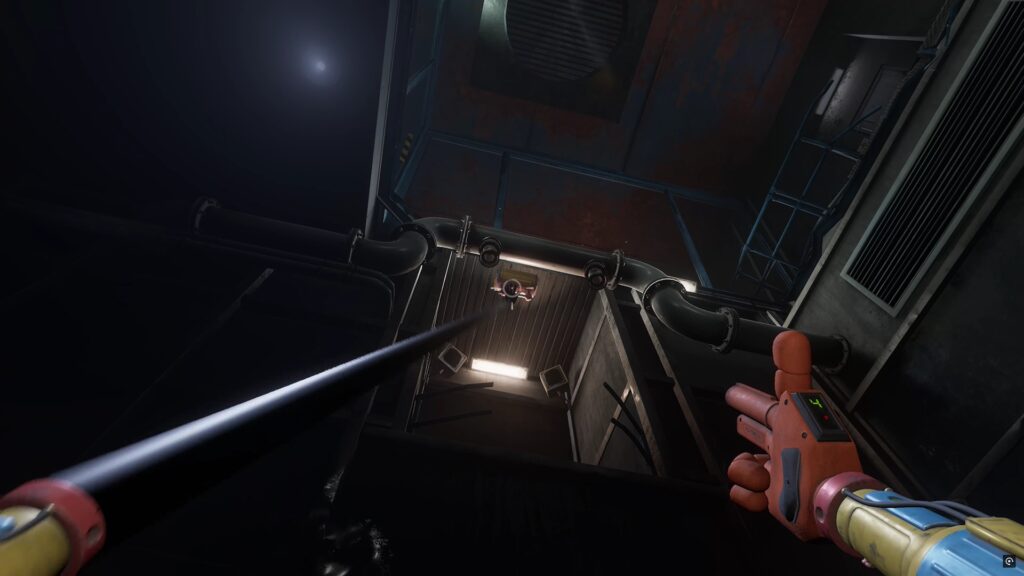
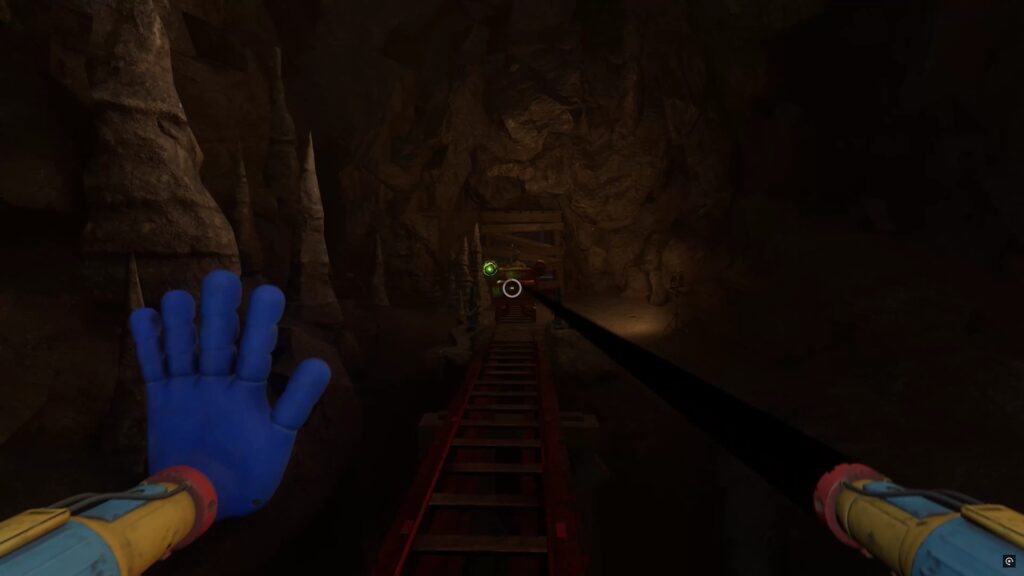
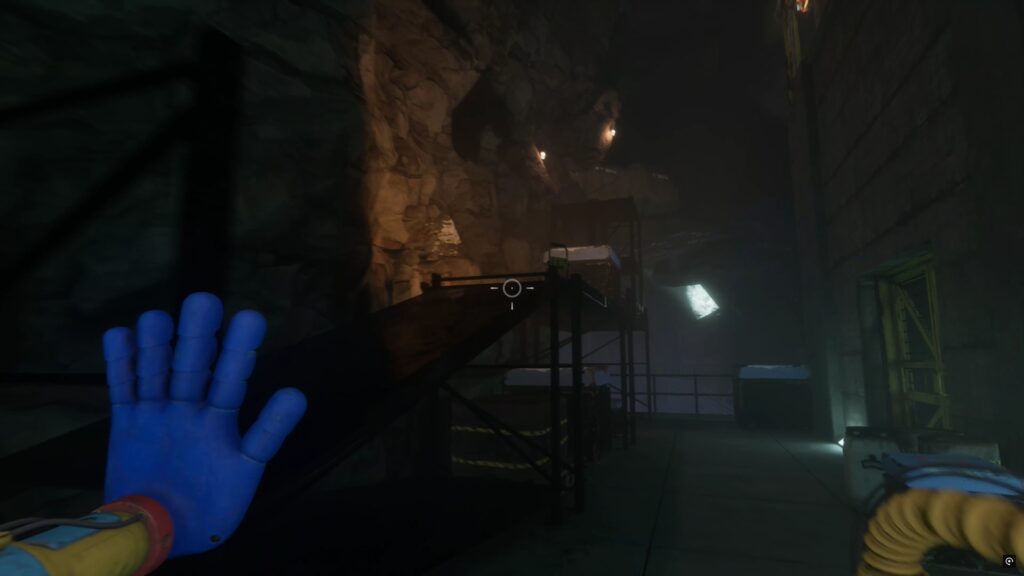
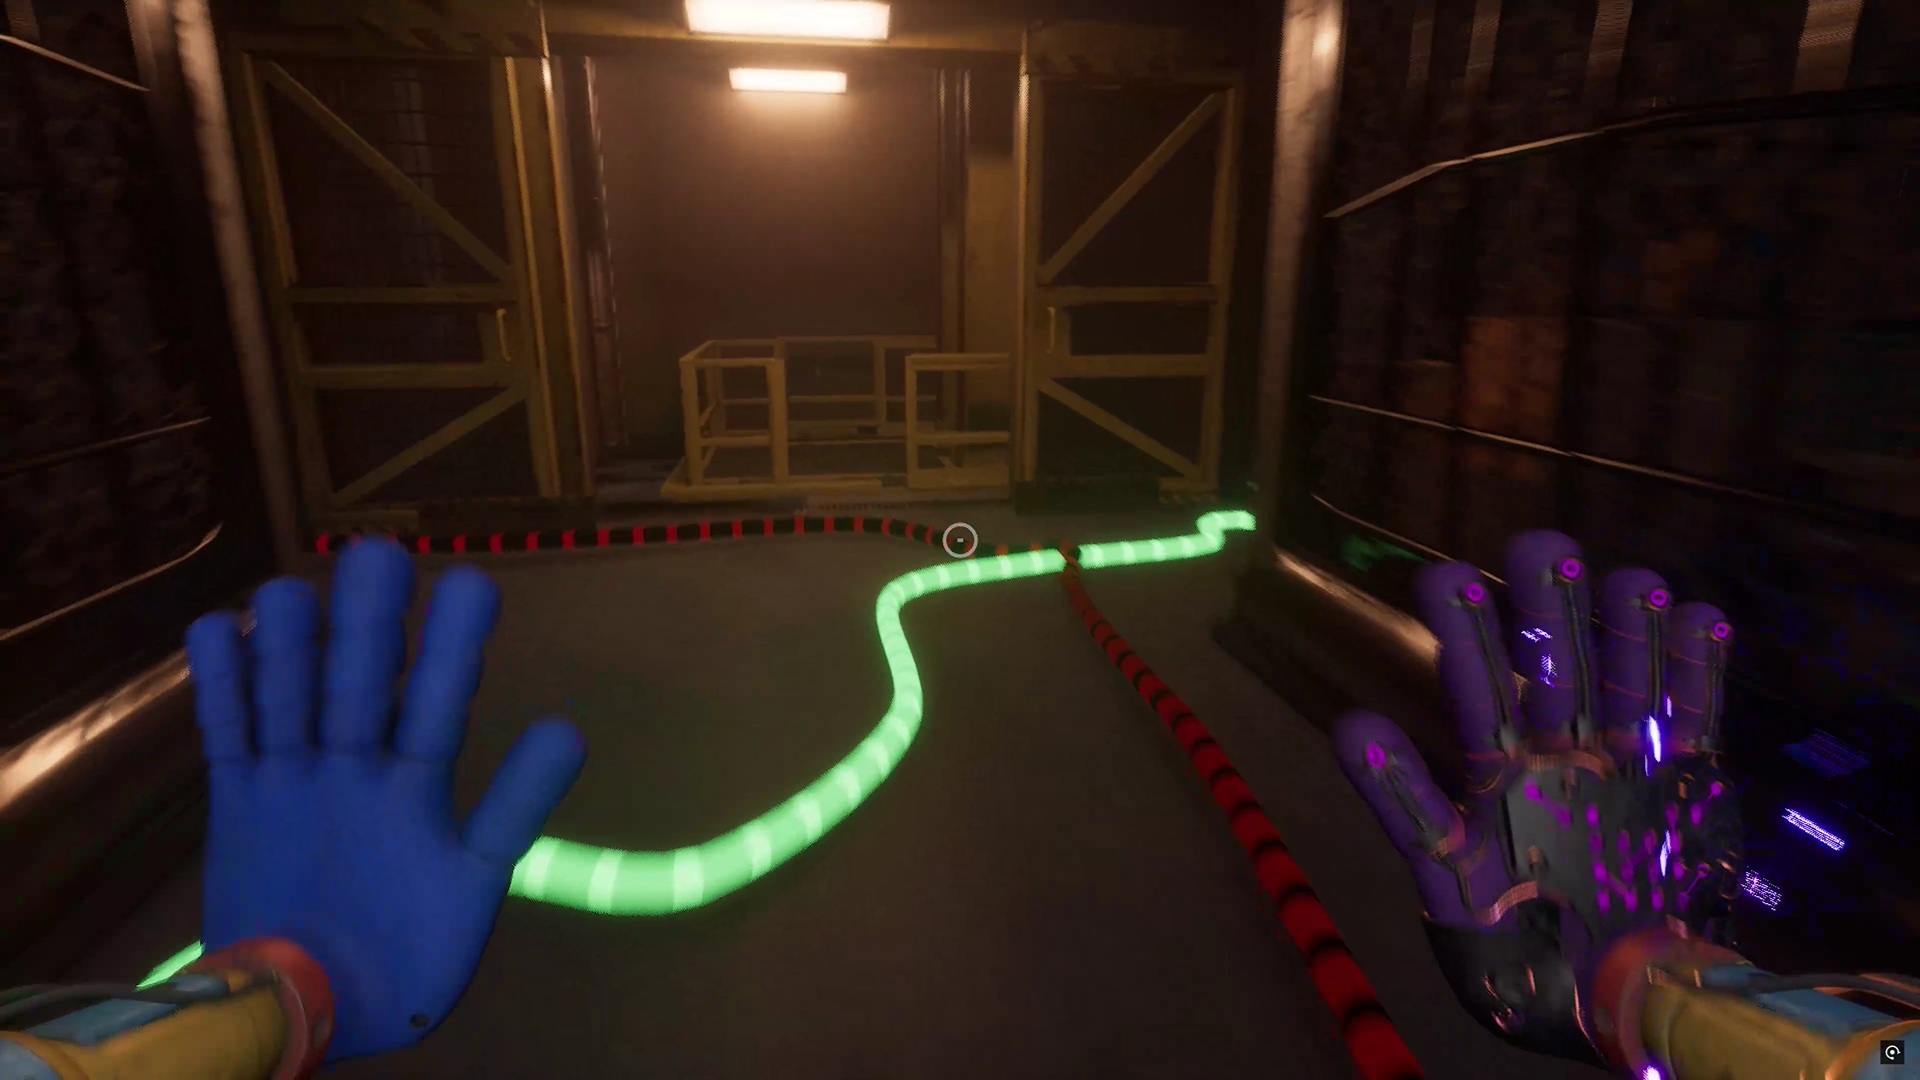
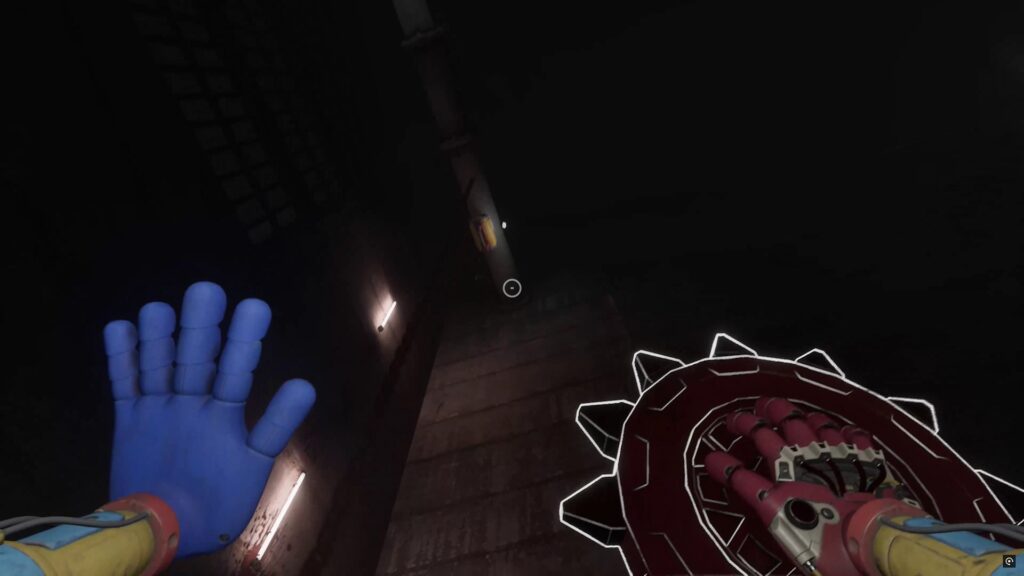
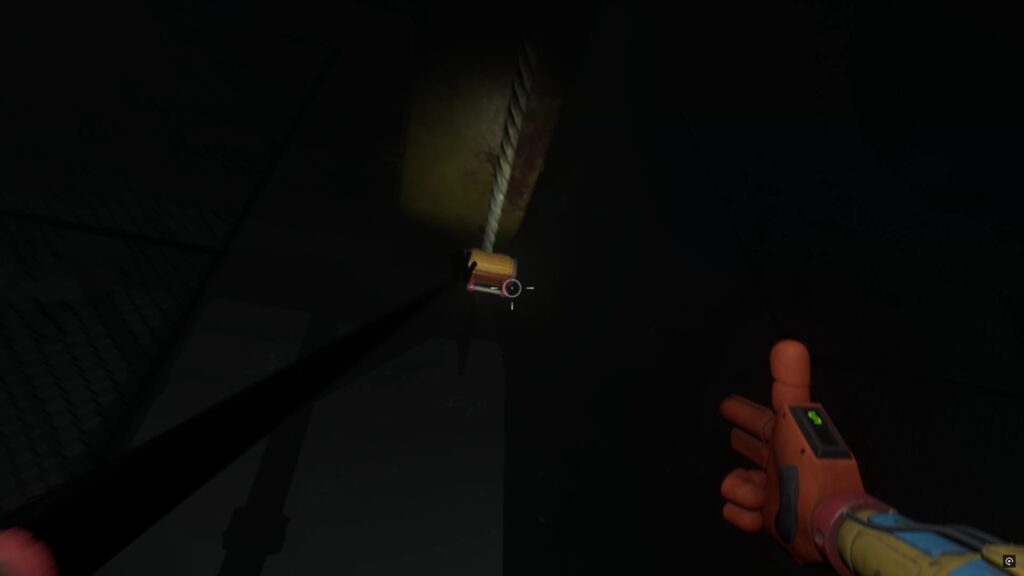
At the beginning of the chapter, climb the catwalk to reach a gap above. Cross it to reach the containers ahead. Then, use your left hand to grab a hold above and swing to reach another container further away. Finally, use your hand again to grab a battery located behind a nearby grate.
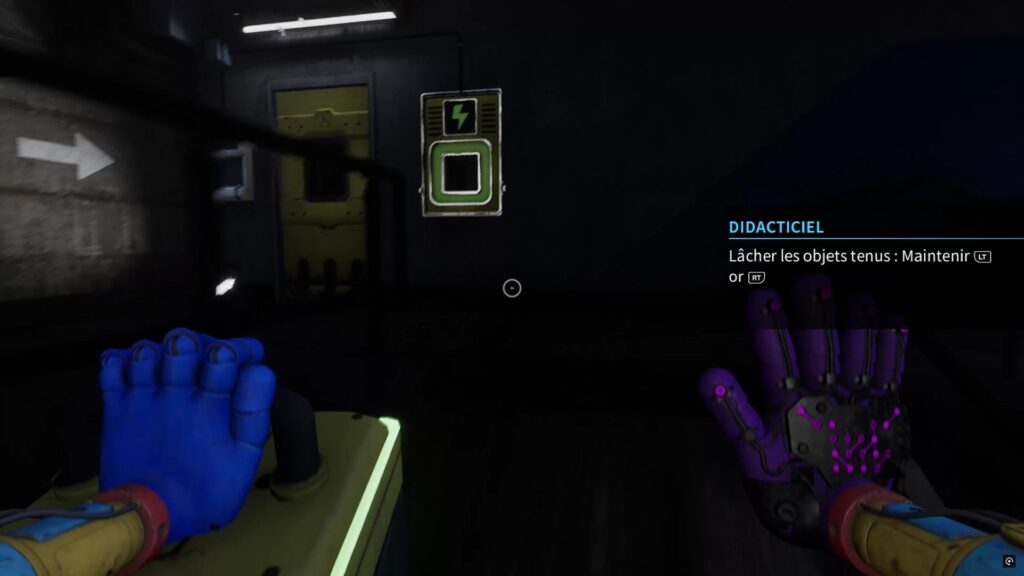
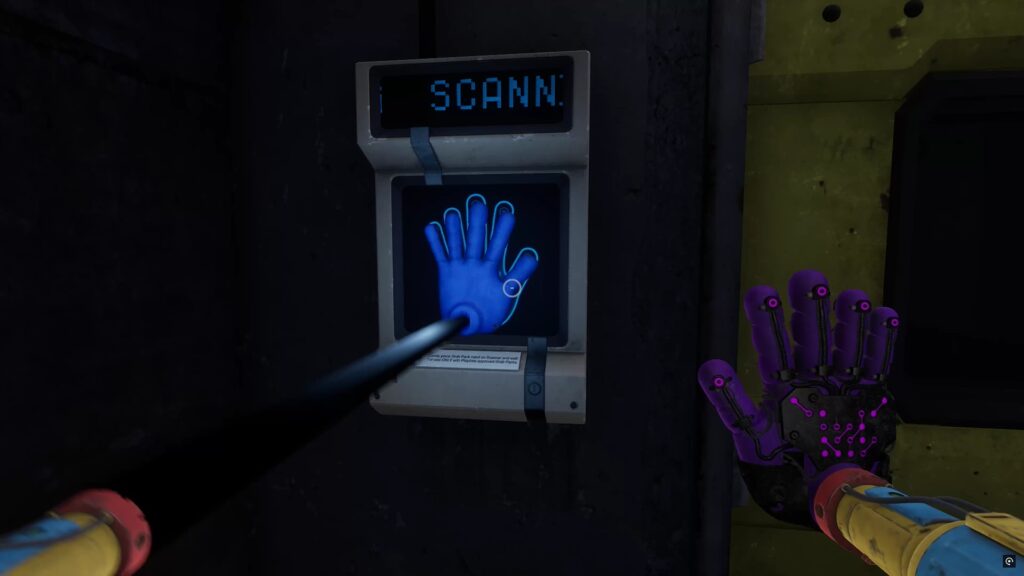
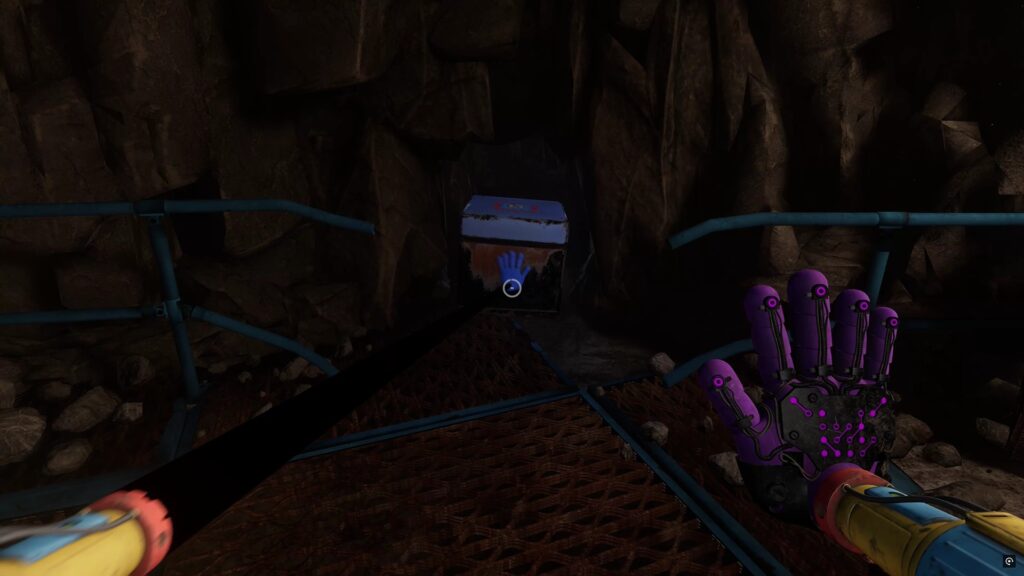
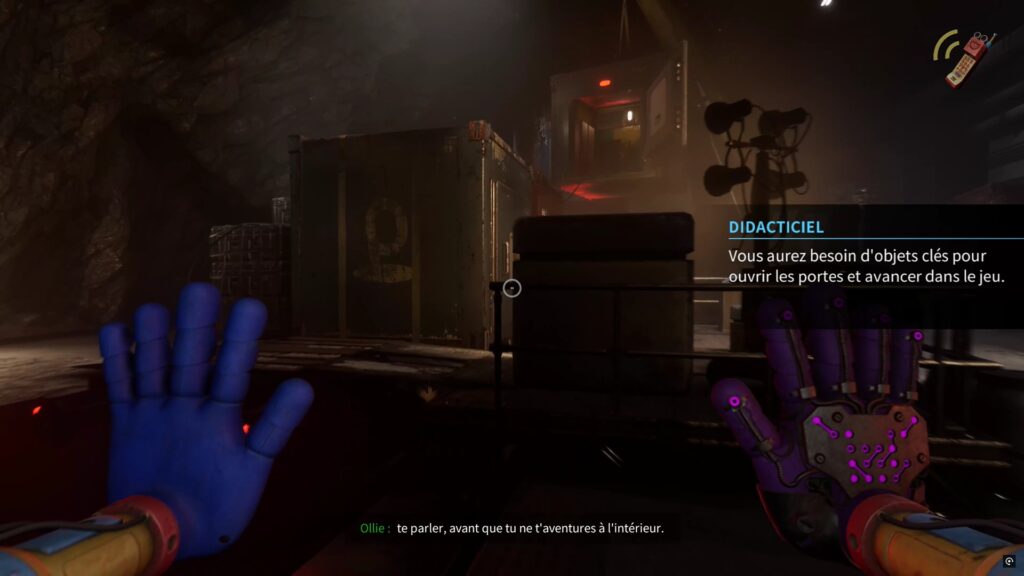
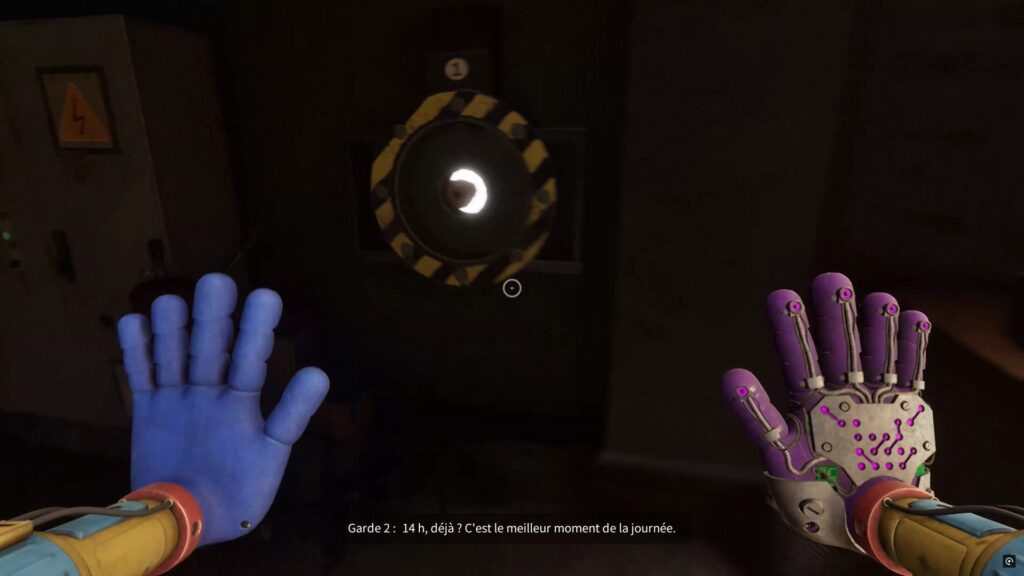
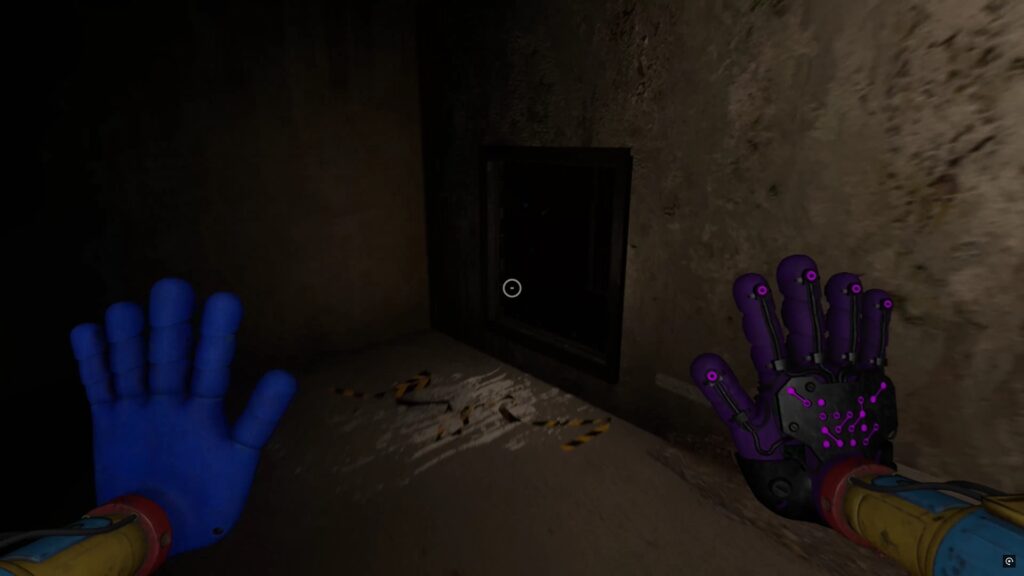
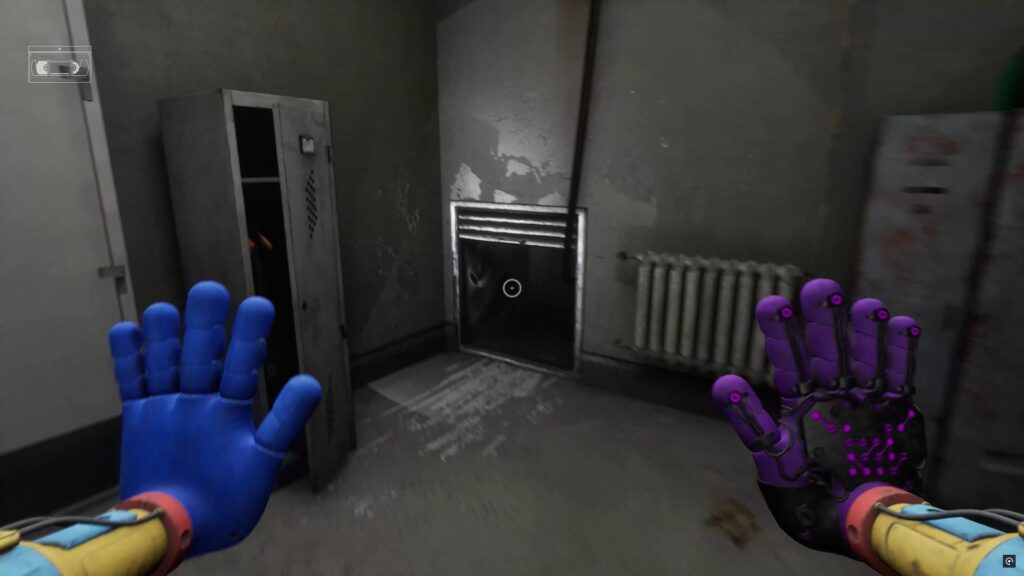
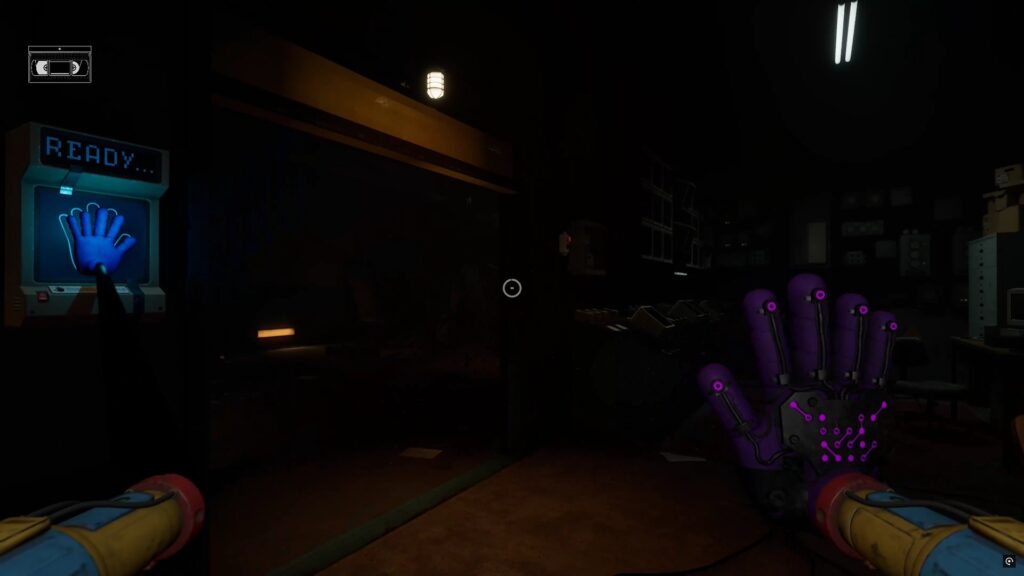
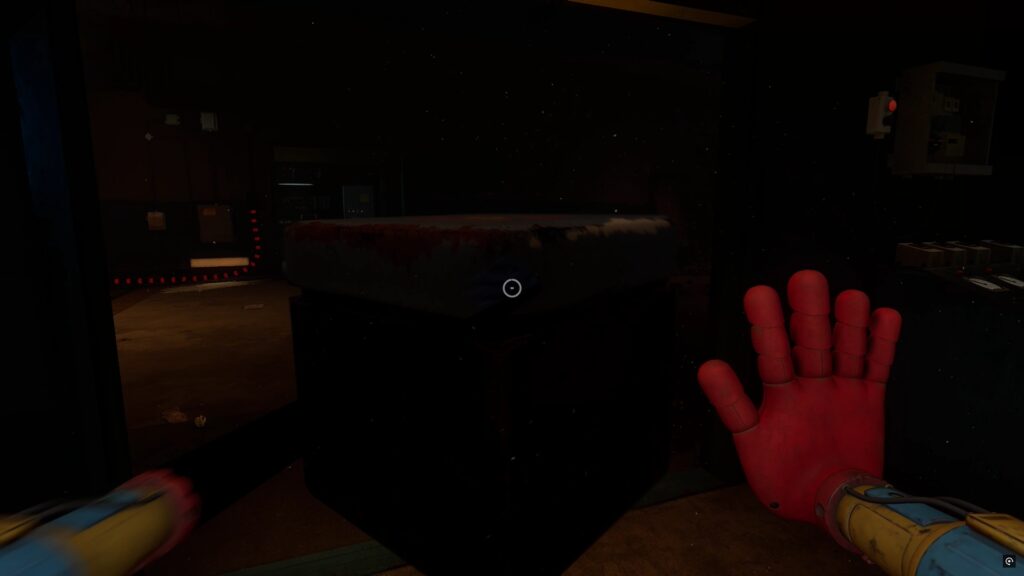
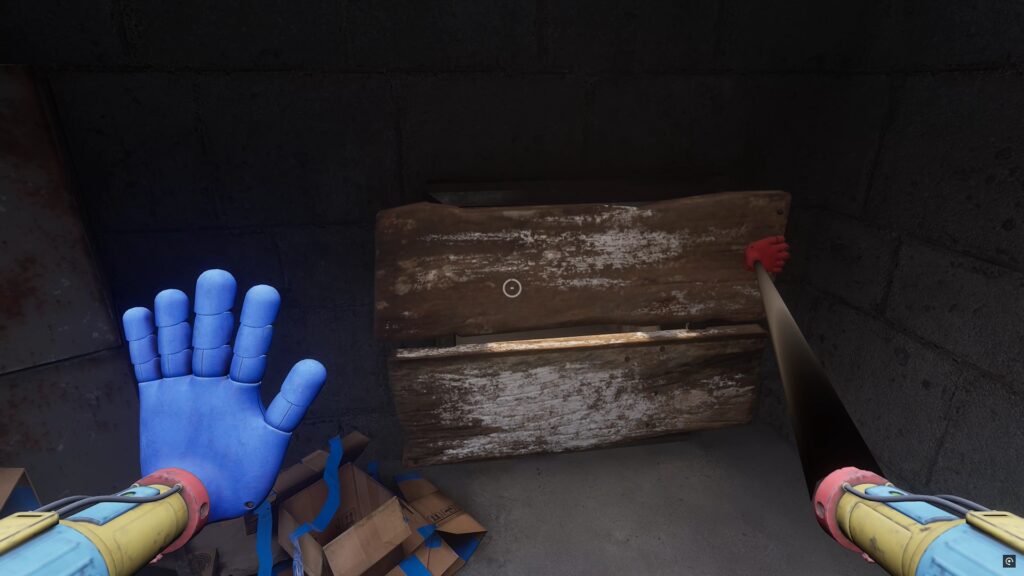
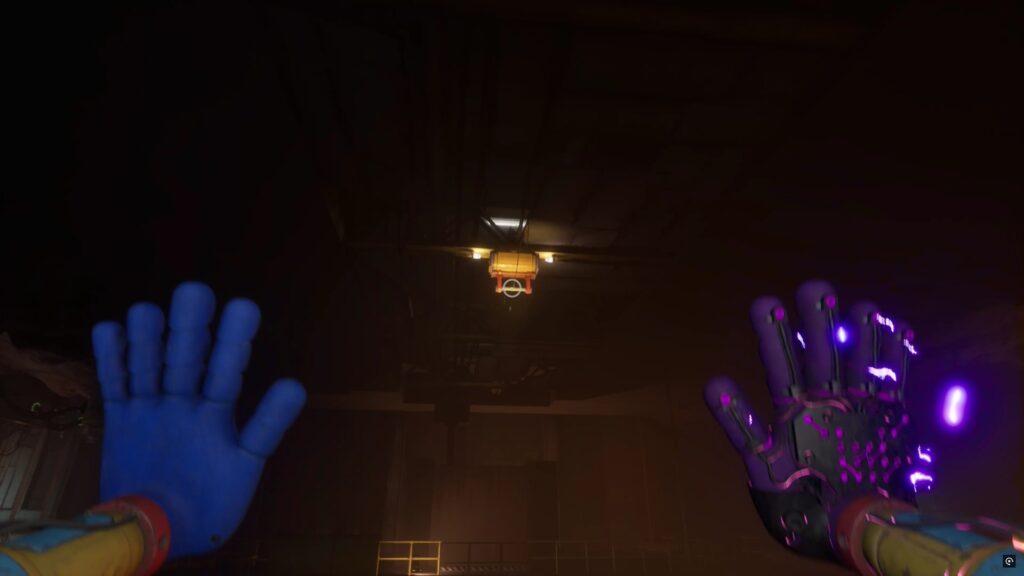
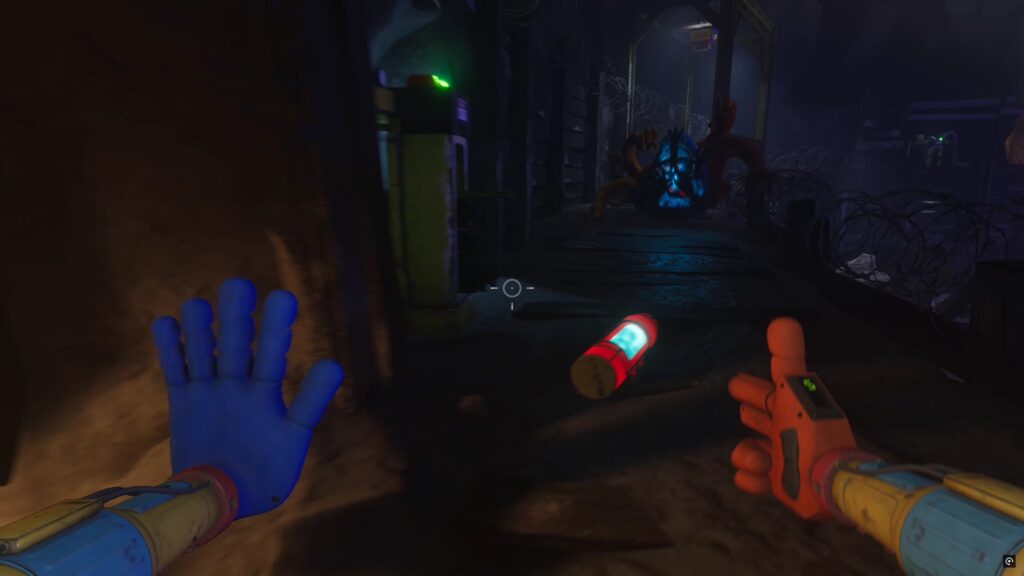
With the battery in hand, insert it into the slot above the walkway, then use your blue left hand on the scanner to open the door. Head down the hallway to reach some tunnels. At the end, you’ll find a crate blocking a passage. Use your hands to pull the crate and clear the passage. Then head down the passage to get to the other side.
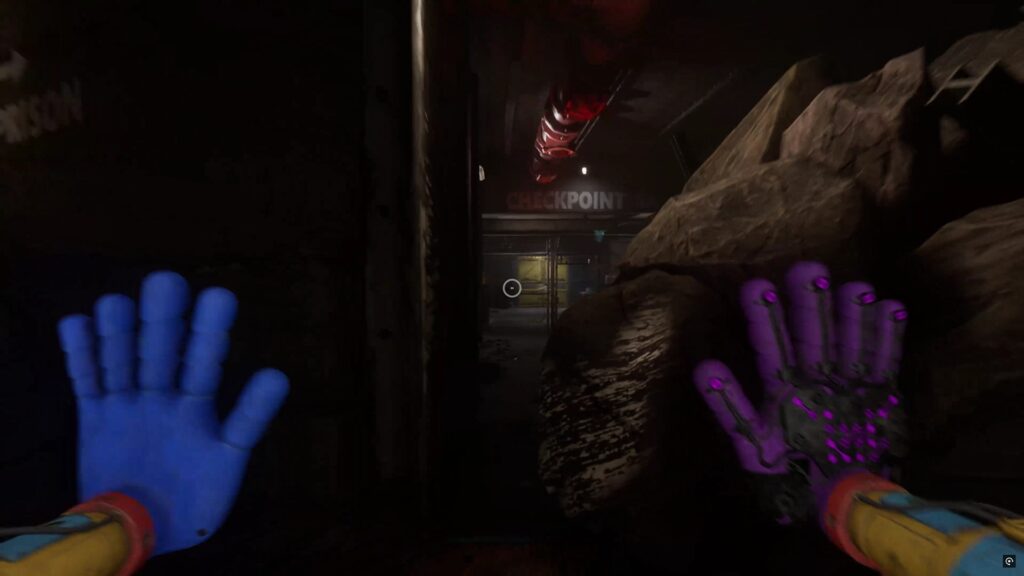
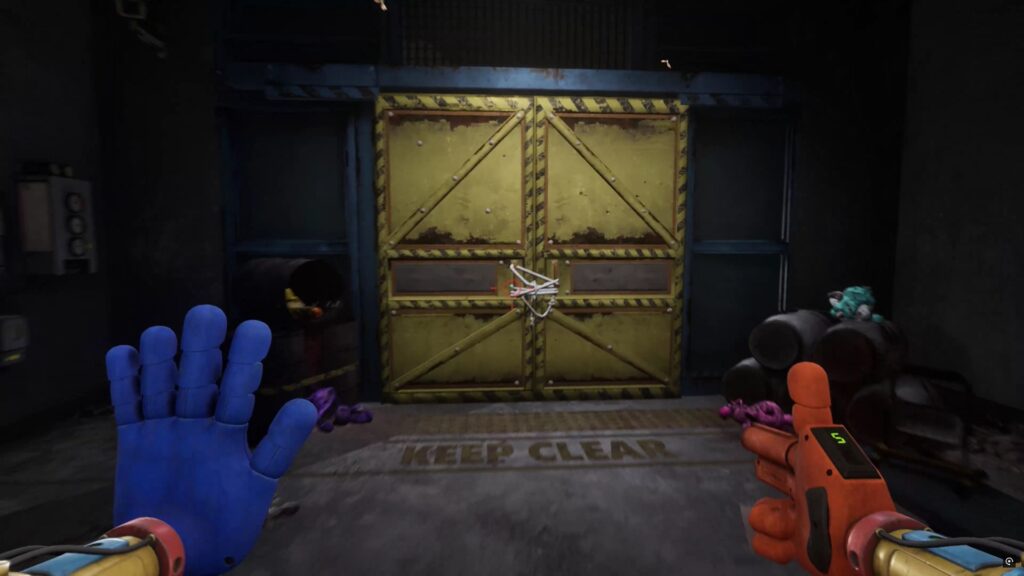
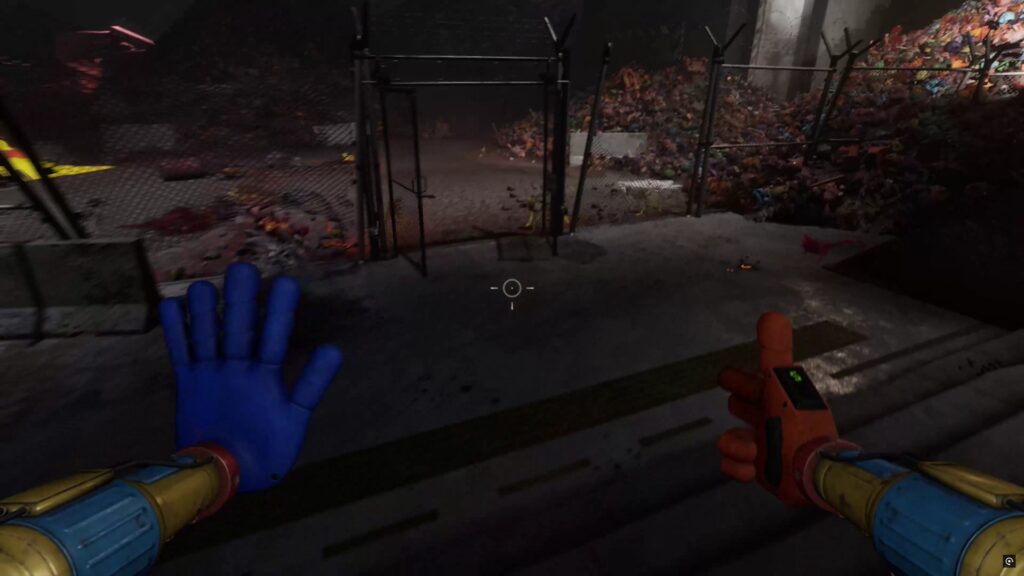
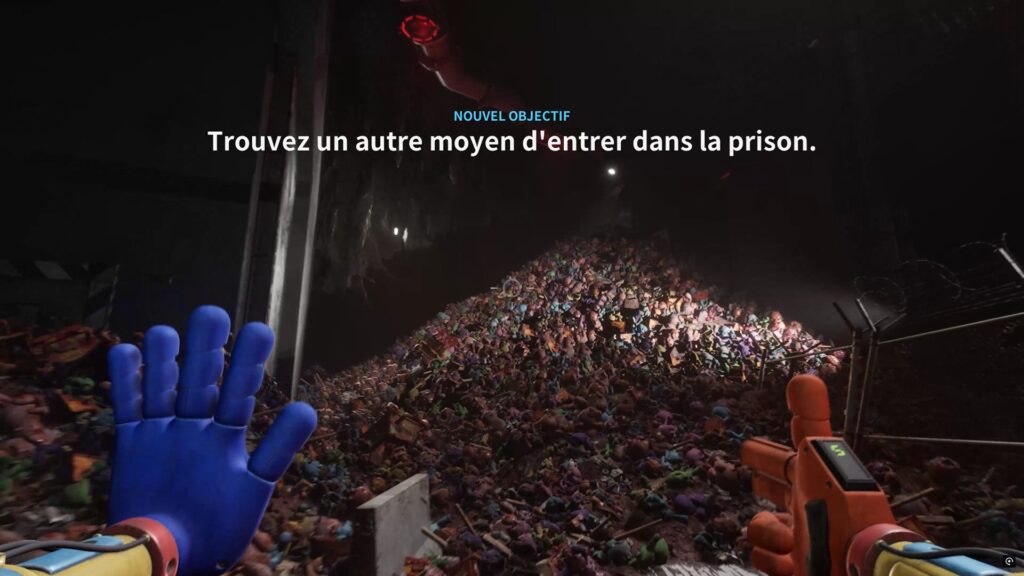
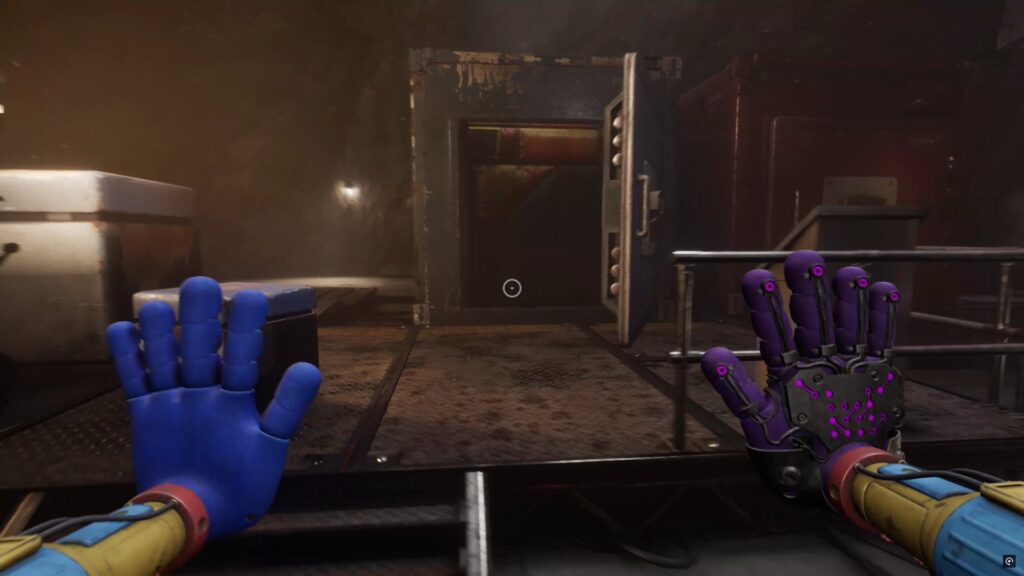
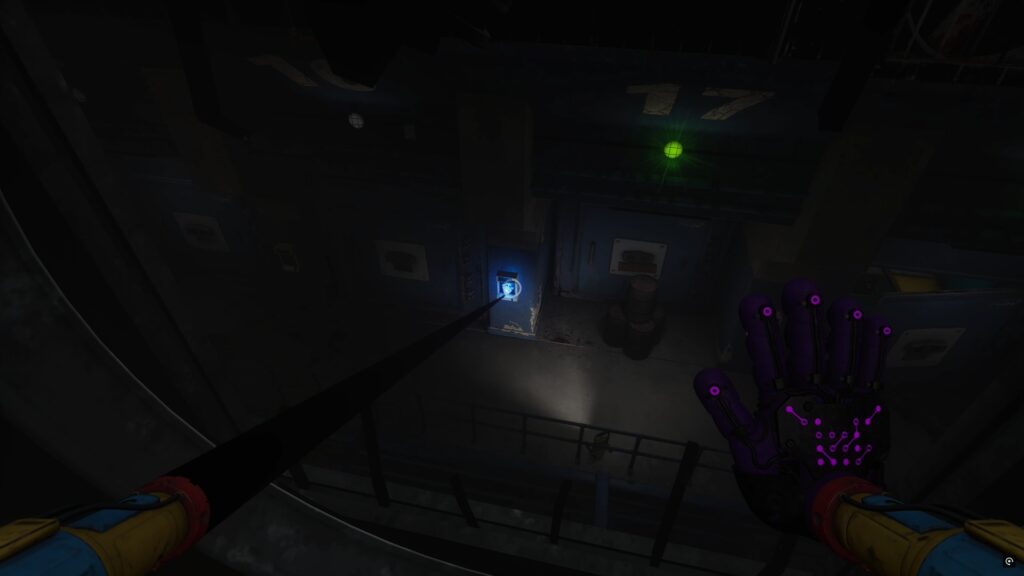
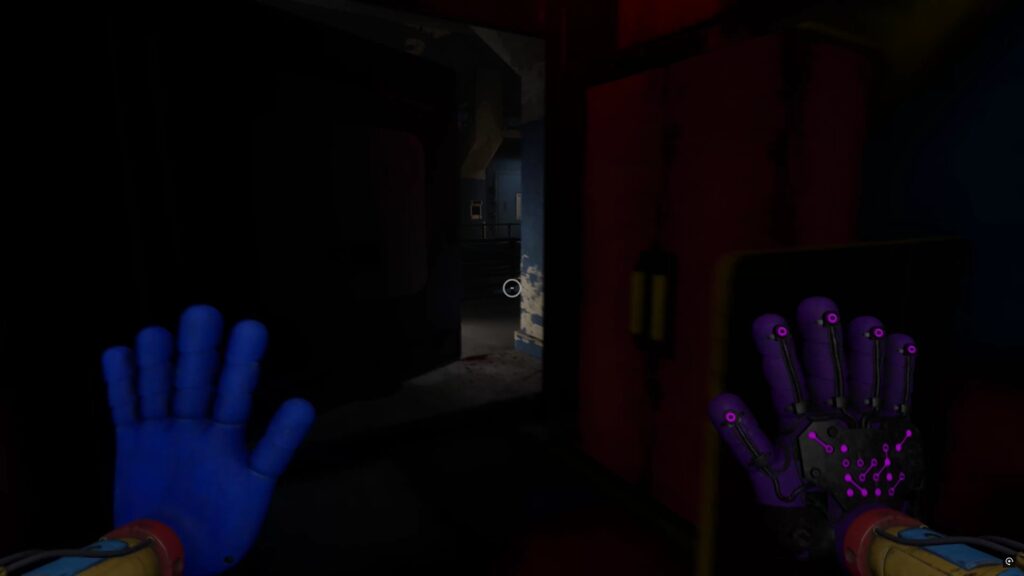
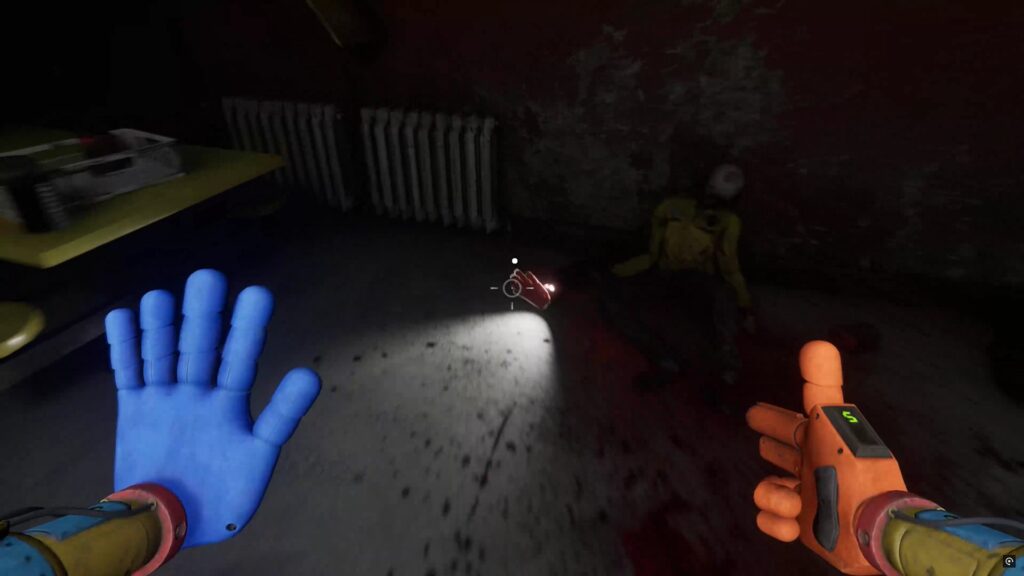
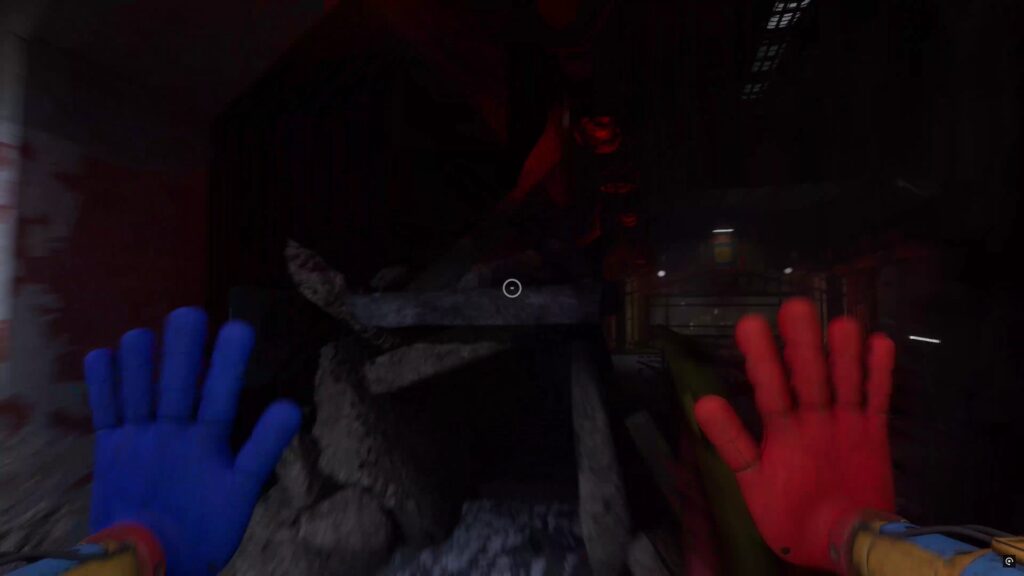
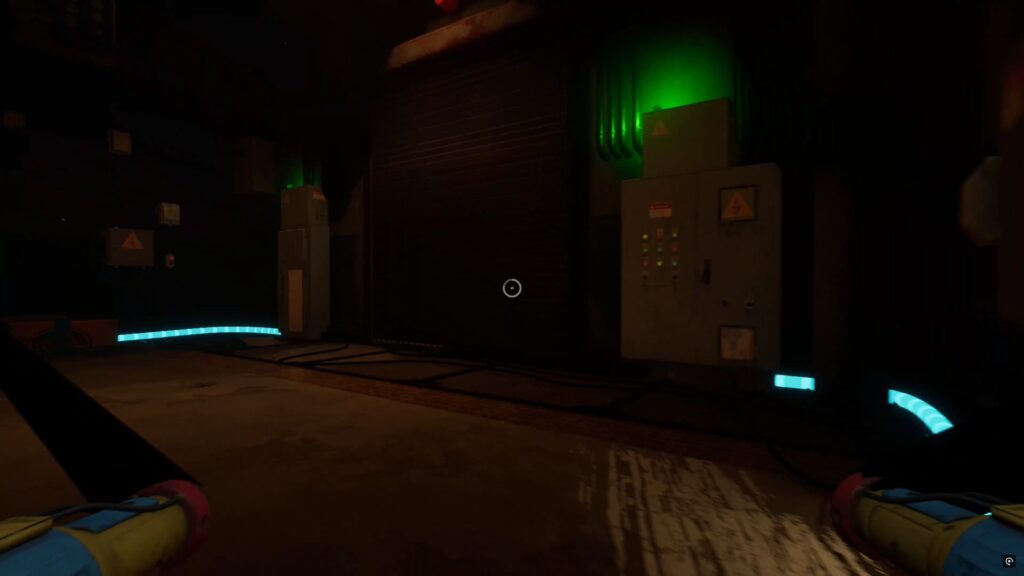
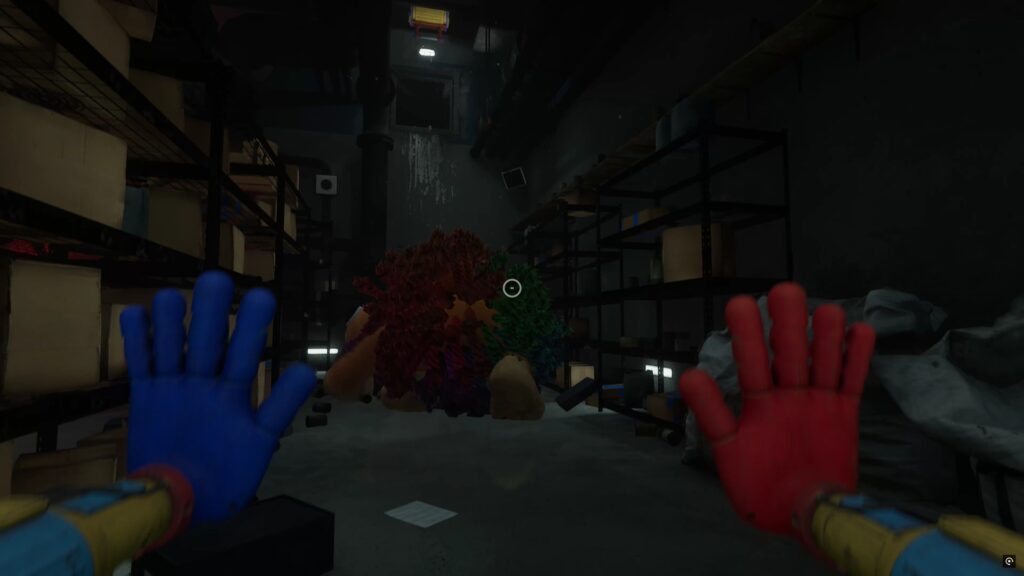
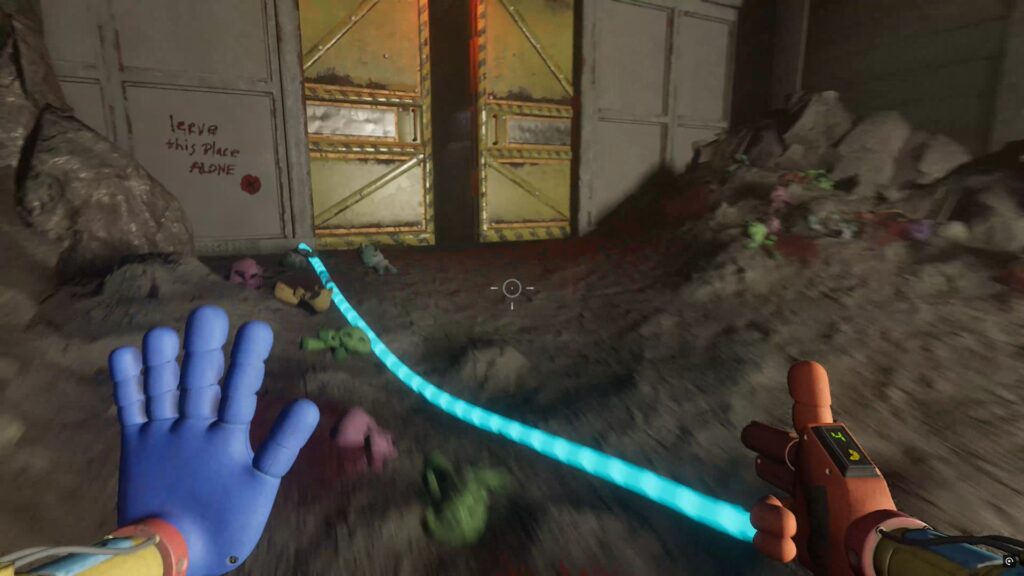
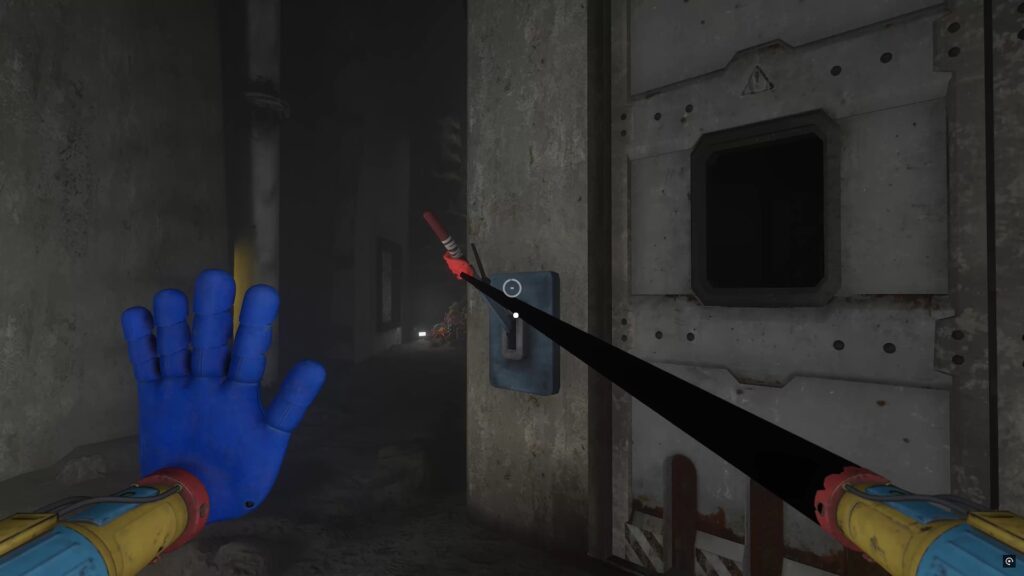
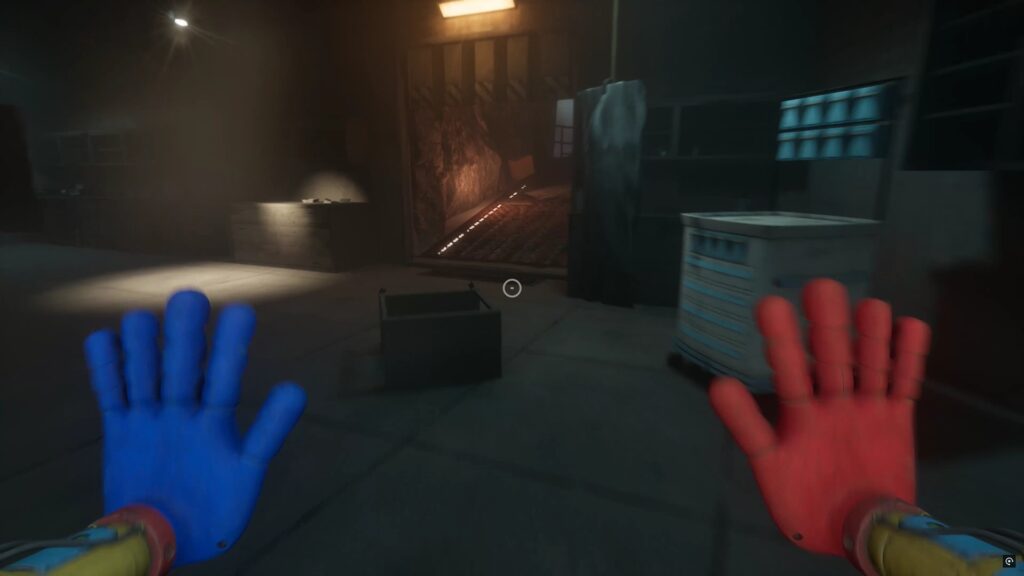
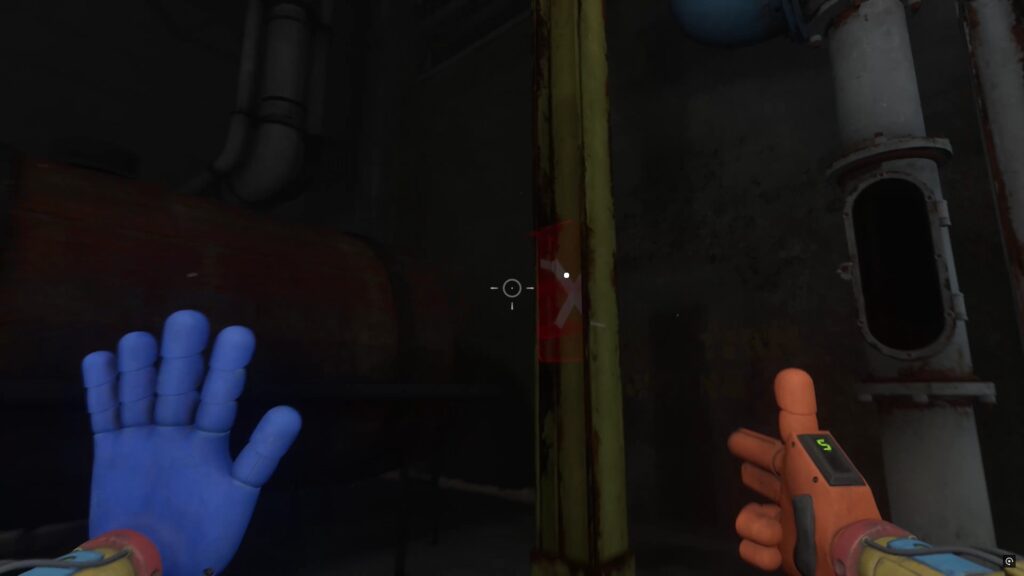
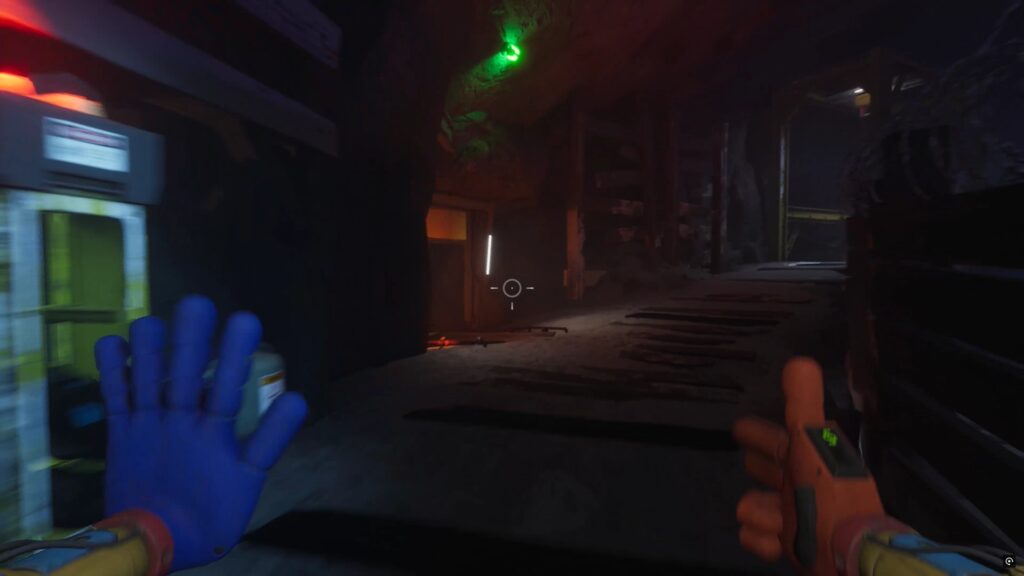
Jump to the higher ground, then use your hand again to grab and swing. Continue forward until you reach a gap and dive inside. Progress to a reinforced door, then use your rocket hand to ignite the rope holding it. Go through the door and across the junkyard to the prison door, where you’ll fall into a trap. Use your rocket hand to push the enemies away.
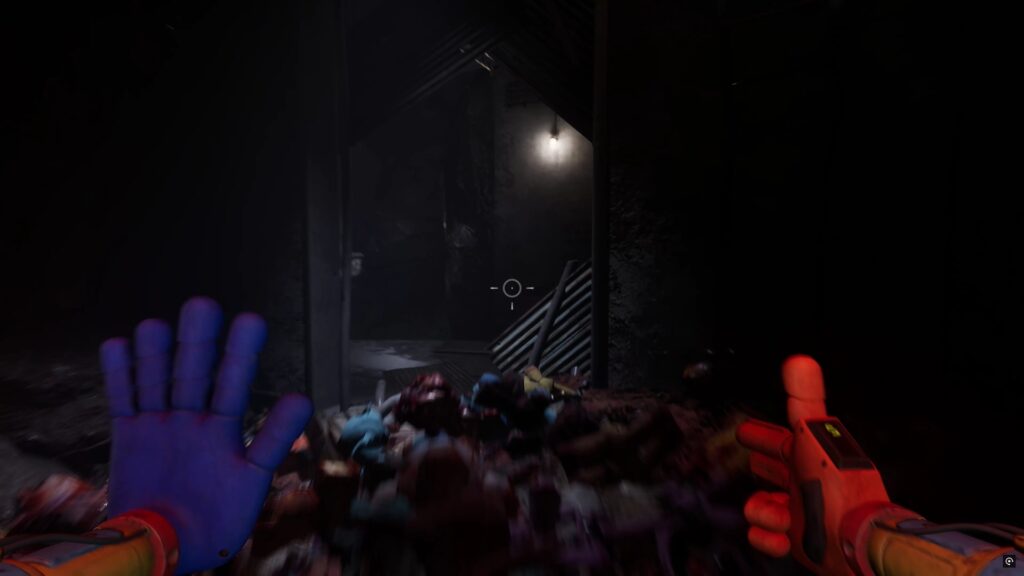
After the fight, climb up the pile of stuffed animals to the left of the prison door to access a narrow passage. Further along, you’ll find some plates to use with your purple hand. Gain momentum by running, then use your purple hand to leap up to higher ground. Cross a beam, then grab the high handhold to swing up to a station.
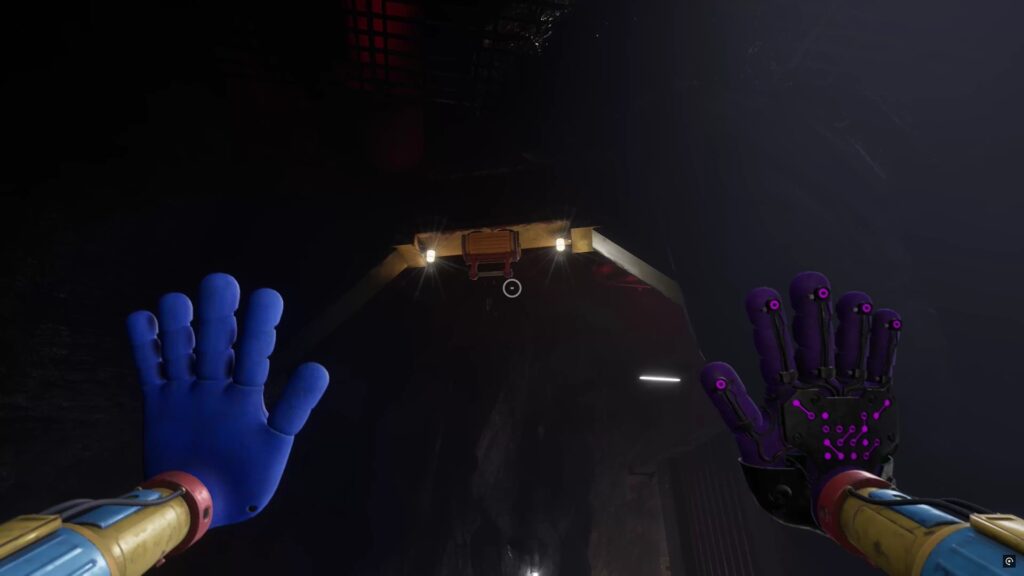
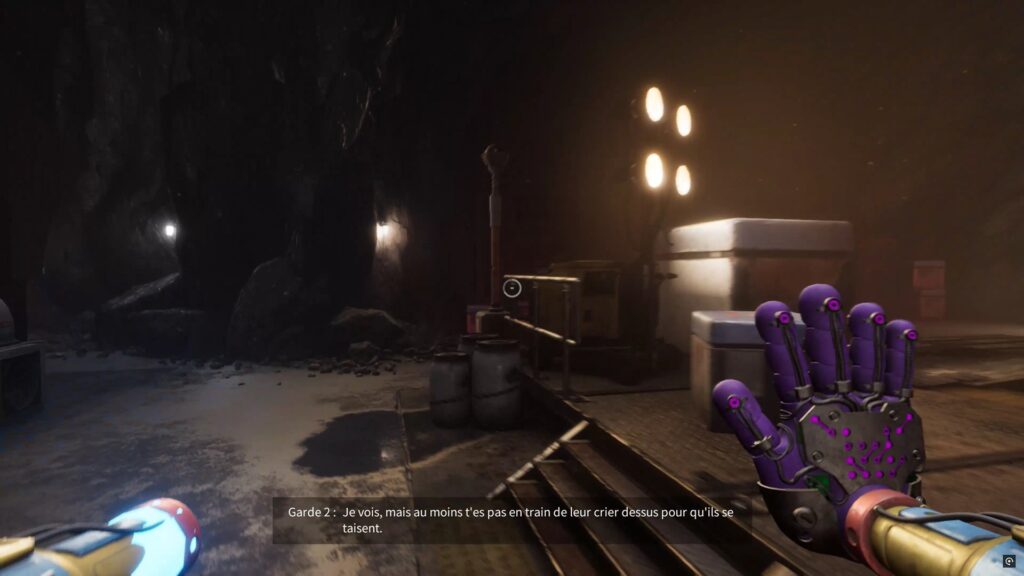
In this room, behind the locomotive’s containers, you’ll find some crates. Use your hands to move and stack them near the locomotive to get up high and retrieve a key from a hanging chest. Then go down and use the key to open the gray door facing the locomotive.


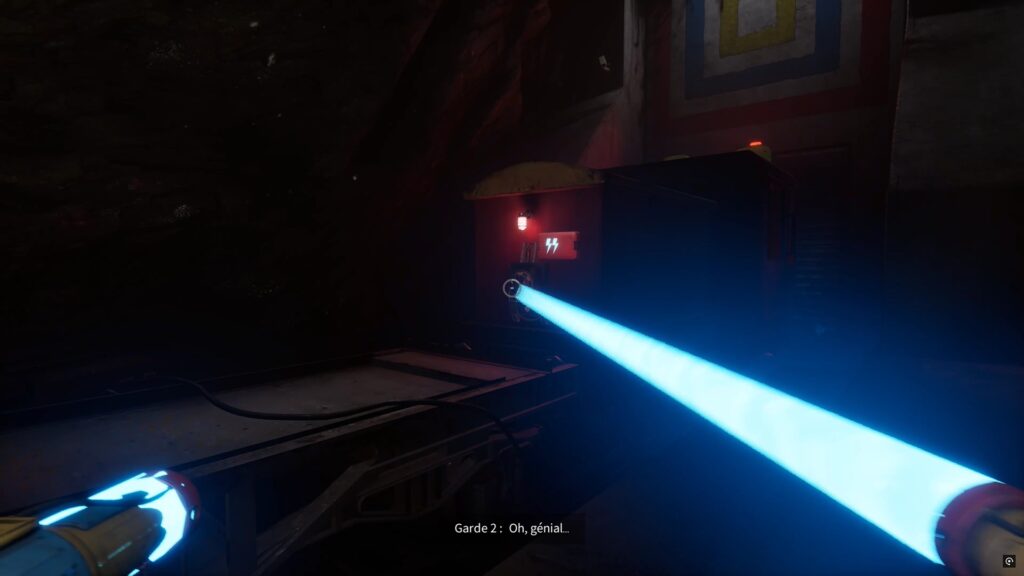
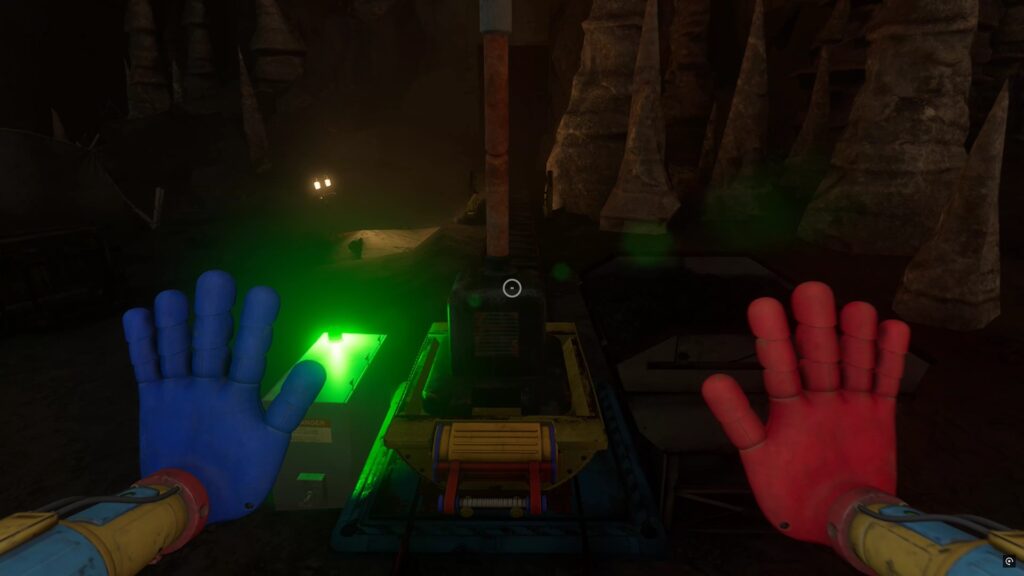
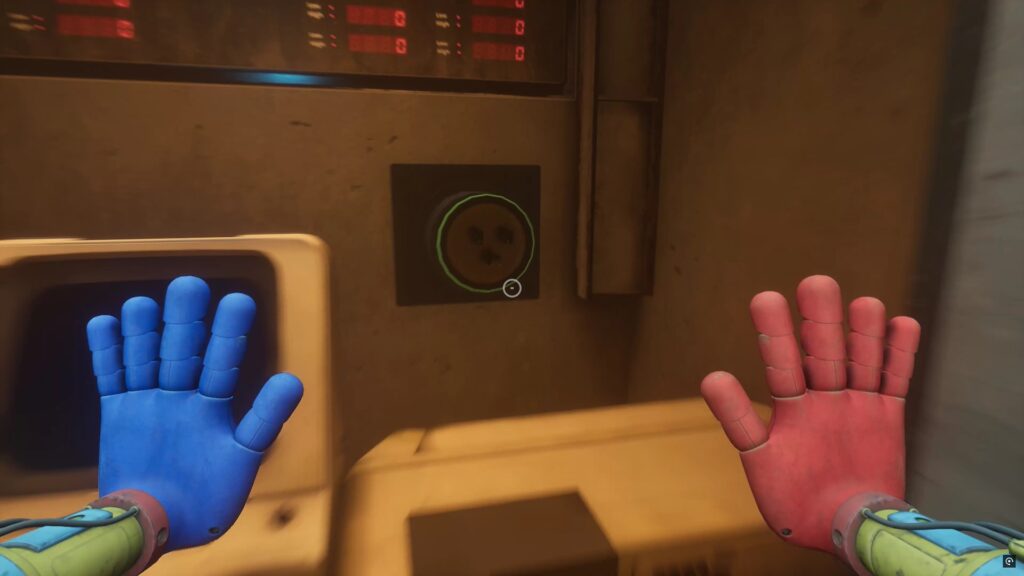
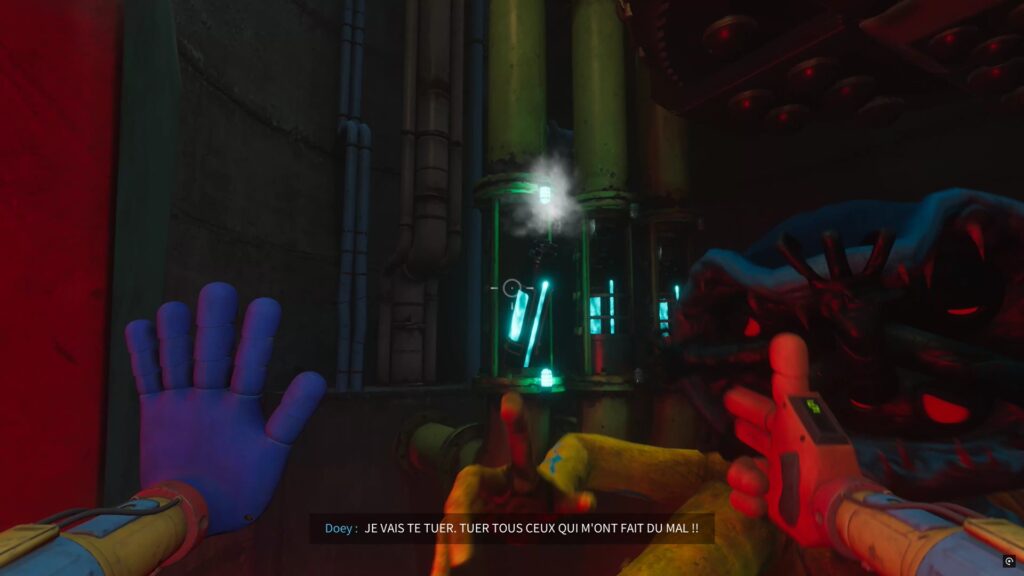
Inside, you’ll find a power outlet. Plug one of your hands into it, then power up a first pylon in front of the gray door, then a second one behind the locomotive with the power. Then, connect to the locomotive’s switch to turn it on. Finally, climb into the locomotive’s container to trigger a cutscene leading to the prison.
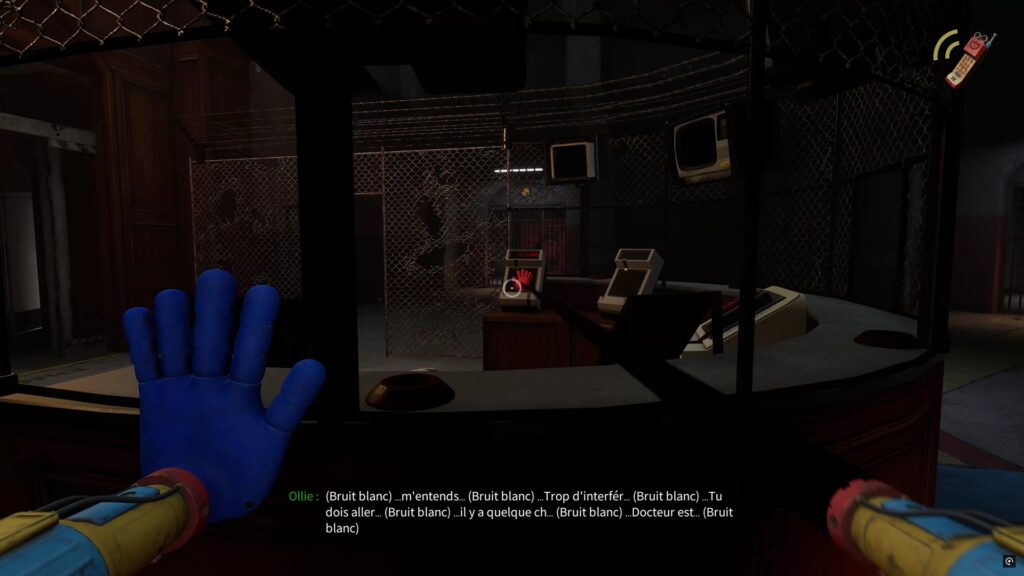
The Prison
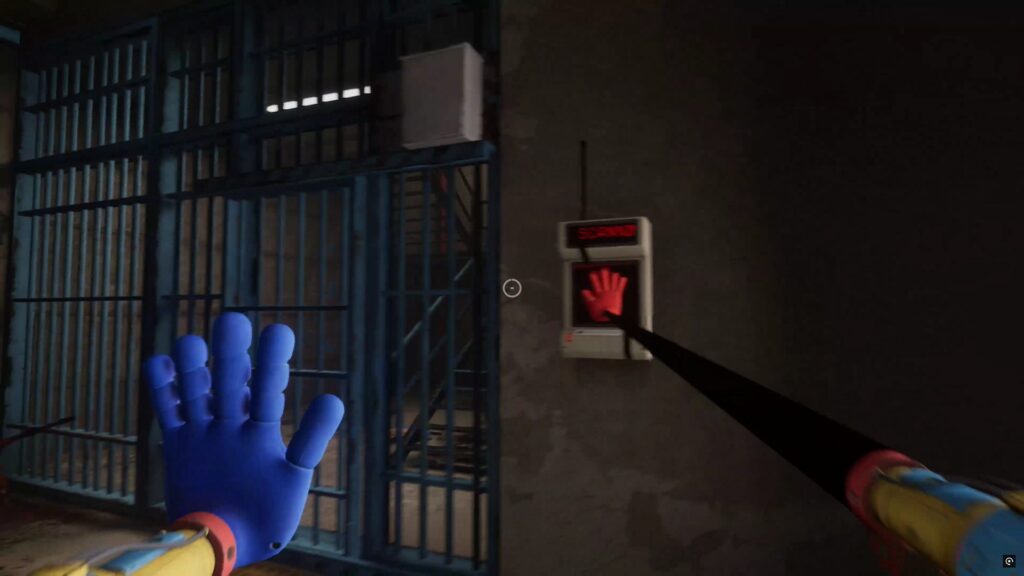
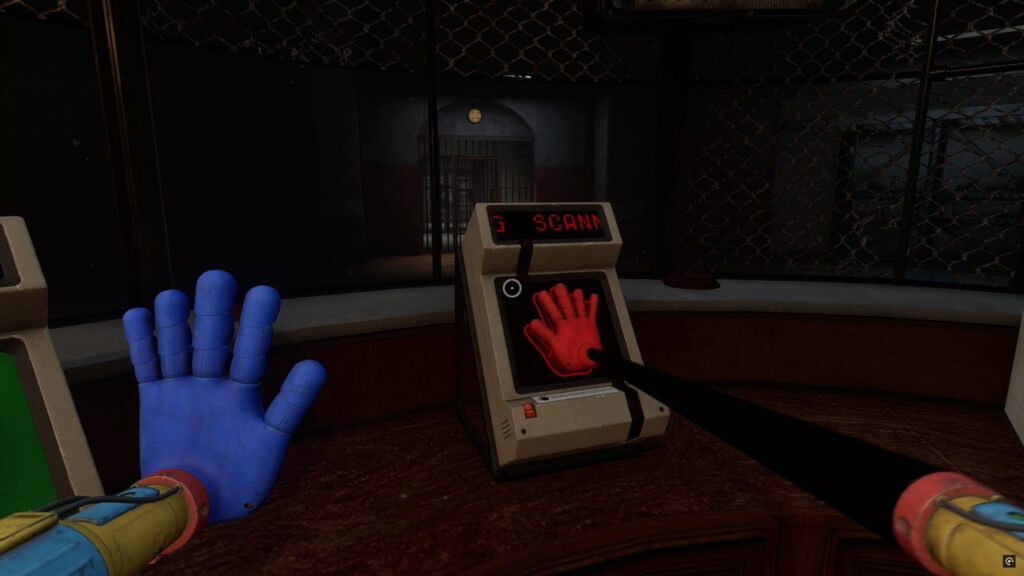
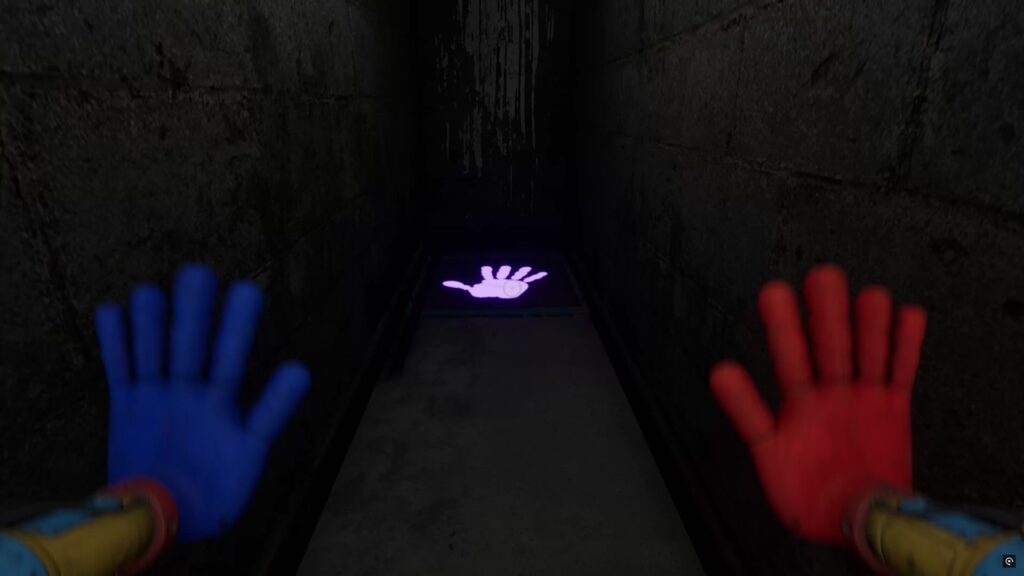
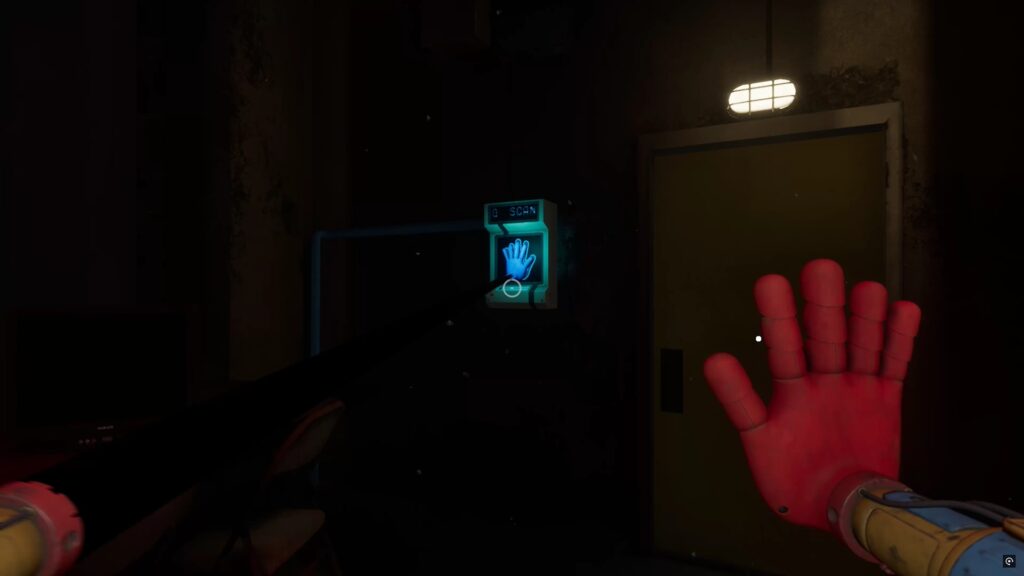
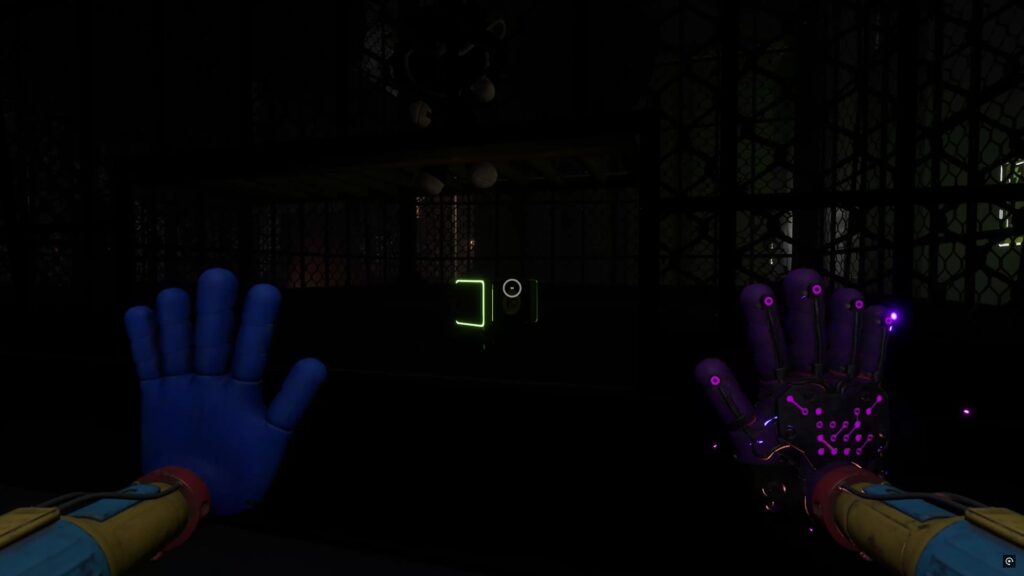
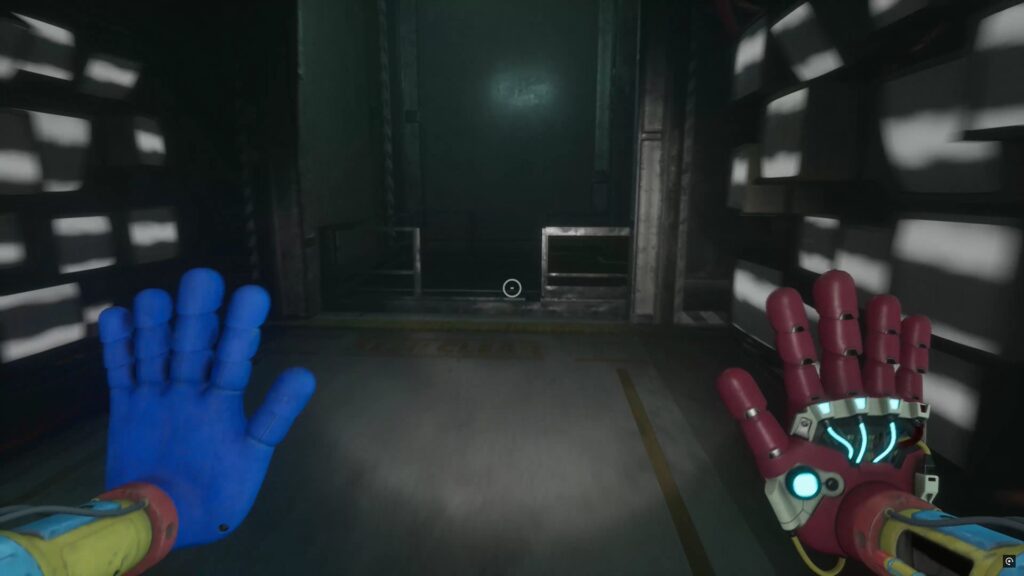
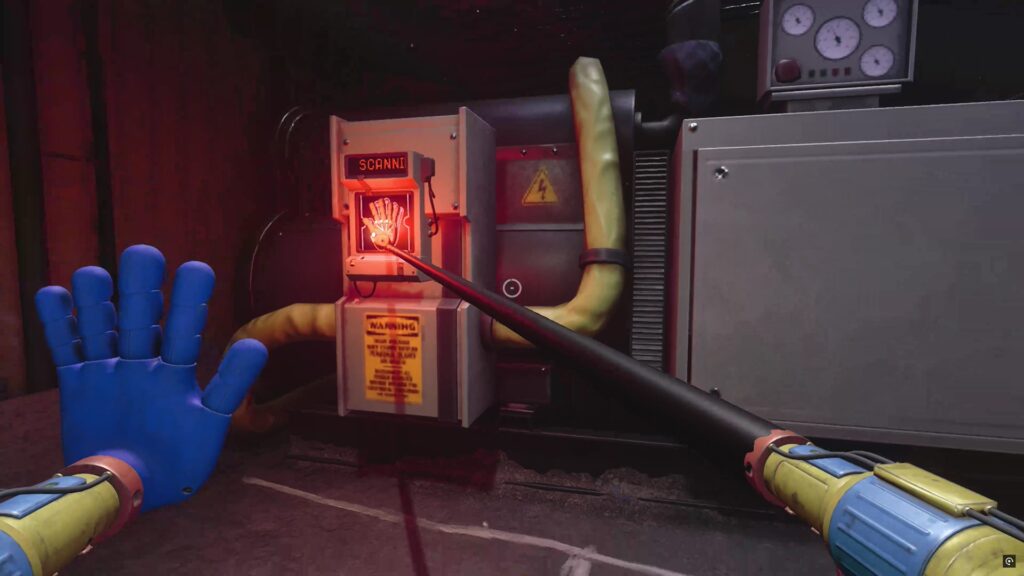
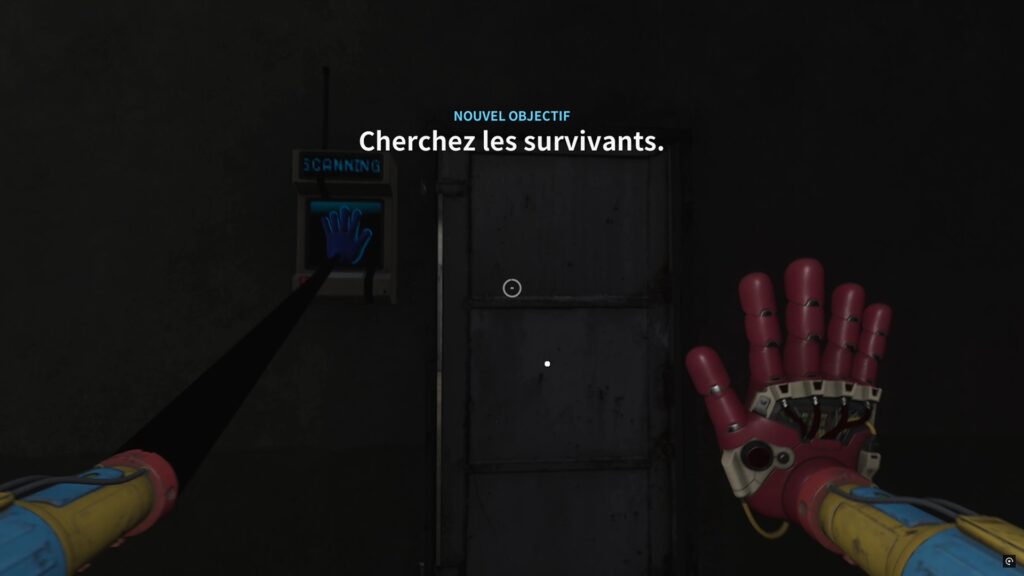
In the prison, head down the hallway to a ladder. Look up to see a handhold to grab onto and climb up. Then head into a vent above. Use your blue hand to activate a scanner in the opening. Head back and go through the door that has just opened a crack.
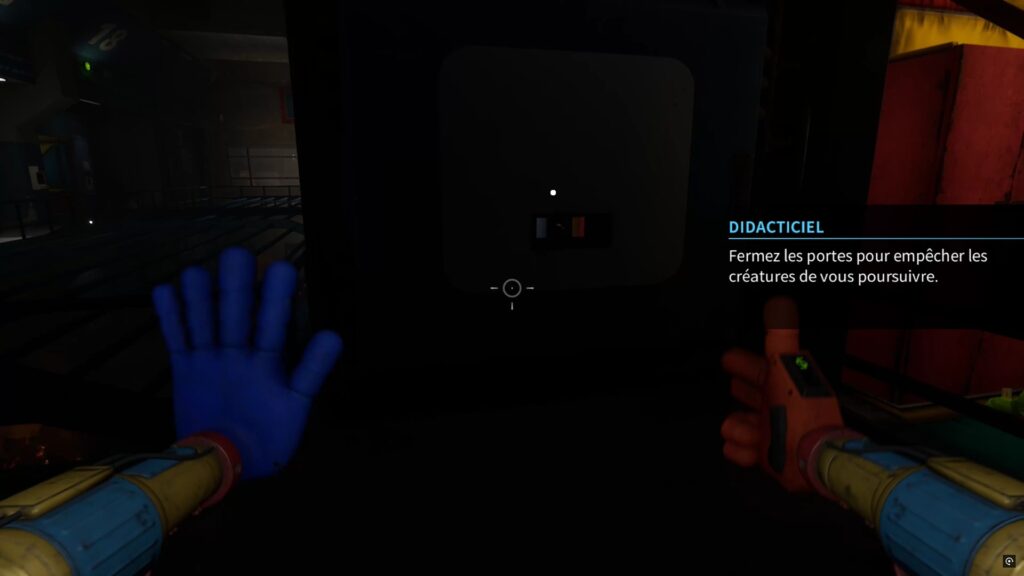
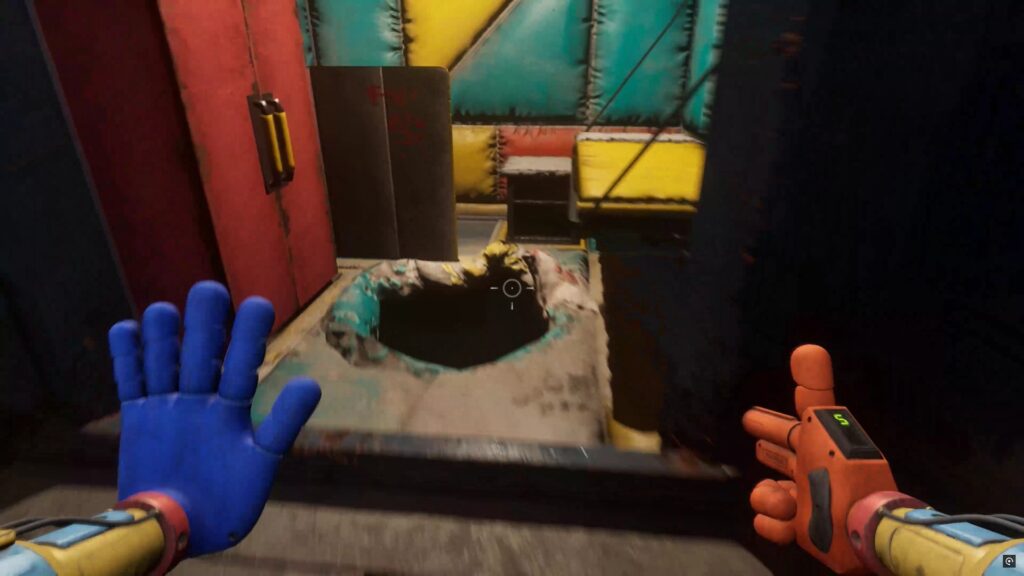
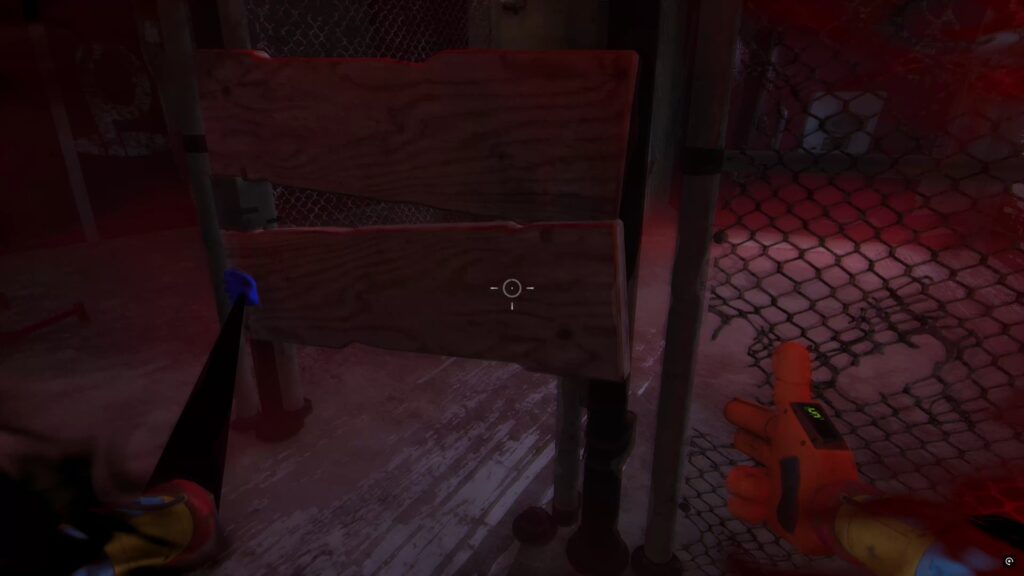
Go around the floor to close the door of a cell containing monsters. Then enter the next cell and go down through a gap. Below, examine the scanner behind the barricade and activate it with your hand, to go into the adjacent cell. You will find a new gap there that you can free by removing the wooden planks with your hands.
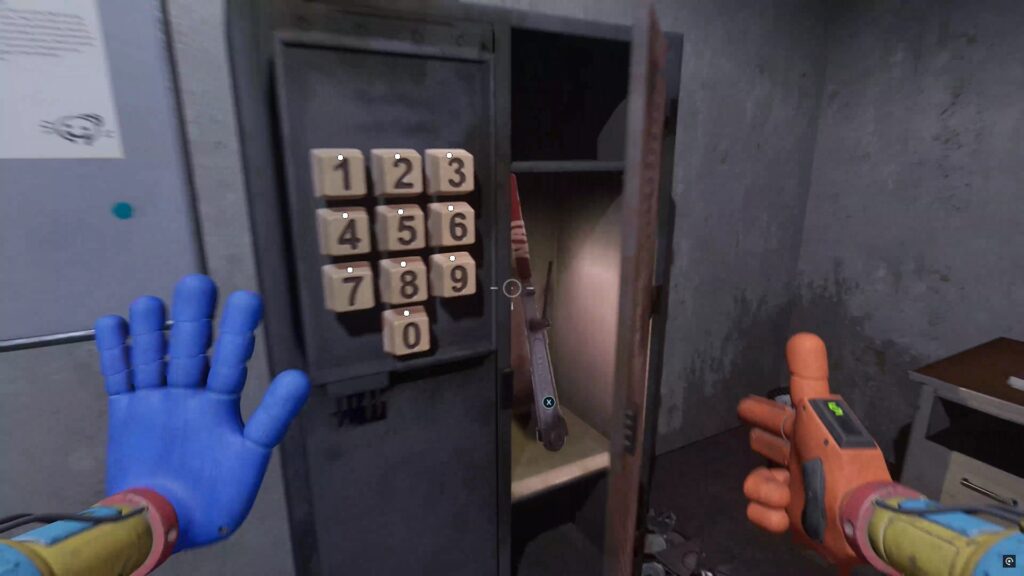
What is the door code for the prison yard?

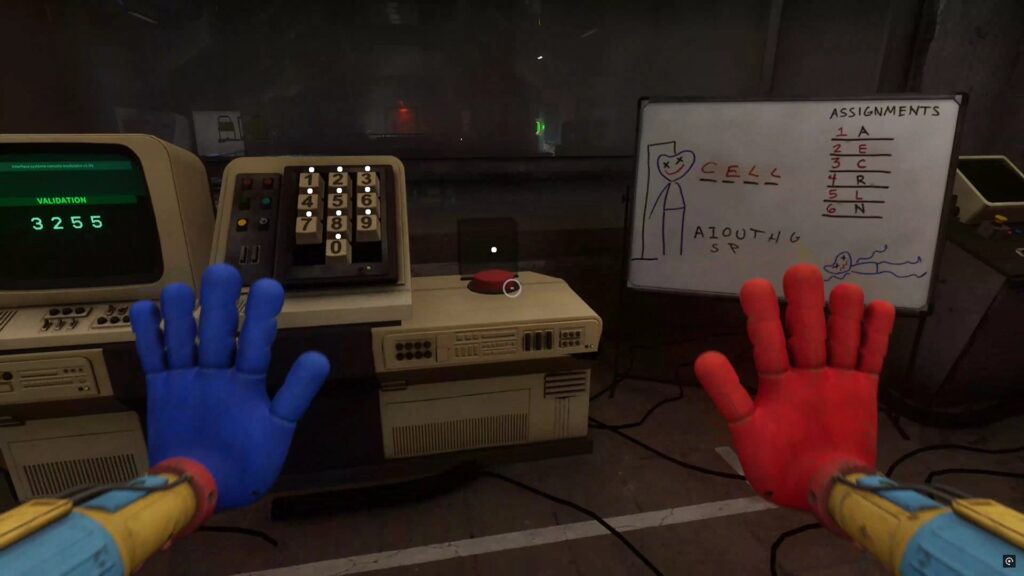
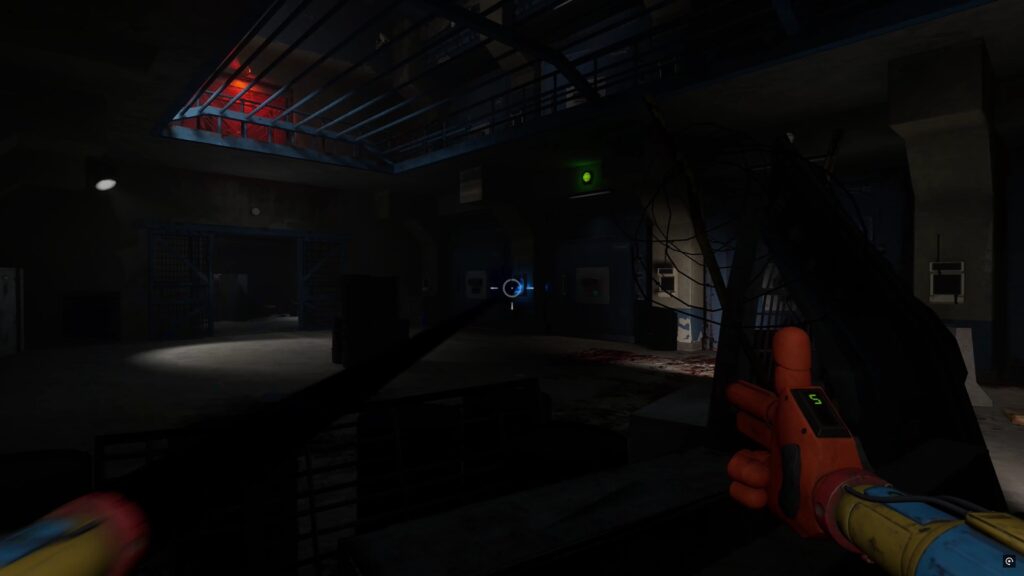
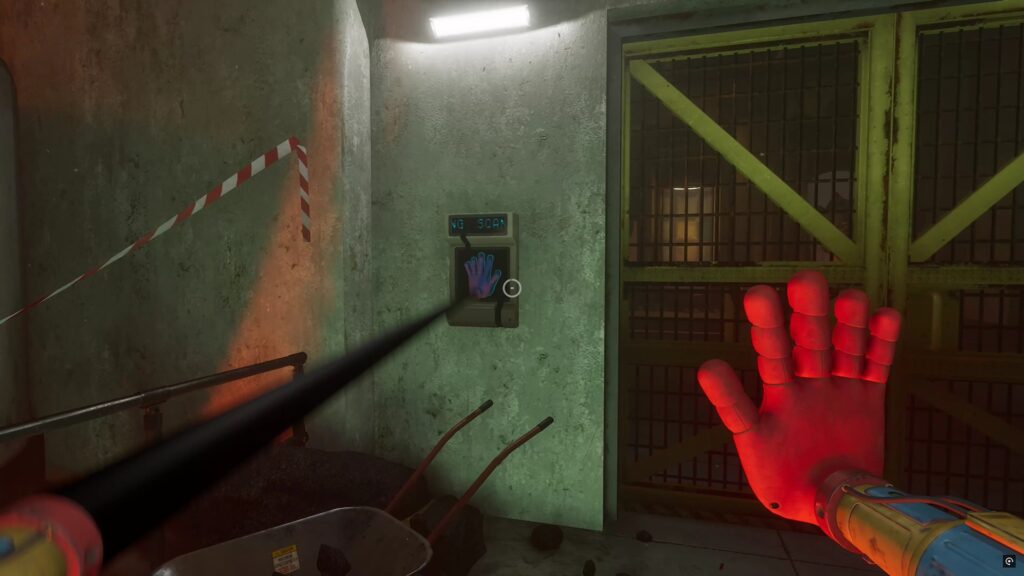
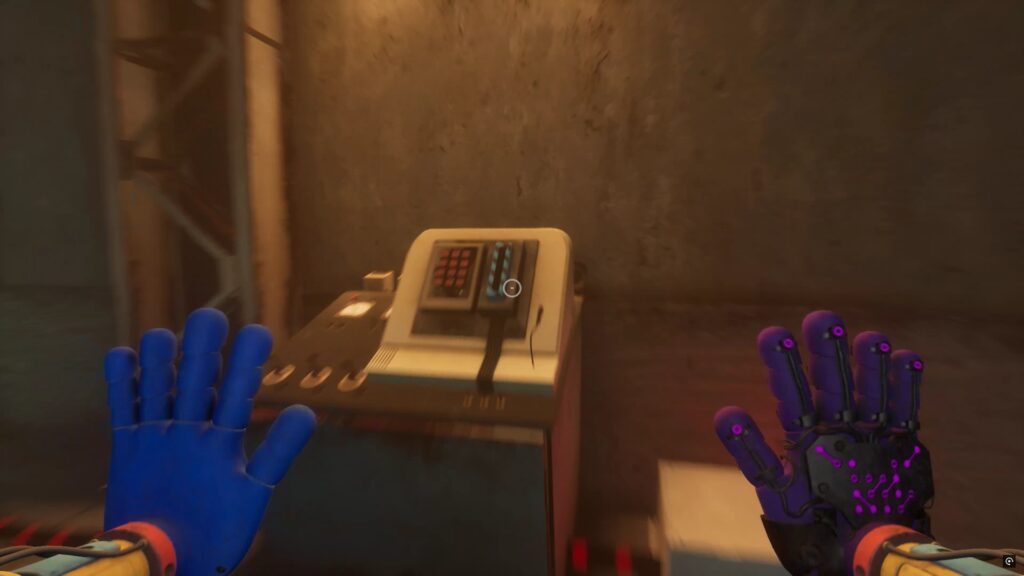
Head into the building to reach the canteen and collect a new red hand. Then try to return to the other side of the barricade to trigger a fight. Survive the attack, then head to the back of the cells and use the red hand on a scanner to progress. Then go up the stairs to reach the control room. Near a computer, you will find a clue containing the word « CELL » . By associating the numbers with the letters, you will obtain the code 3255 . Enter it, then activate the switch to open a red cell located opposite.


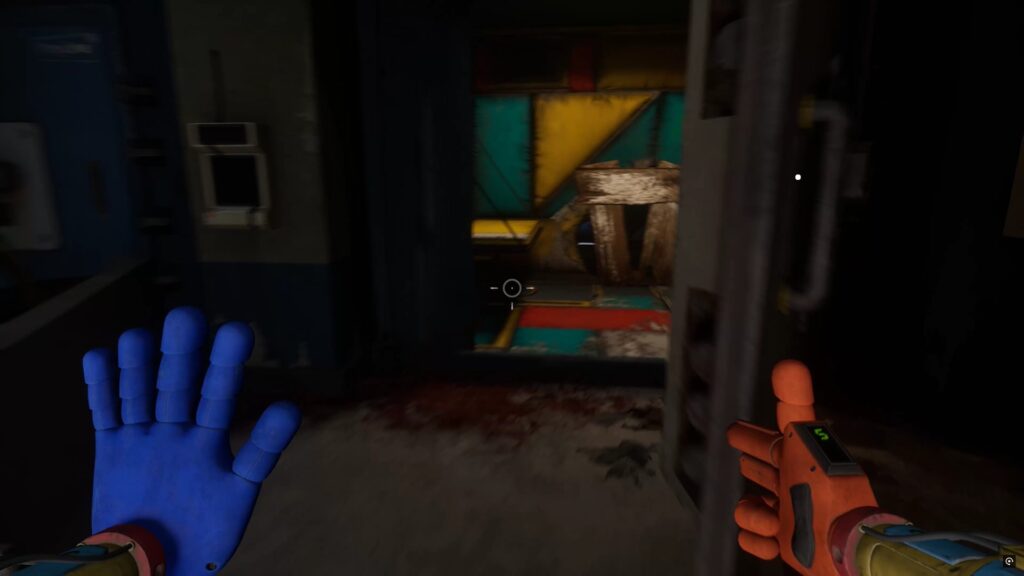
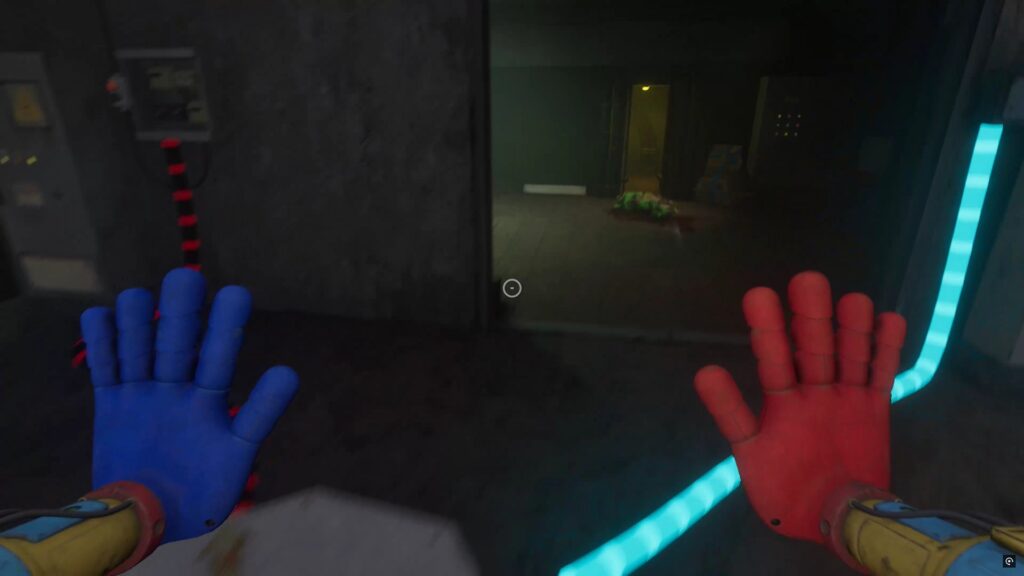
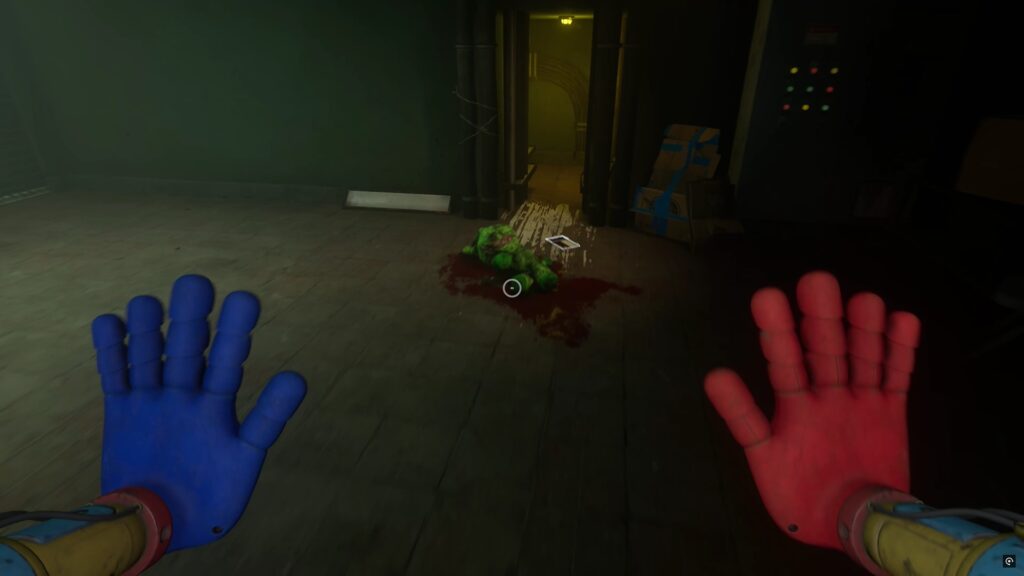
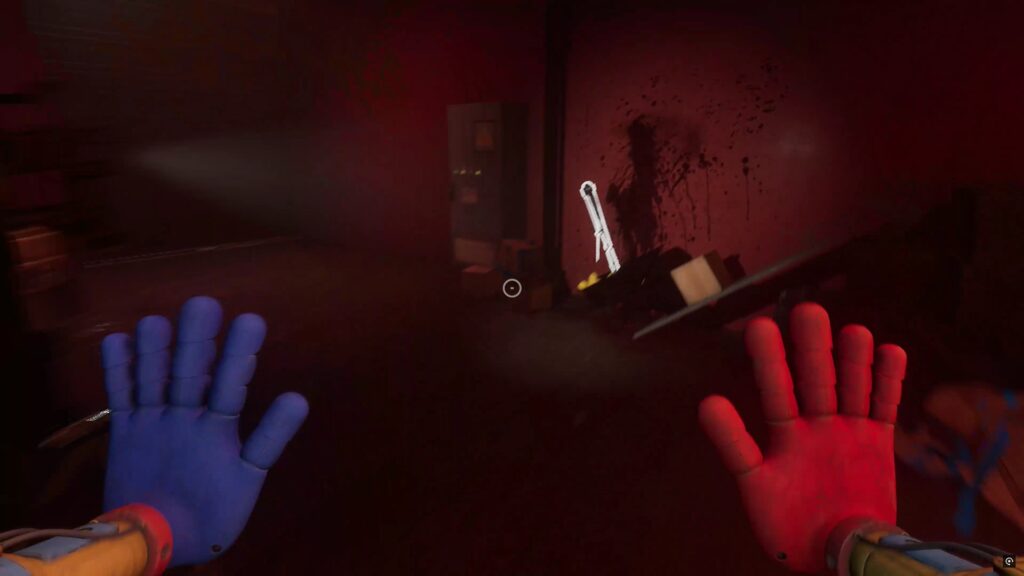
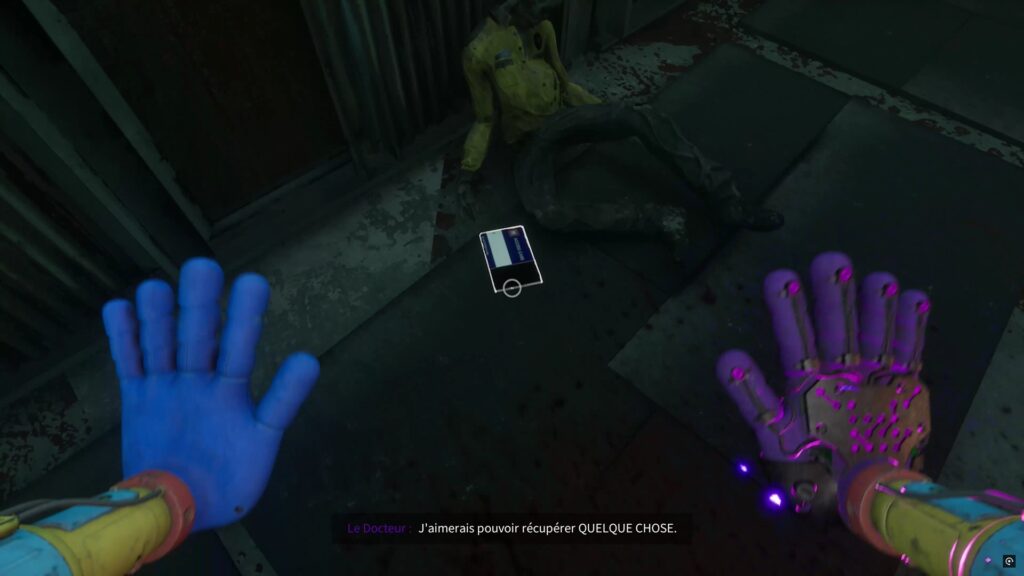
Head into the cell and use your hands to remove the bars from the grate inside. Then head to the reception area to use the red hand on a scanner and open the hallway on the left. Head down the first hallway and sneak past the corpses to pick up a red card on the ground. Return to the reception area and use the card to unlock a new scanner, then head down the second hallway. Further along you’ll have to crawl under some debris to continue.
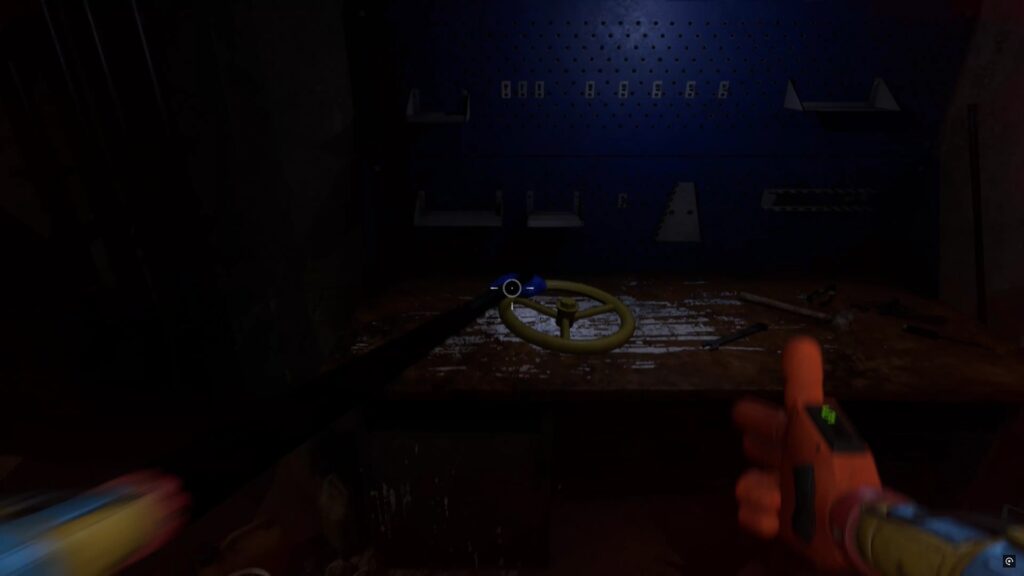
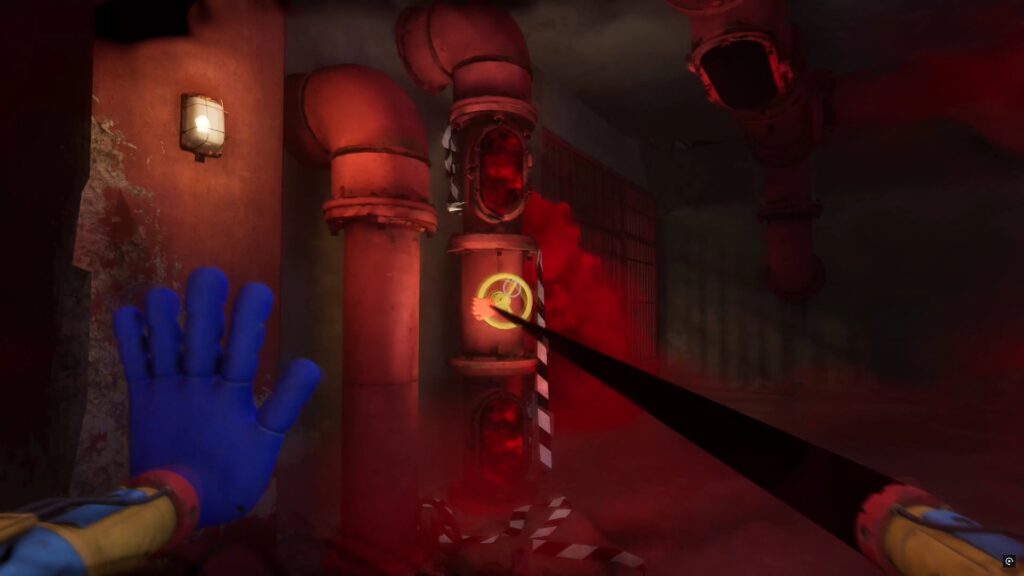
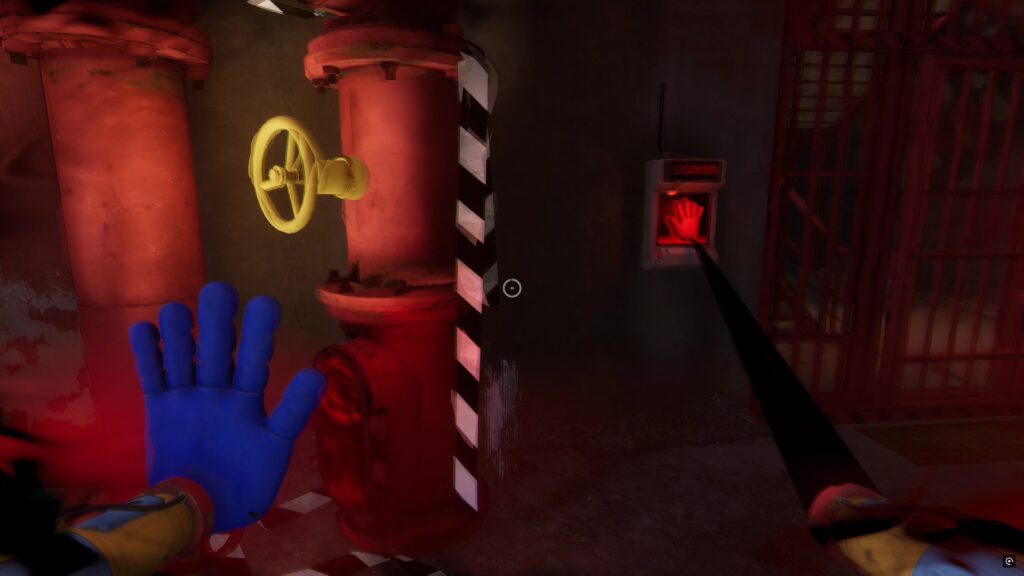

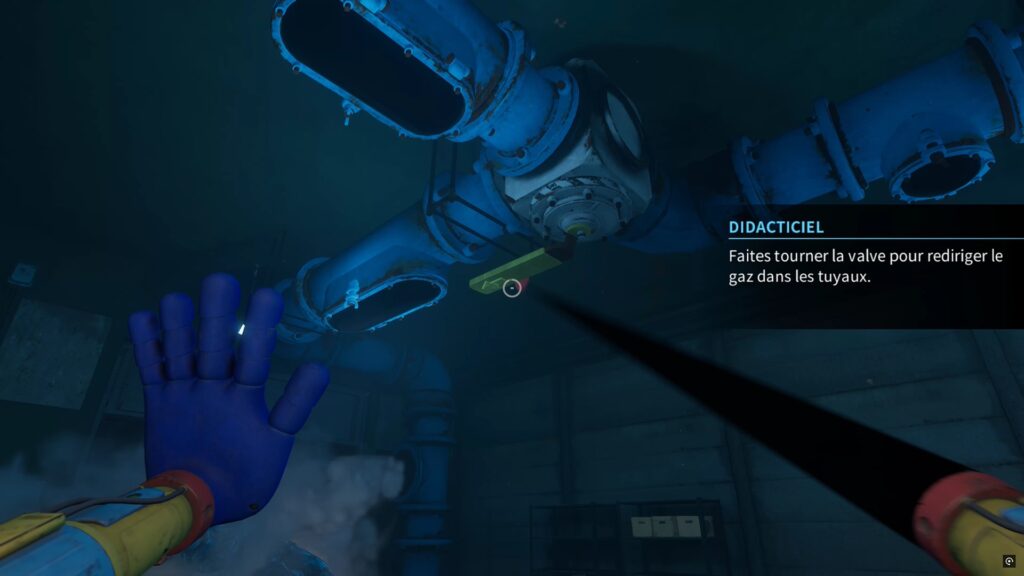
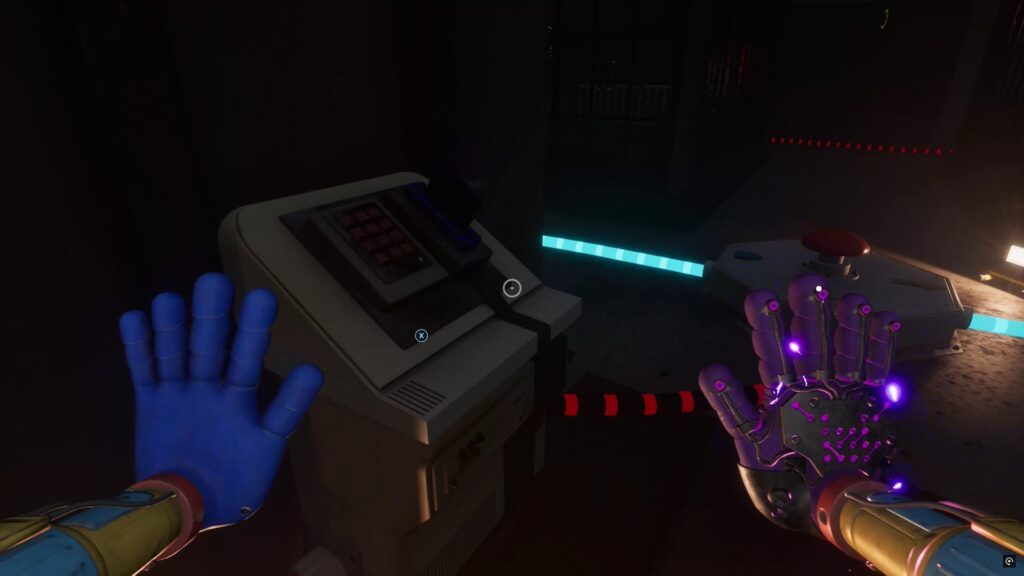
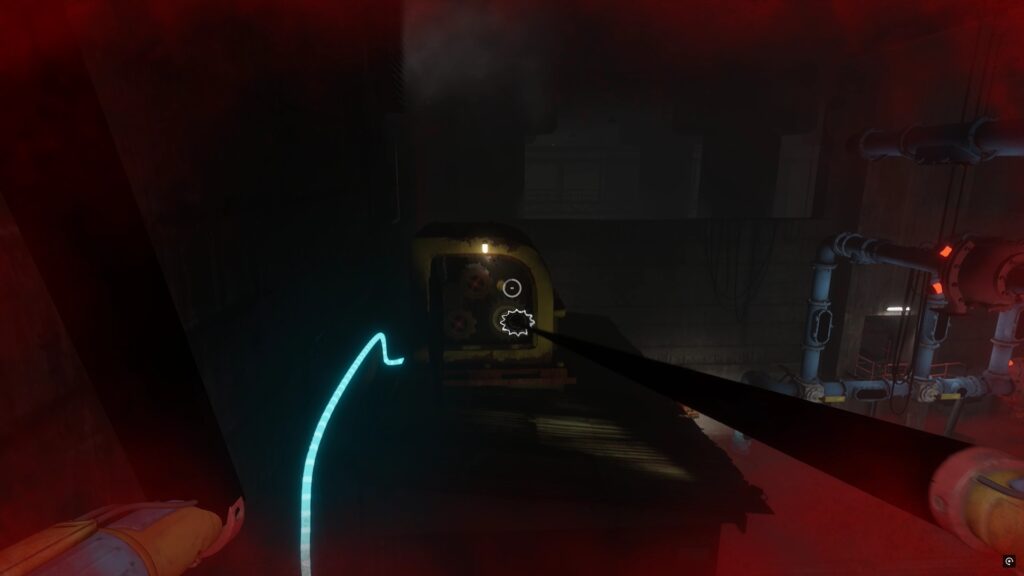
Warning, gas is spreading! Quickly rush to the railing to create access to the lower level. Spot the gas leak and quickly cross the room to remove some boards and reach some workshops where you will find a valve. Quickly return to the gas leak, insert the valve and turn it. Then use the nearby scanner to go up to the control room above. This time, enter the code 3642 using the word « CAGE » written on the calendar next to it.
Use the switch to break the window, then enter the hallway. Use your purple hand to jump off a platform. Once above, slide down a vent to reach a room. Inside, use the nearby crates to block the grates, then interact with the scanners on both sides to unlock the door.
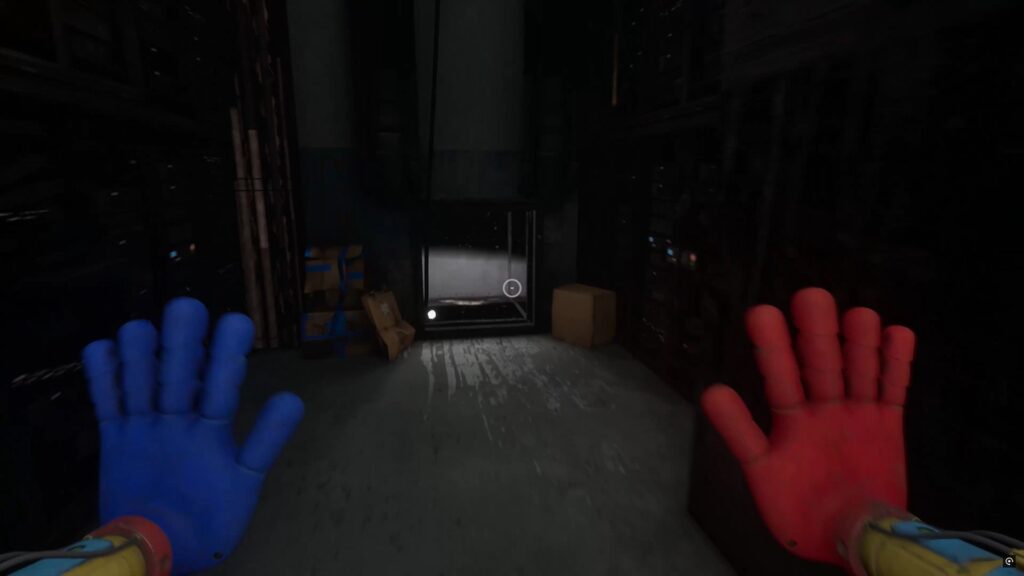
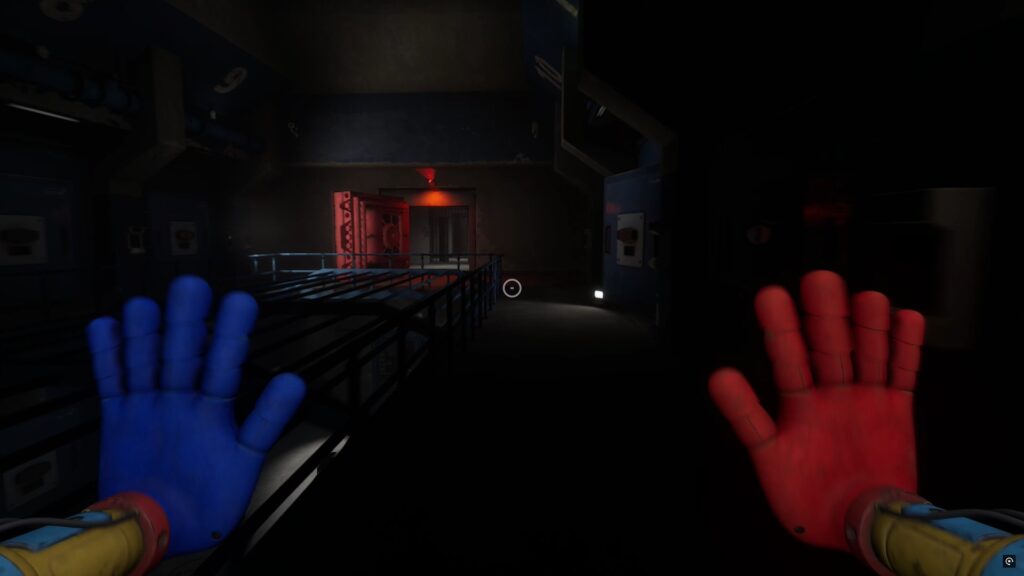
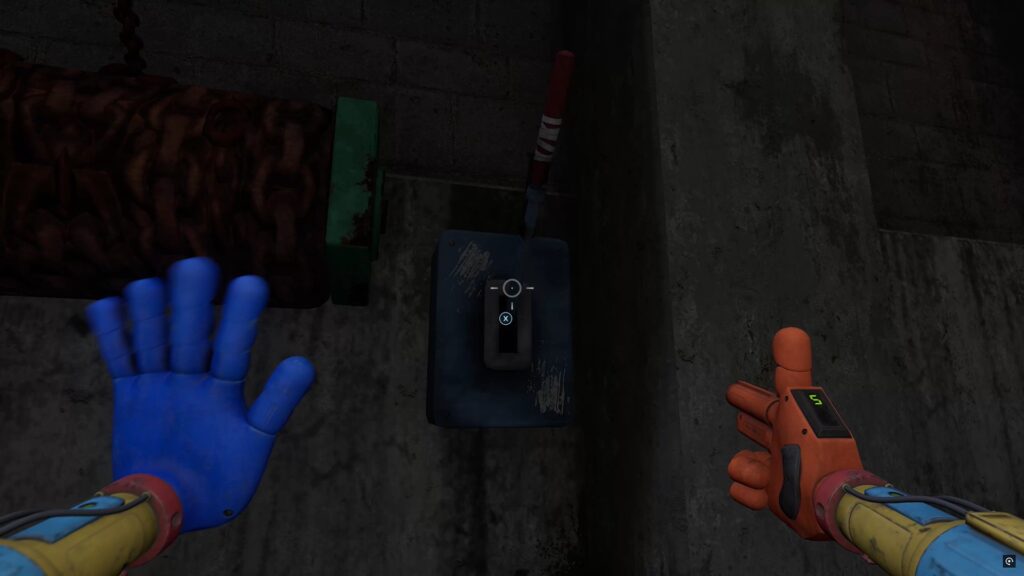
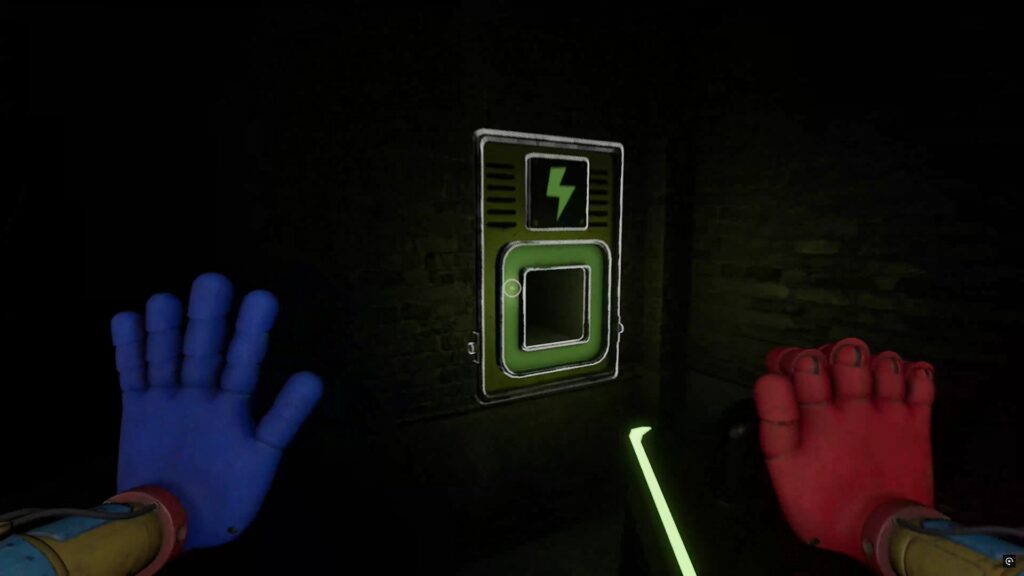
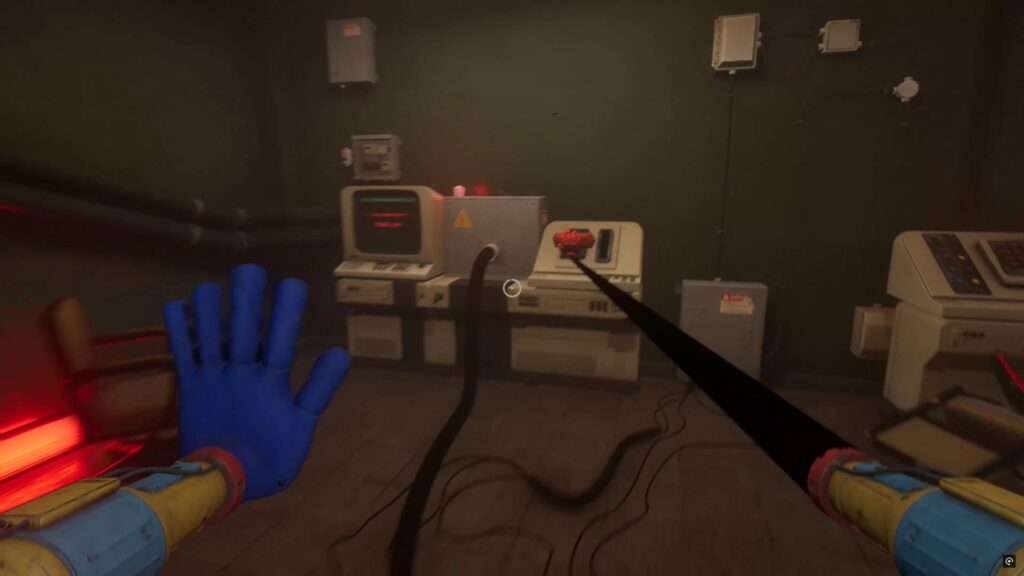
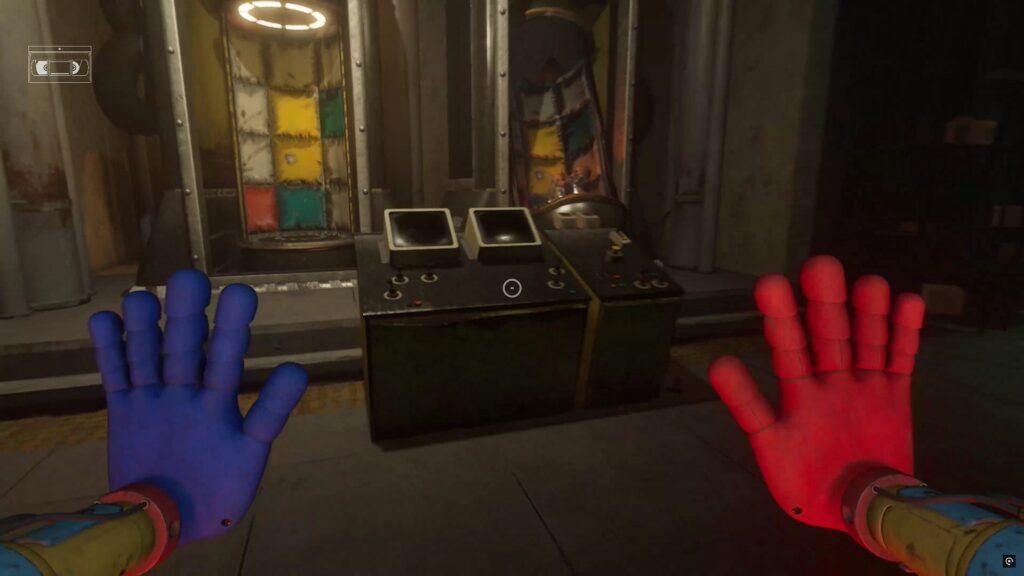
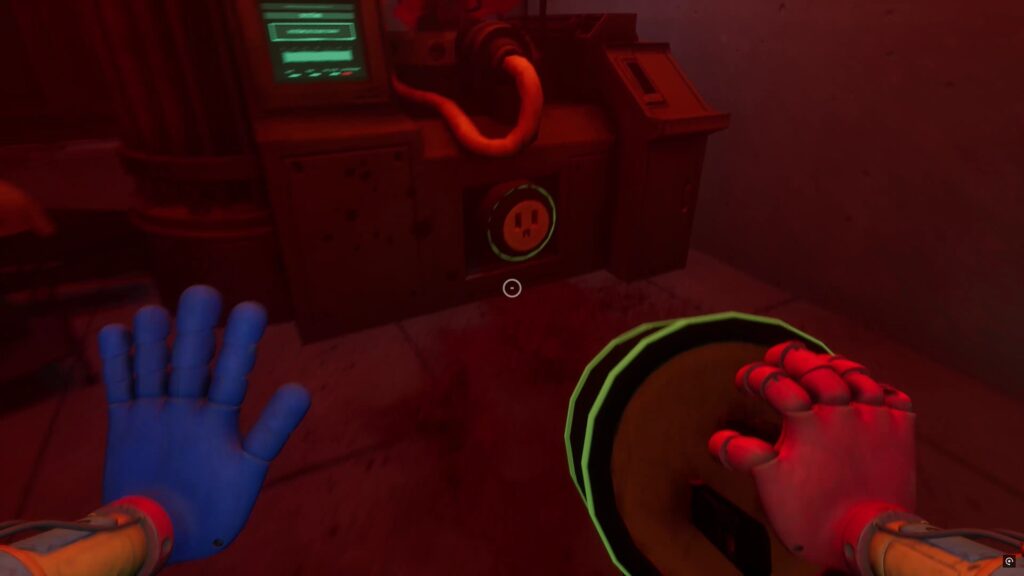
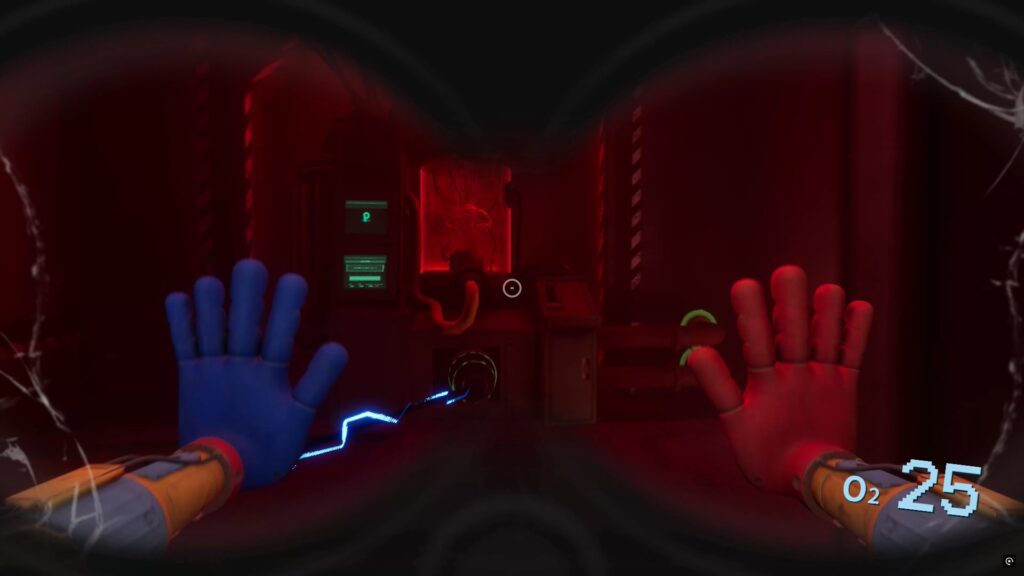
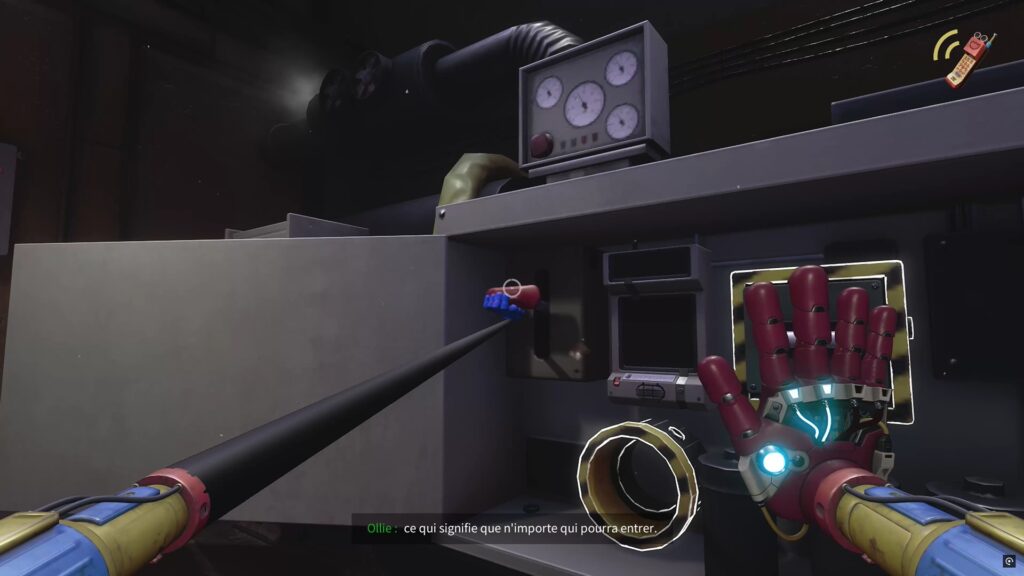
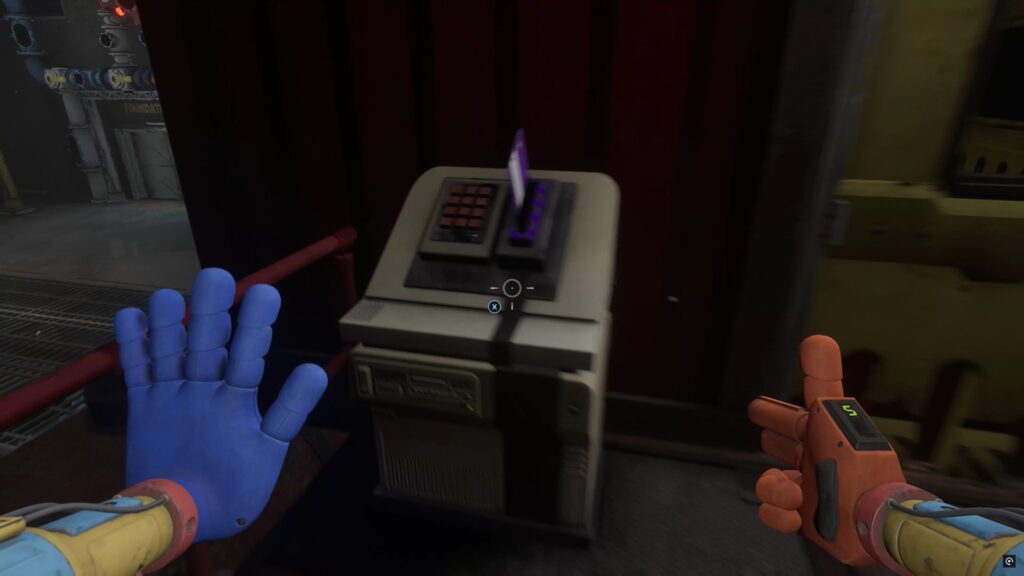
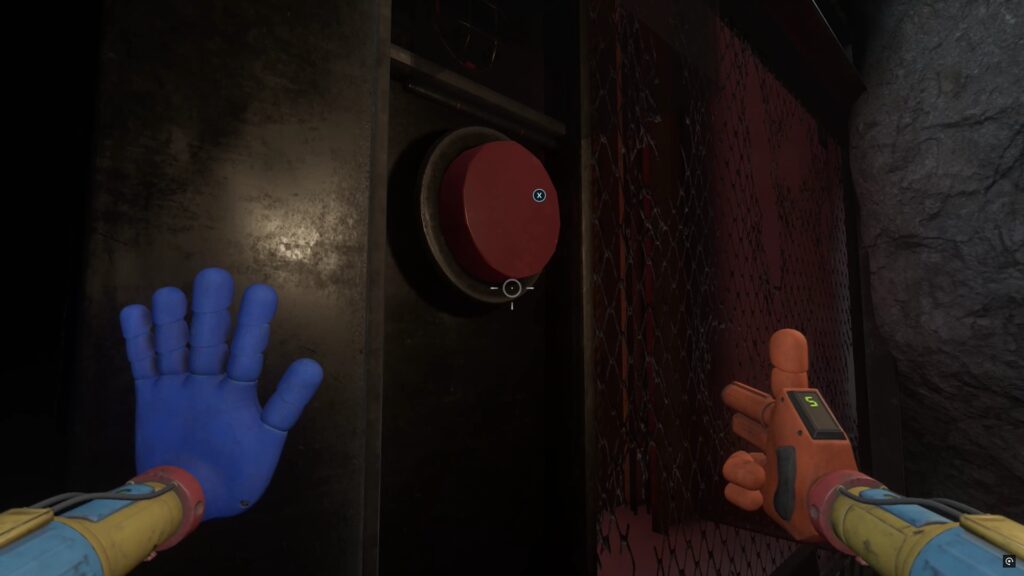
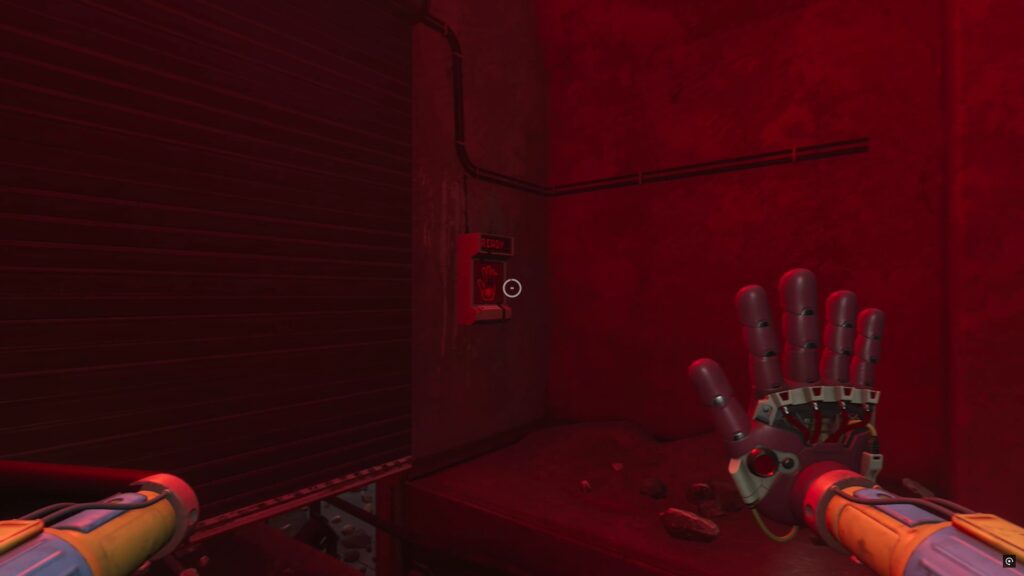
Head into the red room to meet Warnabey. Search the nearby locker to move the battery to the blue socket. Then use the scanner behind it to unlock the door. Head into the tunnels where Warnabey appears. Hide to avoid detection and wait until he clears the way to the air vent above. Use the handhold above to squeeze through. On the other side, in the server room, head to the back to find another air vent. When the chase begins, head through a new vent to reach the archives.
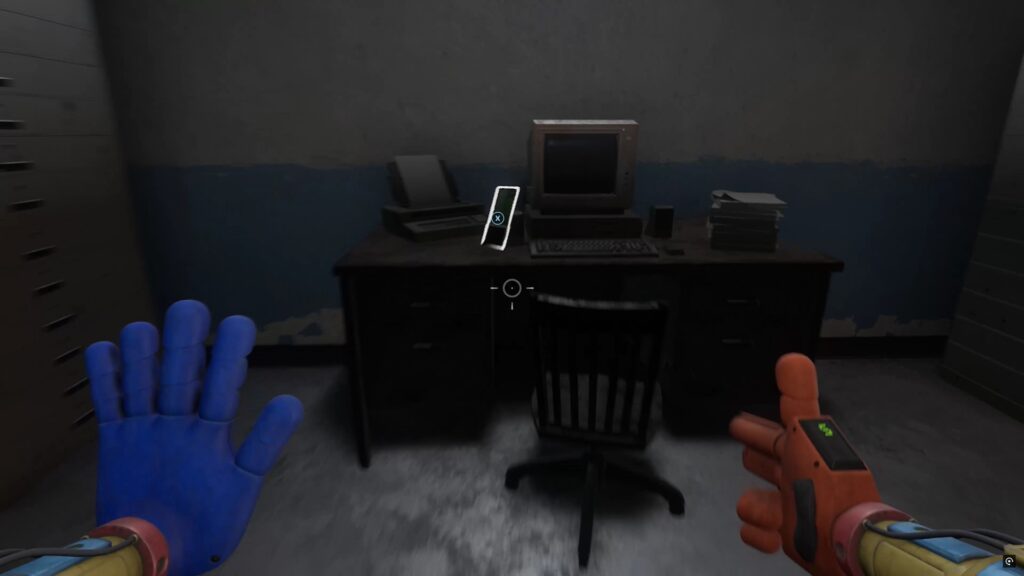
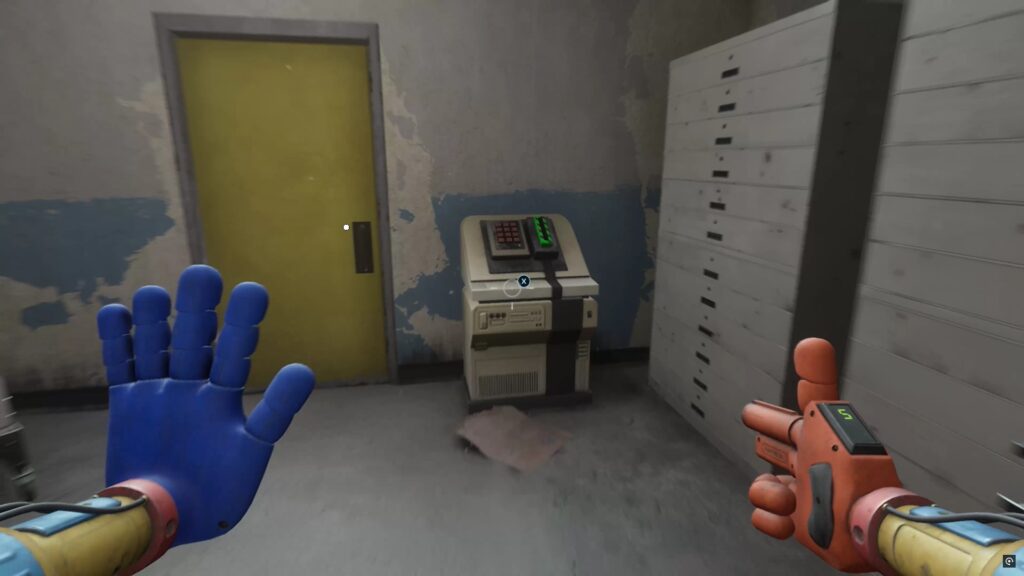
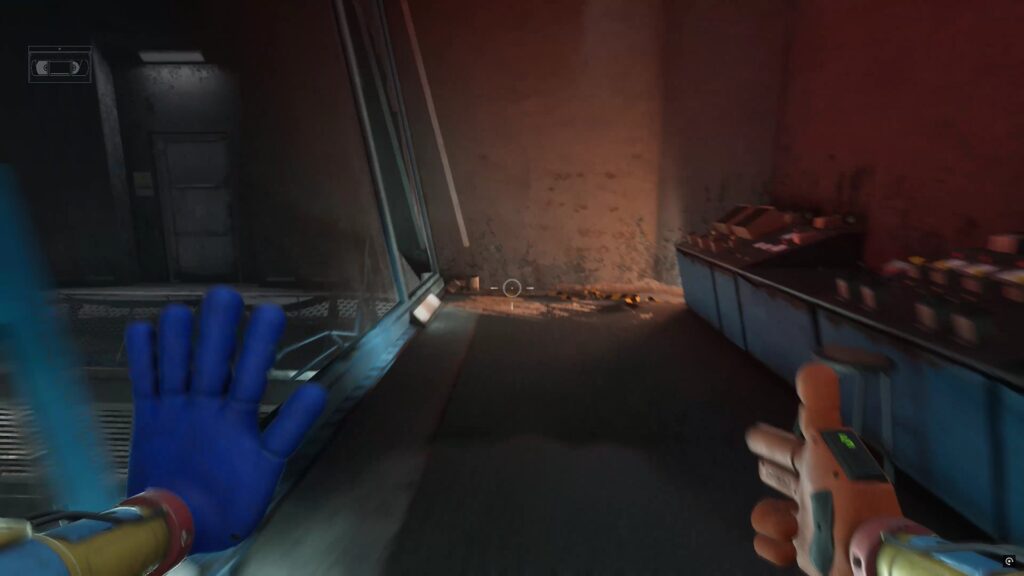

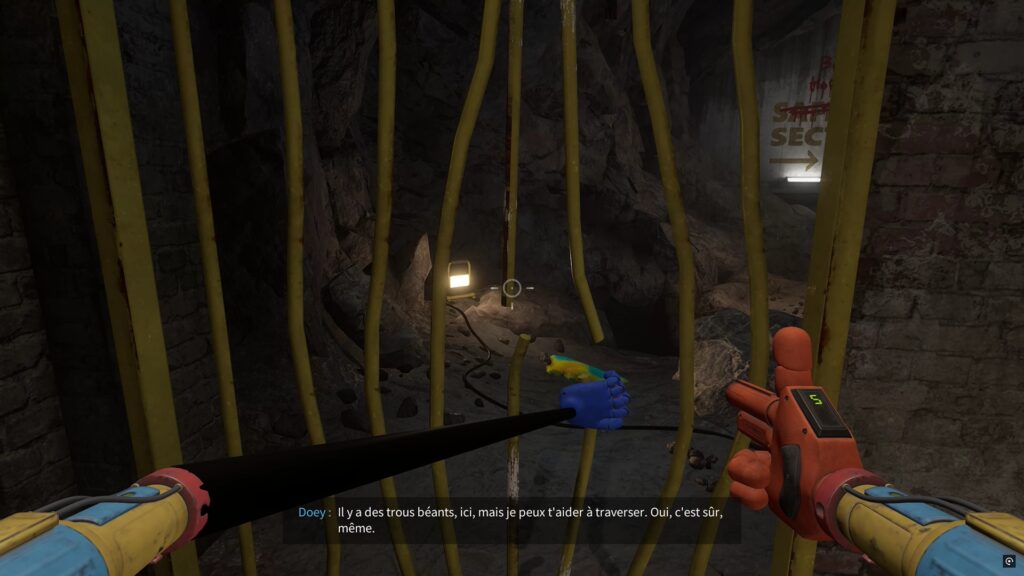
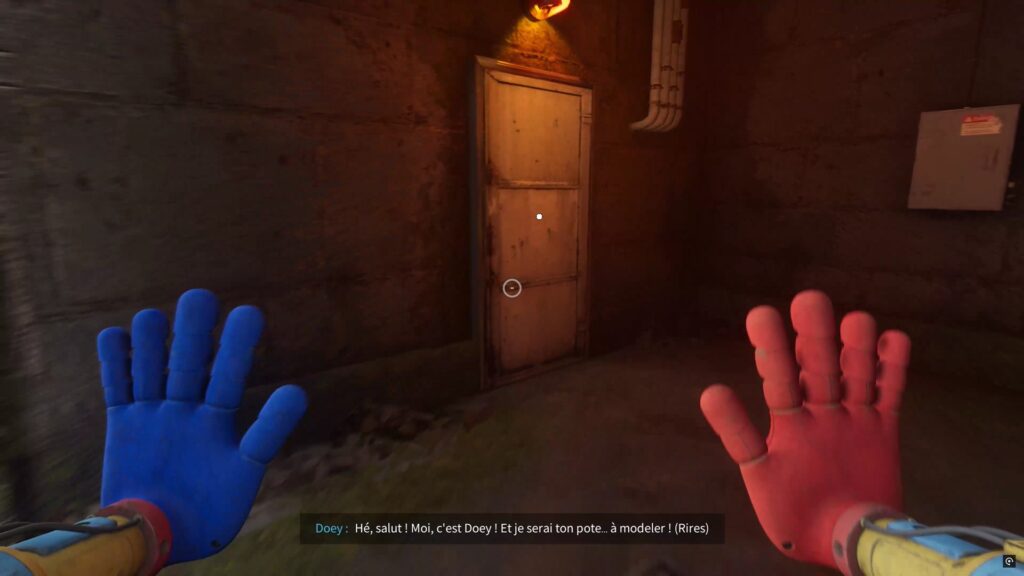
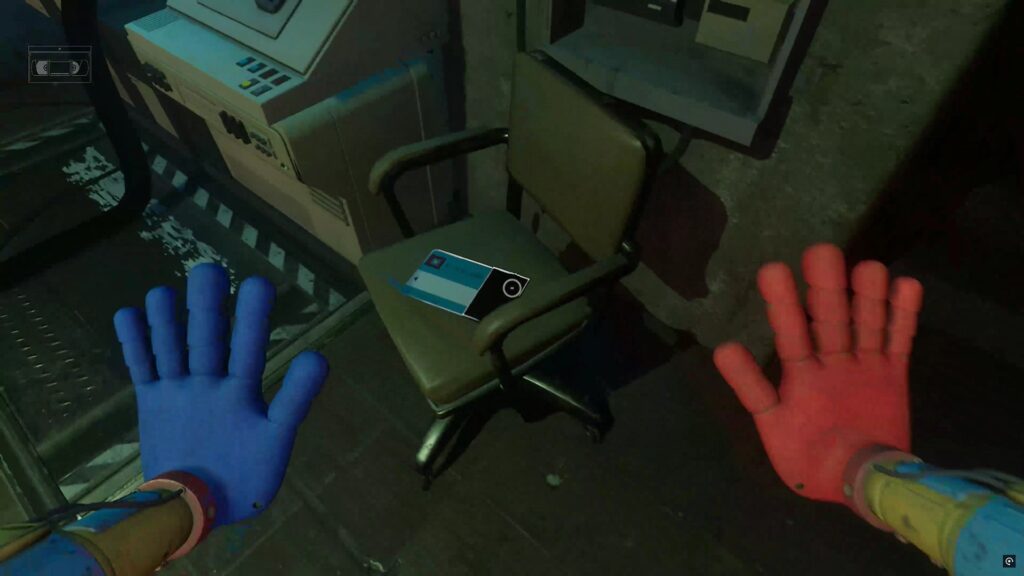
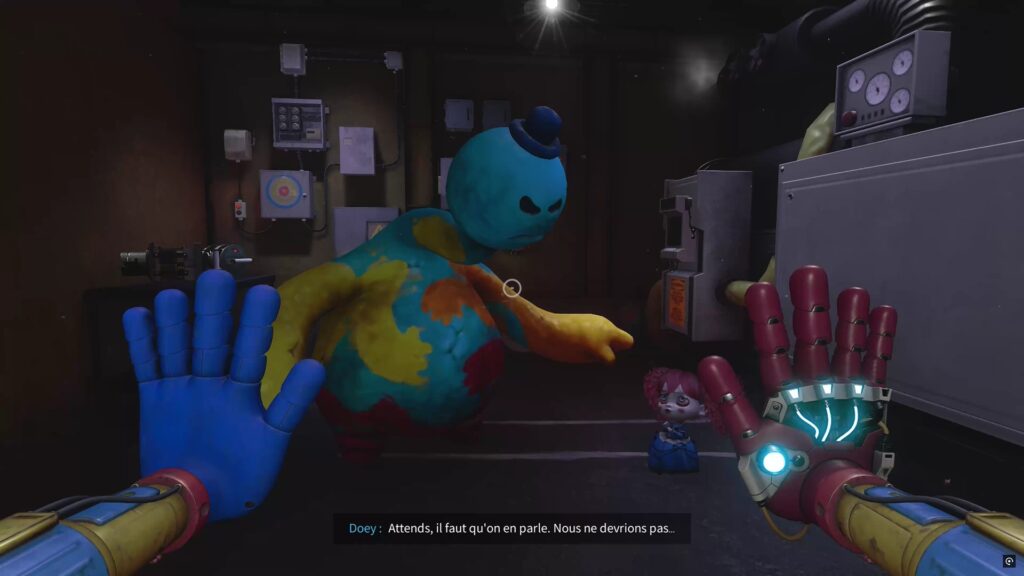
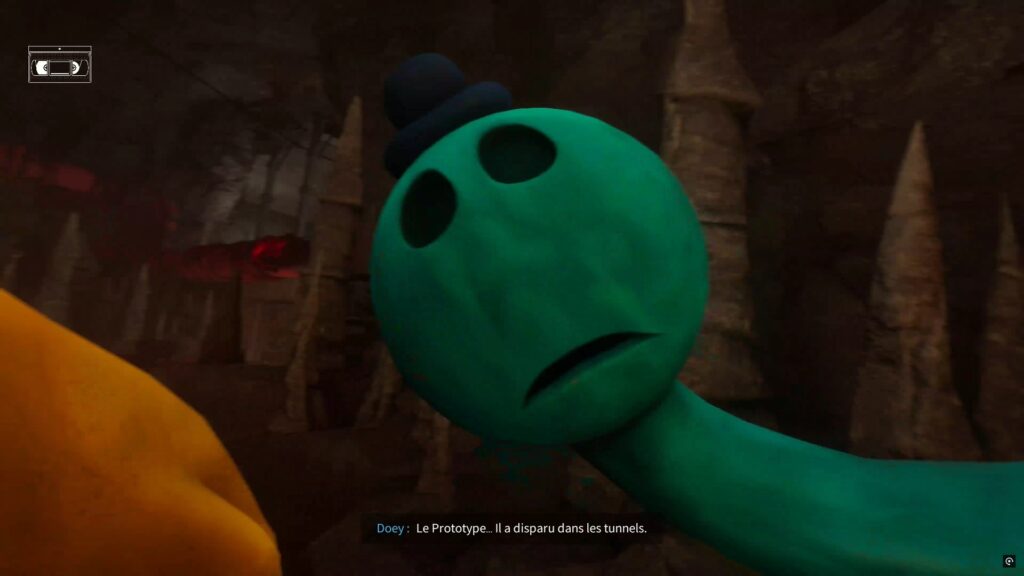
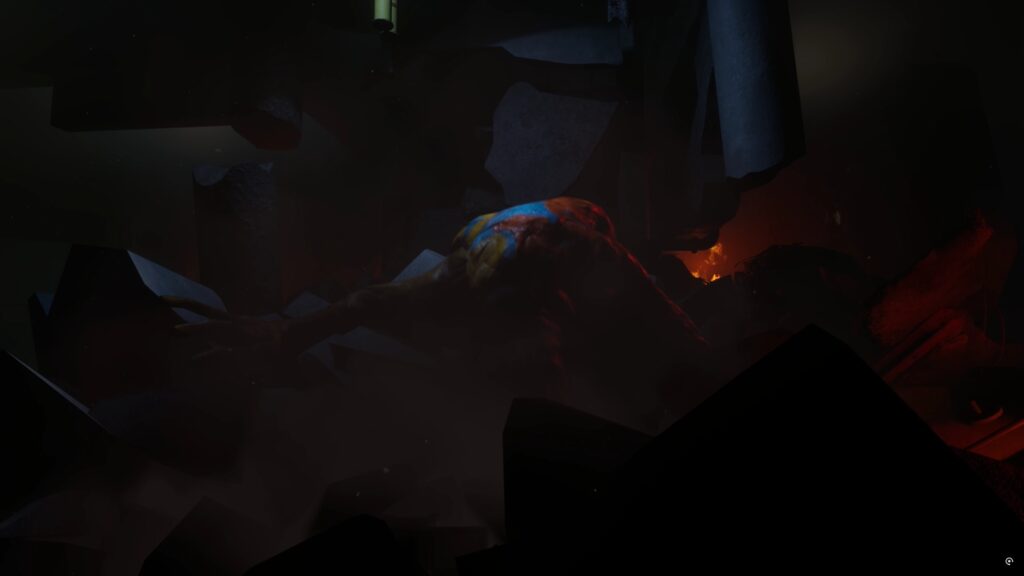
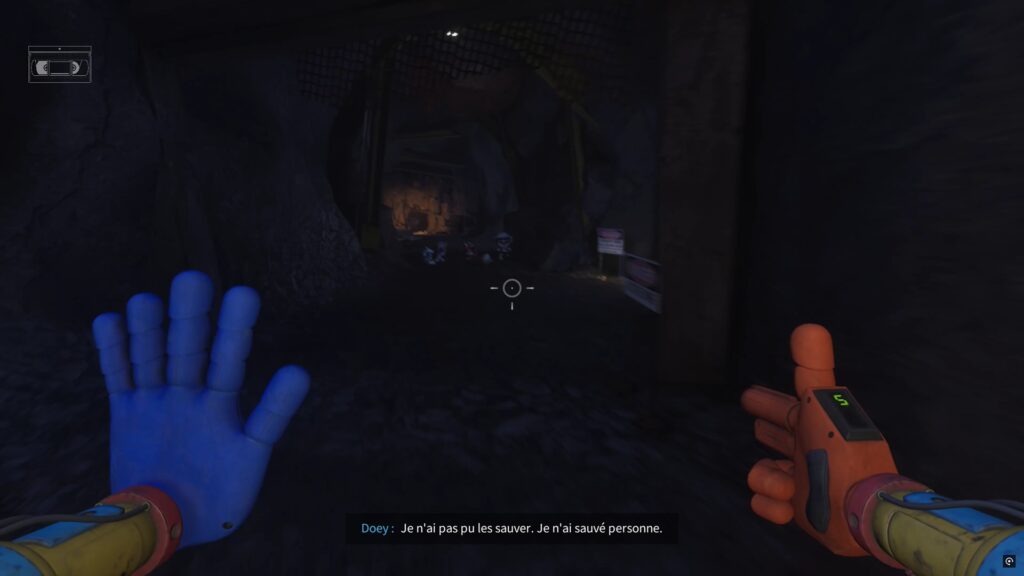
Examine the desk to find a green pass. Use it to unlock the yellow door. Then go through the opening near the windows to trigger a new cutscene. After meeting Doey, use your hand to pull yourself up using the handhold above. Cross the rooms to reach Doey, then rush through the gaps at the back to continue your advance.
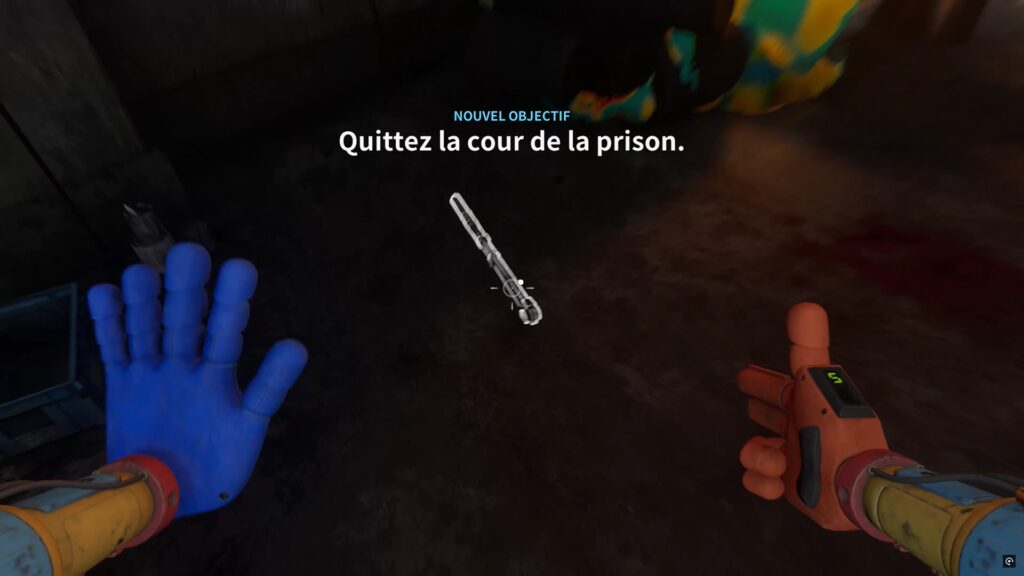
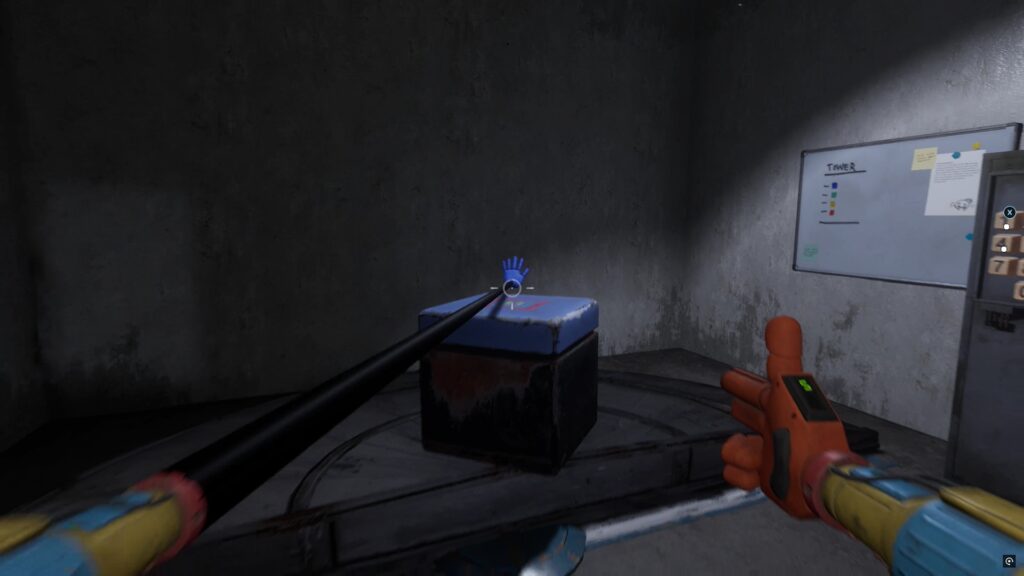
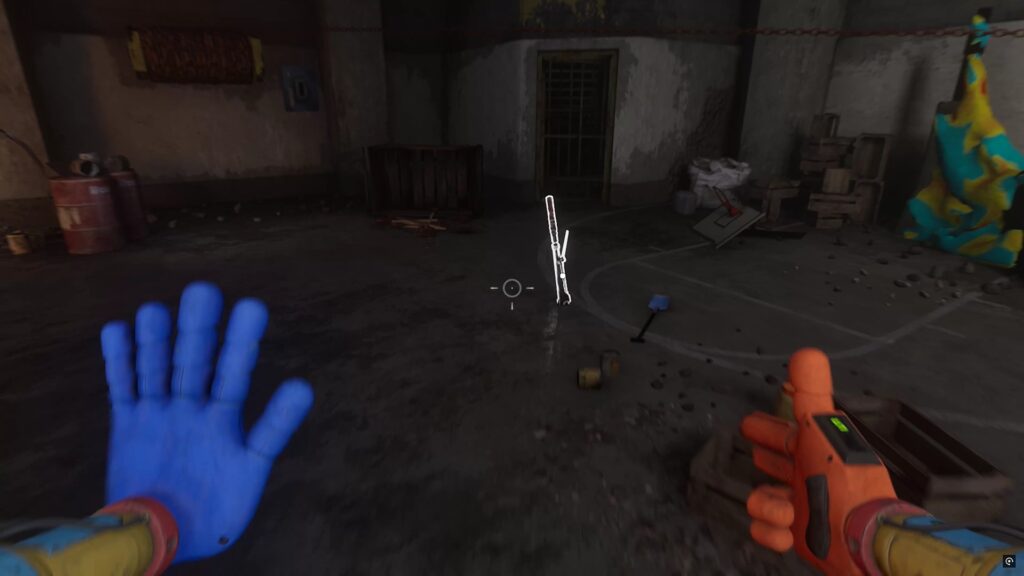
Once you reach the gate, use your hand to move the bars and pass through. In the prison yard, pick up a first lever on the ground. Then climb red tower 31 to reach the upper level. By examining the blue tower, you will find a table with a color code corresponding to the number of the towers. Use the code « 3021 » to pick up a second lever in the locker.
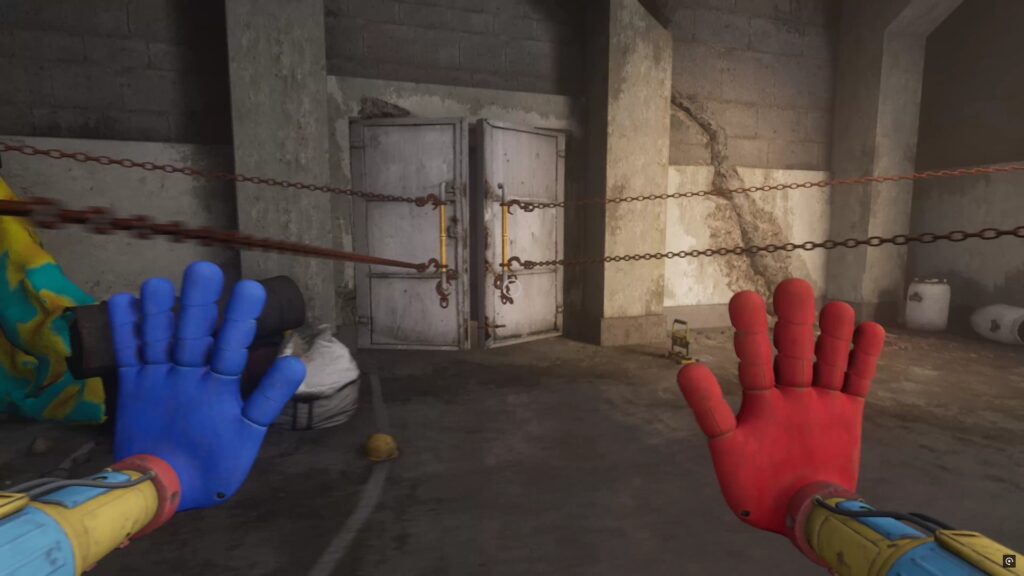
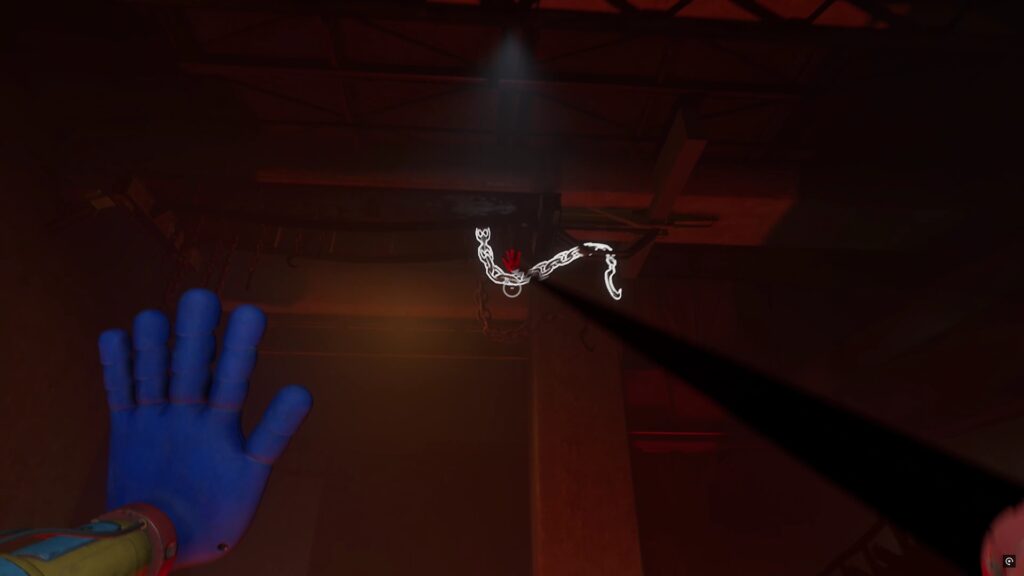
Insert the levers into the missing mechanisms in the courtyard so that Doey will give you one last lever. Once the mechanisms are completed, hook the chains on either side of the doors to open them. Try to catch up to Doey and find some wooden planks. Remove them so that you can reach Doey. Then go down the passage next to him to insert his battery into the socket nearby.
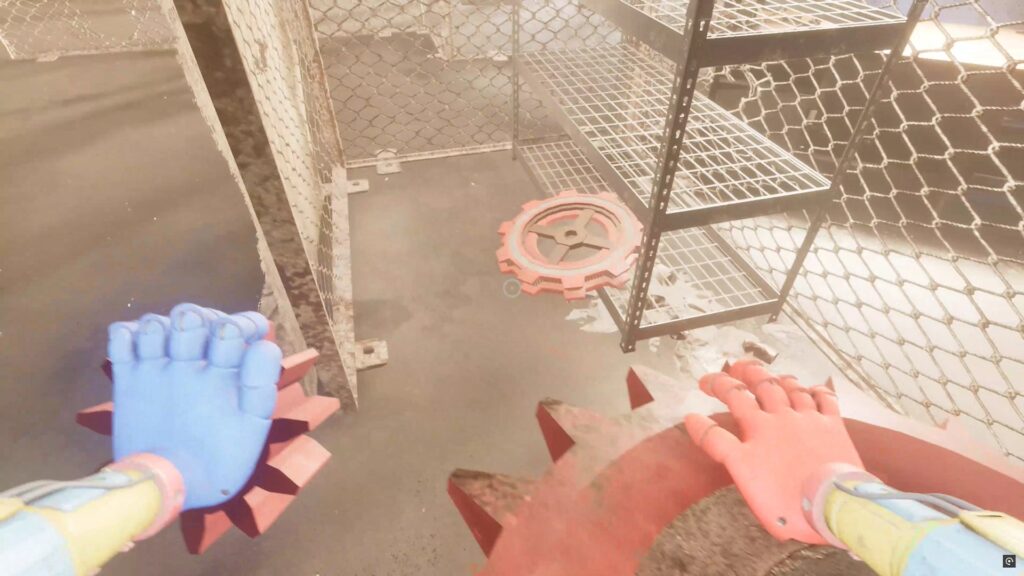
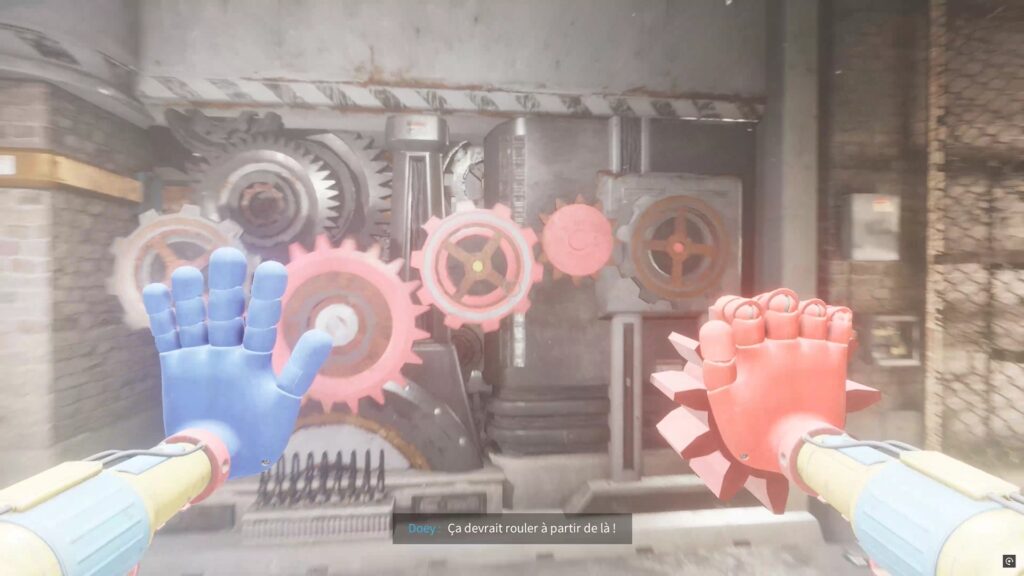
Collect the various cogs in the room and place them on the mechanisms to open the door leading to the battery corridor.
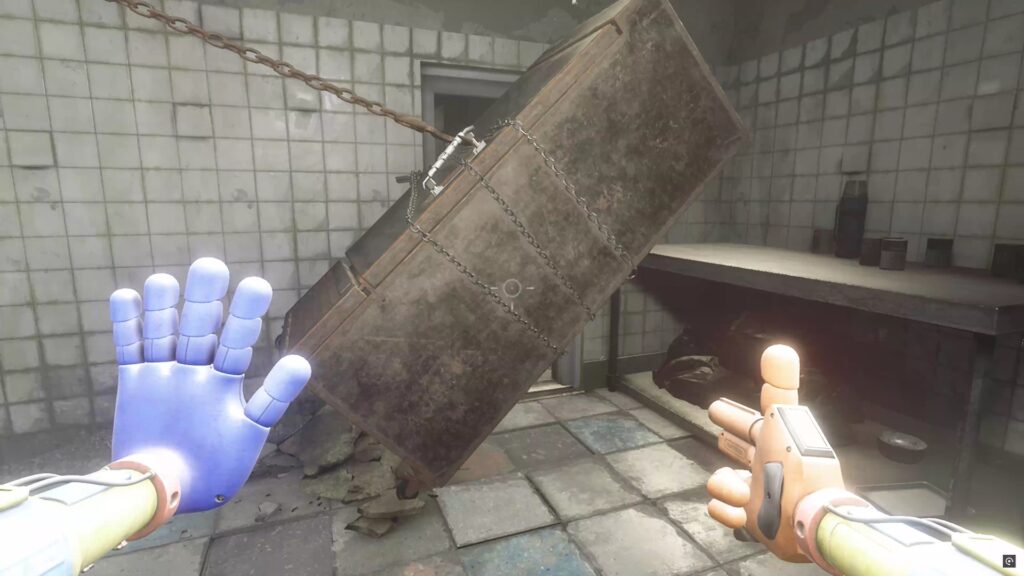
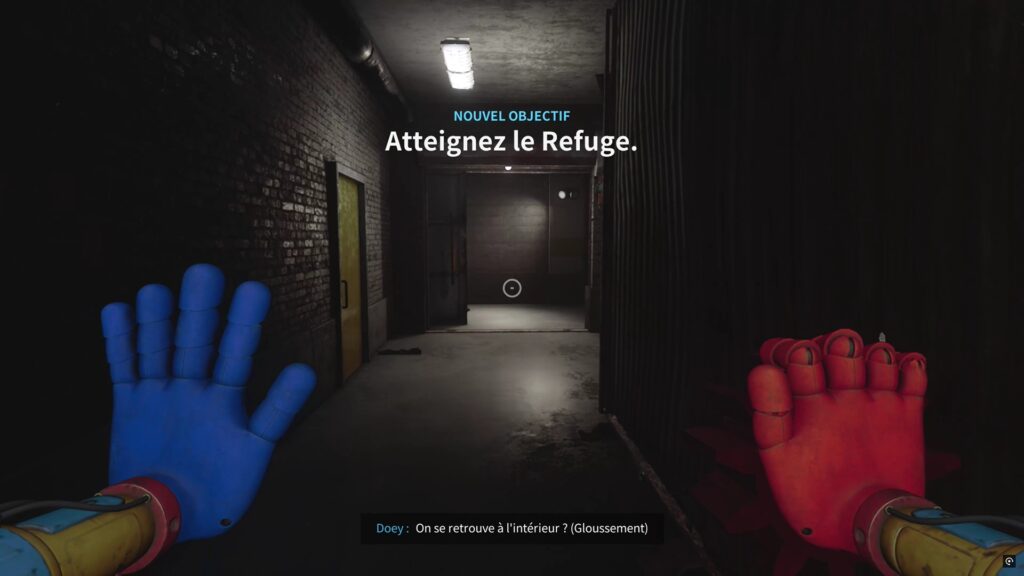
In the kitchens, search the cold room to find a lever. Defend yourself against the monster, then use the lever near the fridge to raise it using a chain and thus pass. Then follow Poppy to reach the shelter.
Yarnaby
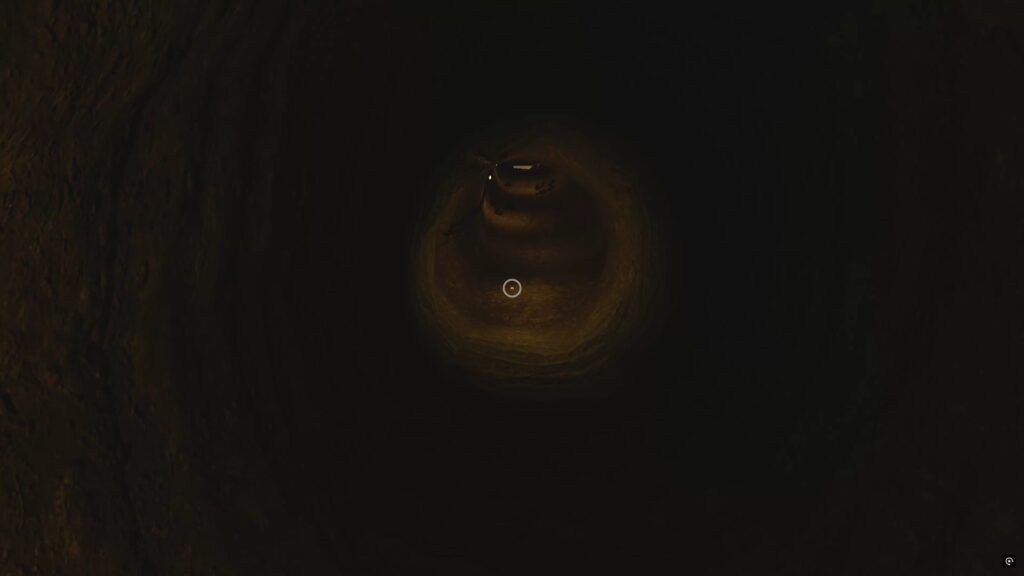
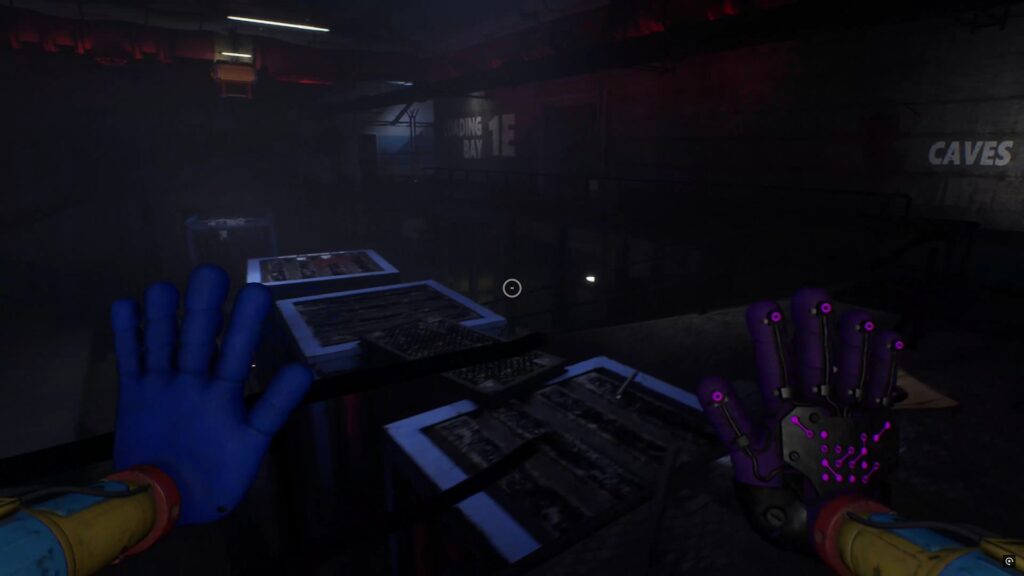
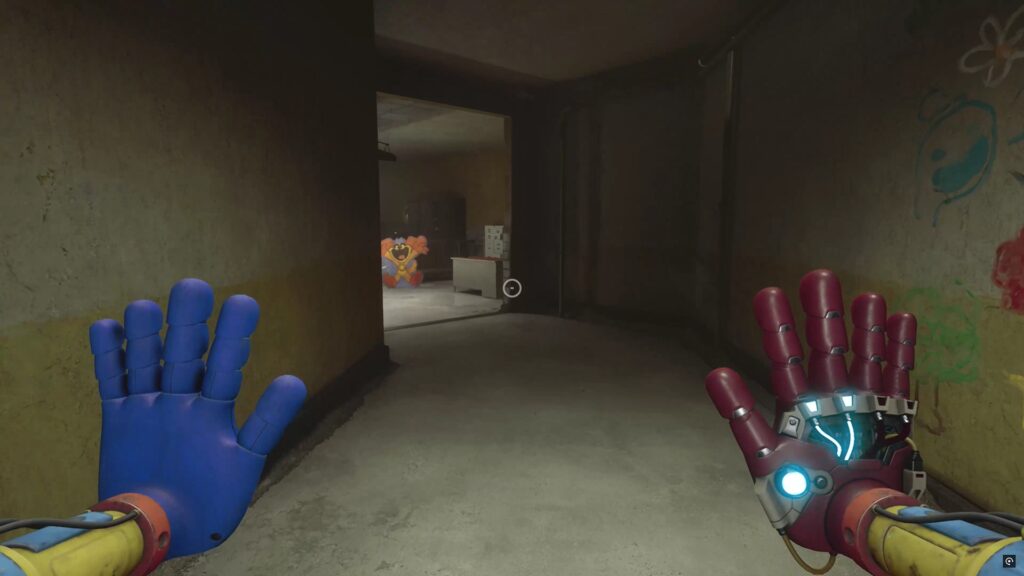
After the dialogues, join the corridor with an orange sign to enter a tunnel and reach an elevator. Above, go through the illuminated door.
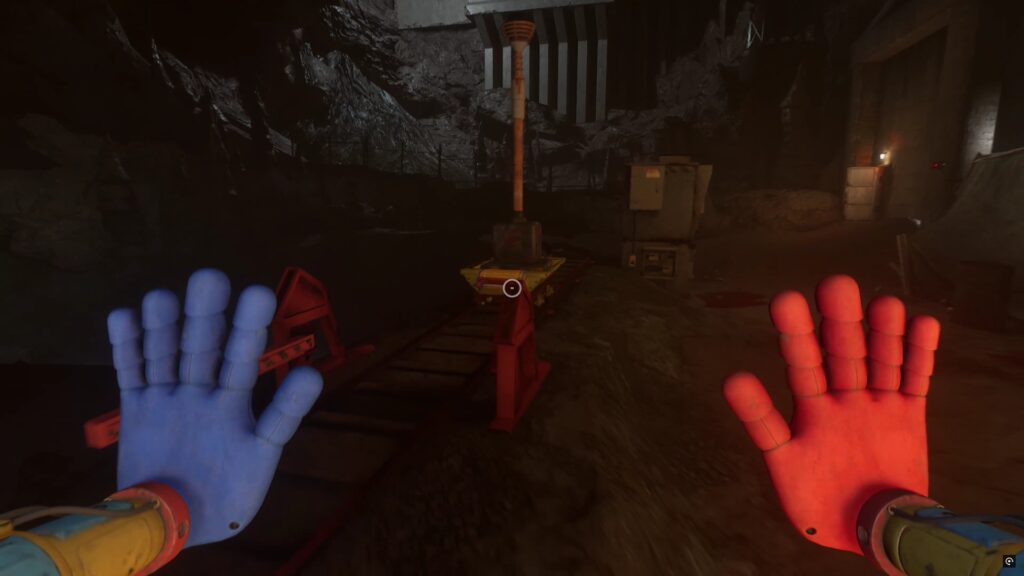
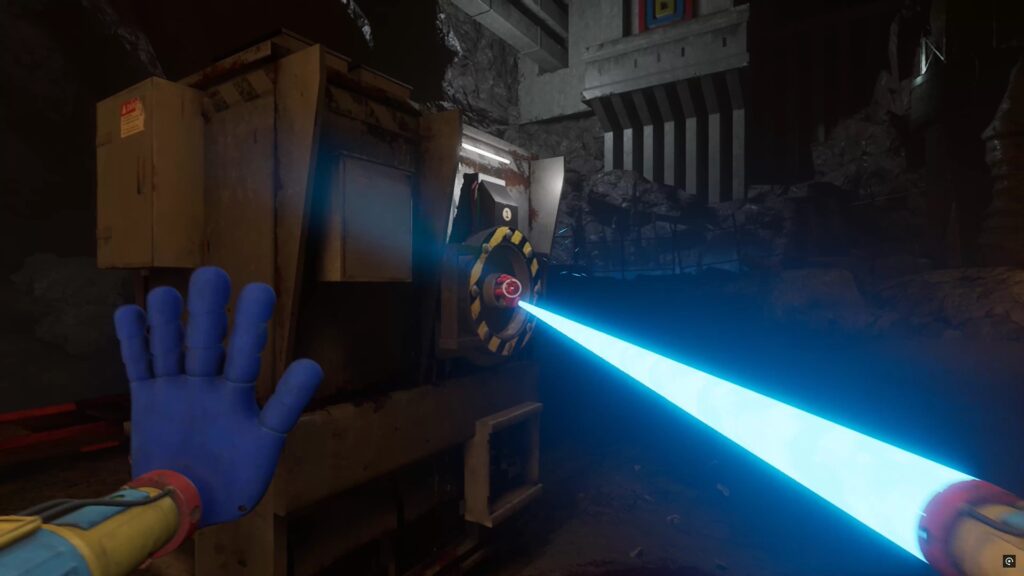
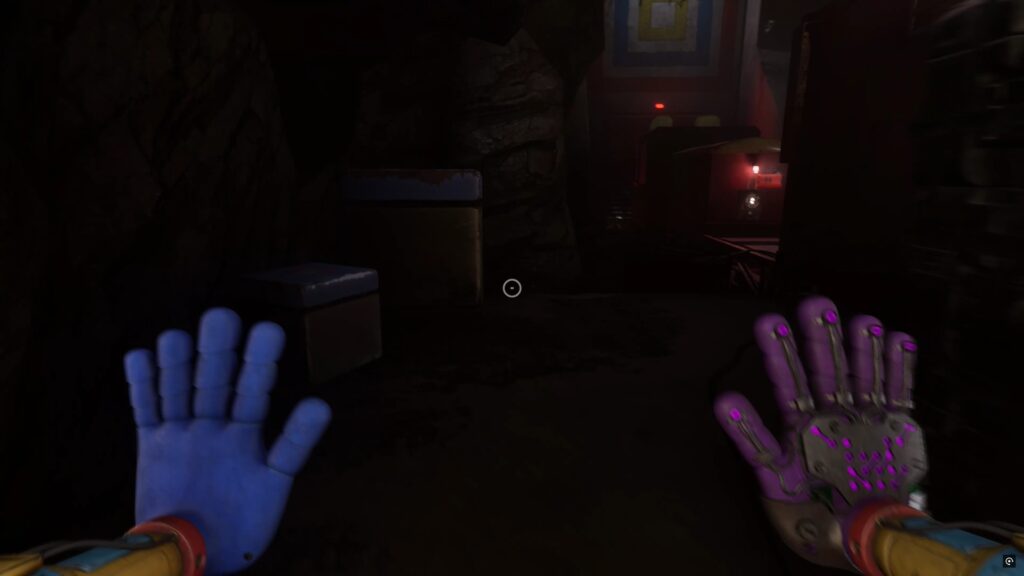
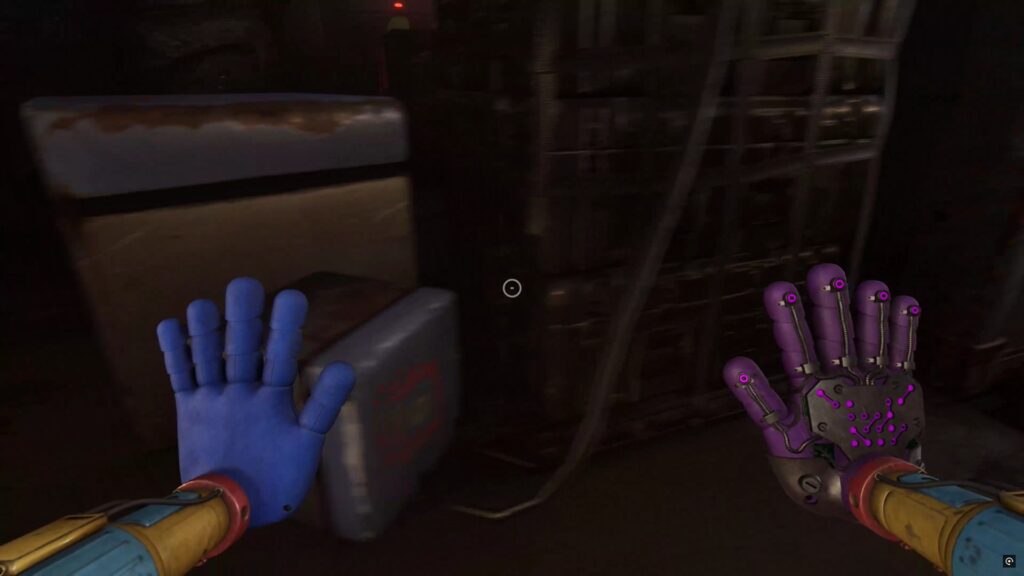
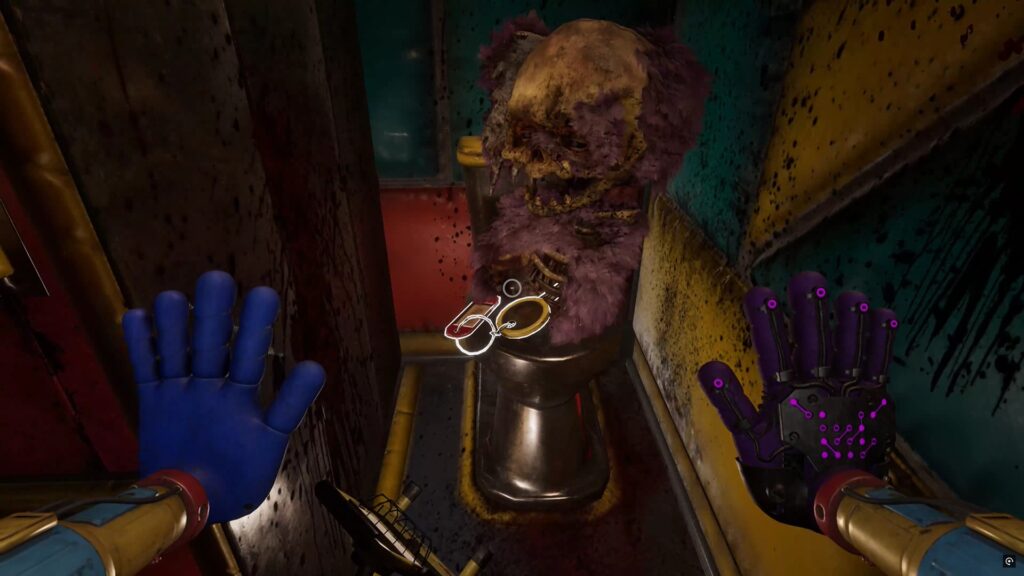
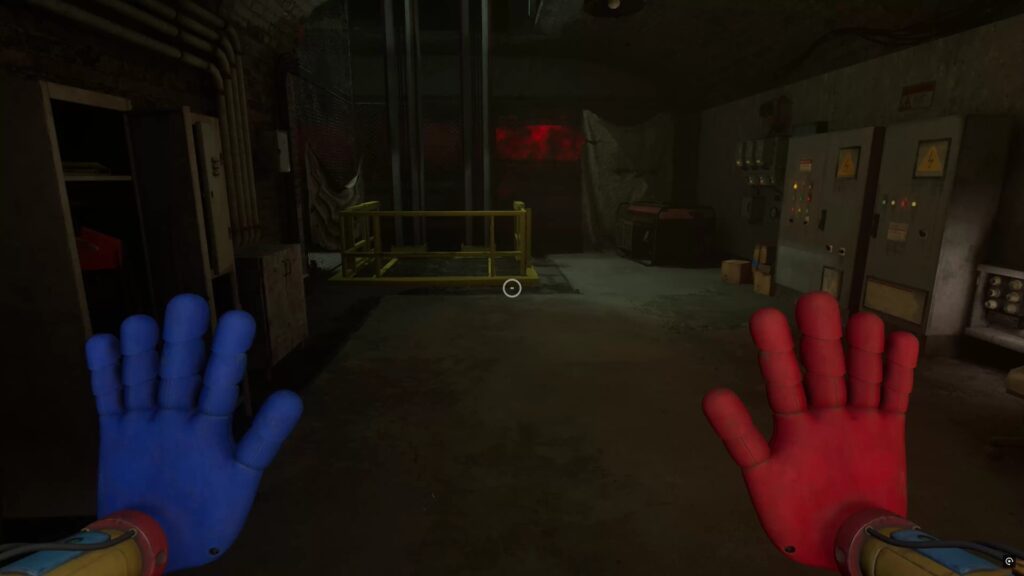
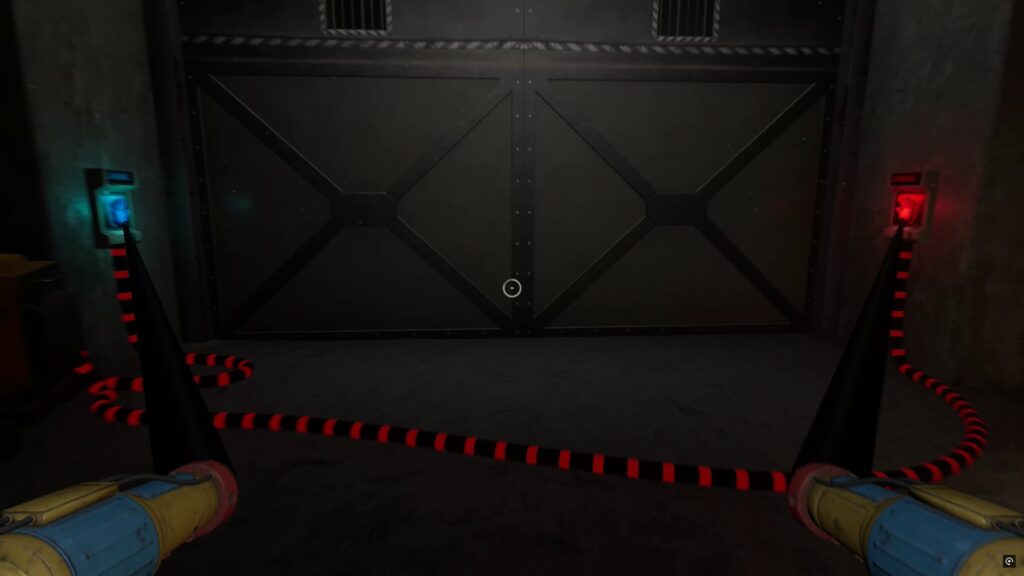
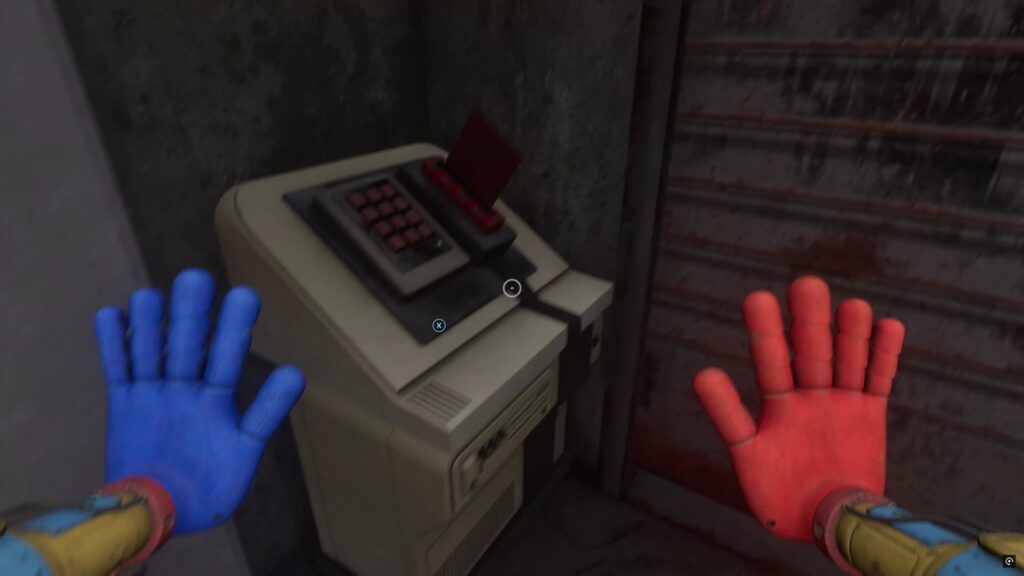
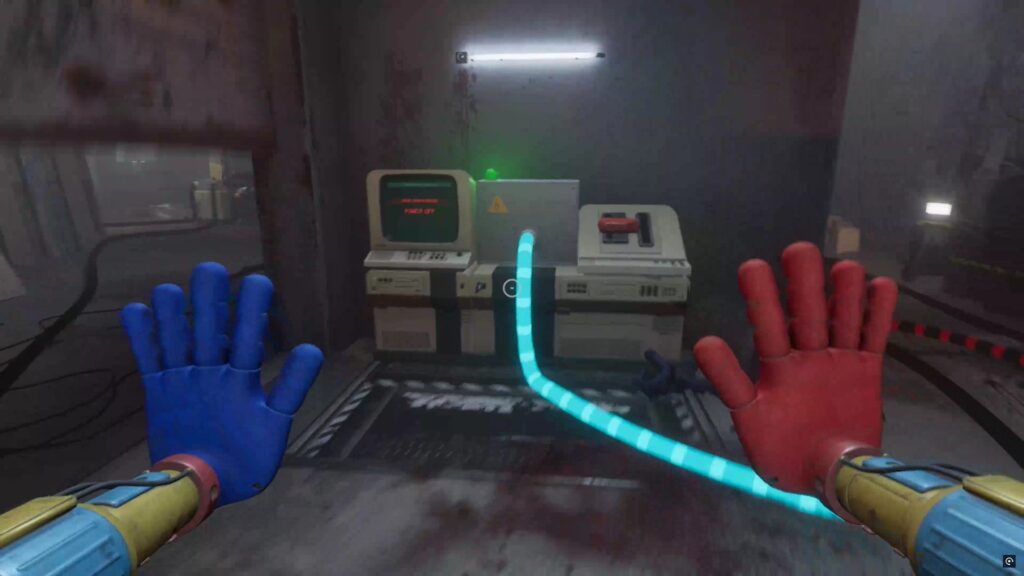
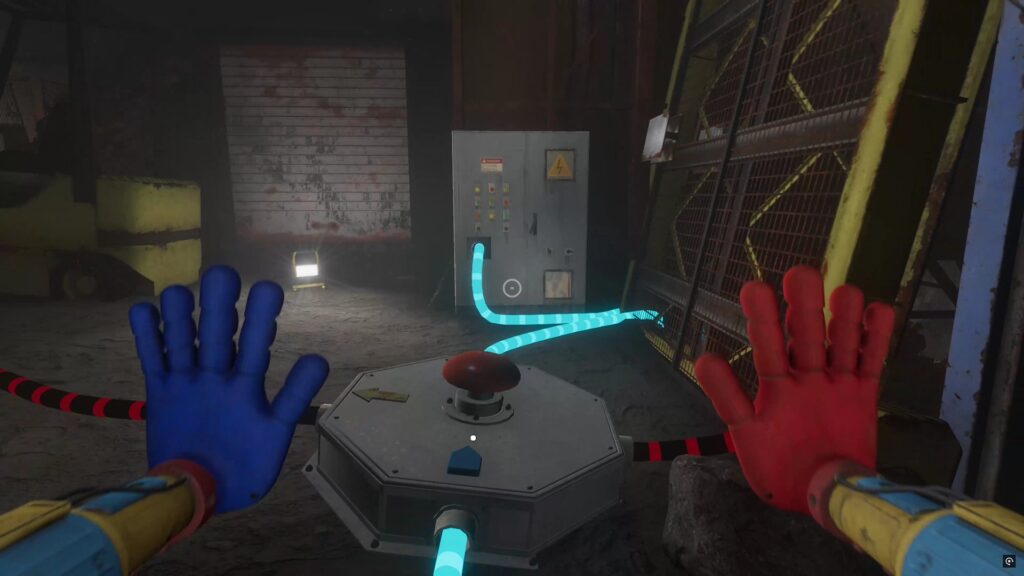
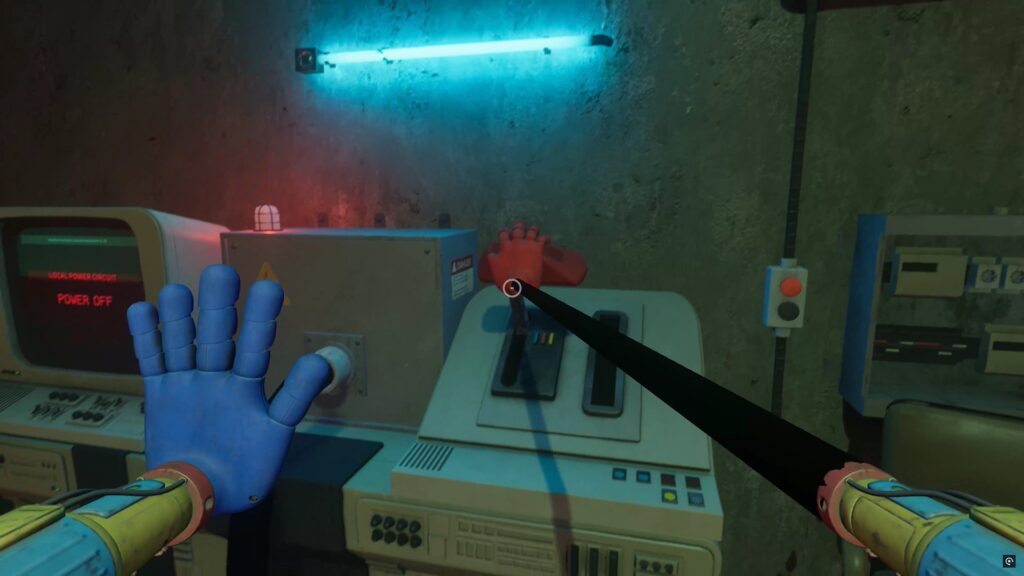
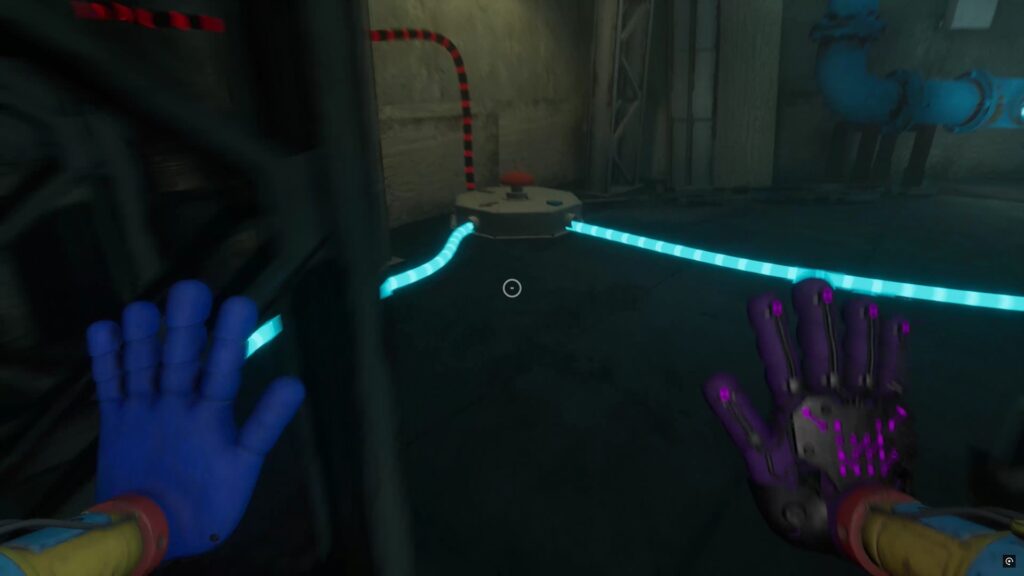
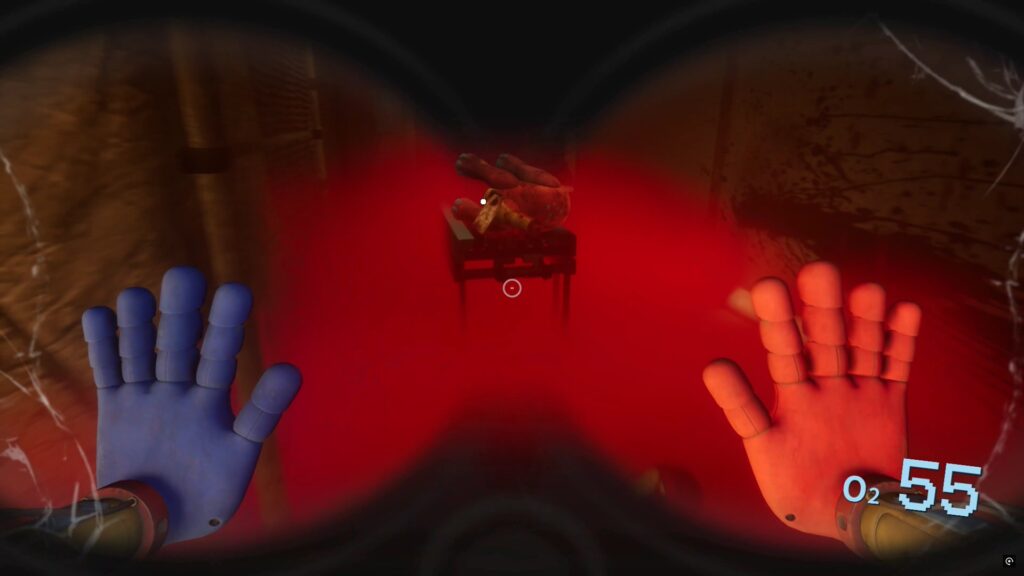
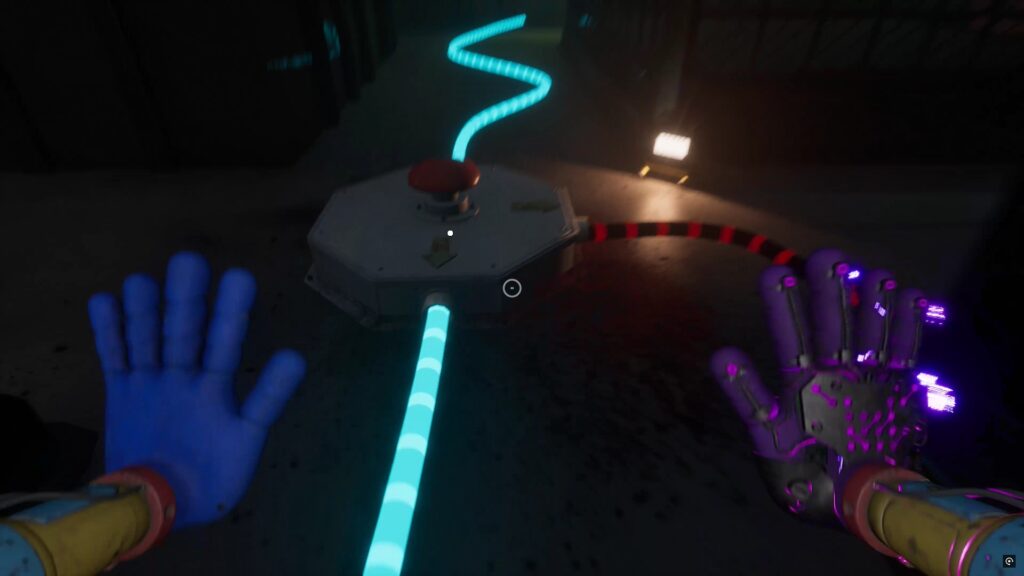
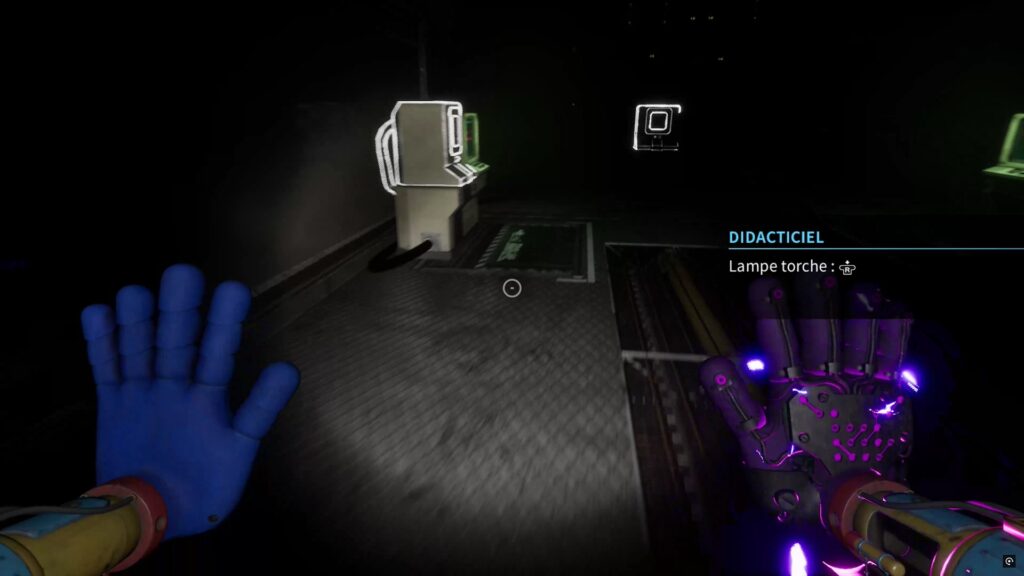
You will be faced with a new puzzle. To solve the riddle, you will first have to pull all the wagon to their destination. Start with the one with the corpse, then a first pylon, and finally a second. Once the wagon are at their destination, plug your hand into the socket and turn on the two pylons by touching them to then power the switch and open the armored door.
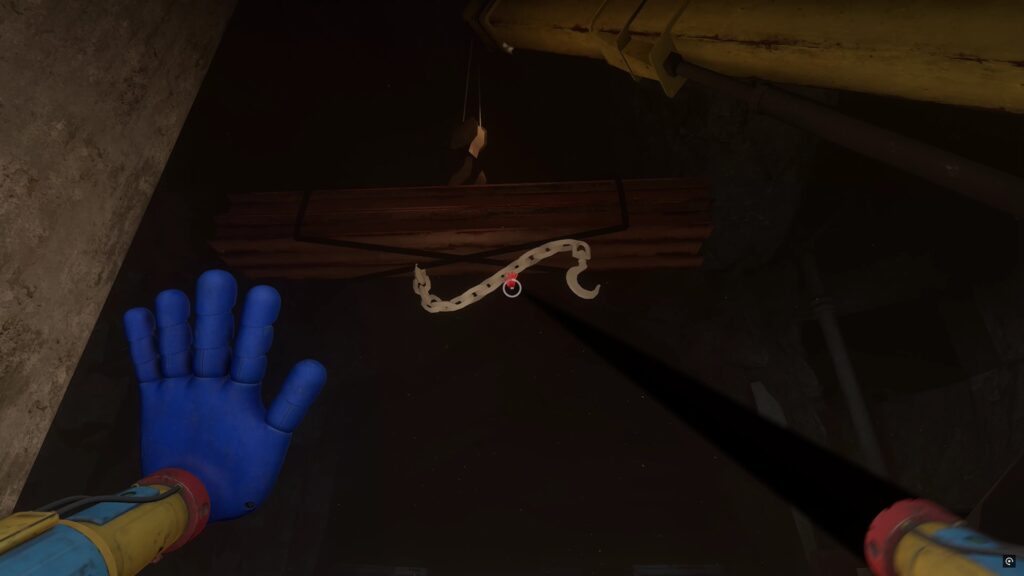
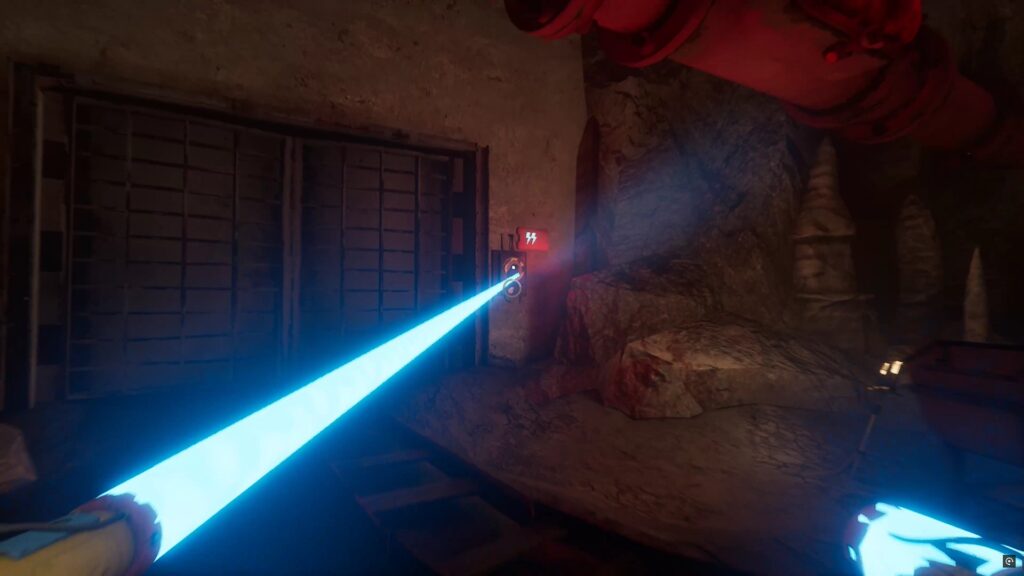
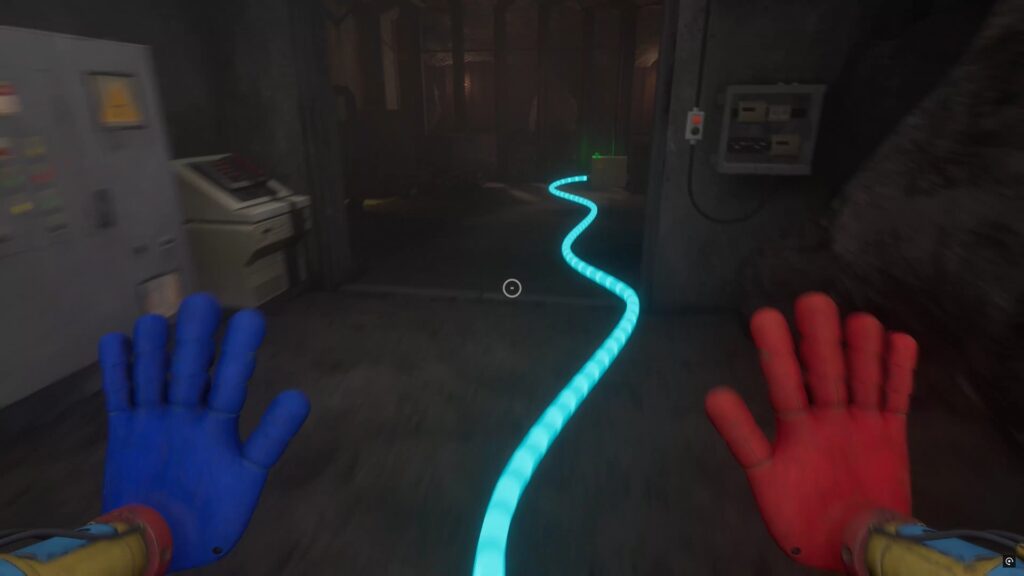
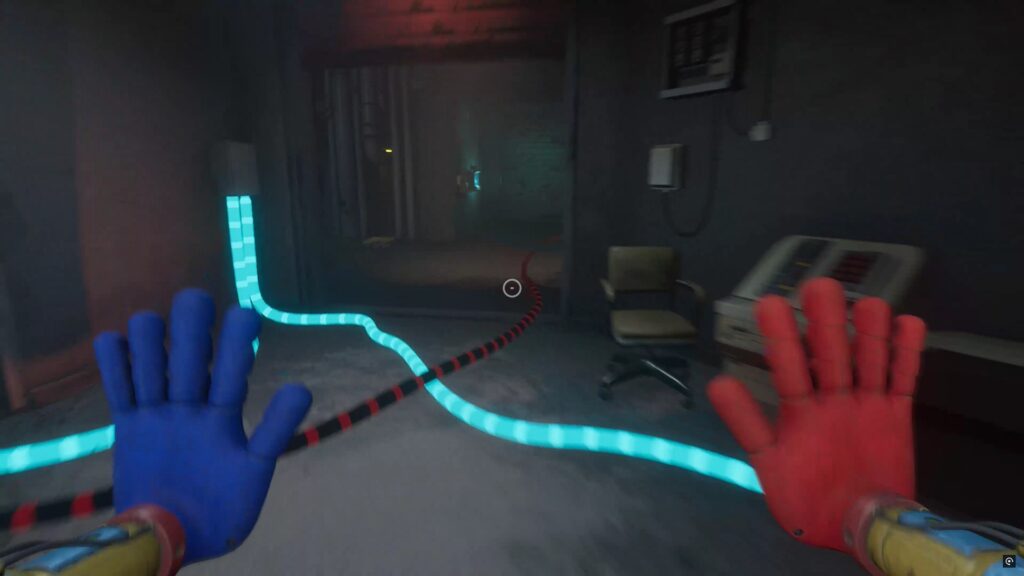
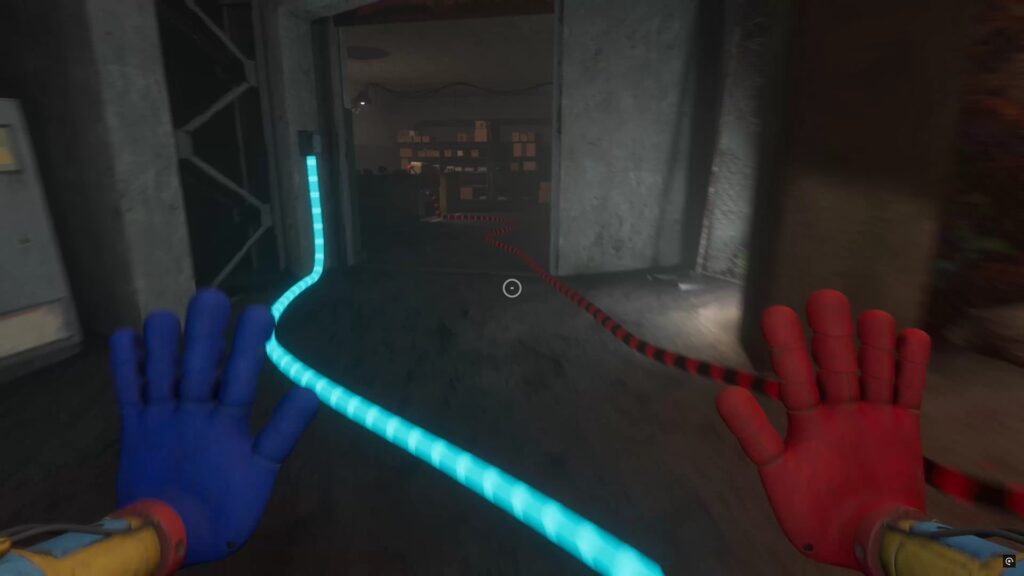
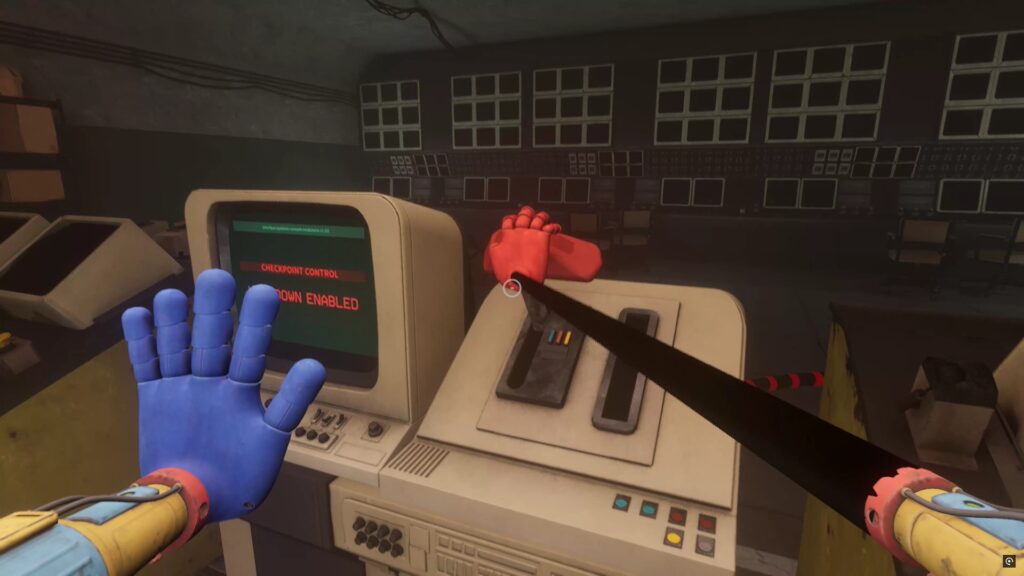
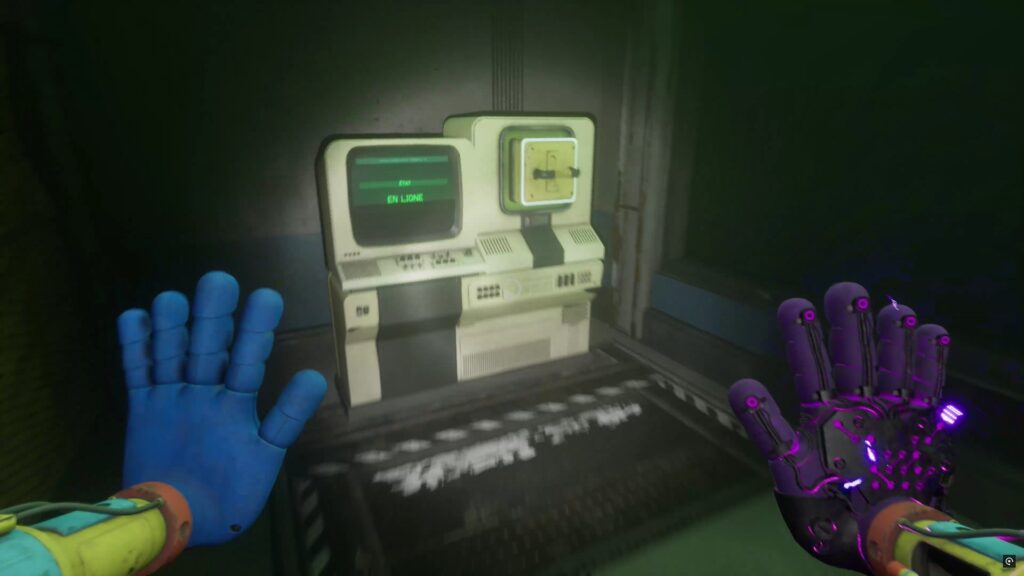
On the other side, use a chain on a crane to get through. Then use both hands on the two scanners to move forward. Be careful, Yarnaby is coming. Follow the powered cable to find a way out. Currently, the monster seems bugged and is not chasing you. If you unfortunately have a corrected version, pay attention to the noise emitted so as not to be spotted. To continue, go to the end of the corridor to activate a lever and power the switch. Redirect the current by pressing the large switch to open a gate.
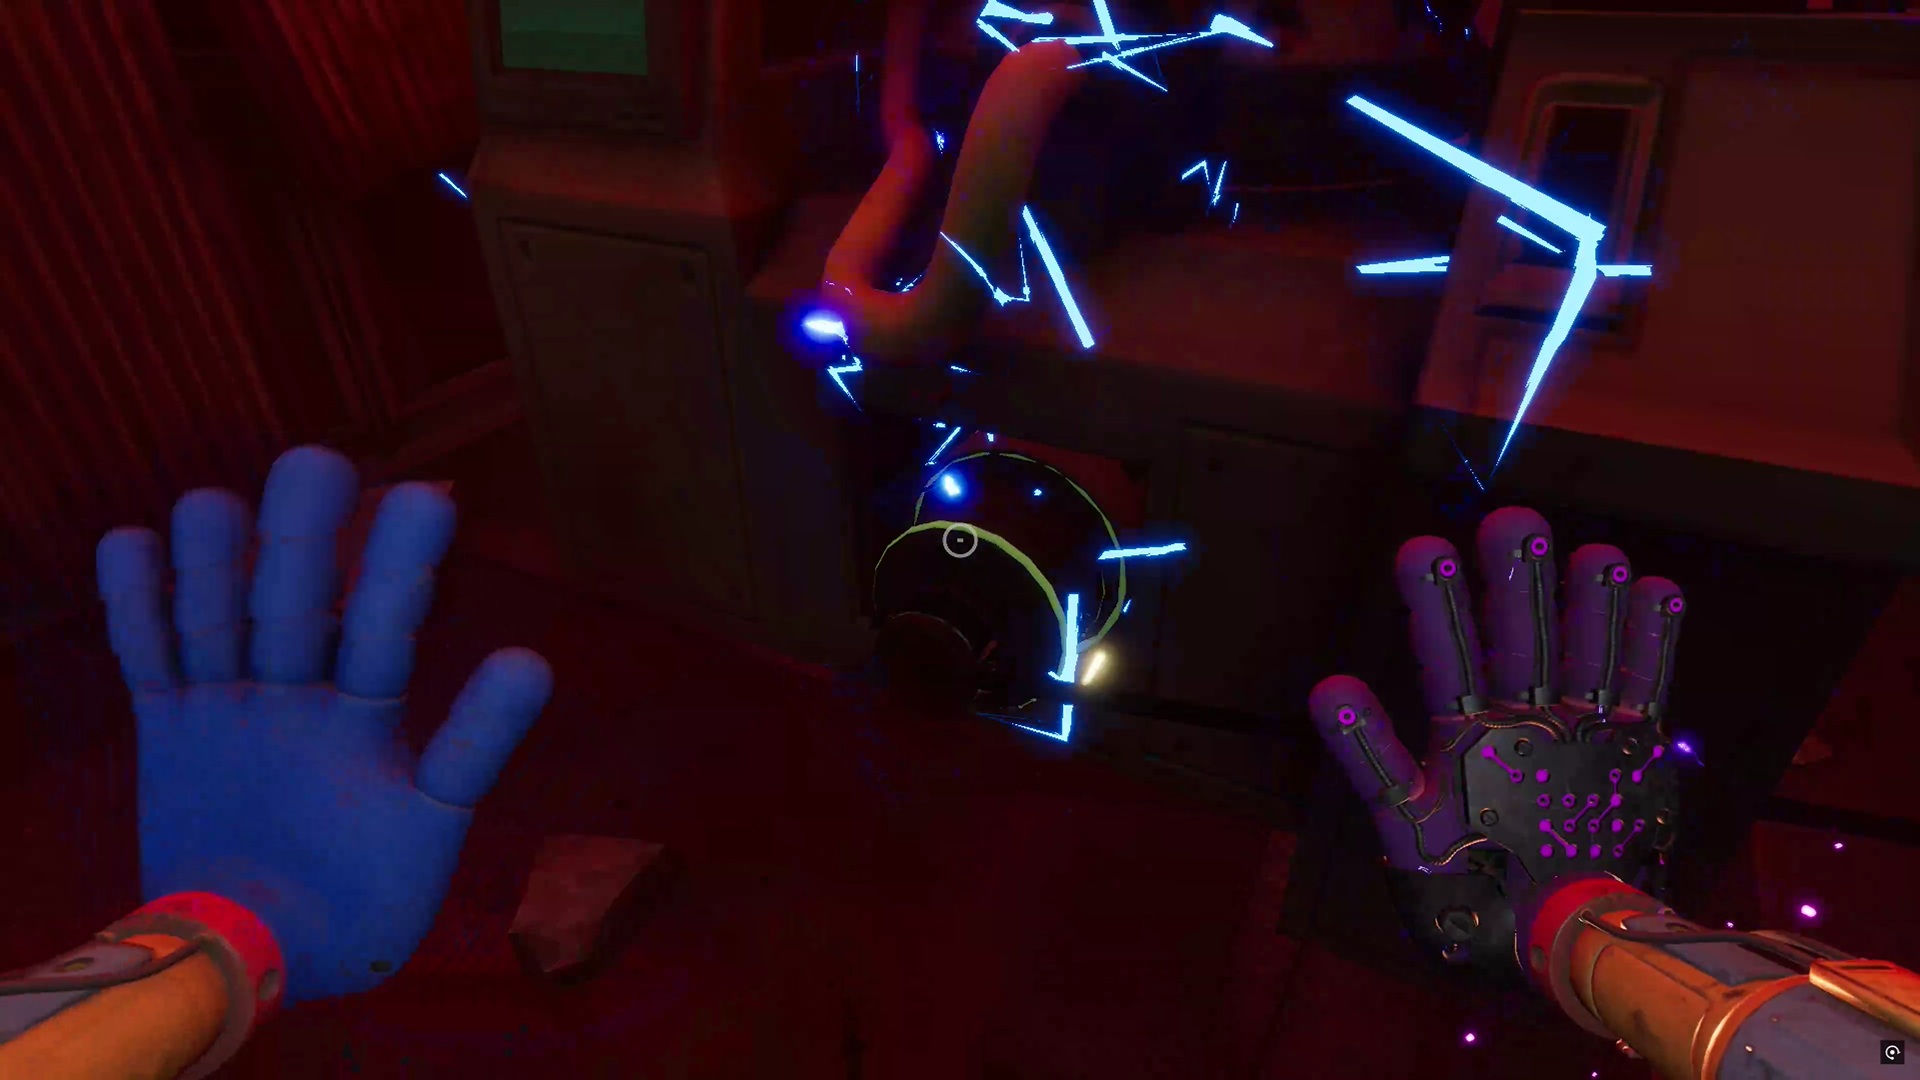
Collect the card behind the grate to use on the nearby control panel. Press the button again to activate a conveyor belt. Climb up onto it and quickly use your hand to grab the overhead hold to swing off the belt.
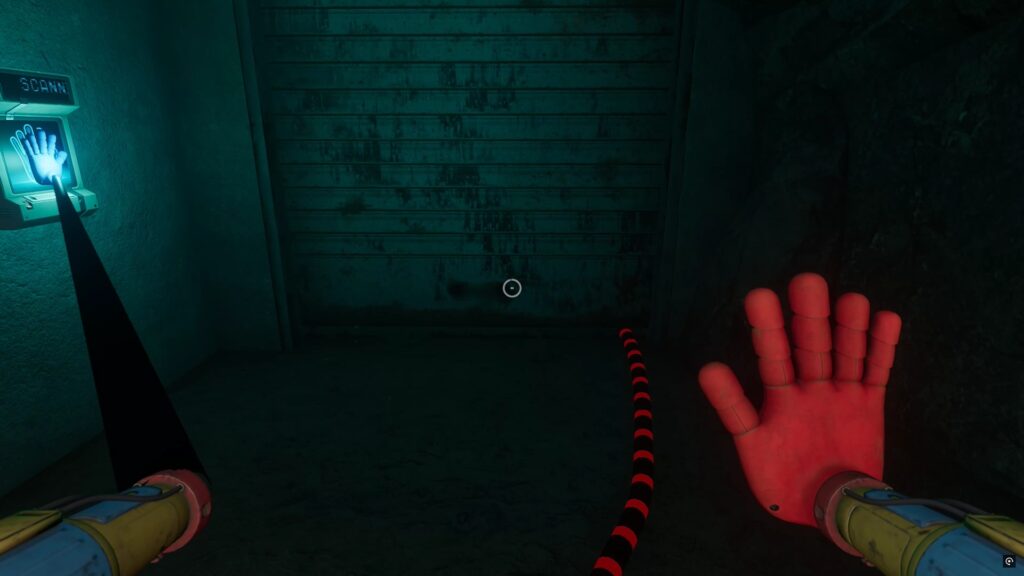
On the other side, duck under a grate. Activate a lever on a control panel to power the cables. Redirect the power to open a grate leading to a scanner. Use your hand to continue.
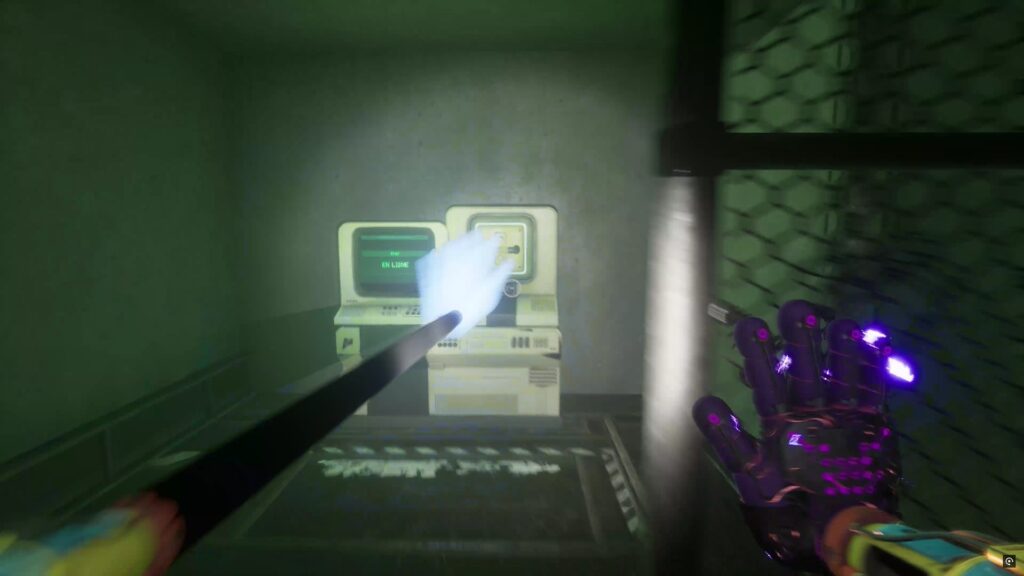
Follow the cables to find a control panel to activate. Then follow the power cables to find three scanners to power with your blue hand.
Backtrack to activate a new control panel. Redirect the power to the panel to activate a second switch higher up. Press it to clear a passage. Go down and examine the red room to find a lever. Go around the shielded room to find a location to place the lever. Enter the room to retrieve a blue pass with your hand. Then activate the control panel inside by pulling a lever

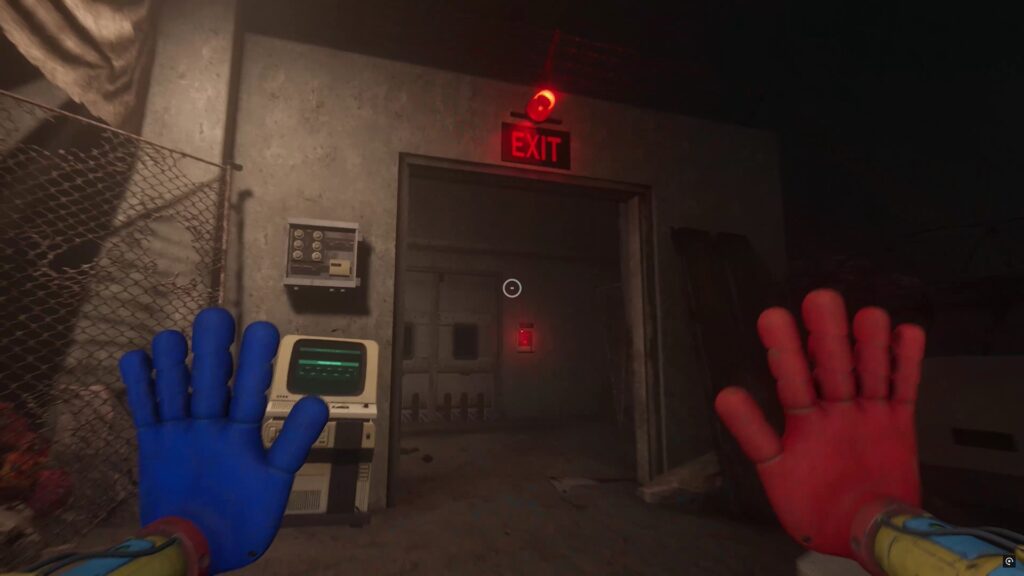
Redirect the power to the panel outside to insert the blue pass. Redirect the power to a final grid to activate a final control panel. Finally, reach the exit to use your hands on the scanners.
Then run away to grab the chain above to avoid Yarnaby and eliminate him. Then use the scanner to reach a capsule and return to Doey.
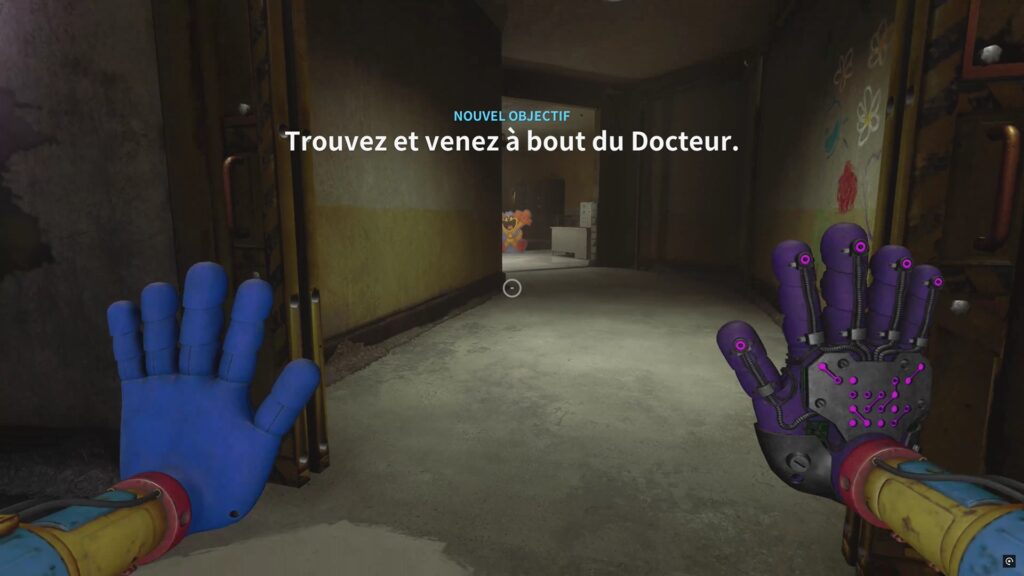
The Doctor
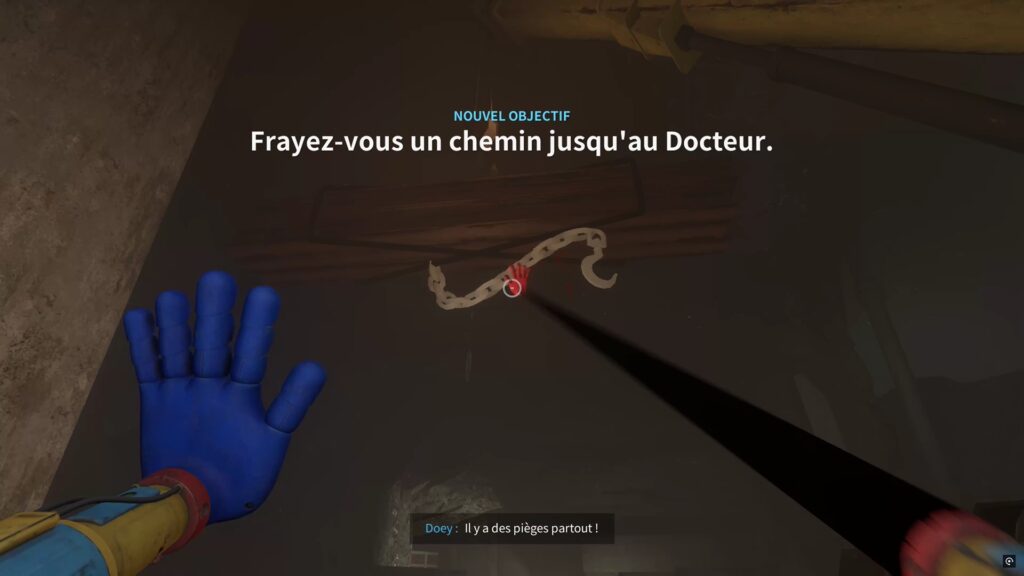
After the dialogue, use the lever above to free Doey. Continue to the other side by swinging with the chain above. On the other side, reach the room where Yarnaby was to find a passage in which you rush. Further on, move the crates to hoist yourself above.
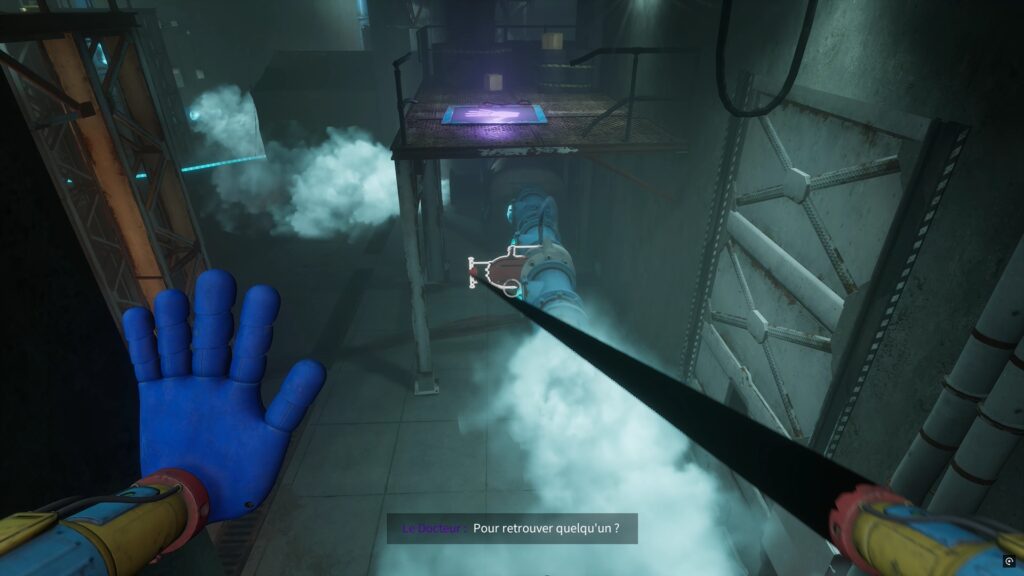
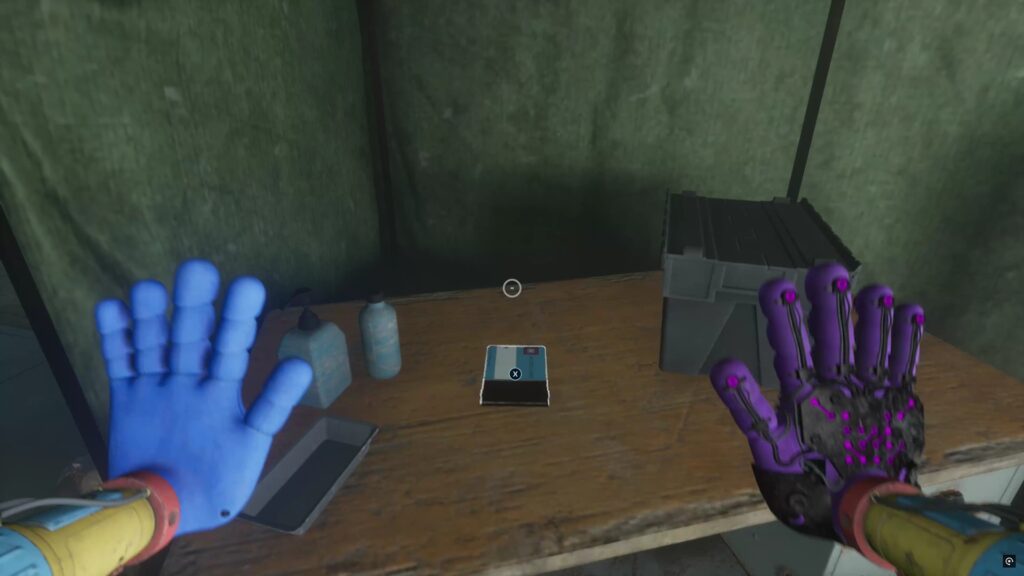
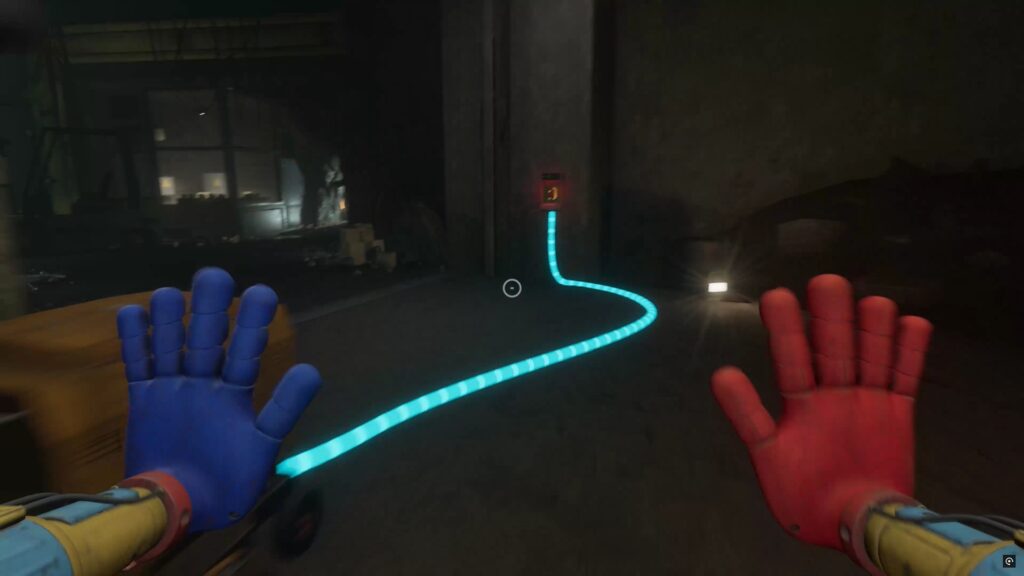
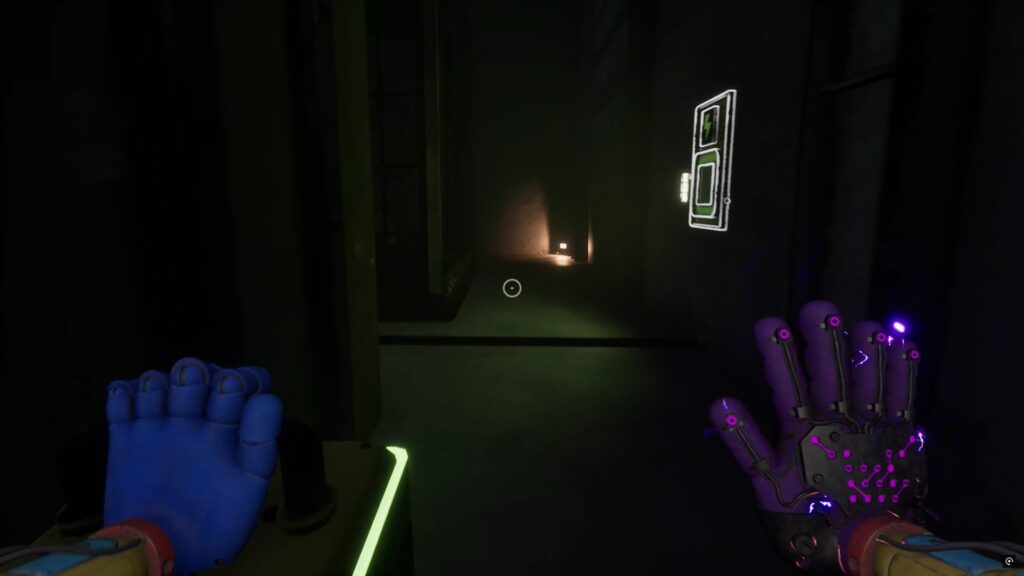
Further up, pull the plate on the pipe to avoid freezing yourself. Down below, redirect the power to the tent. Go around the tent to find a lever nearby. Pull the lever to access the tent and retrieve a pass. Use the pass on the control panel nearby to open a path to an examination room.

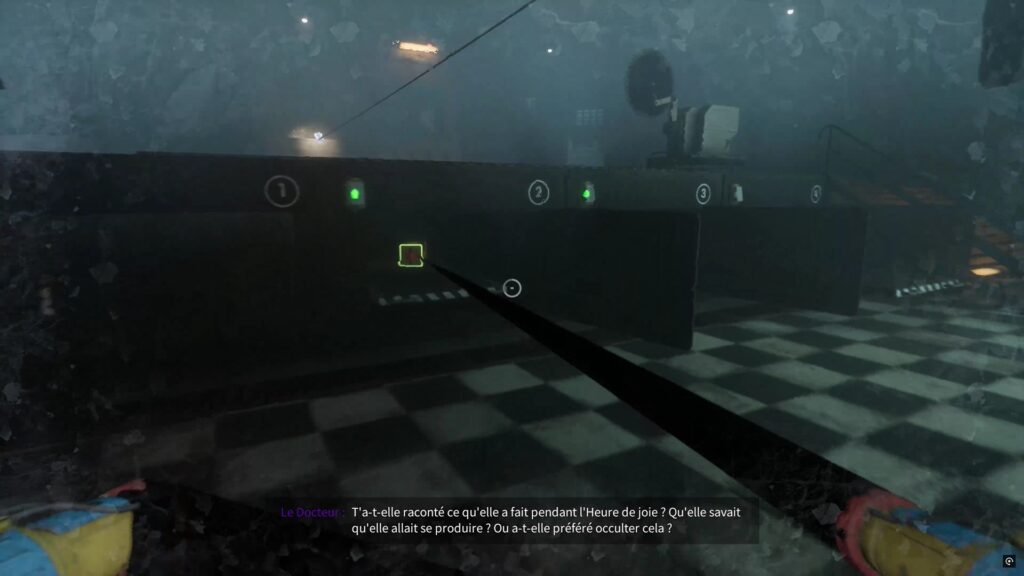
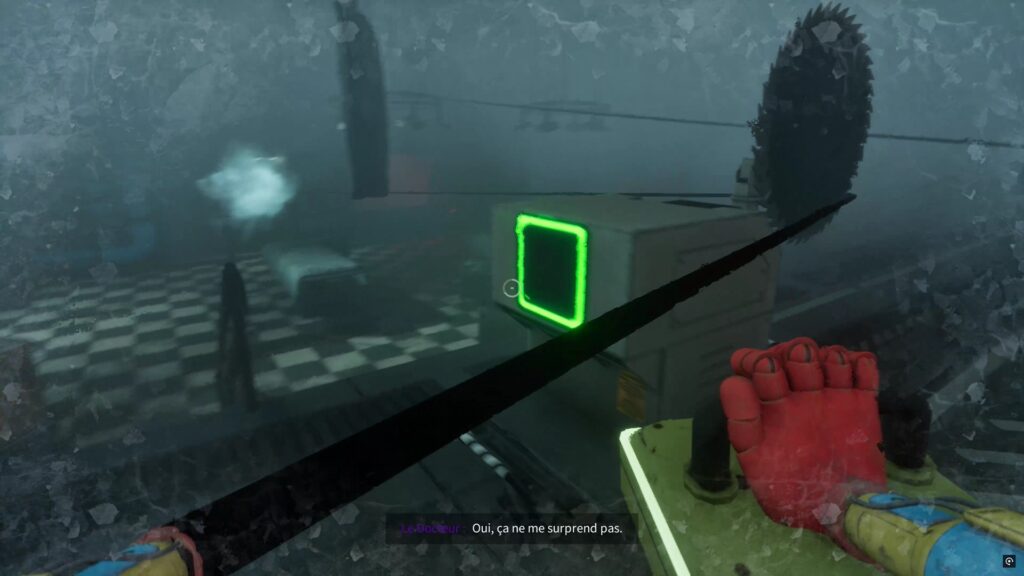
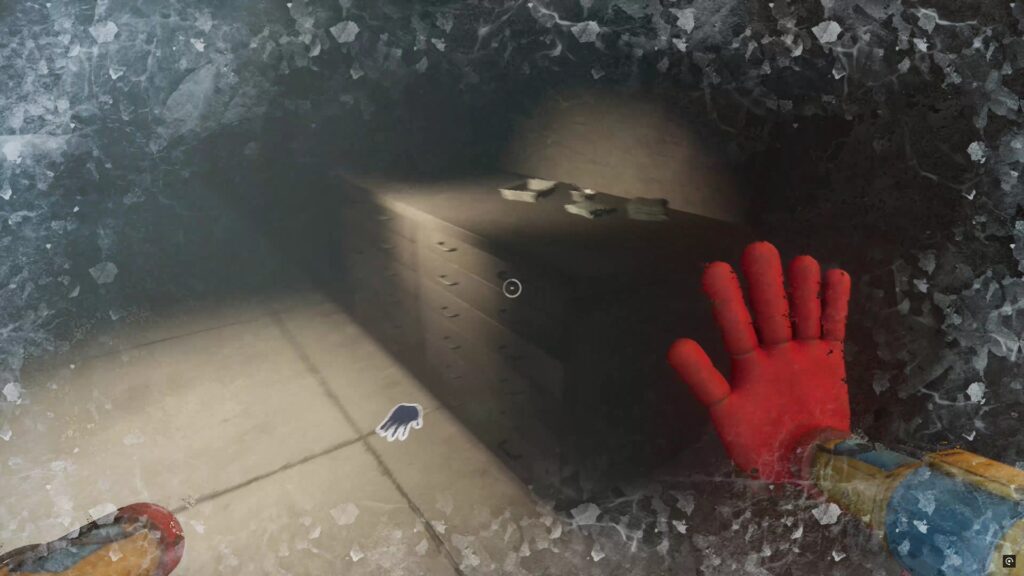
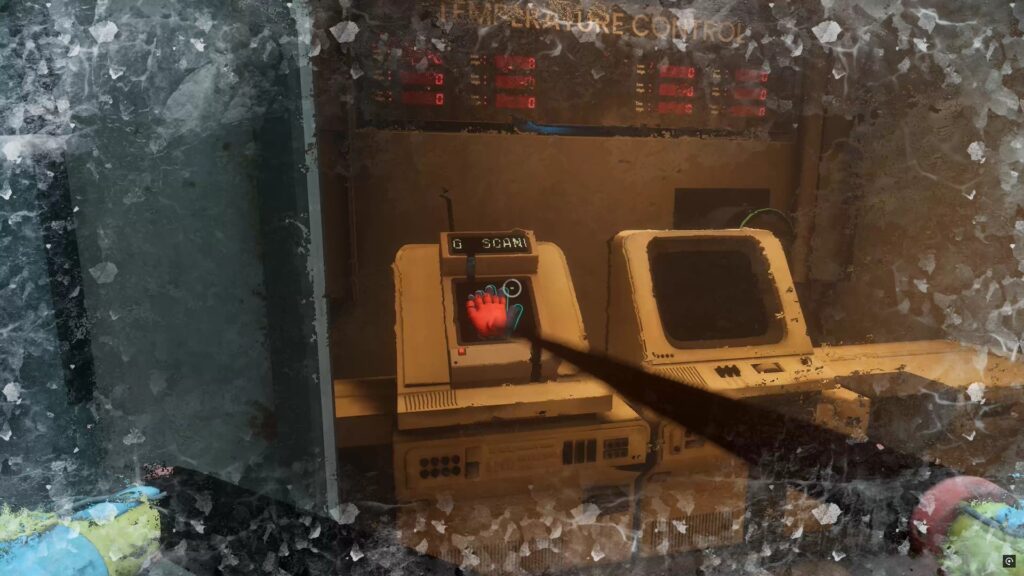
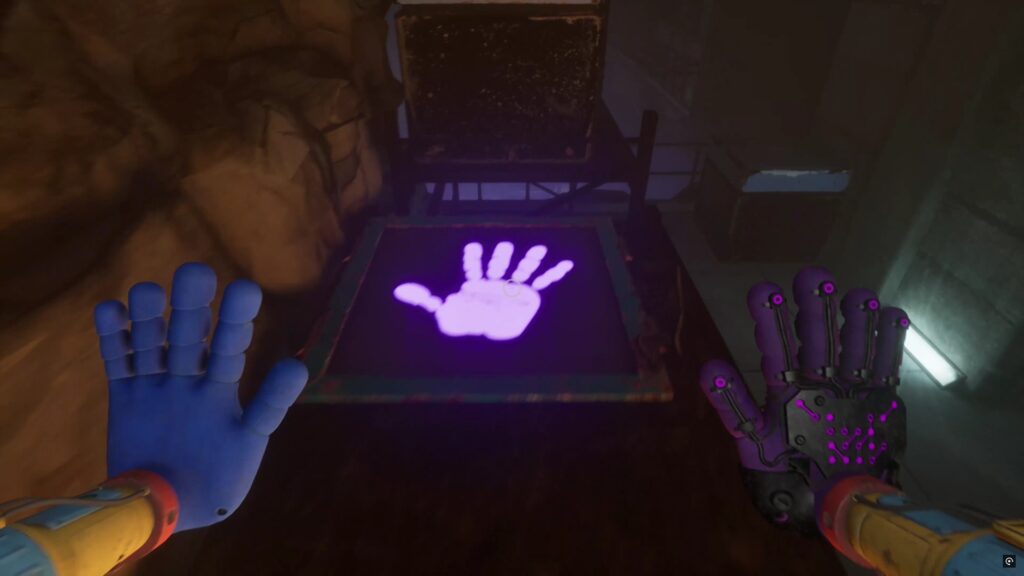
In this room, start by using your hand on the scanner against the wall. Then open drawer number 2 to find a battery. Use the battery on the saw above. Pull the saw to retrieve a blue hand on the ground nearby. Use the blue hand against a second scanner against the wall to unlock your hand.
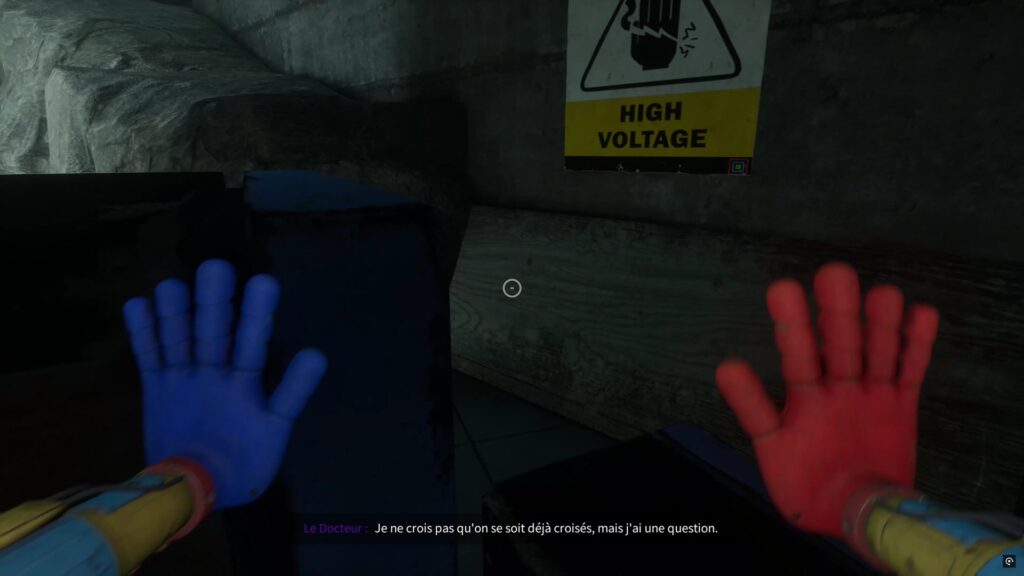
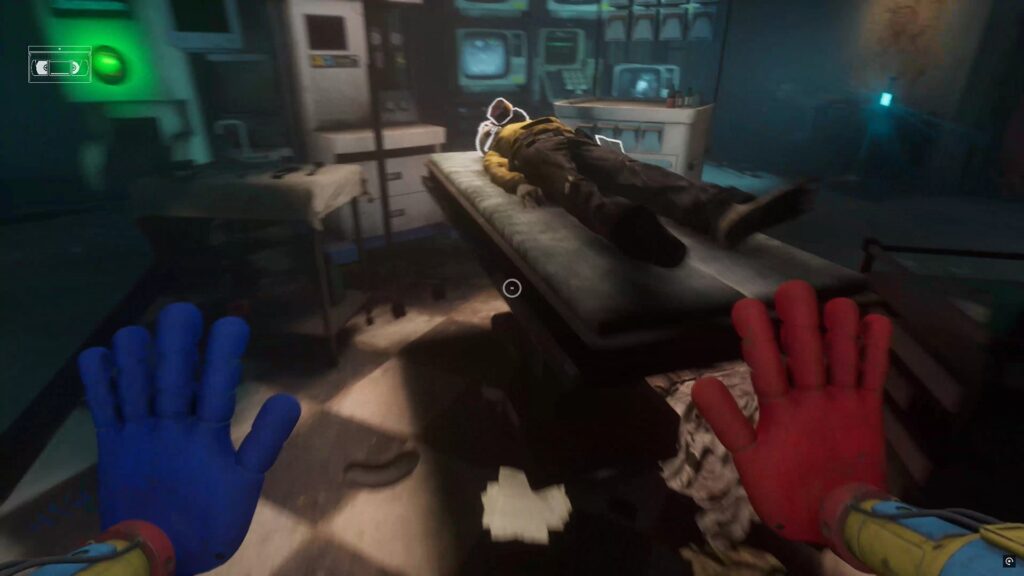
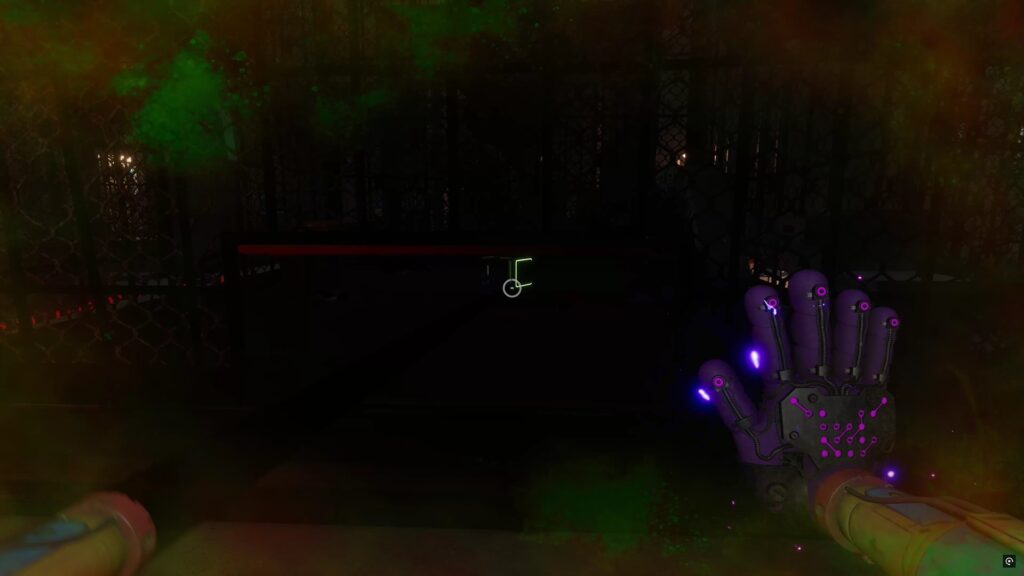
Then pull the plug next to the scanner to plug it into the machine with the lungs. Then go through the door that just opened. Go into the passage to find a body. Retrieve his mask so you can venture into the gas
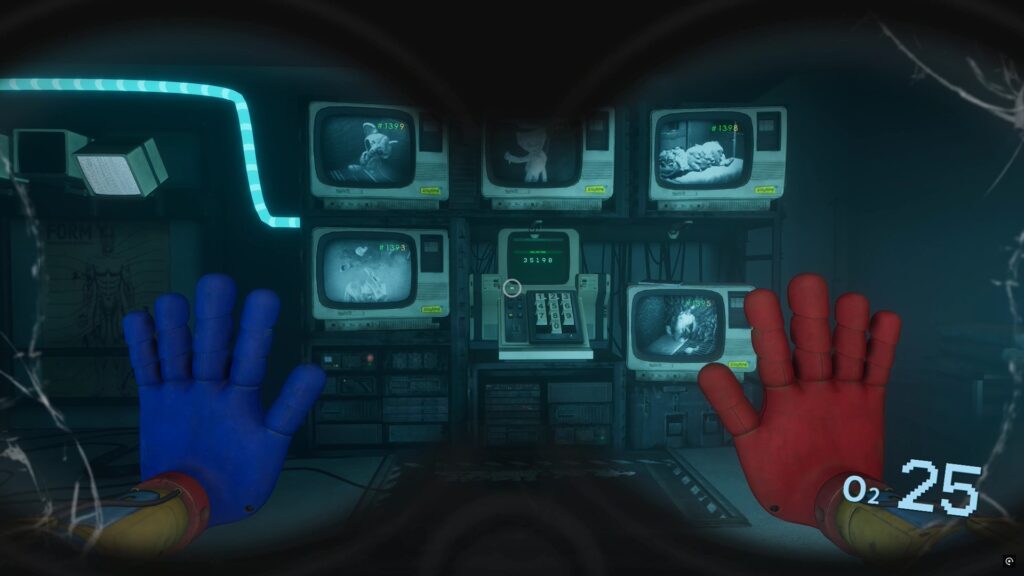
What is the Doctor’s digital code?

Using the mask, you can retrieve the following information about the experiments. By grouping the numbers on the poster with the missing limbs (severed head, torn off hand, etc.) from each experiment, you can reconstruct the following code: 35198 .
As you pass through the examination room, you will have had to unlock the room above. Climb up to access a new organ of the doctor in order to destroy it. Then join the exit to climb onto a scaffolding using the nearby crates. Then use the purple hand while sprinting to jump onto the platforms. Then use the grip with your hand to go down and trigger a cutscene.
At the bottom, avoid the monster and use the switch to redirect the power against the wall and retrieve a first battery from a cage. Place the battery on a slot against the wall to open a second cage. Retrieve a second battery to insert it into the last missing slot.
Redirect the power to the closed gate to retrieve a blue pass. Use the pass on the control panel of the opposite door and redirect the power to the door to be faced with a dilemma that isn’t really one. Eliminate the monster by plugging in the socket. Then go to the elevator to use it.
How to defeat the Doctor?
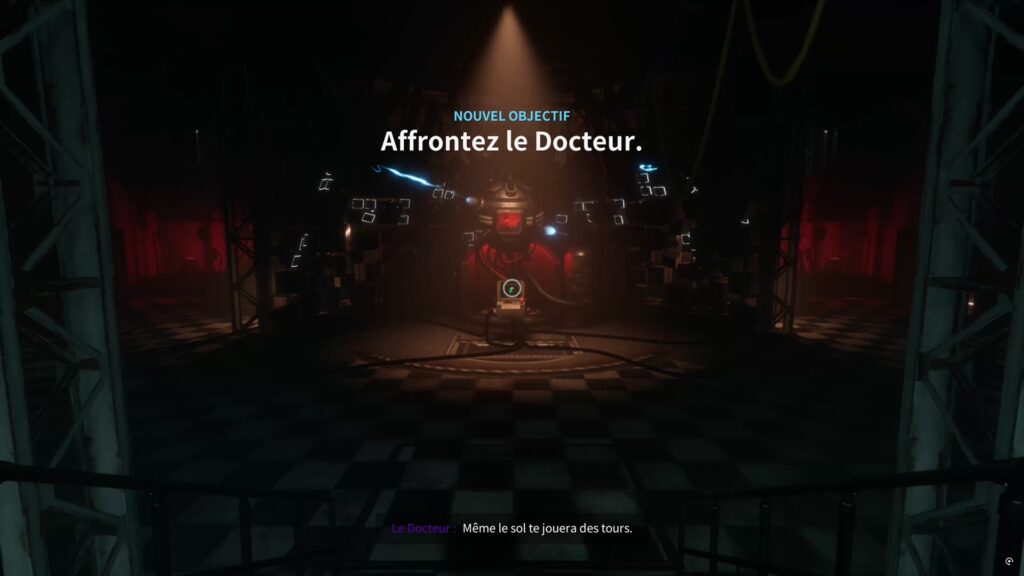
Above, use the scanner to go through the door and go up the elevator to confront the doctor. Below, your objective will be to power the four computers to eliminate him.
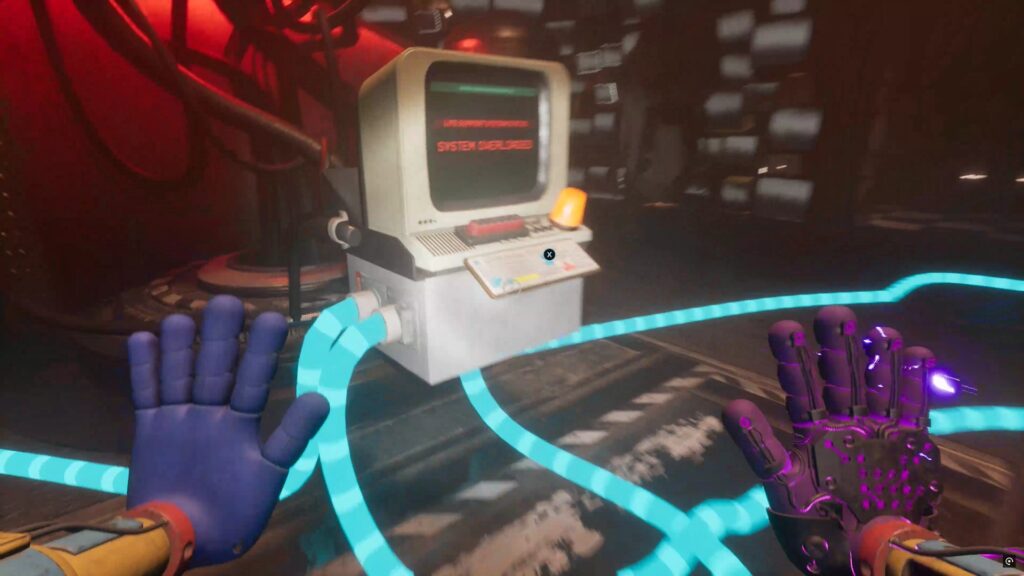
You will find the batteries in different locations in the basement. Avoid the robots while running to avoid getting caught. Use the batteries to open paths and collect the missing ones. For the battery above the stairs, release it to remove the boards on the way back. As for the battery where a robot is charging at you, run in the opposite direction to avoid it. Once finished, climb above to collect the access card and go through the double doors to insert it into a control panel.
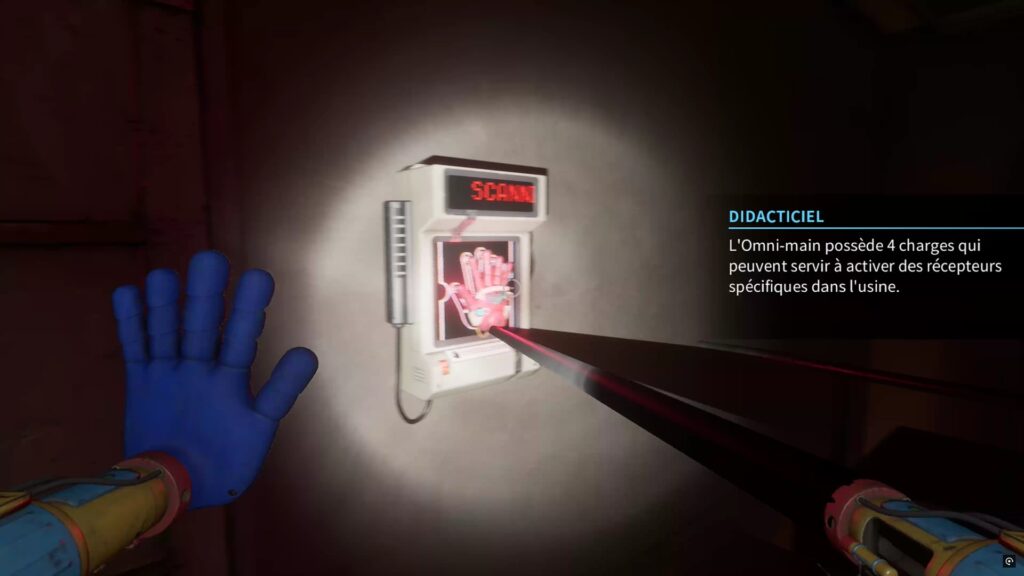
Collect the omni-hand and head up the stairs to use the omni-hand’s first charge on a scanner. Go through the hallway to get into an elevator. At the bottom, use a handhold to go down. Use your hand on a new scanner and ride a cable car back to the shelter.
Doey

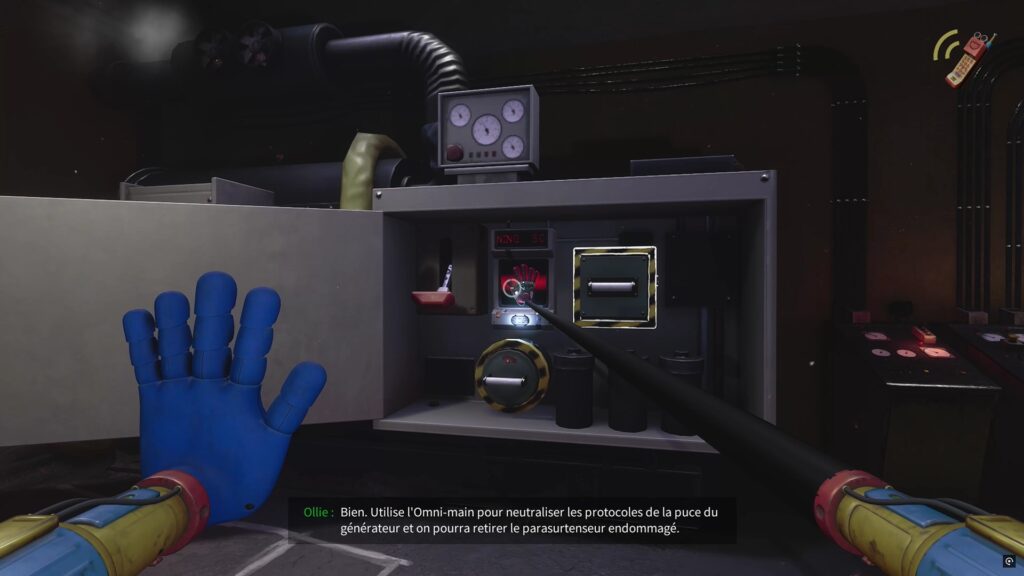
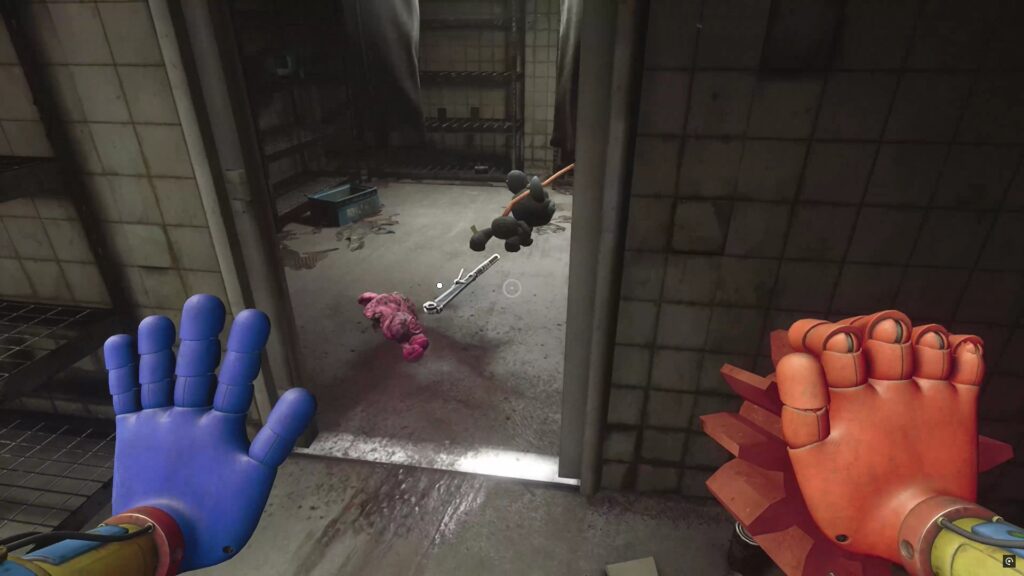
Back at the shelter, talk to Poppy and Doey to set the plan in motion. Start by repairing the generator. To do this, use the red hand to activate the scanner. Then open the flap to lower a lever inside. Collect the two traps nearby to insert them into the generator. Finish by activating the scanner inside.

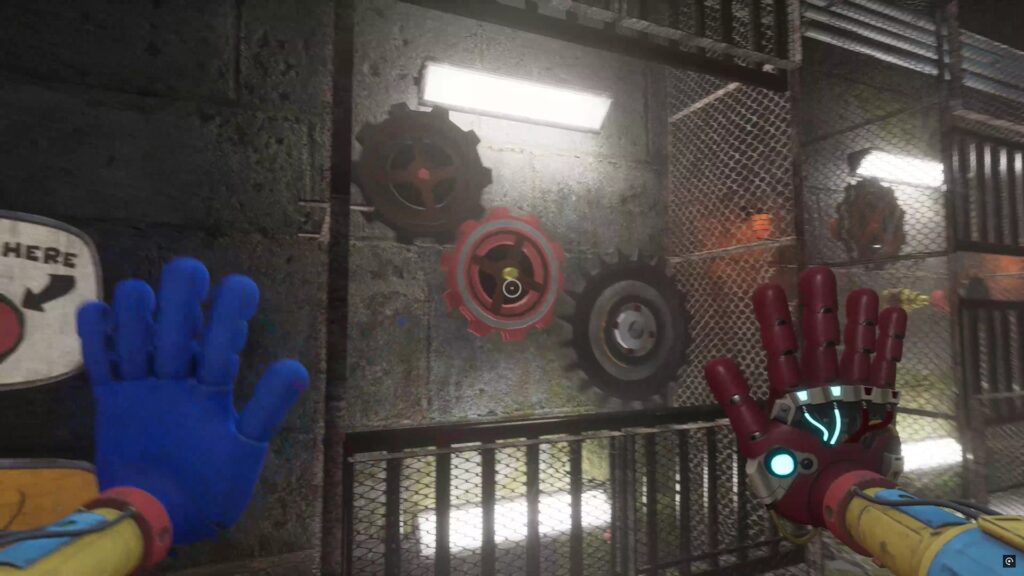
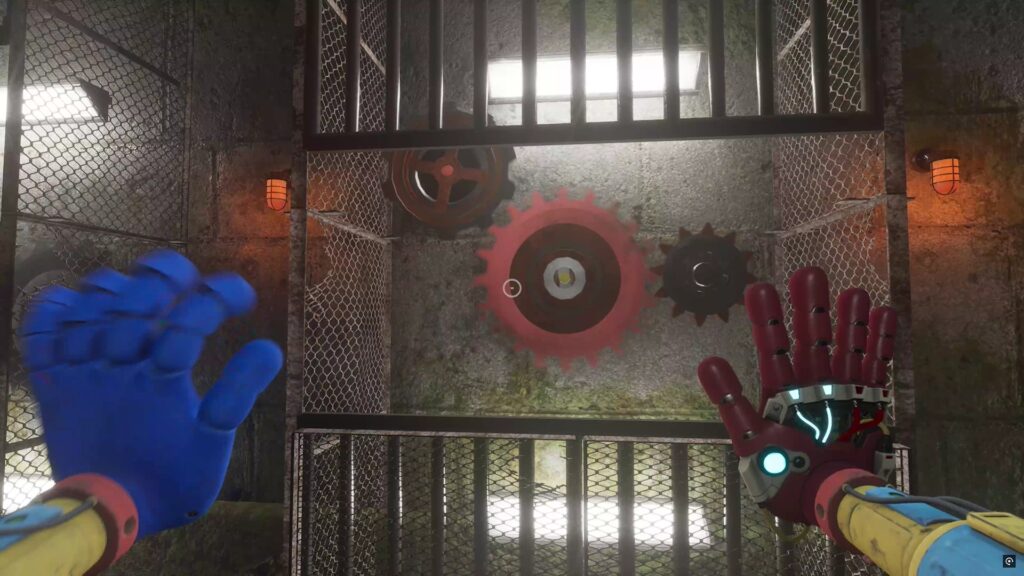
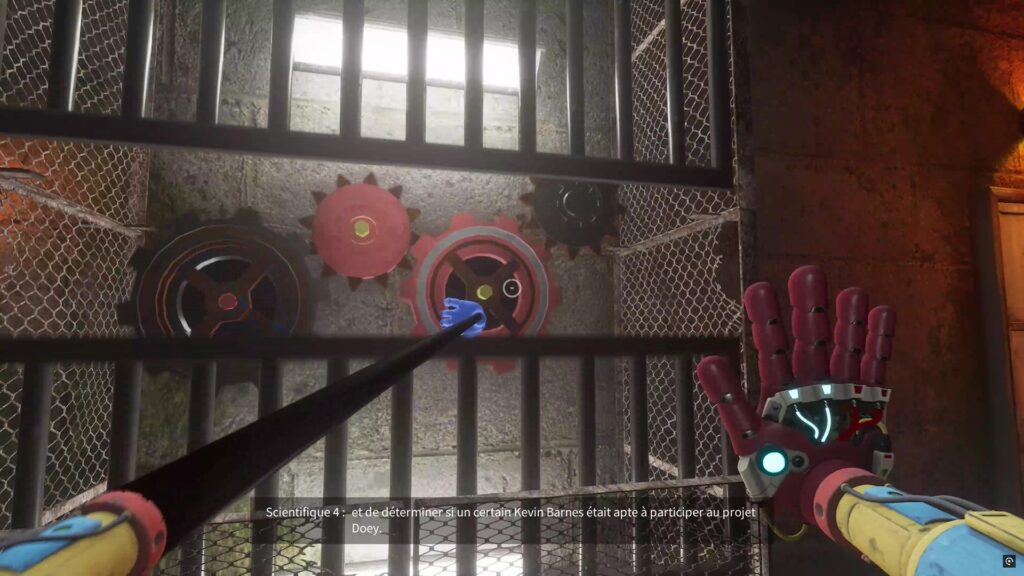
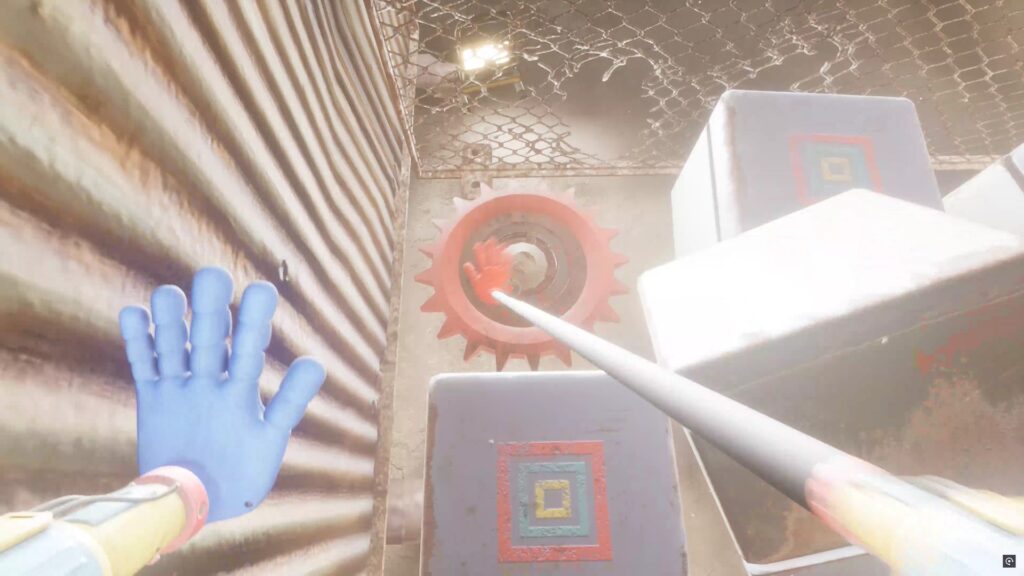
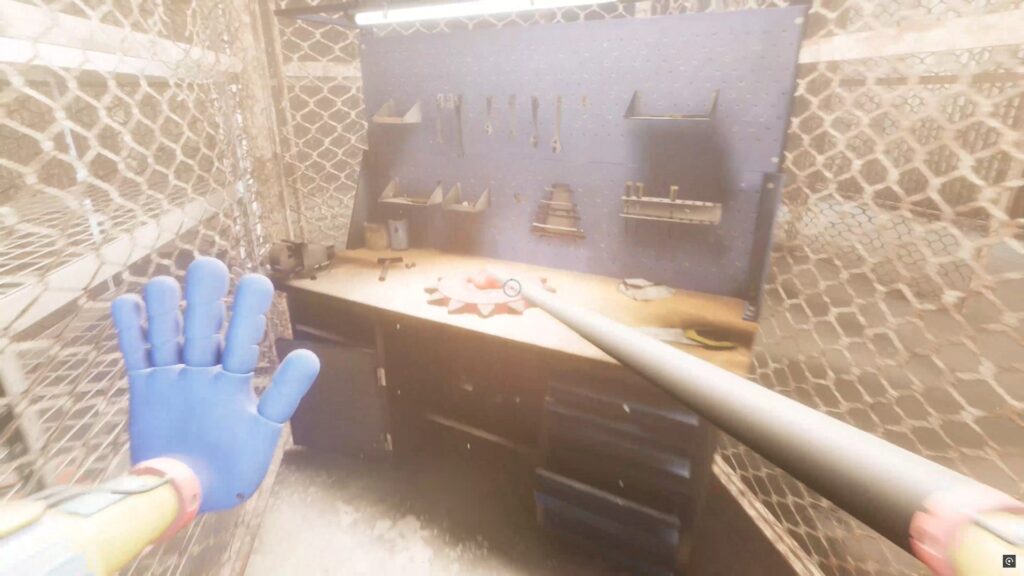
Use the hallway with the sign to reach your new objective. You will need to complete gear mechanisms one by one. You will find the necessary gears nearby and can swap them between mechanisms.
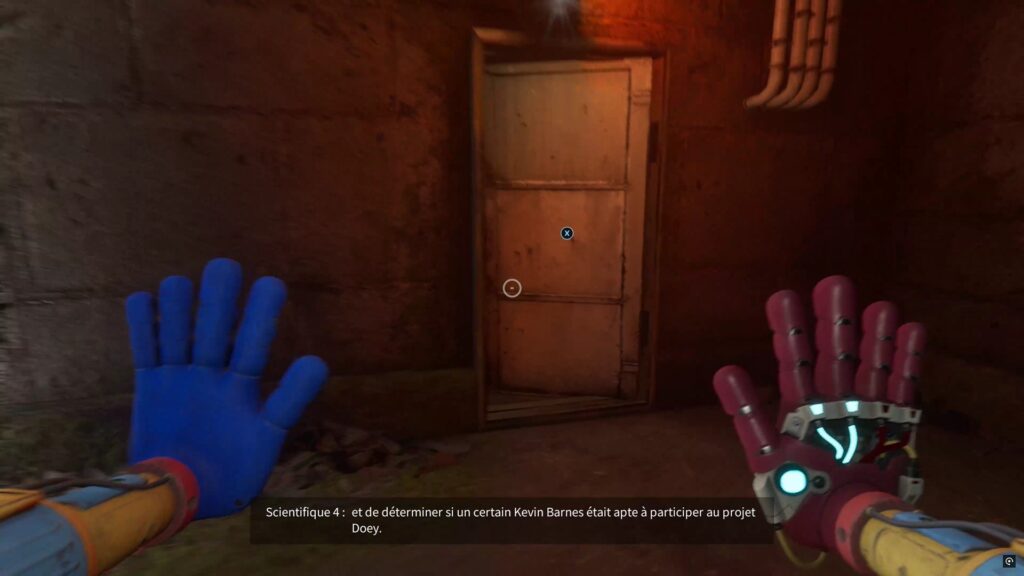
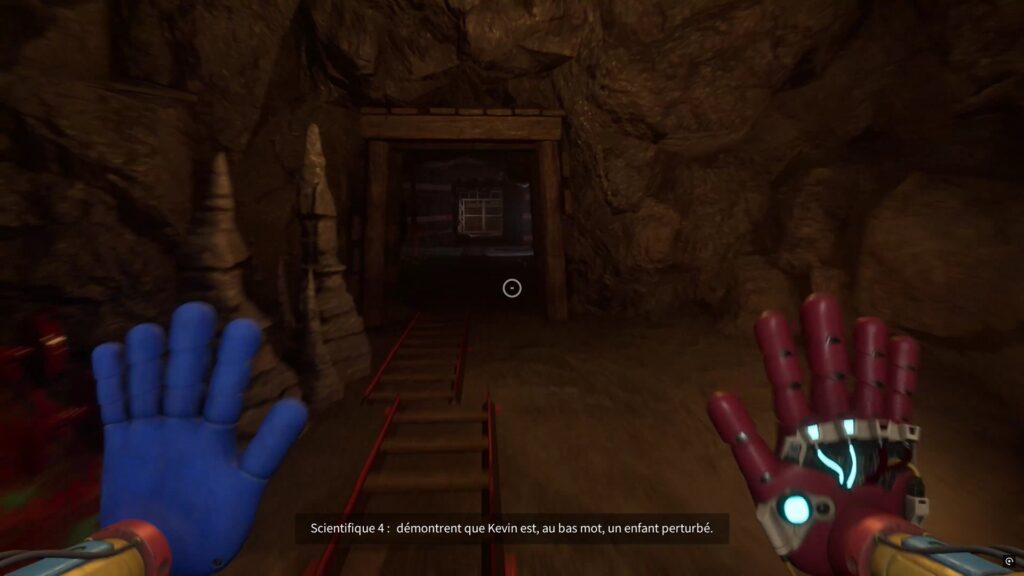
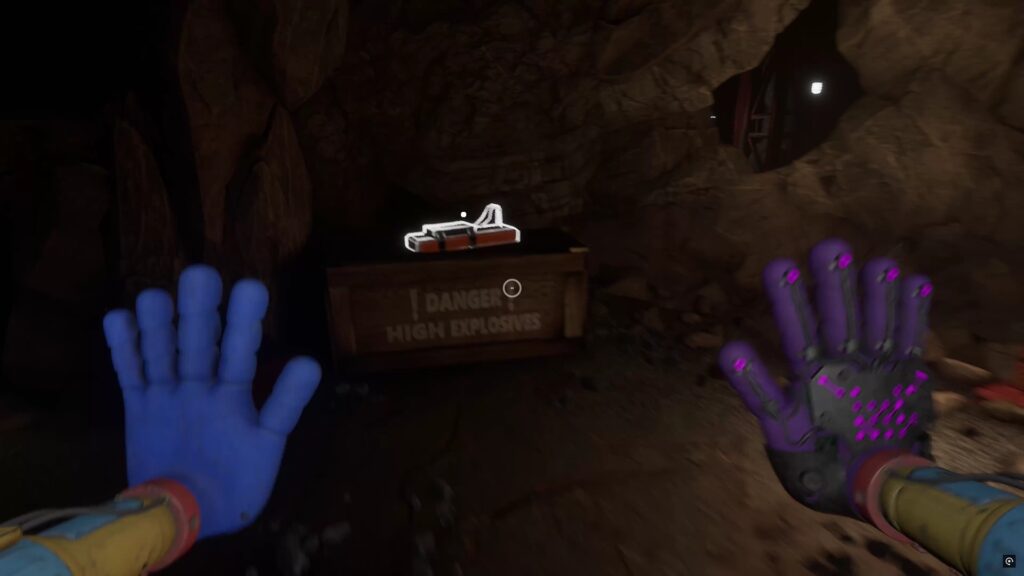
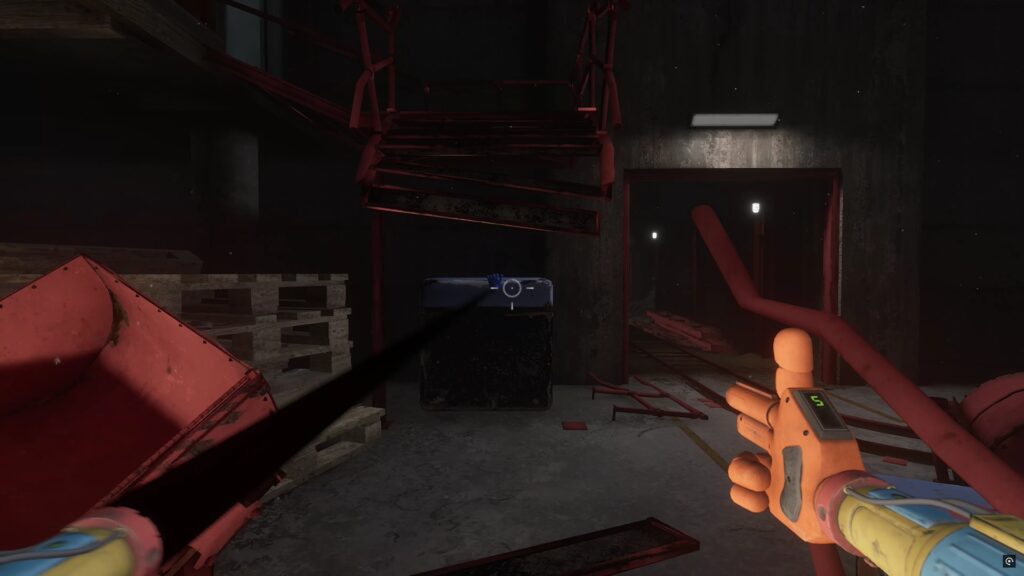
Use the maintenance door to reach the mine in the cave. You will easily find the first charge in the mine.
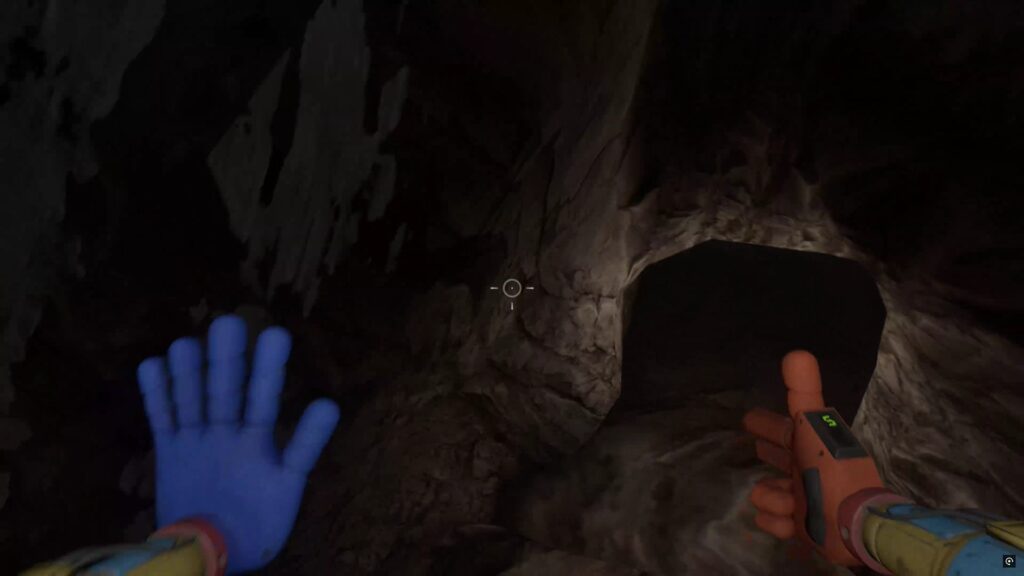
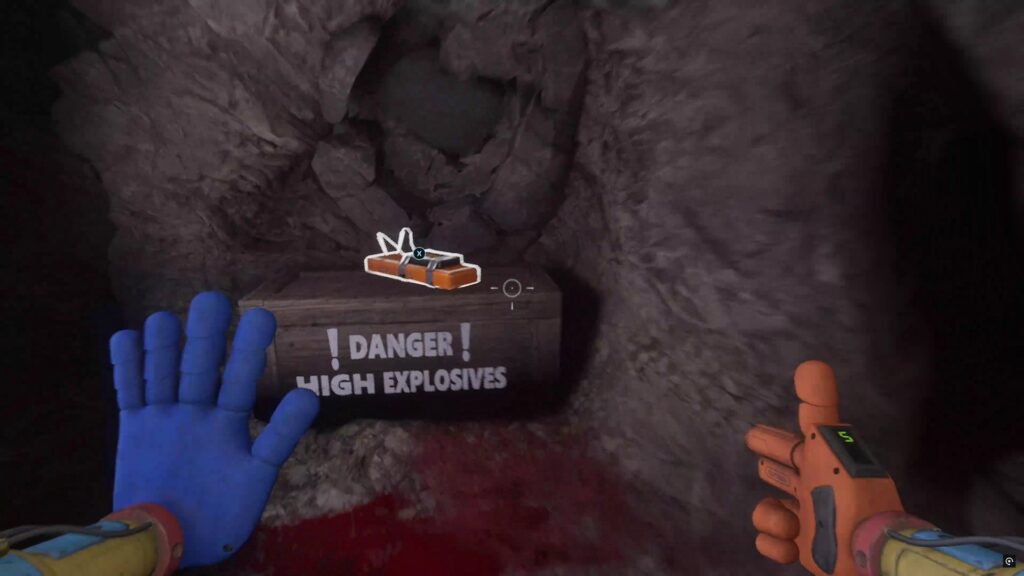
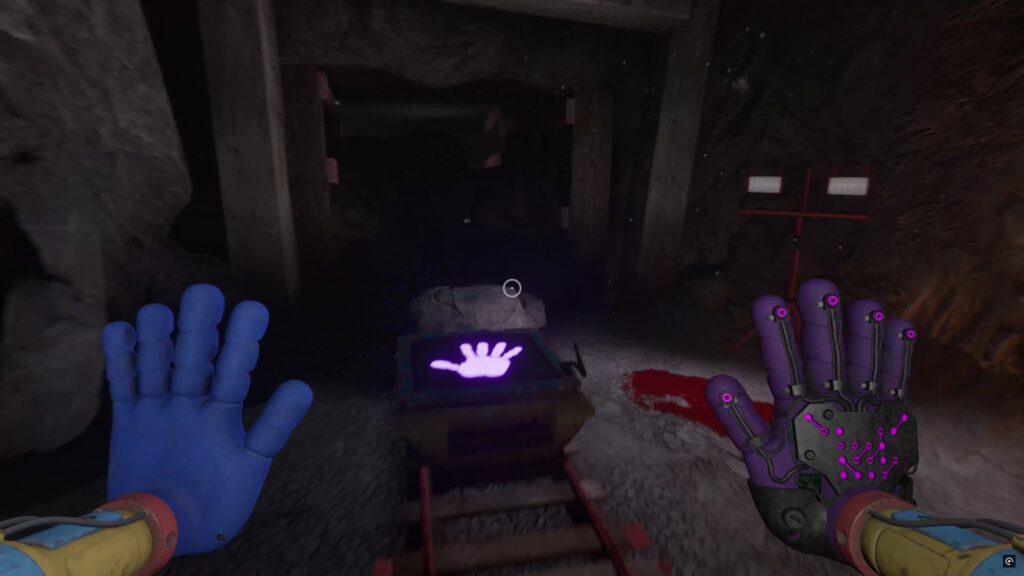
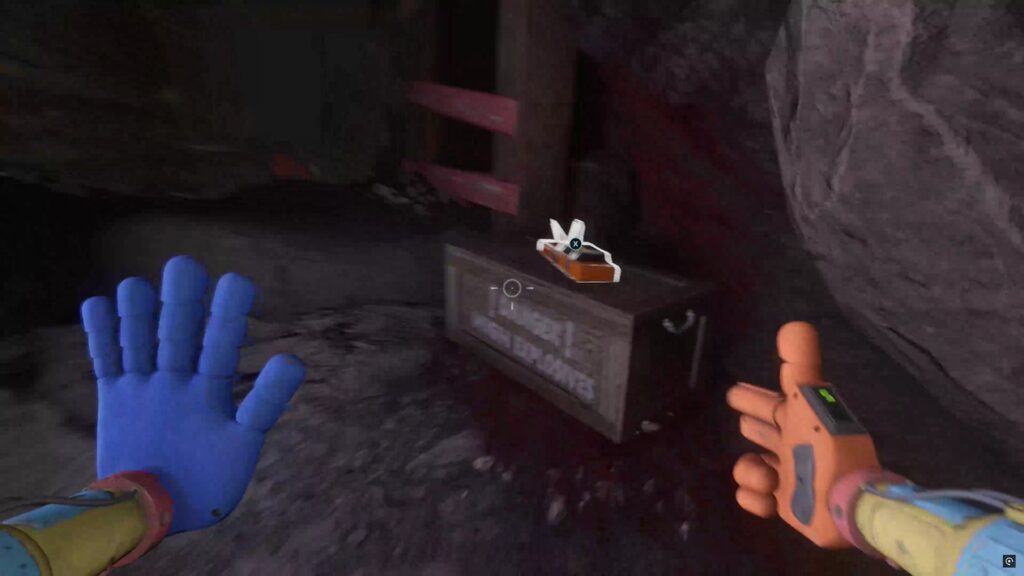
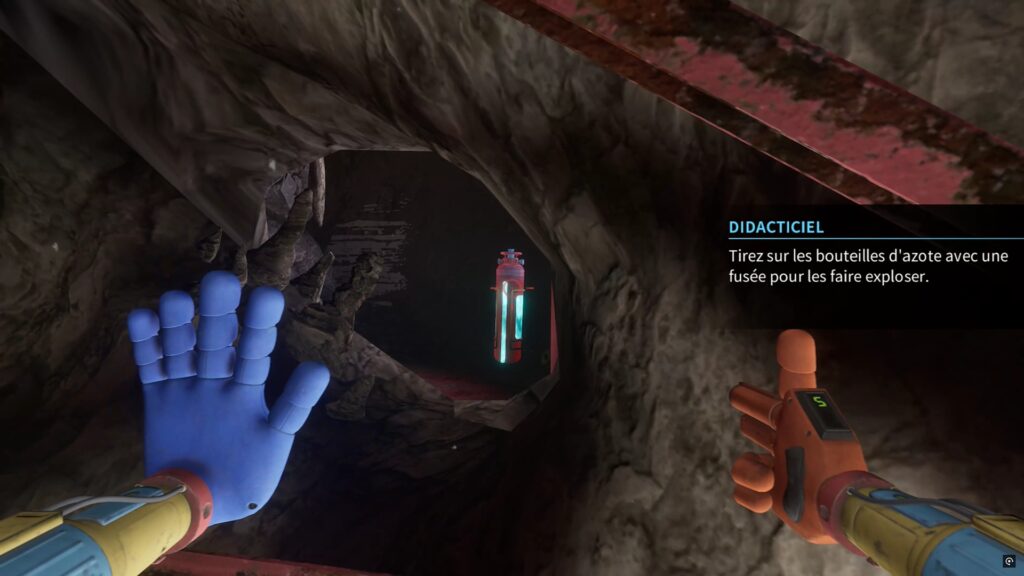
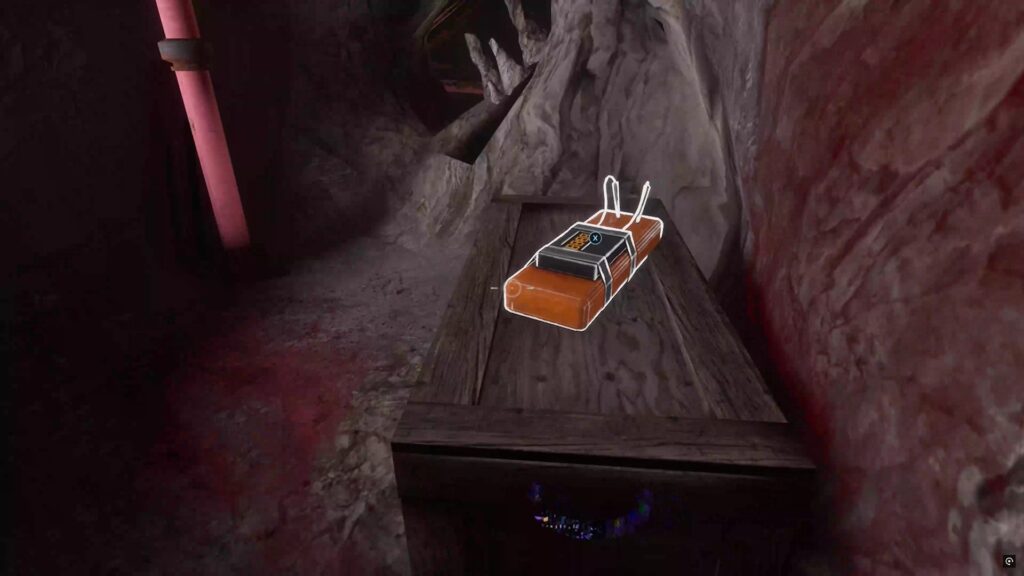
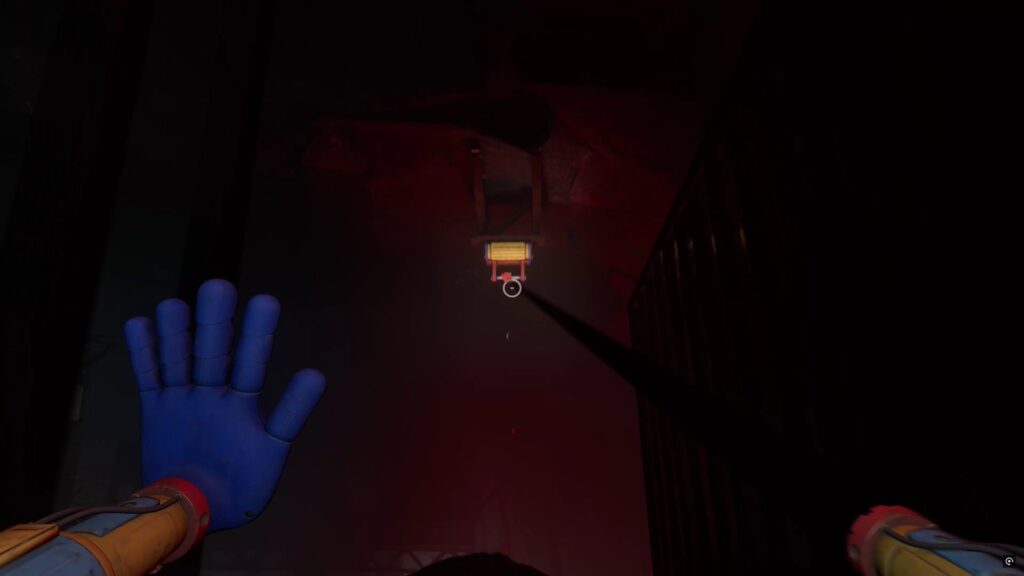
A second charge is in a cavity, a third one is up high, accessible with the purple hand by moving a cart. The last one is behind a wall, which you can reach by destroying a gas canister.
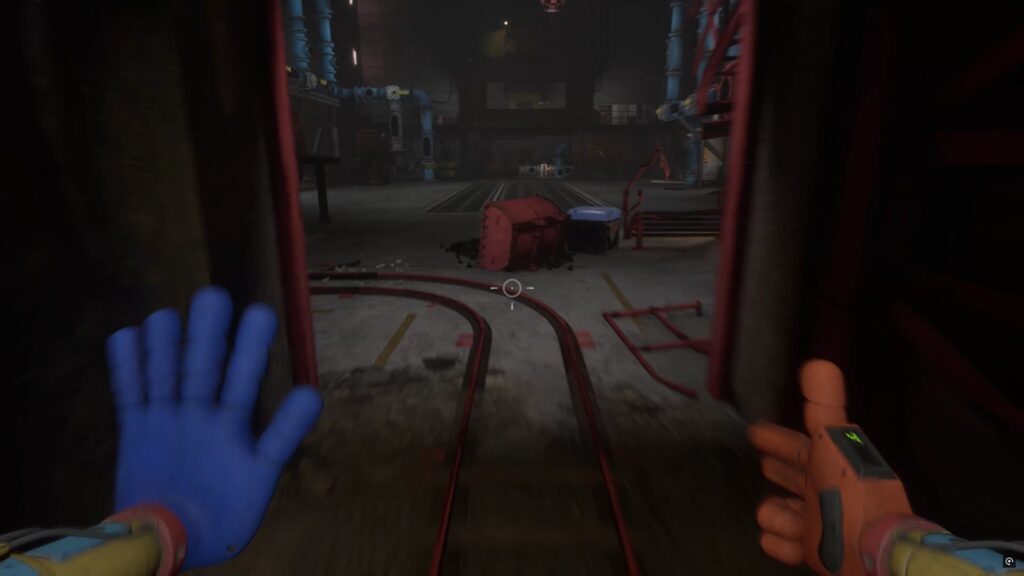

Then head to the factory next to the mine to find the location to place the charges. First, move the crates on the stairs to pull yourself up and collect a purple pass.
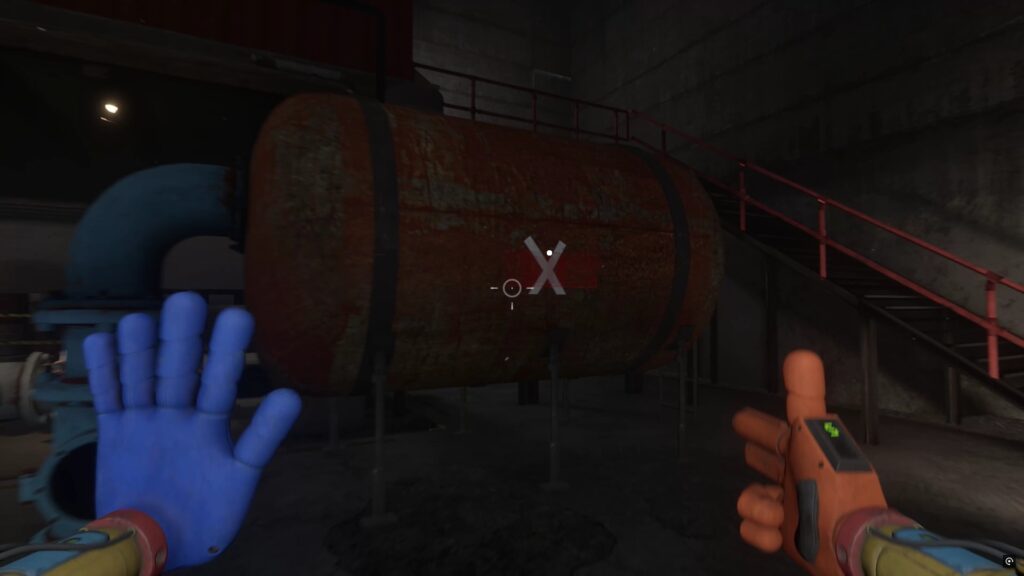
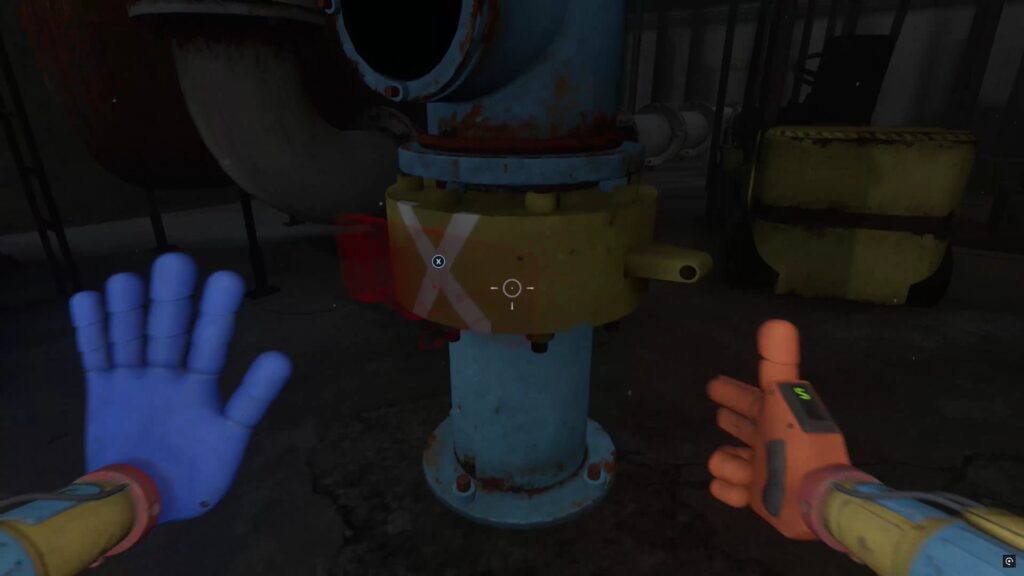
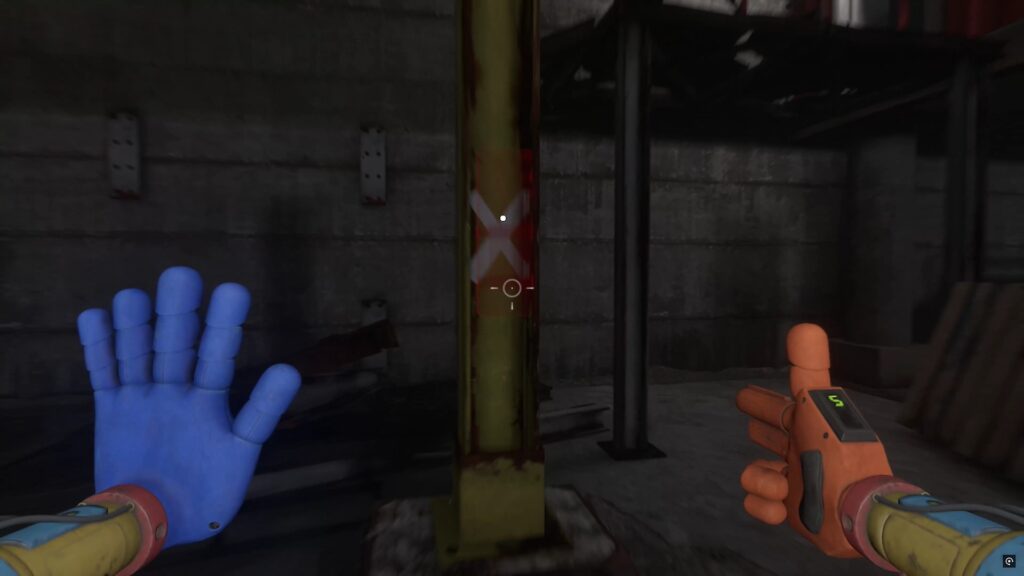
Then place the loads on the tank, the blue pipe and the two yellow beams.
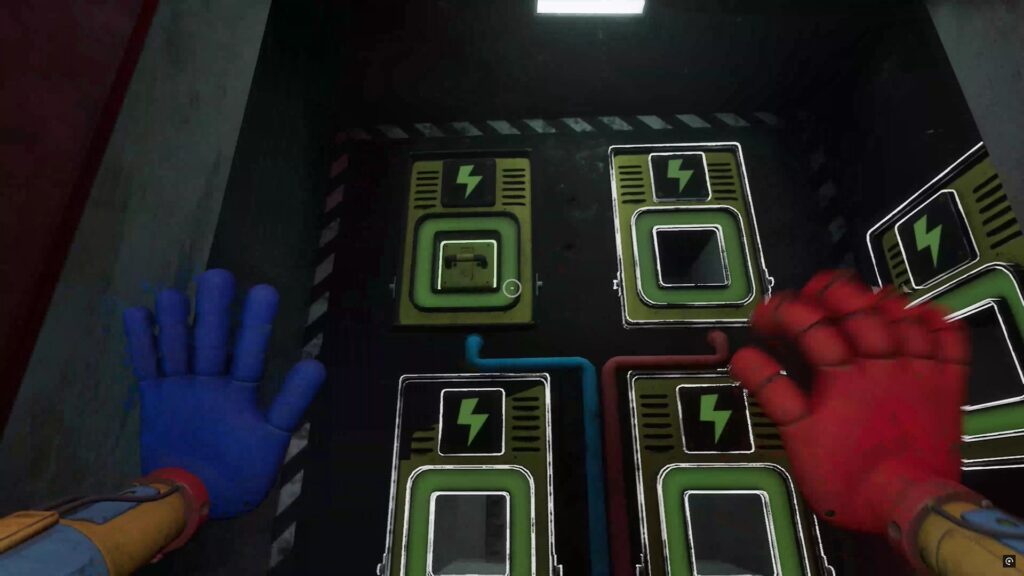
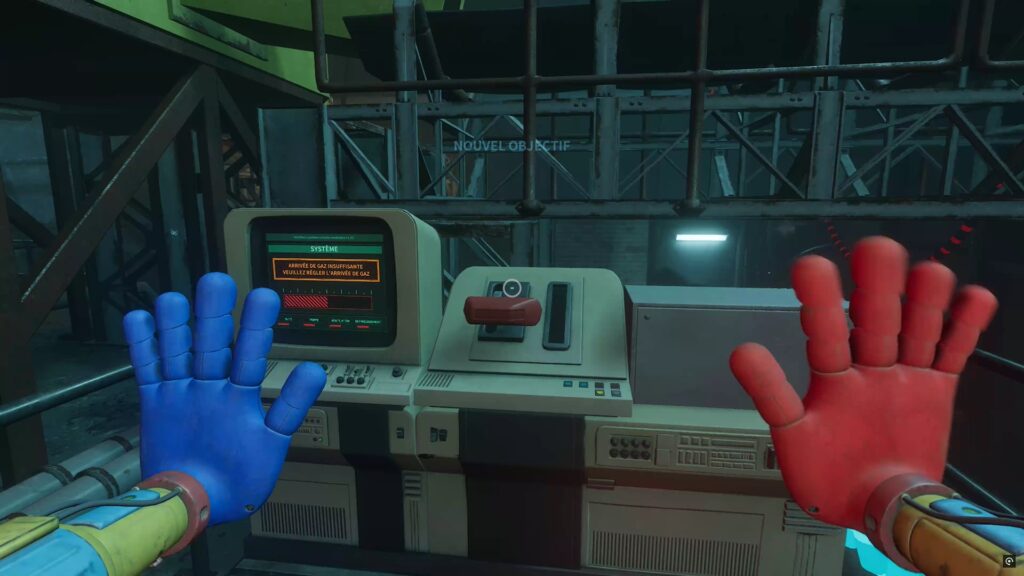
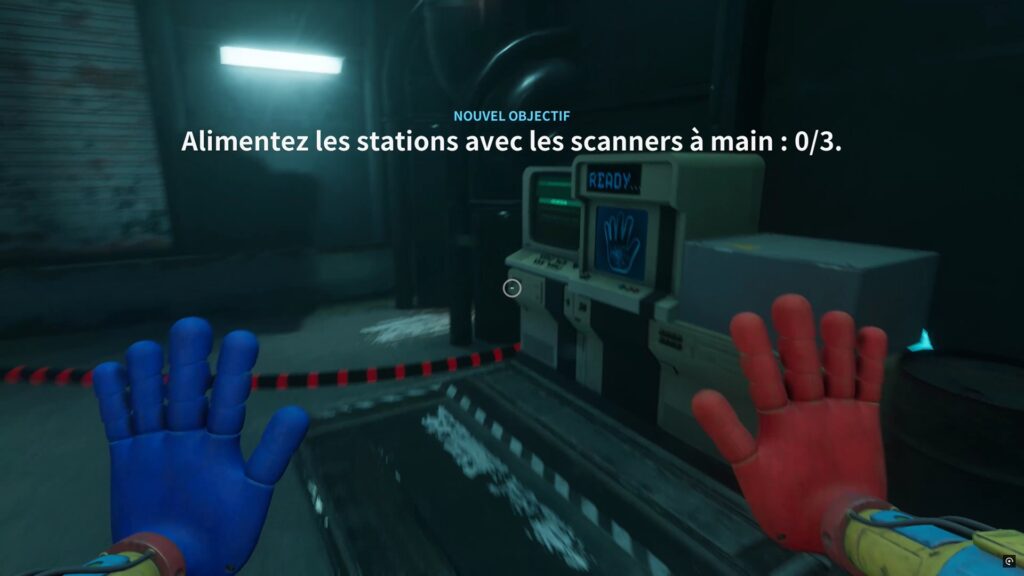
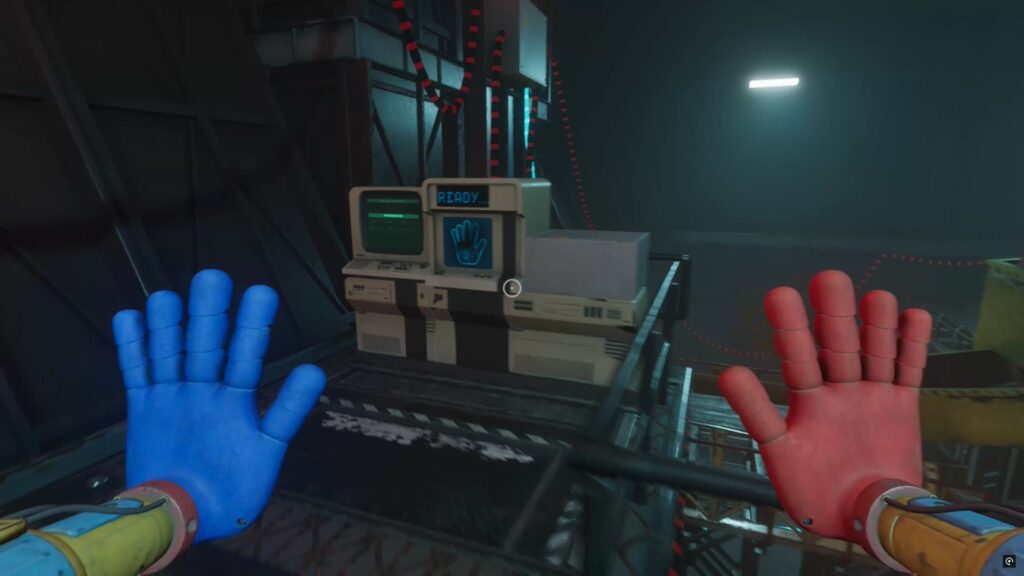
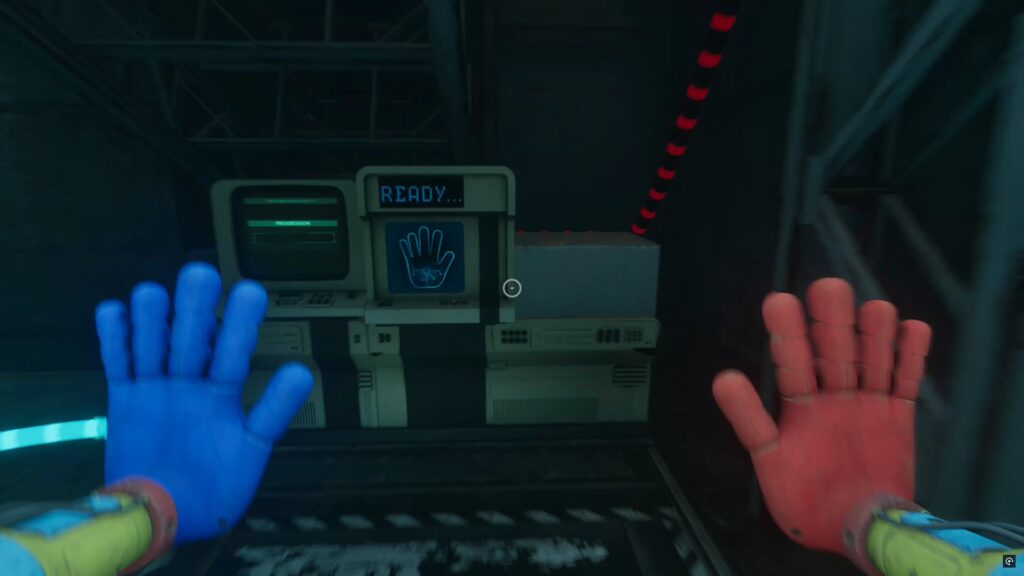
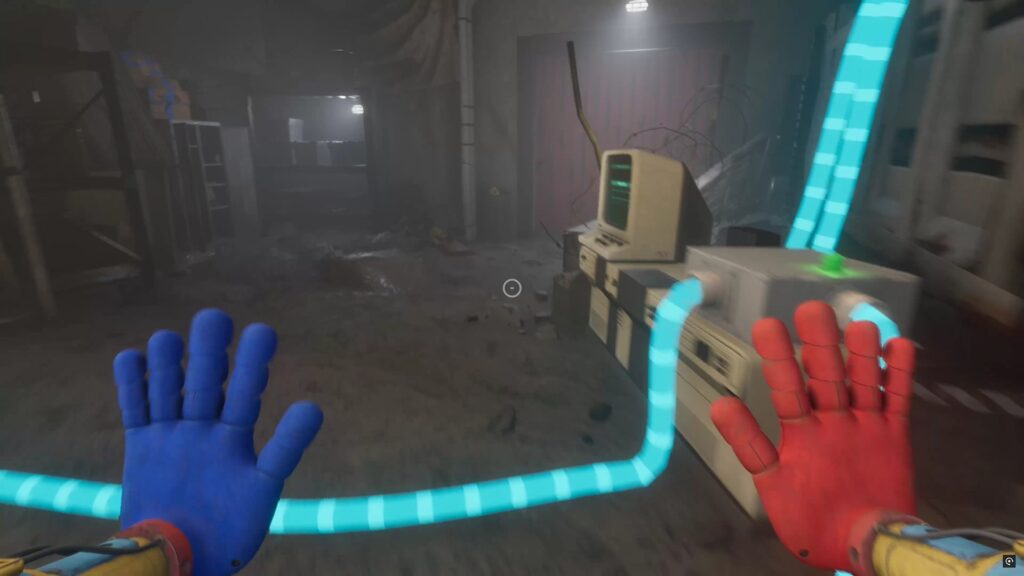
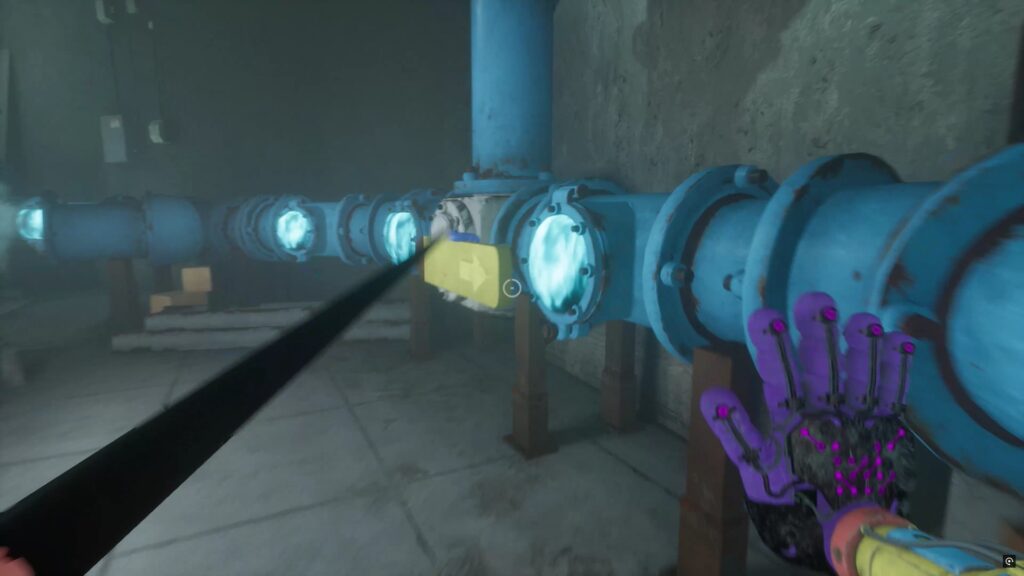
How to redirect gas?
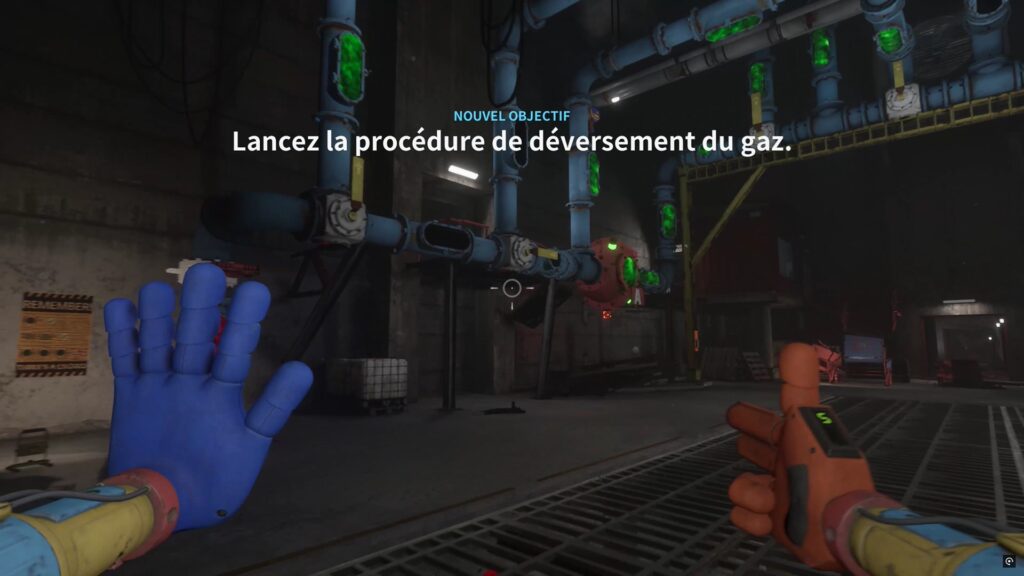
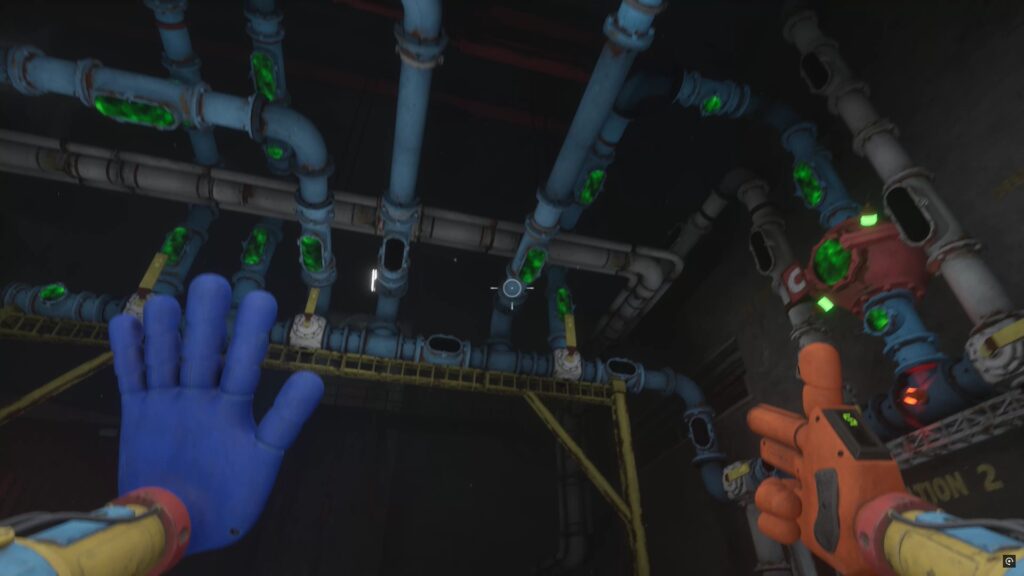
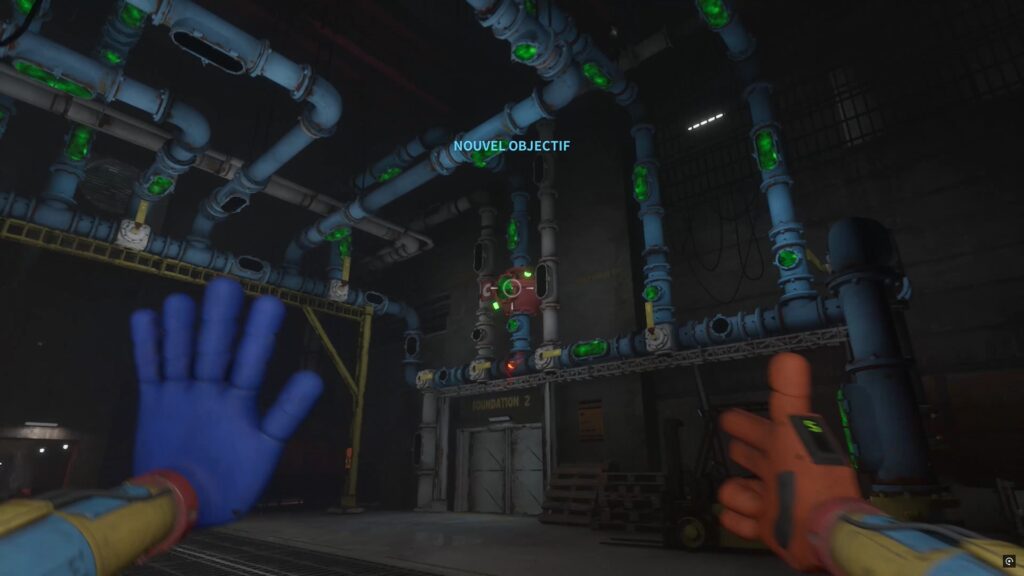
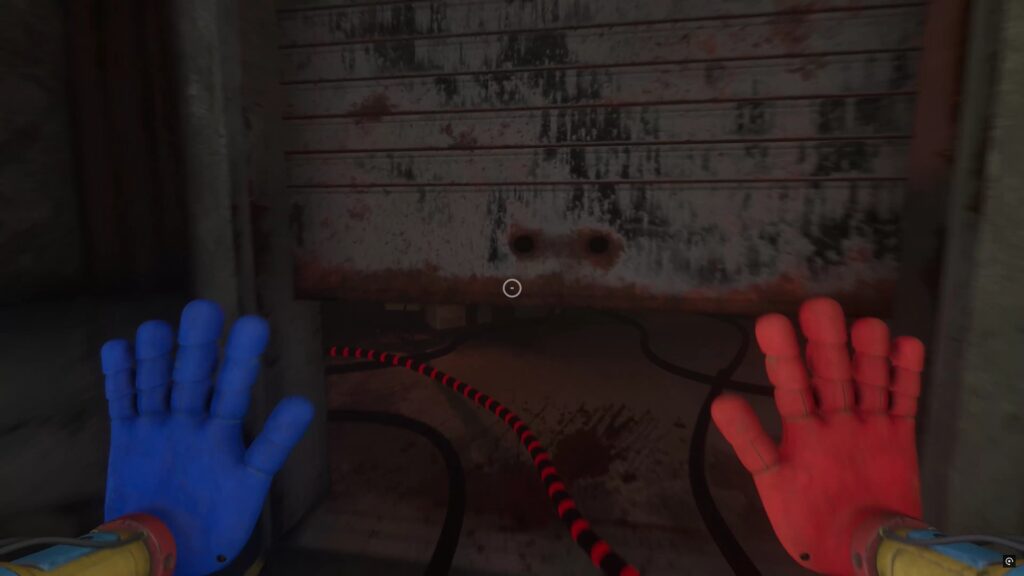
Head upstairs to use the purple card and activate the gas. To redirect the gases into the correct pipes, follow our images above to supply the tanks. Then head upstairs to activate a scanner.

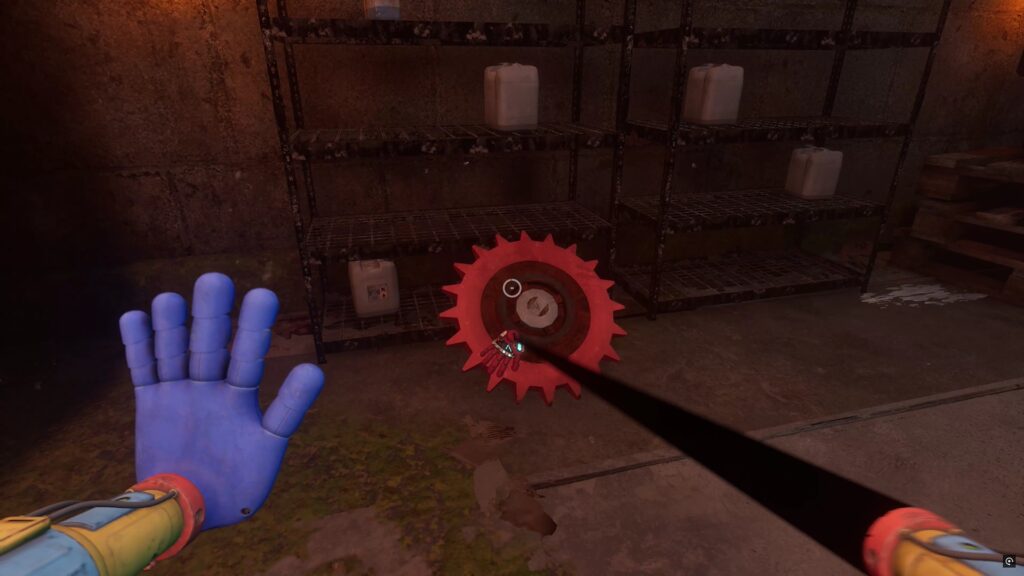
Watch out, the gas is spilling! Quickly retrieve the cog from the locker and exit left to find a high-up hold. Climb up above the control panel to place the cog in the mechanism. Exit the foundation through the door and head up the elevator.

As you return to the shelter, Doey calls out to you for a cutscene. Then run to escape and complete the chase in the mine. Then use your hand to activate the scanner and lower a lever to enter the arena.
How to defeat Doey?


To defeat Doey in the arena, knock down the canisters with your hand and lure Doey to walk over them and grab onto them. Once she’s in position under the crane, hit the canister with a rocket to freeze him, then use the crane with your hand above to saw him off.
Then exit through the high exit and use your hands on the scanners to bring Doey back. Quickly shoot the canister next to it with a rocket to eliminate it. Then exit through the door on the other side, move the crates to enter a vent. Use a scanner to initiate the final cutscene of
Poppy Playtime Chapter 4: Safe Haven .

Fan de jeux Nintendo, Xbox, PlayStation, PC et de l’univers gaming
Je vous partage ma passion à travers mes articles sur les nouveautés jeux vidéo
Journaliste gameactuality.com