[Walkthrough] Funko Fusion : Our Complete Guide [EN]
Check out our complete Funko Fusion walkthrough guide for PC, Xbox, PS5, Nintendo Switch. Our solution will guide you through the entire game, with tips for solving puzzles and defeating enemies. Browse our detailed, step-by-step walkthrough, with images to help you complete each puzzle and riddle.
Summary :
- The Thing walkthrough
- Jurassic World walkthrough
- Scott Pilgrim walkthrough
- Umbrella Academy walkthrough
- Masters of the universe walkthrough
- Hot Fuzz walkthrough
- Battlestar Galactica walkthrough
The Thing Funko Fusion Walkthrough
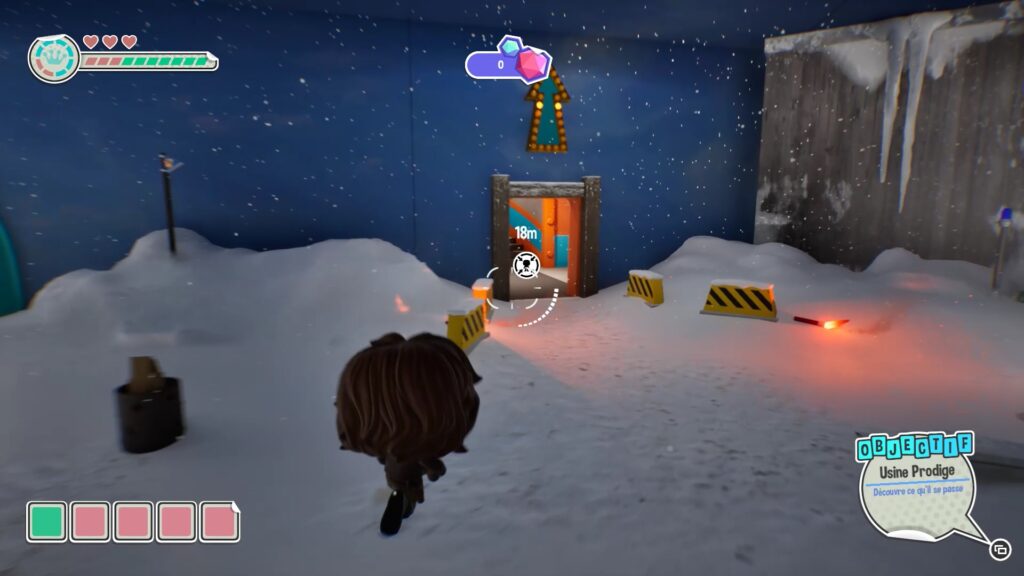
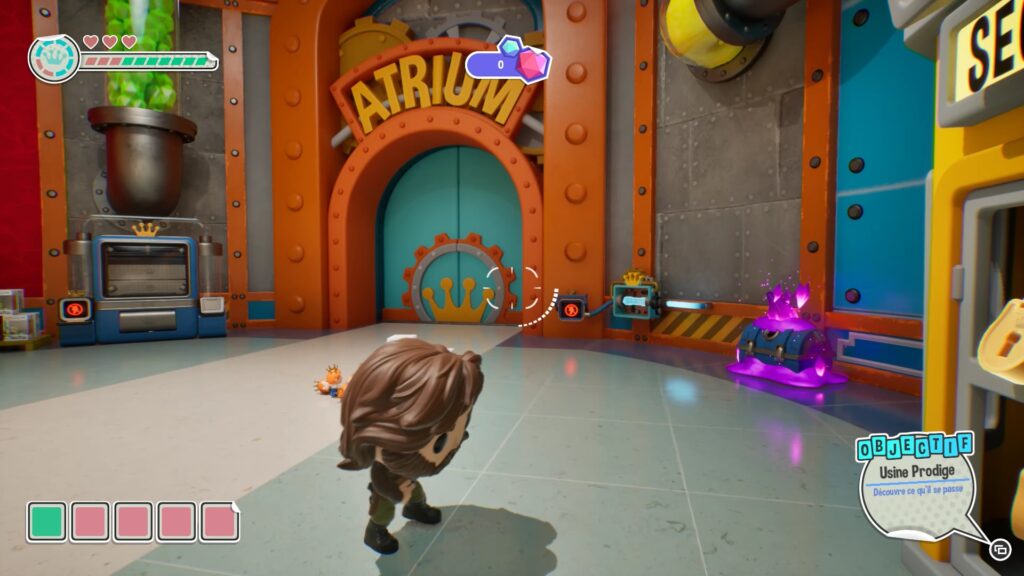
We chose to start with the world of The Thing . Once this world is selected, you arrive in the dedicated hub. Follow the quest marker to go up the stairs and reach the Wonderworks Factory . To progress in the Atrium, you will need to open a locked door. To do this, you must find a fuse.
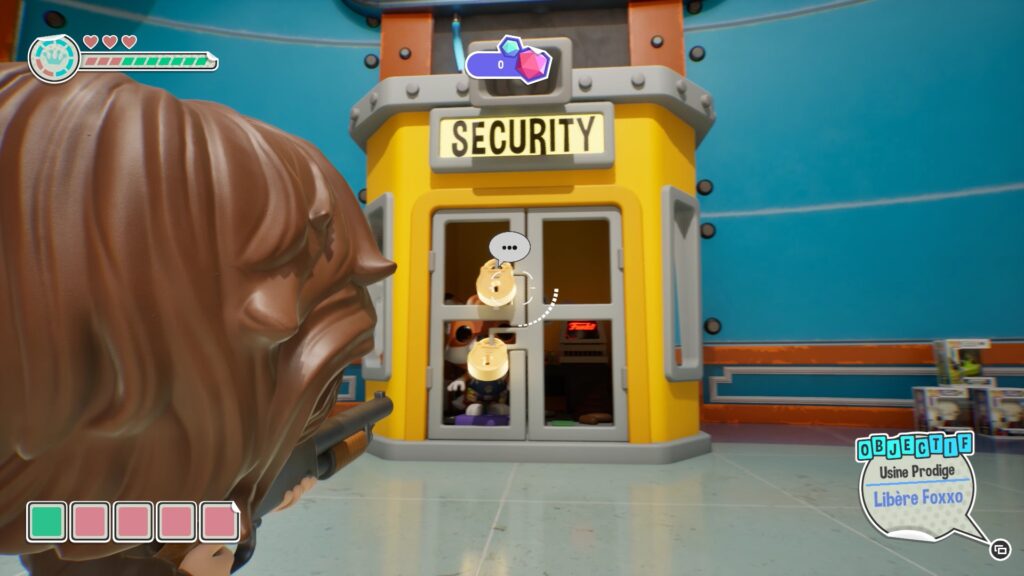
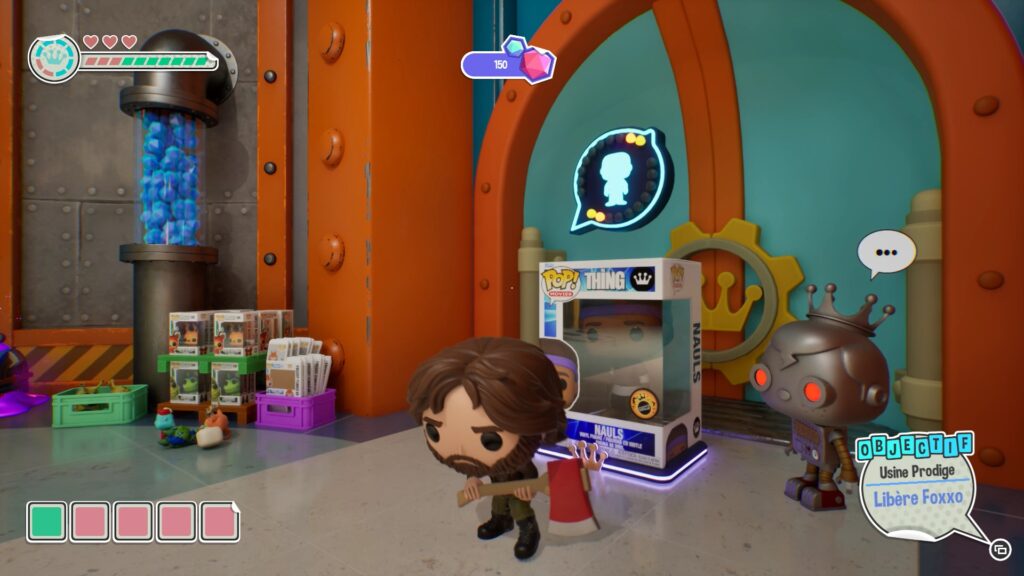
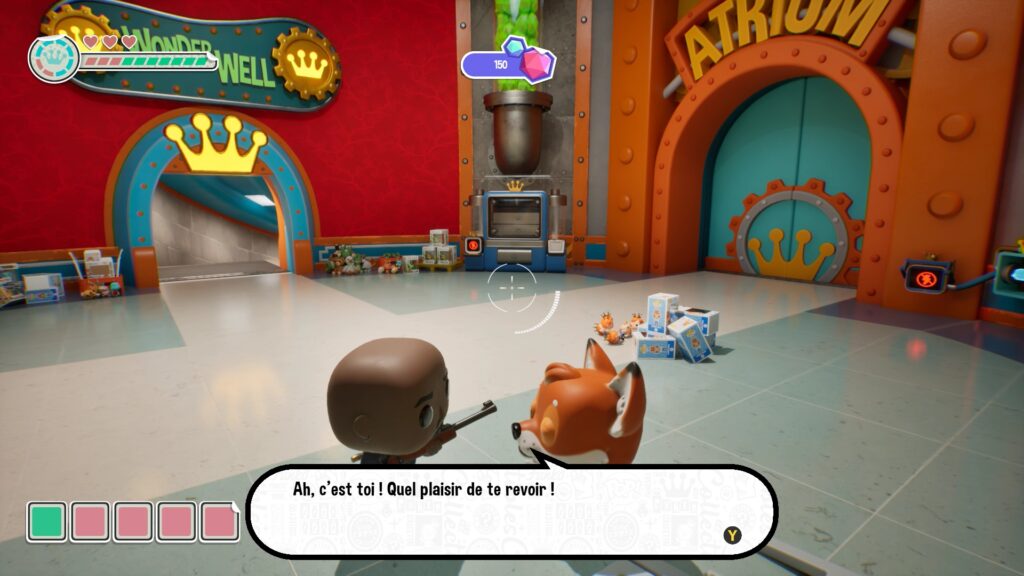
To find the fuse, talk to Foxxo in the Security room (yellow). Shoot the two locks on the door to free him. Then, switch characters by interacting with the Funko box in the room. Choose a character that Foxxo knows, like « Childs » in our case, to continue talking with him.
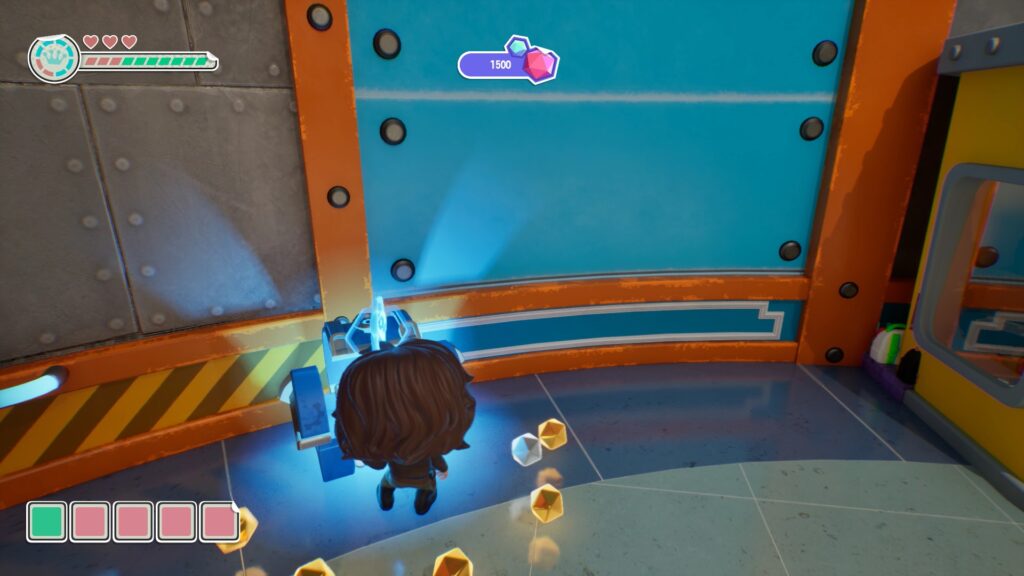
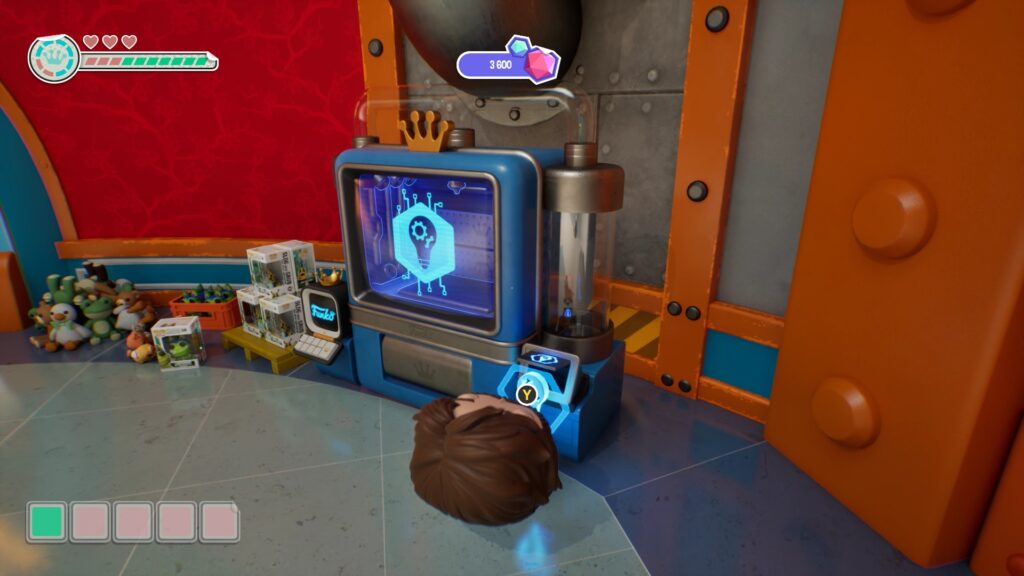
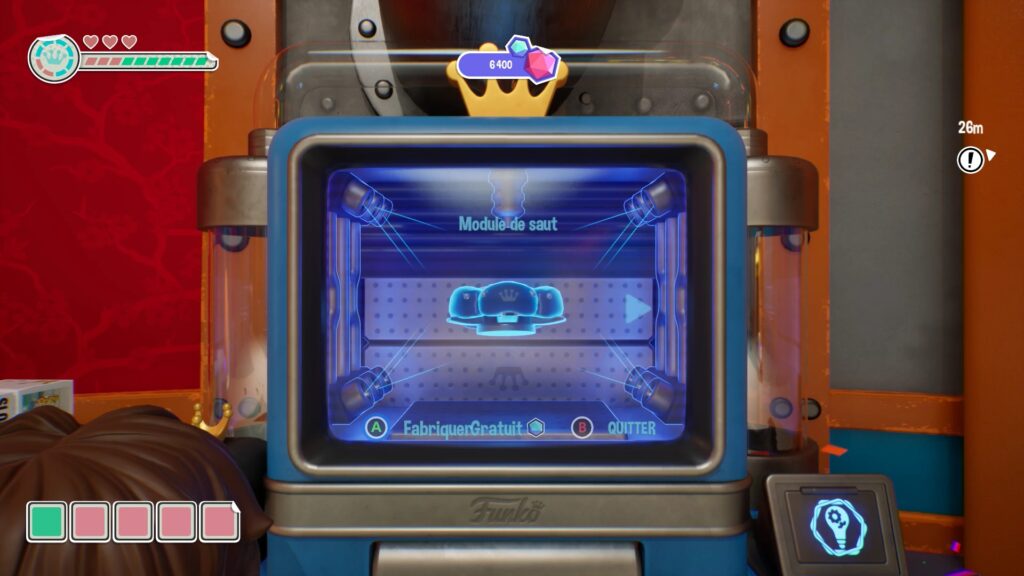
Return to Foxxo to trigger the arrival of monsters. Defeat your enemies, then follow the tutorial to unlock the chests in the area. Open the three blue chests and collect the items inside. Insert them into the construction machine in the area to build a jump module.
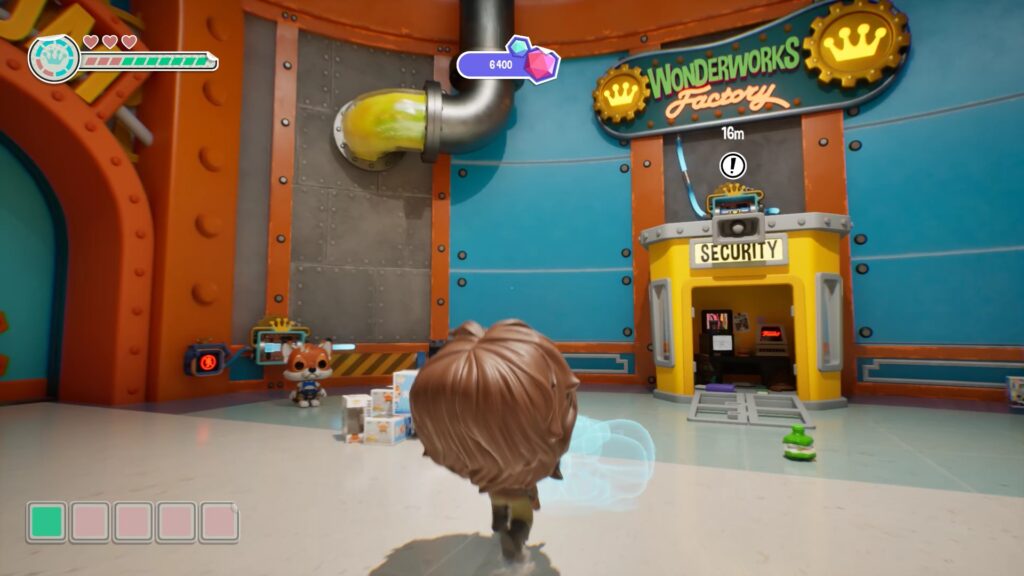
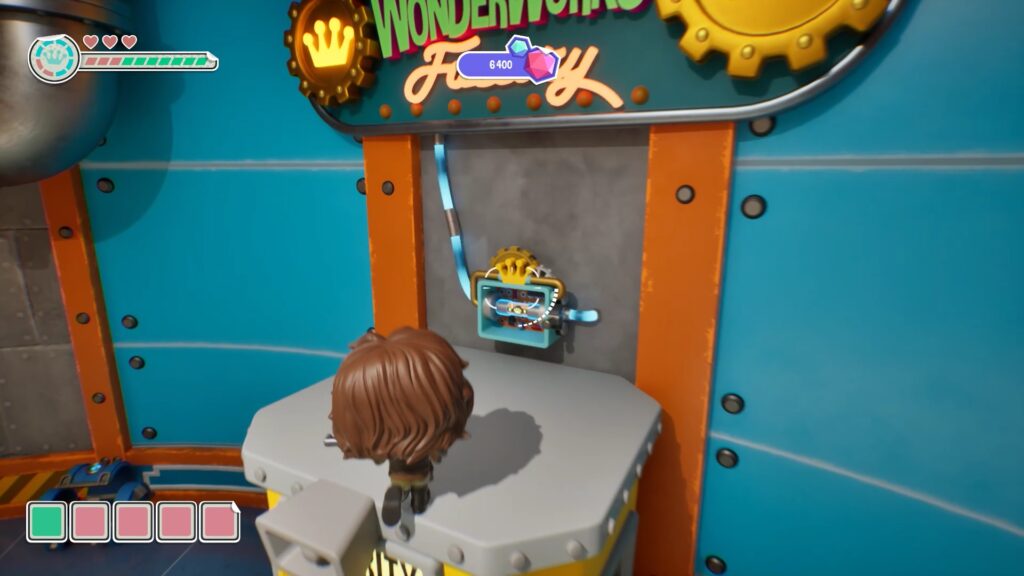
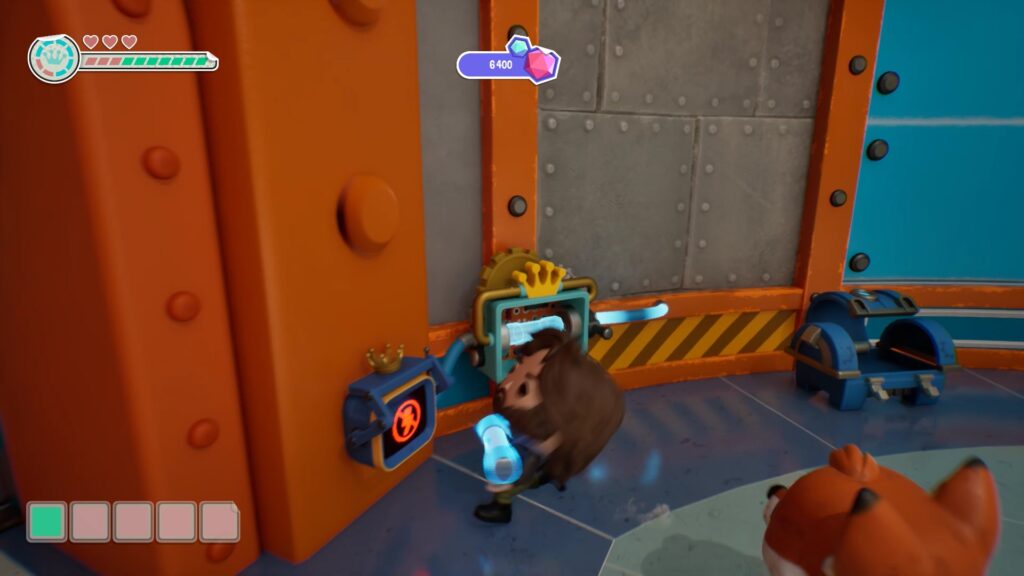
Place the module near the entrance to the » Security » room and climb onto its roof to retrieve the fuse. Insert it into the mechanism of the door leading to the Atrium. Enter, then go talk to the Manager.
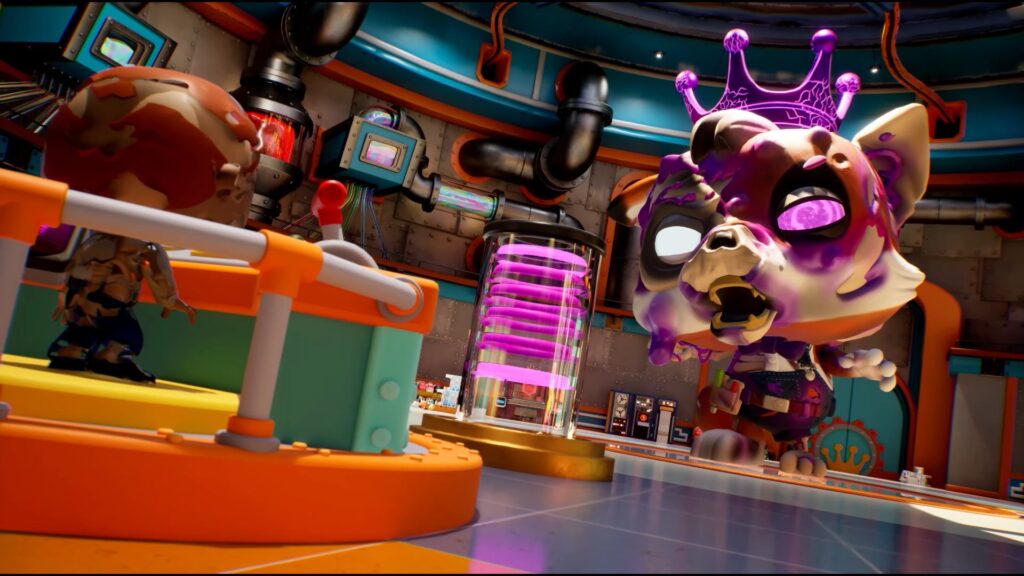
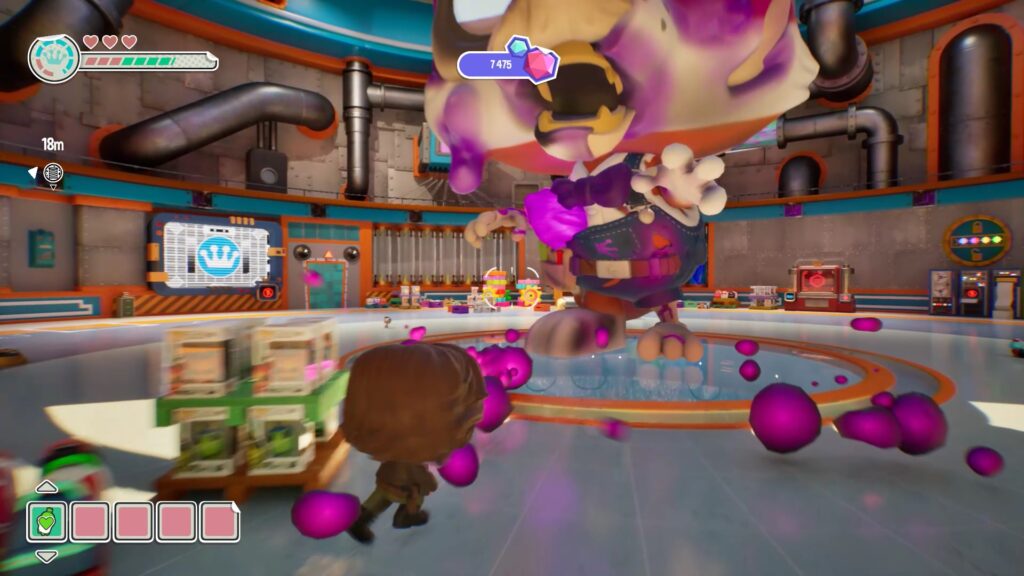
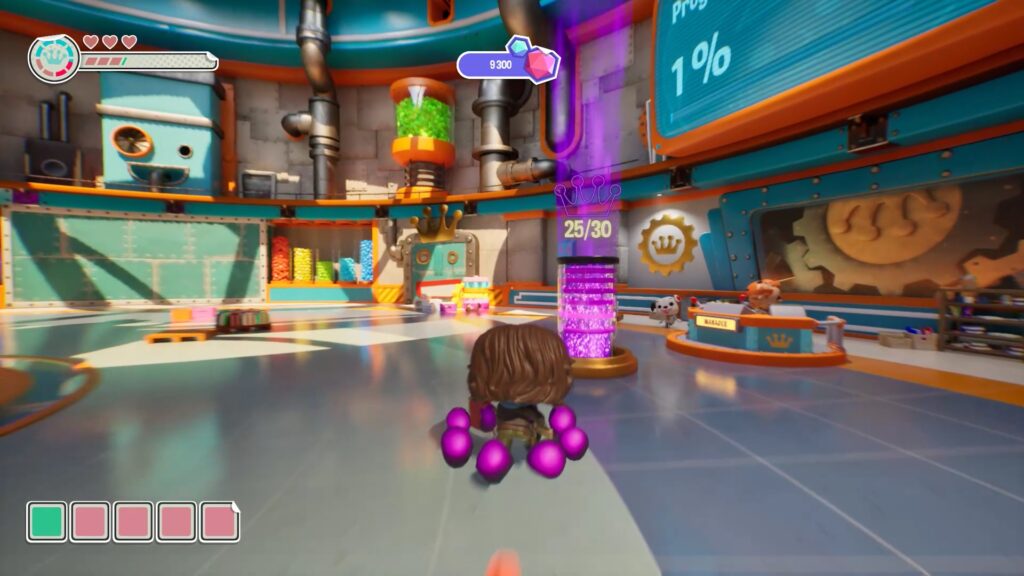
Follow the cutscene and talk to the characters to trigger a fight against Eddy. Avoid his ground attacks by jumping at the right time, then shoot the purple growths on his body. Touching them will cause purple orbs to fall to the ground. Pick them up and place them in the purple receptacle marked with a crown. You will need to collect 30 of them to activate the receptacle and end the fight.
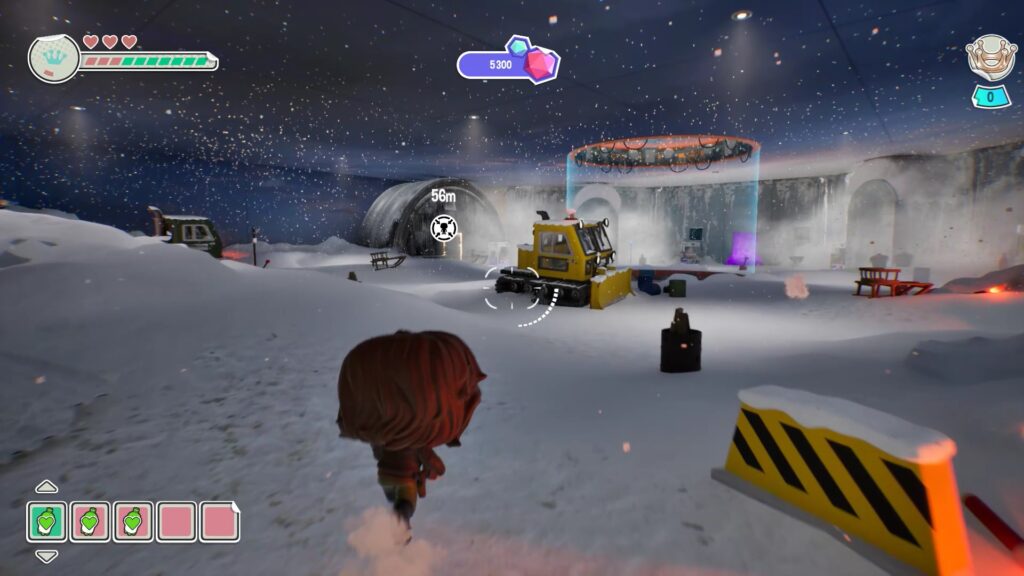
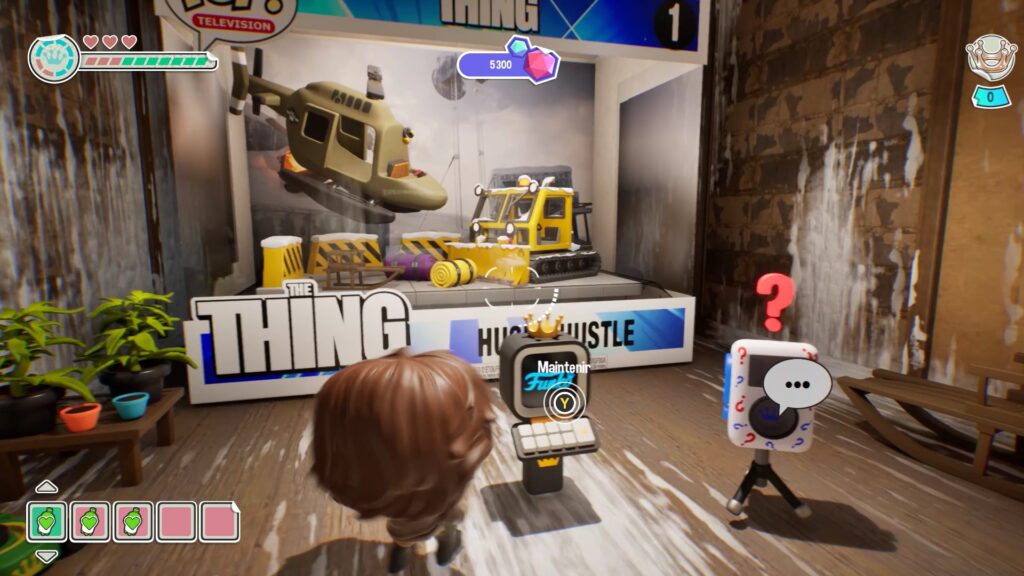
Once the fight is over, go back and talk to Freddy. You now need to collect more crowns. To do this, go back to the hub of the world you chose. In our case, head to the world of The Thing. Follow the quest marker to reach the first chapter.
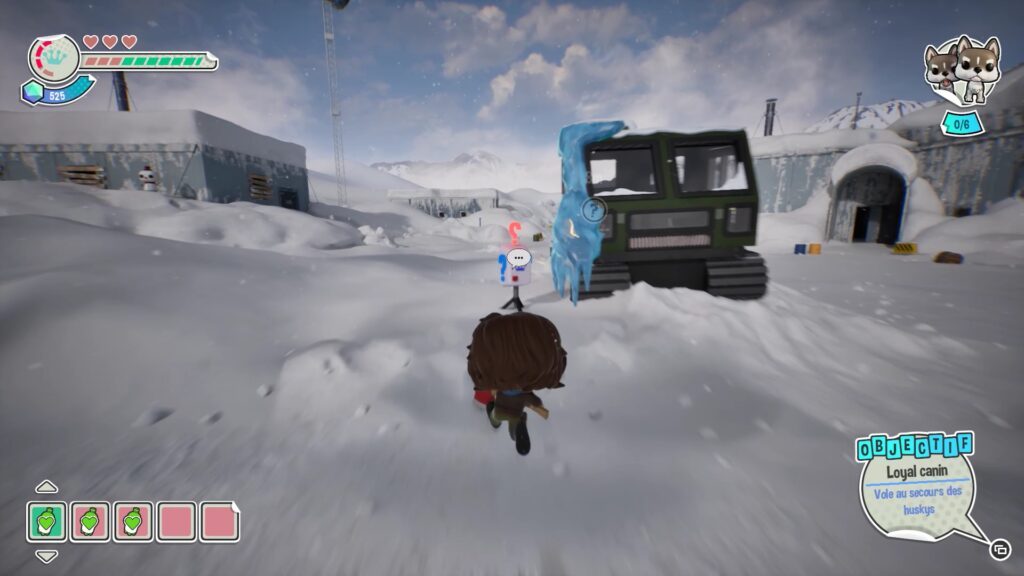
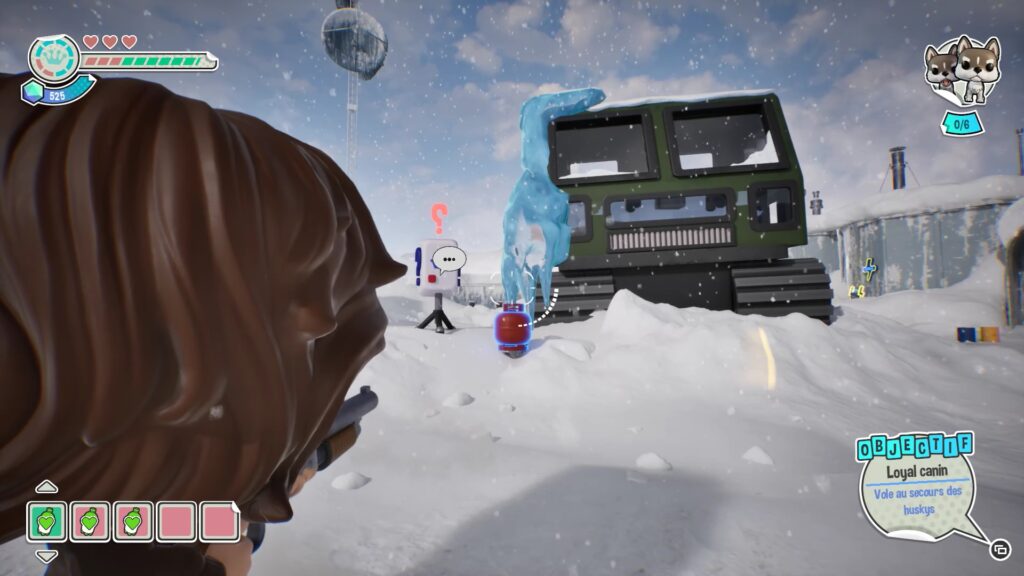
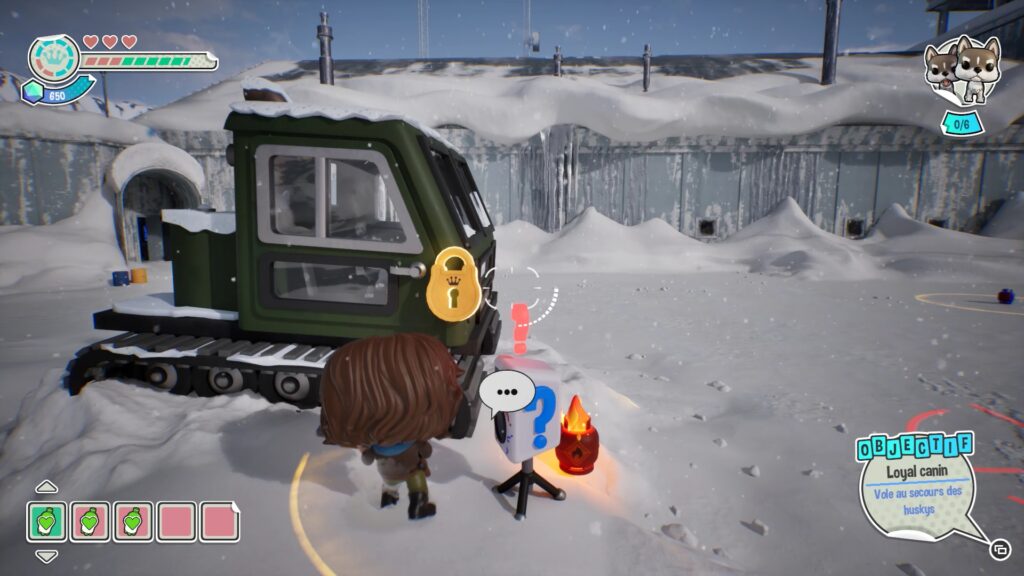
In this first chapter, you must free 6 huskies scattered across the map. To find the first one, follow the quest marker. He is locked in a vehicle. To free him, melt the ice on the door using the gas canister nearby. Place it near the door, shoot it to melt the ice, then shoot the padlock to open the door and free the husky.
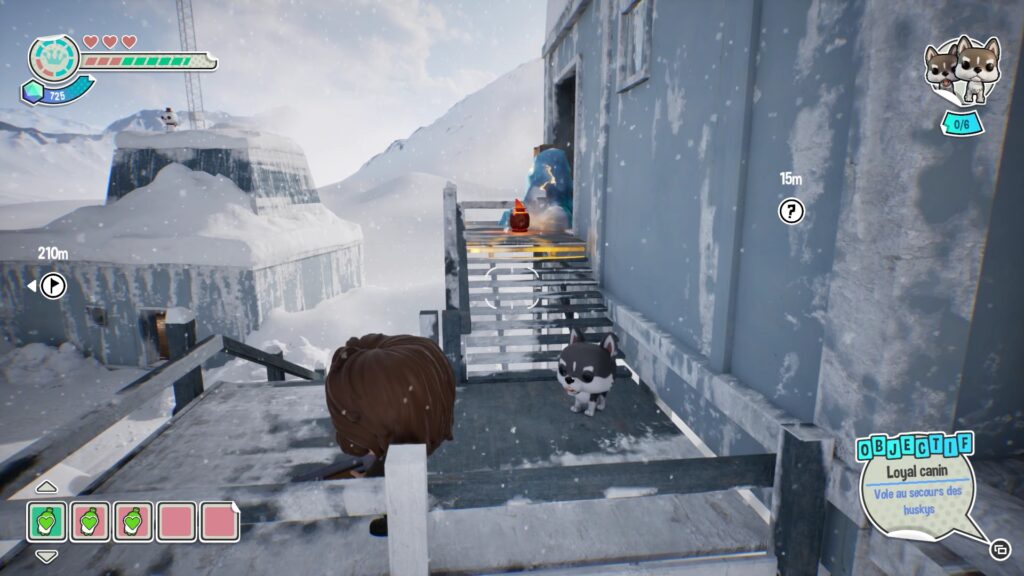
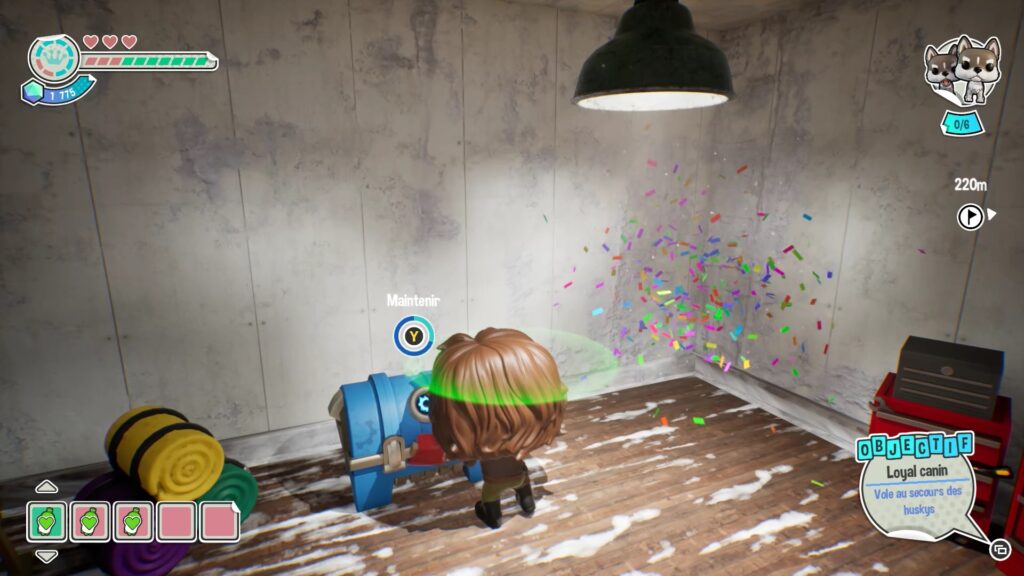
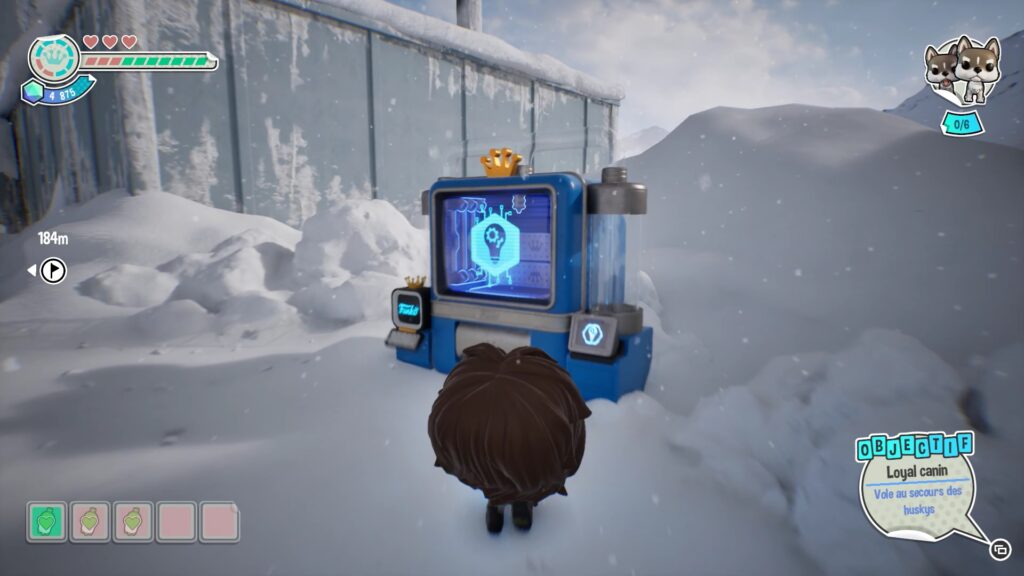
To continue, you will need to create gas canisters from the creation machine. Find 3 blue chests to unlock this equipment. The first chest is outside, in a house at the top of the stairs. Use the gas canister again to melt the ice on the door of the house. Then break the padlock to enter the house and retrieve the blue chest, while freeing a new husky.
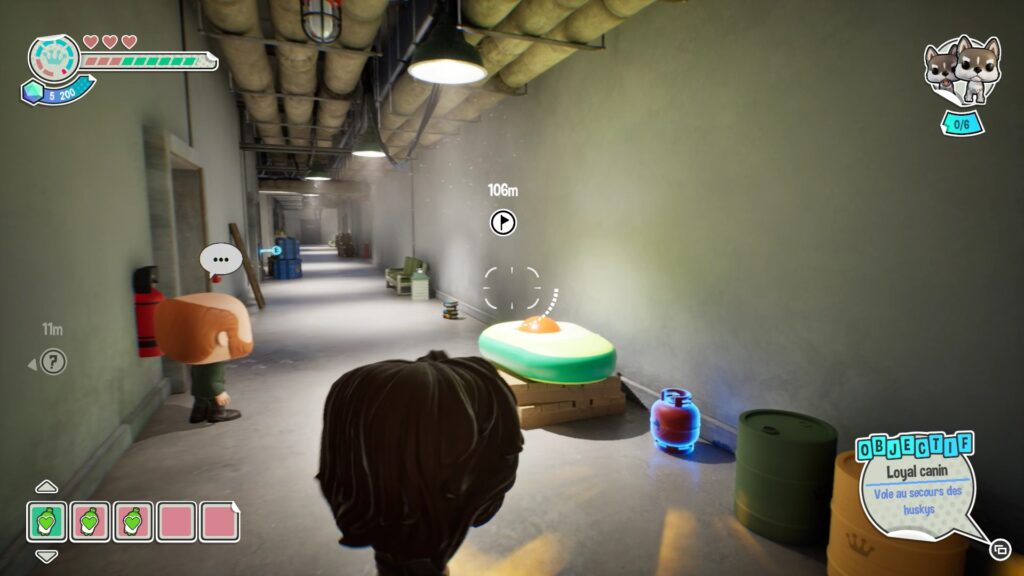
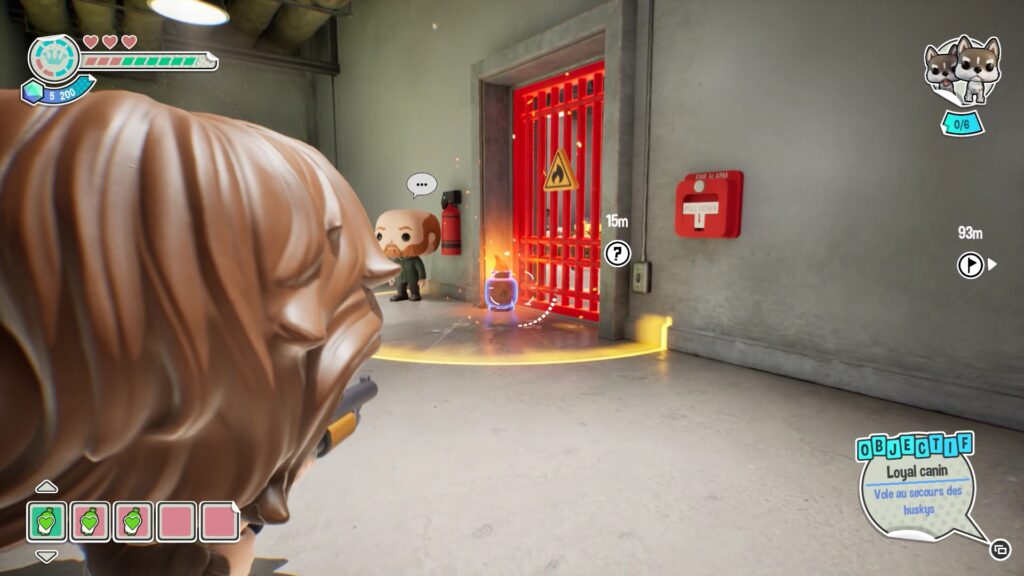
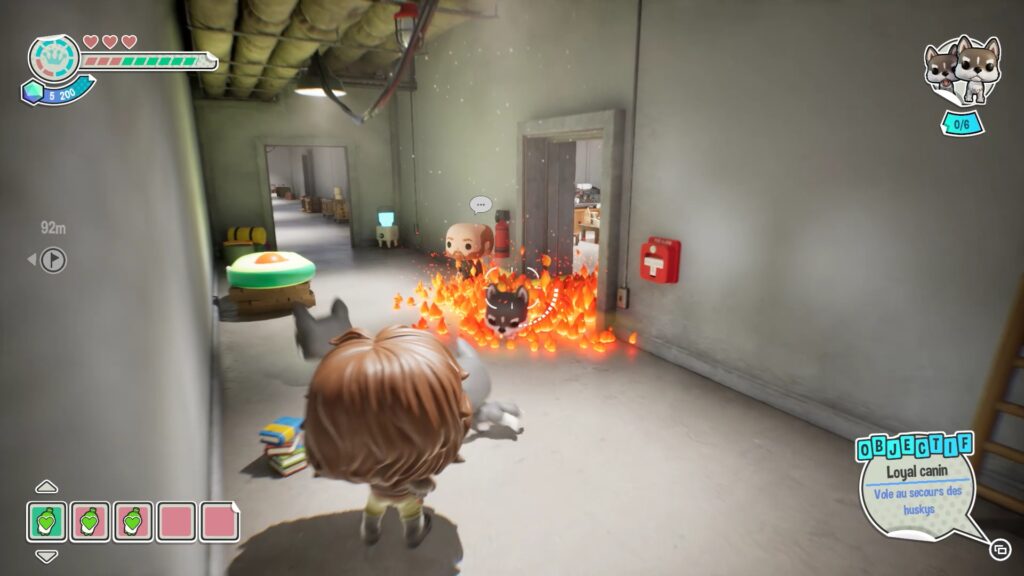
Following the quest marker, you enter the main building. On your way, you will meet a character in front of a locked door. Use the gas canister nearby to melt the door and release a third husky. Also enter the room to find a second blue chest.
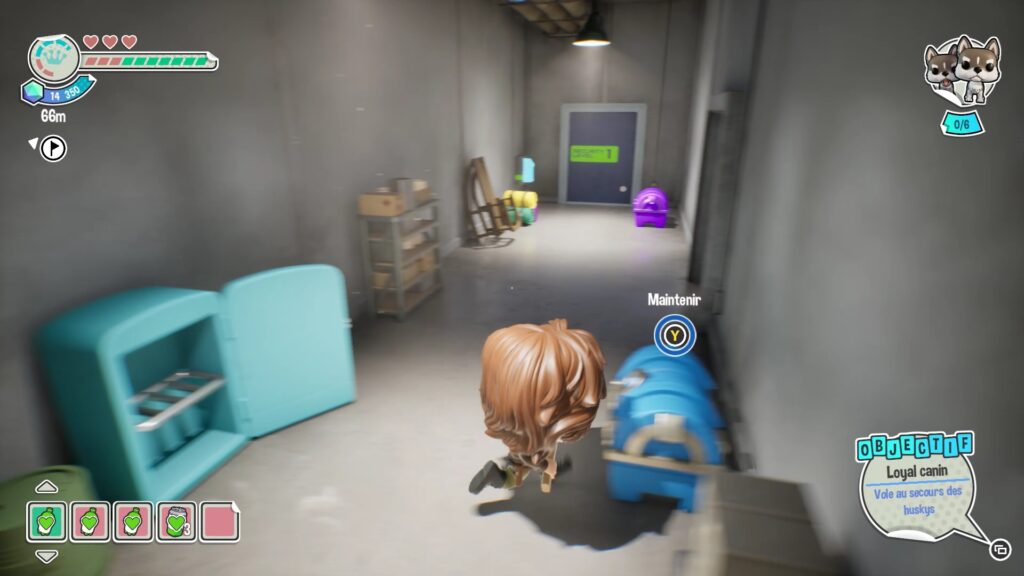
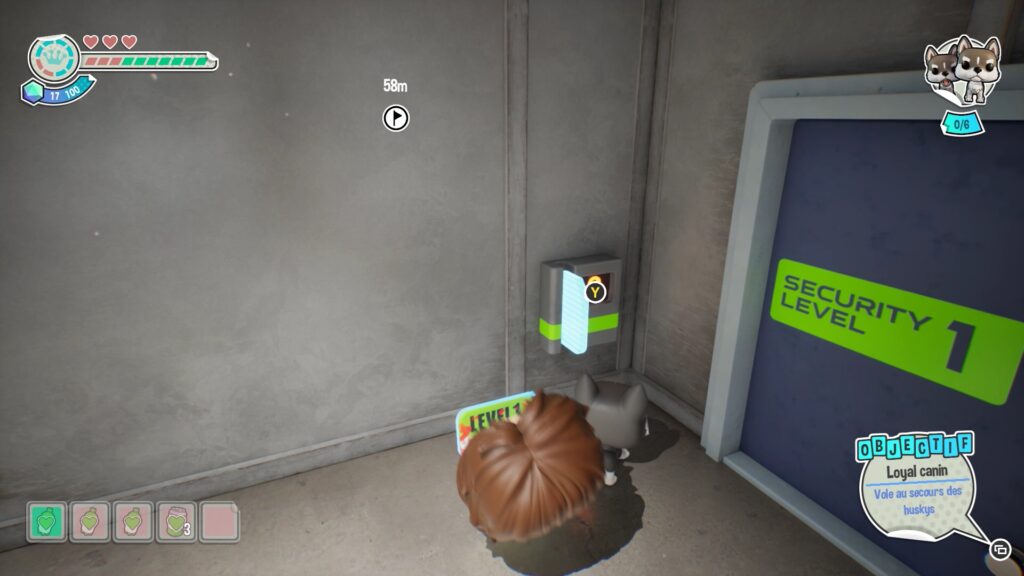
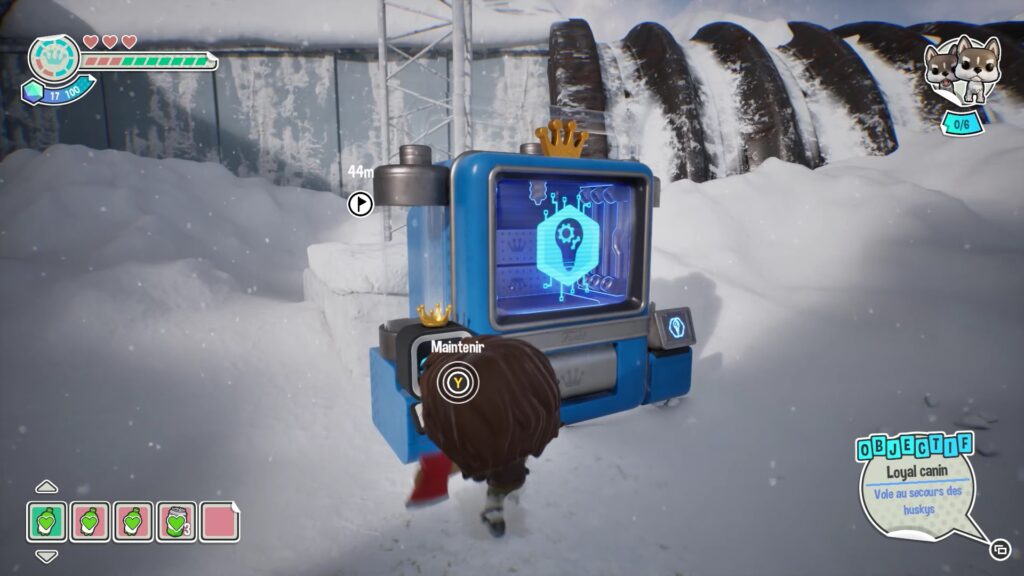
As you exit this room, head left, then right to find a final blue chest. You will also come across a locked door labeled « Security Level 1 ». Open the purple chest at the bottom of the door to retrieve the access card. In this area, there is a new blue creation machine. You can bring the items you found there to create gas canisters whenever you want.
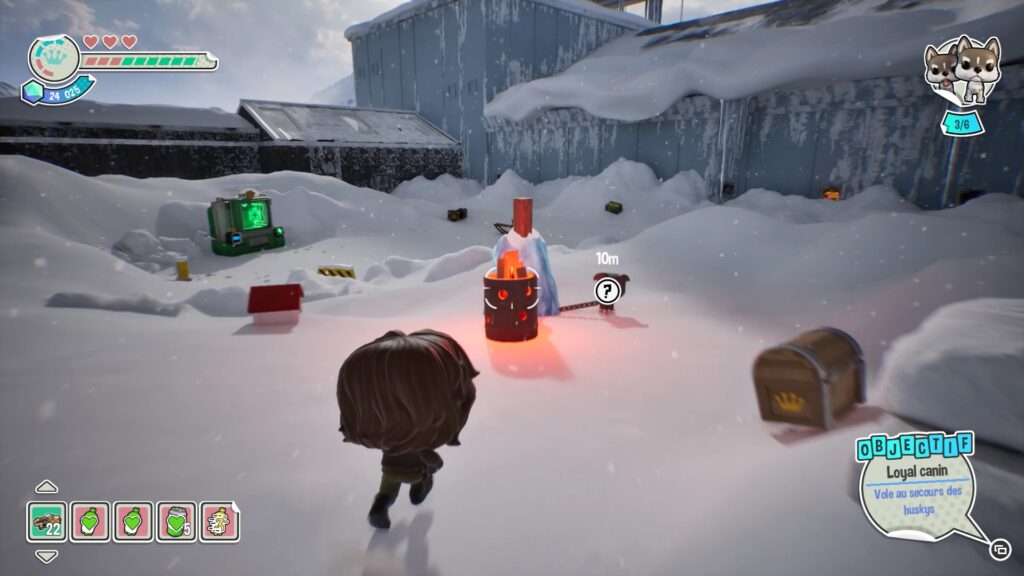
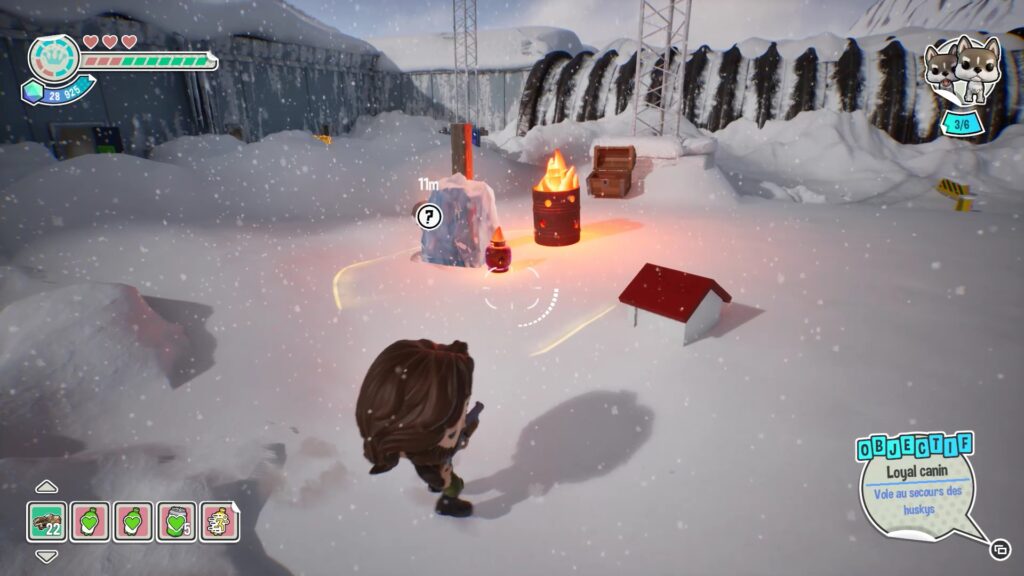
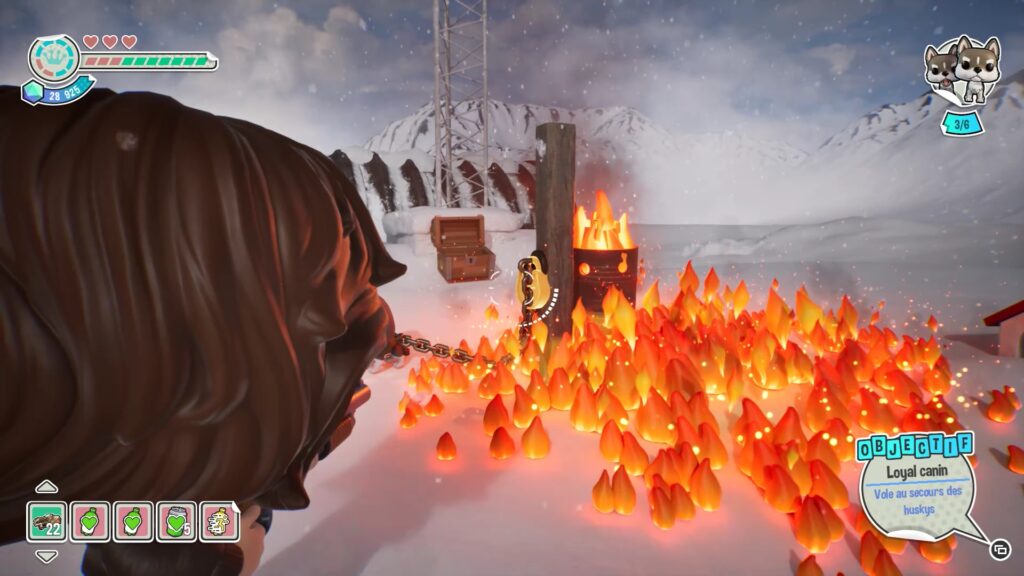
As you continue through the area, you’ll find a fourth husky hanging from a pole. Melt the ice around the pole with a gas canister, then pull the lock to free the husky.
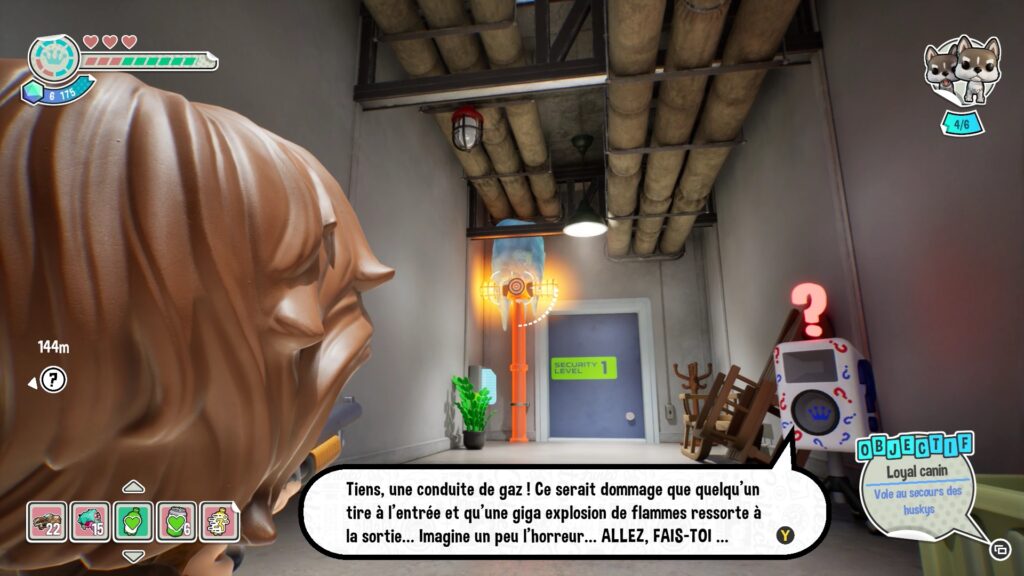
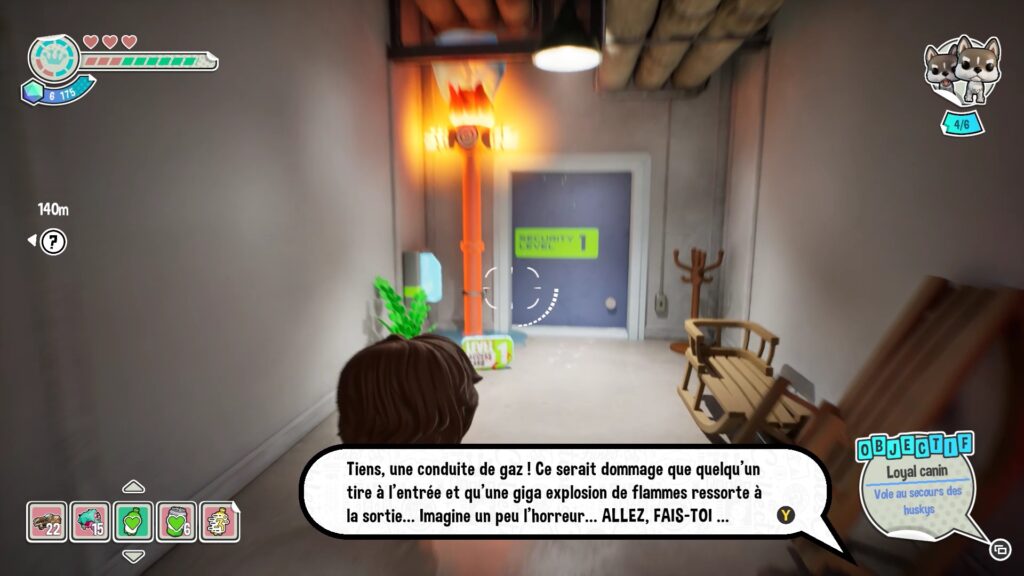
To find the fifth husky, head back inside the building and head to the right of the door you melted. Head forward in that direction, then take the path to the left. You’ll find a locked door labeled « Security Level 1 » near a gas line. Shoot the line to melt the ice and retrieve the access card.
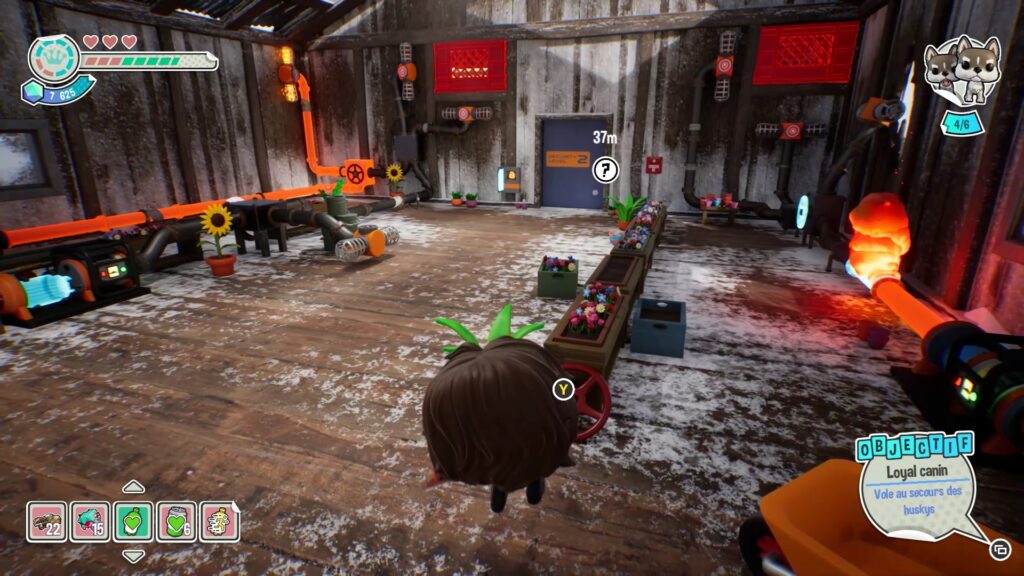
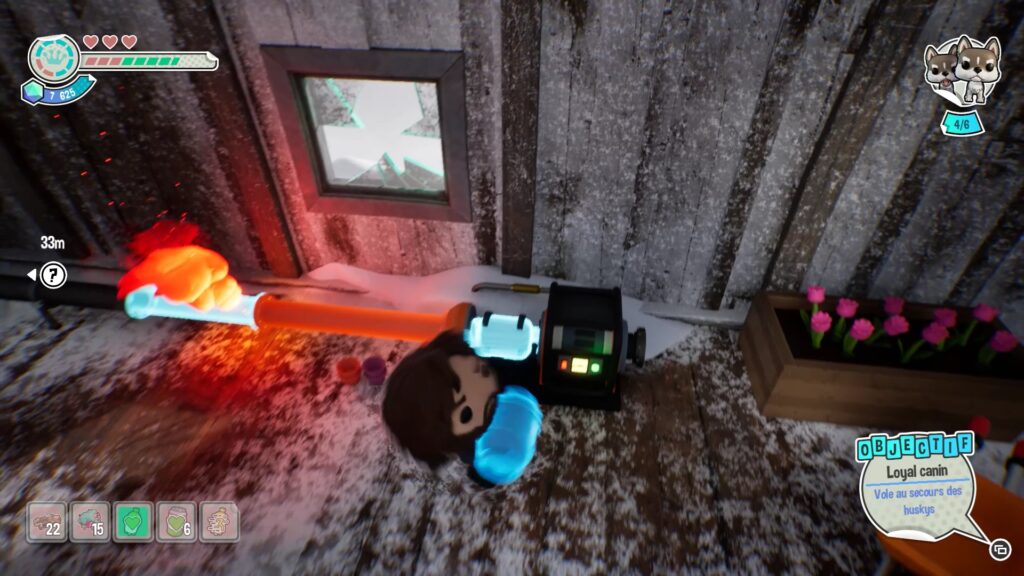
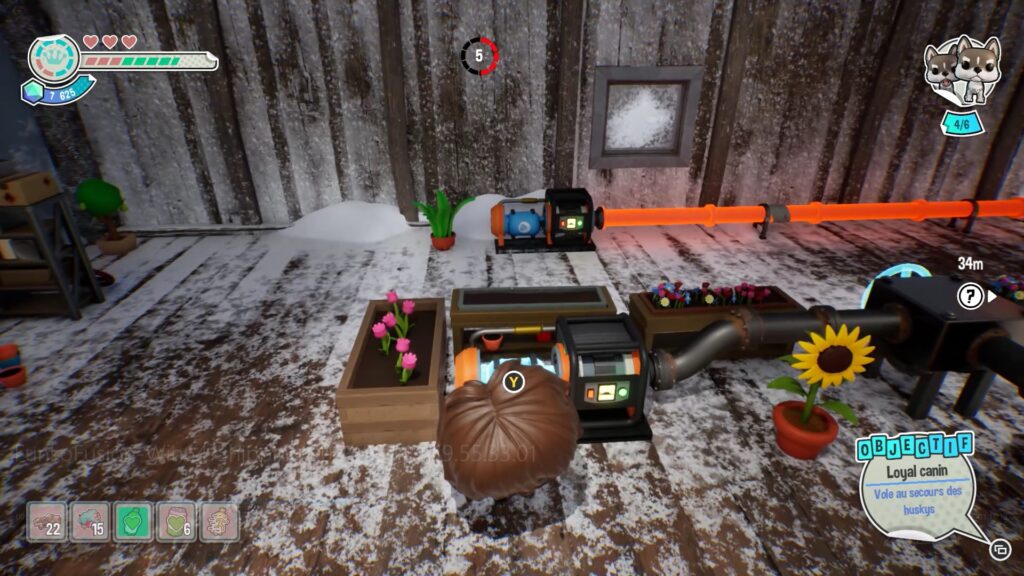
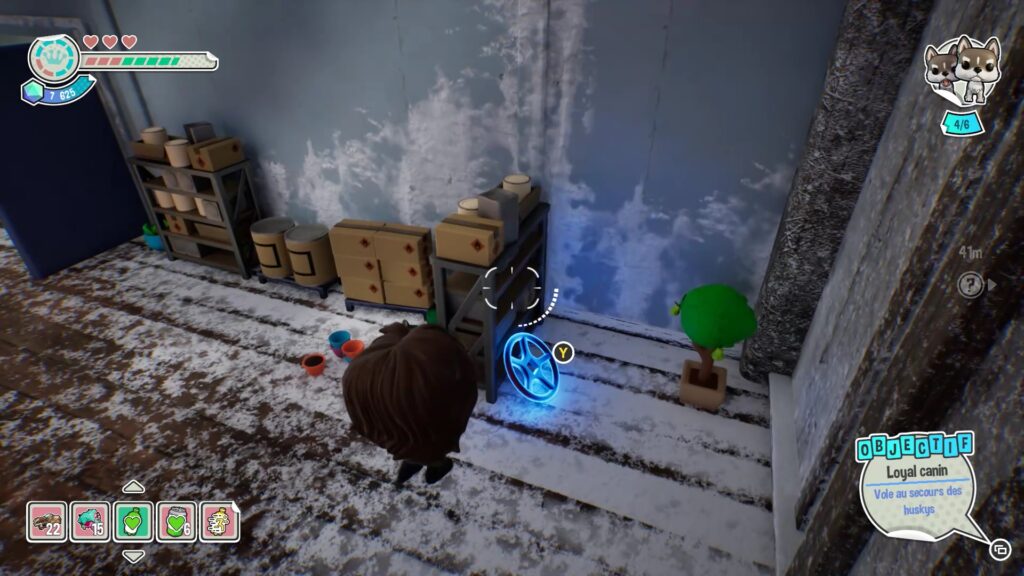
After defeating the enemies in the area, collect the valve at the entrance. Place it on one of the slots at the back left of the room. Then, take the battery from the generator on the right and place it on the generator on the left. Finally, collect a second valve near the wall, near the generator on the left.
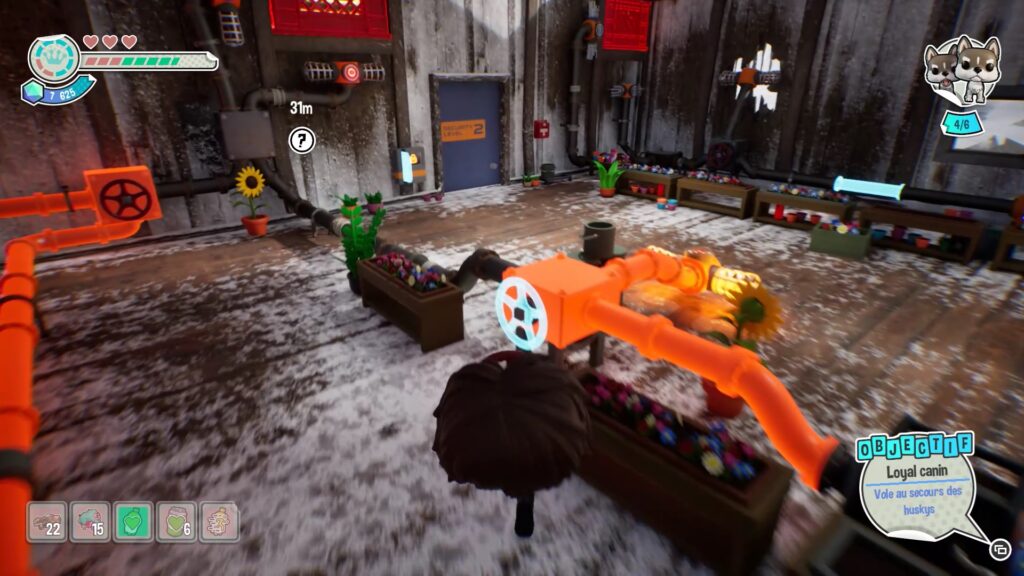
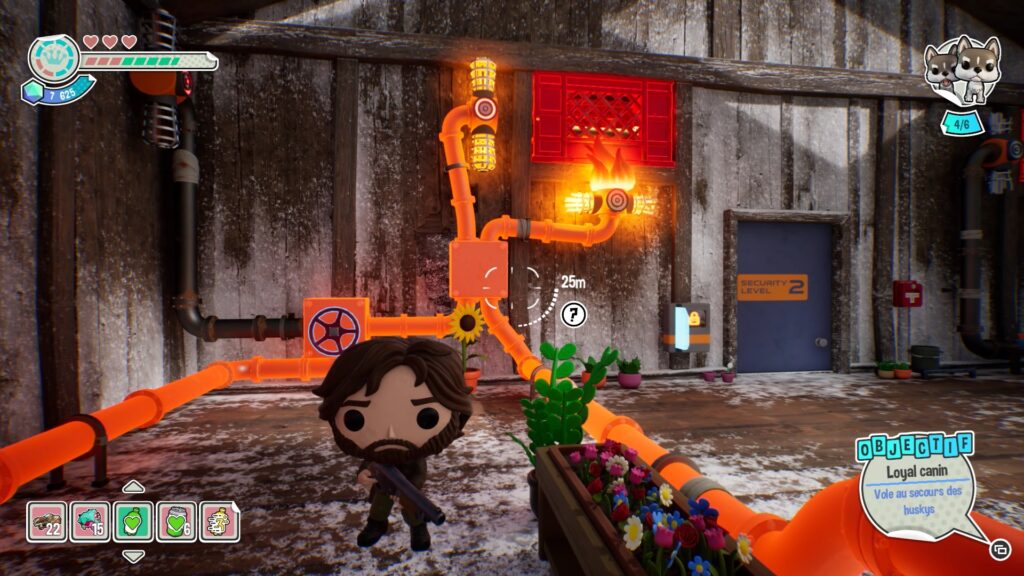
Place this new valve on the second slot on the left. Now activate both valves to supply the gas lines. Once the lines are lit, pull on their ends to melt the grate high up.
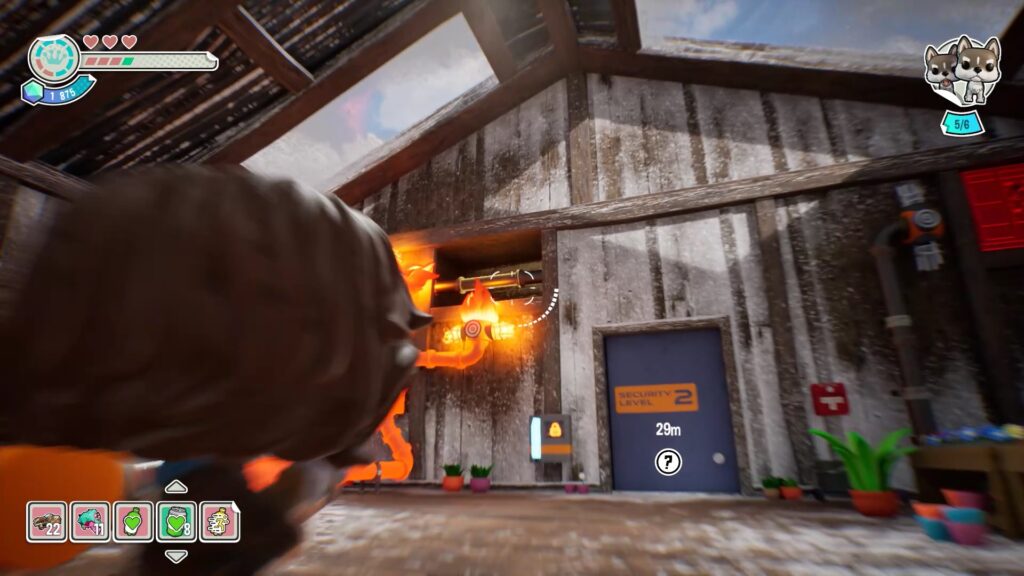
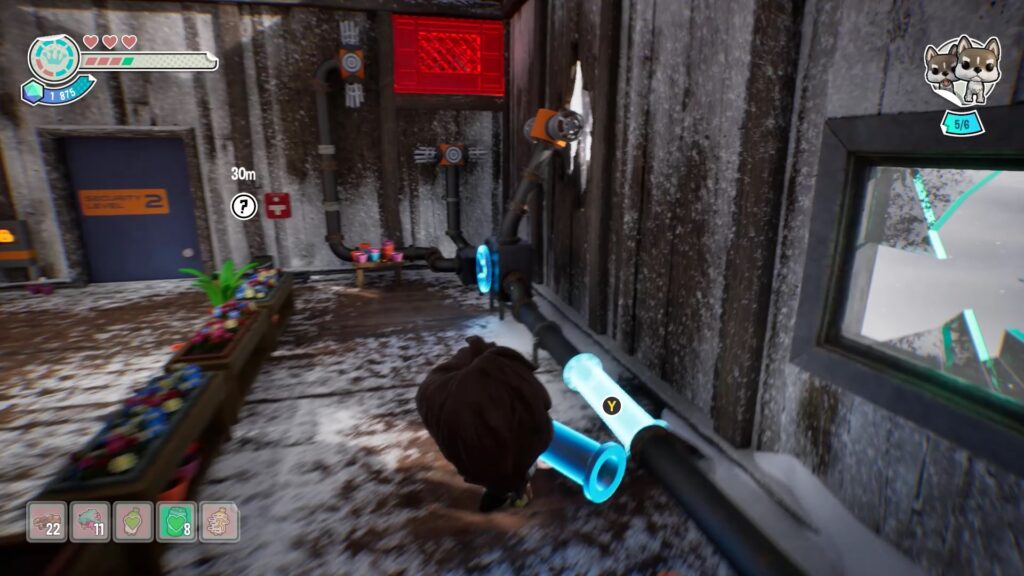
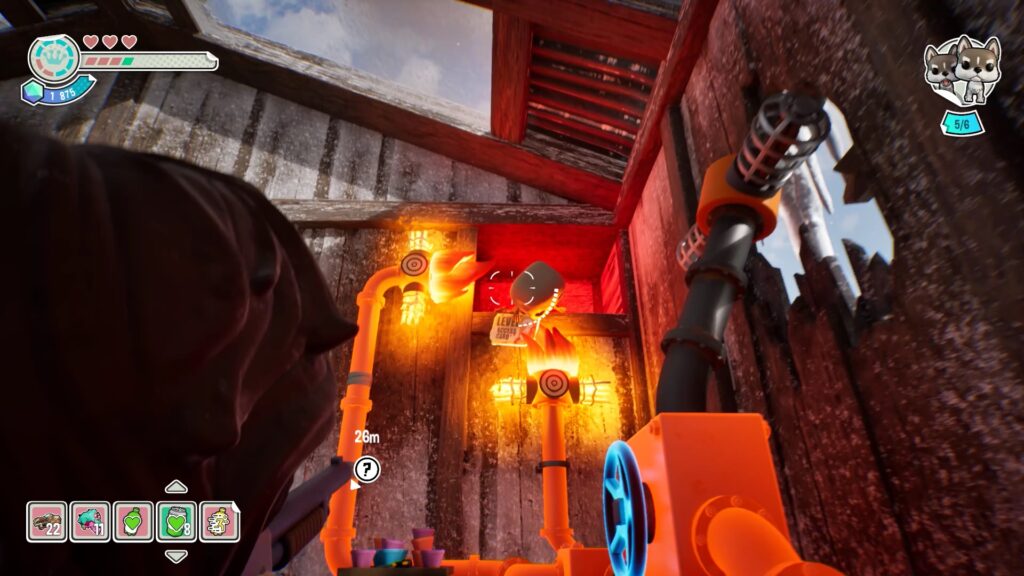
Behind the grate was a piece of gas pipe. Shoot it to collect it. Then place it on the gas pipe on the right side. Then, collect a valve and a generator battery on the left side to power the right side. Melt the grate again to collect the level 2 access card for the room. Enter the new room to free a husky.
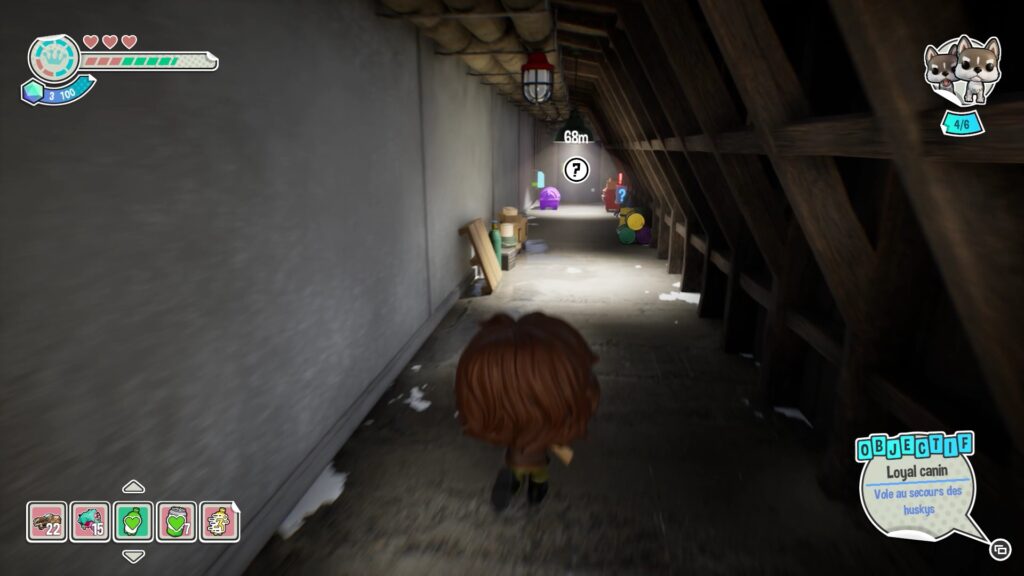
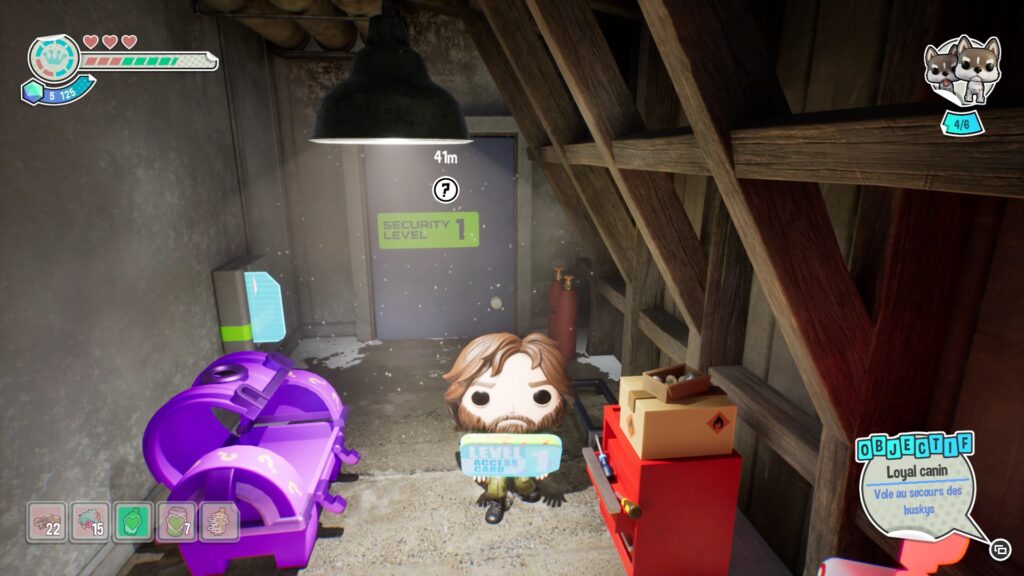
The last husky is near the kennel. Follow the quest flag and head right out of the kennel. A purple chest and a locked door will block your path. Open the chest to get an access card, then head forward.
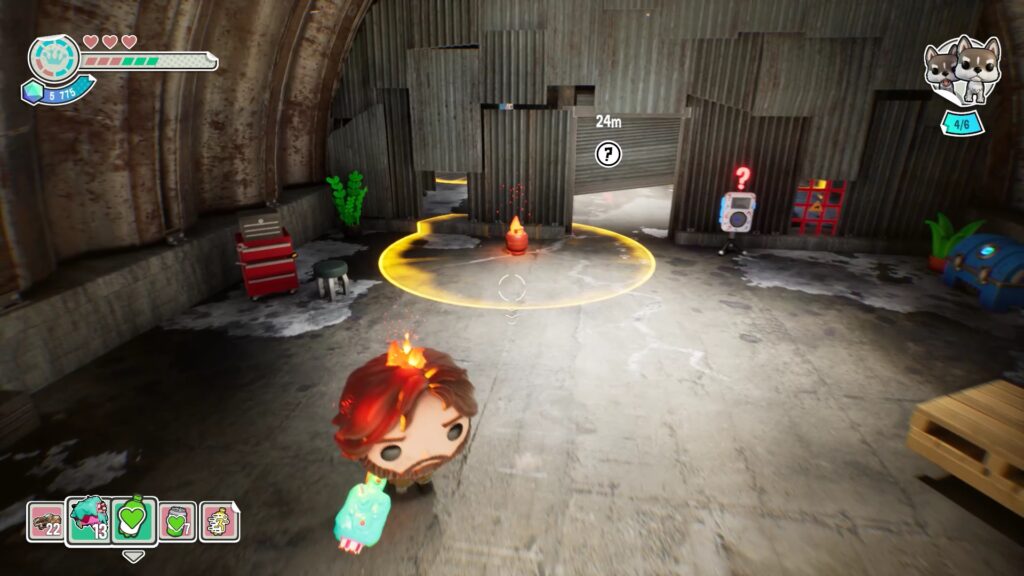
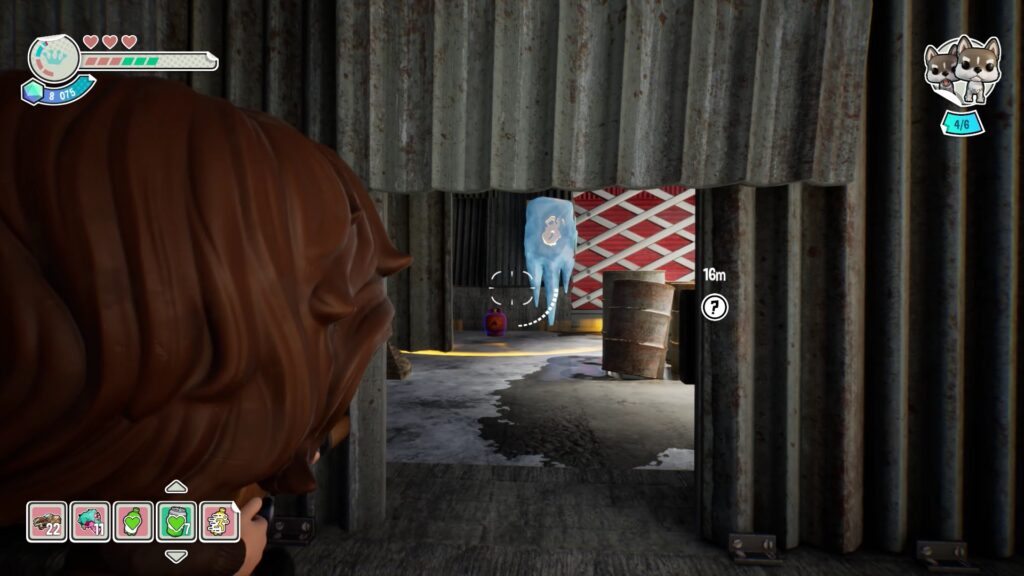
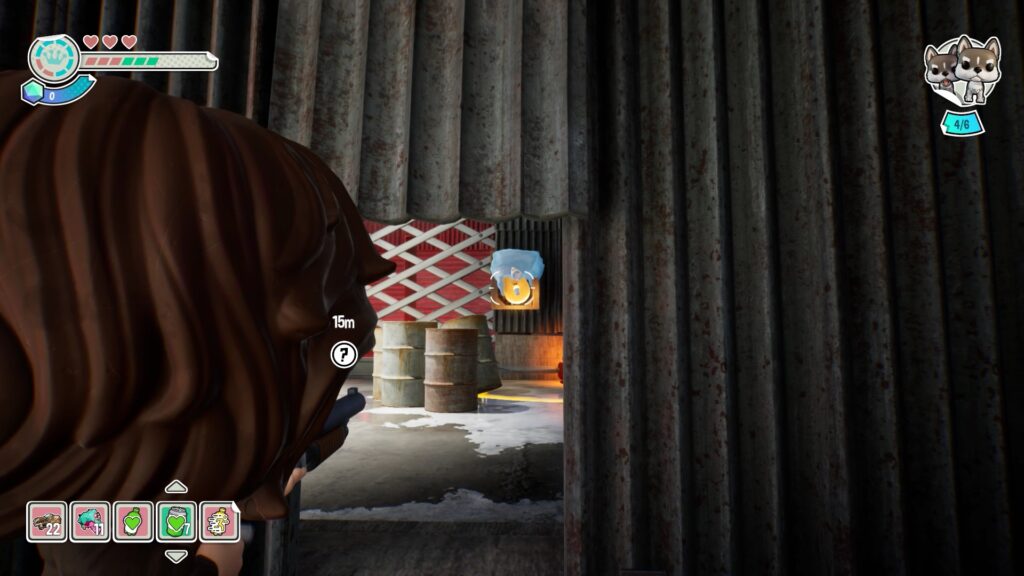
Defeat the enemies and enter the new room. Use gas canisters to melt the three grates in the room. Once all the grates are melted, go to the two openings at the ends and light the gas canisters facing you on the other side of the room. This will melt the ice surrounding the chains holding the husky. Once the ice has melted, shoot the padlocks to free the last husky.
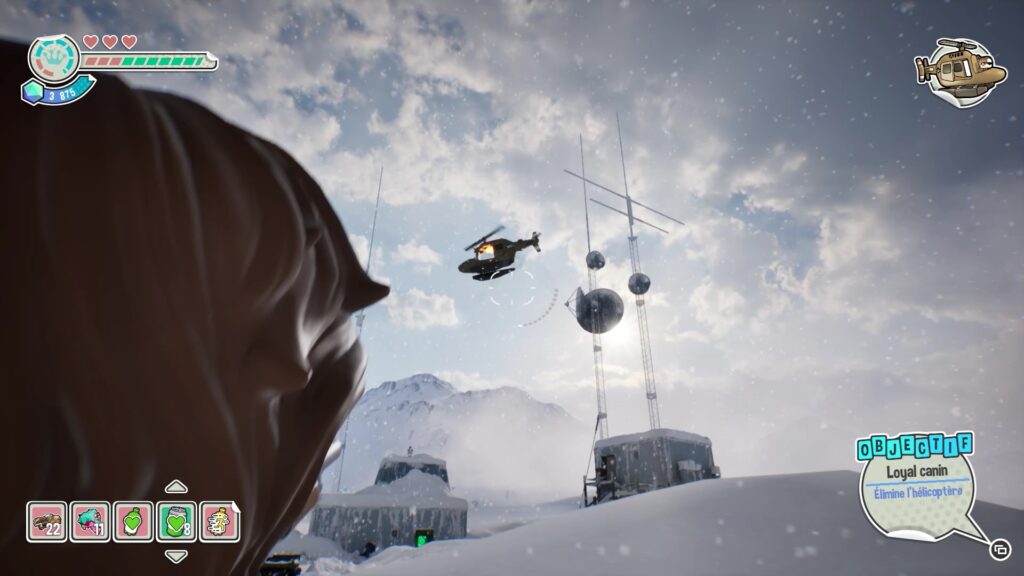
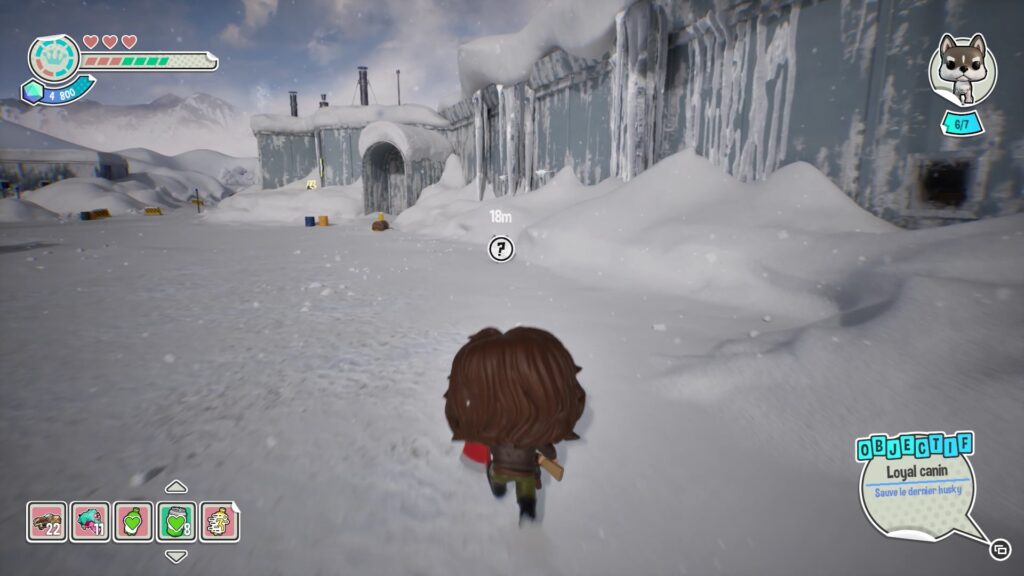
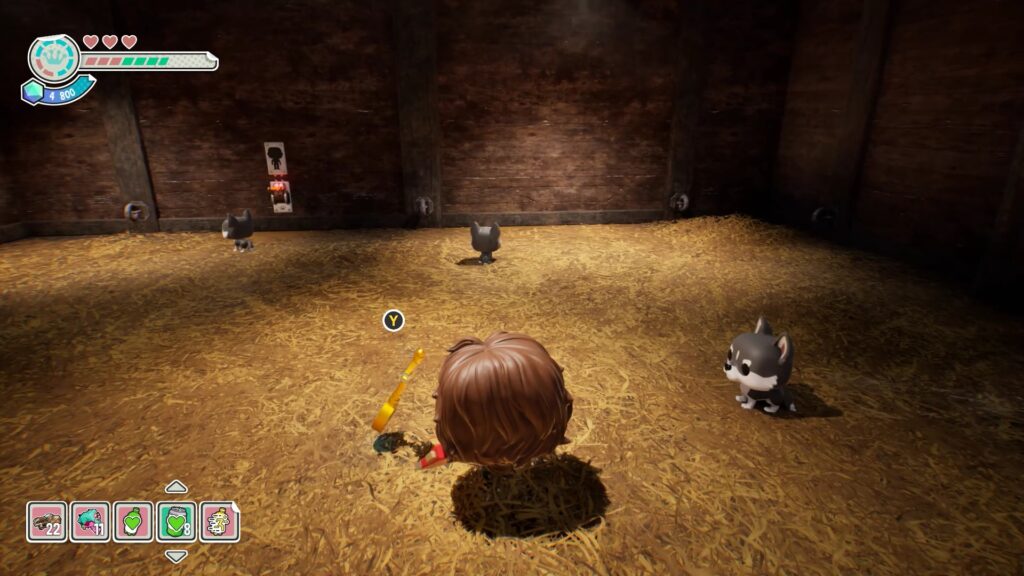
Bring all the huskies to the kennel to complete this quest. Now you need to get rid of the helicopter outside. Return to the start of the level and eliminate all the threats to save the last husky. Bring him back to the others to get a Funko key and complete the chapter.
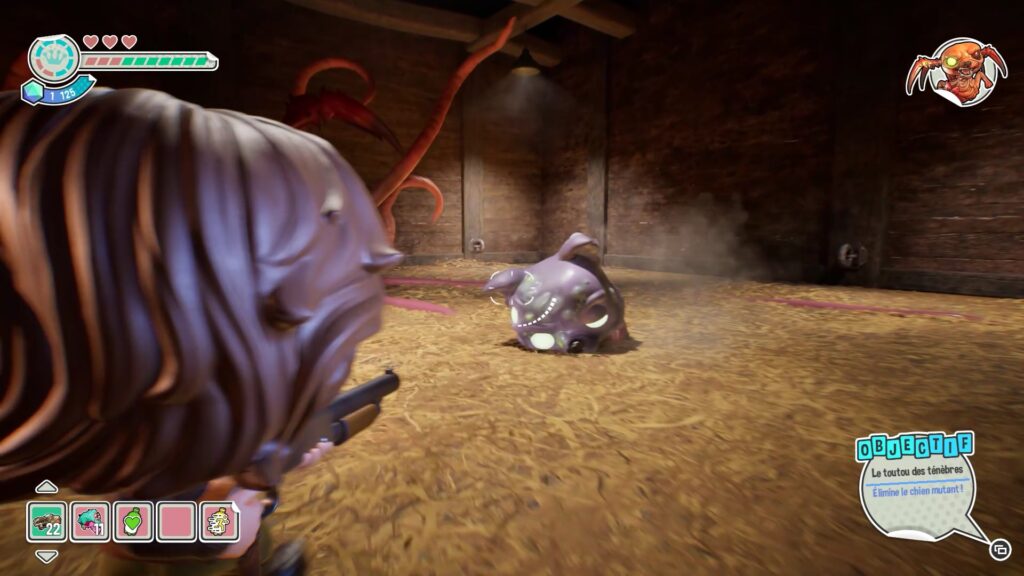
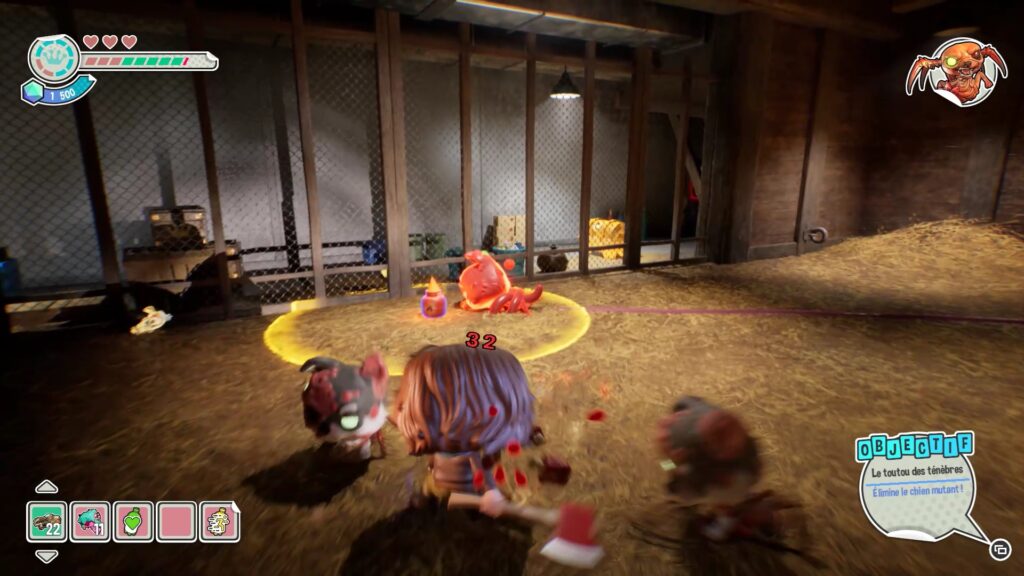
In this new chapter, go to the kennel to face a threat. To defeat the boss, you must first eradicate the three huskies on the ground connected to him. First, shoot them with your weapon until they turn red. Once red, eliminate them using explosives (flamethrowers, grenades, gas canisters). Eliminate the three huskies to complete the first phase of the boss.
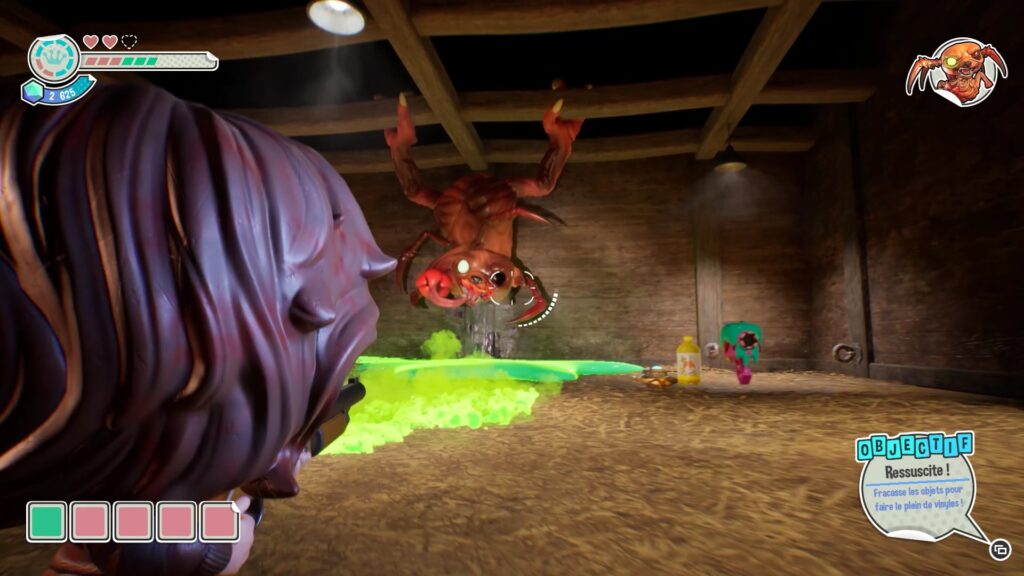
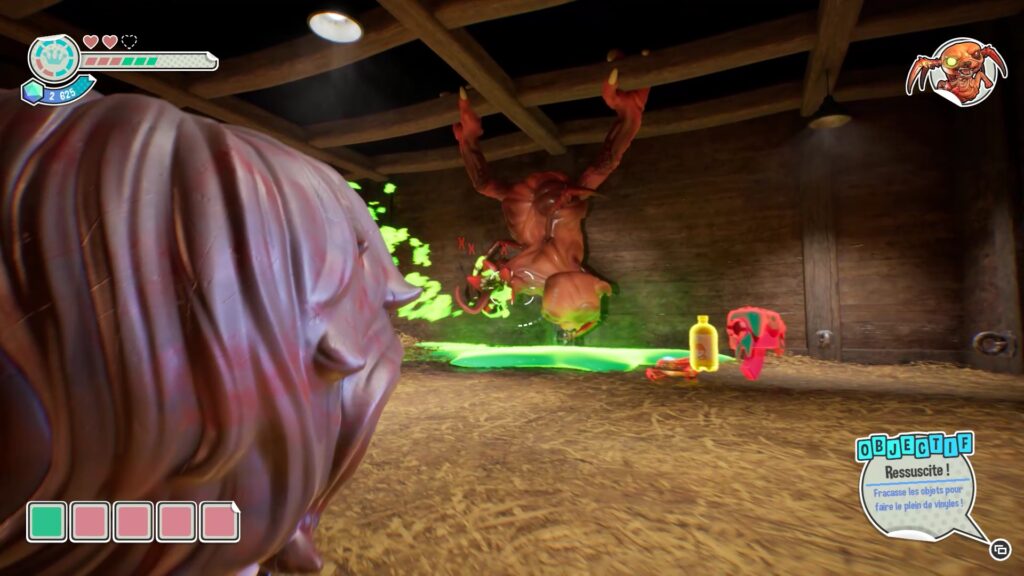
In his second phase, the boss is high up and throws a green liquid. Stay alert to his hits as well as to the other enemies in the area. To defeat him, aim for his face (eyes) and the mouth of the plant attached to him, alternating between the two depending on which one is available. When his face is facing the ground, take care of the plant, and vice versa.
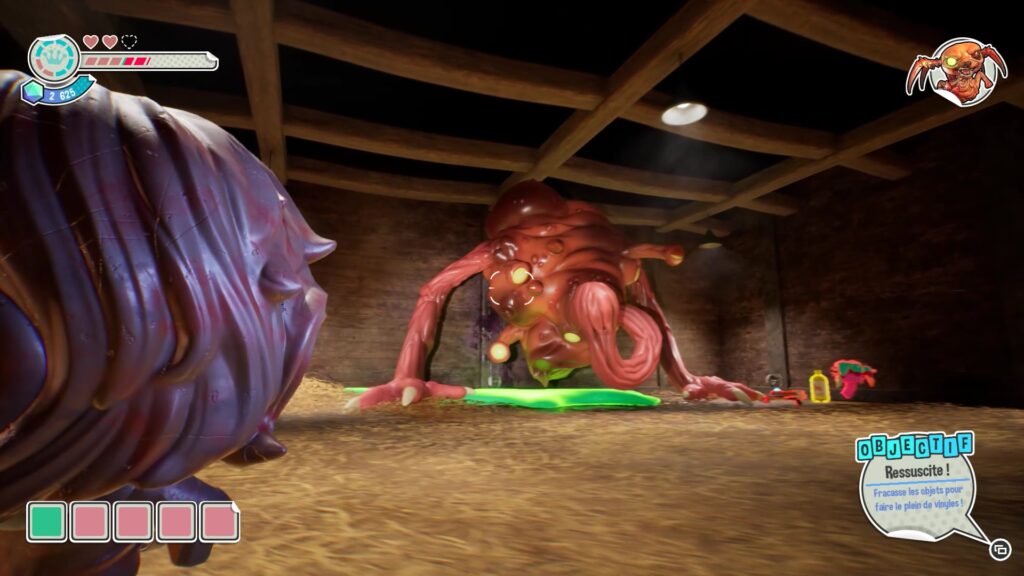
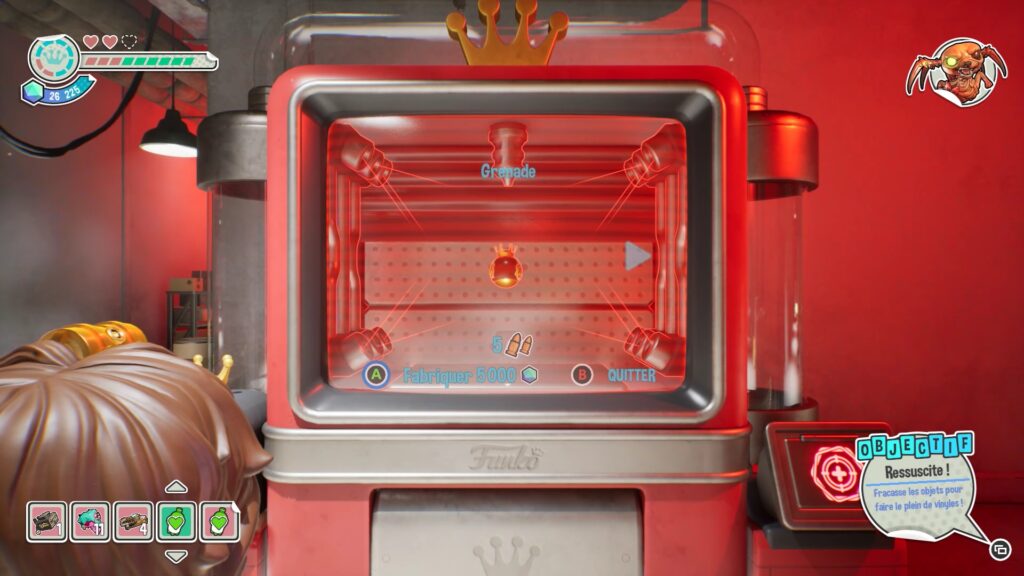
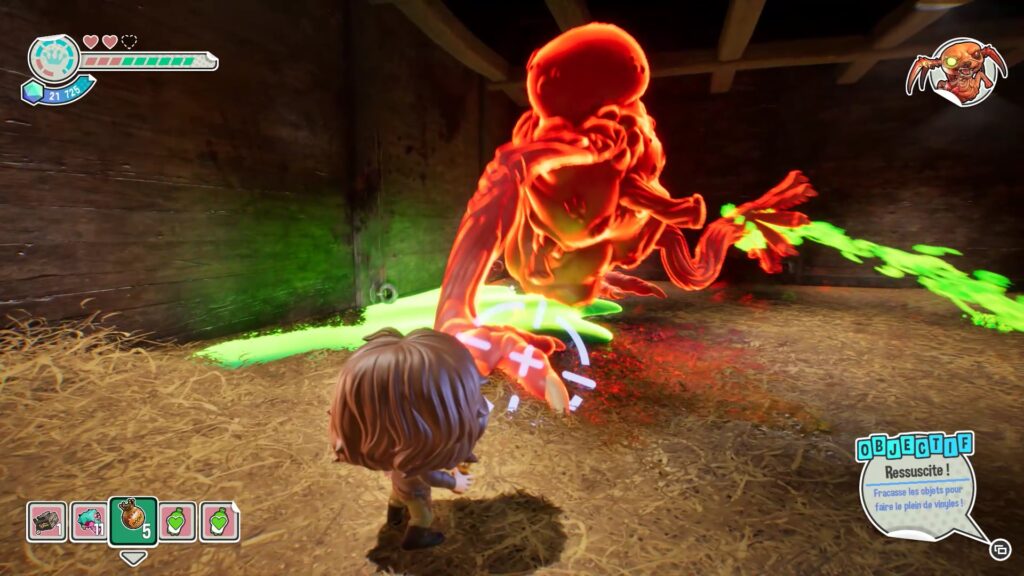
In its final phase, the boss is on the ground. Aim its tentacles at the yellow dot to weaken it. When it glows red, use explosives. The easiest way is to create grenades in the red creation machine, or if you have found all the red chests, to craft a flamethrower. Set the boss on fire to defeat it and collect the Funko key, thus ending the chapter.
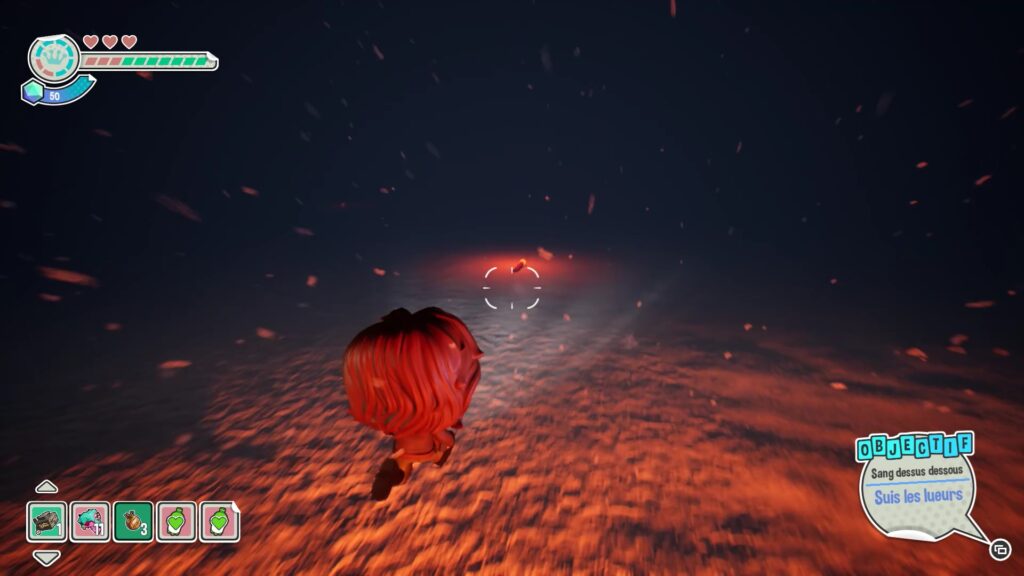
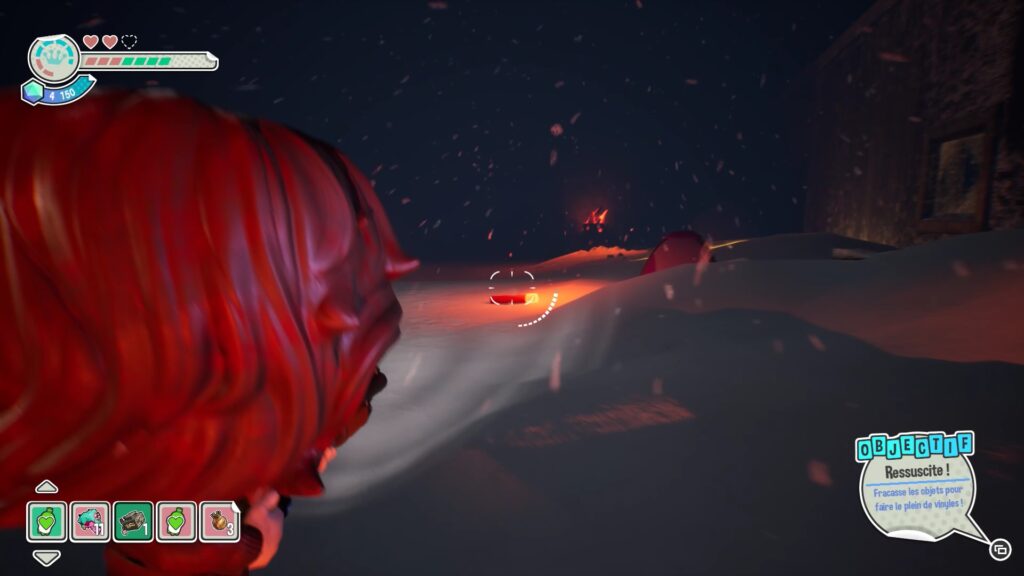
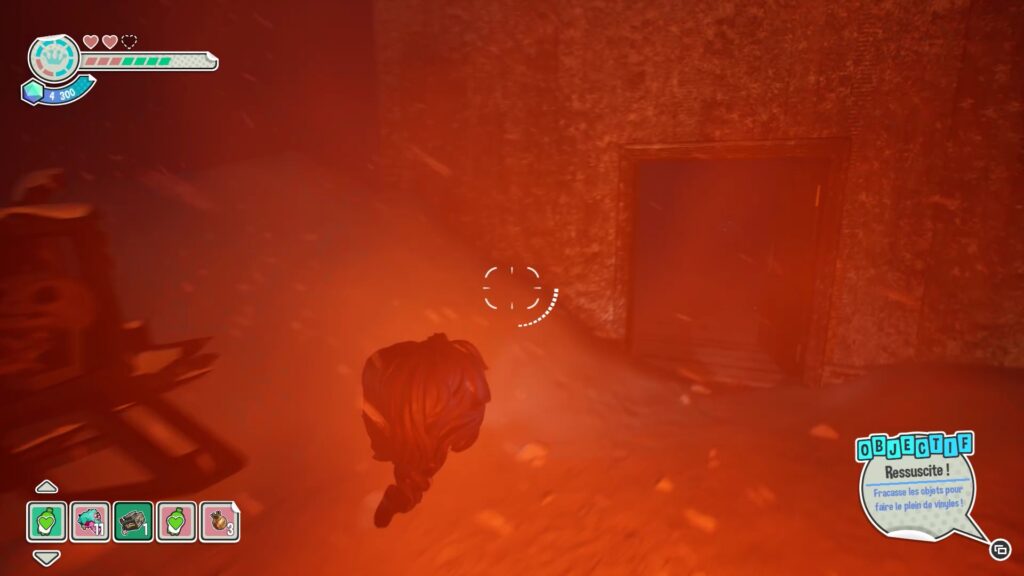
In this chapter, move from rocket to rocket. Shoot the rockets to light them, which will create a passage to reach a station.
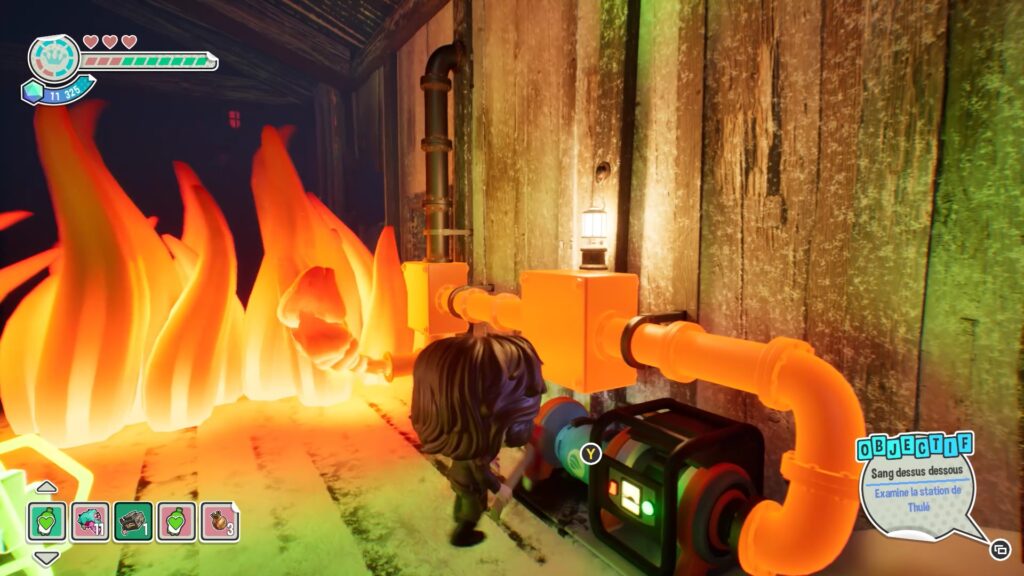
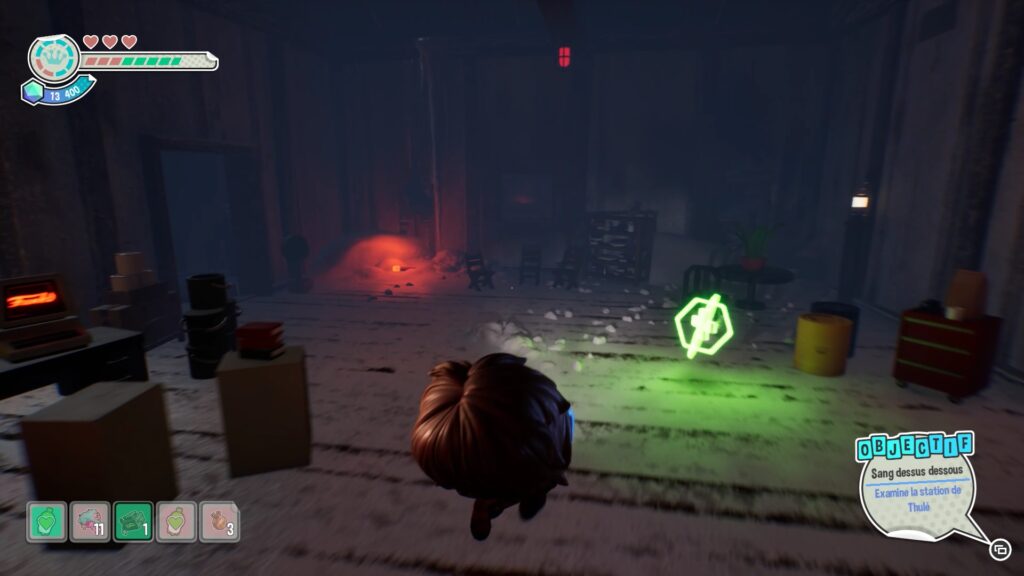
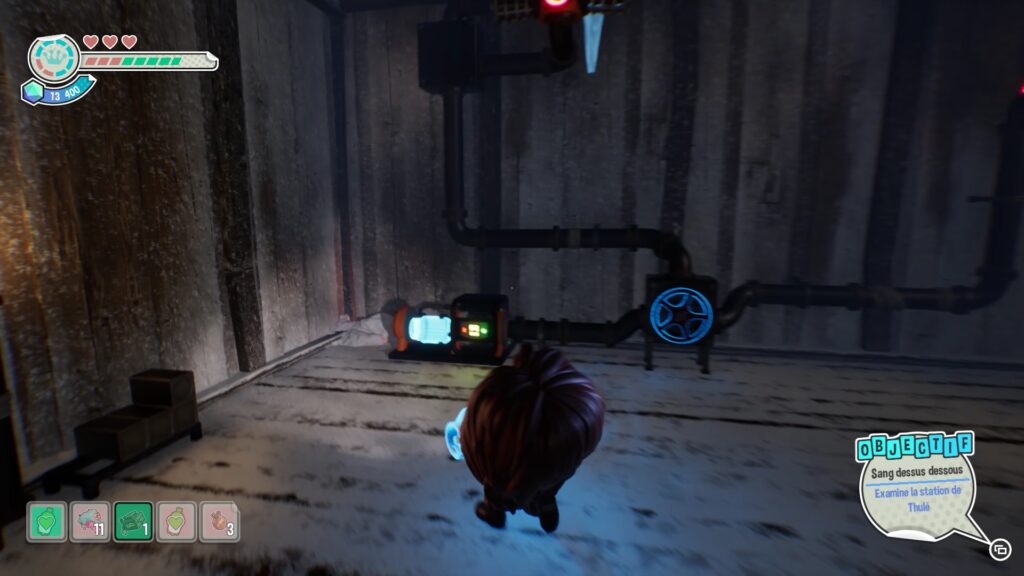
In the station, move forward until you are blocked by flames. Remove the battery that powers the generator from the gas lines to put out the flames and move forward. Keep the battery on you and head left. Enter the far room to find an unlit gas line. Insert the battery into the generator.
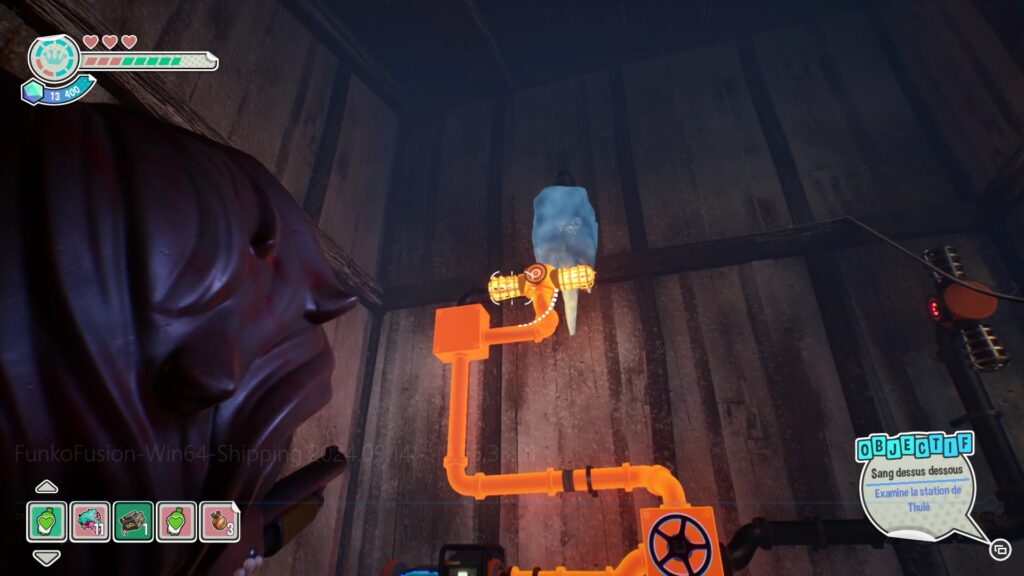
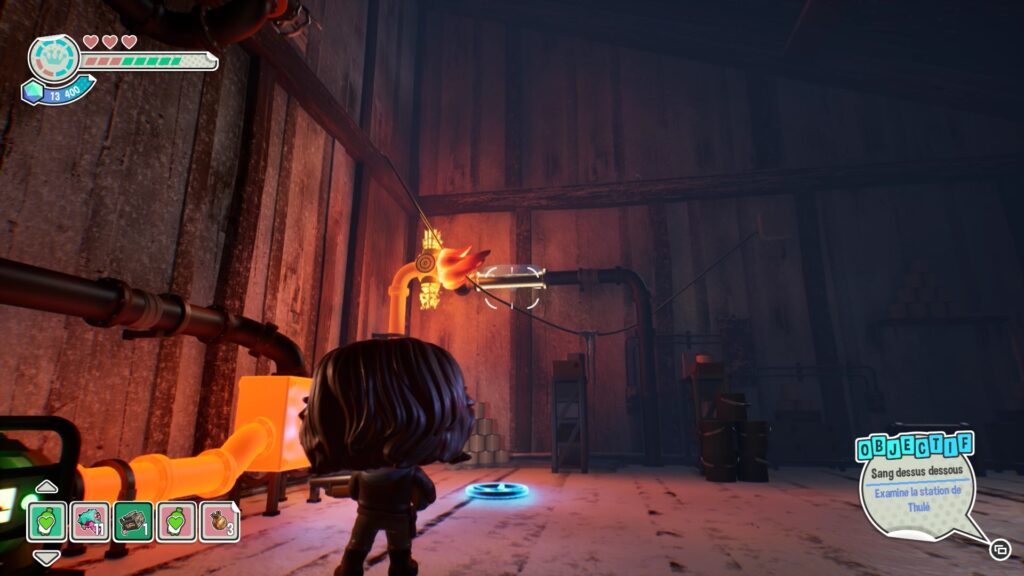
Turn the valve to turn on the gas line on the left and melt the ice. You will recover a second valve. Use this valve to turn on the gas line on the right and recover a piece of gas line.
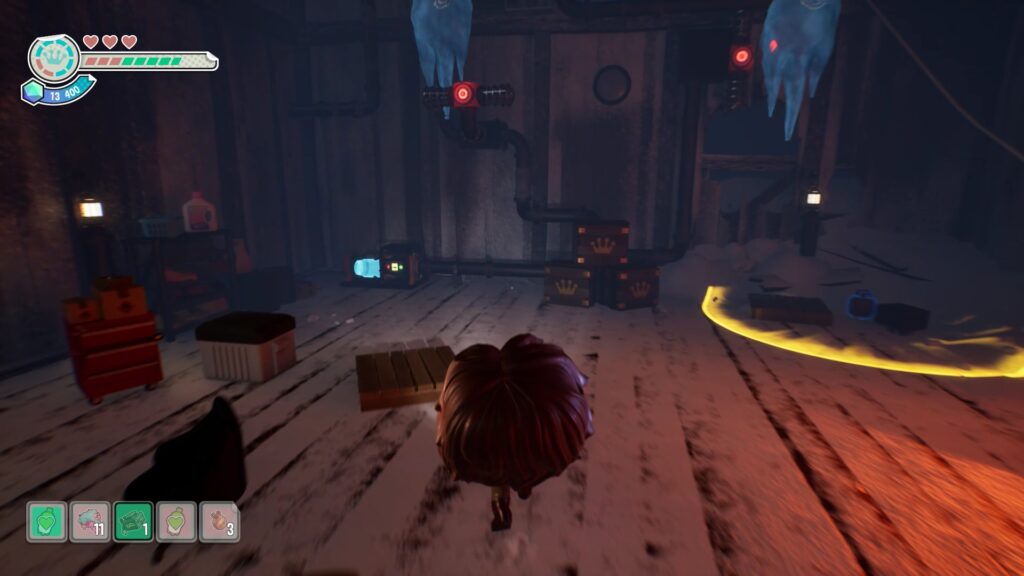
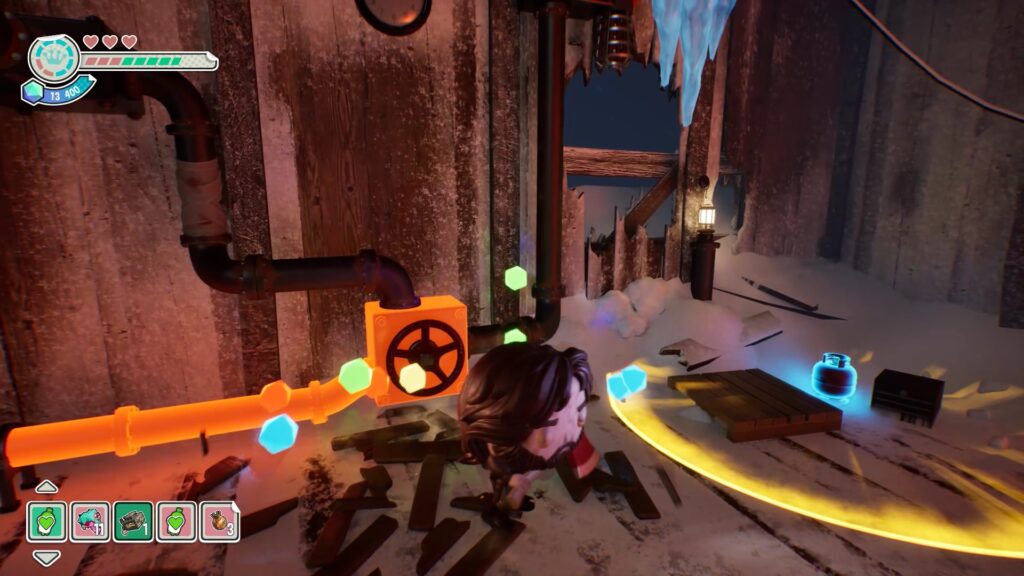
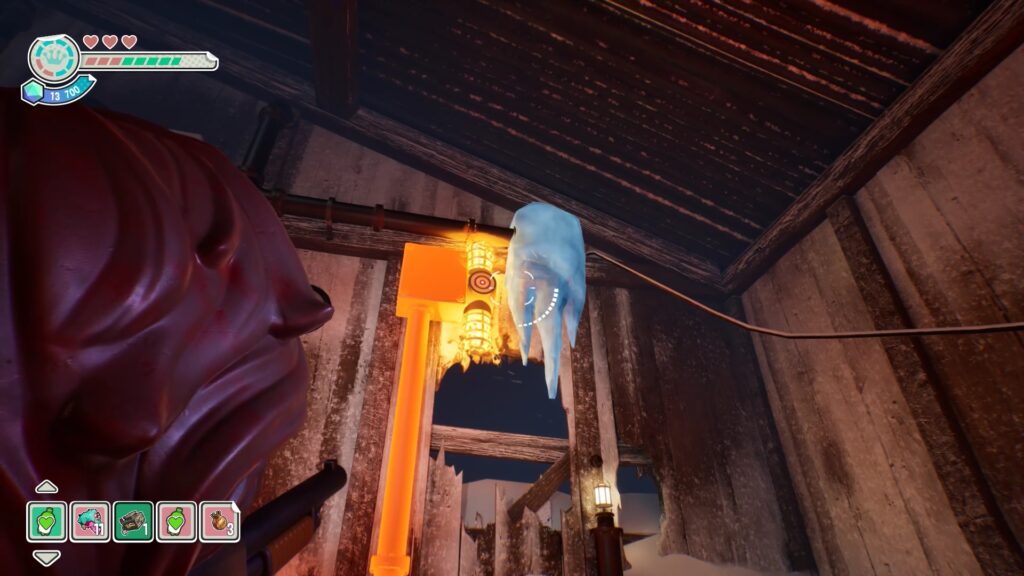
Collect the valve and the piece of gas pipe. Place them in the central mechanism of the large room, where there are three valve slots and two pieces of gas pipe missing. Next, collect the previously used battery and place it in the mechanism in the room to the left of the central area. Then activate the valve to turn on the gas pipes and collect two new valves for the central mechanism.
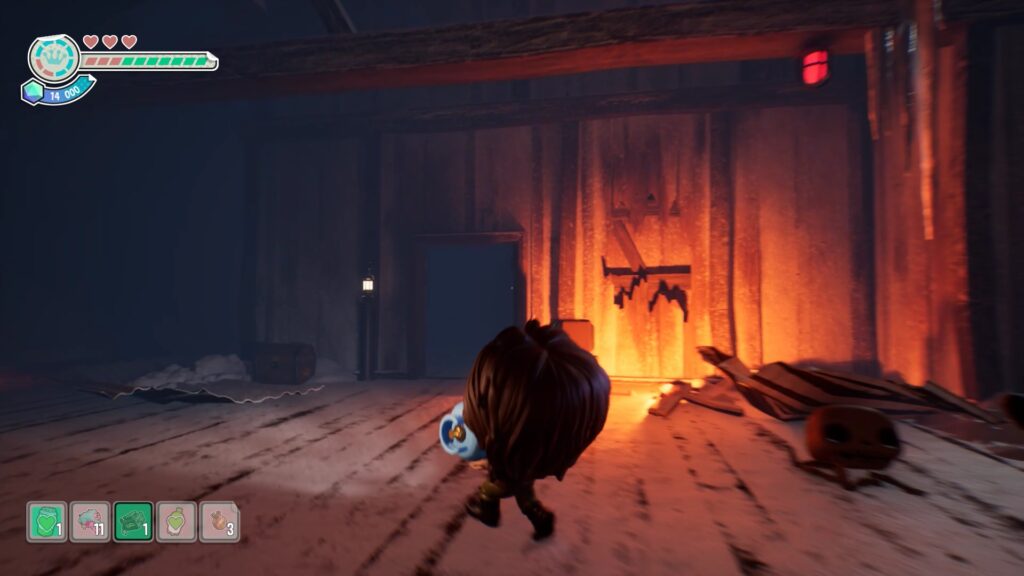
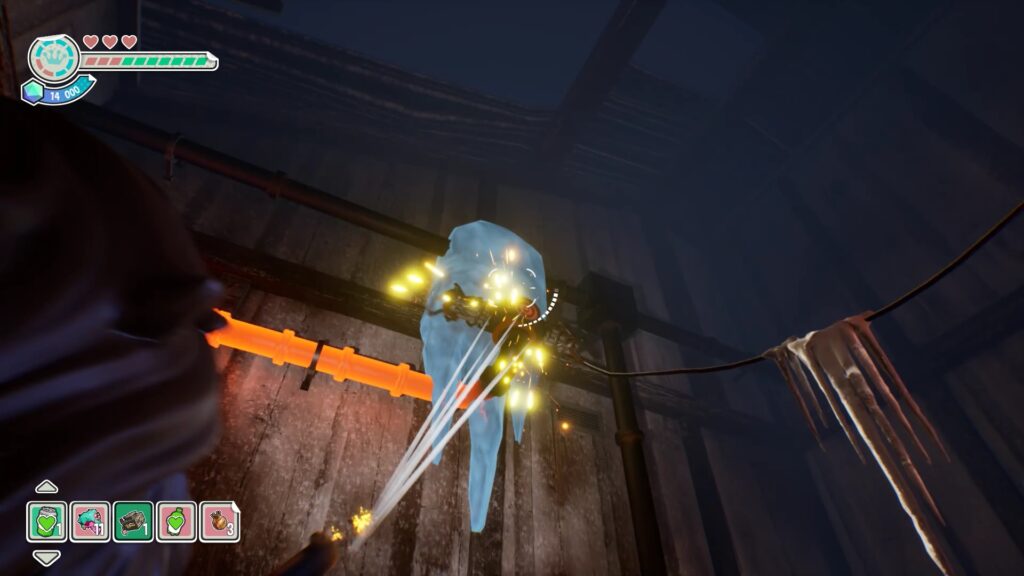
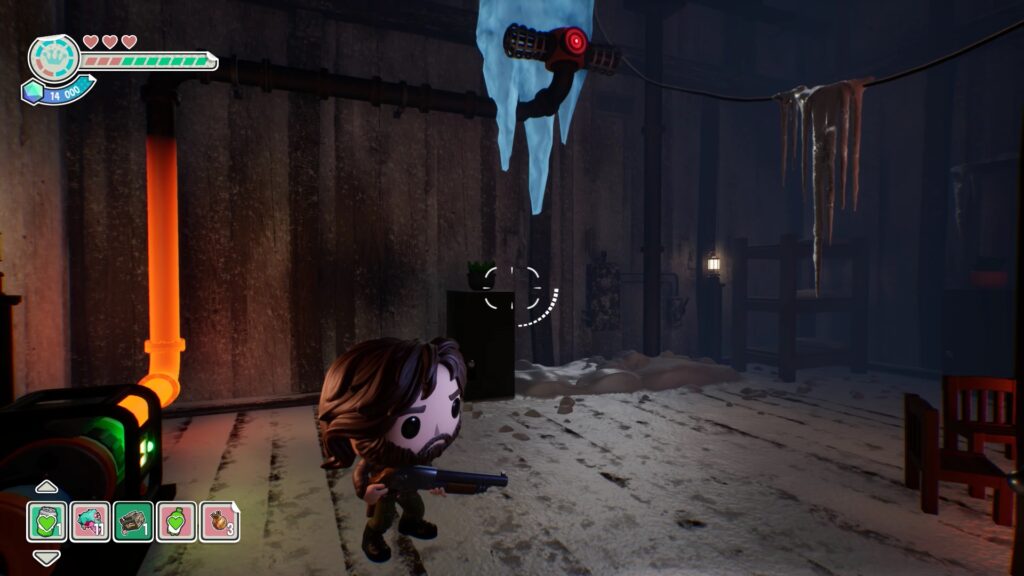
All you need now is one last piece of gas pipe for the central mechanism. You can retrieve it in the room opposite the central mechanism. You only need a battery to power the gas pipe in this room. Once the ice has melted, shoot the piece of gas pipe to retrieve it.
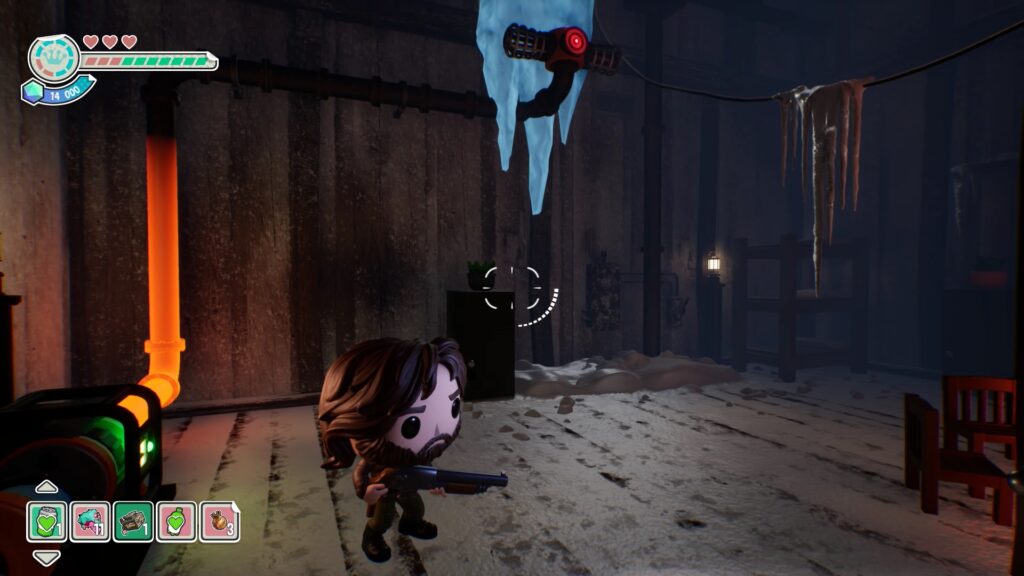
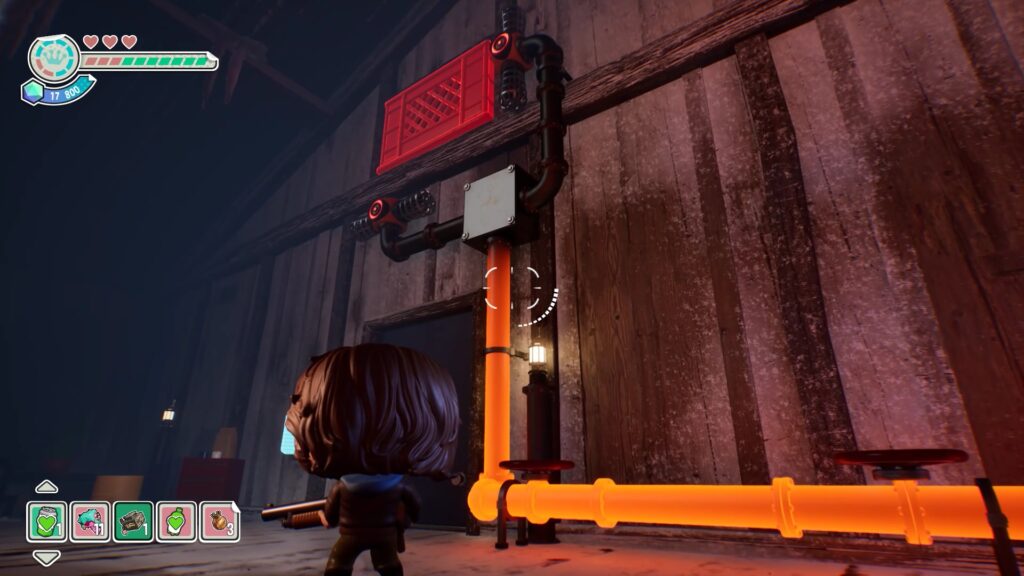
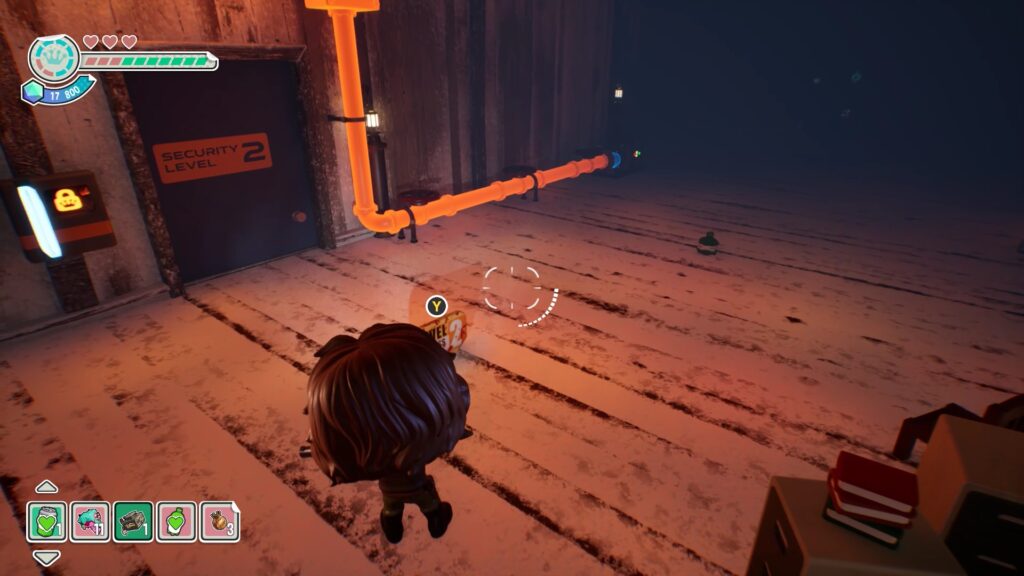
Once all the items are installed on the central mechanism, turn on all the valves to melt the grid above. You will obtain the level 2 access card.
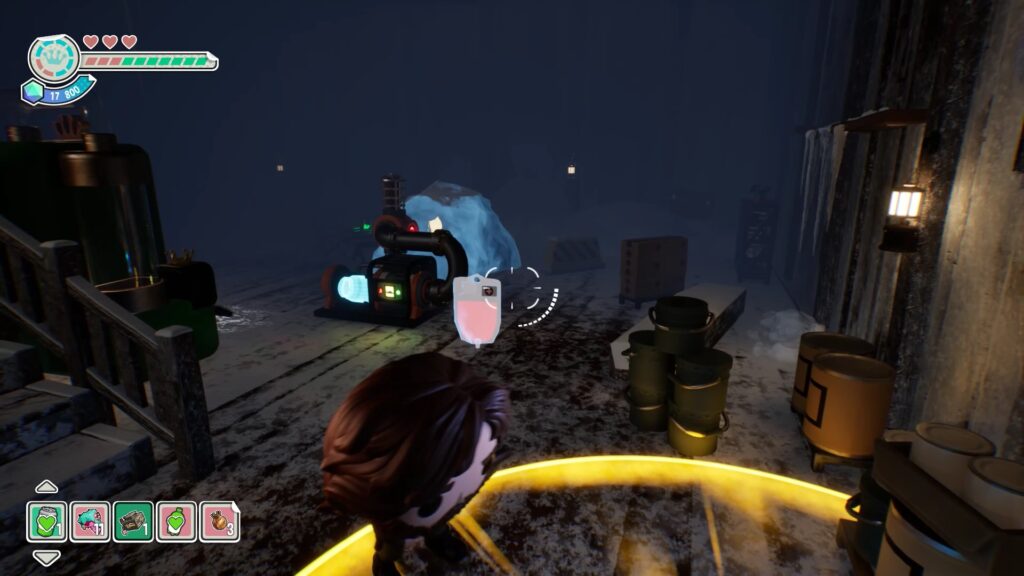
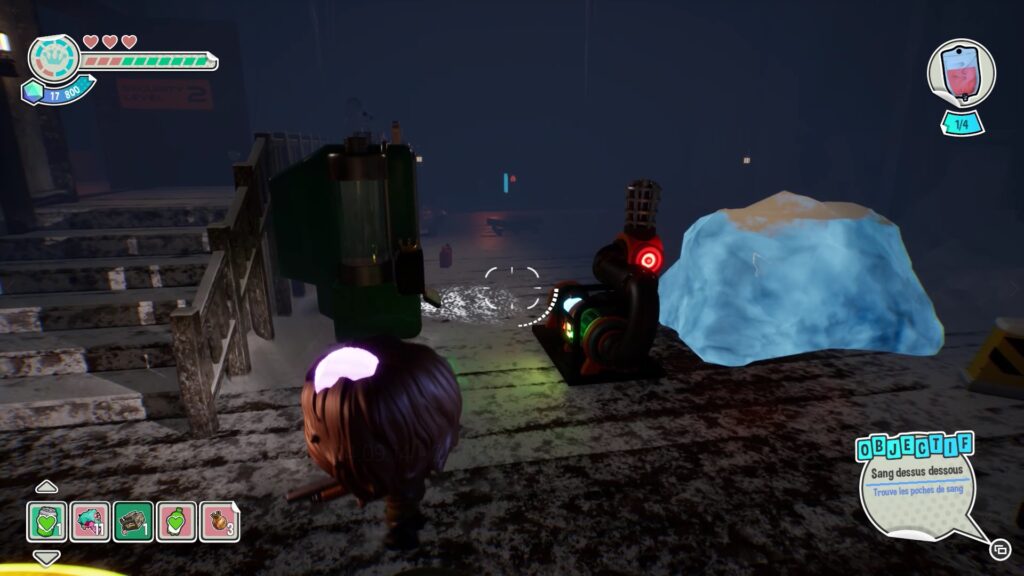
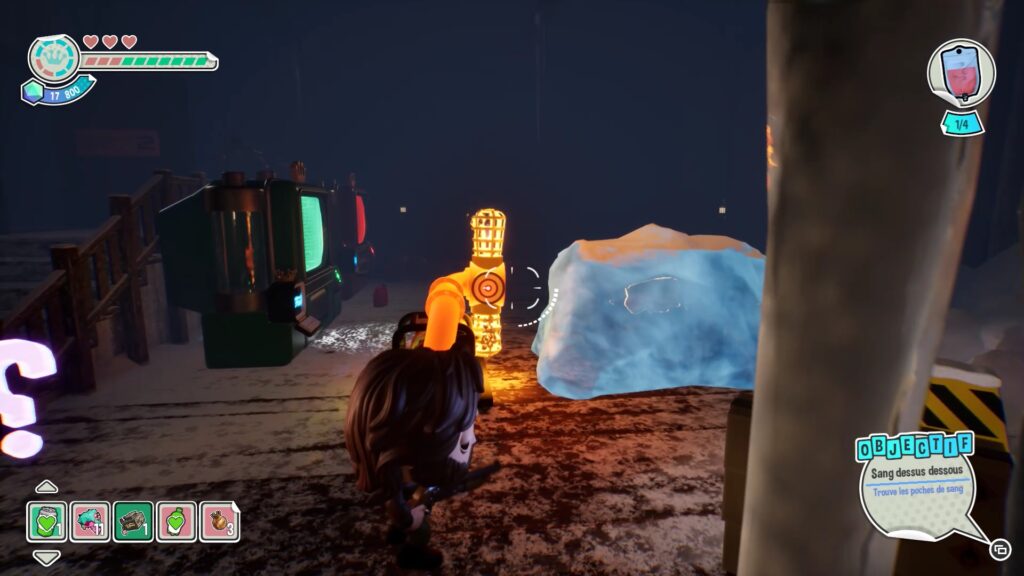
Move forward and go down the stairs to come across a blood bag. Collect it to get the first of four you need to pick up. Nearby is a generator with an access card under the ice. Use a battery from the previous rooms to turn on the generator, melt the ice, and collect the card.
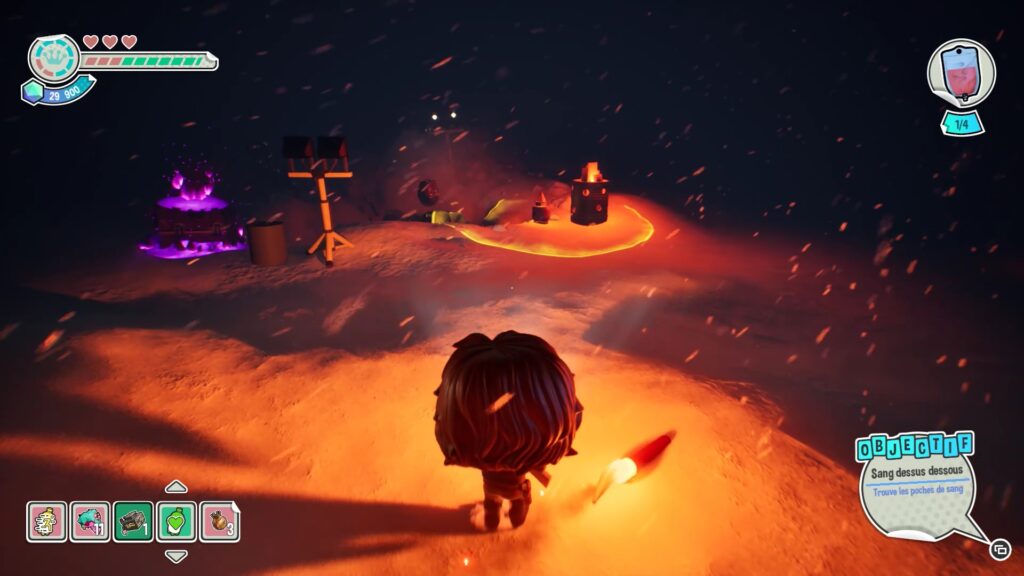
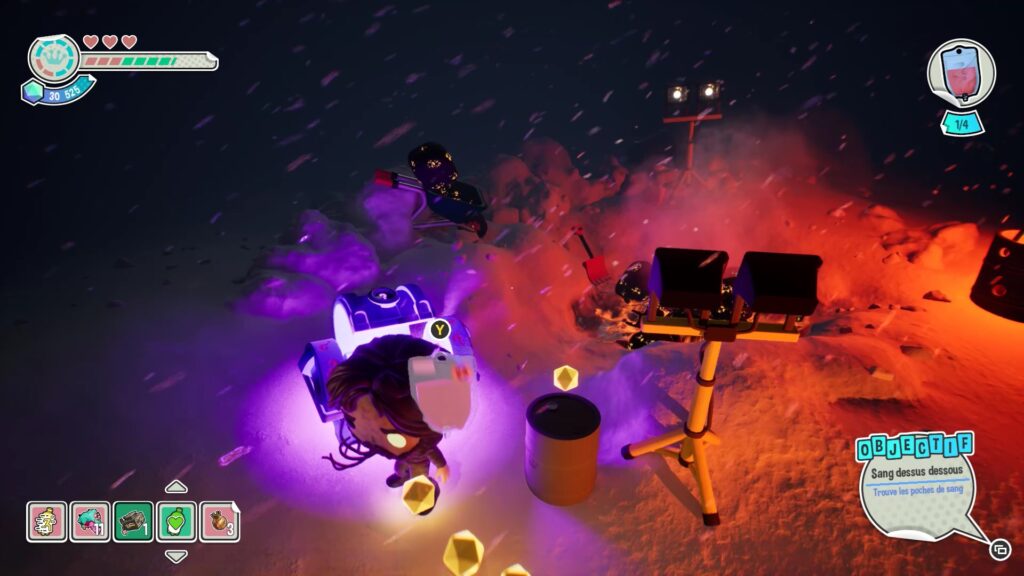
Use the access card on the area door to exit. In the snow, follow the flares and shoot them to clear a path. Advance to a locked purple chest. Eliminate all enemies in the area to unlock the chest and collect the second blood bag.
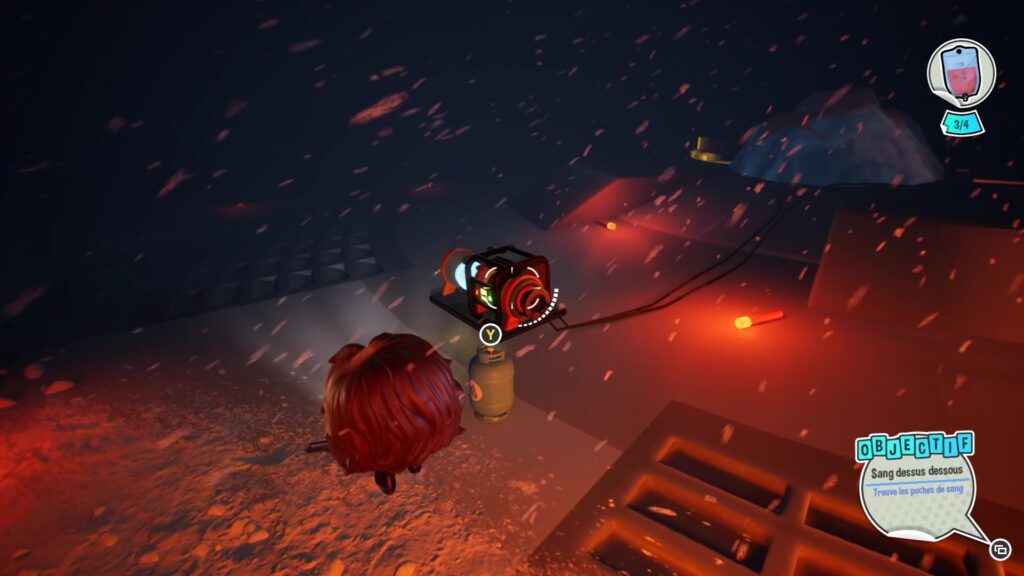
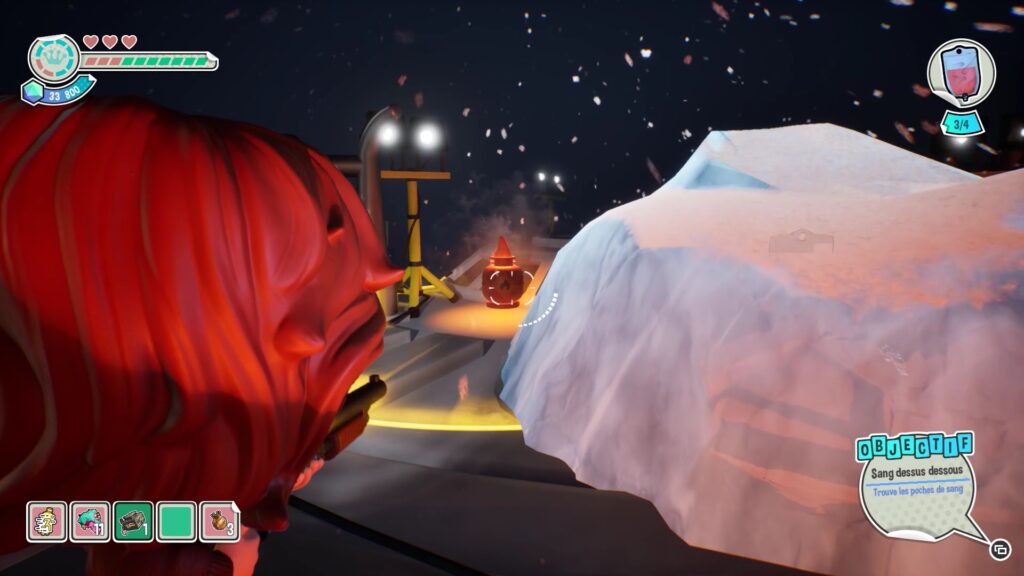
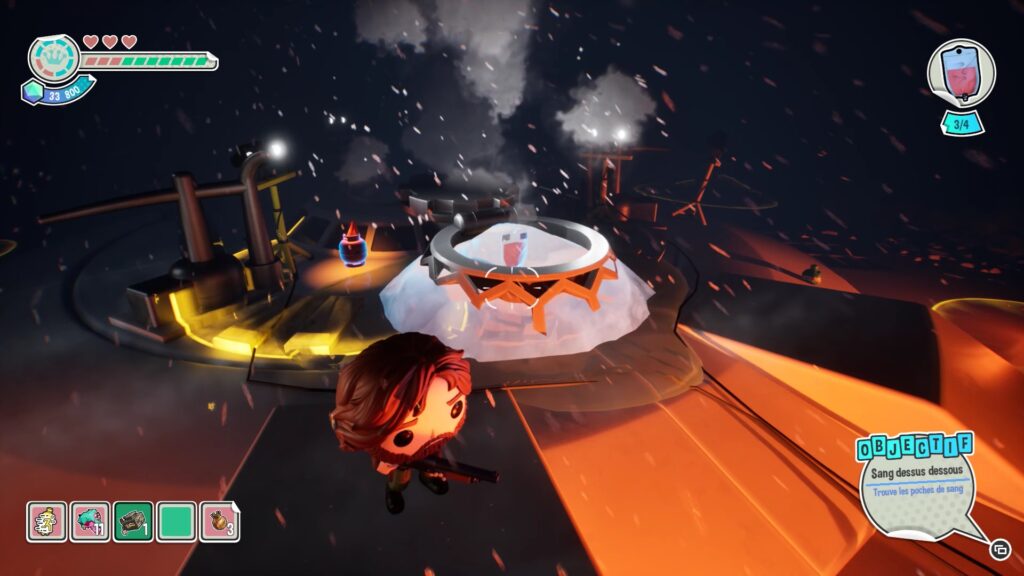
Continue moving from rocket to rocket to find the third blood bag on your way. Continue to a generator connected to an ice block. The generator battery is next to it. Place the battery in its place and light the gas canister near the ice block to melt it. This will give you the last blood bag. Then pick up the Funko key and return to the start of the level to complete this chapter.
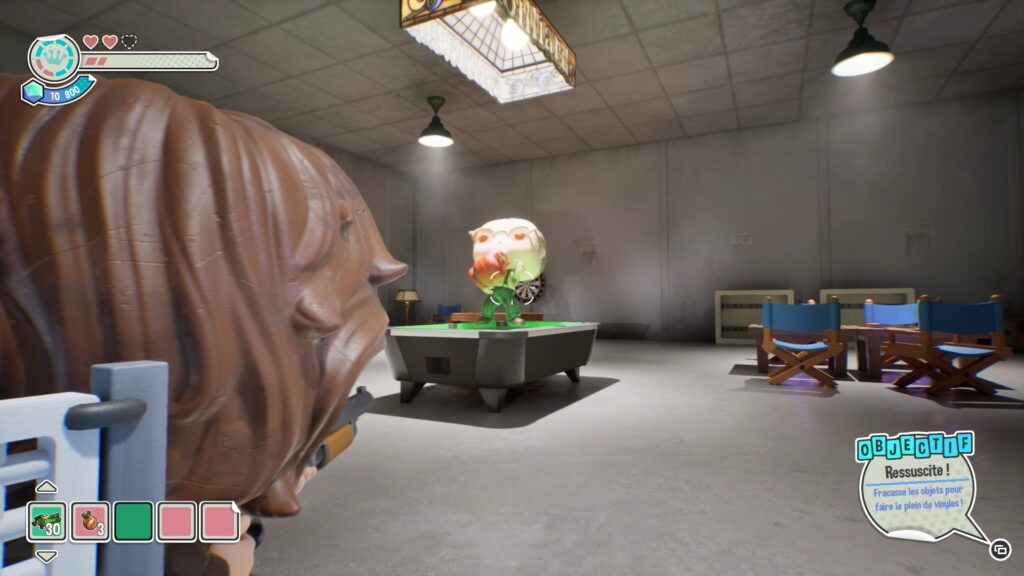
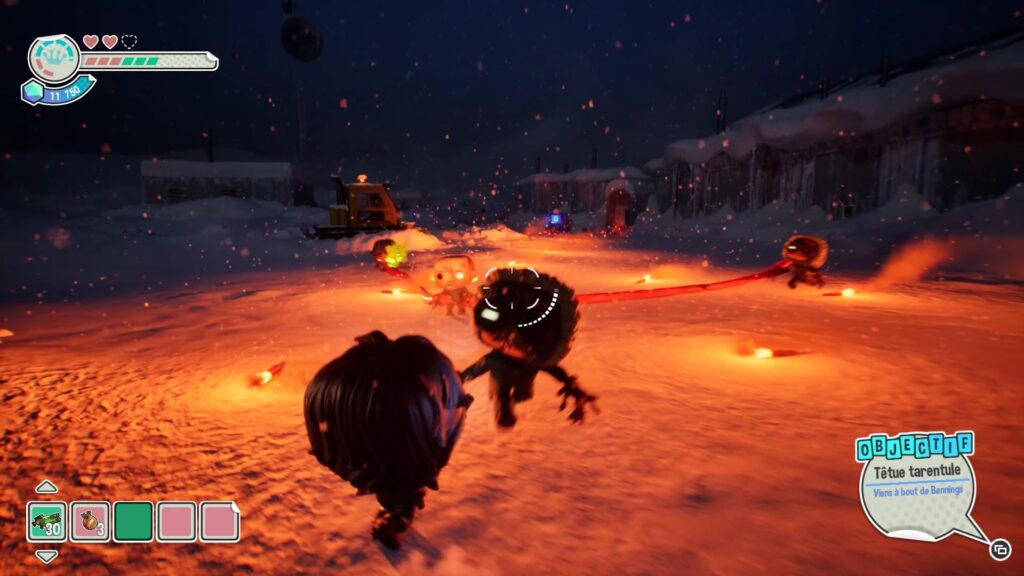
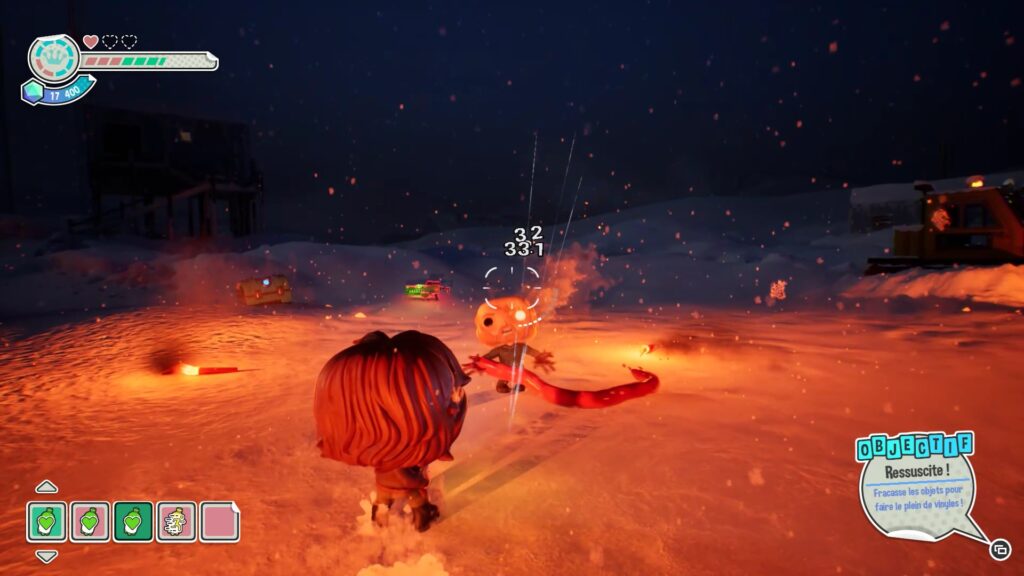
Follow the quest marker to find Blair. To eliminate him, shoot the gas canister in his hands at the right time. He alternates between grenades and gas canisters. Only shoot him when he has the gas canister in his hands. Repeat this step multiple times in different locations. Once outside, when Blair is connected to other enemies, eliminate them first before dealing with him. Repeat this one more time to obtain the Funko Key.
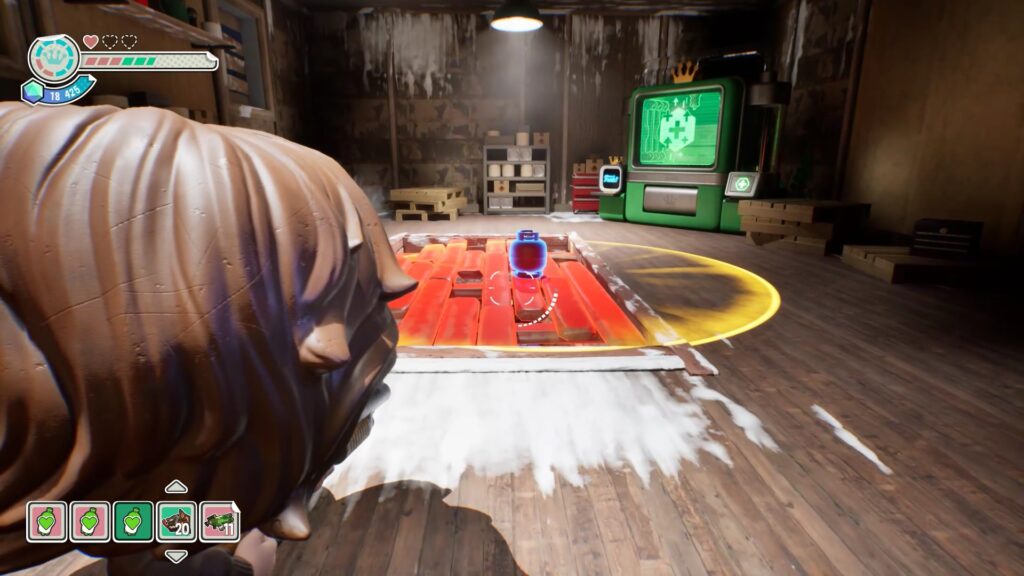
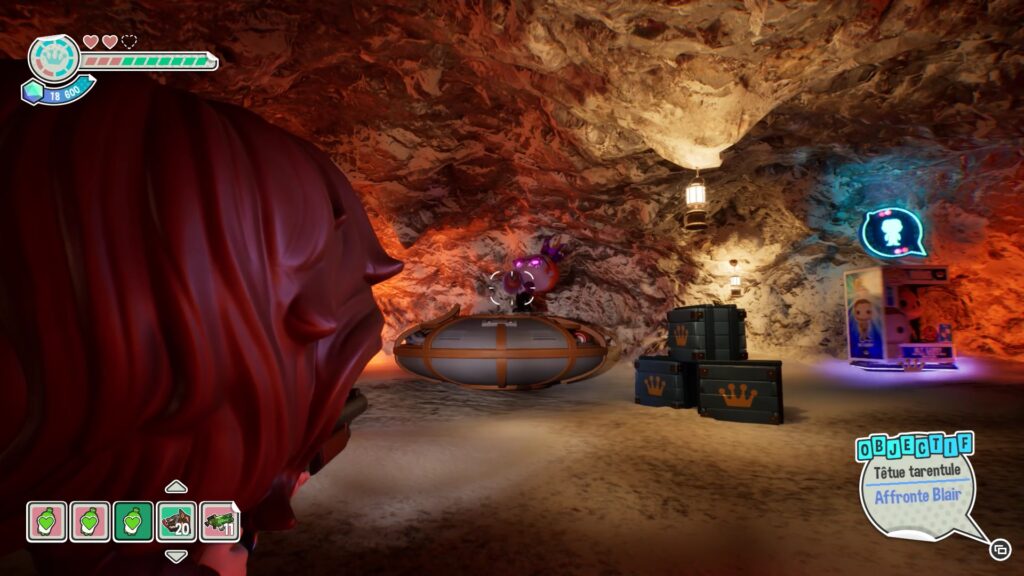
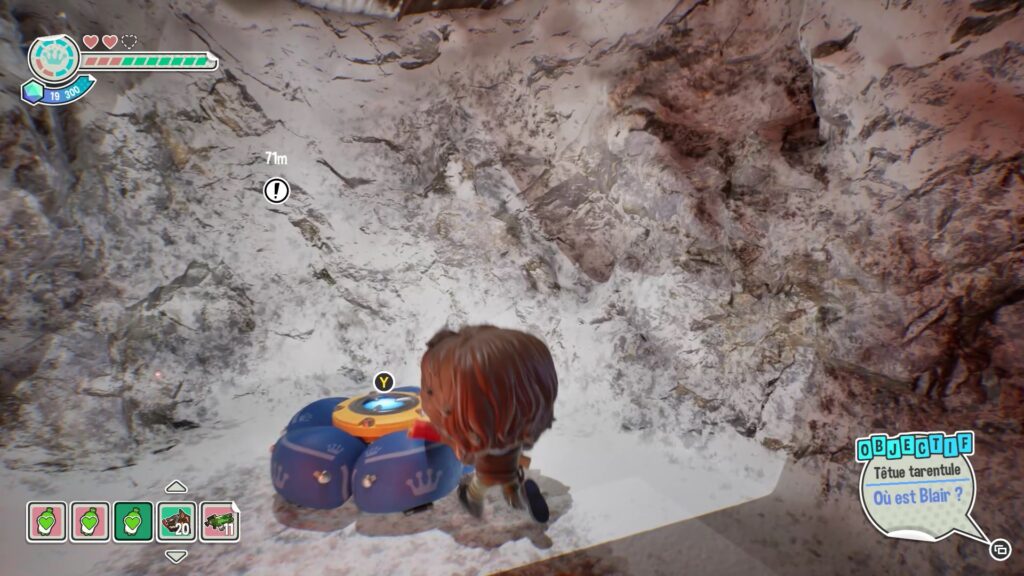
After using the Funko Key, enter a new room. Use the gas canister in the center to melt the grate on the floor and unlock a path. In the underground, you will have to defeat Blair again by shooting the gas canister in his hands. Then follow him outside by creating a jump module to end the chapter.
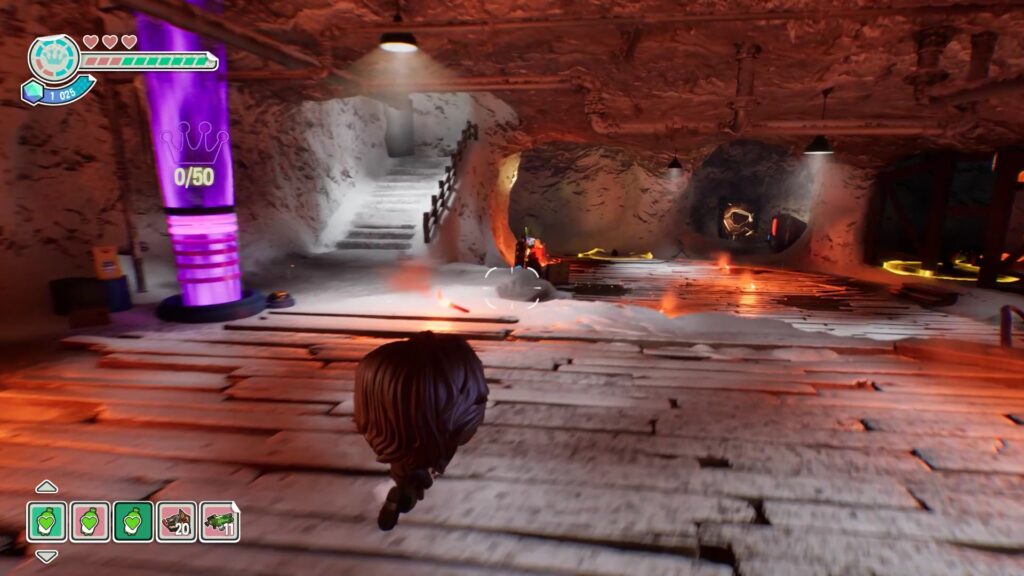
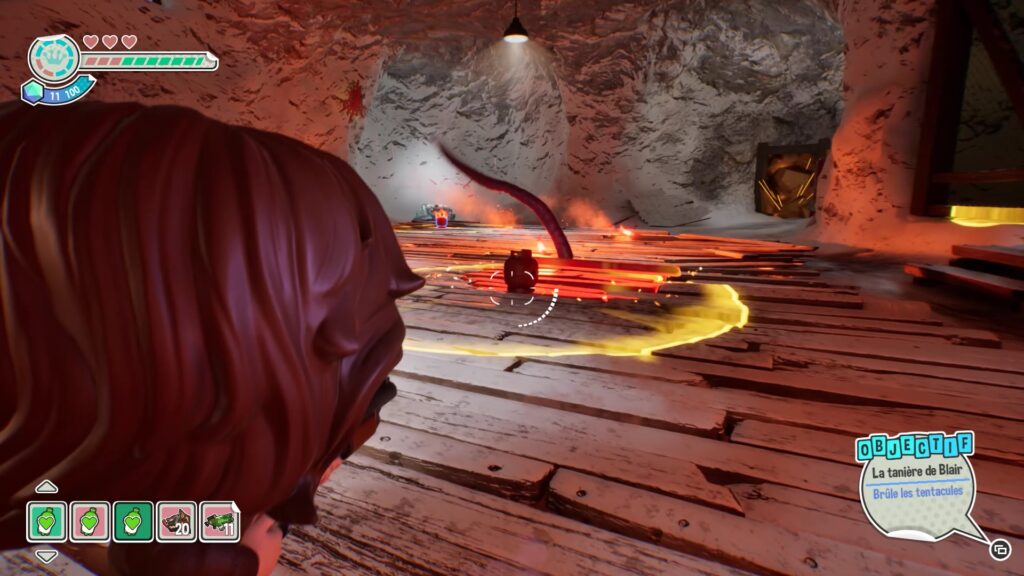
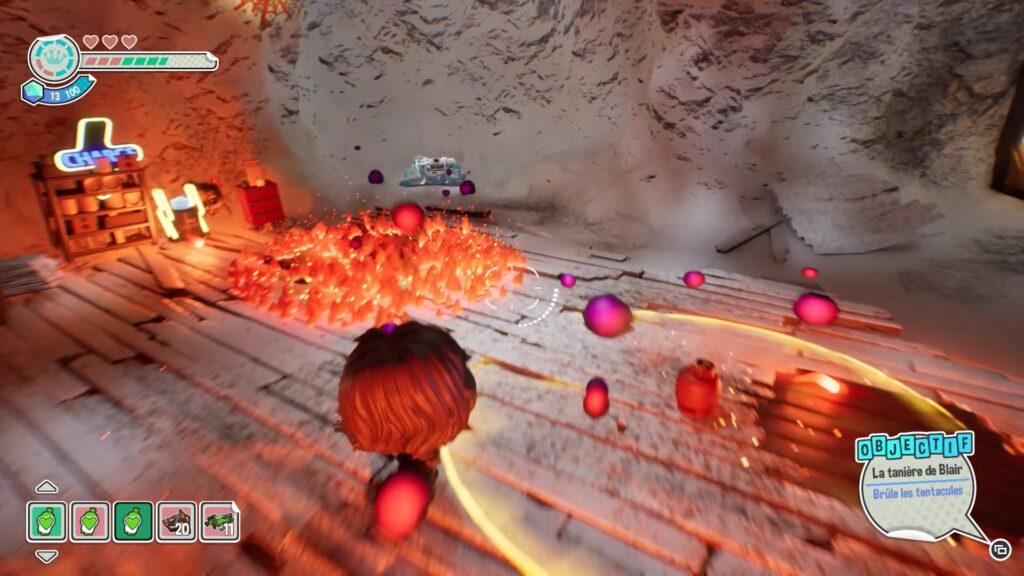
This last chapter is the final boss fight. When you enter the room, interact with the purple receptacle marked with a crown. Then go down to the wooden planks. Tentacles come out of some of the planks. Use gas canisters or grenades to destroy the tentacles. With each tentacle destroyed, you collect purple orbs for the crown receptacle.
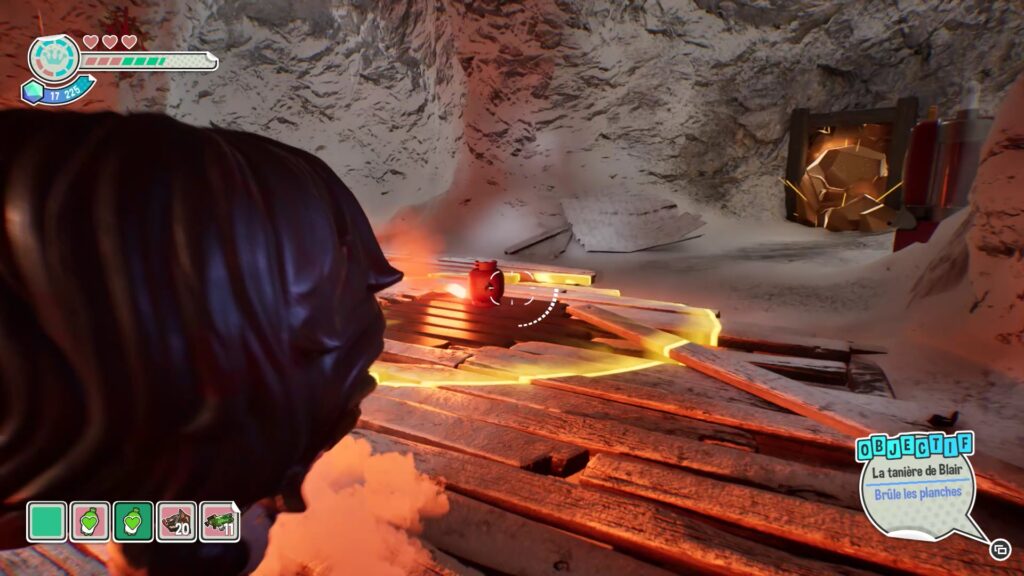
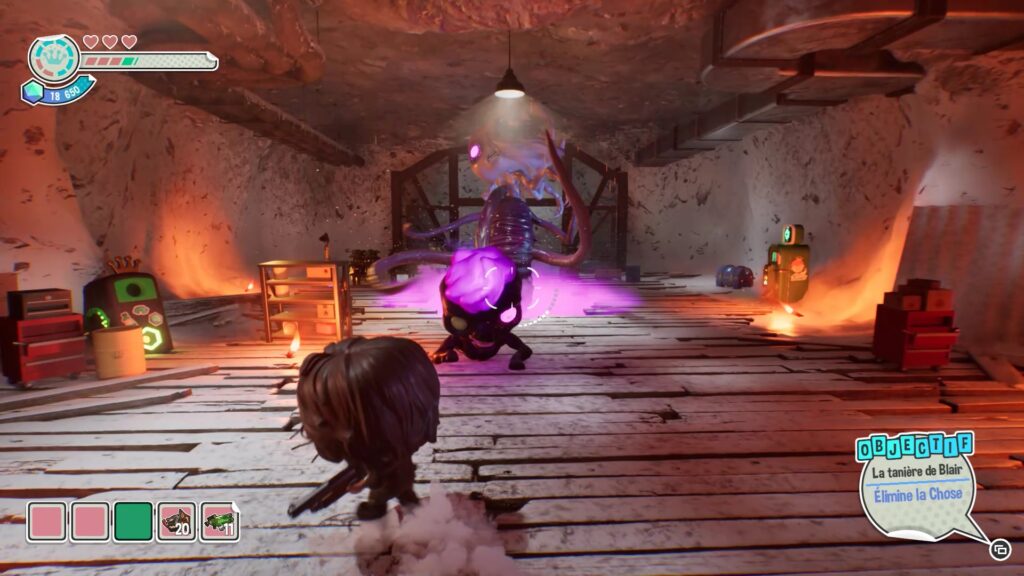
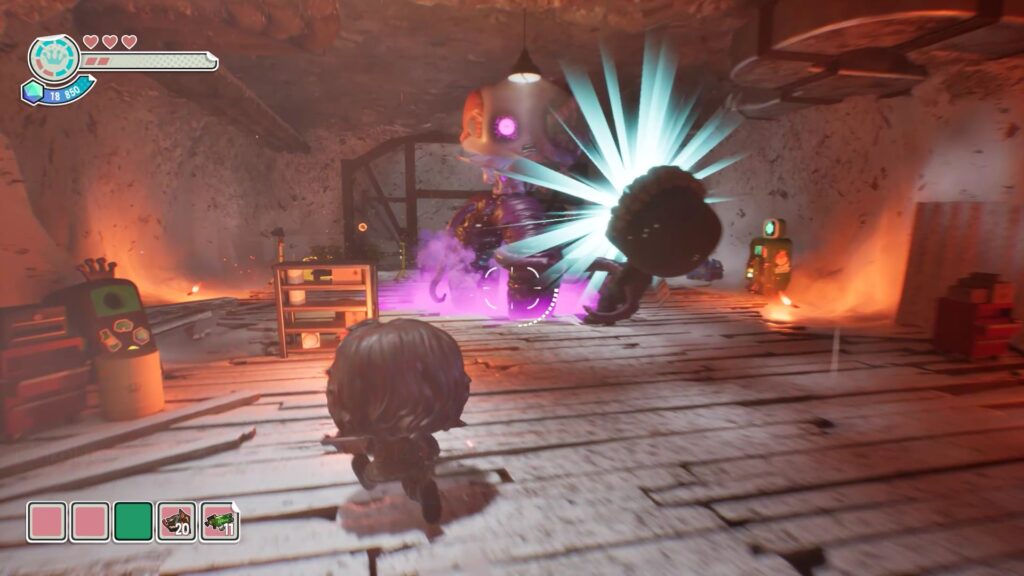
Once you have collected enough orbs, your quest will change to burning the boards. Go up the stairs and use a gas canister on the wooden boards covered in purple smoke. You will then face the final boss. Aim for its belly, on the purple part, so it will attack you with an enemy connected to it. Shoot the purple part of the enemy’s head to collect purple orbs. Repeat this to collect all the orbs and get help against the boss. Defeat the boss to complete the world of The Thing.
Jurassic World Funko Fusion Walkthrough
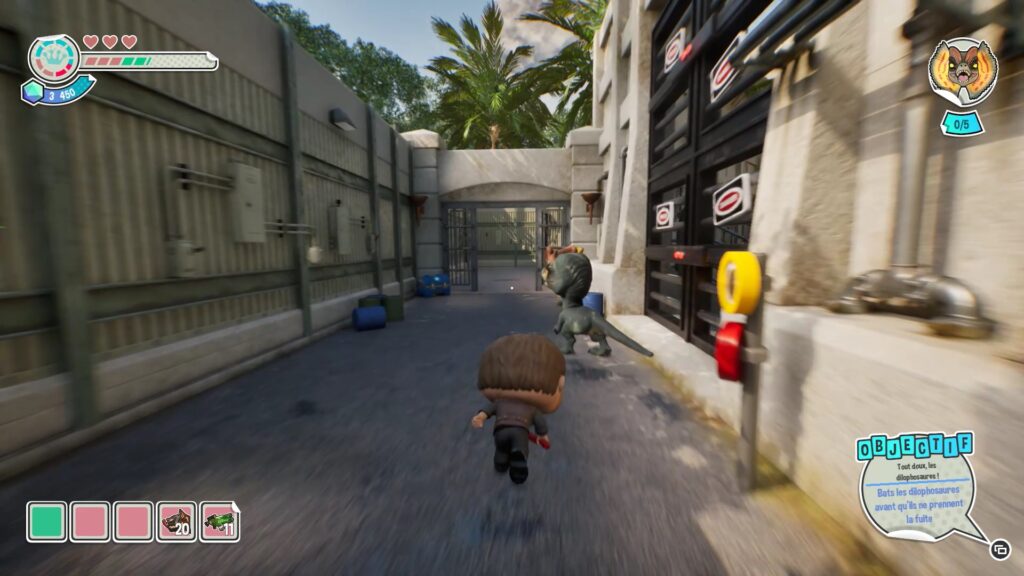
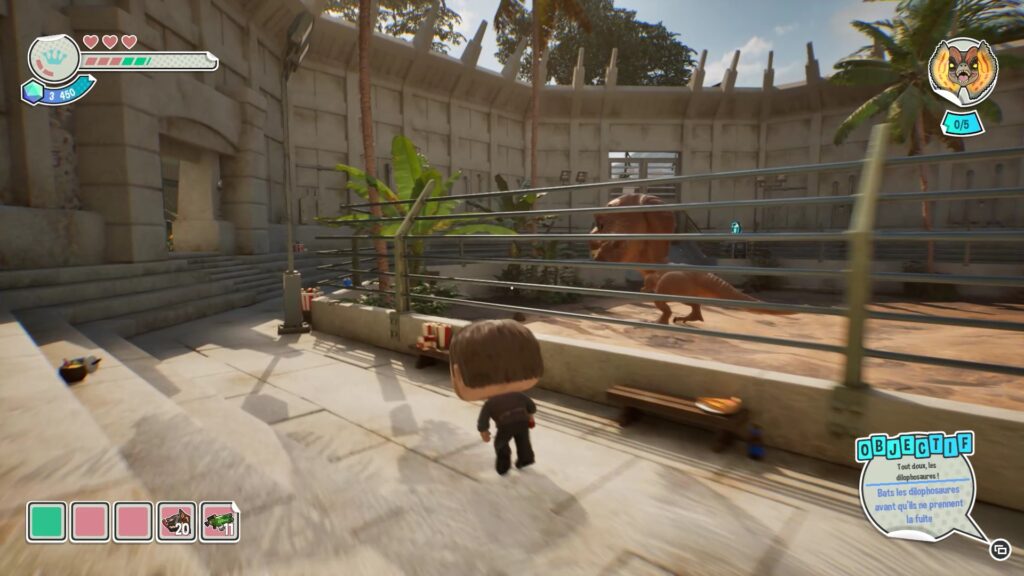
Once you’ve completed the first world, head to the atrium to drop off the crowns you collected and chat with Freddy. Then, head to your next world. Enter the first room of Jurassic World to begin the chapter. You’ll need to defeat five Dilophosaurus, but first, you need to find them. The first one is hanging out near the T-Rex enclosure.
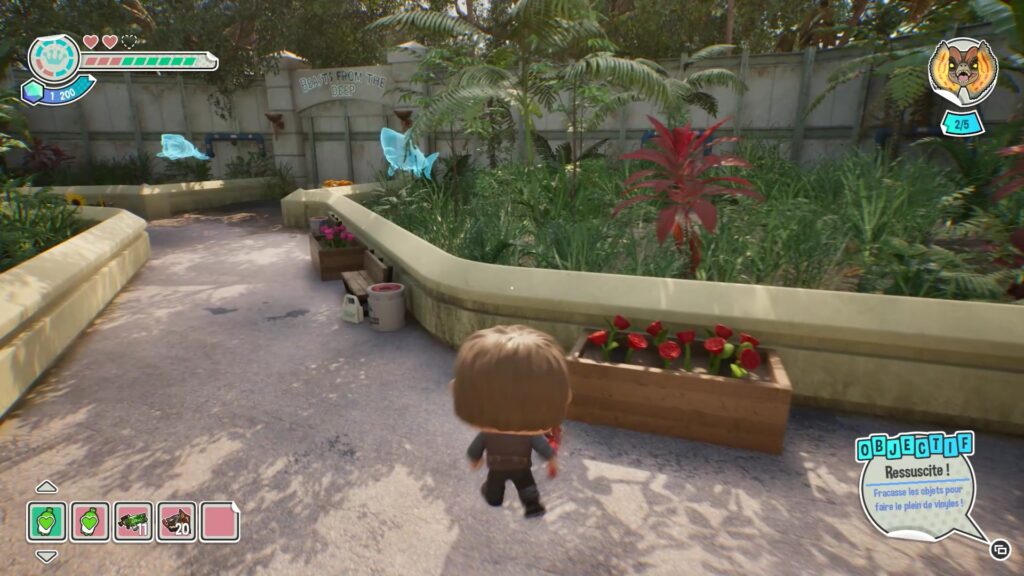
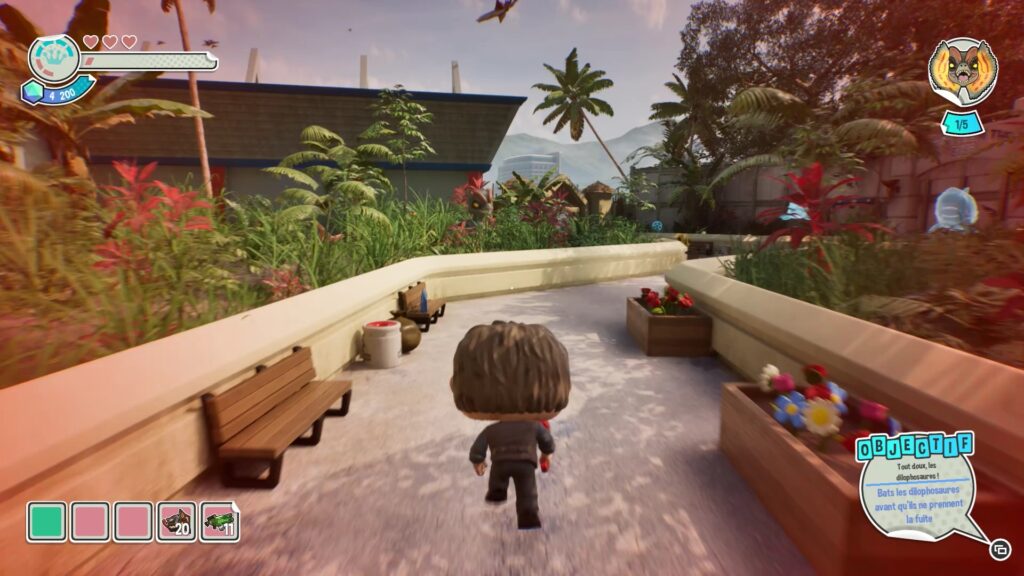
Another Dilophosaurus can be found near the aquatic animal area, near the « Beast From The Deep » holograms. You can get there by facing the T-Rex enclosure or from the chapter’s starting point, take the path on the right.
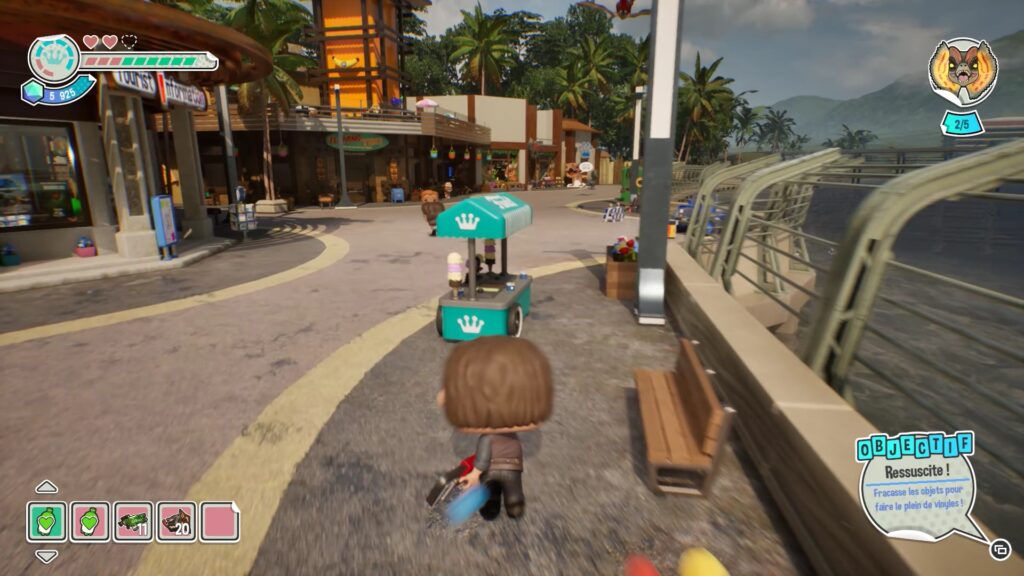
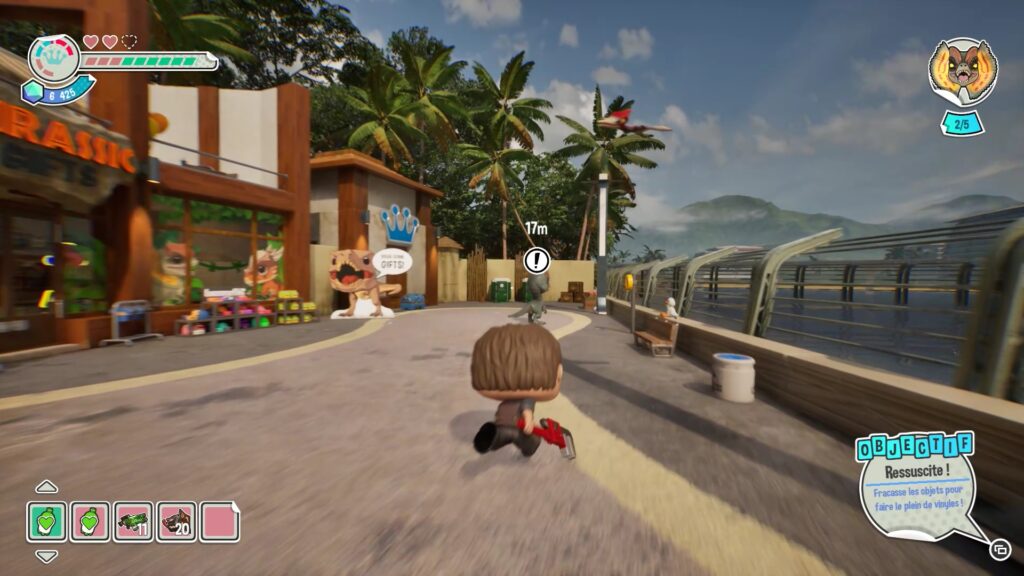
A third dinosaur can be found near the shops by the water. It is located on the path to the left of the chapter’s starting point.
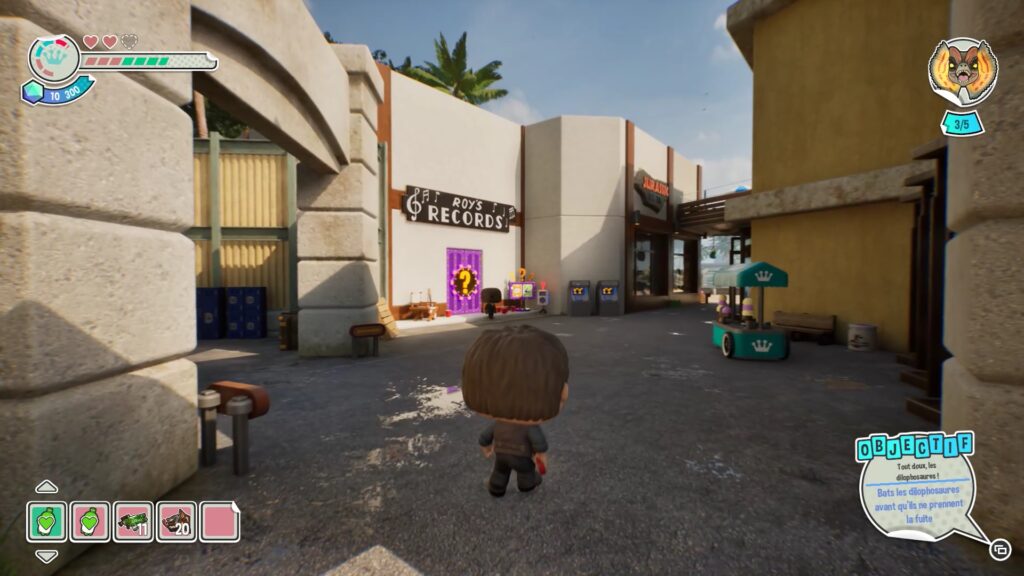
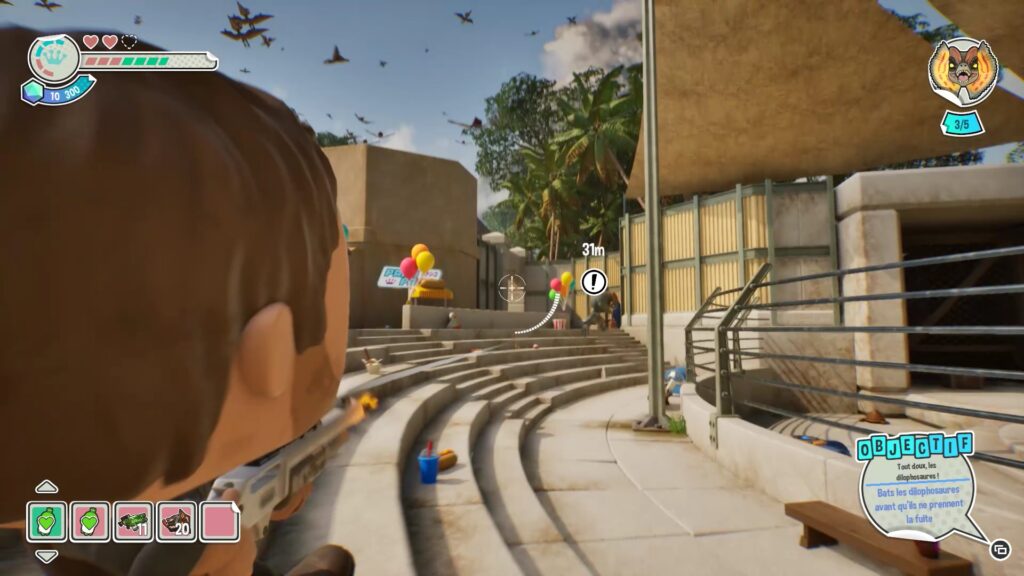
Another Dilophosaurus can be found near Roy’s Records, on the show arena level.
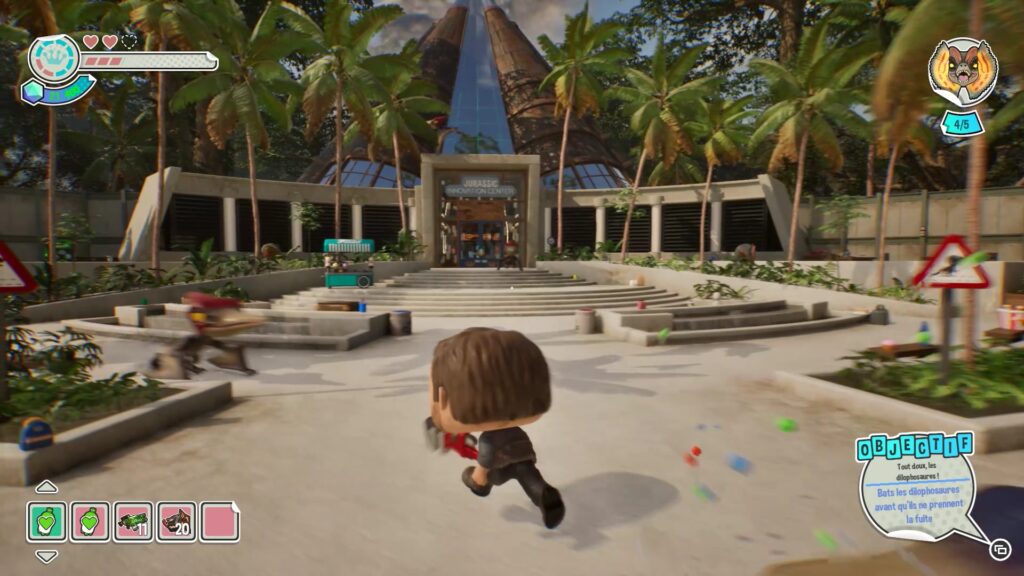
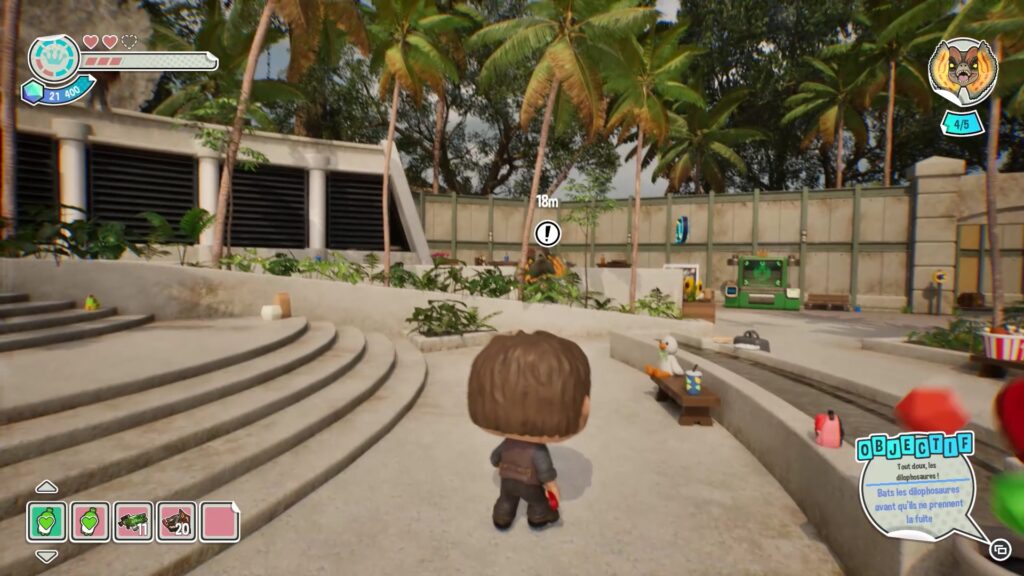
The final Dilophosaurus can be found near the « Jurassic Innovation Center » at the end of the area. Once all five Dilophosaurus have been eliminated, collect the Funko Key and follow the quest marker to enter the Innovation Center.
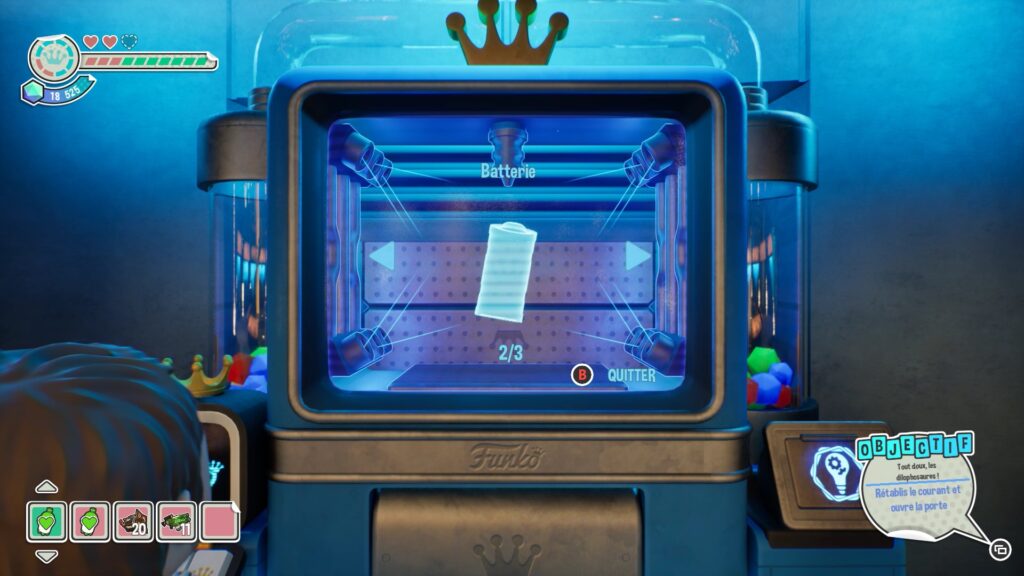
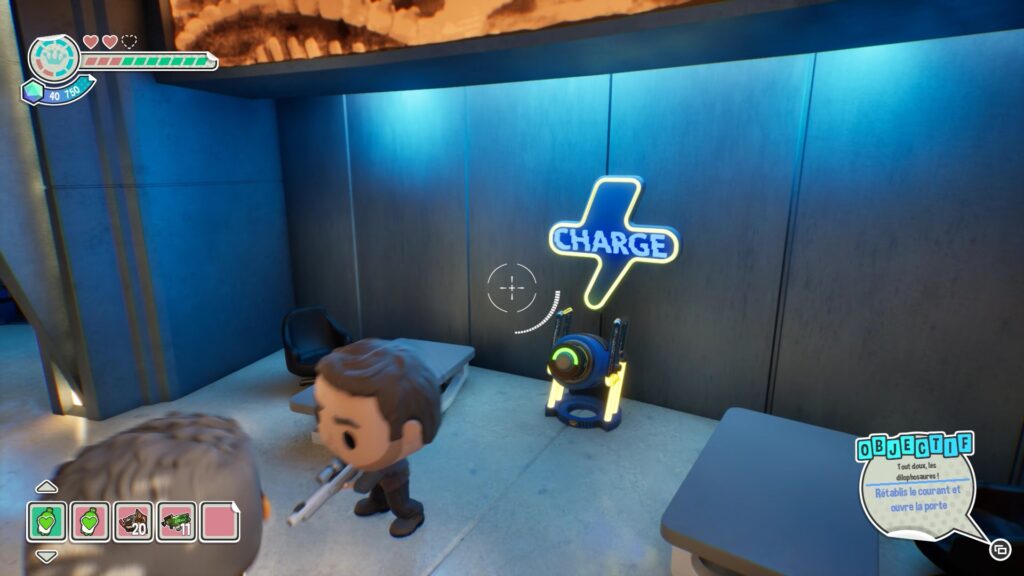
You need to find a way to restore power to advance to the second part of the Innovation Center. To do this, find two fuses and a battery to unlock the door. The battery must be created in the Creation Machine. You will need to find three blue chests scattered around the Innovation Center and near the shops to unlock the battery. Once created, place it in a charging module in the Innovation Center to charge it.
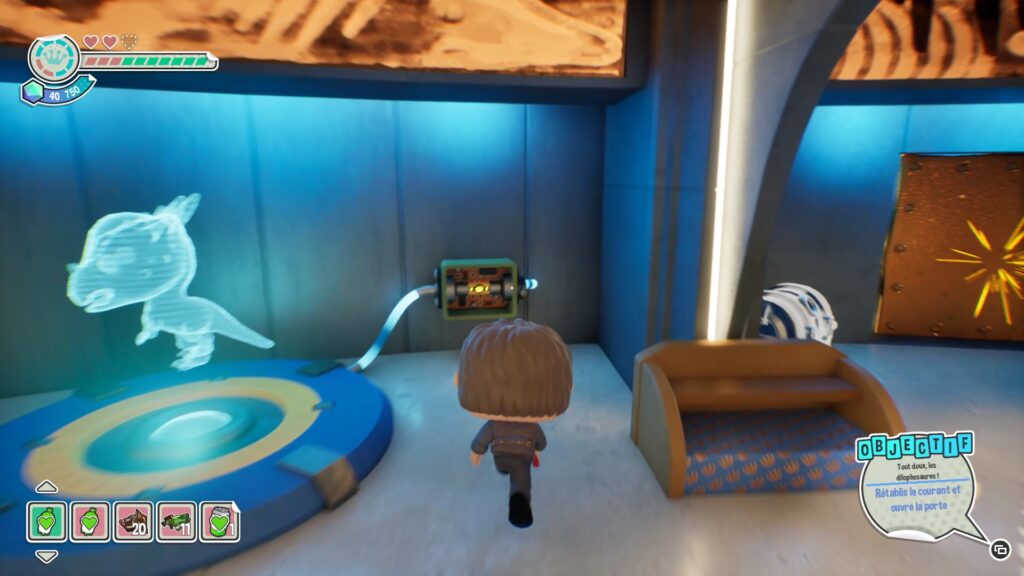
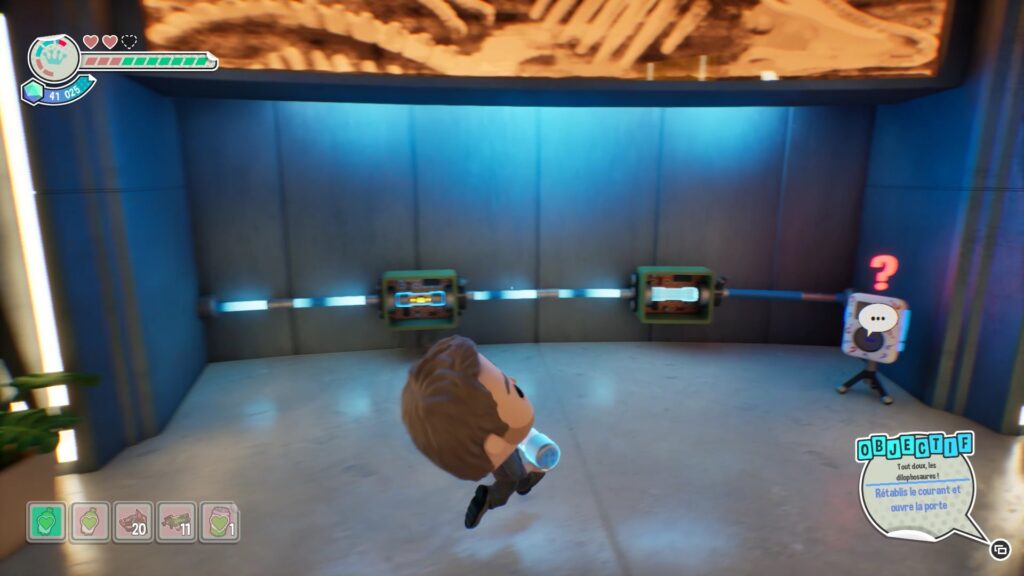
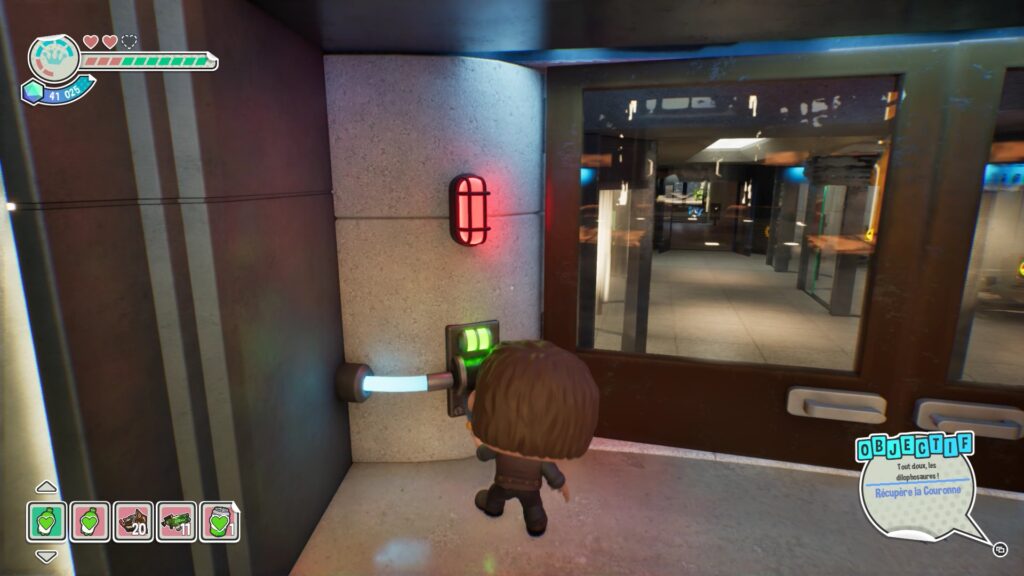
You can now place the battery at the door’s power supply. To find the missing fuses, follow the power wires connected to the dinosaur holograms in the Innovation Center. Once the fuses are in place, unlock the door and collect the crown to complete the chapter.
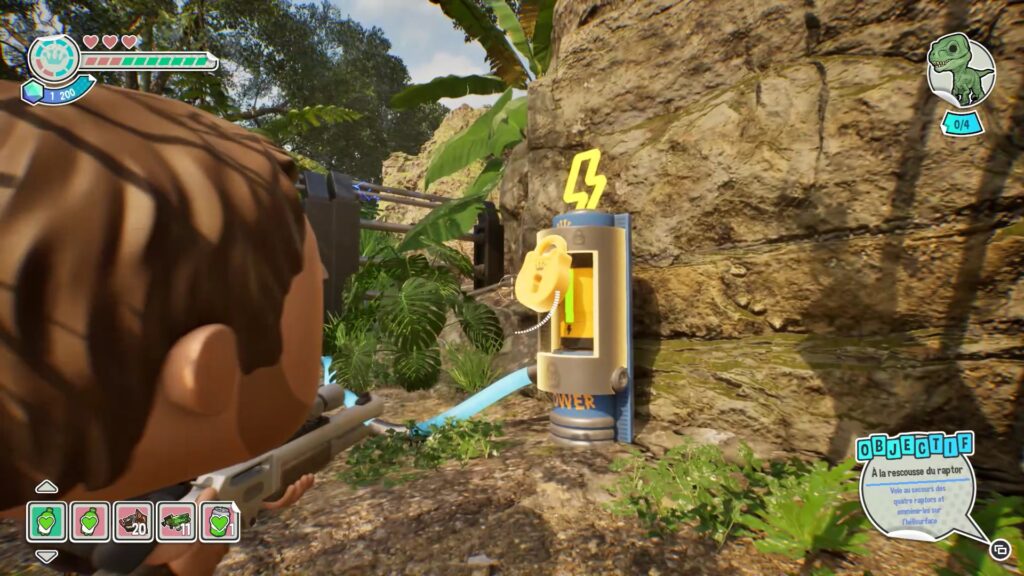
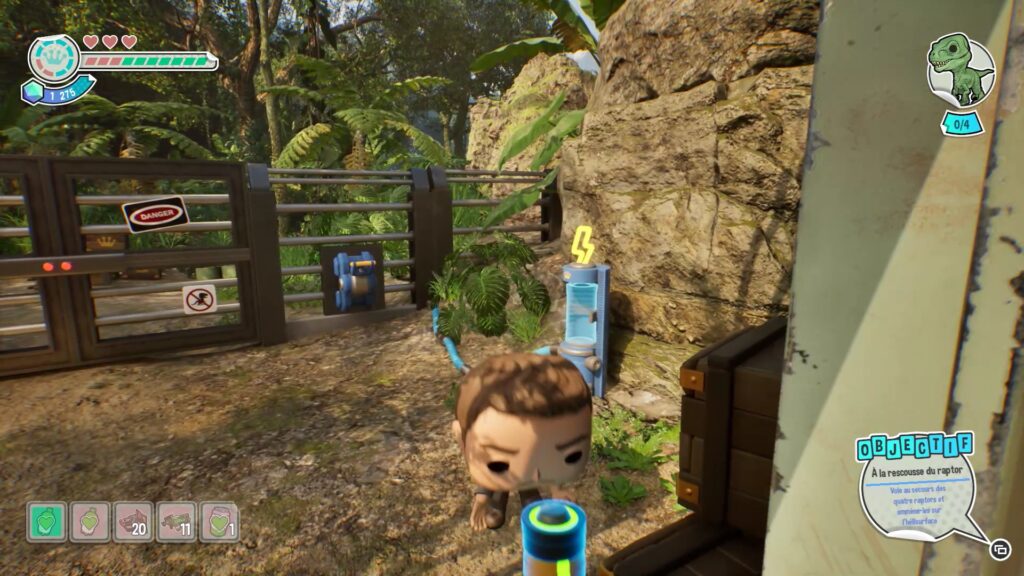
In this part, you need to find four Raptors and take them to a helipad. In front of you, a closed gate blocks the way. Pull the padlock on the right battery to remove it and deactivate the electric charge. You can now use the lever to unlock the gate.
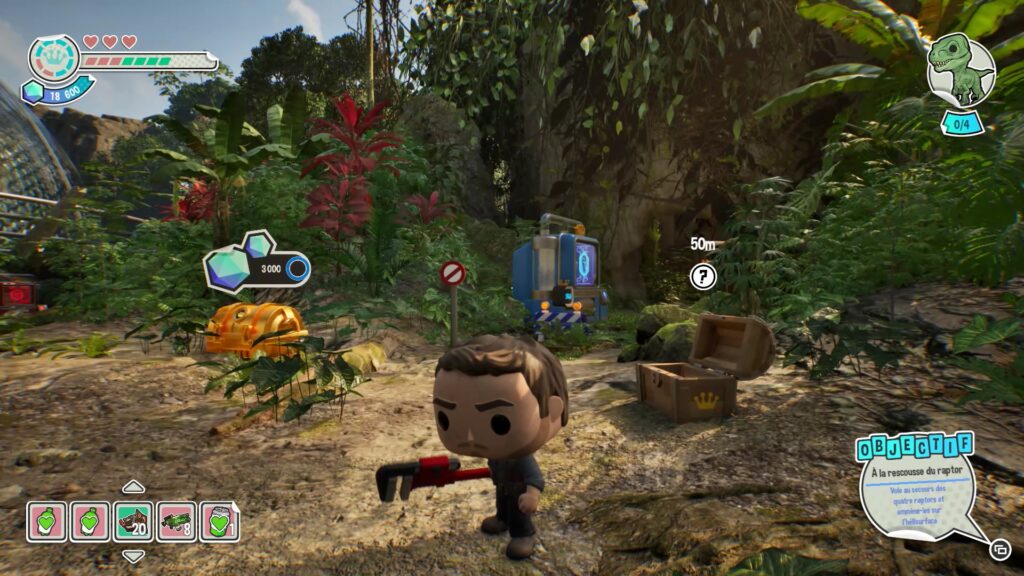
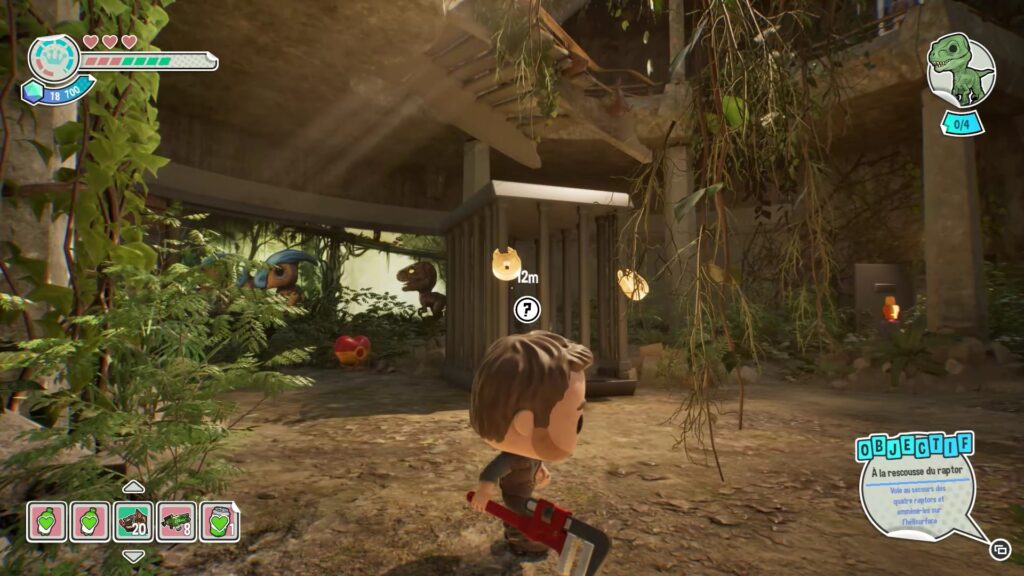
The first Raptor is in a cave, locked in a cage with two padlocks. Shoot the padlocks to free the first dinosaur.
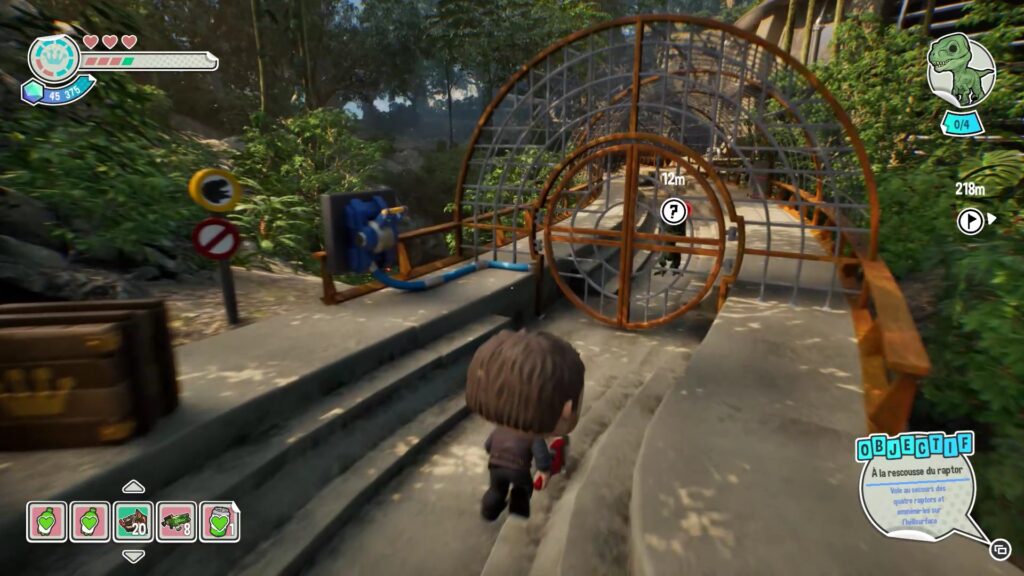
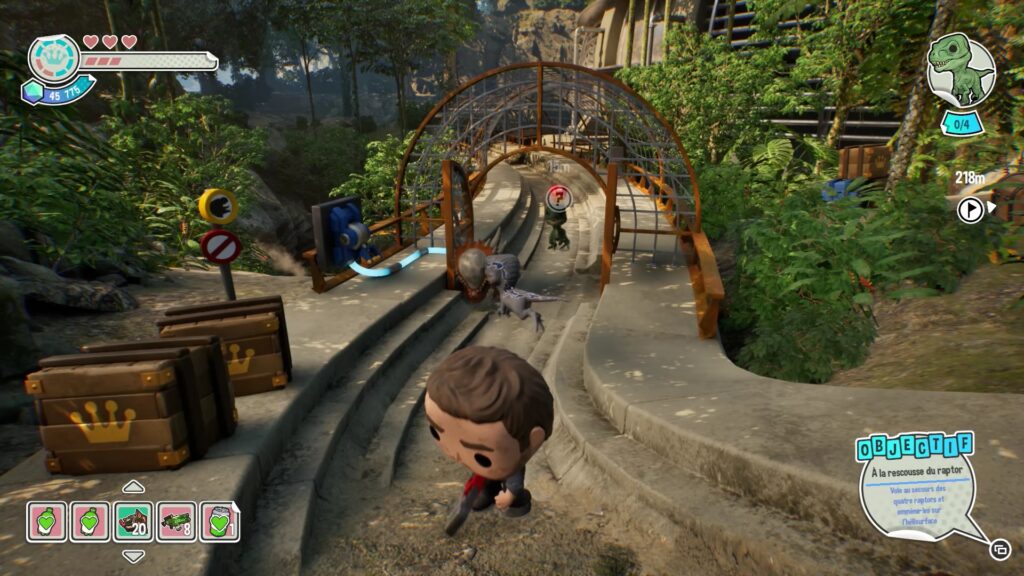
Another Raptor is trapped behind some gates near the area’s secure compound. To free it, pull the lever connected to the gates.
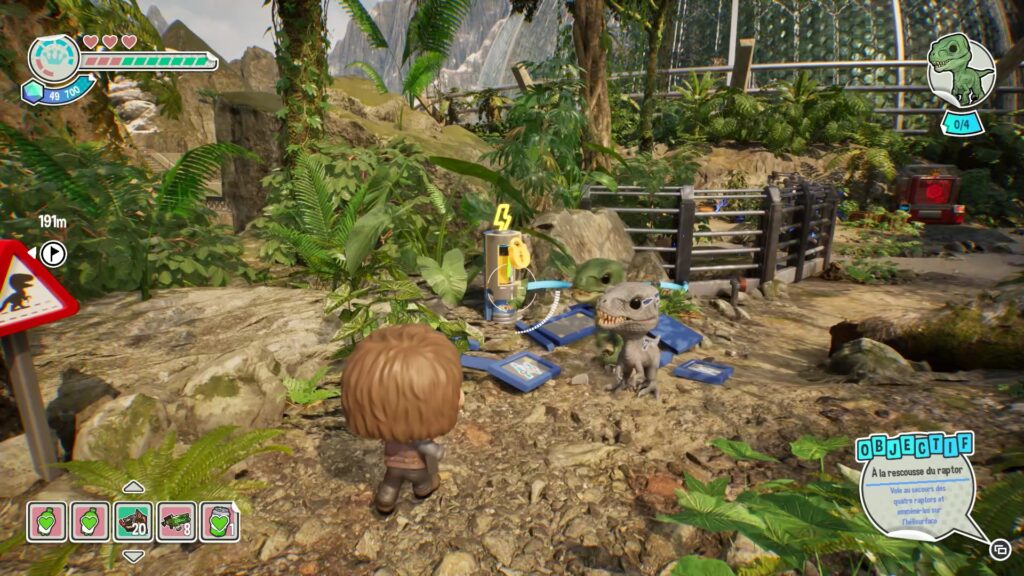
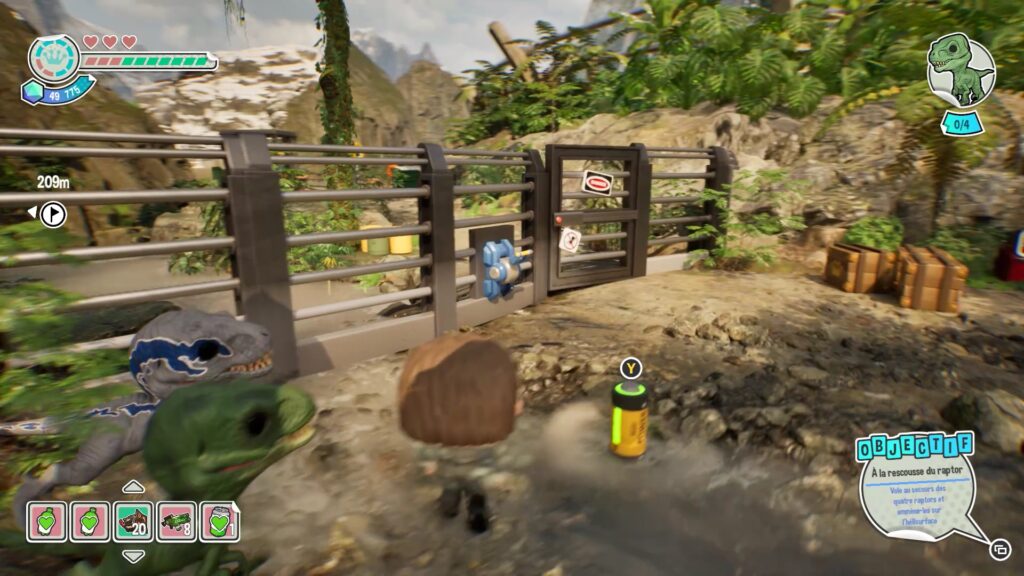
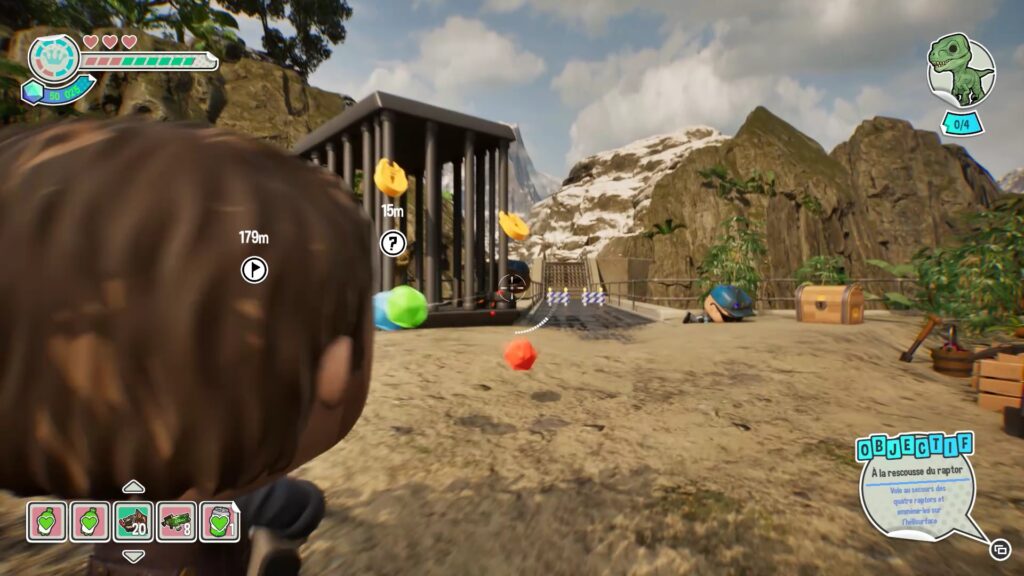
As you explore the area, you’ll come across an electrified barrier. Remove the nearby battery that powers the electricity, then use the lever on the barrier to unlock it. Move forward to find a cage containing a Raptor surrounded by enemies. Shoot the padlocks on the cage to free the Raptor.
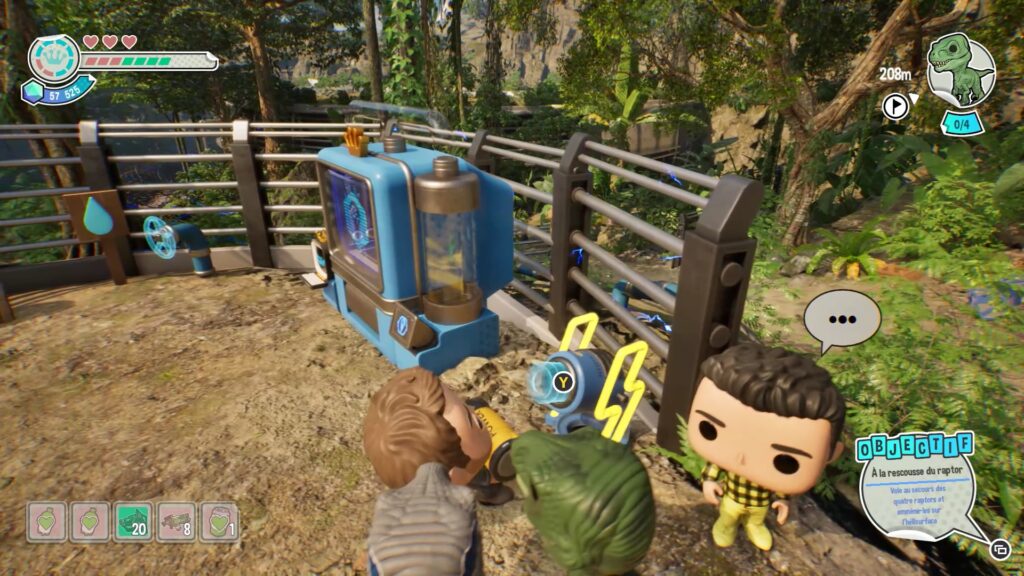
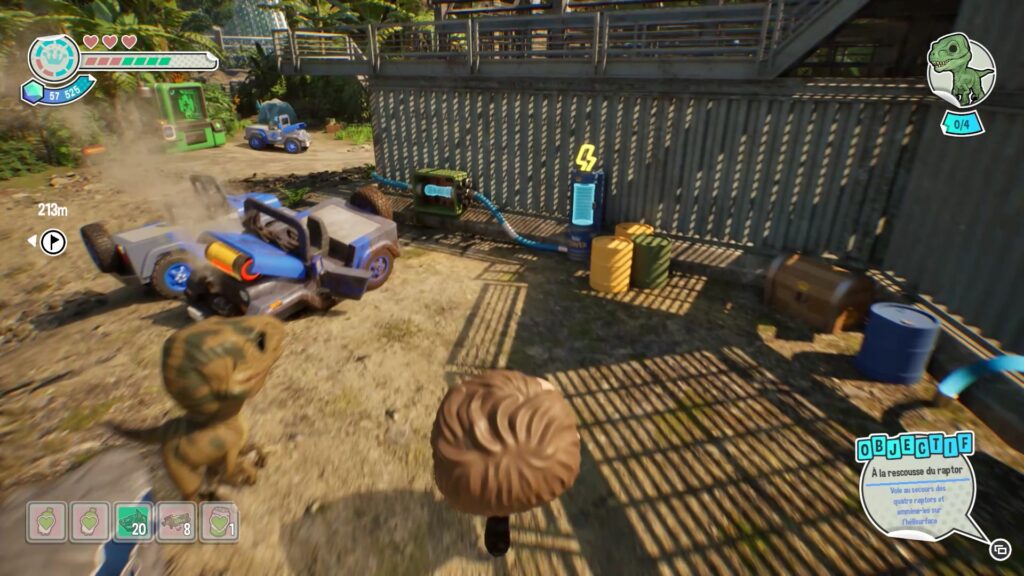
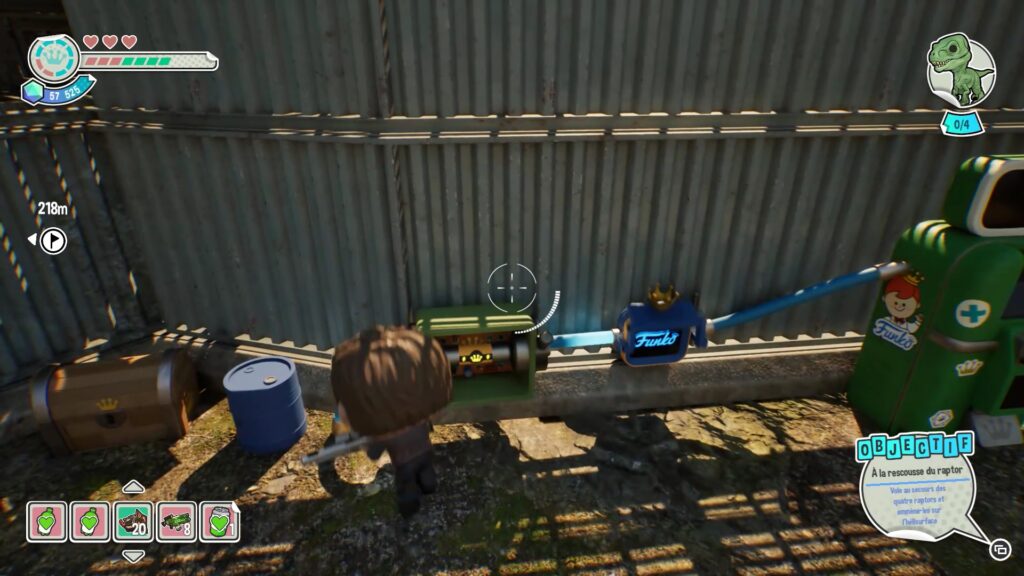
In the center of the area is a secure complex. To open it, you’ll need a battery and a fuse. Create the battery in the nearby creation machine, then charge it next to it. Once charged, place it in the mechanism on the complex’s door. Next, collect the fuse that powers the recycling machine across from the construction machine. Place the fuse in its slot to unlock the complex’s door.
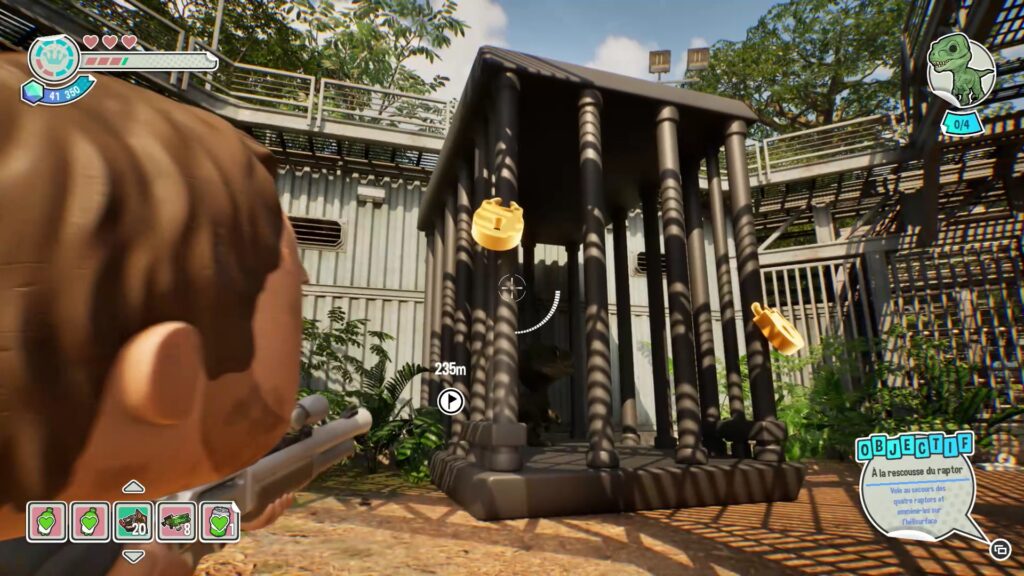
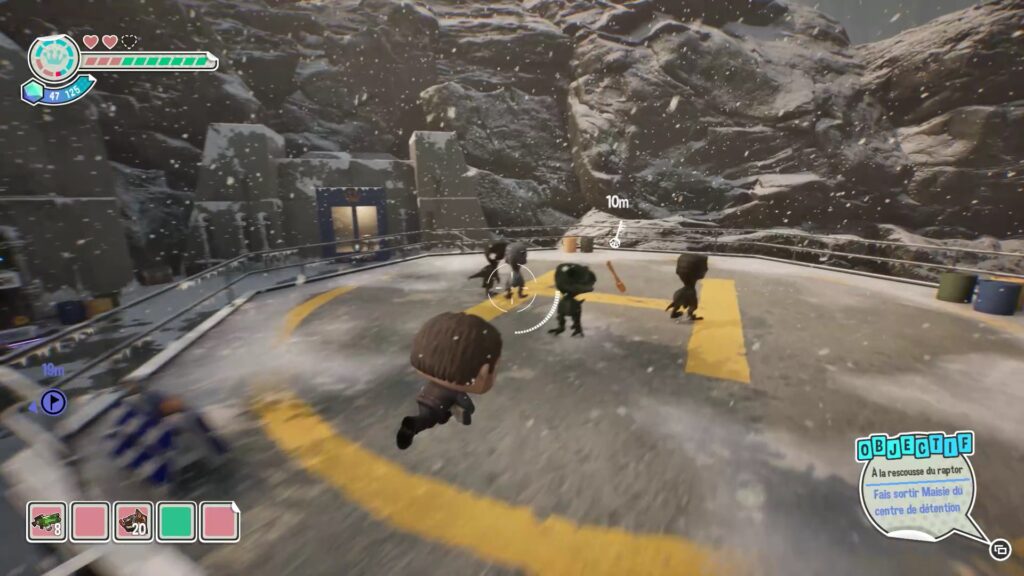
Enter the compound to find the last raptor locked in a cage. Shoot the two locks to free it. Then, take all four raptors to the helipad by following the quest marker. Be prepared to face a horde of enemies on the way. Once the raptors are safely on the helipad, you will complete the chapter.
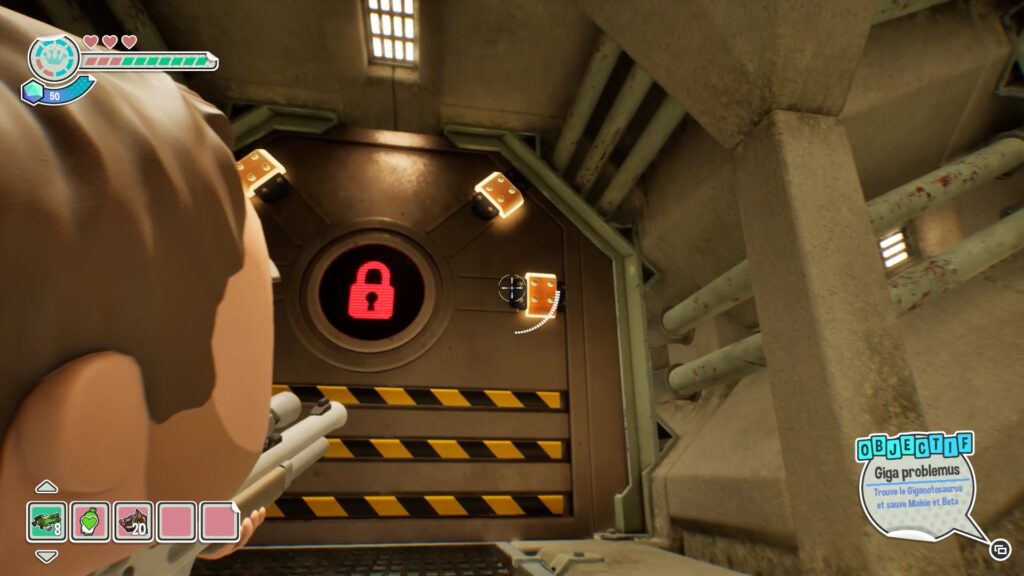
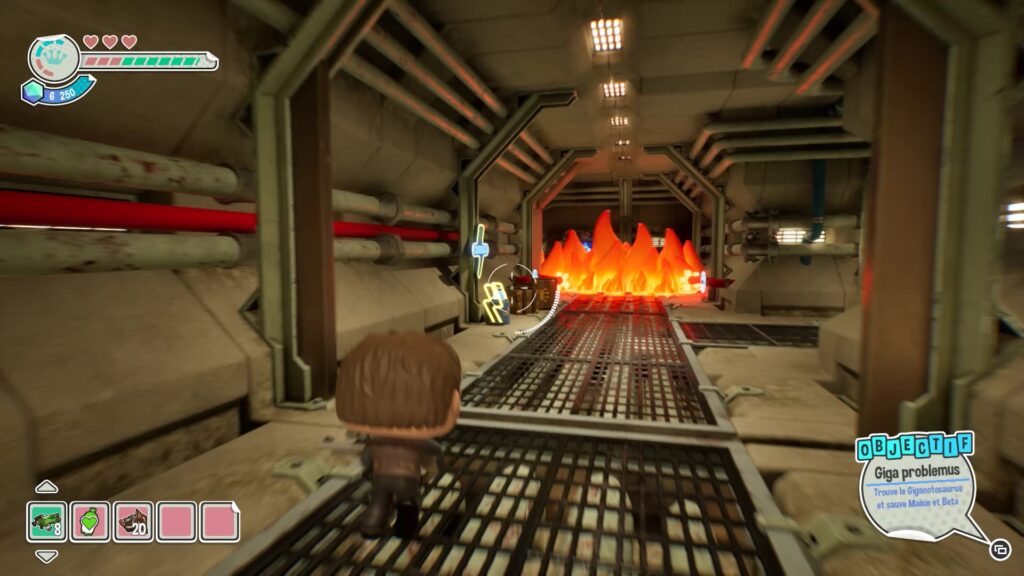
In this new chapter, use the lever to unlock the door and go down the stairs. A door locked with four padlocks blocks the passage. Pull the four locks to move forward. Then, you will be blocked by flames. You will need two cranks to activate water and progress.
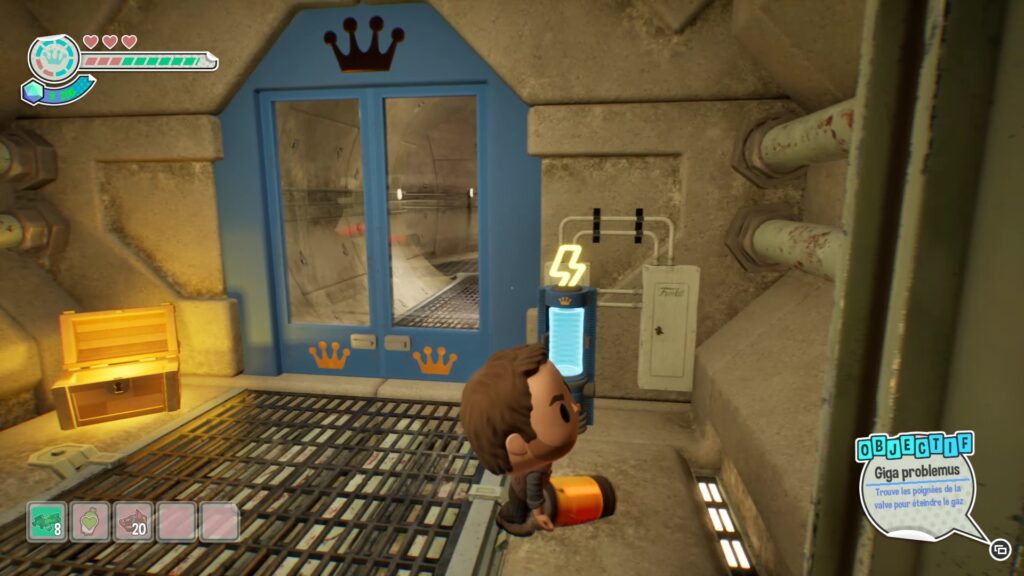
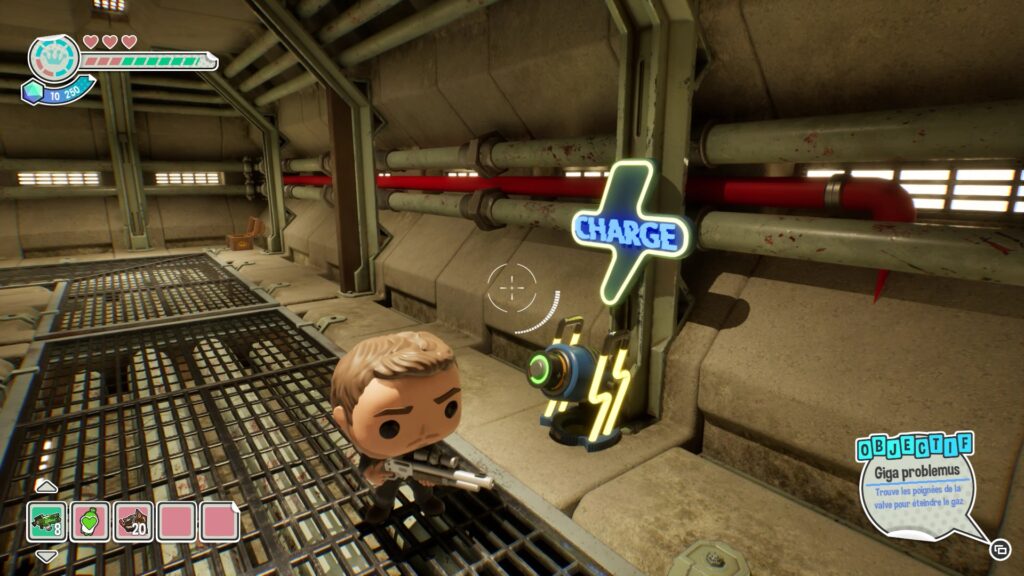
To find the cranks you must open the blue door that blocks your path. To do this, pick up the battery on the ground near the door and go charge it near the flames. Then place the battery in its location to unblock the path.
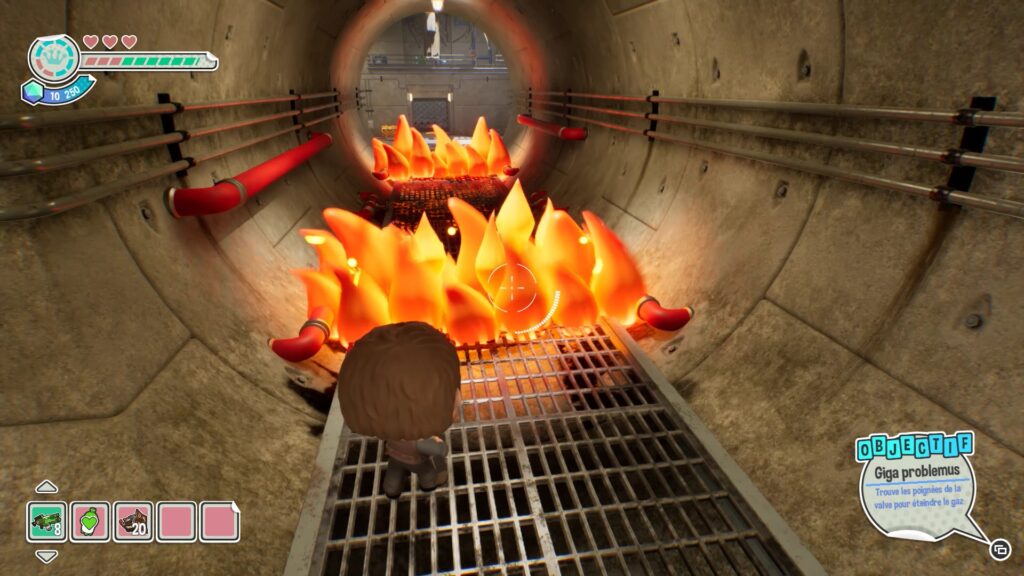
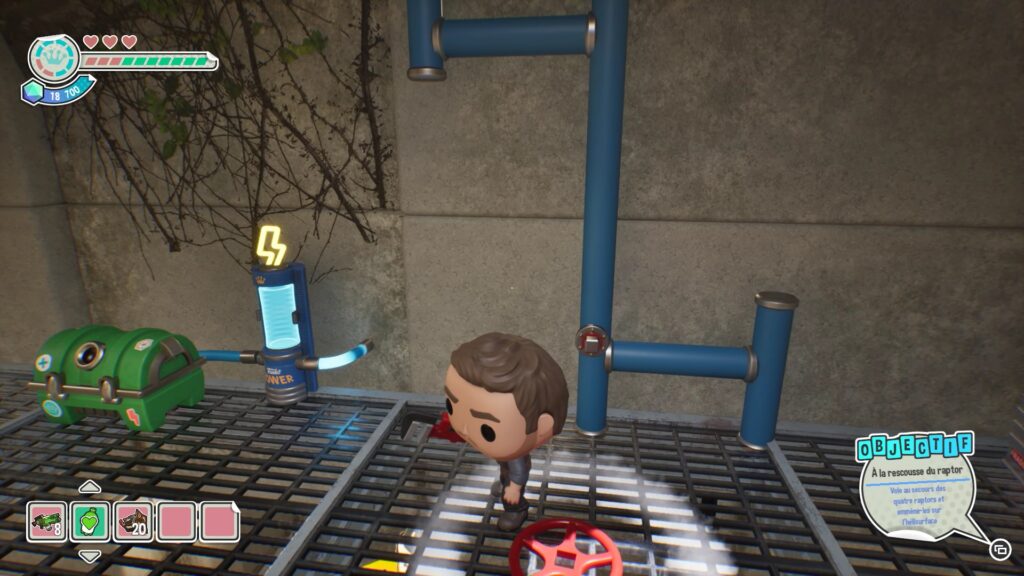
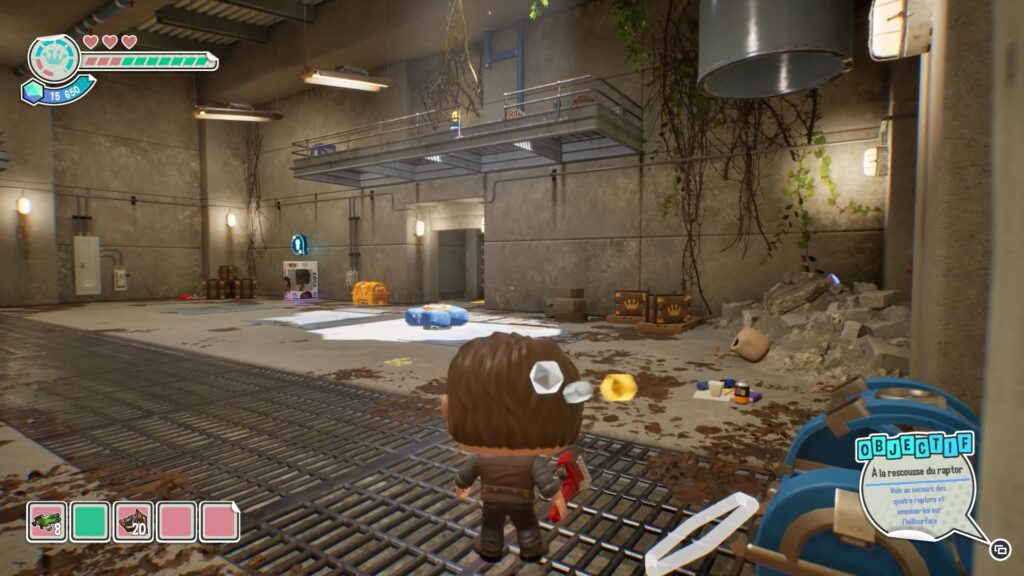
Take the path to the left to be blocked by flames again. This time, the flames go out in turns, allowing you to move forward. Progress from flame to flame as soon as they are extinguished. In the new room, defeat the enemies and use the jump module to reach the platform above. A valve is attached to it. Collect it and return to the start of the level, near the wall of flames, to drop it.
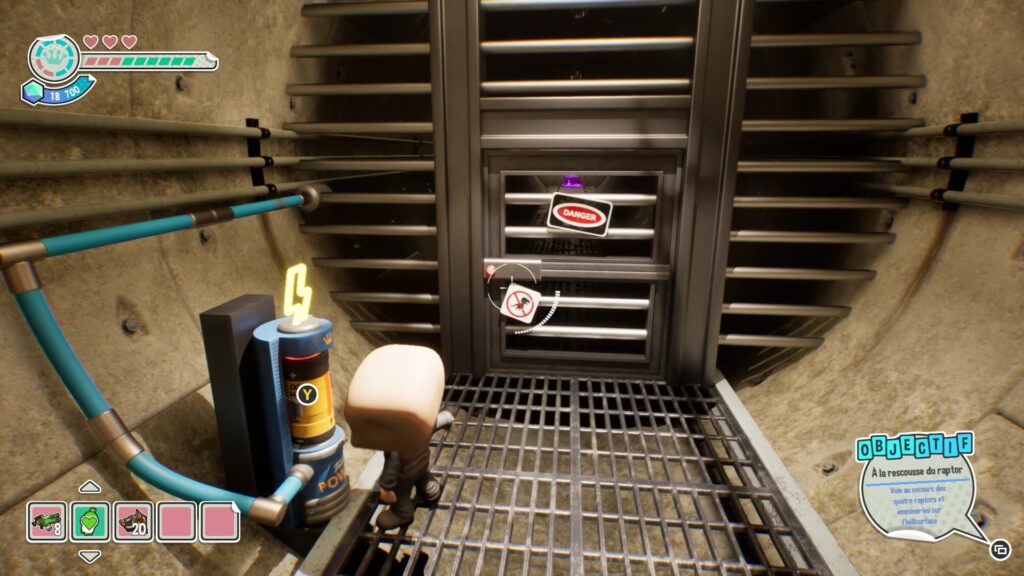
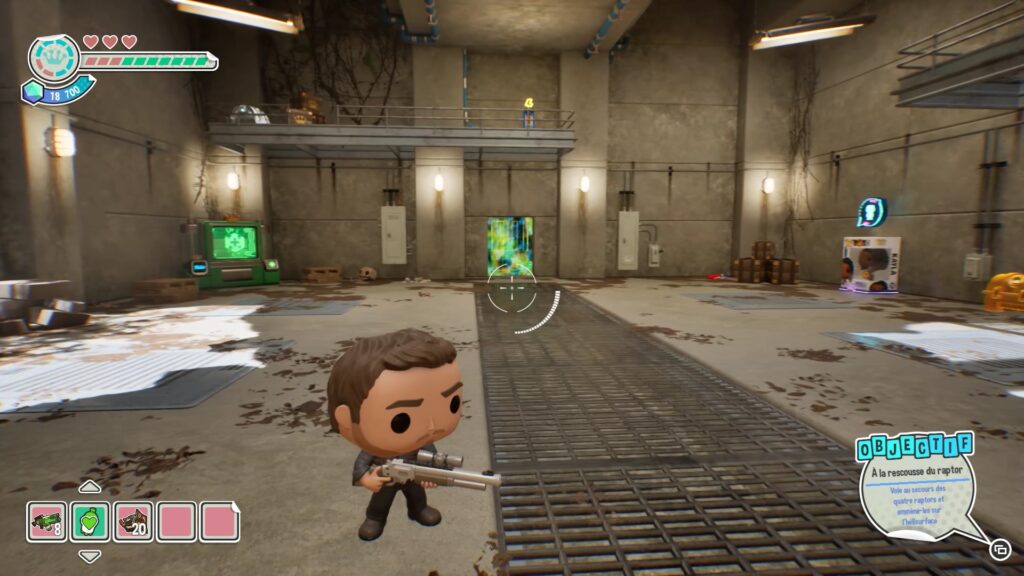
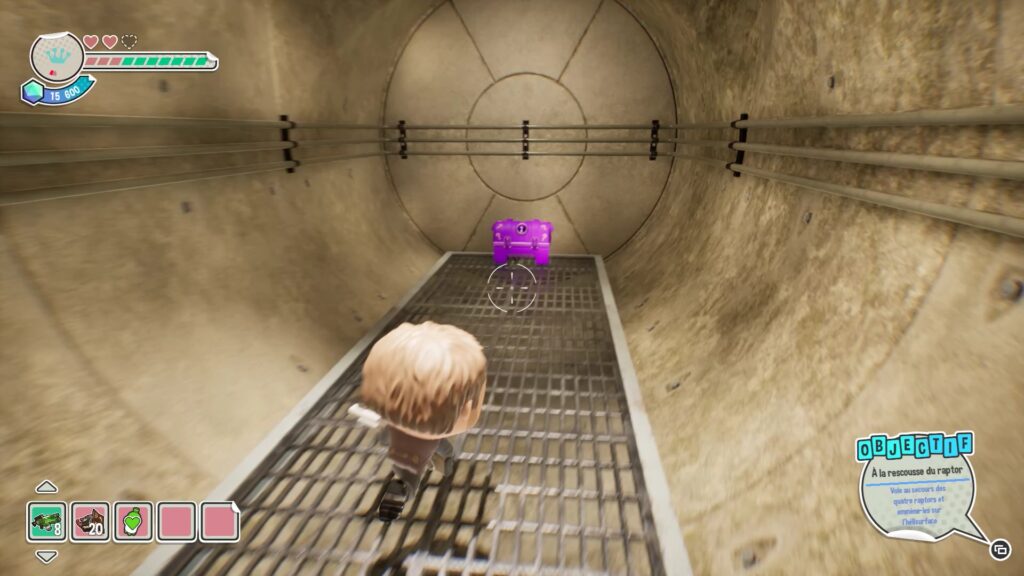
Return to the blue door and proceed to the path on the right. You must unlock the door with a « Danger » sign. To do this, collect a battery in the large room where you found the first valve. Use the jump module to reach the high platform on the left and take the battery. Recharge it, then place it in the mechanism of the « Danger » door. Then, eliminate all the enemies in the area to free the purple chest and obtain the second valve.
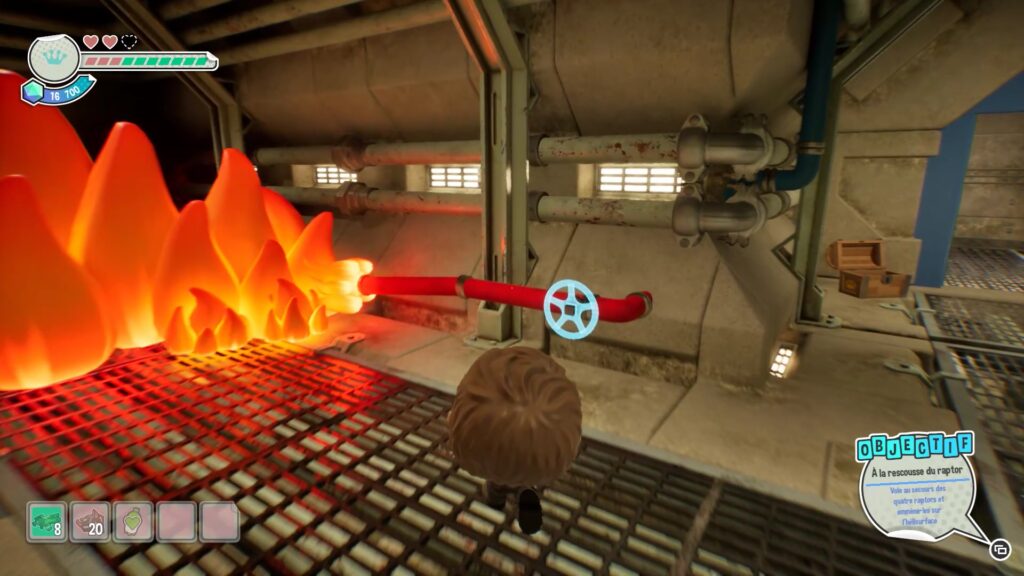
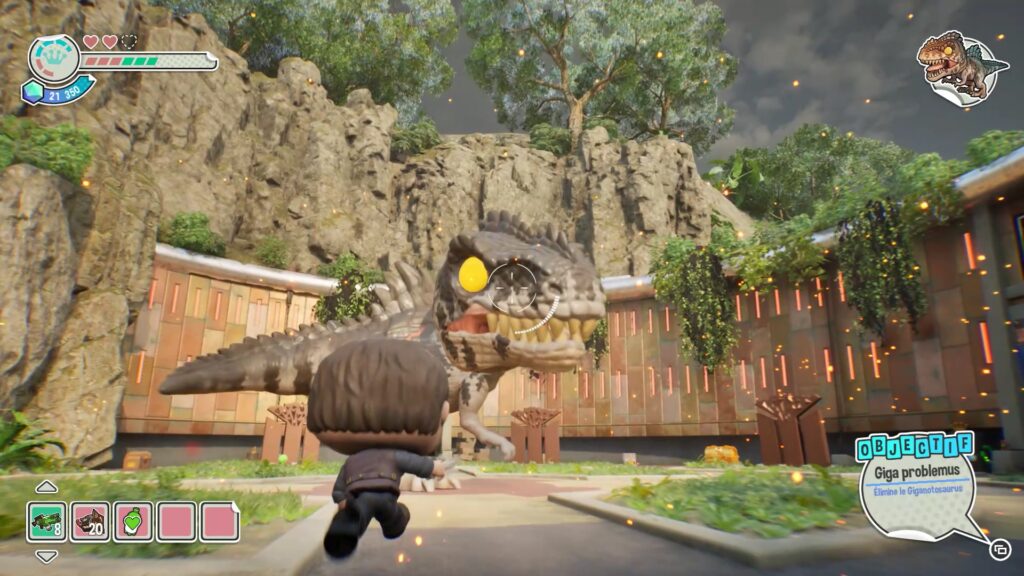
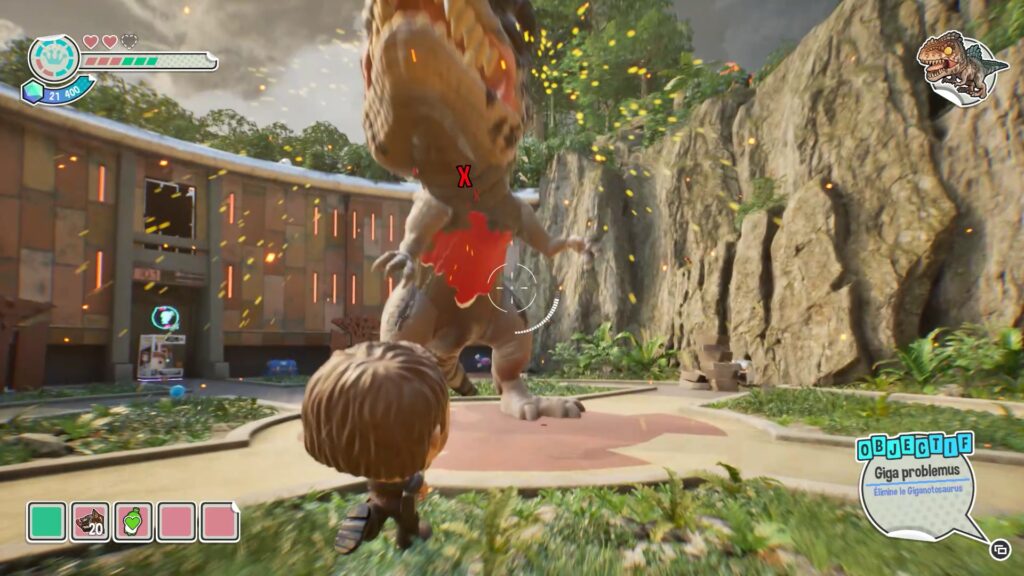
Place the second valve on the pipes to unlock the path. Move forward to meet a new opponent: the Giganotosaurus. To defeat it, start by aiming for its eyes. Once weakened, it will stand up and reveal a weak point in red on its belly. Shoot it to inflict damage. Repeat this operation several times while dodging its attacks to defeat it and complete the chapter.
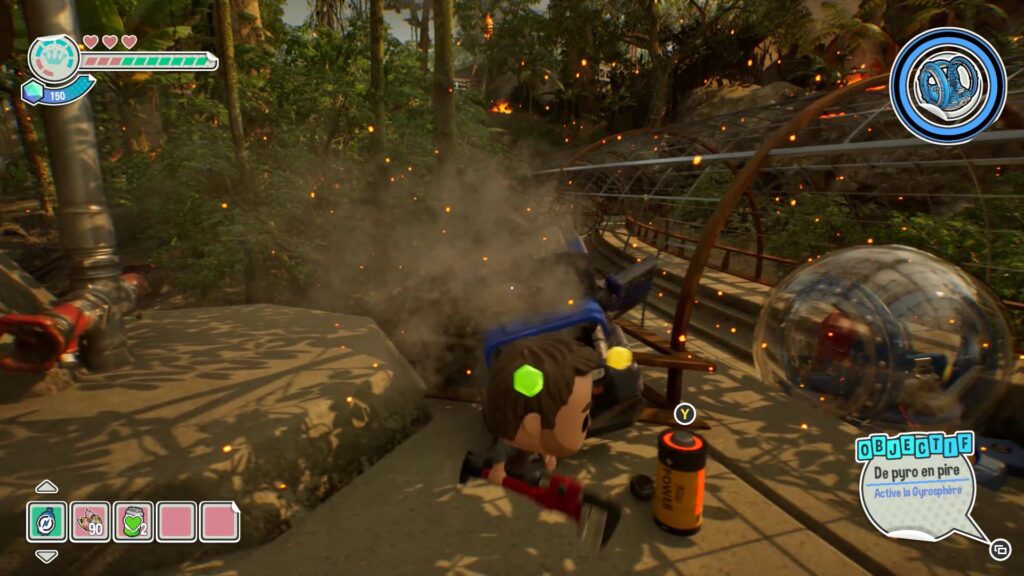
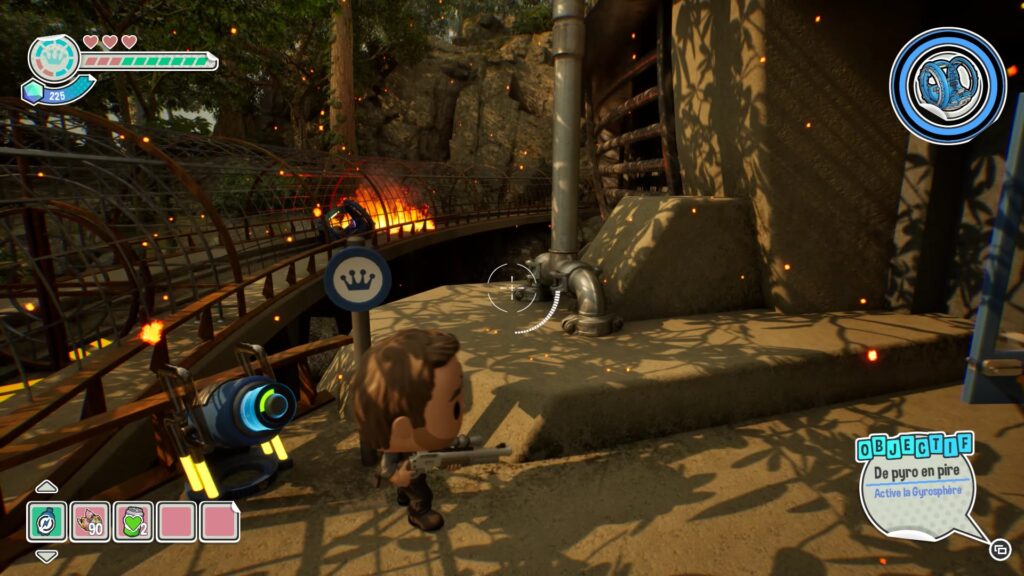
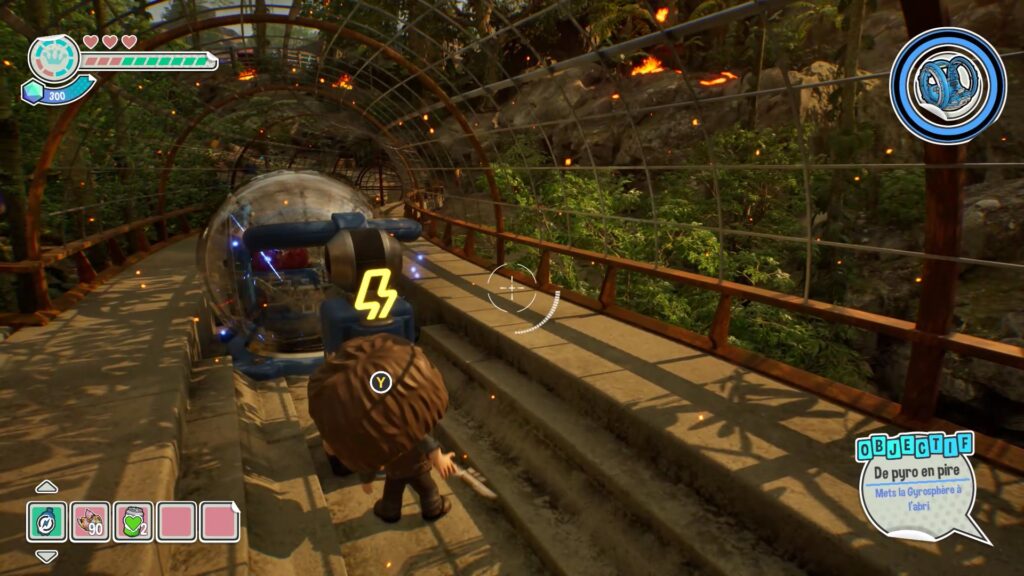
In this chapter, you must escort the Gyrosphere to its destination. To activate it, retrieve a battery from the crashed vehicle near the Gyrosphere. Recharge the battery in the charger, then place it in its location to start the Gyrosphere.
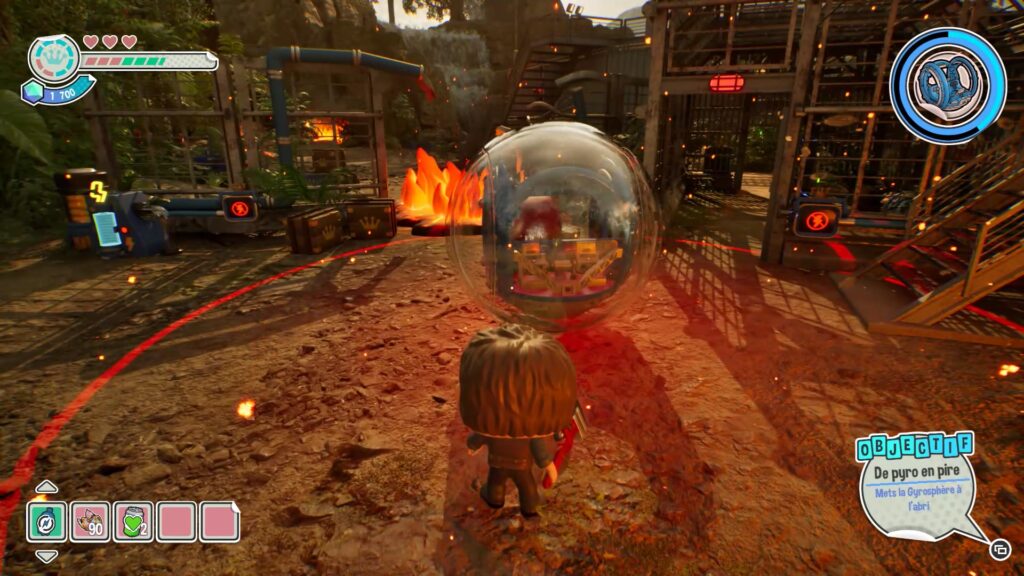
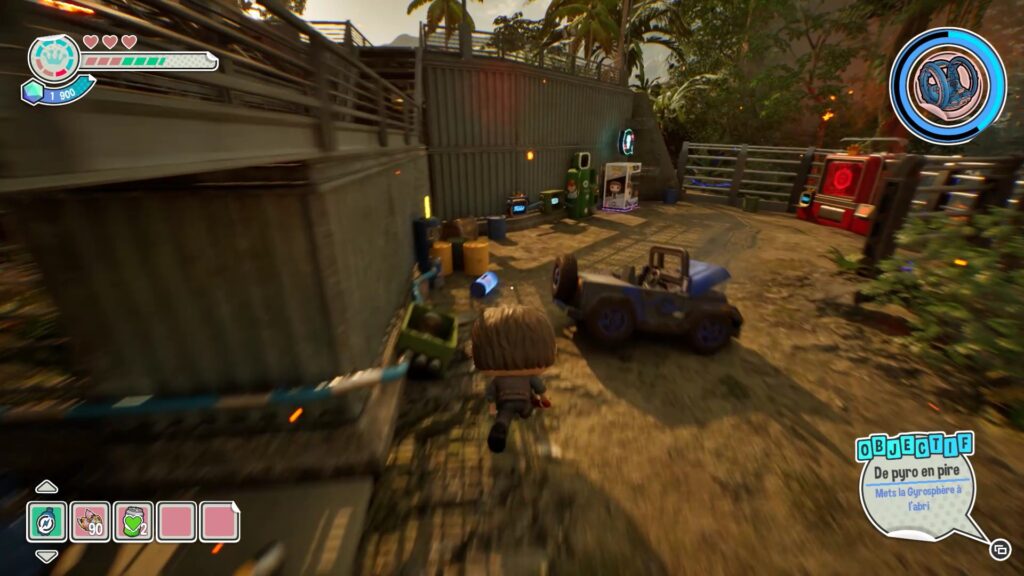
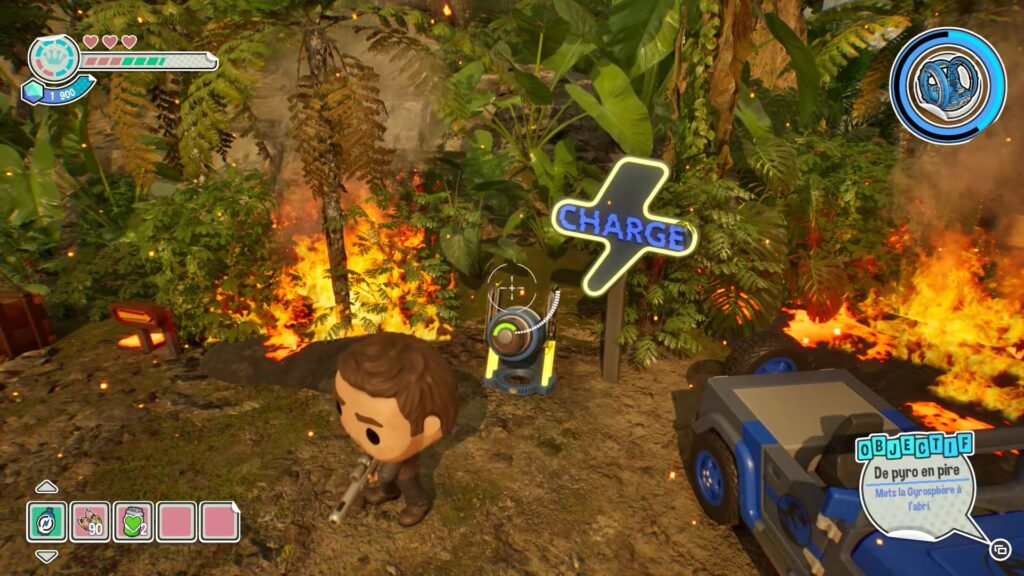
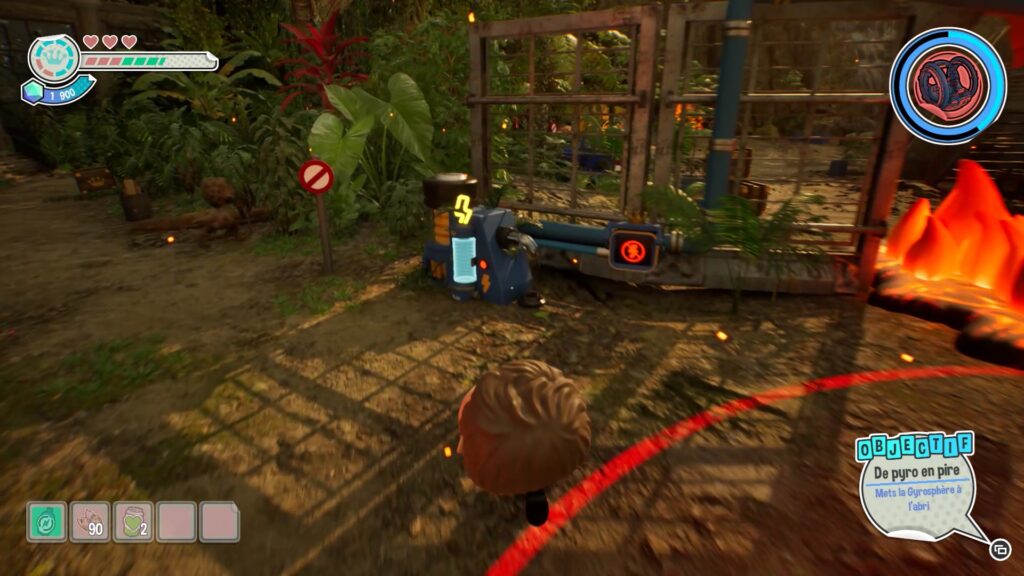
Move the gyrosphere forward while staying in the circle near the vehicle. Eliminate the enemies in your path to progress. Your first obstacle will be a wall of flames. To extinguish it, collect a battery from the mechanism that opens the complex where you released a raptor. Then charge the battery near a car in the area. Once charged, place it in the mechanism to extinguish the wall of flames.
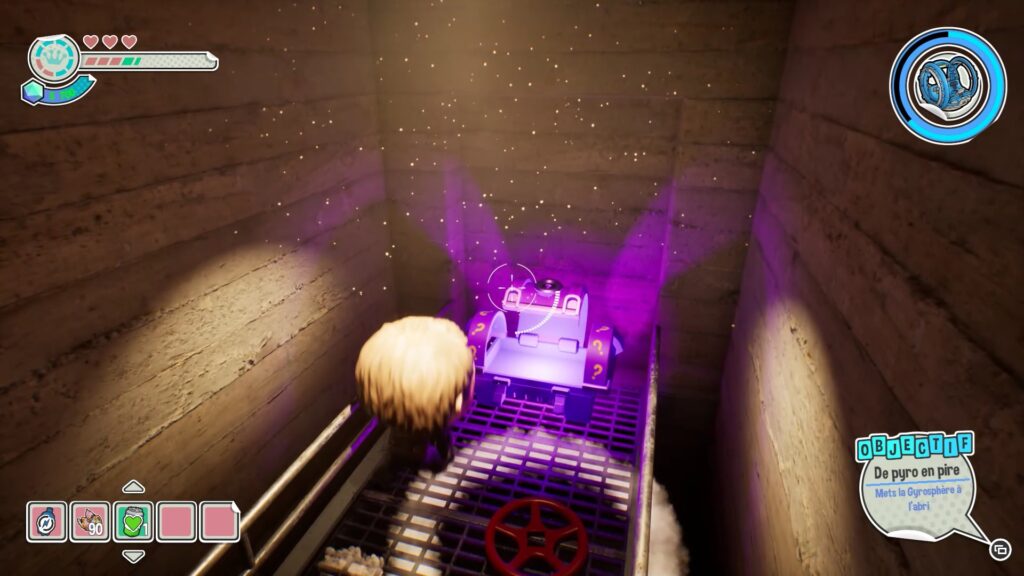
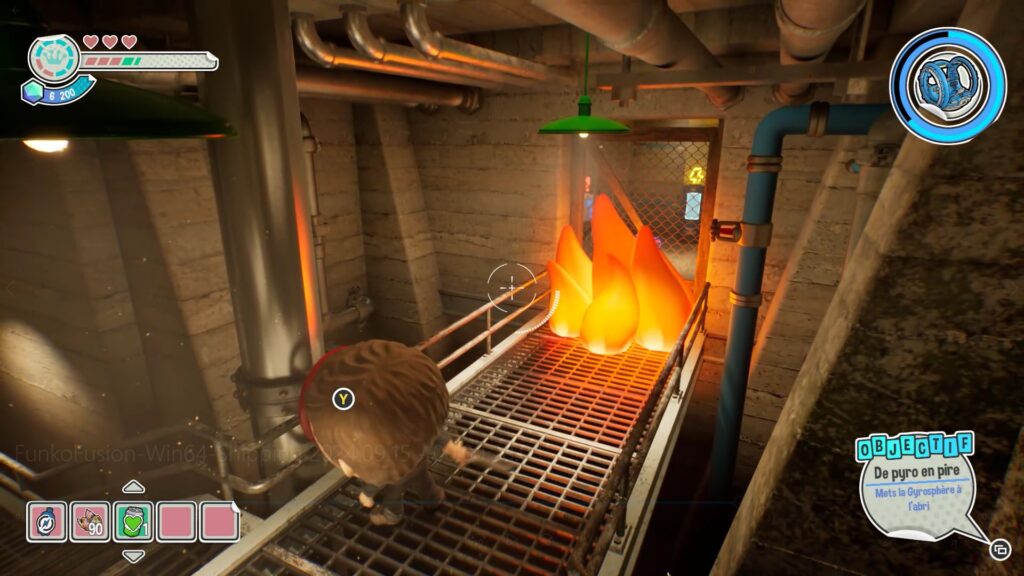
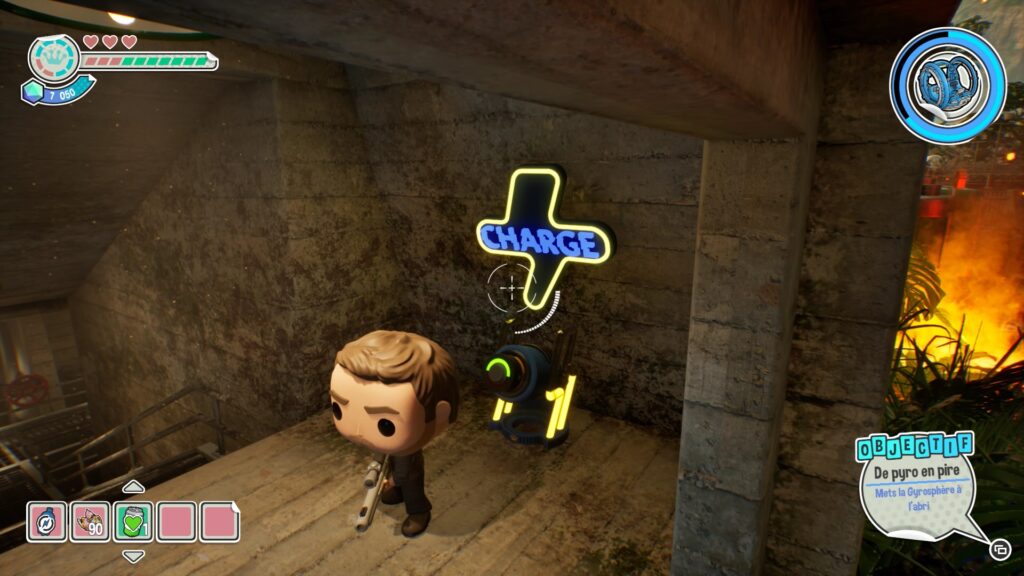
The second obstacle is a locked gate. Drop down into the bunker to the right of the poratail. To reach the gate’s battery location, you must first put out some flames. You will need a crank, which you can obtain by opening the purple chest in the area. Place the crank in the mechanism to put out the flames. You can then pick up the battery on the ground, charge it at the entrance to the bunker, and place it in its slot.
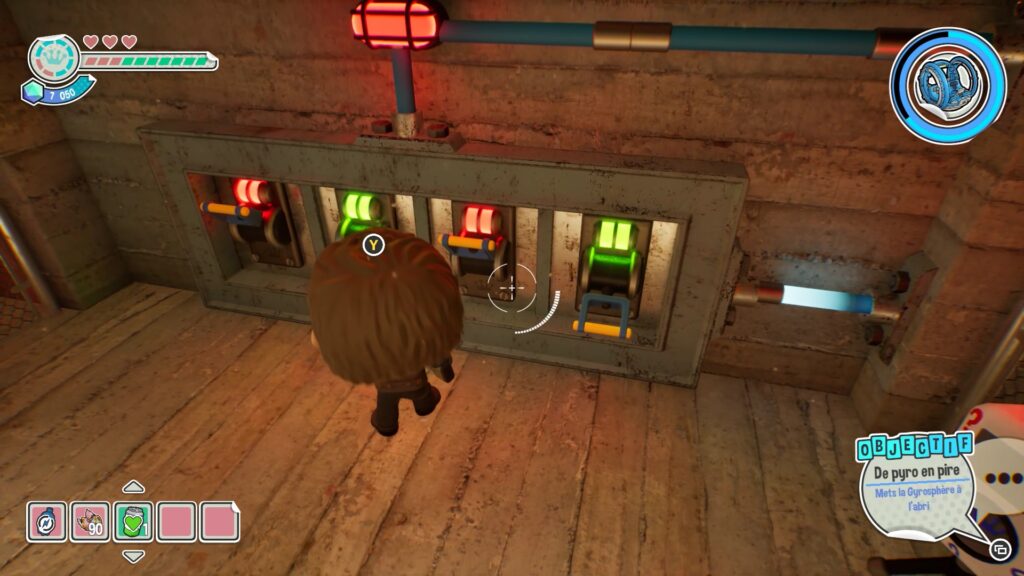
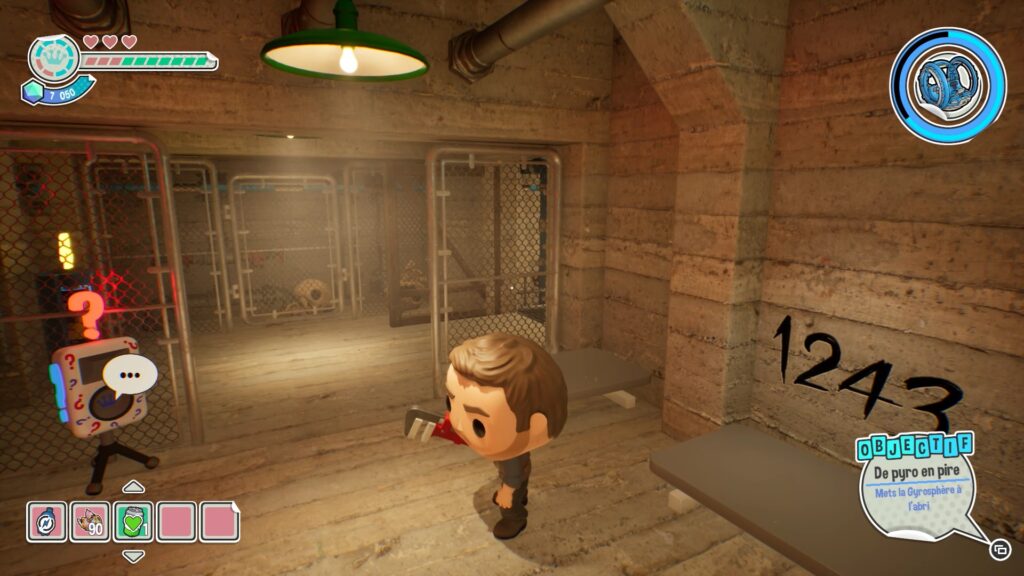
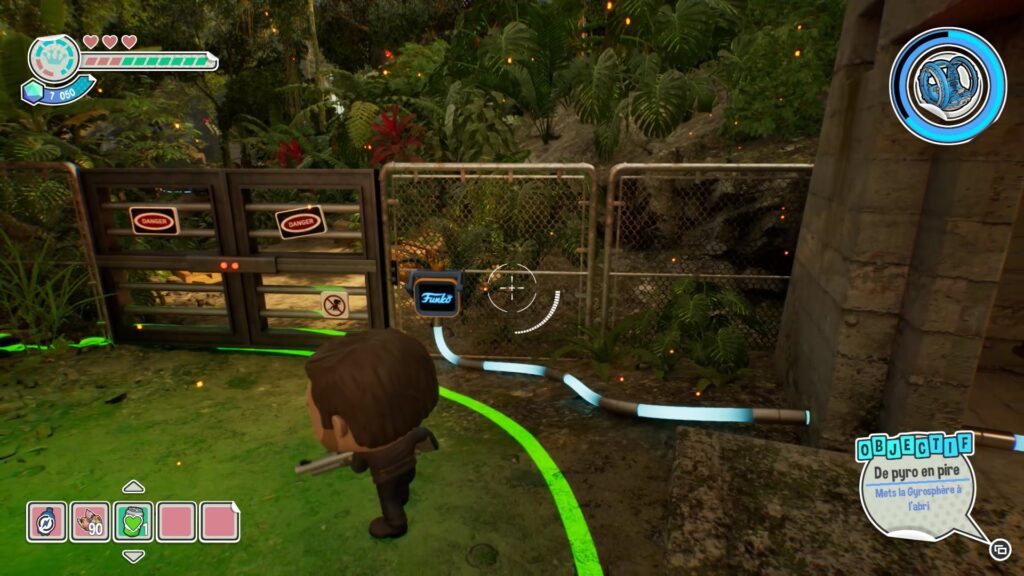
To unlock the portal, you have one last step. In the room near the battery, you will find 4 levers. Activate them in the order indicated on the wall behind the computer opposite the levers. Once the levers are activated, return to the portal to unlock it and advance the gyrosphere.
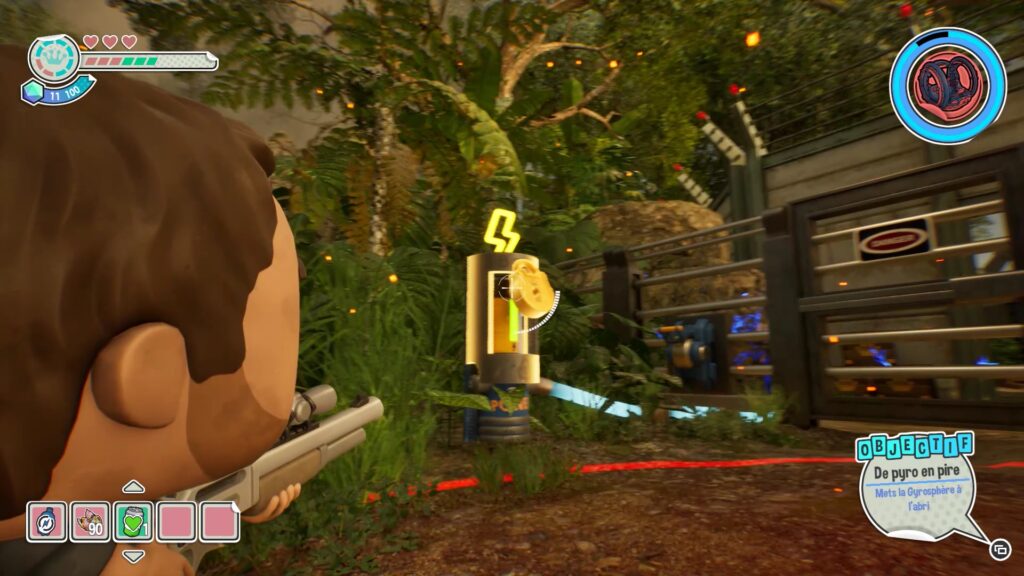
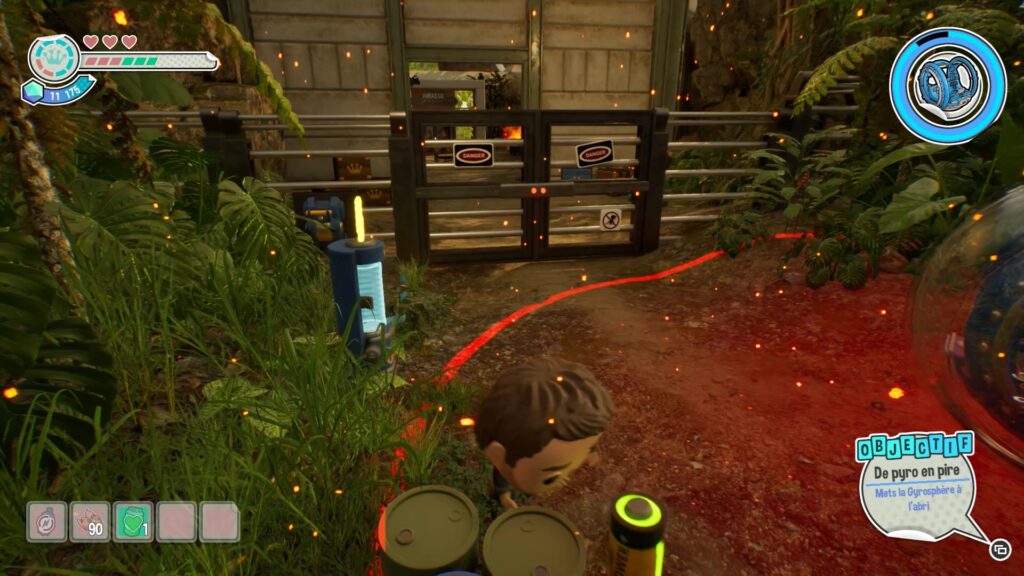
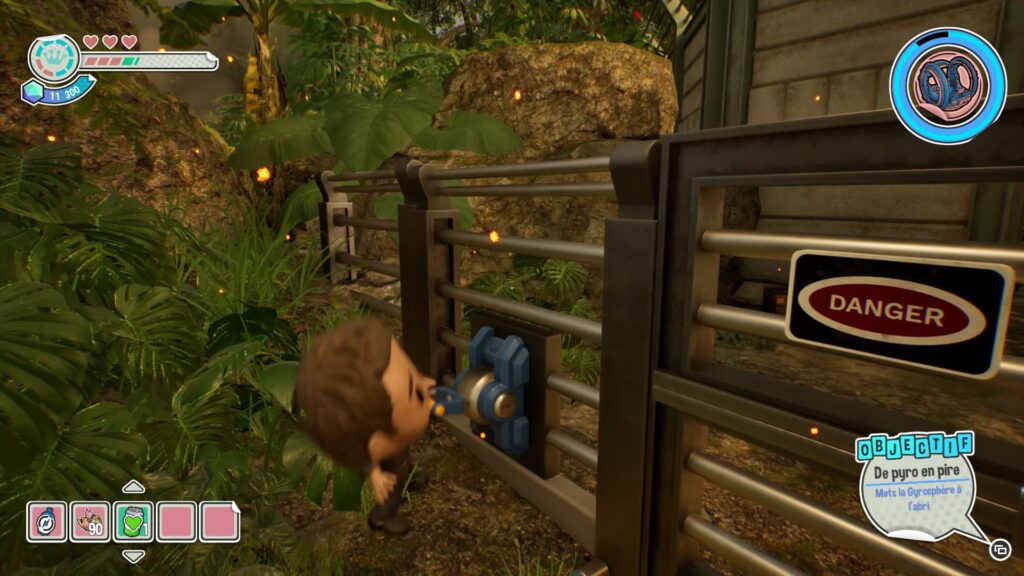
As you move forward, you come across a new locked gate. To unlock it, start by pulling the gate’s battery lock. Then remove the battery to cut off power to the mechanism. Then lower the lever to the left of the gate to continue. Escort the gyrosphere to complete the chapter.
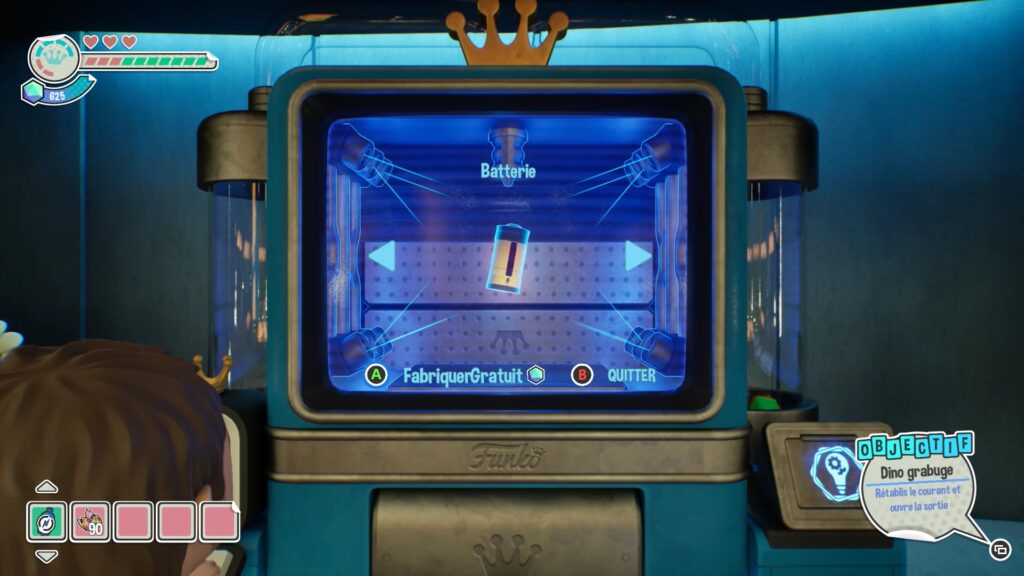
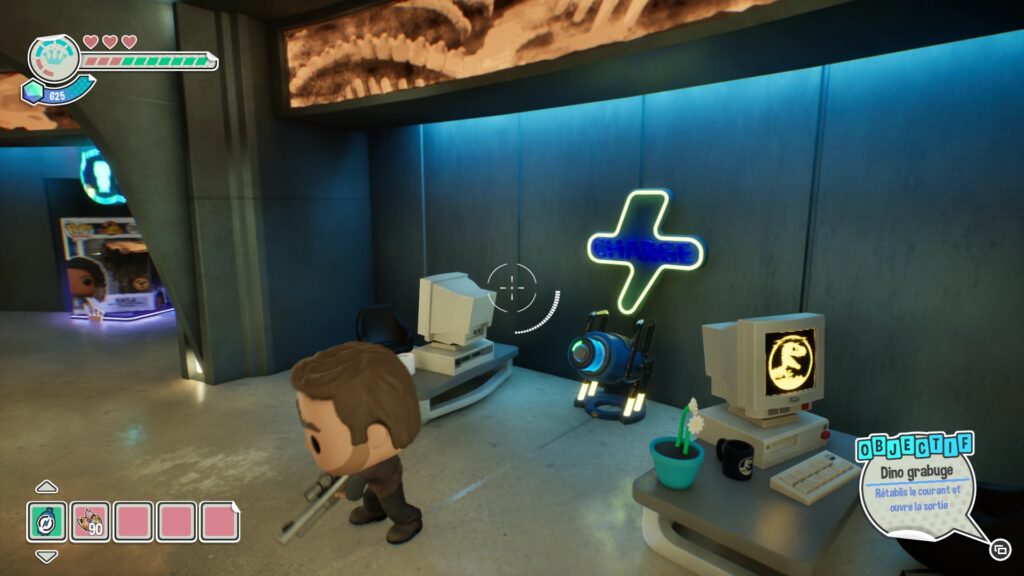
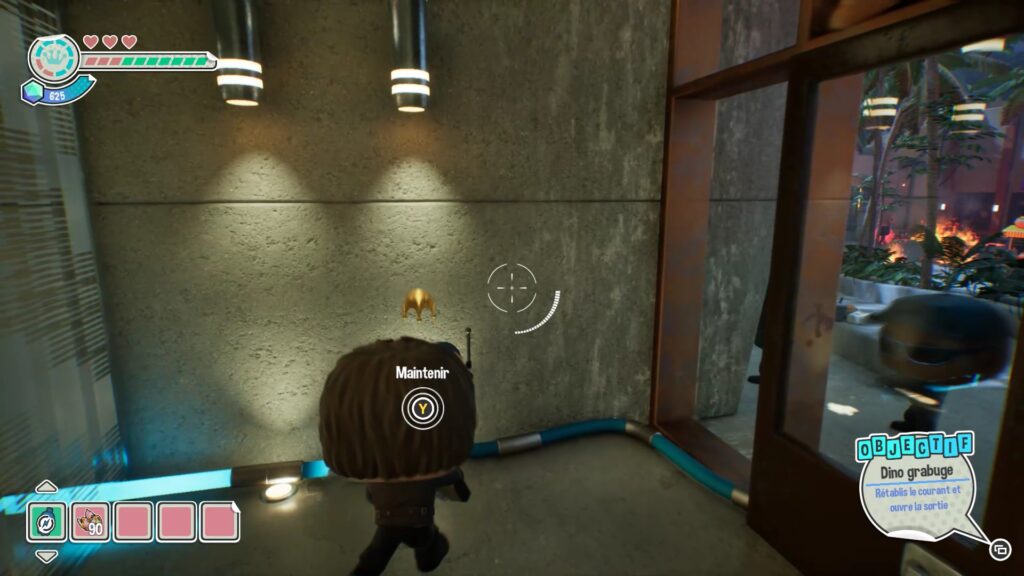
You need to get out of the convention center. To do this, restore power using a battery. Create a battery from the creation machine, then go charge it. Then place it in the door mechanism to exit the convention center.
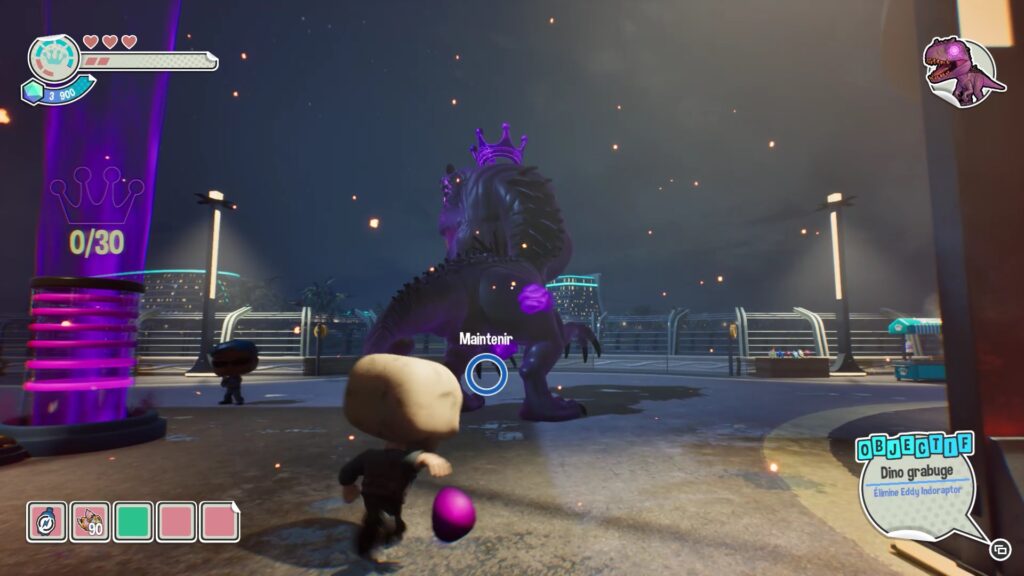
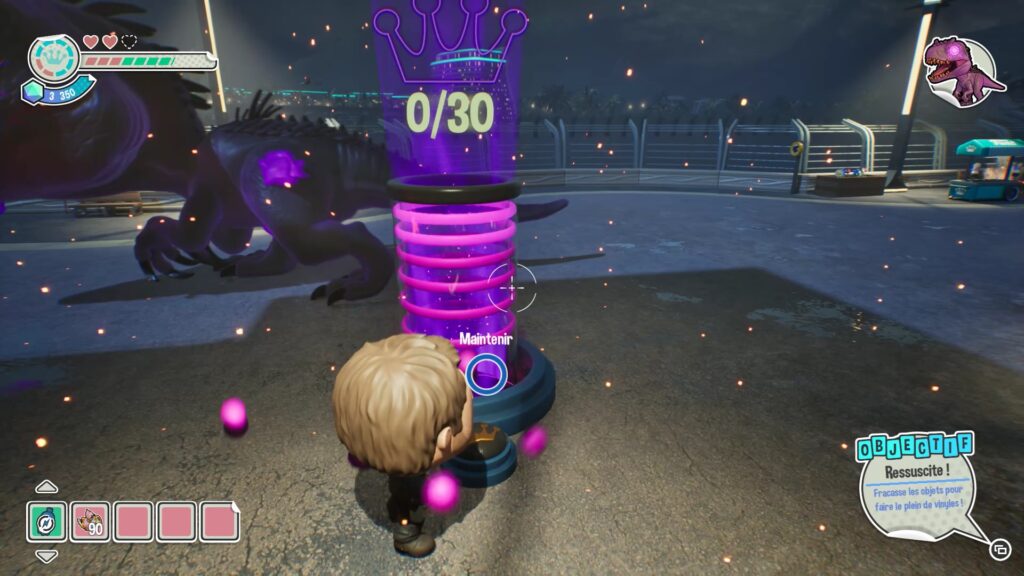
You are now facing the boss of this world. Activate the purple receptacle with a crown to start collecting purple orbs. Aim at the purple growths on the boss to obtain orbs, then place them in the receptacle. Once the required number is reached, you will receive help against the boss. Keep shooting Eddy to complete the world of Jurassic World.
Scott Pilgrim Funko Fusion Walkthrough
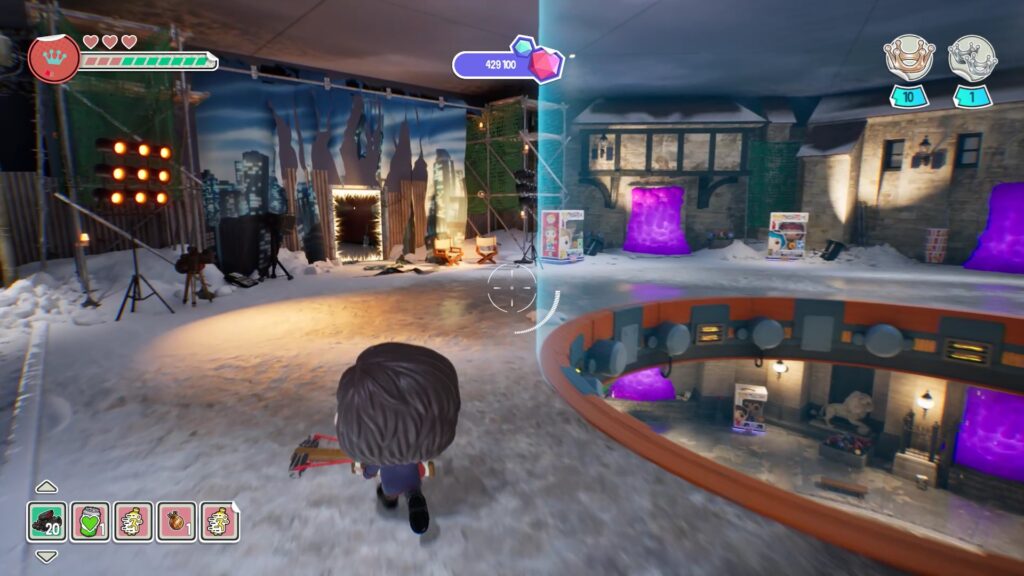
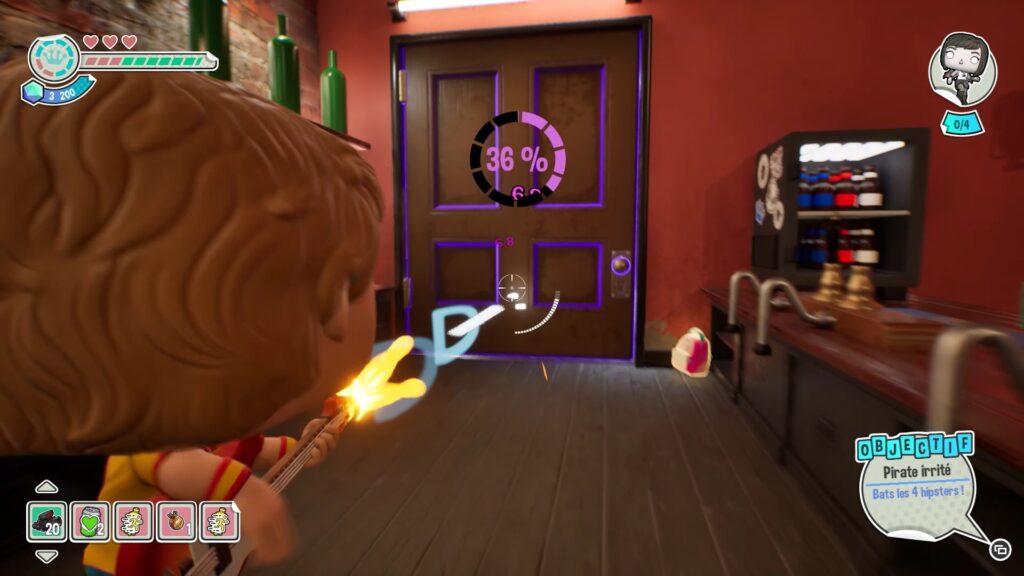
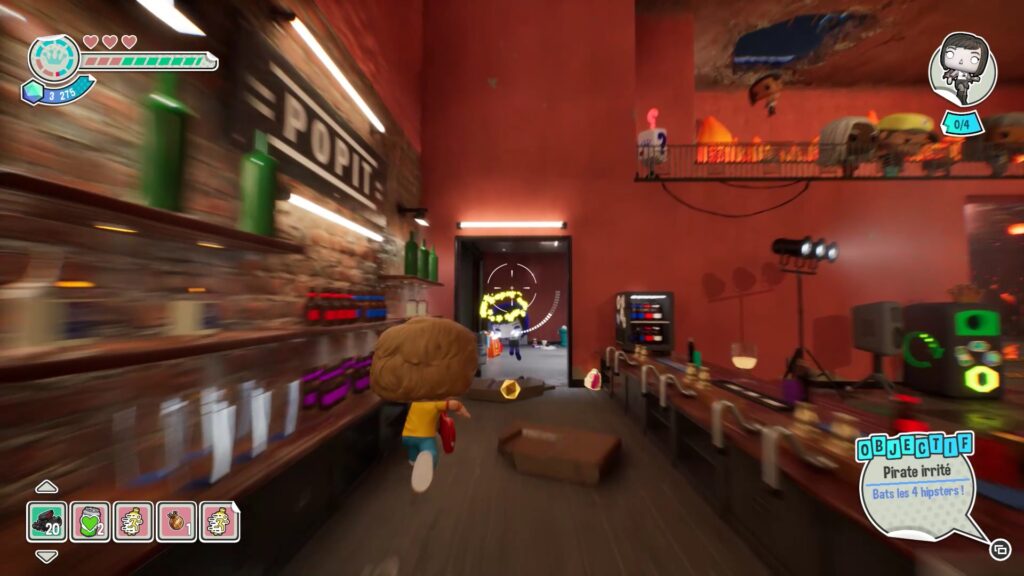
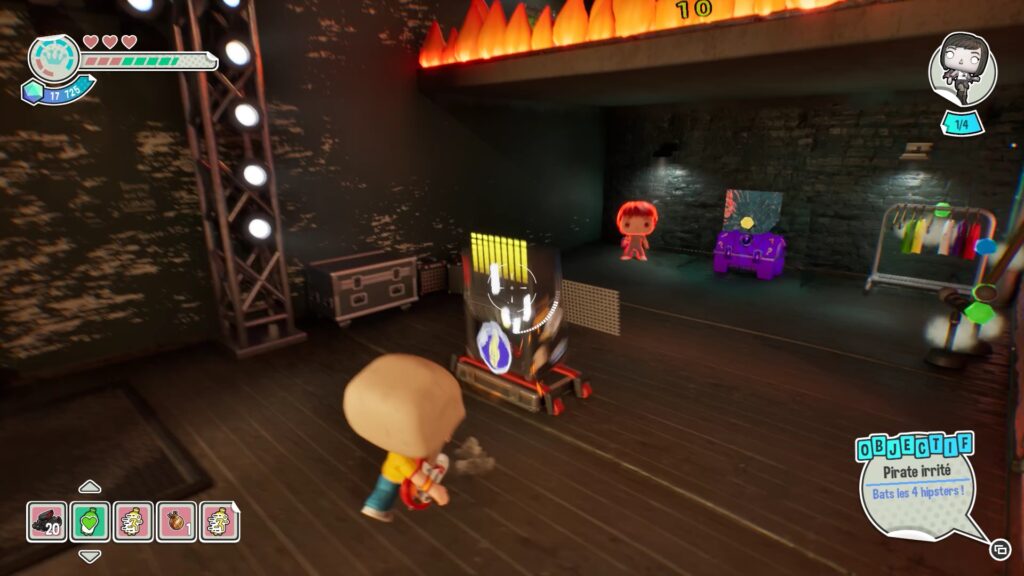
In the first level of Scott Pilgrim, you have to defeat 4 hipsters. The first one is behind the door of the bar. Destroy the door, then attack him. When the hipster is stunned, use your handgun to finish him off. Repeat this technique until you defeat him.
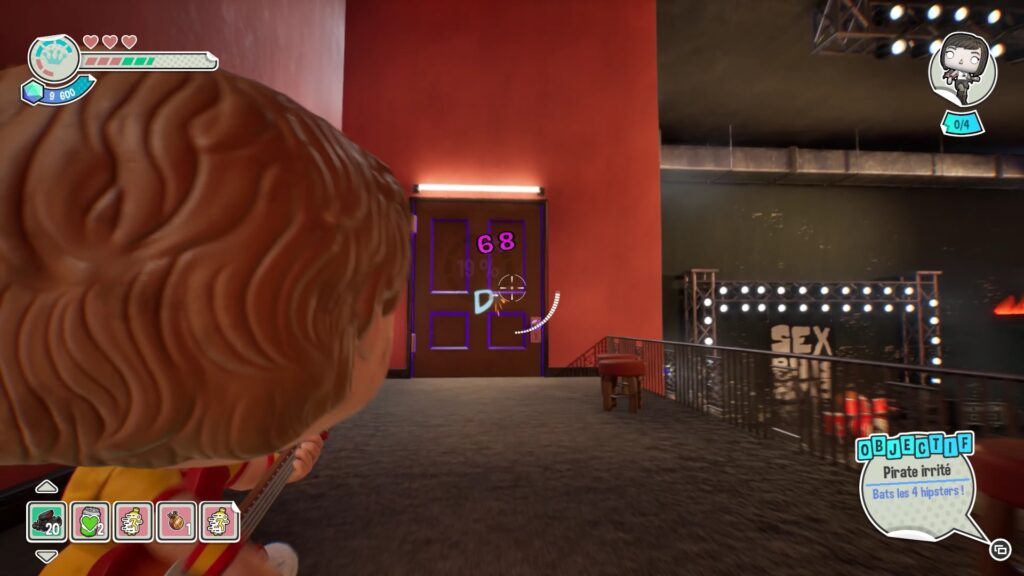
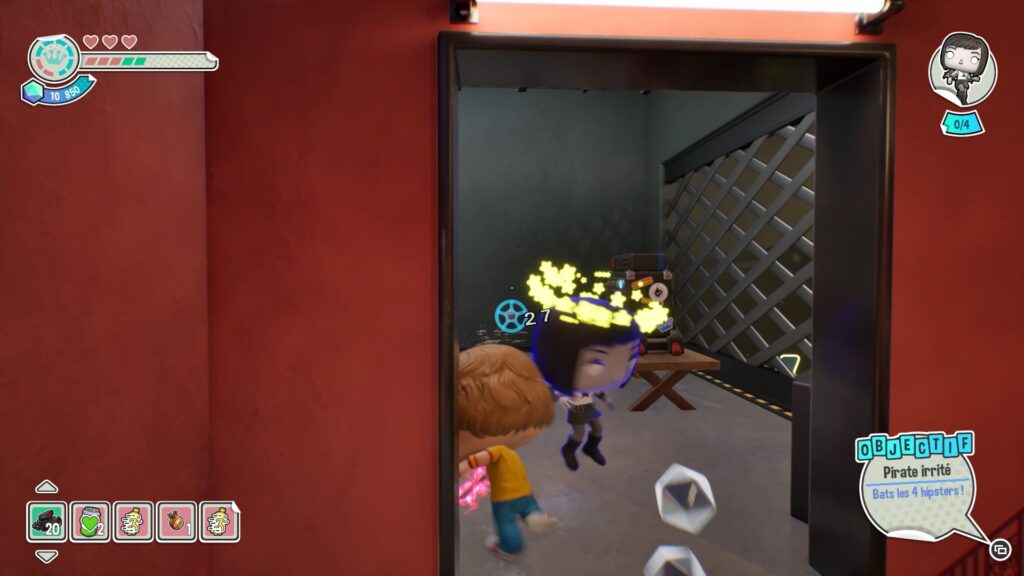
To find the second hipster, go up the stairs at the back of the room. Continue straight until you reach a purple door. Shoot the door to destroy it and reveal the hipster. As with the first, shoot him to stun him and then attack him with your handgun.
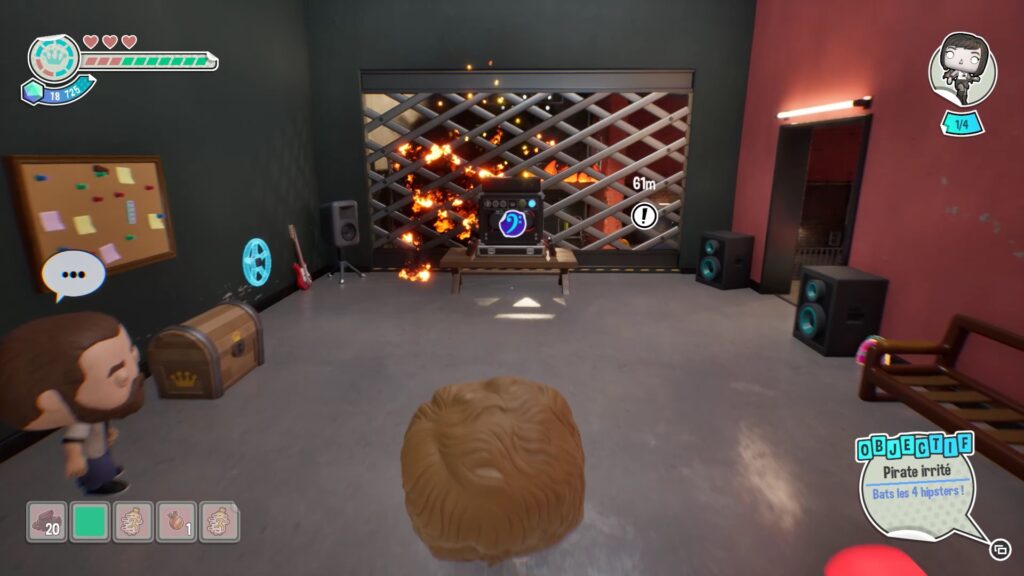
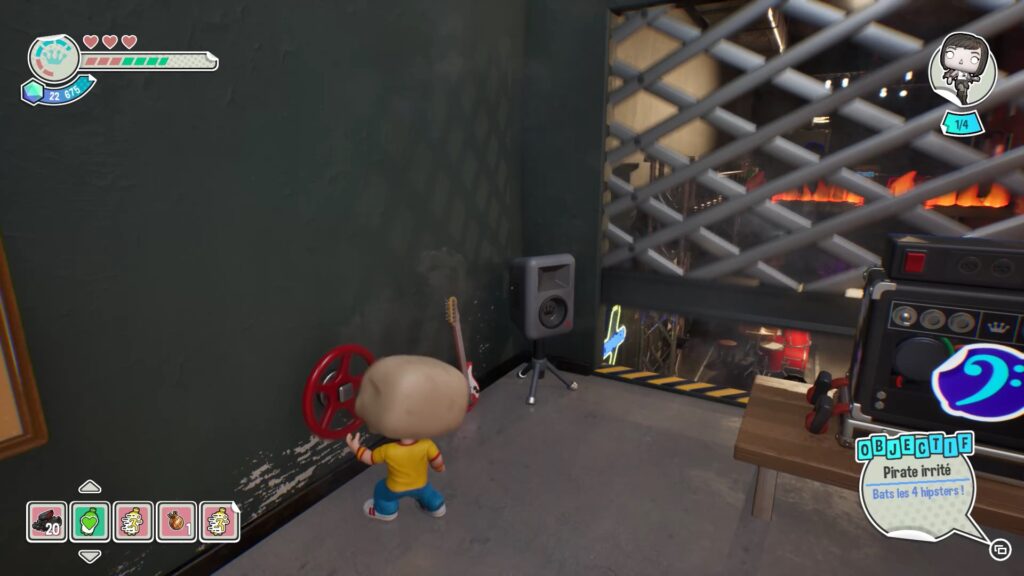
In the second hipster’s room, you will see the third hipster behind a metal curtain on the other side of the area. To raise the curtain, you must find a crank. Go down to the stage, stand in front of the amp and use a character equipped with a guitar to shoot the amp and break the glass locking a chest. Collect the valve from the purple chest, then place it on its location to raise the metal curtain and access the hipster.
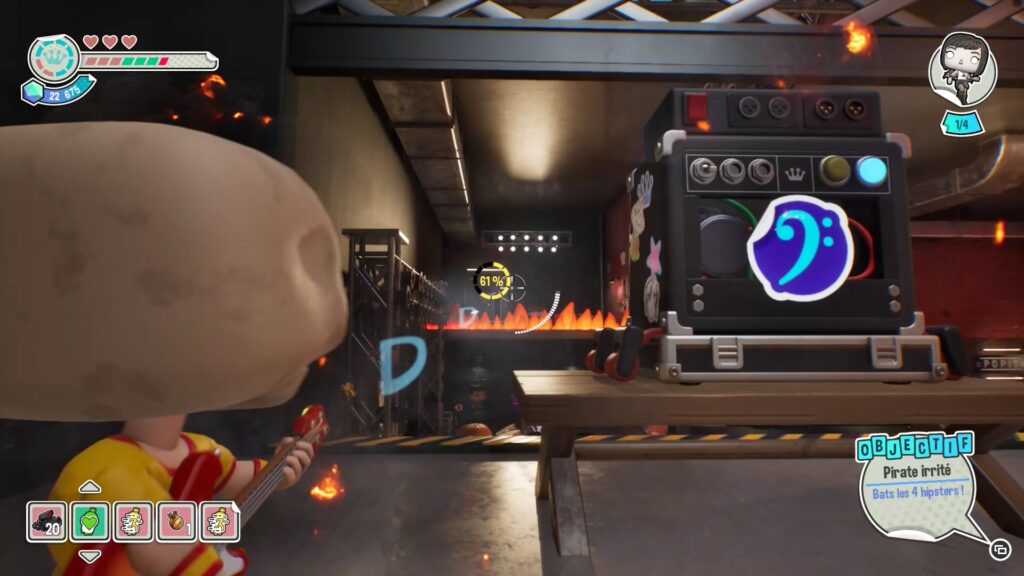
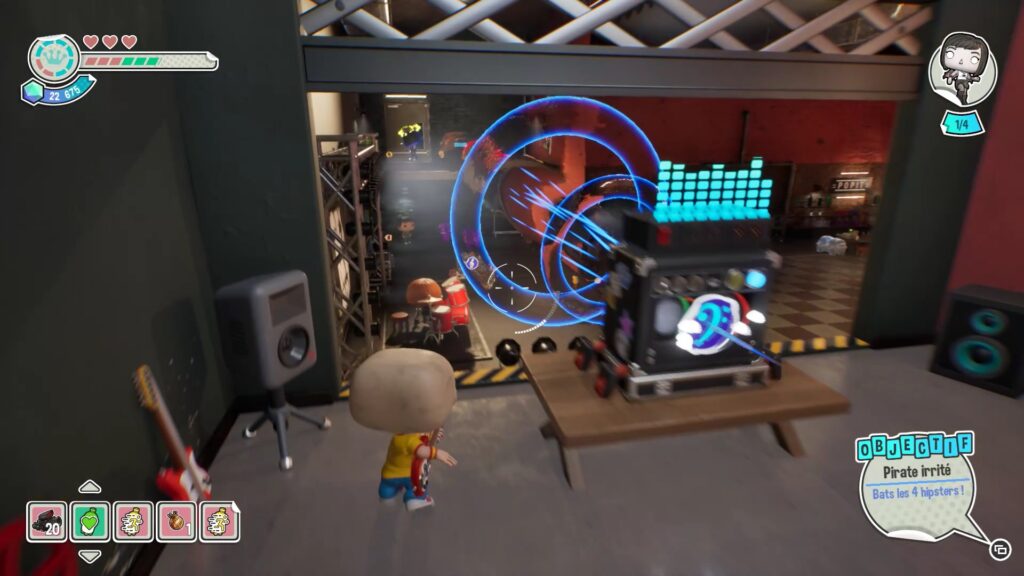
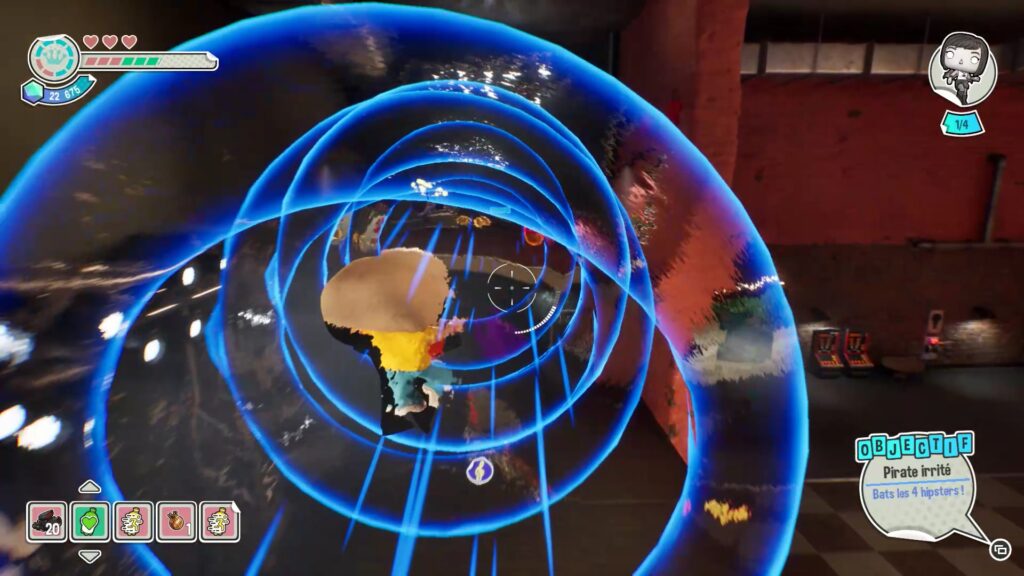
Once the curtain is up, shoot the third hipster to stun him from your position. Then, shoot the amp with your guitar to create waves. Jump into the waves to fly towards the hipster. Once in front of him, attack him in the same way as the first hipsters.
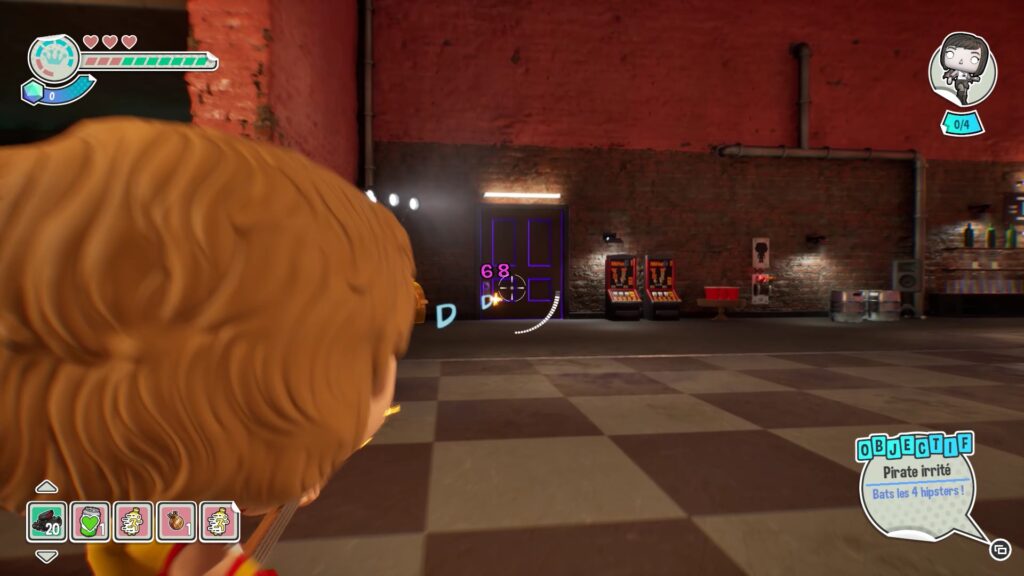
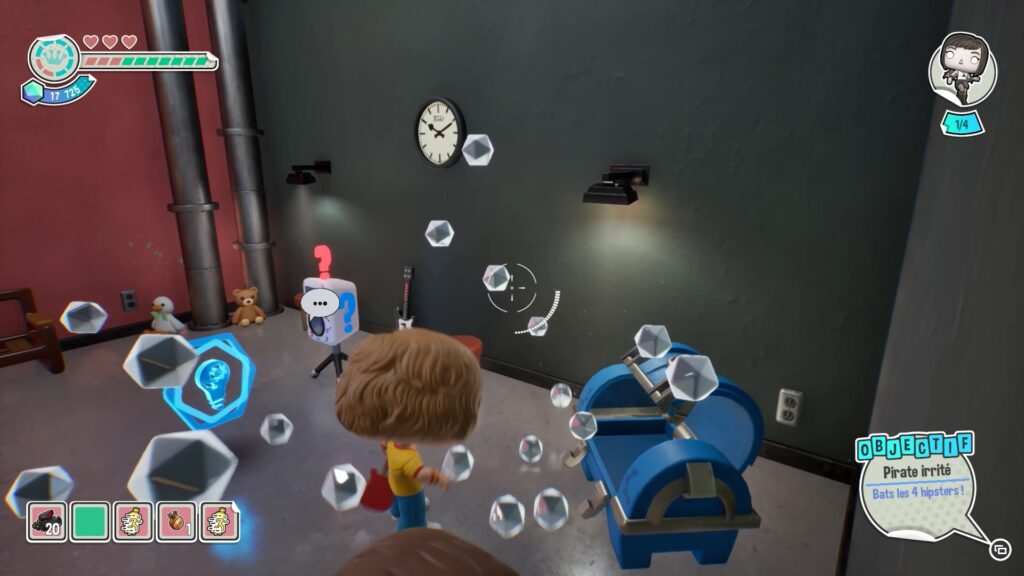
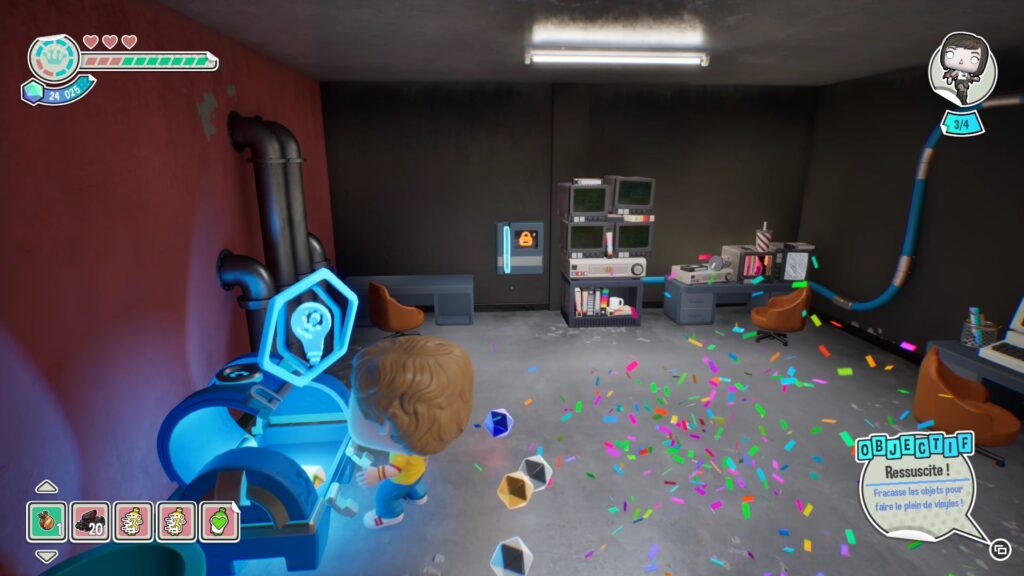
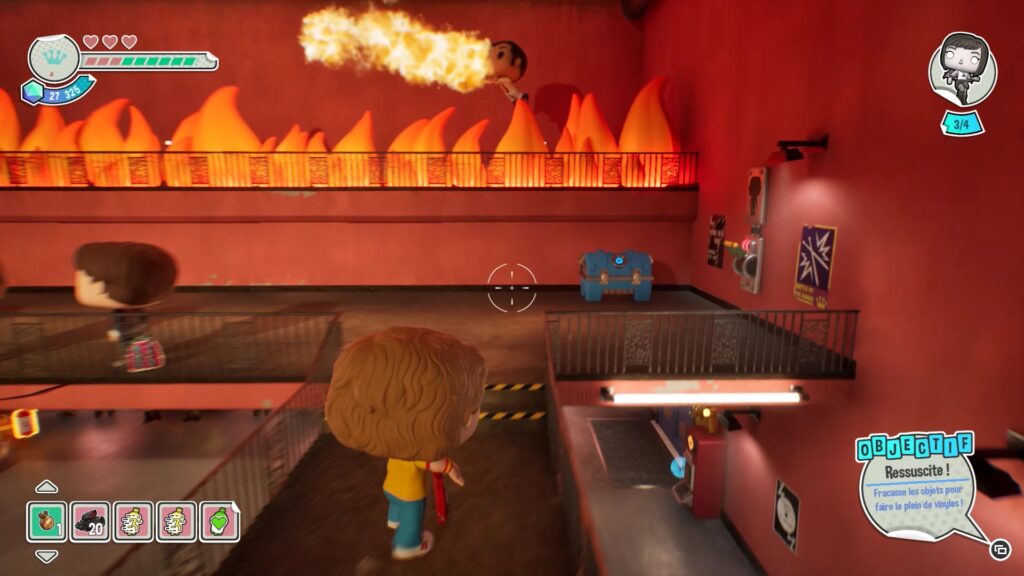
To find the last hipster, you need to unlock the amp in the creation machine. To do this, spawn three blue chests. The first is in the room near the bar, the second is in the room upstairs with the amp, and the third is near the stairs on the first floor. The creation machine is behind the purple door on the ground floor, near two arcade machines.
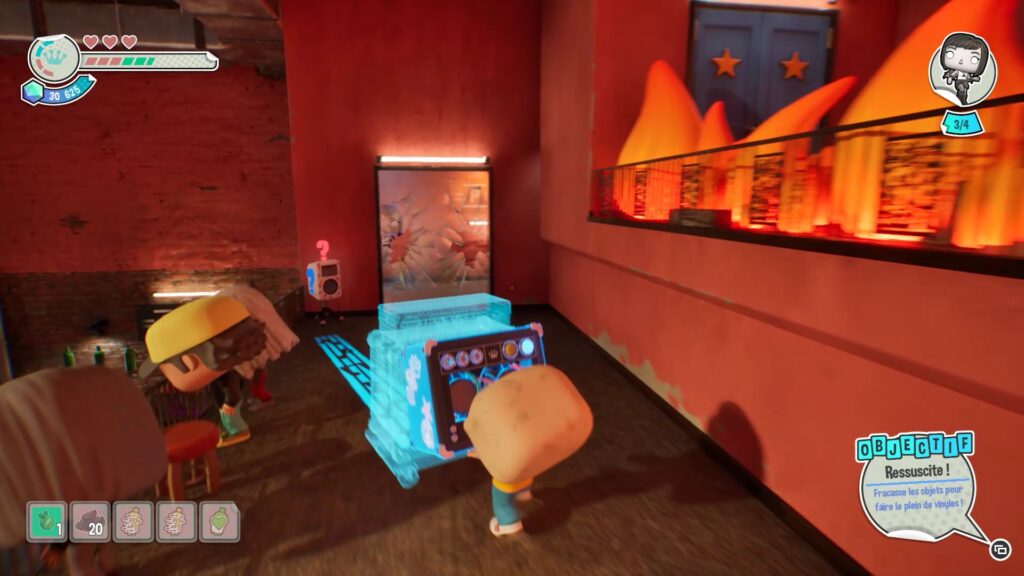
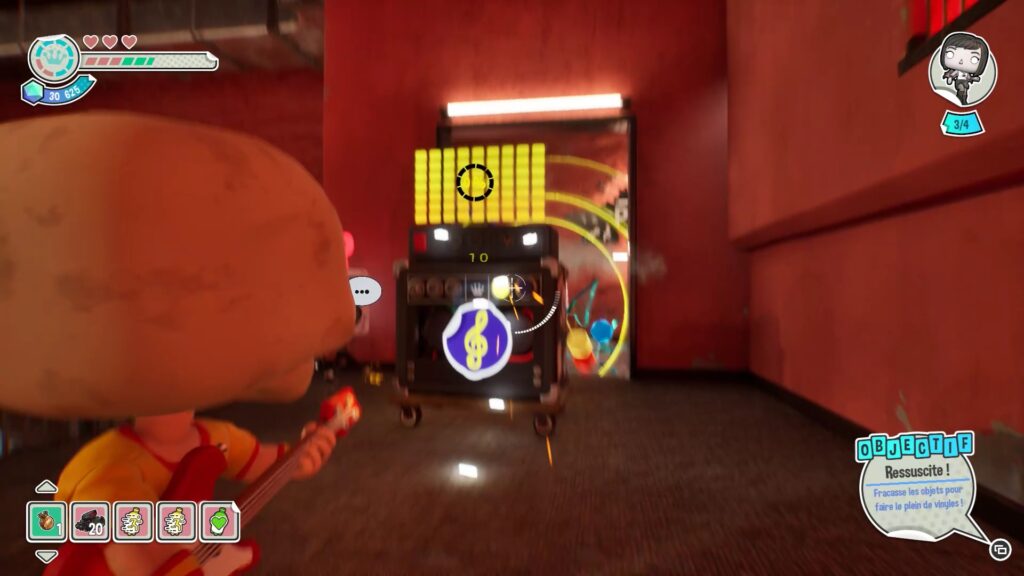
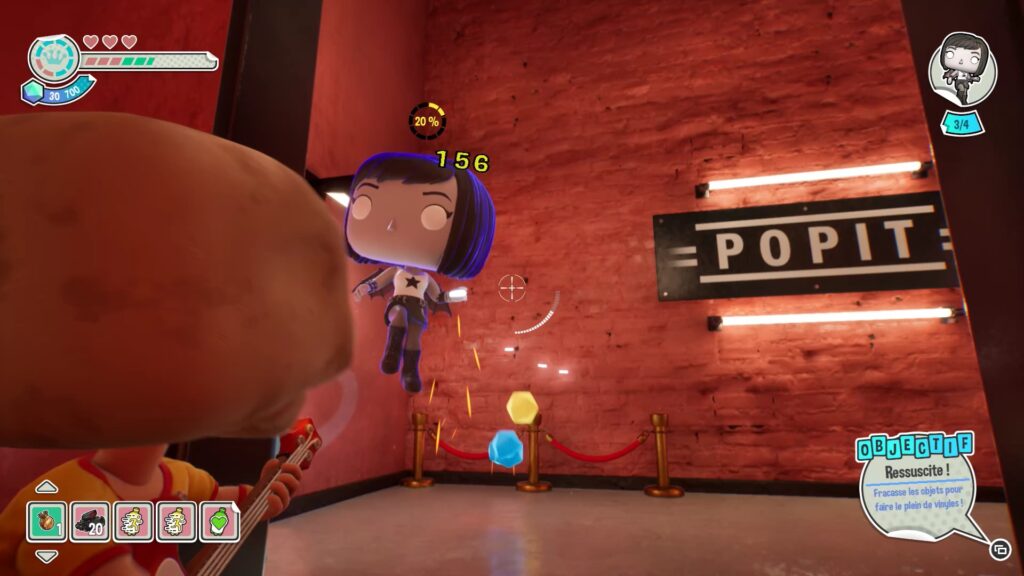
Once you have collected all the items, create an amp. Then go up the stairs and place the amp in front of the window where the last hipster is. Change the amp to yellow mode to blow up the window. To defeat the hipster, shoot him and then attack him with your handgun. Repeat this until you defeat him.
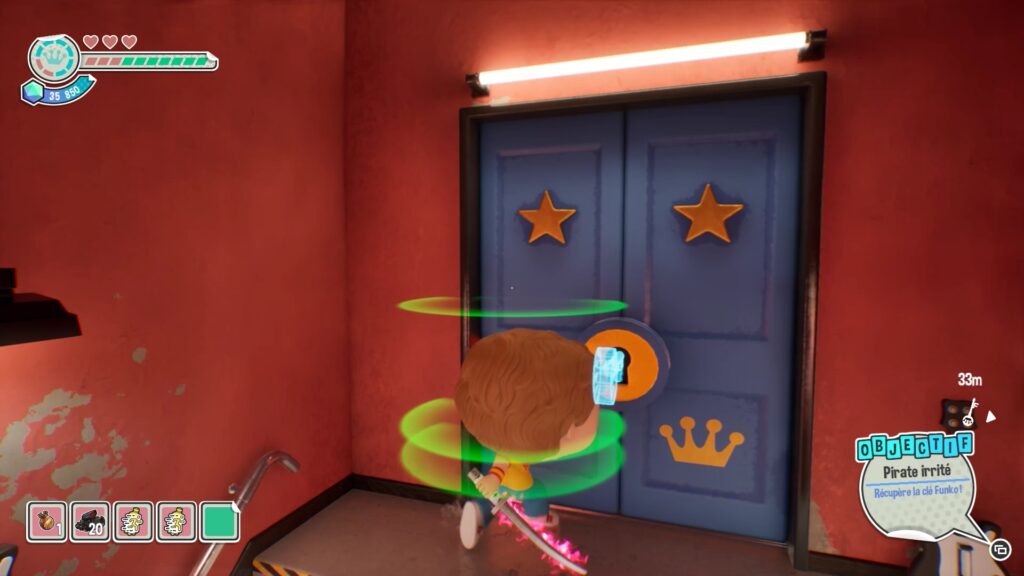
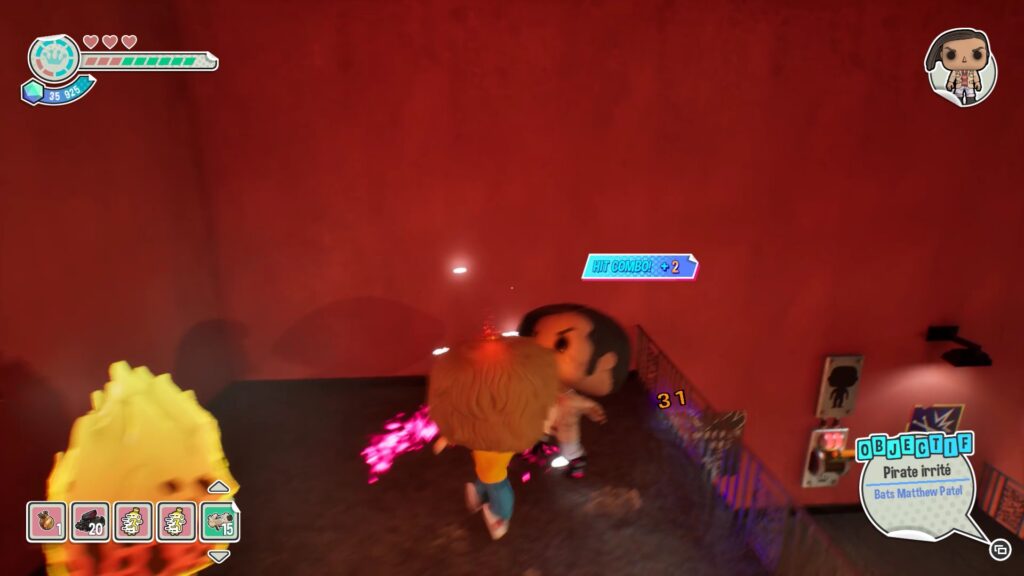
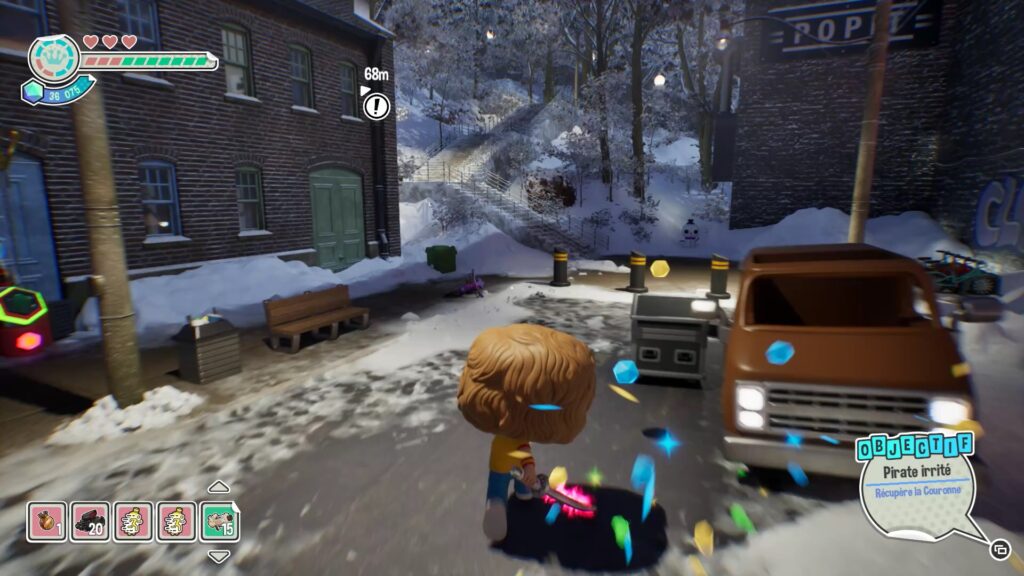
Collect the Funko Key on the ground floor, then head back up the stairs to reach Matthew Patel. Wait until he’s on the ground and hit him to knock him out. Then follow the quest marker to exit the area and collect the crown to complete the level.
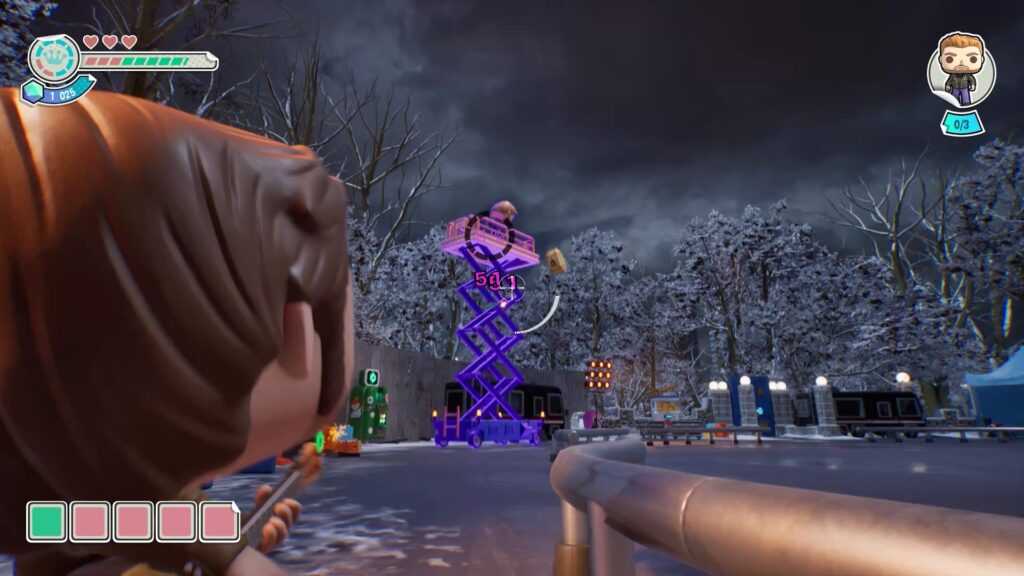
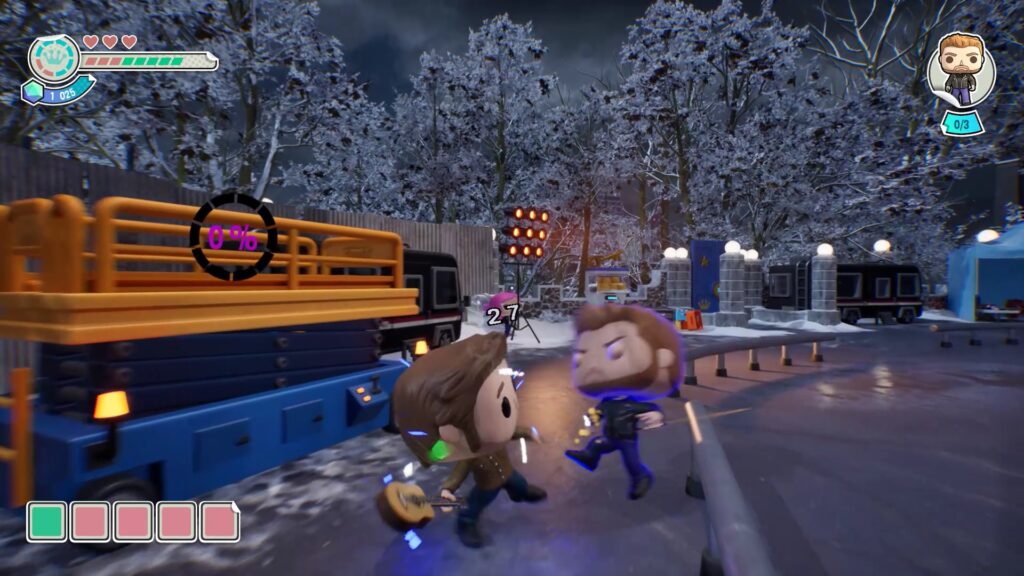
In this level, your main objective is to defeat three understudies, in addition to the other enemies that constantly attack you. The first understudy is located high up on an elevator. Shoot the elevator to make the understudy fall, then attack it on the ground to defeat it.
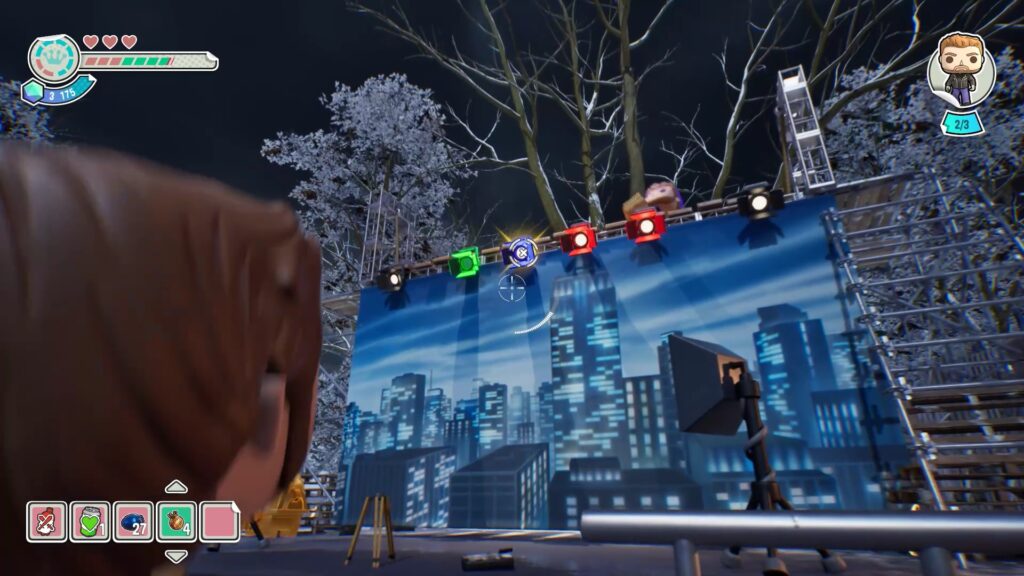
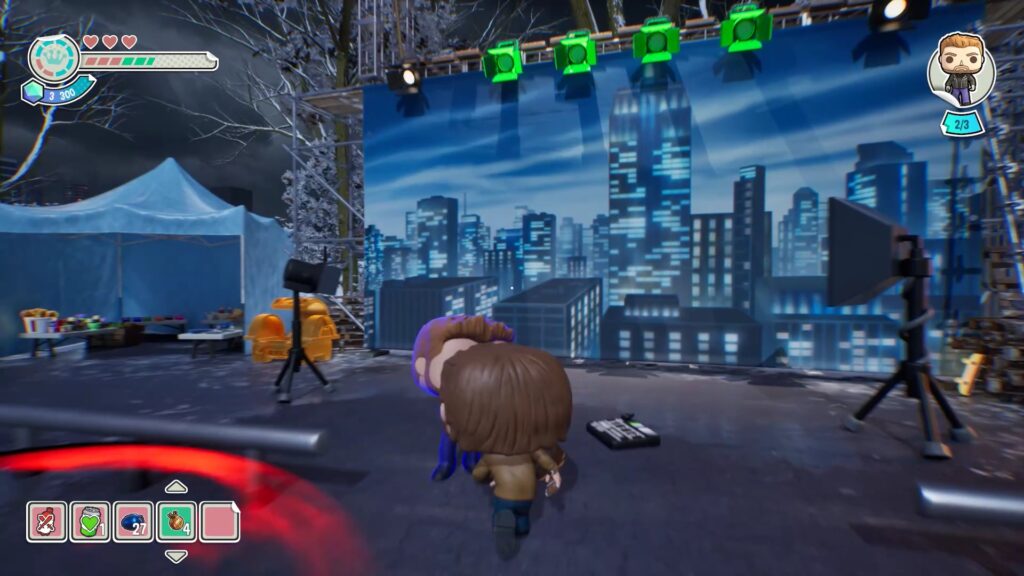
The second stunt double is above the stage lights. To knock him down, shoot the lights in the order shown. If all the lights turn red, this means you did the sequence wrong. Wait for the sequence to restart and shoot the lights in the order shown, starting with the one on the left. Once the stunt double is on the ground, eliminate him.
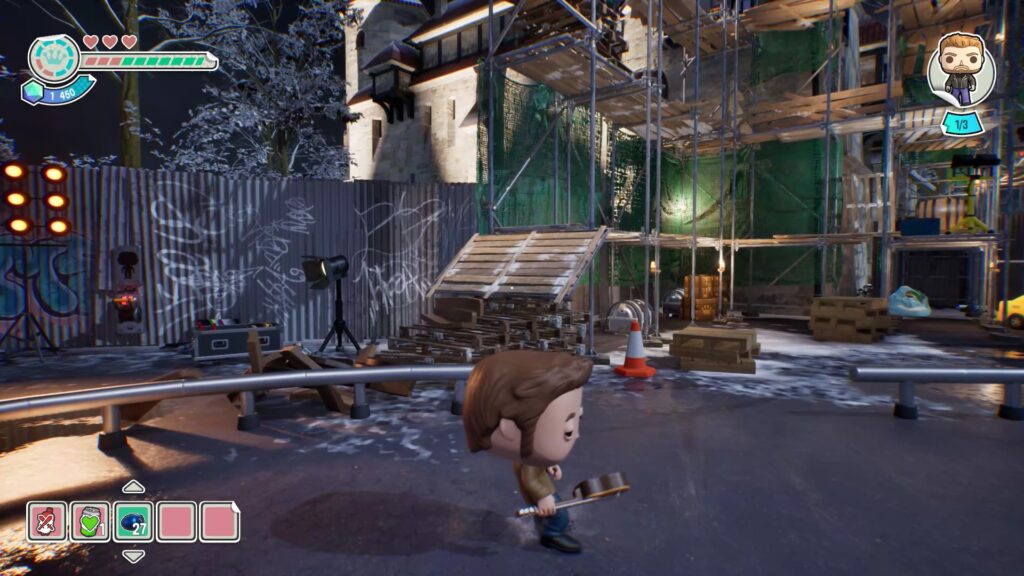
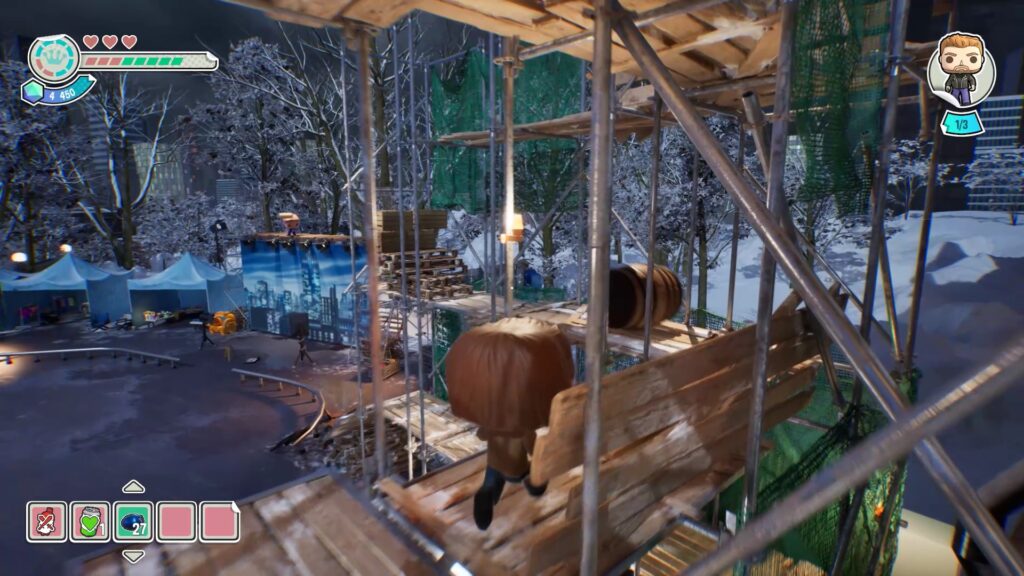
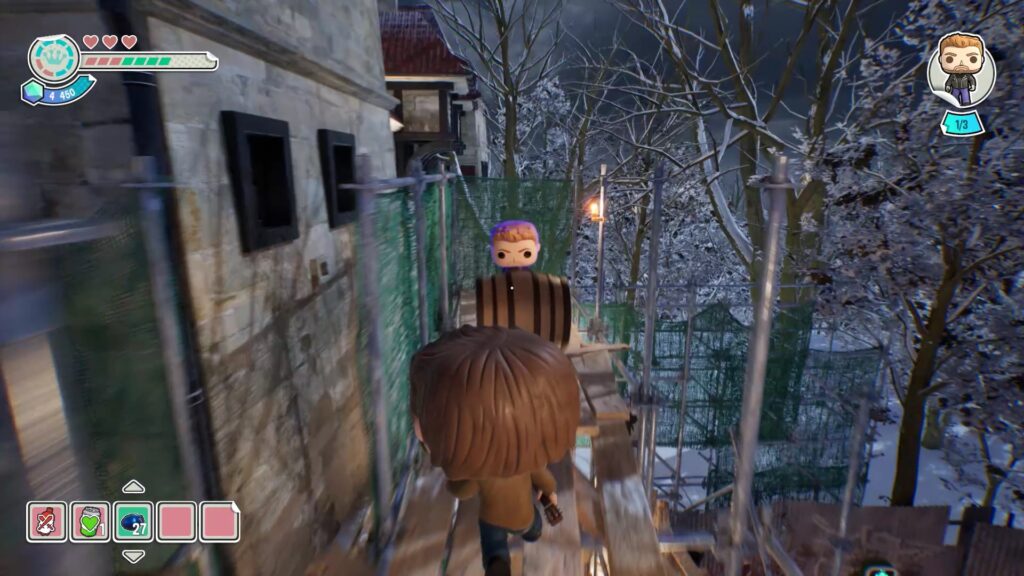
The last lining is at the top of the scaffolding, where barrels are falling. Climb up the wooden planks to reach the scaffolding. Move forward and climb from plank to plank to reach the lining. Jump to avoid the barrels in your path. Once you reach the lining, fight it on the ground.
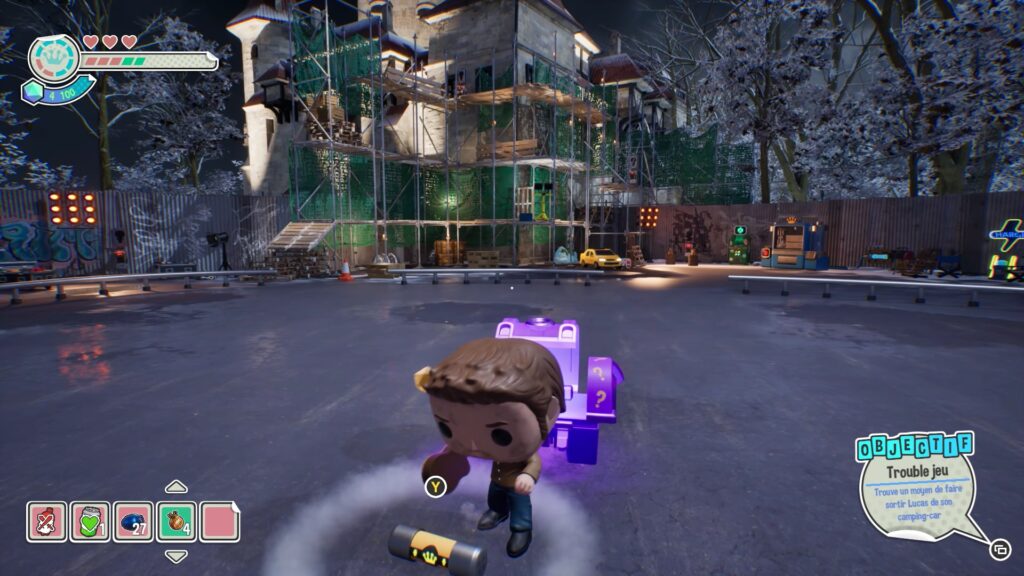
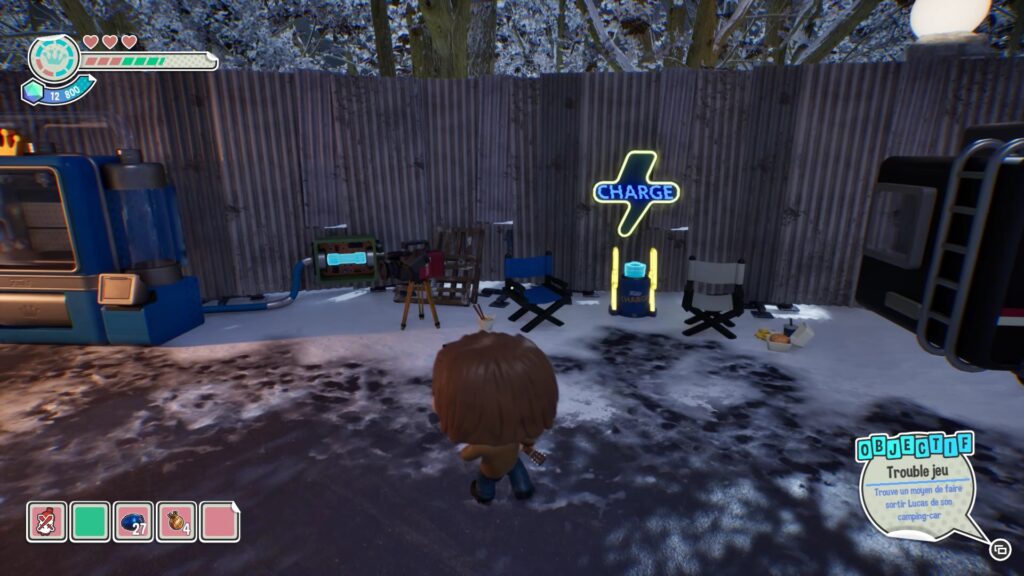
Once all the understudies are defeated, you must free Lucas from his camper. Find a fuse to power the creation machine and craft an amplifier to break the camper’s windows. The fuse is in the purple chest in the center of the area. Insert the fuse into the creation machine’s power mechanism.
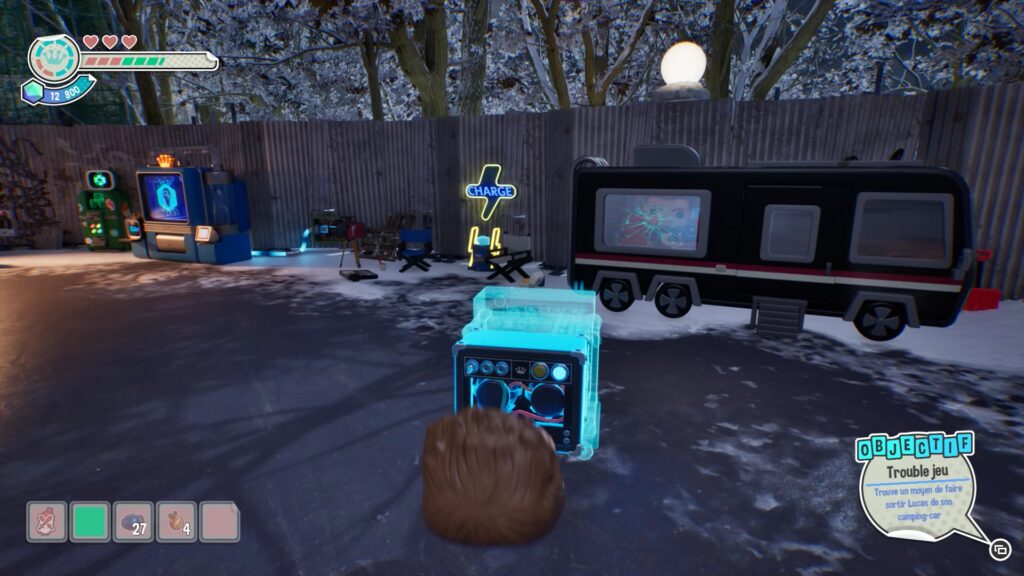
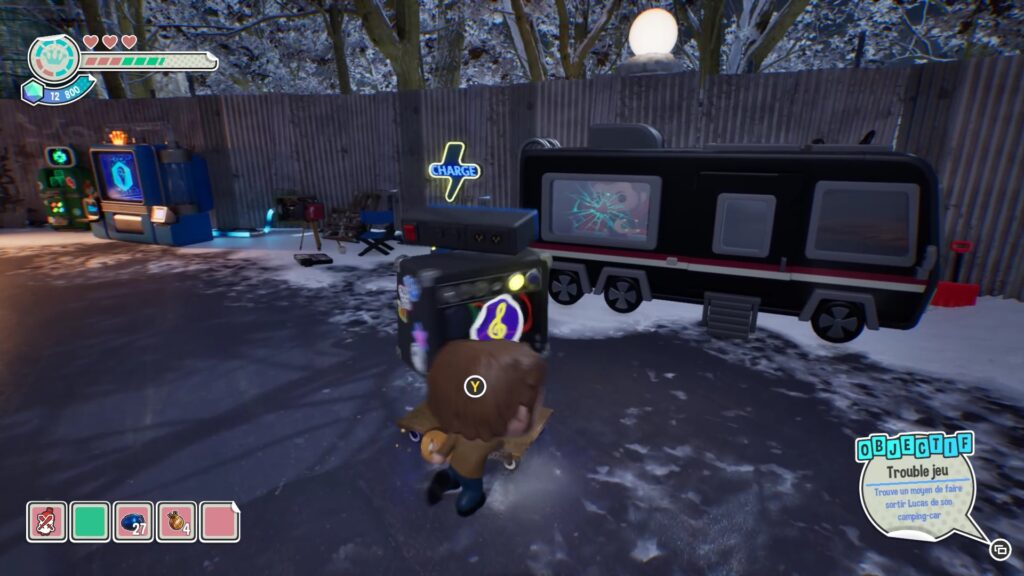
You can now create an amp from the machine. Place the amp in front of the broken window of the camper and use it to destroy it by shooting it (yellow mode, hit the amp to change mode). Then, talk to Lucas to trigger the fight against him.
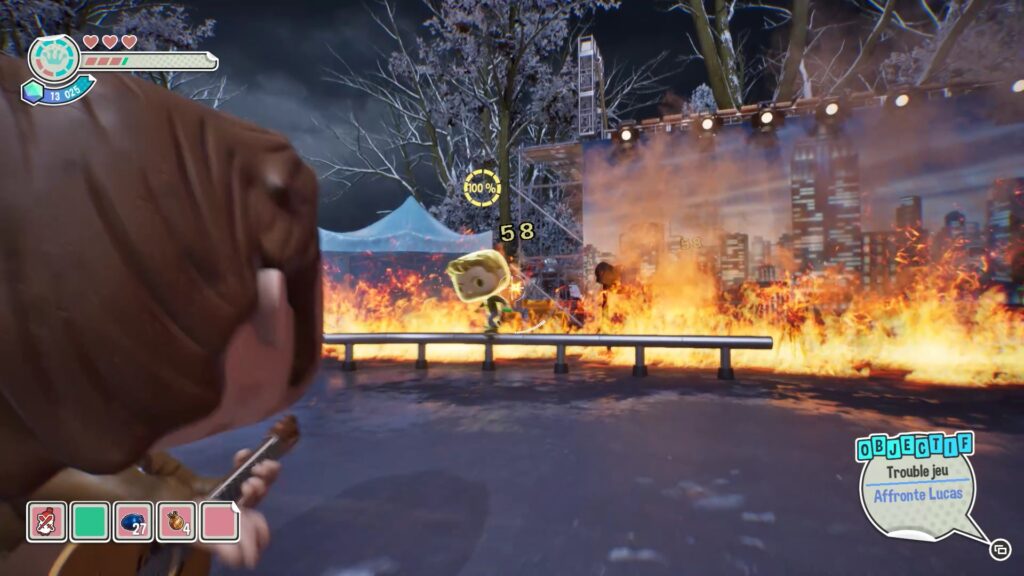
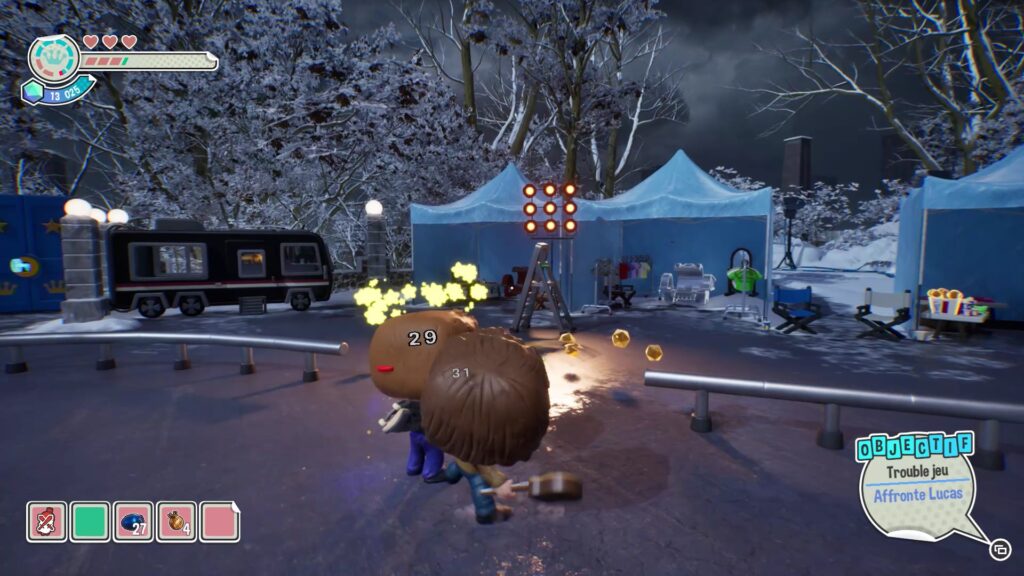
Jump to dodge Lucas’ gunfire. To defeat him, shoot him as he slides down the ramp to stun him. Once he’s on the ground, punch him. You’ll then have to repeat the process twice in a row to finish him off in a cutscene.
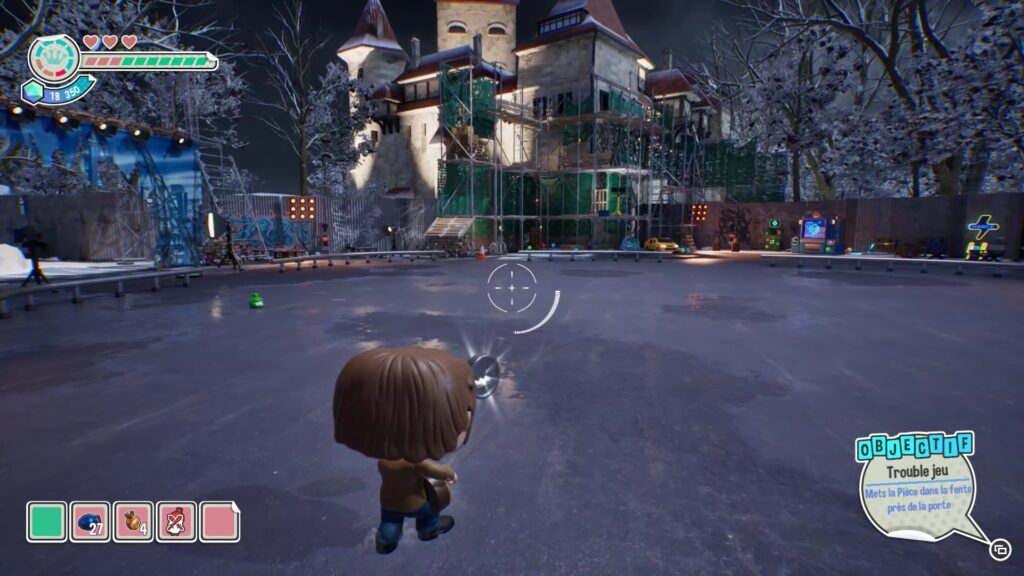
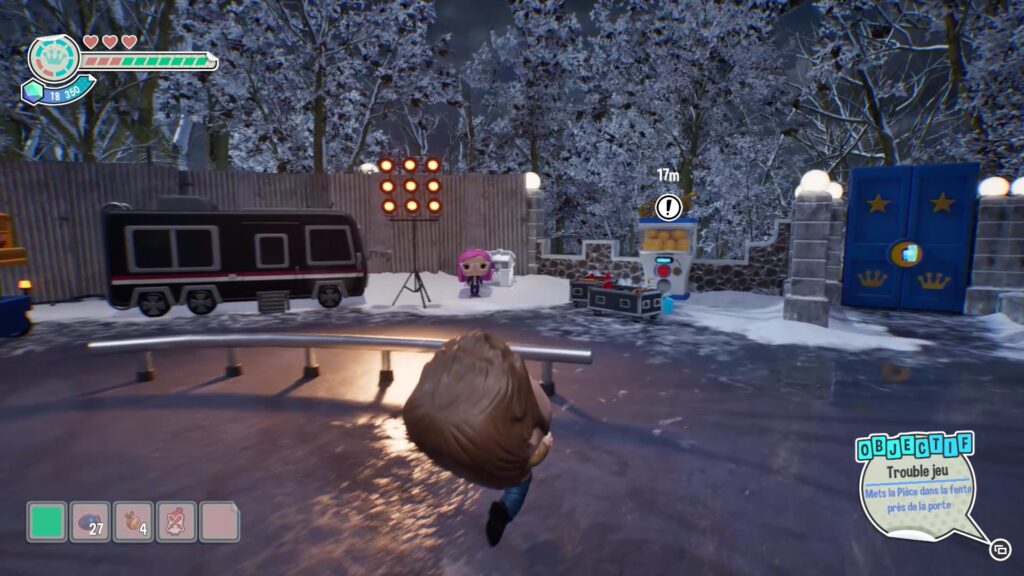
Once Lucas is defeated, collect the coin in the center of the arena. Place it in the machine near the exit door. Then, collect the Funko Key and open the door to get the crown and complete the level.
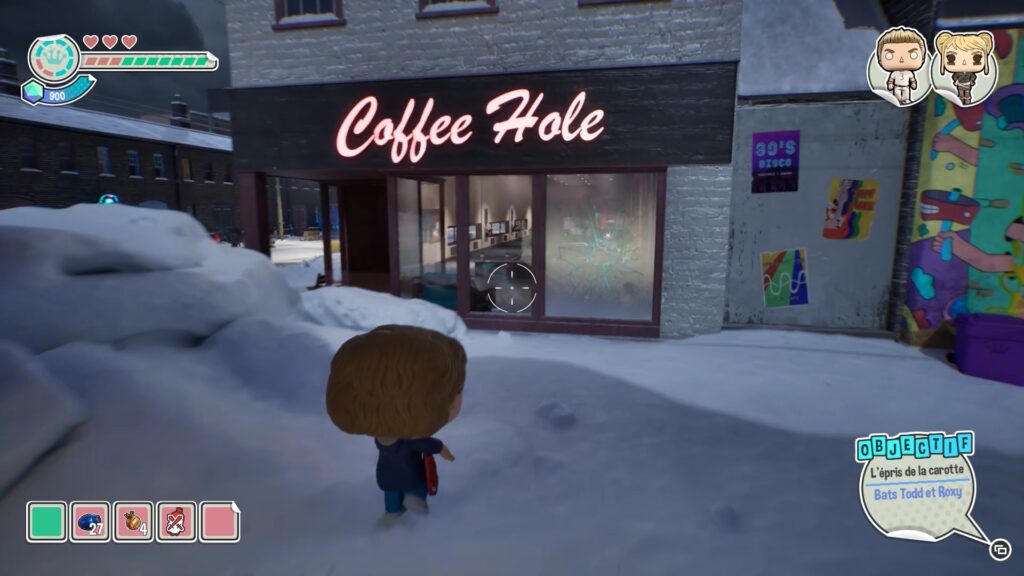
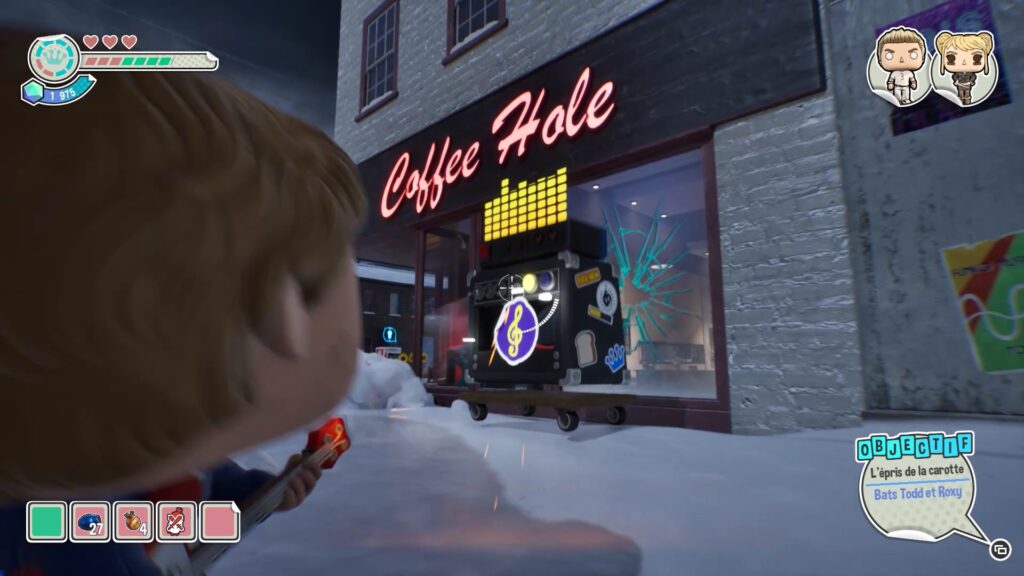
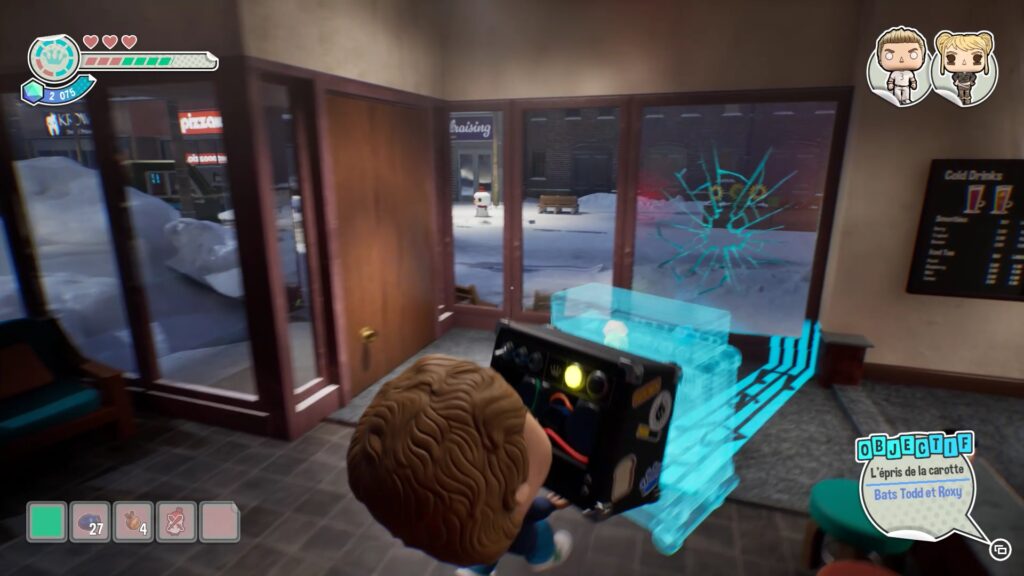
In this level, to access the main street, start by breaking the window of the « Coffee Hole » cafe, located near the creation machine. Create an amp and use it to break the window. Collect the amp, enter the cafe and use it again to break the second window and reach the main street.
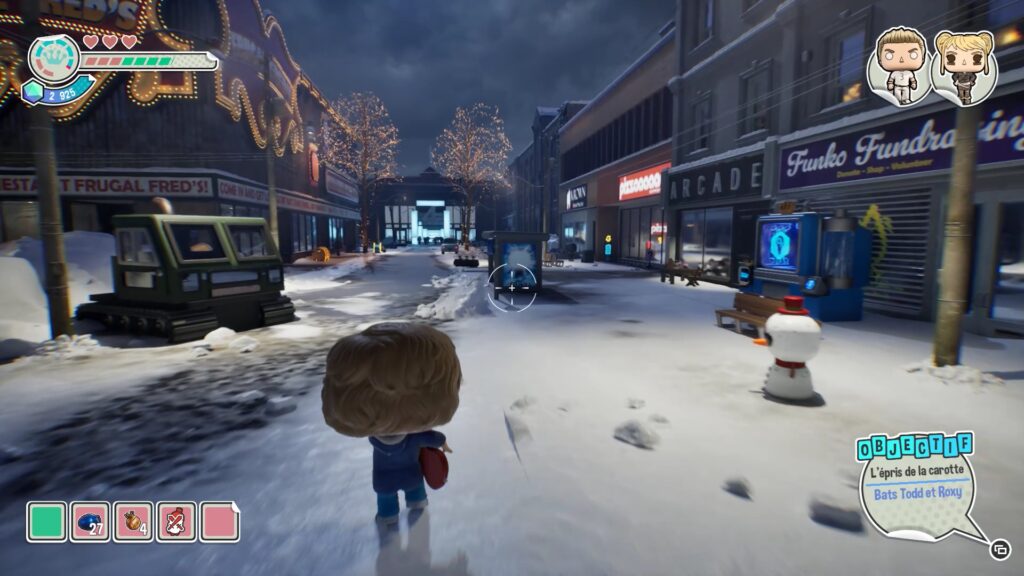
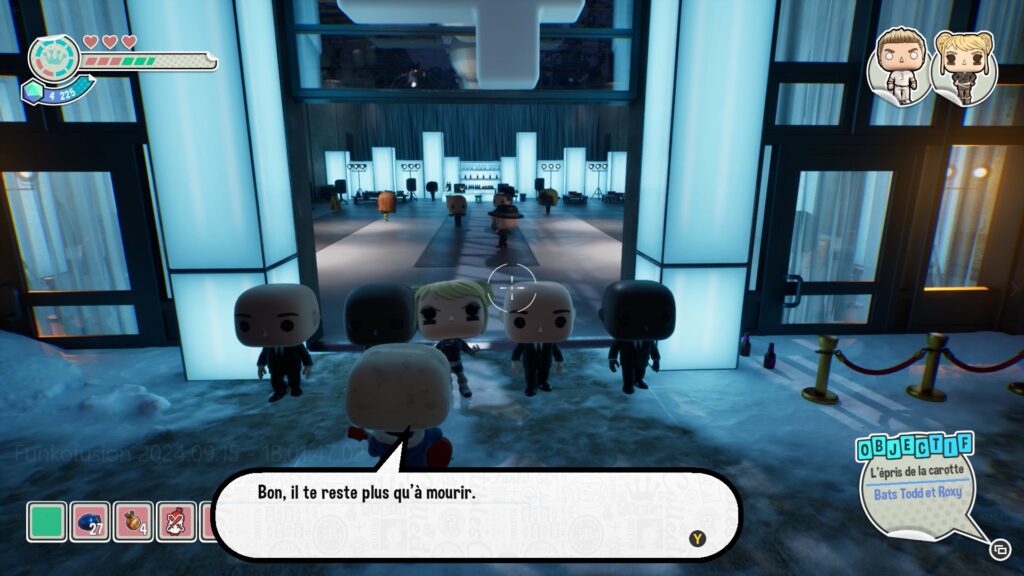
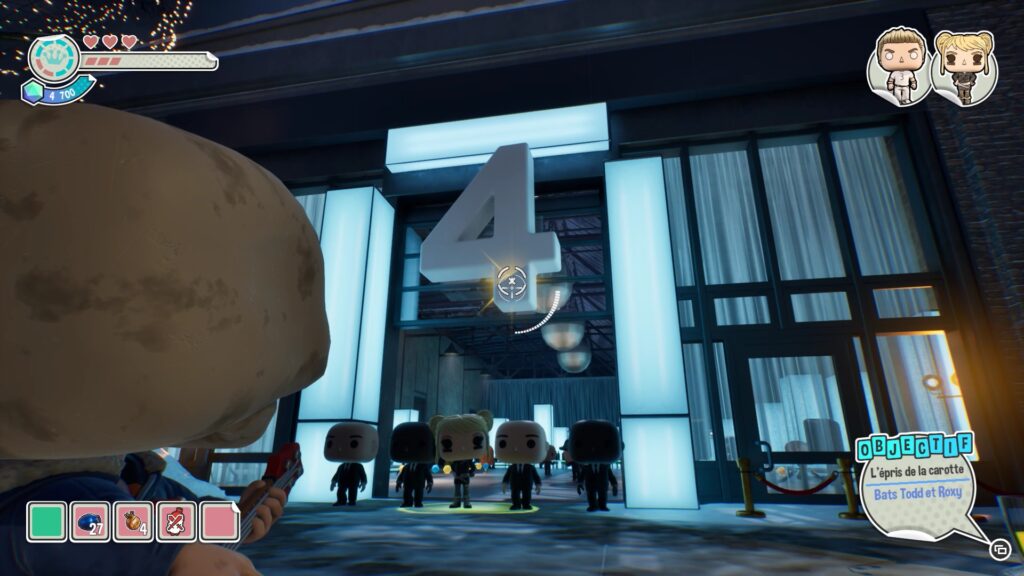
As you exit the cafe, head left towards the building marked with the number 4. At the entrance, speak with Roxy, then follow the highlighted signs above her head. Shoot the highlighted dots to cause the number to collapse on Roxy and trigger the fight.
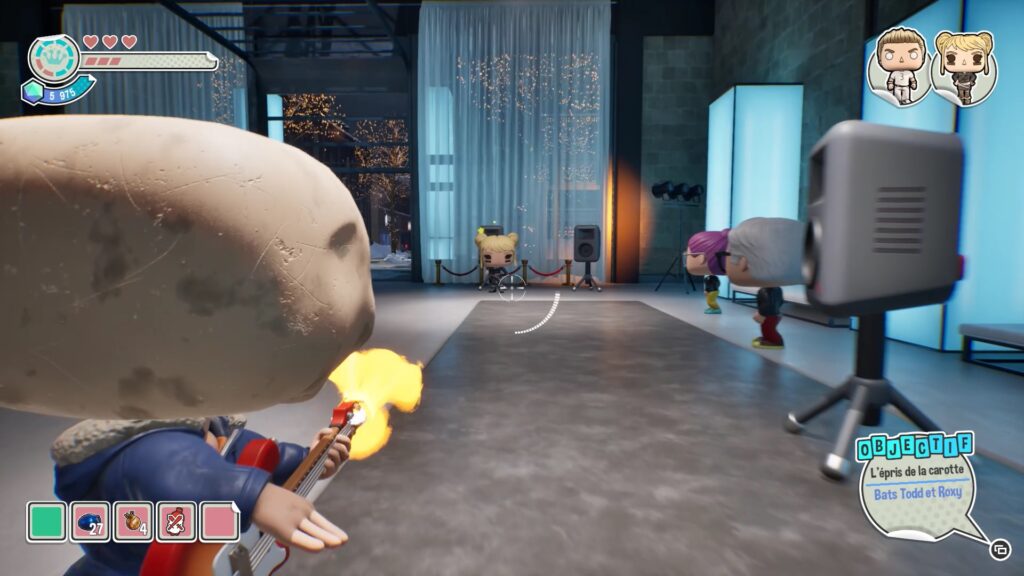
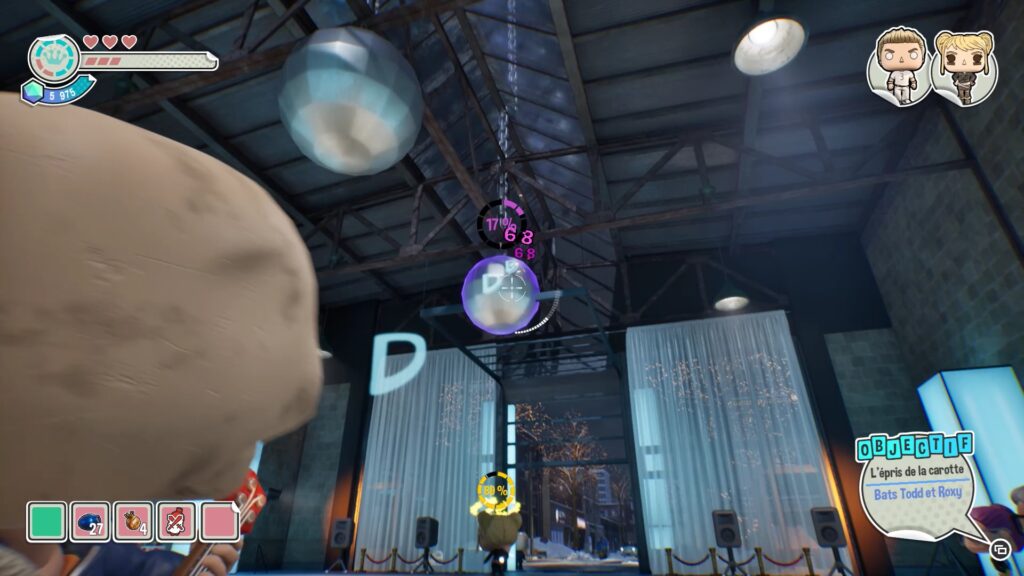
The fight against Roxy is pretty simple. She will charge at you while spinning. Lure her close to a wall, then dodge so she hits herself and stuns herself. Once she is stunned, attack her to raise her bar to 100%. Once at 100%, Roxy will stand under a disco ball. Shoot the ball to make it fall on Roxy.
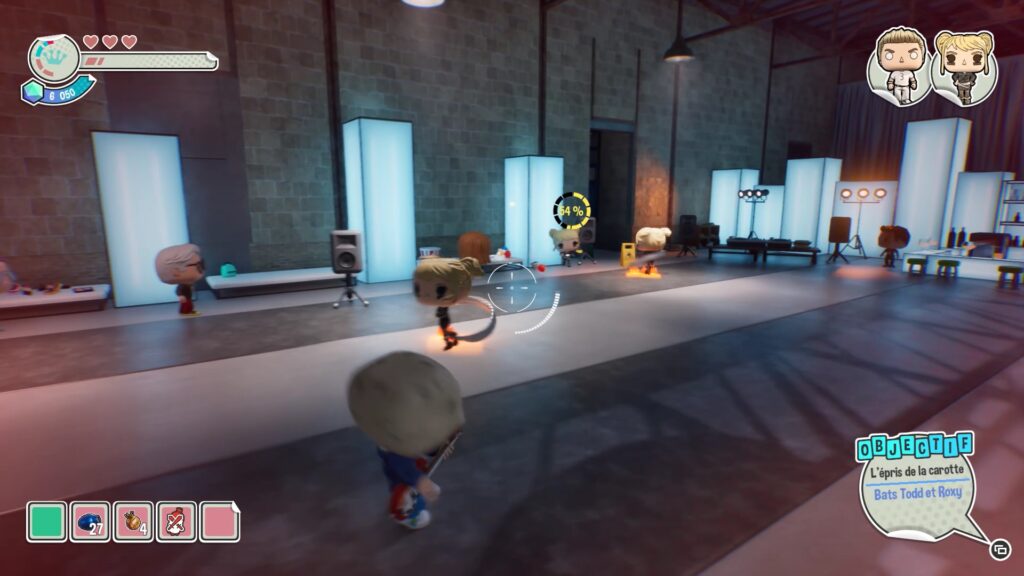
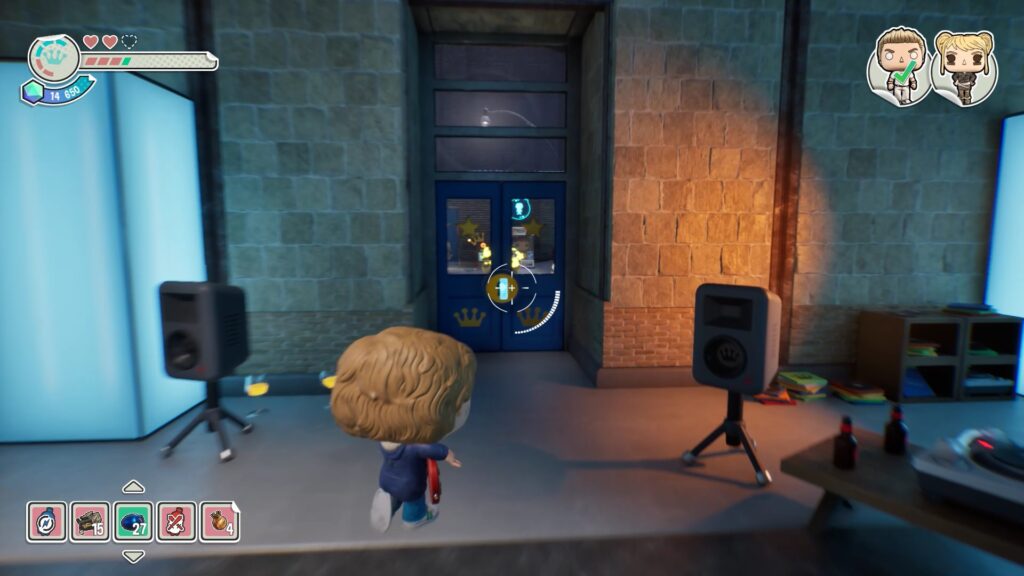
Repeat this to defeat Roxy. She will have a second and third phase with more doubles, but the principle remains the same: eliminate her doubles in the same way to reach the original Roxy. Once Roxy is stunned behind the Funko door, you will need to find Todd.
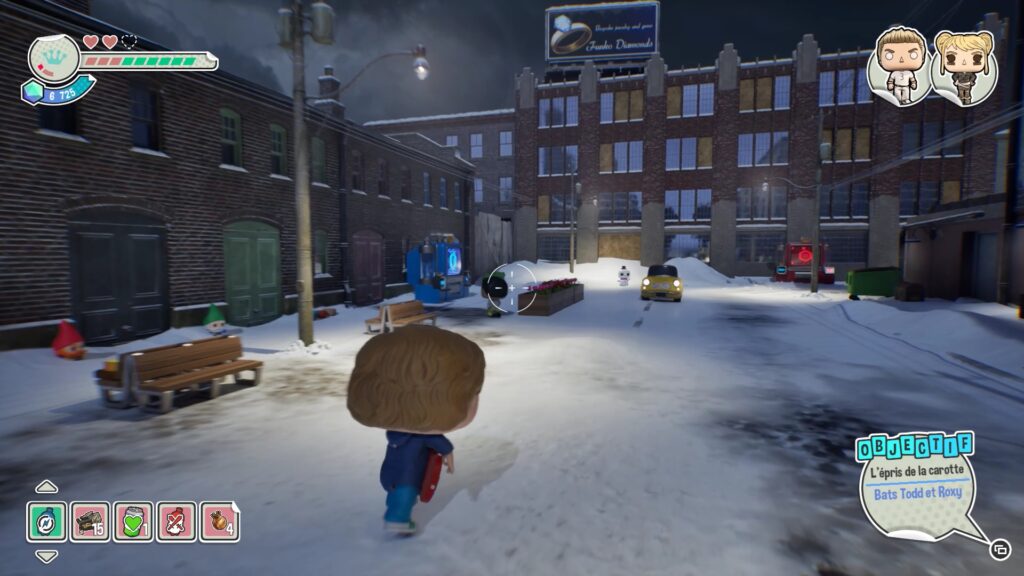
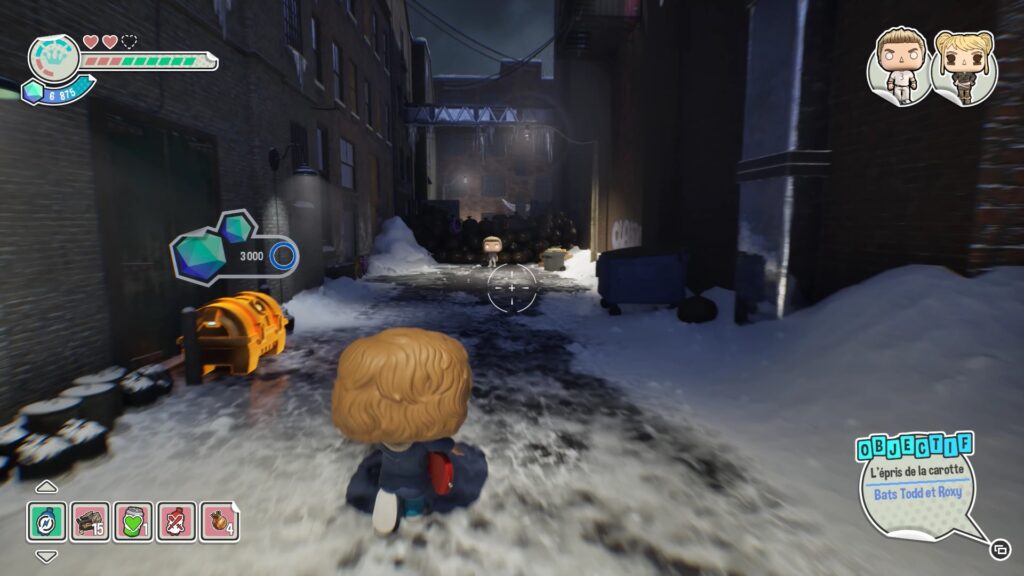
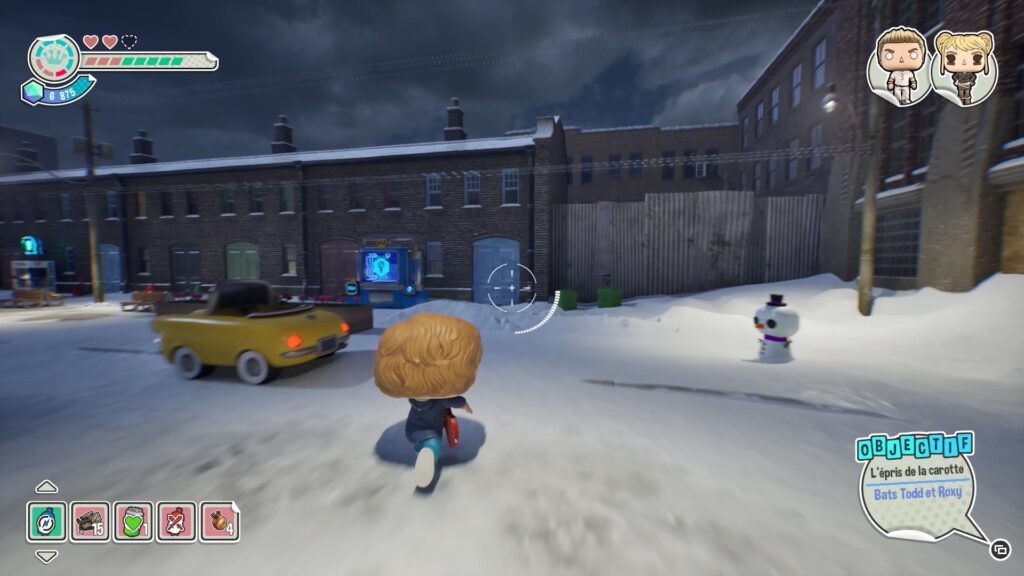
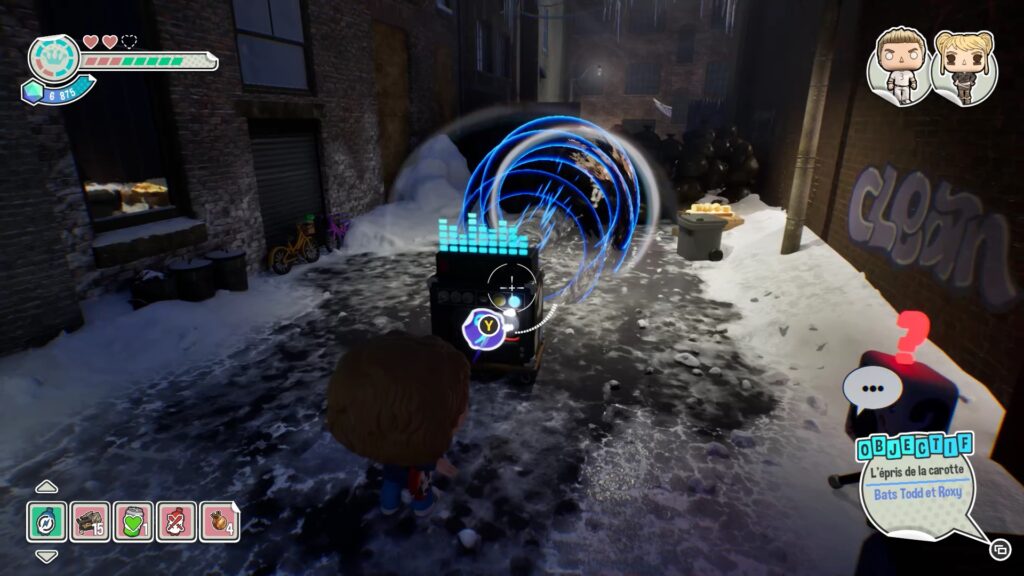
Head down the path to the right of the cafe to reach a dead end where Todd is. Talk to him to get him to do a wave attack. Then create an amp and use the amp’s purple mode to stun him.
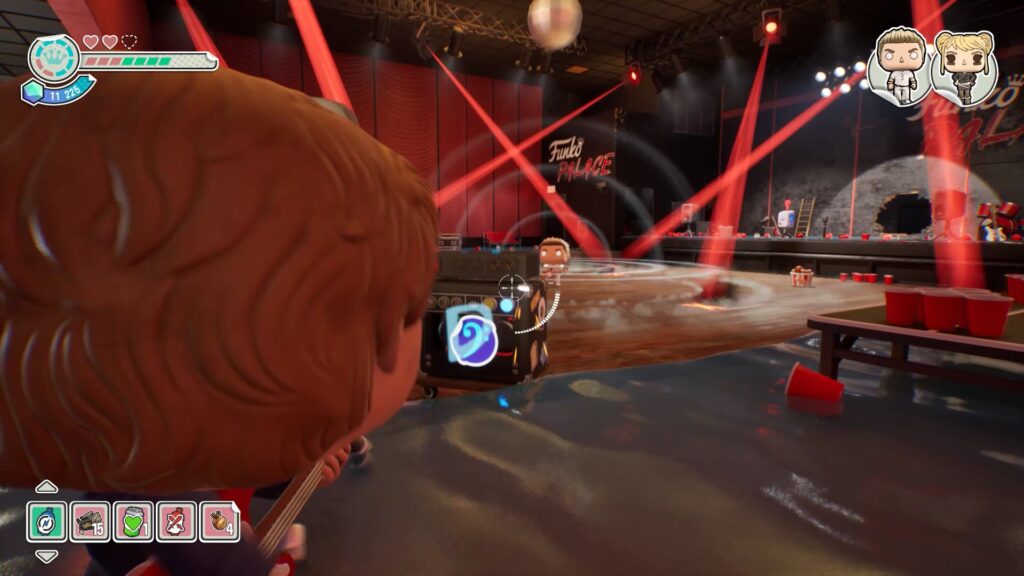
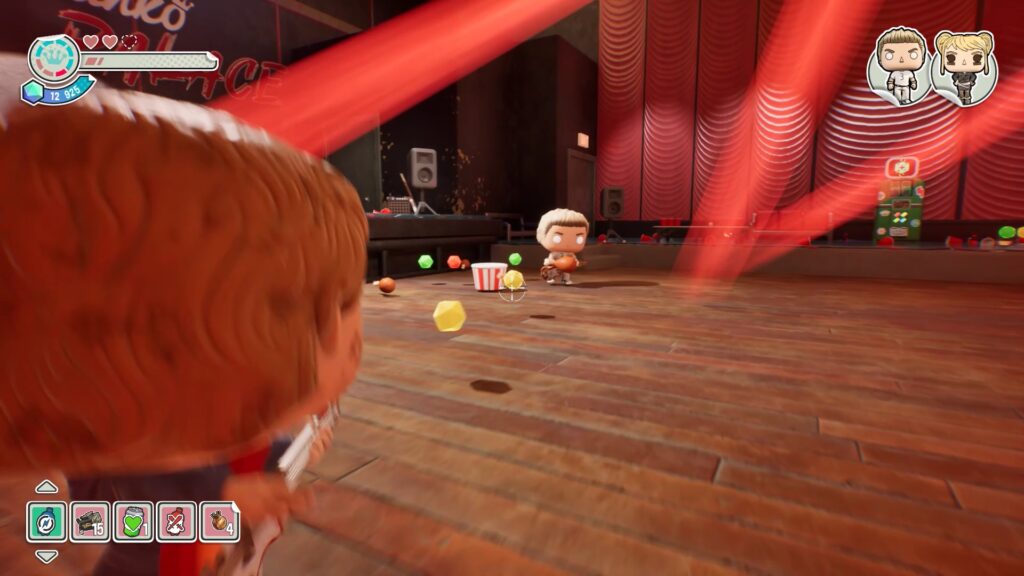
Once Todd is stunned, follow him to a performance hall. To defeat him, create an amp and place it in front of Todd so that he is propelled onto a chicken pot. Use the amp’s purple mode to land it on chicken. Repeat this until the Vegan Police arrive to arrest Todd.
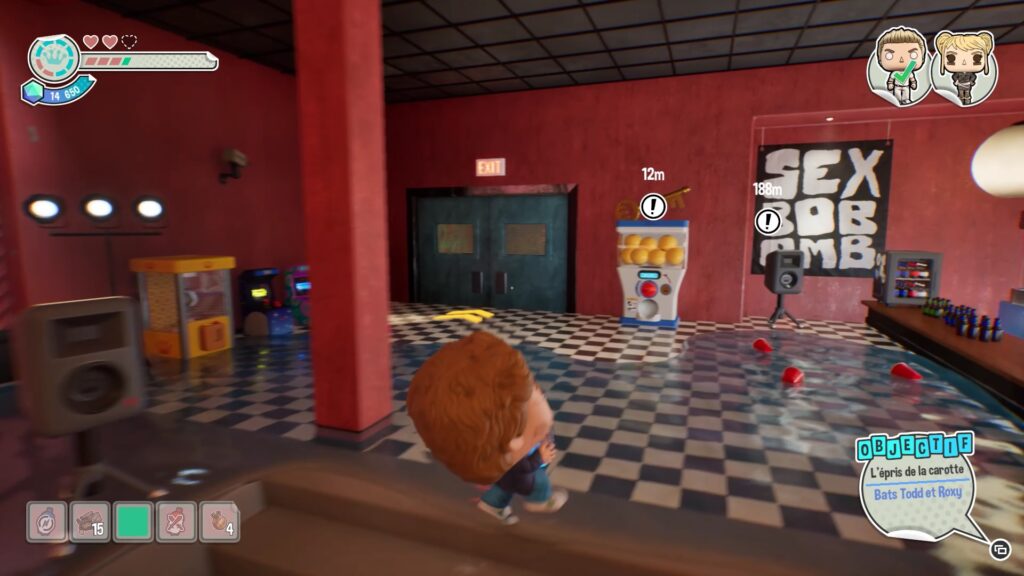
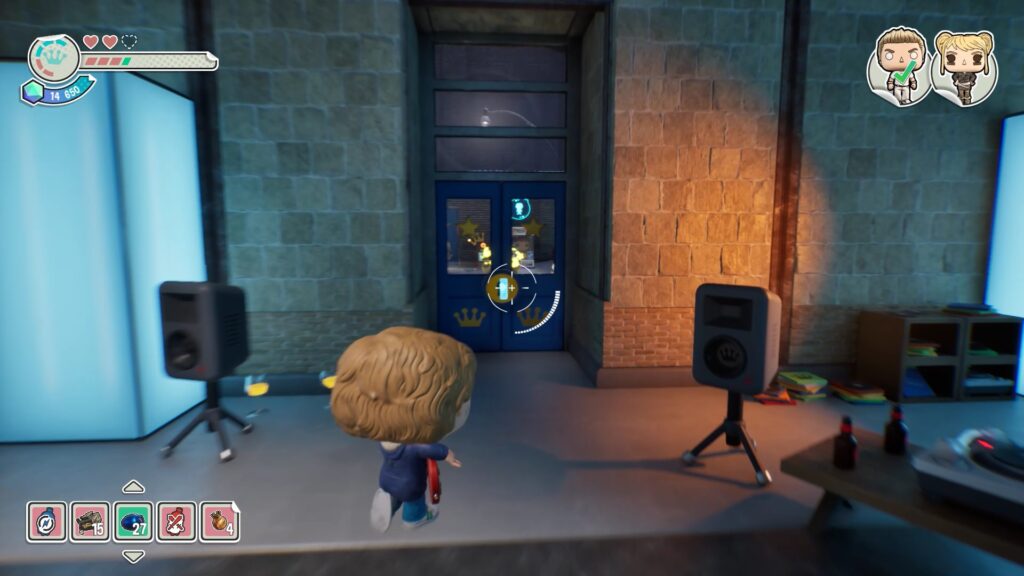
Once Todd is arrested, collect the token and place it in the machine in the room to get the Funko Key. Return to Building « 4 » to unlock the Funko Door. Then talk to Roxy, defeat the enemies to get the Crown and complete the chapter.
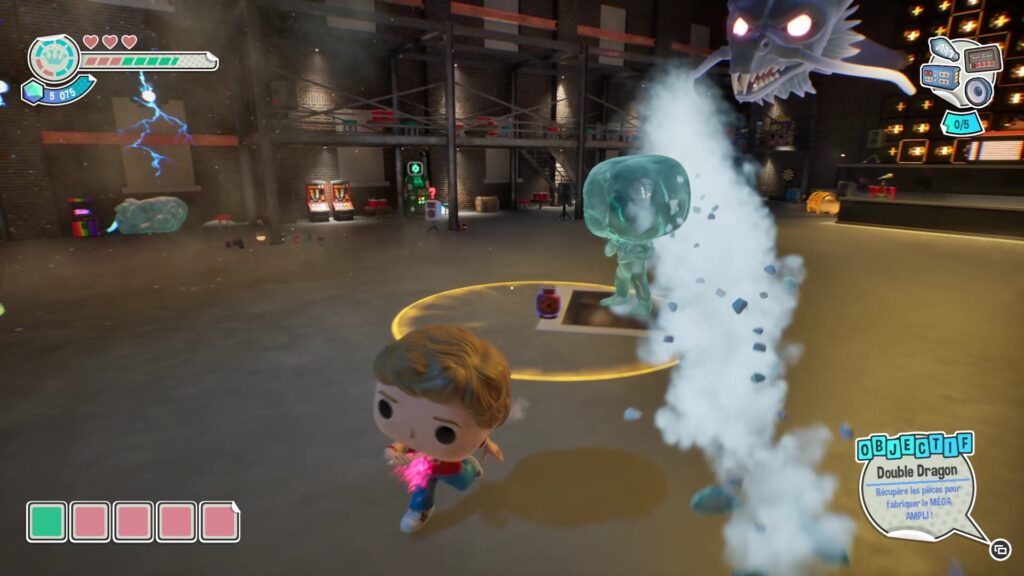
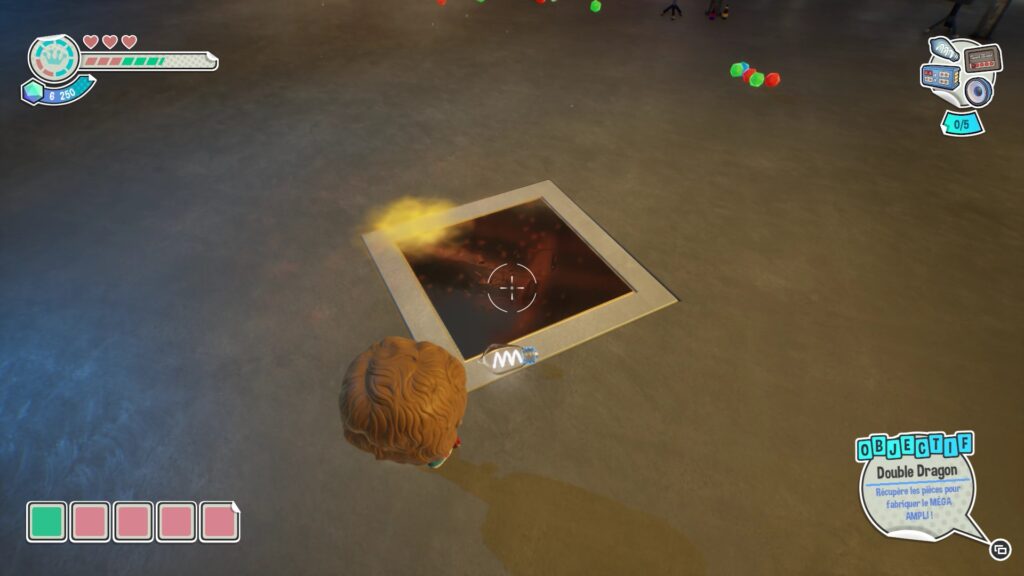
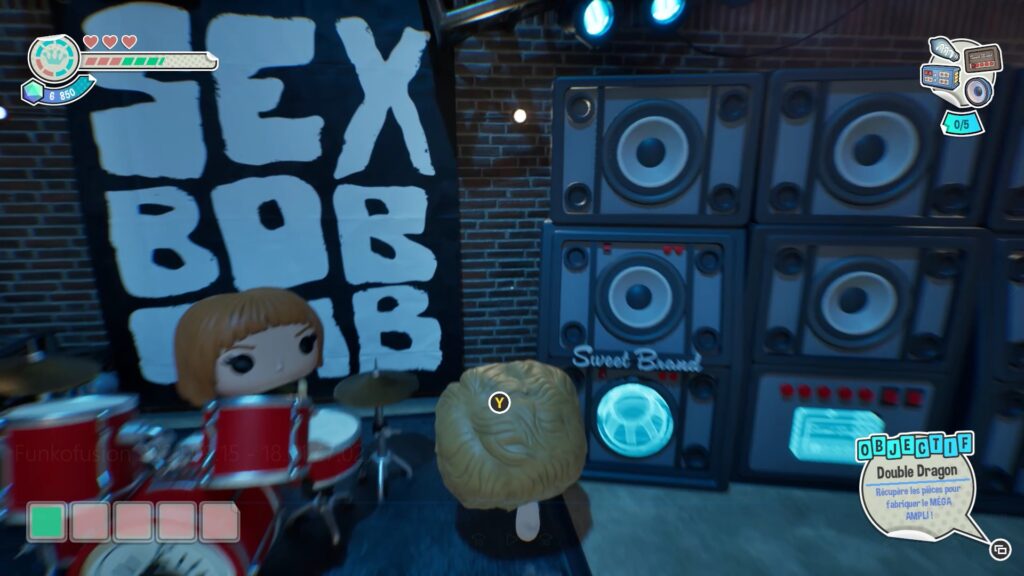
In this chapter, you need to collect five pieces to create the Mega Amp. The first is in the ice statue in the center of the room. Create a gas canister to melt the ice (or use other explosives). Once the ice is melted, collect the piece and place it in its slot on the Mega Amp.
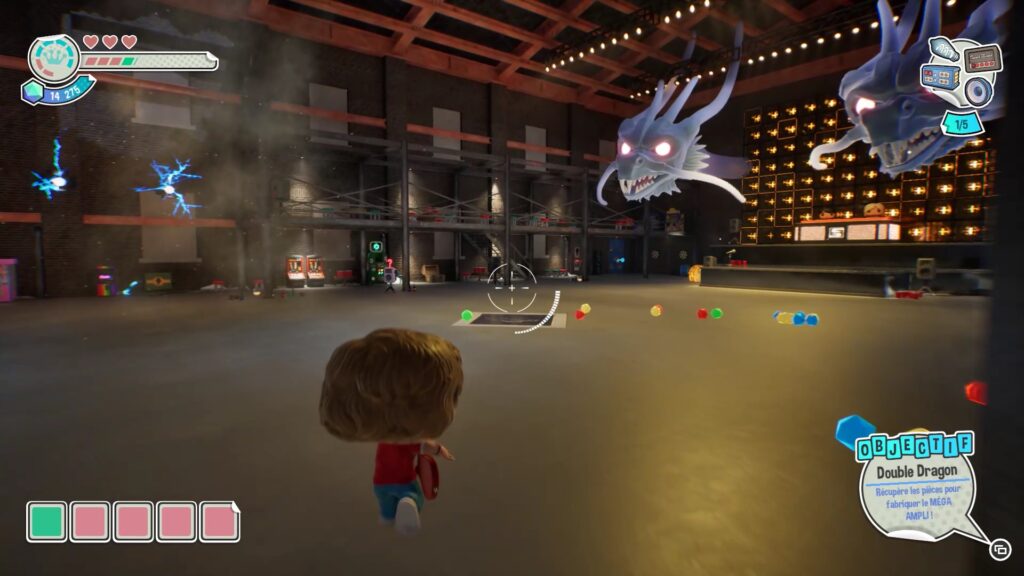
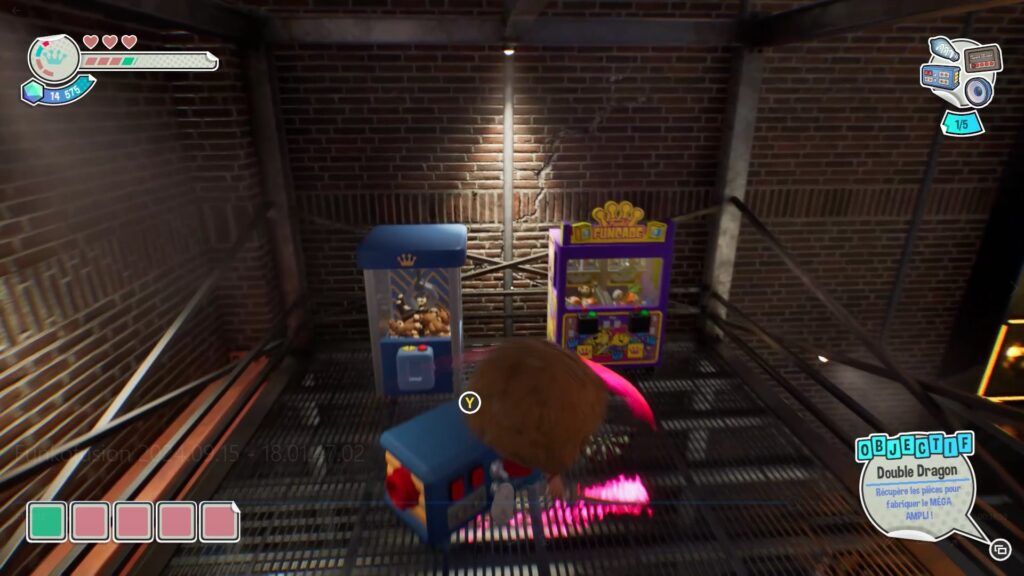
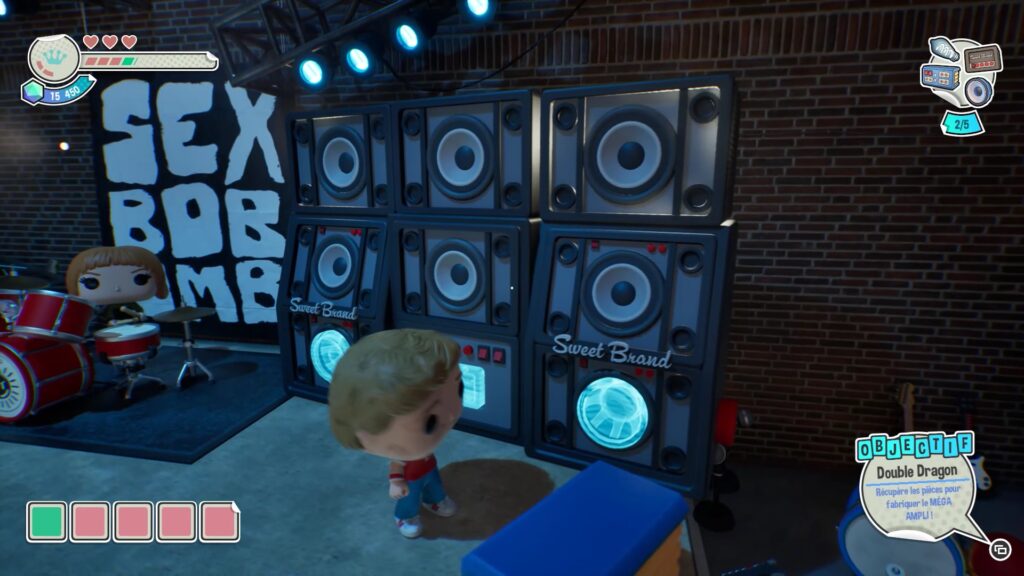
The second coin is on the first floor, above the Funko door. Go up the stairs and collect the gear near the gaming machines. Then, place the coin in its slot on the mega amp.
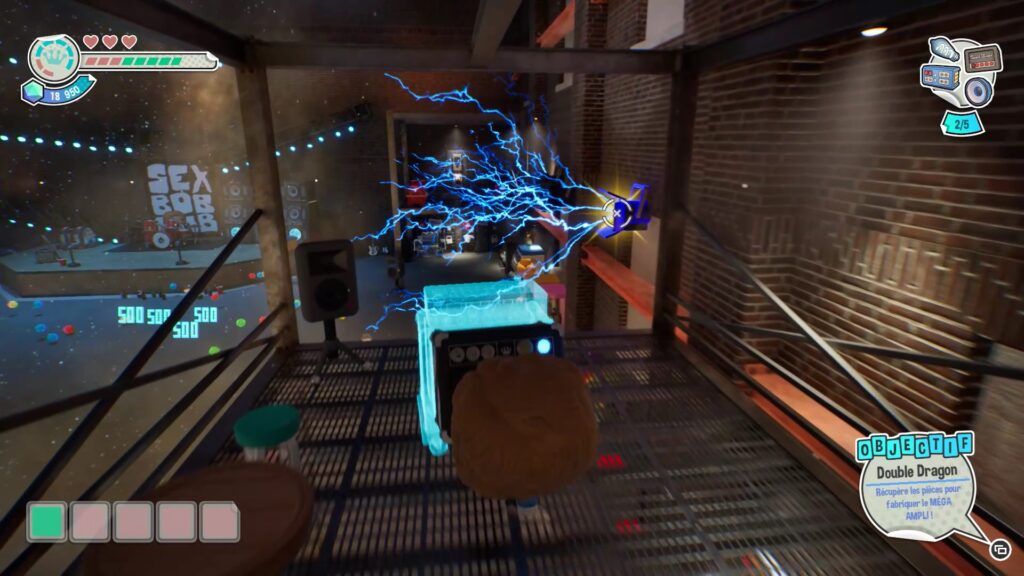
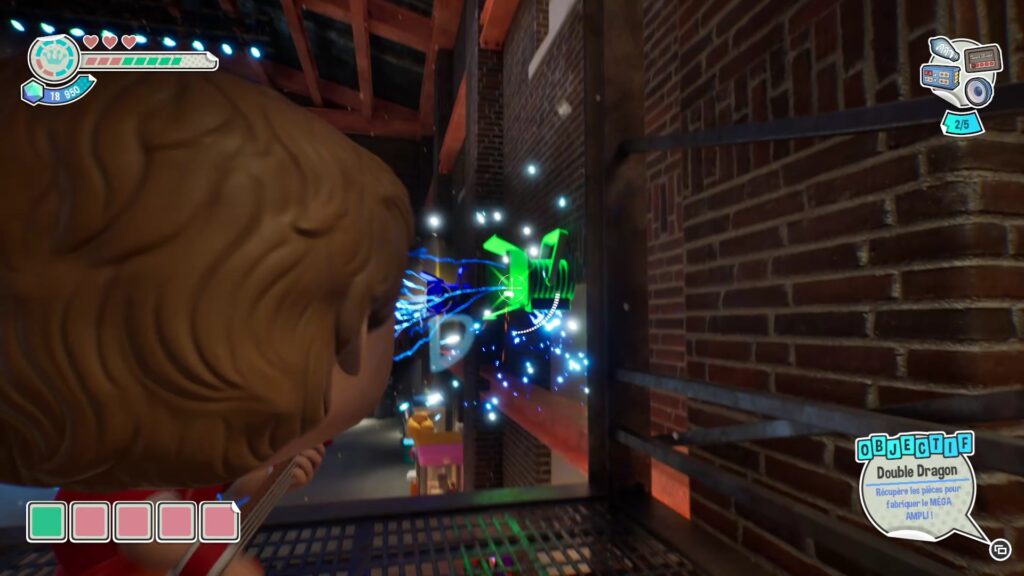
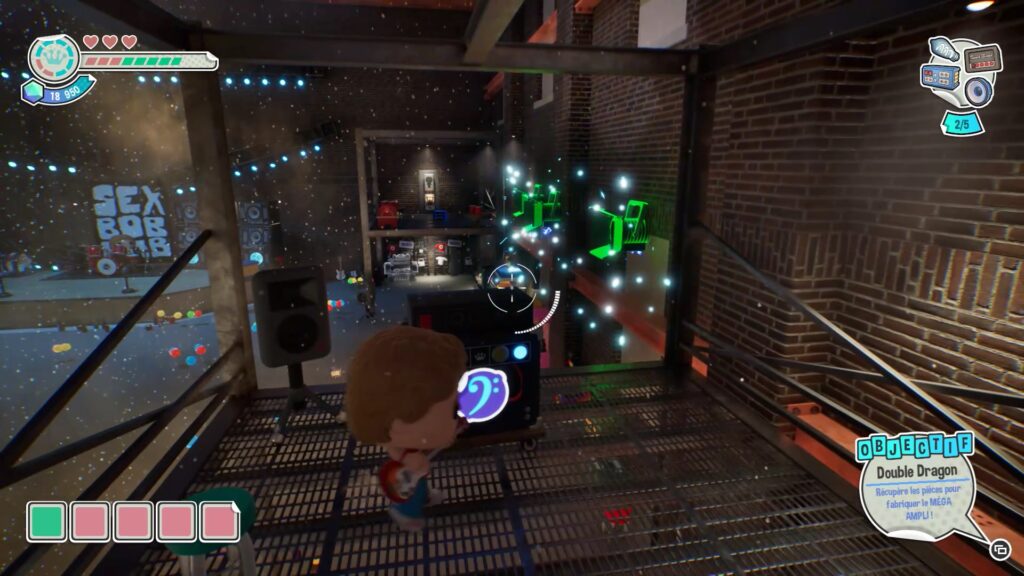
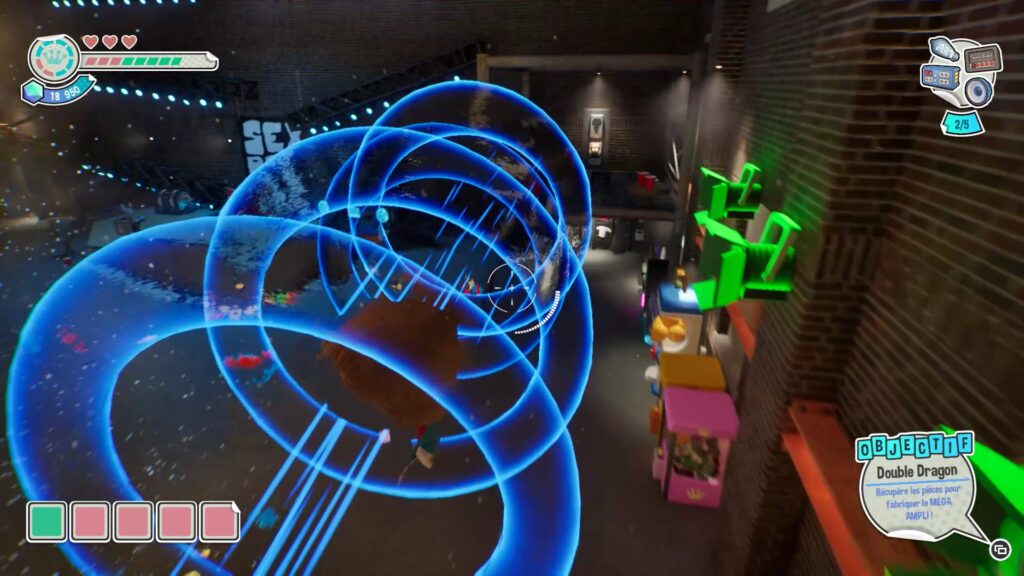
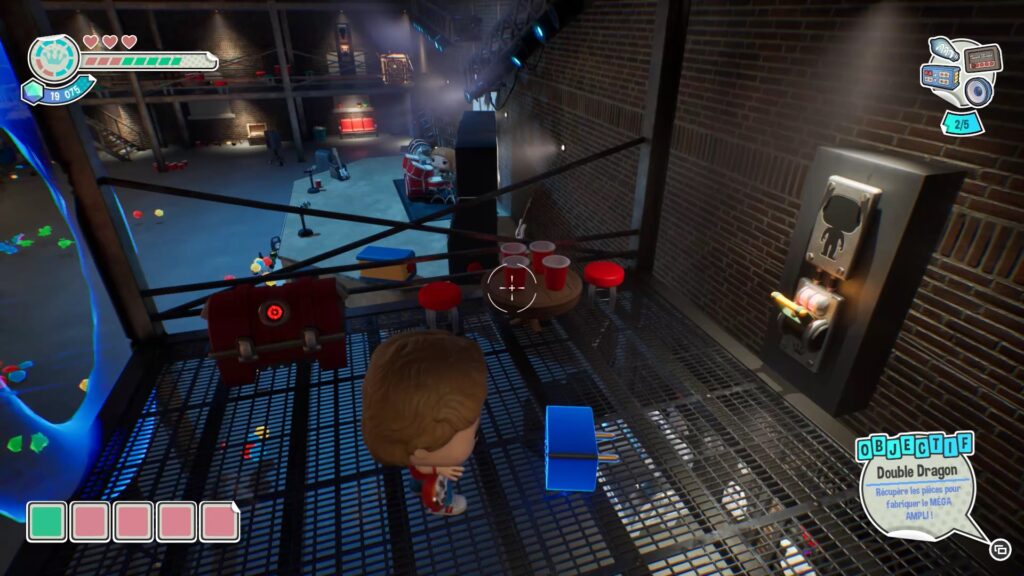
Go create an amp, then go up the stairs on the Funko door side. Place the amp near the electrified spotlights. To reach the opposite platform, shoot the spotlights in the order shown. Once the electricity is gone, activate the amp in purple mode to create waves that will transport you to the other side. Pick up the coin on the platform and place it on the mega amp.
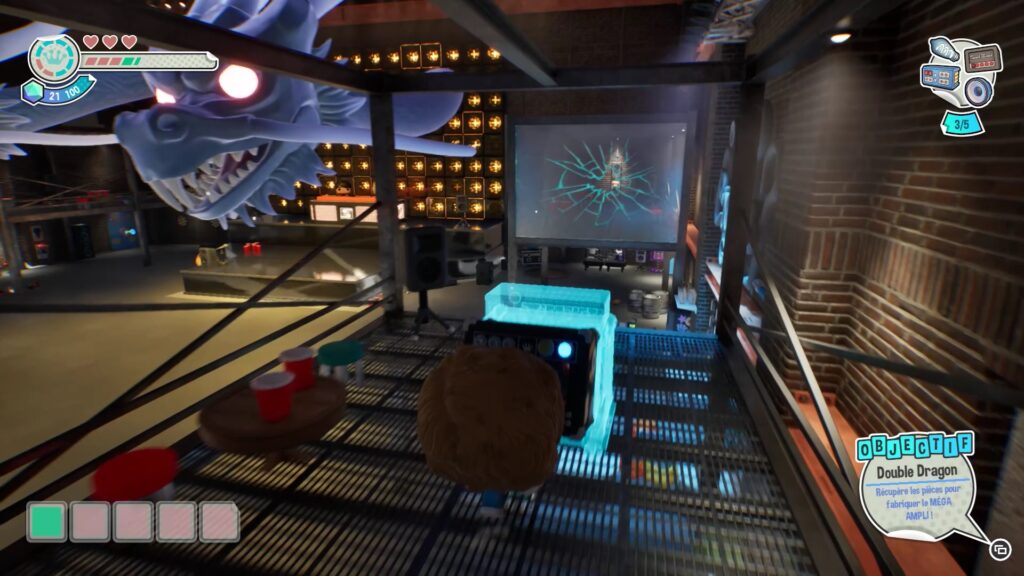
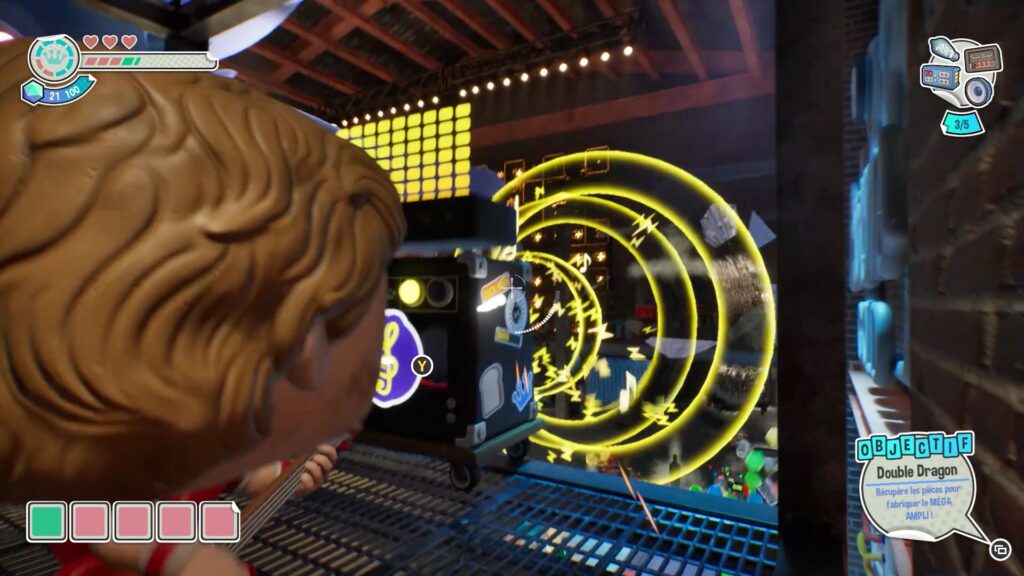
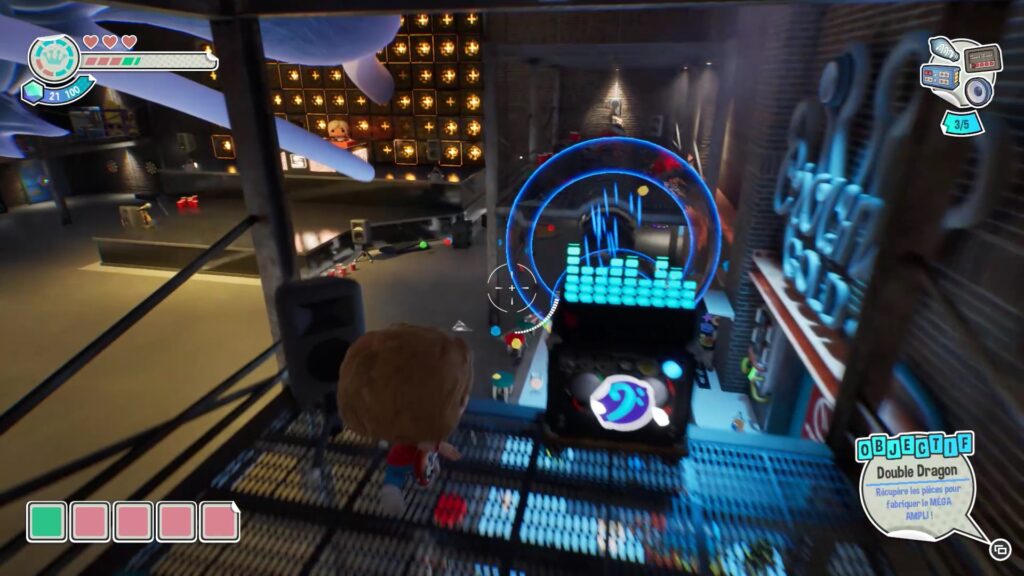
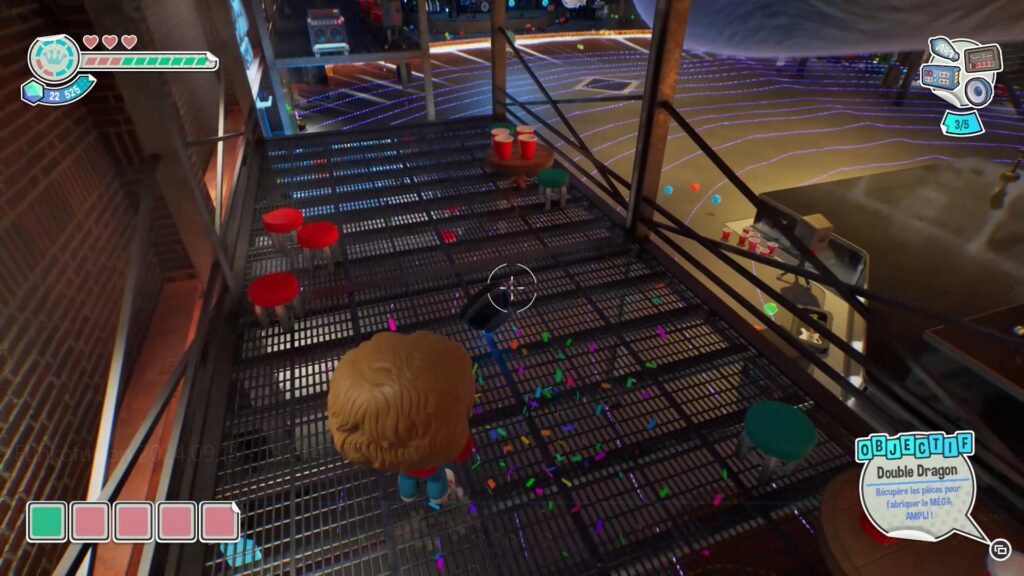
Create a new amp and go up the stairs on the bar side. At the end of the walkway, place the amp facing the window. Use the amp in yellow mode to break the window. Then, switch to purple mode to use the amp’s waves and reach the walkway in front of you. Collect the new part and place it on the mega amp.
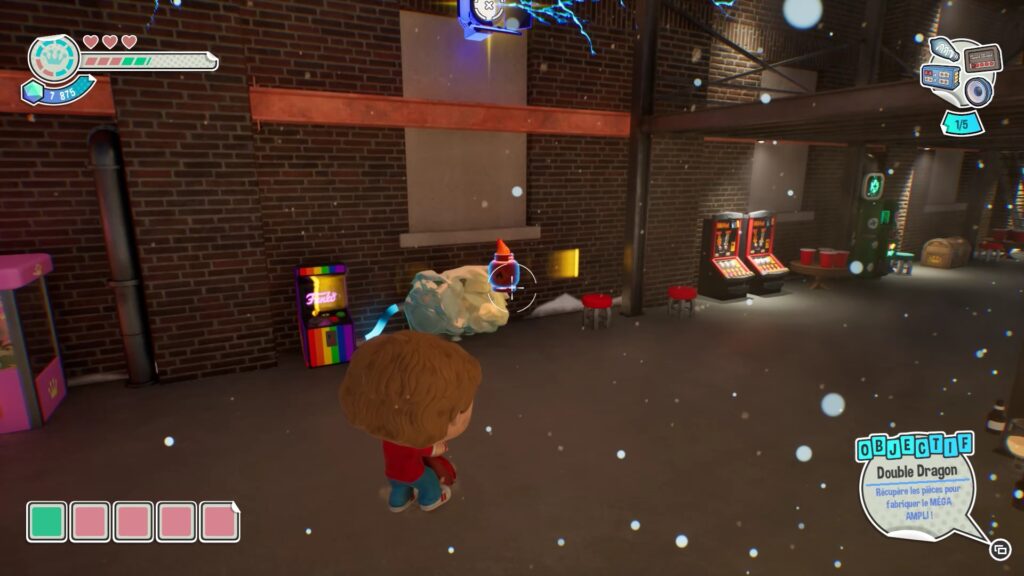
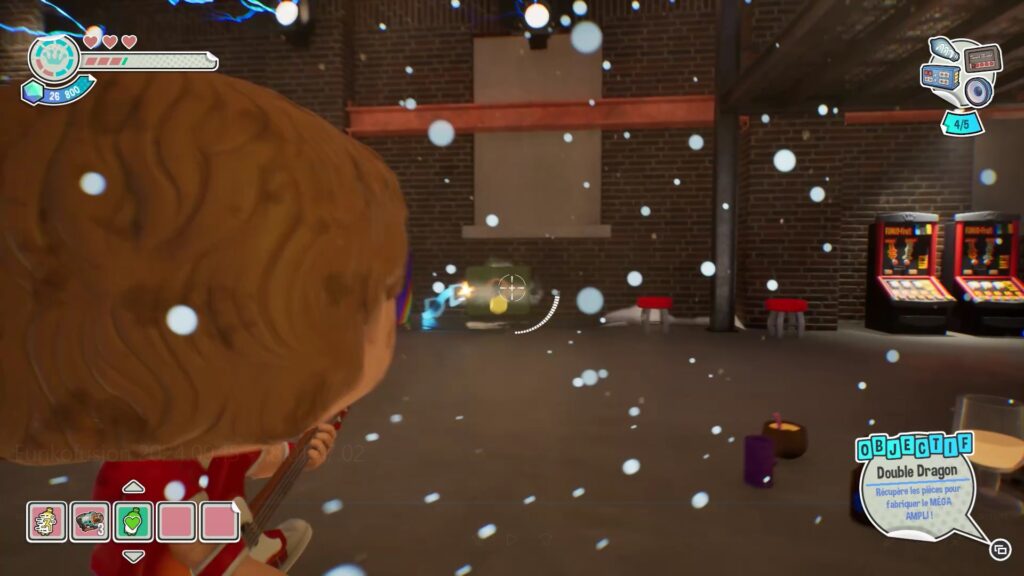
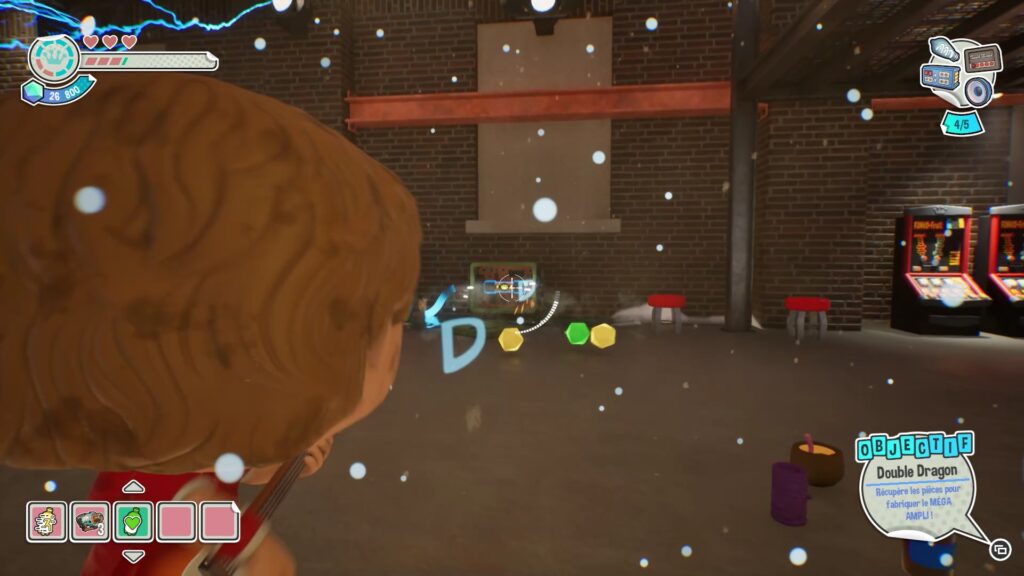
To find the final piece, create a fire canister and place it on the ice block under the shorted spotlights. Melt the block to access the fuse box. Shoot the box to retrieve the fuse.
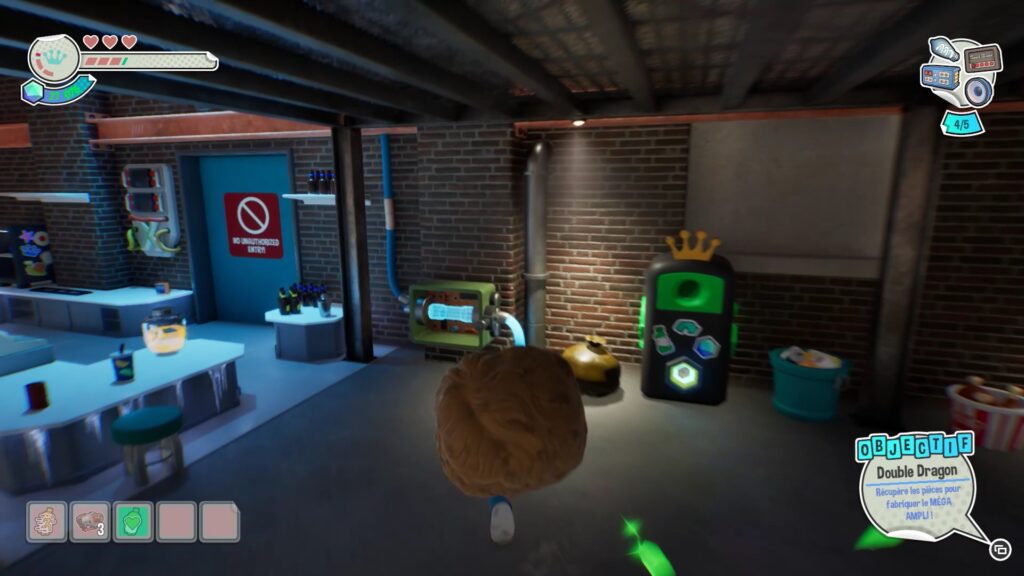
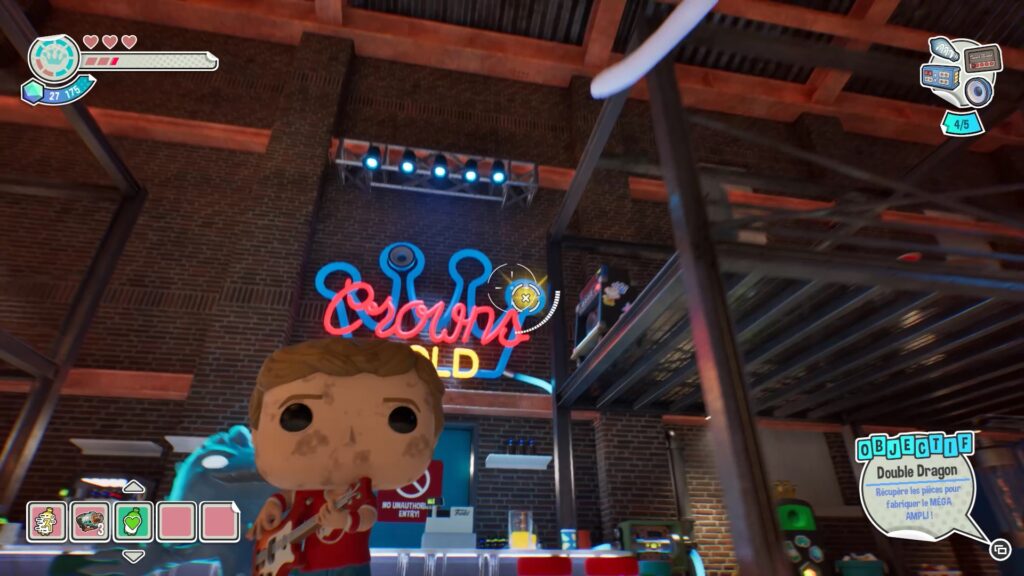
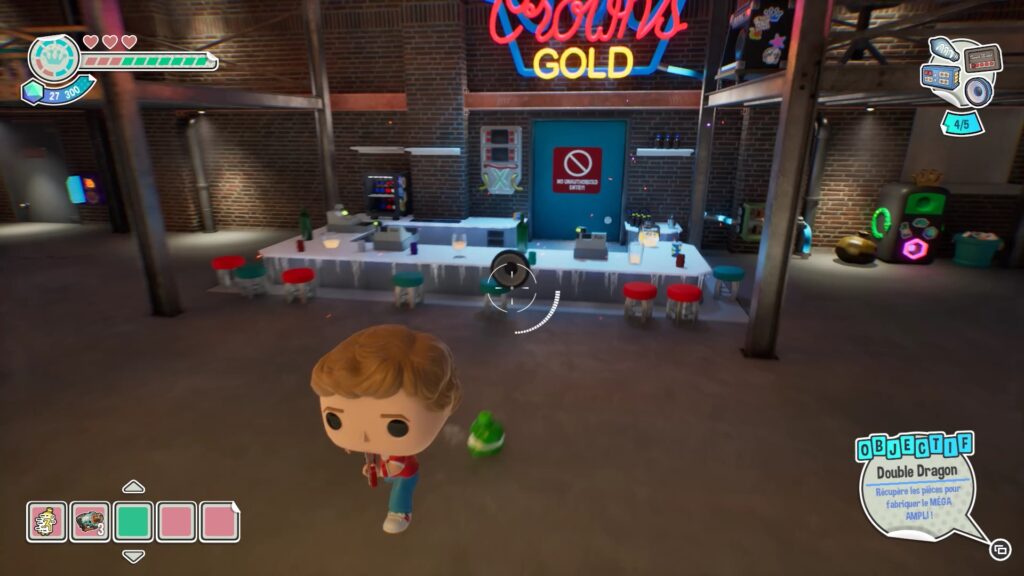
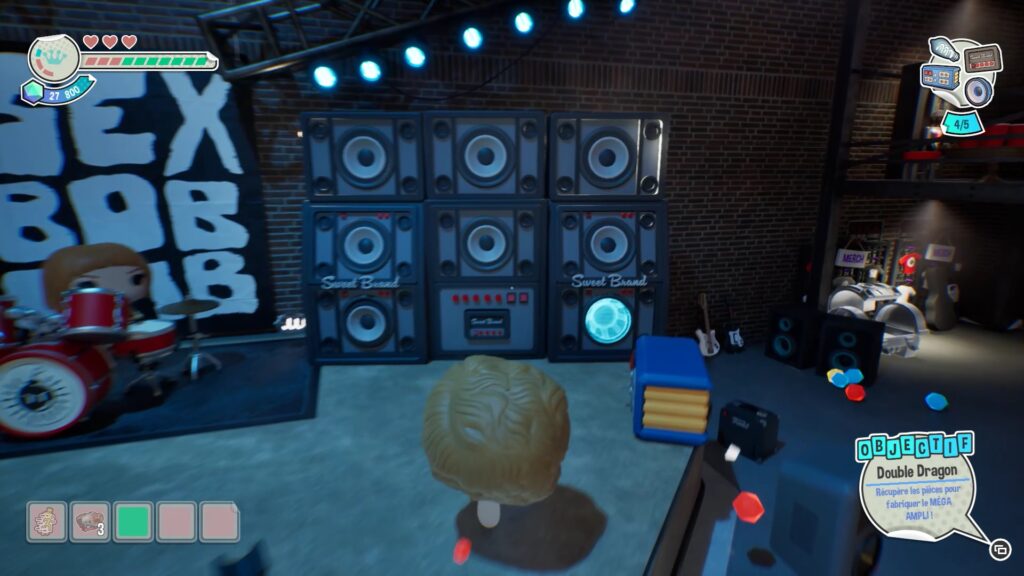
Once you have collected the fuse, place it in the neon mechanism in the bar. Then shoot the spikes on the neon crown in the order shown to obtain the final part of the Mega Amp. Collect this part and place it in the Mega Amp.
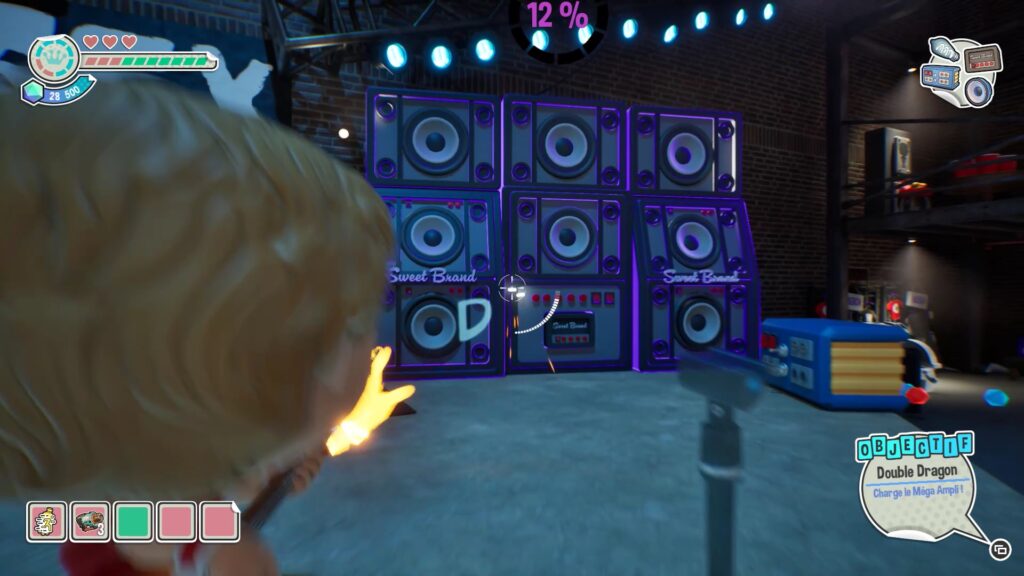
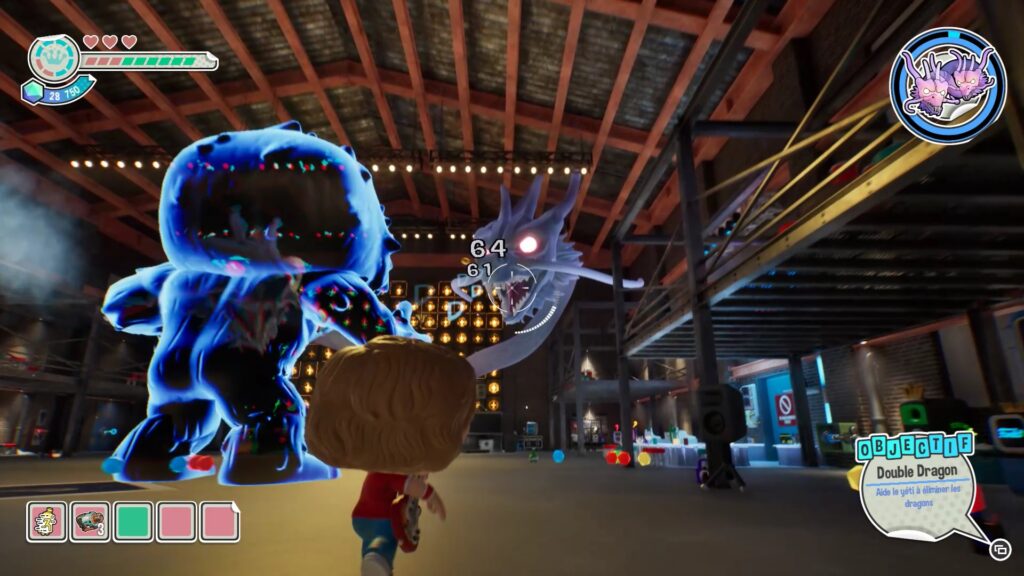
Once all the coins are on the Mega Amp, shoot it to charge it. Then help the Yeti eliminate the dragons by shooting them. Once the dragons are defeated, collect the coin and place it in the machine to obtain the Funko Key. Follow the quest marker to access the rooms blocked by the guards. Hit the guards to advance and reach the crown that marks the end of the level.
Double chaos
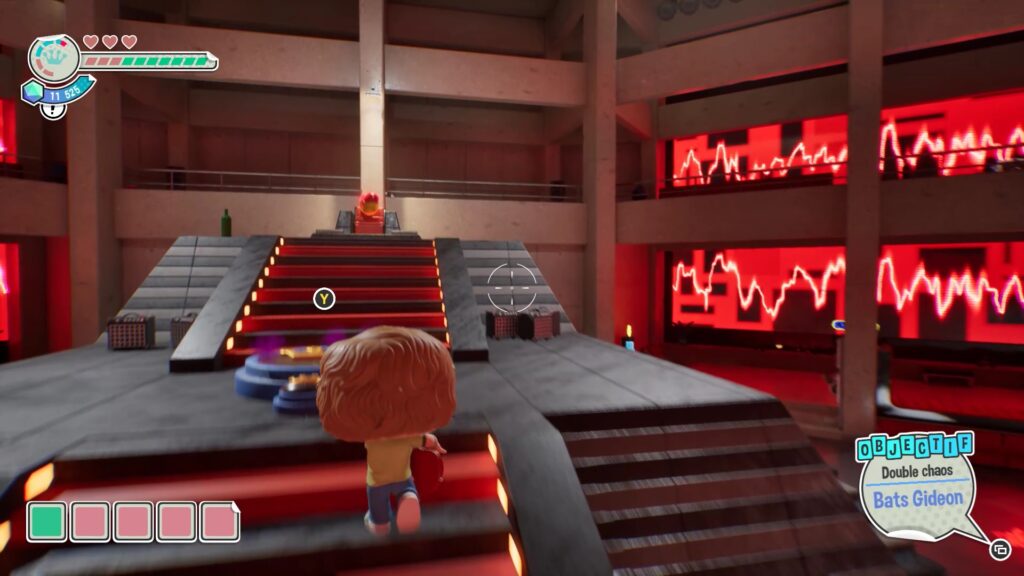
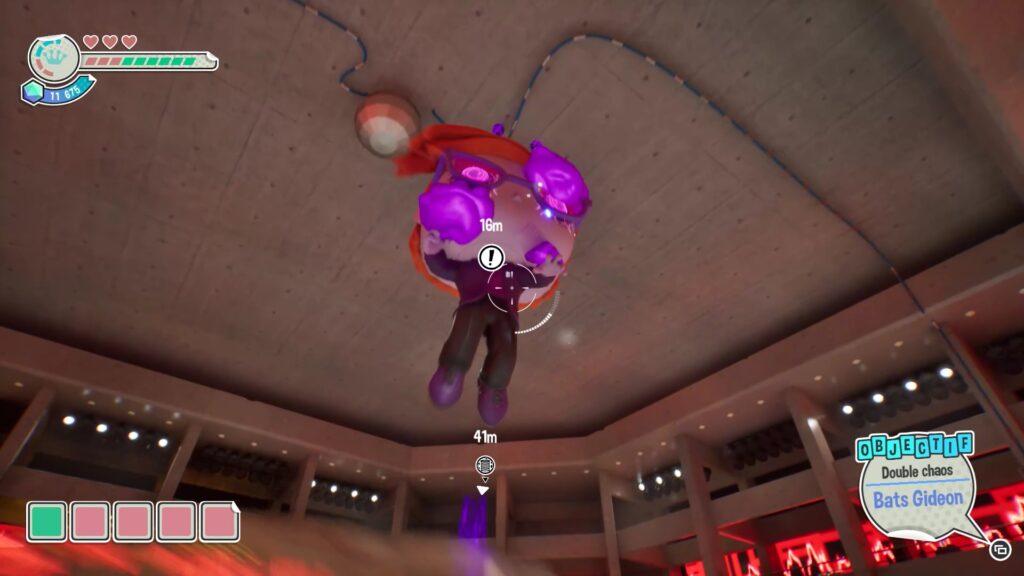
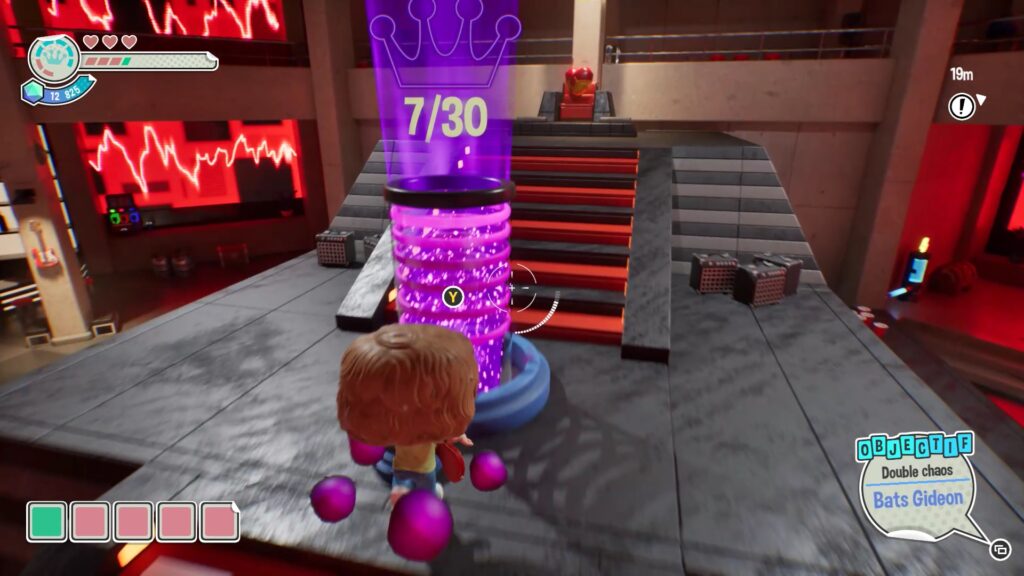
In this level, you will face the final boss, Gideon. Start by eliminating the hordes of enemies that appear. Then activate the Purple Crown Receptacle and start attacking Gideon by targeting the purple growths on his body. Destroying them will reward you with purple orbs. Deposit them into the receptacle as you go to complete the Scott Pilgrim chapter.
Umbrella Academy Funko Fusion Walkthrough
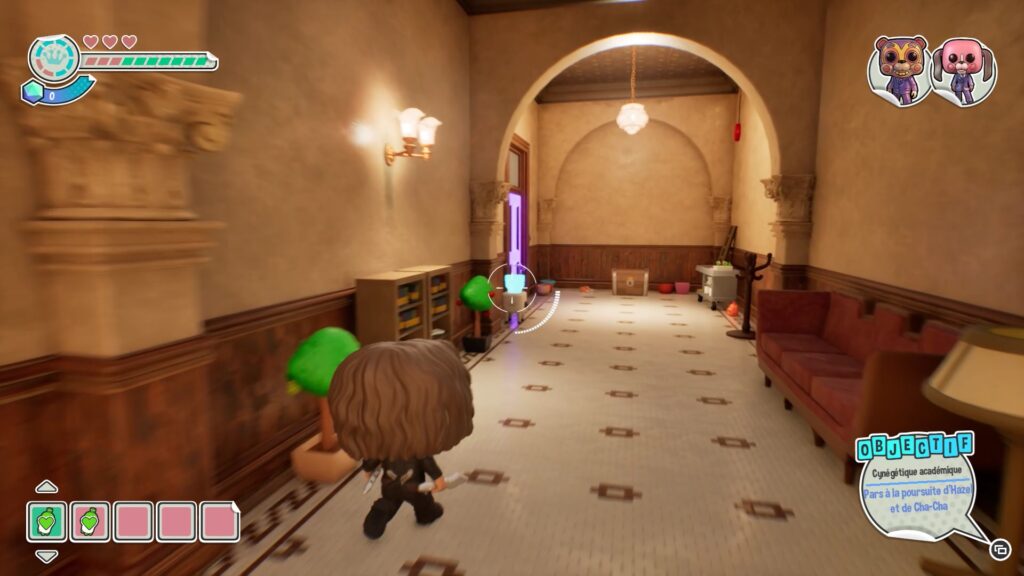
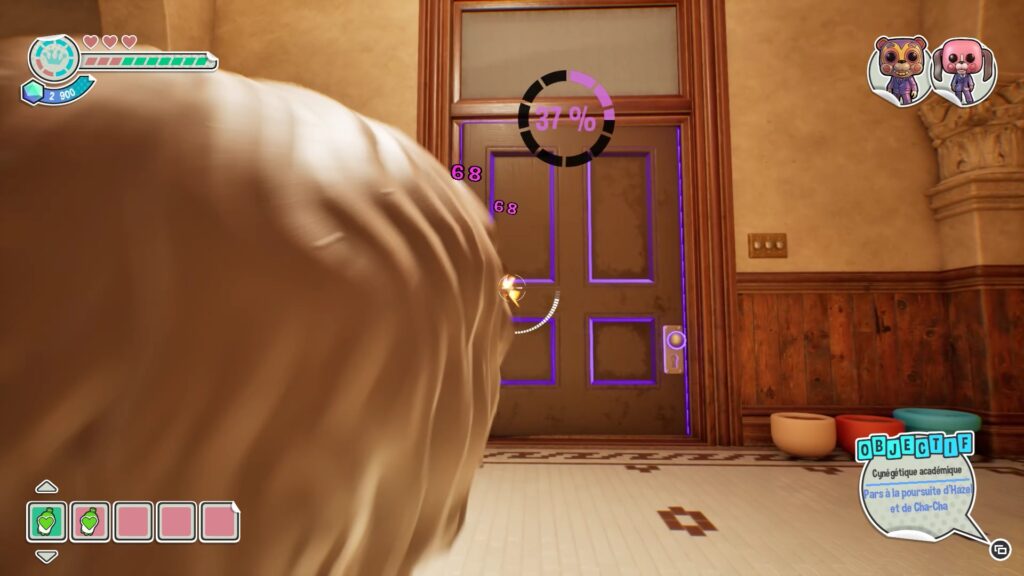
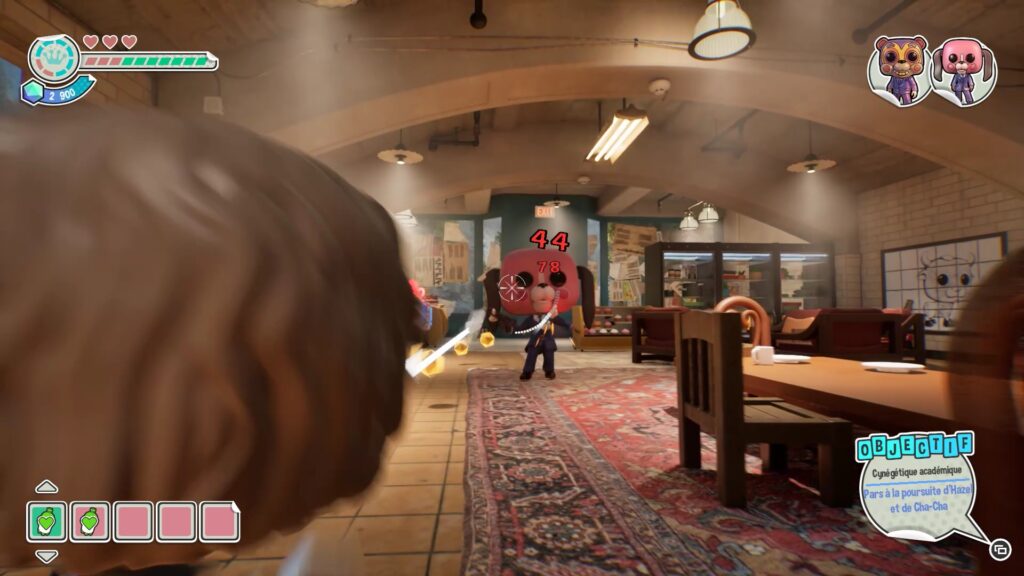
In the first level of Umbrella Academy, go down the hallway and turn left. You will be blocked by a purple door. Shoot it to face your first enemy and shoot him to weaken him.
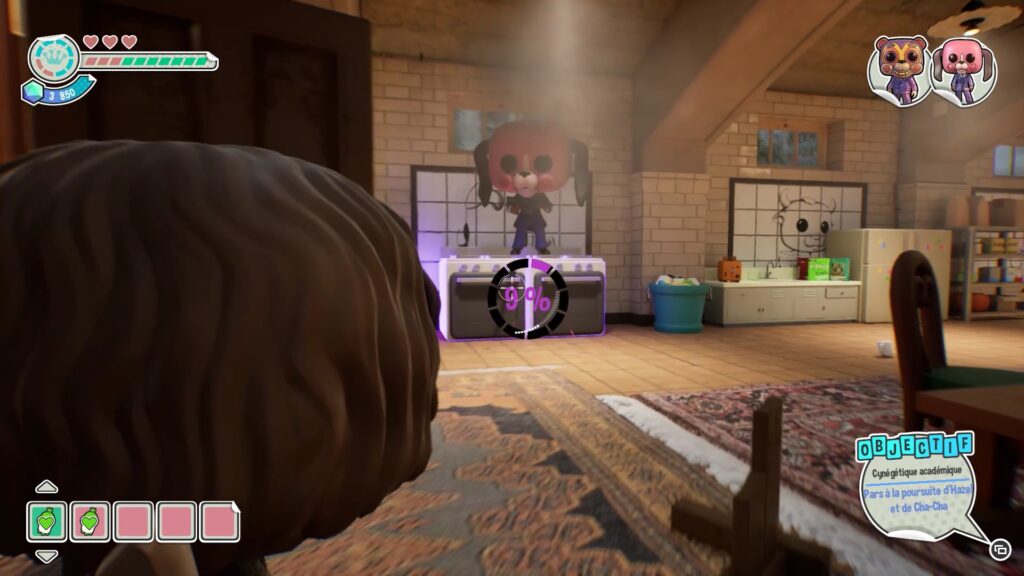
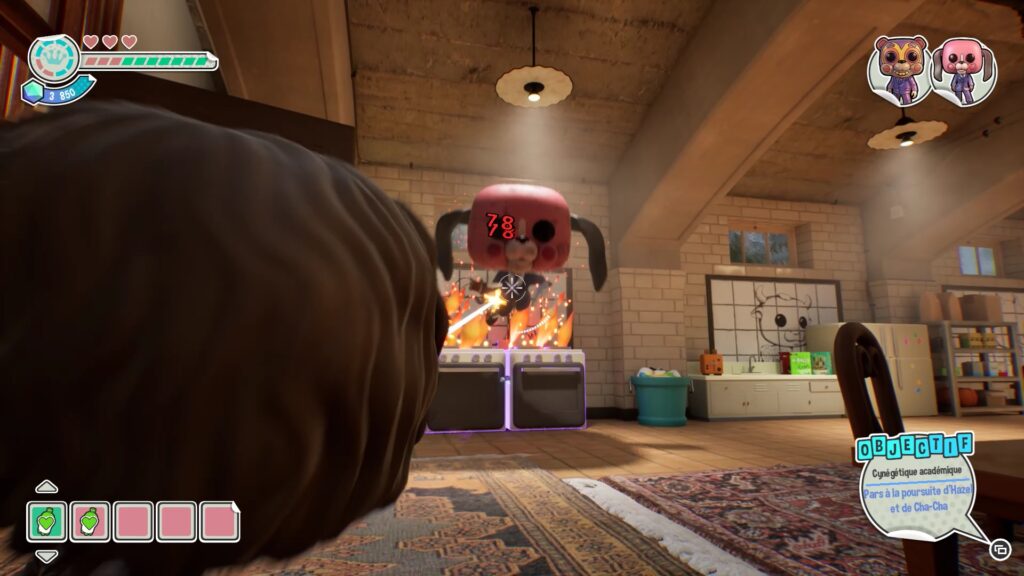
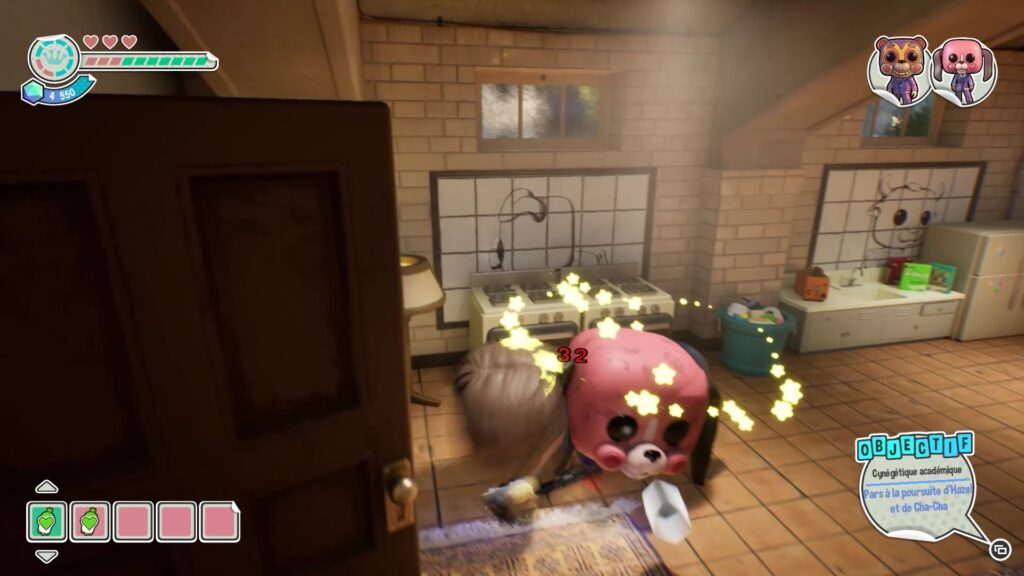
As soon as you attack him, he starts jumping on equipment. Shoot the ones he is standing on to make him fall. Once he is on the ground and stunned, attack him to defeat him. Repeat this every time he jumps on equipment. When he leaves the room, follow him until you are blocked by a door locked by seven switches.
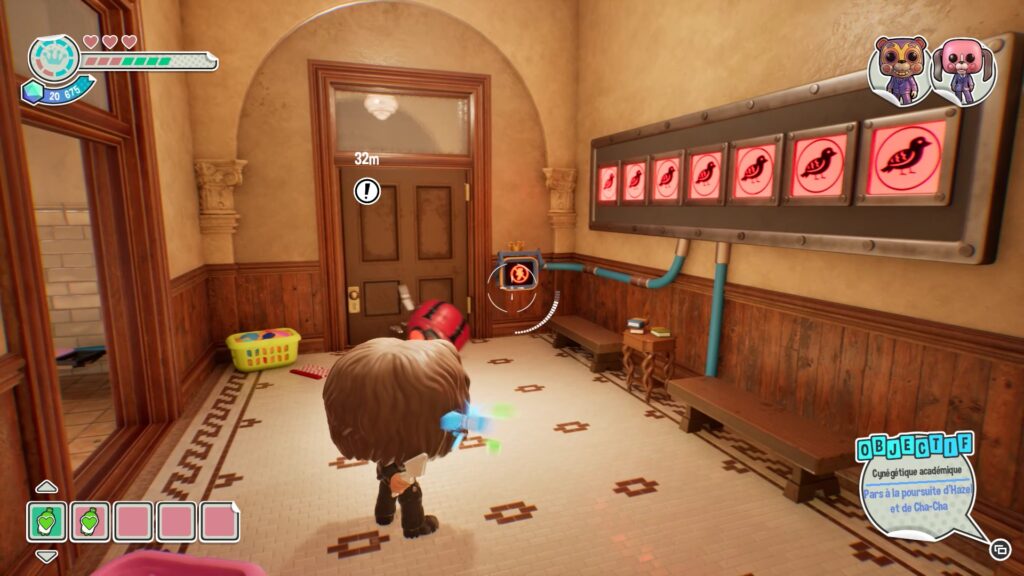
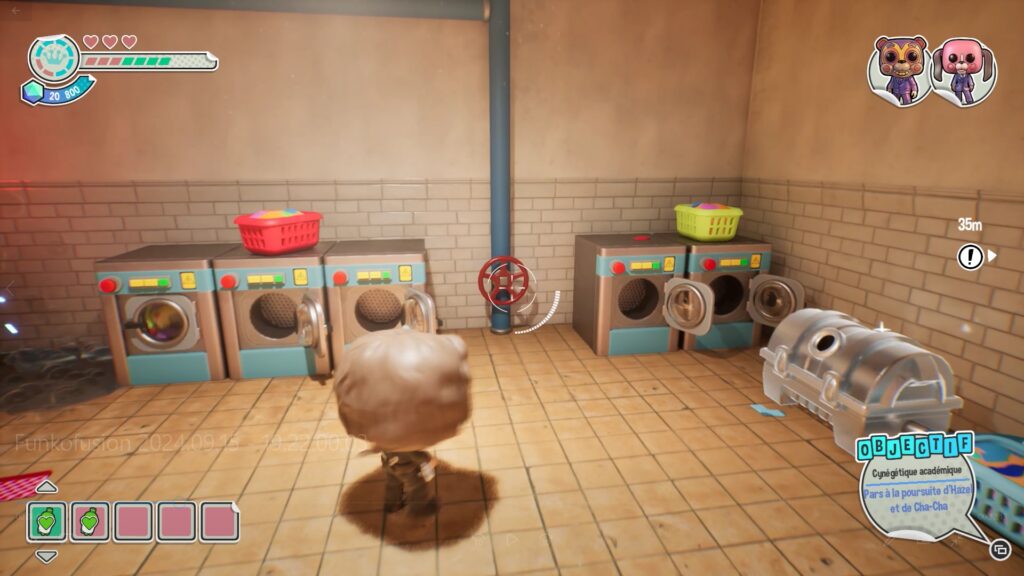
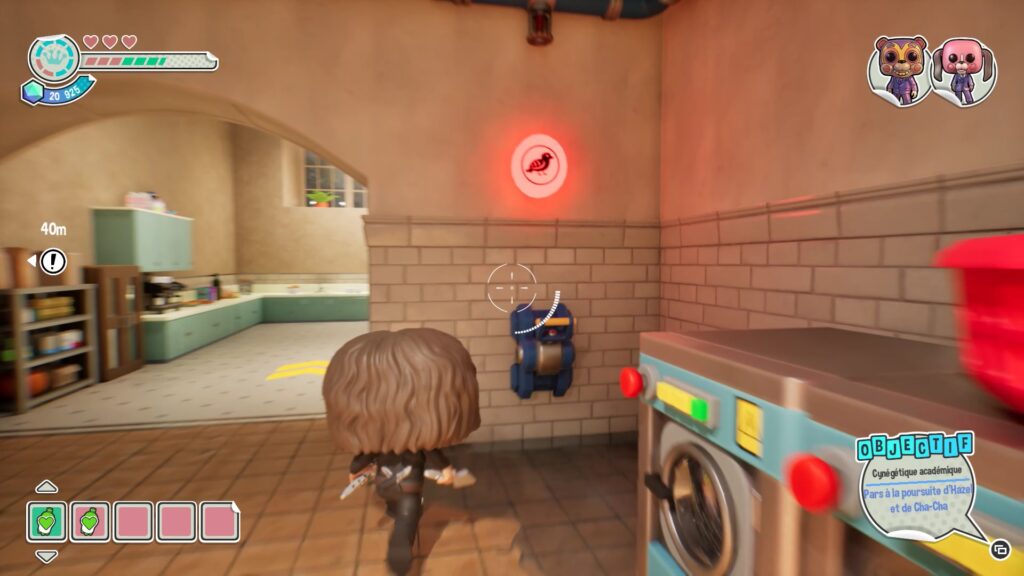
To activate the first switch, enter the laundry room opposite the locked door. Use the crank to turn off the water and access the lever near the washing machines. Interact with this lever to turn on the first switch.
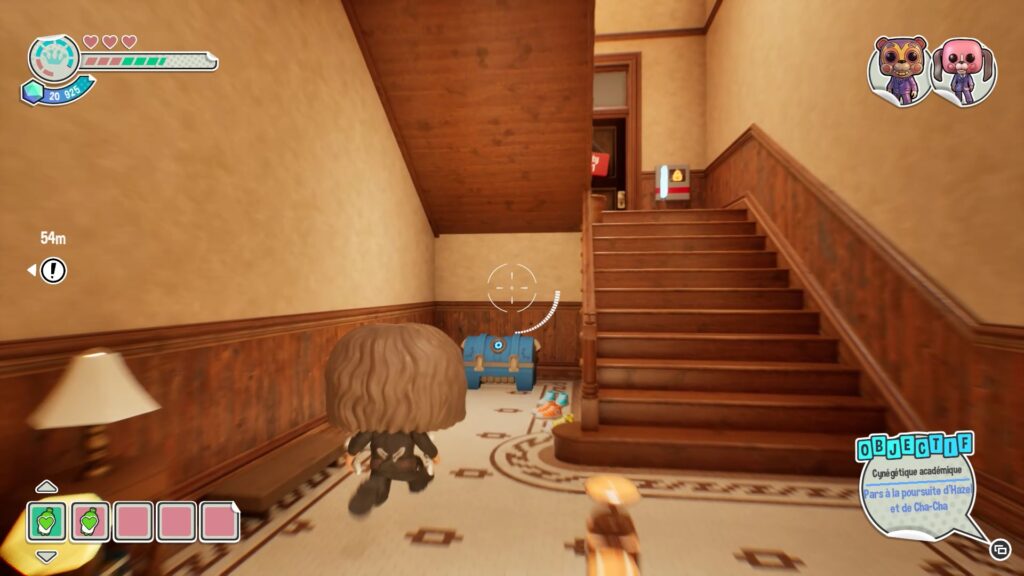
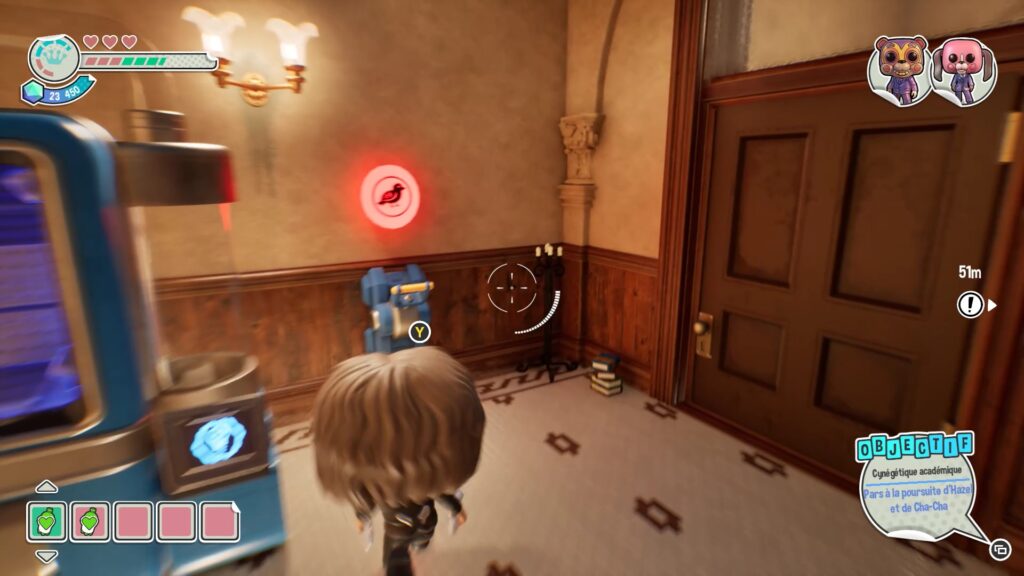
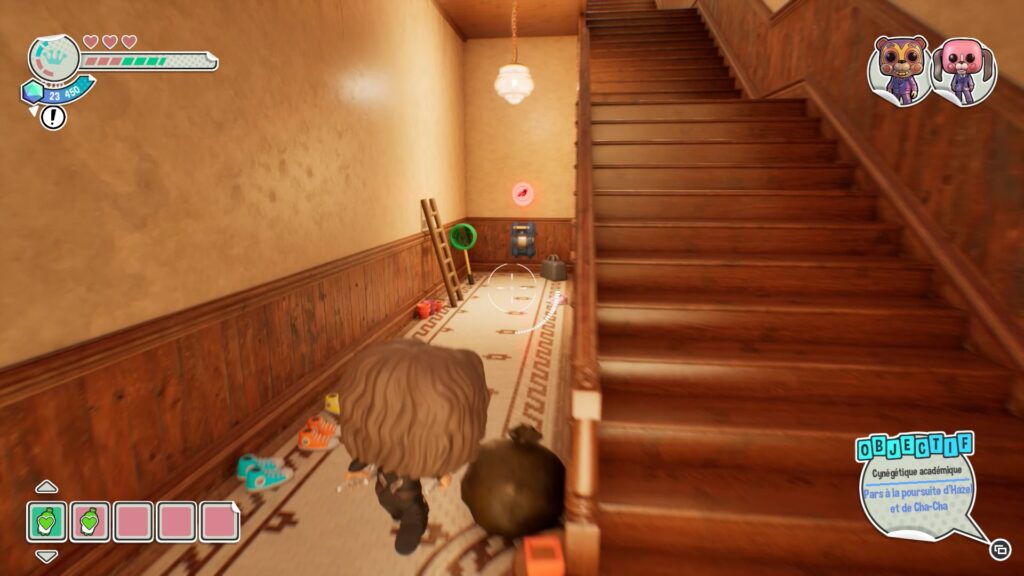
The second switch is on the top floor. Go up the stairs to find it behind the creation machine. Another switch is located on the ground floor, under the stairs.
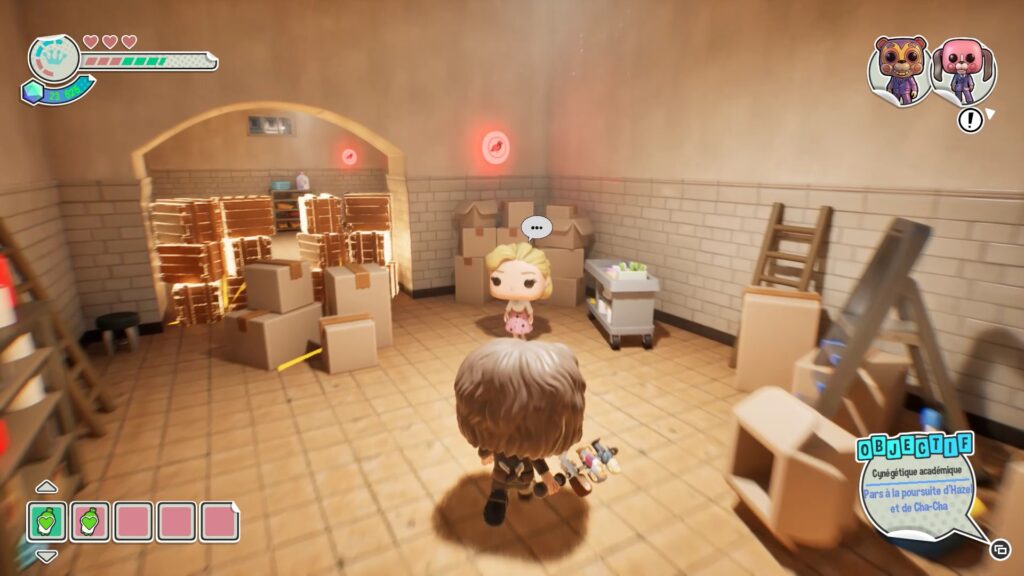
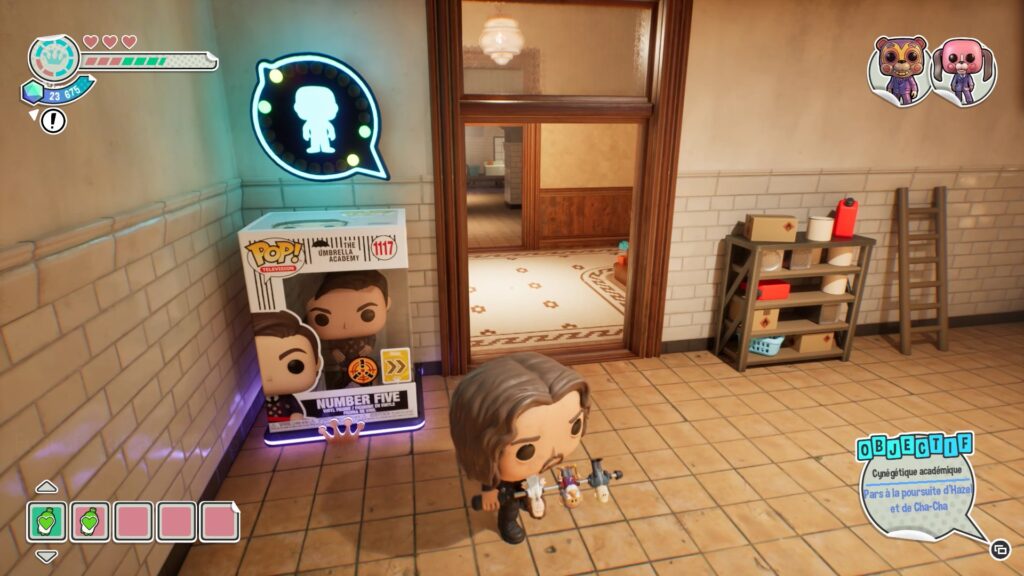
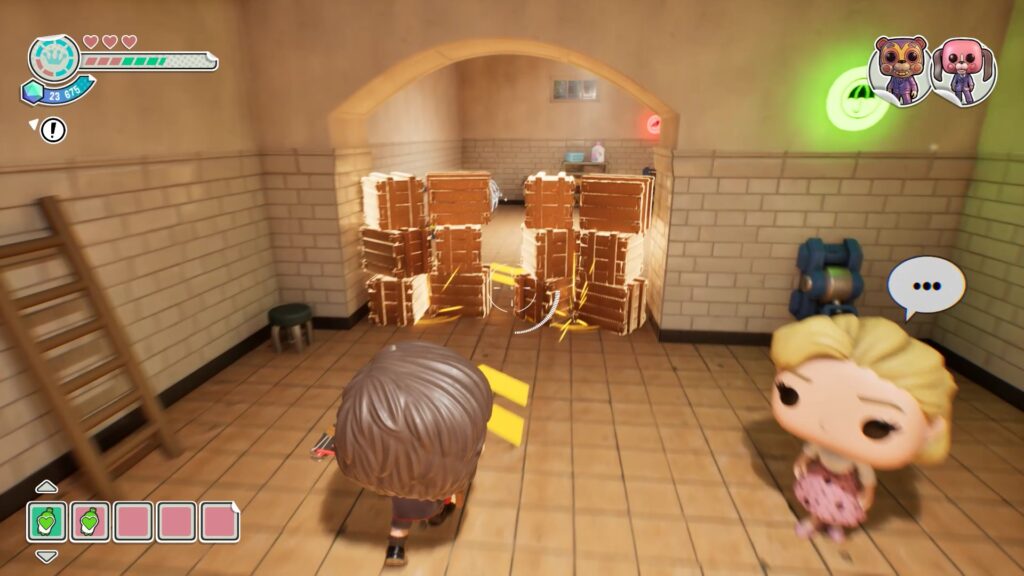
Still on the ground floor, head into the room filled with boxes. There are two switches there. The first is behind a pile of boxes near the woman. Simply hit the boxes to access it. The second is at the back of the room. Use the power of « Number Five » to reach the other side. Stand on the arrow on the ground to activate the power and reach the switch.
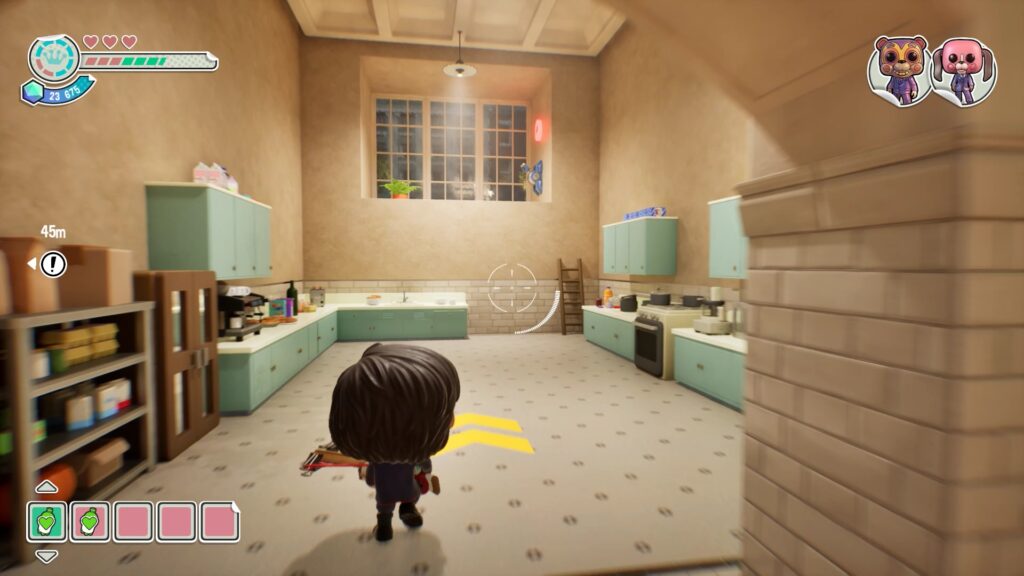
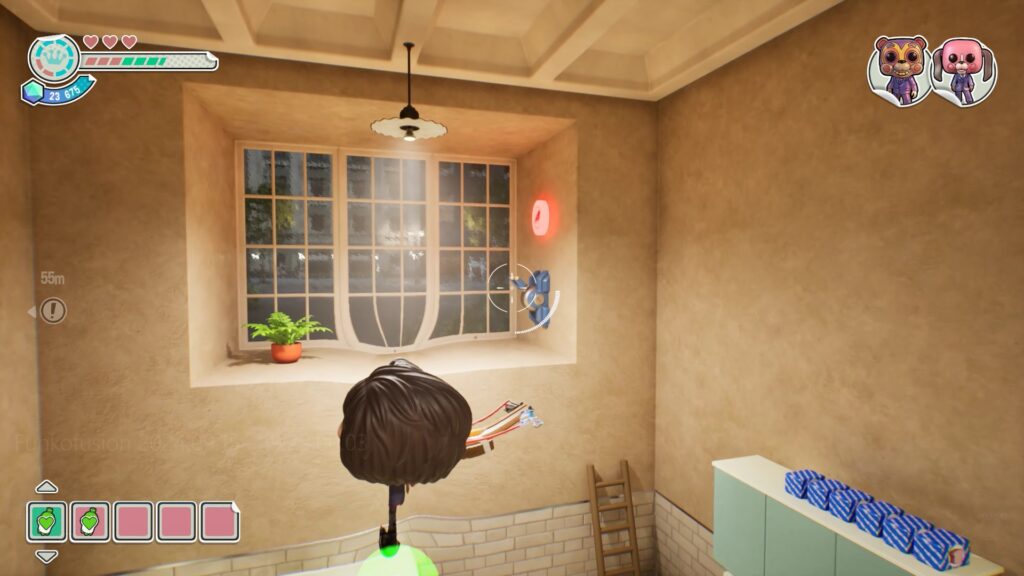
Still with the character « Number Five », return to the laundry room. Stand on the arrow on the ground to activate its power. Follow the on-screen commands to reach the switch above.
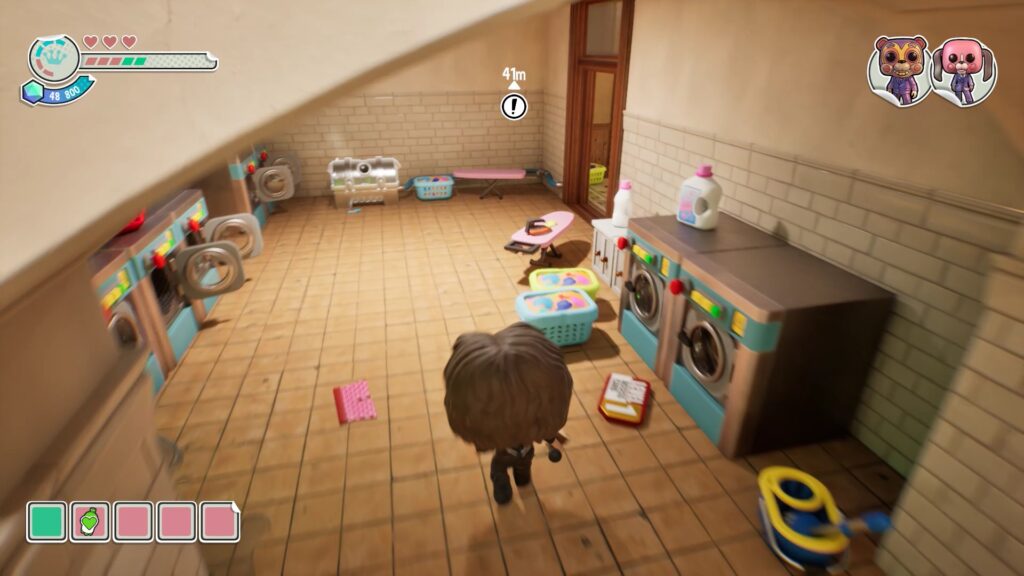
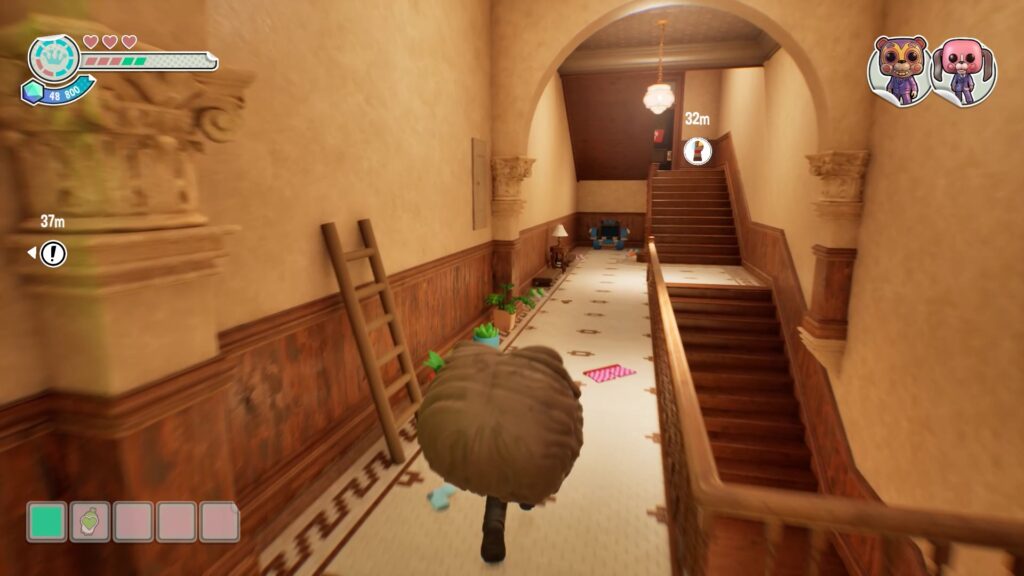
To activate the last switch, go to the « Security Level 1 » room at the top of the stairs. The access card is on the floor of the laundry room, at the foot of the washing machines near the mop. Take the card and unlock the door.
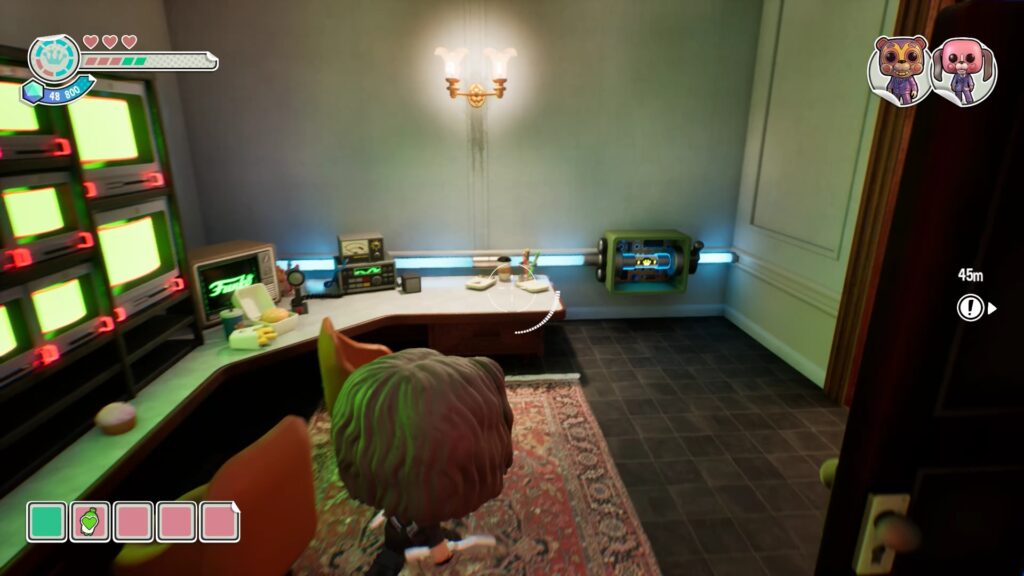
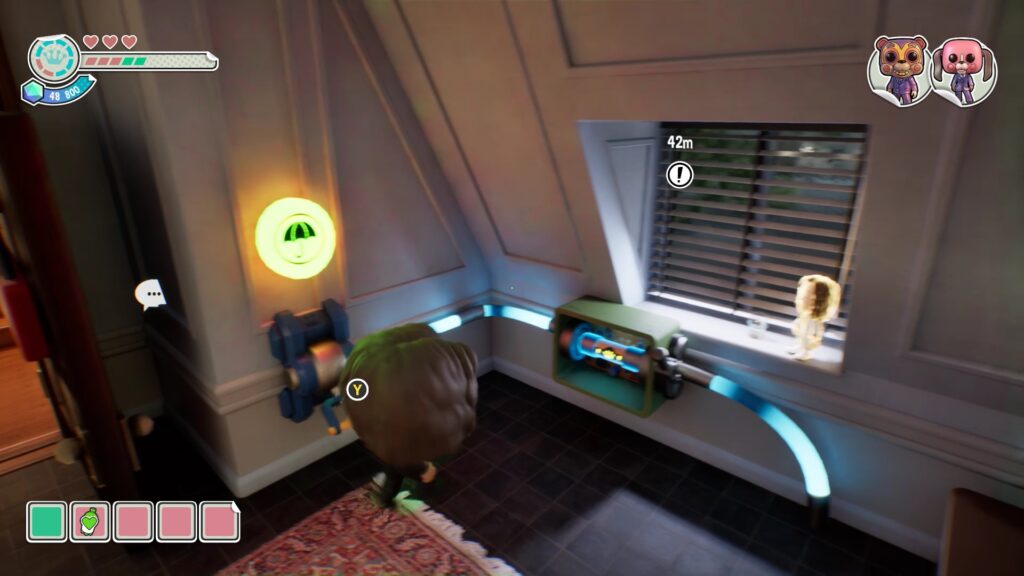
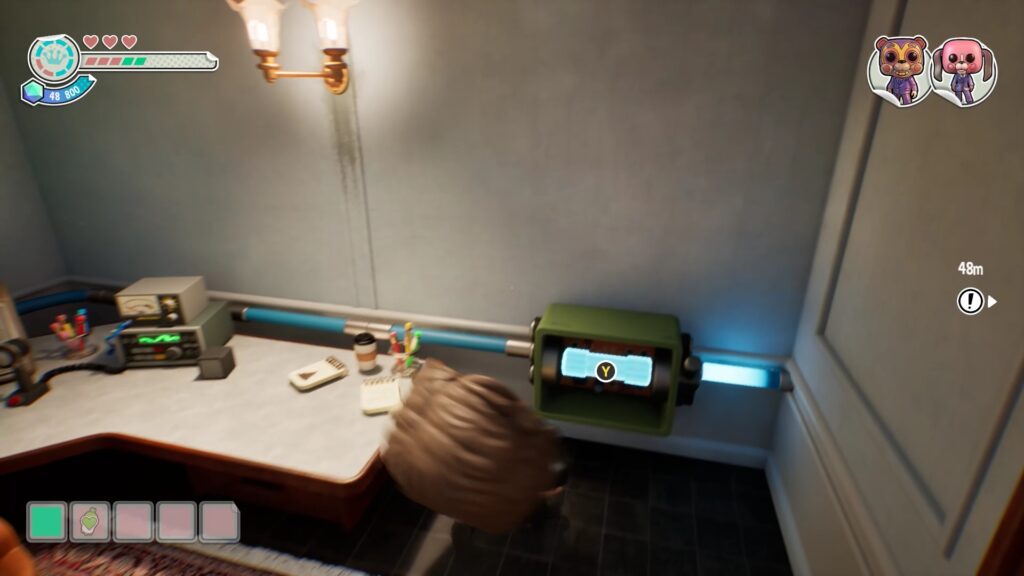
In the room, retrieve the fuse that powers the screens. Place it in the switch power supply and activate it. Then, place the fuse back in the screen power supply. You can now unlock the door and join the enemy.
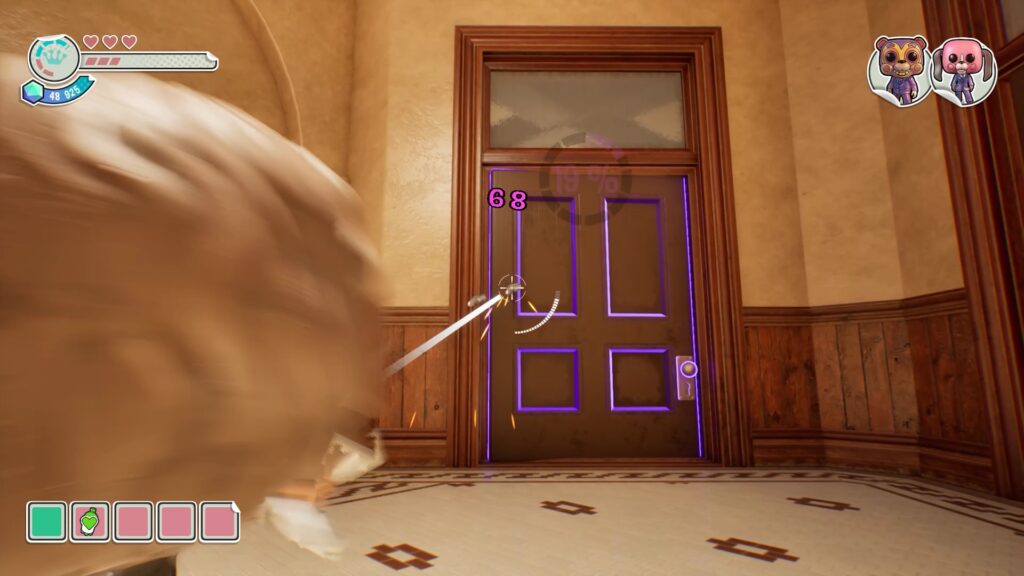
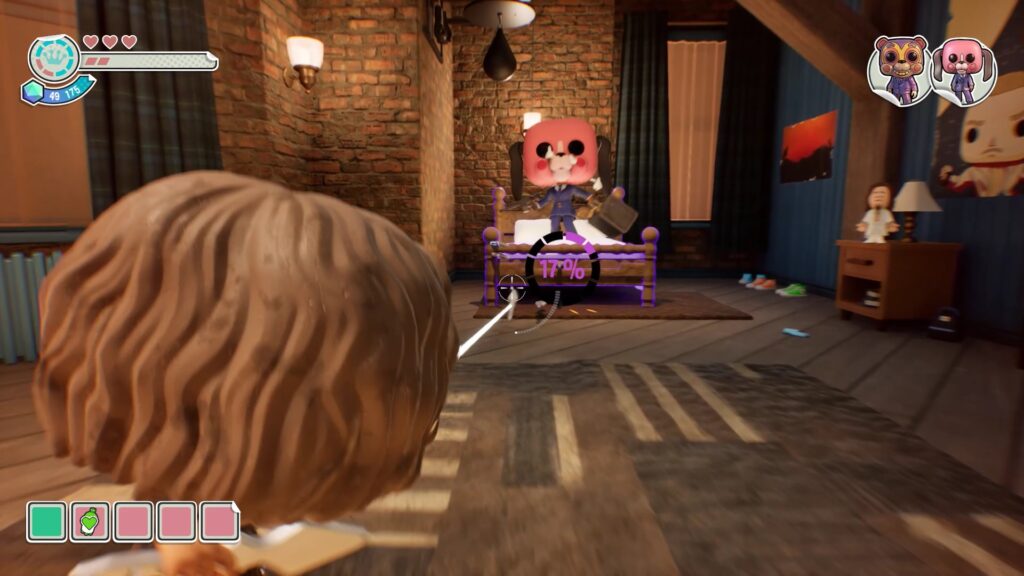
To defeat the enemy, you will have to repeat the same operation several times. Shoot him so that he escapes into a room. The room is marked by a quest marker and has a purple door. Shoot the door to enter and find the enemy on a bed. Shoot the bed to make the enemy fall. Once on the ground and stunned, attack him. Repeat this operation as many times as necessary to defeat the enemy for good.
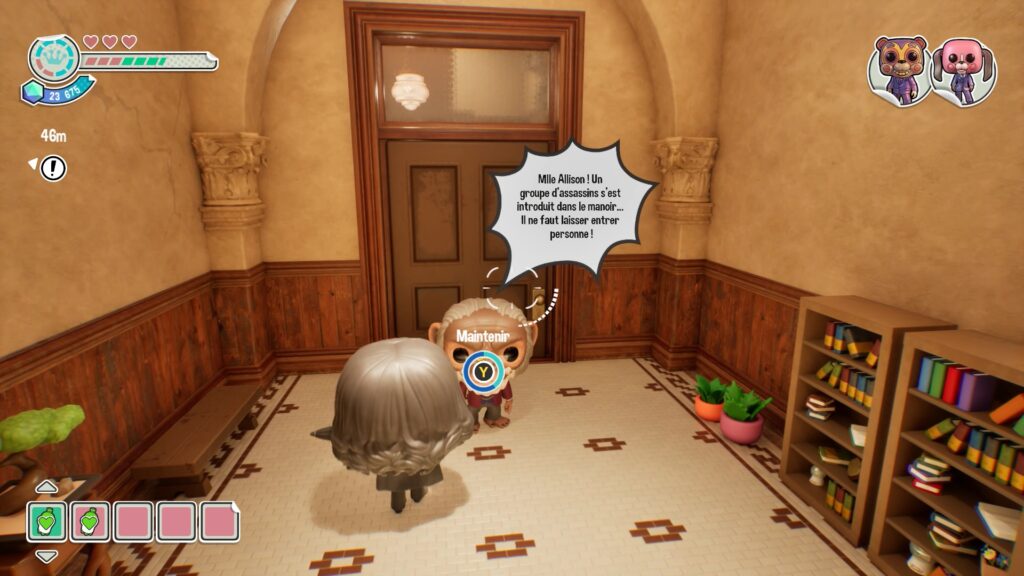
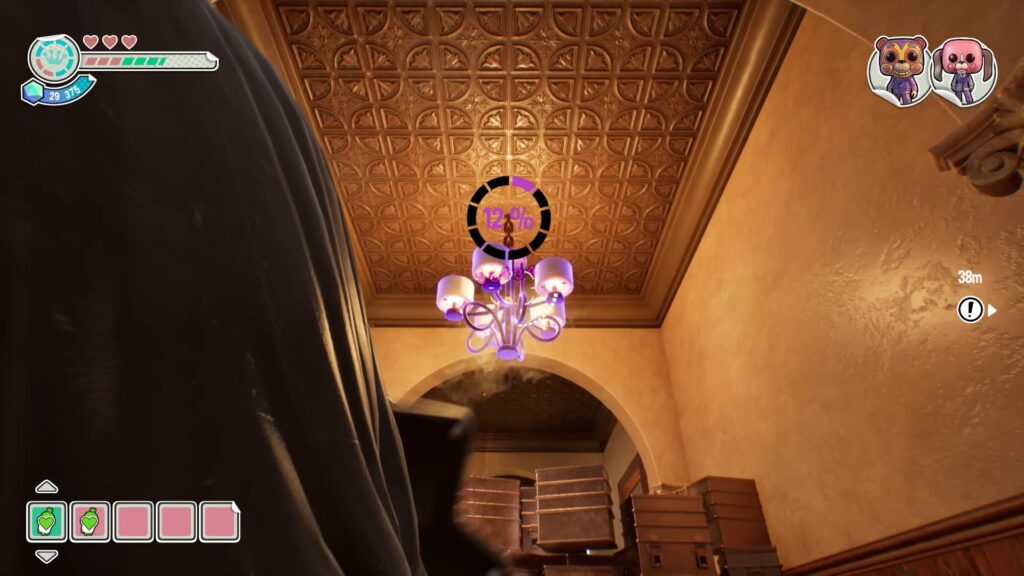
Return to the start of the level to play as Alison. Exit the room and take the path on the right towards a monkey. Talk to him so he lets you pass. Go forward and climb the stairs, before being blocked by a pile of crates. Shoot the lamppost on the ceiling to make it fall and free the passage.
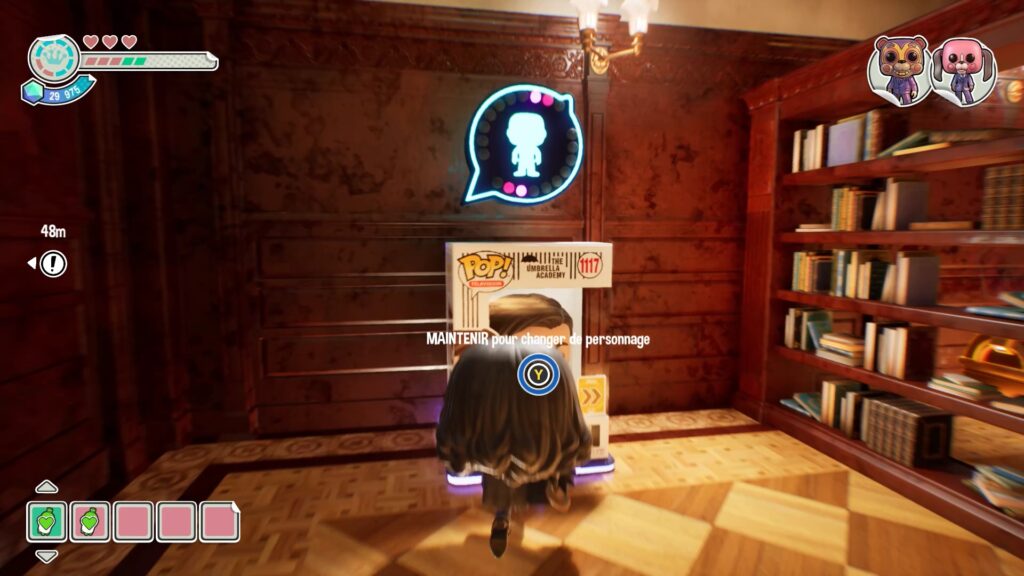
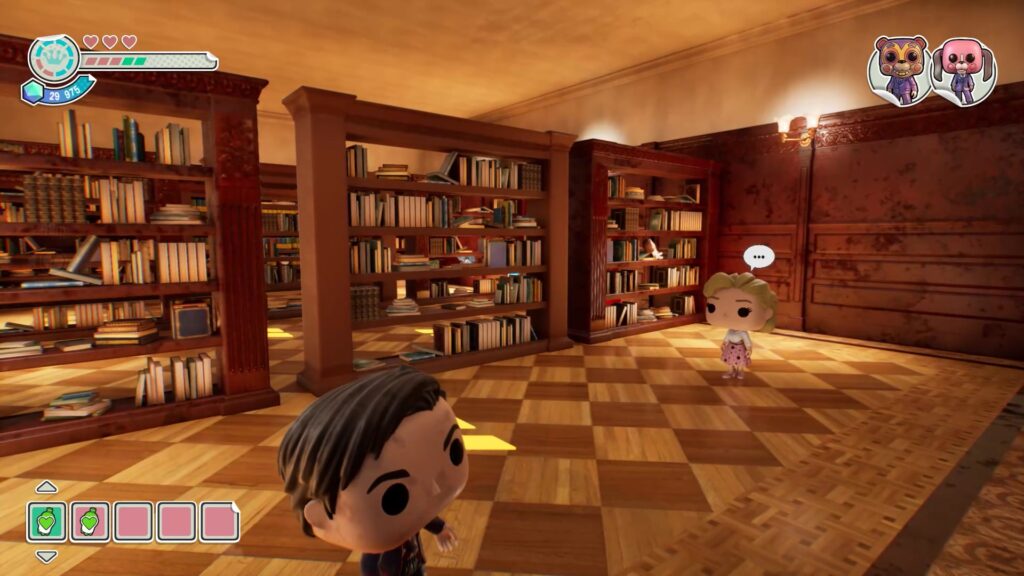
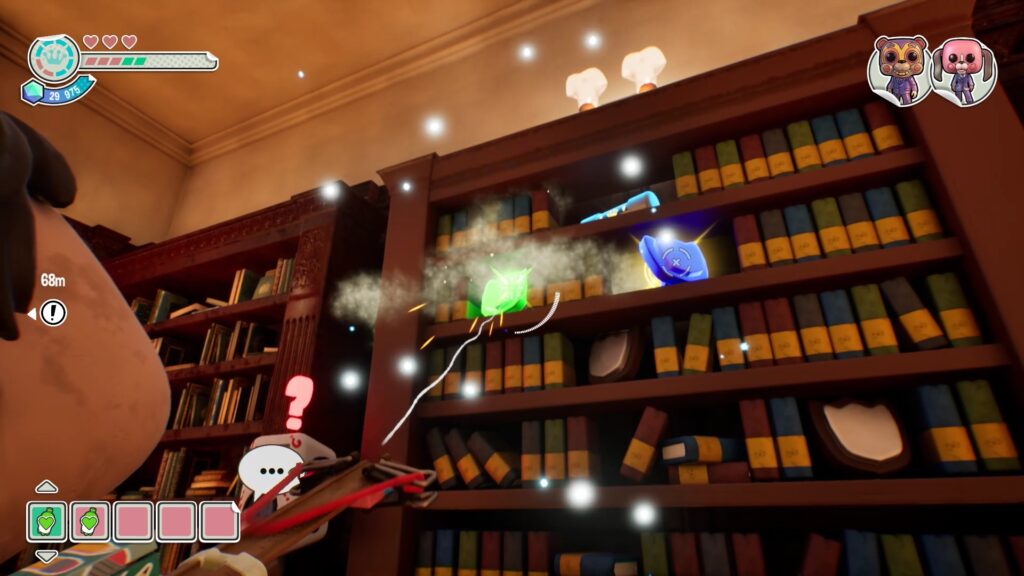
Then enter the library and switch characters to « Number Five ». Stand on the arrow and use your power to reach the back of the library. Aim at the highlighted objects and shoot them to collect a fuse.
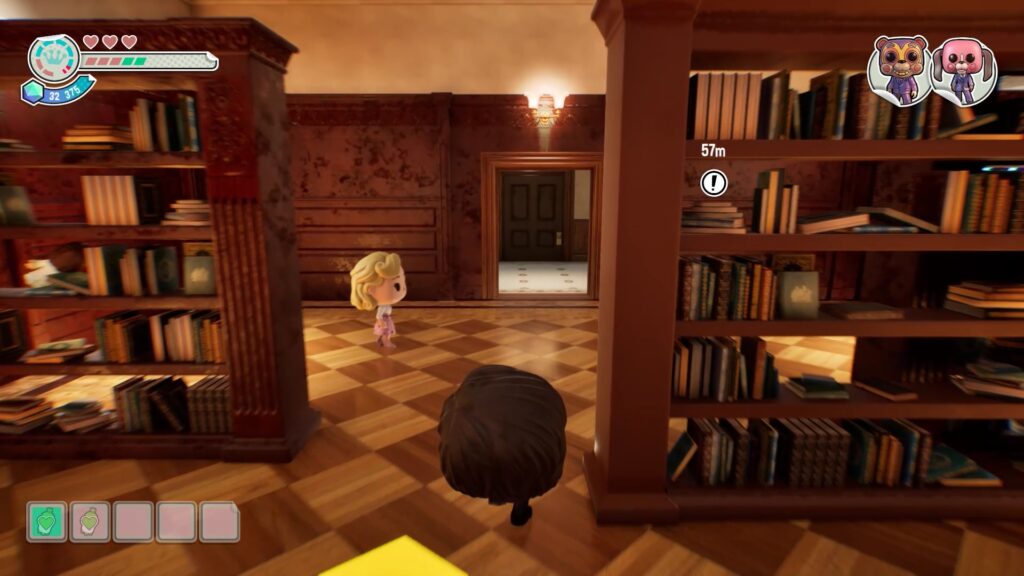
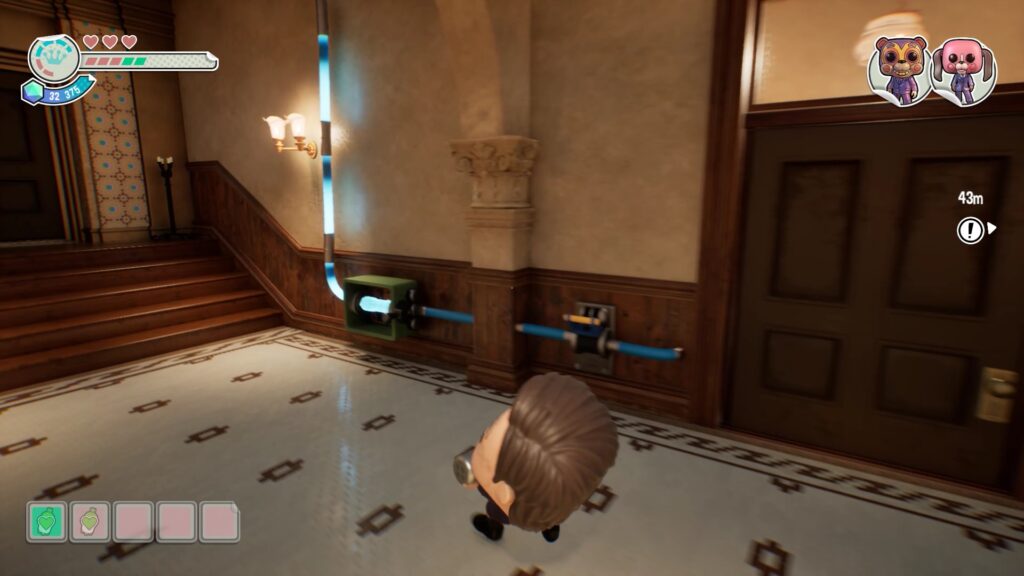
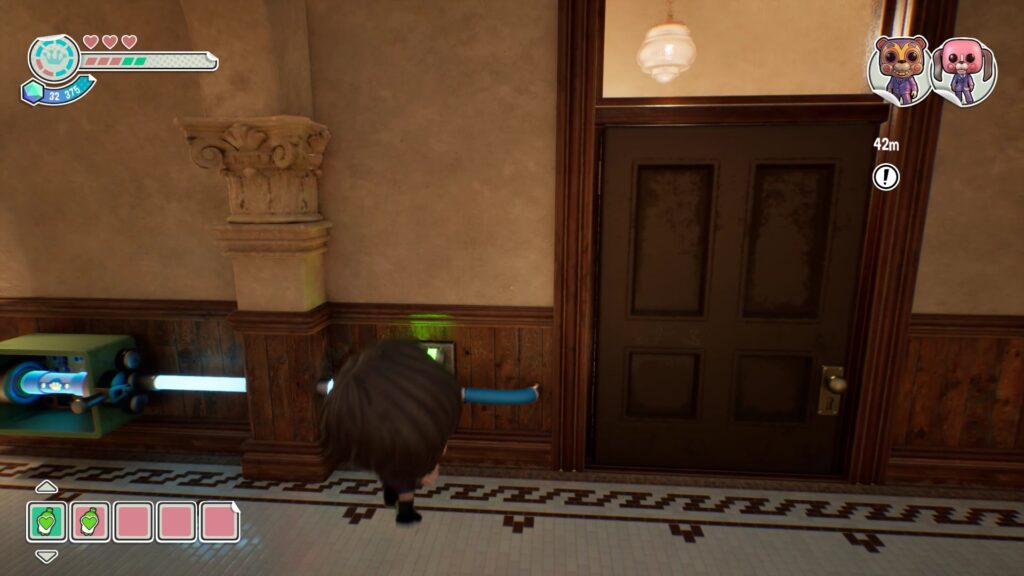
To return to the library entrance, use the nearby lever to open the passage. Take the fuse and place it in the mechanism of the locked door facing the library. Once powered, pull the lever down to unlock the door.
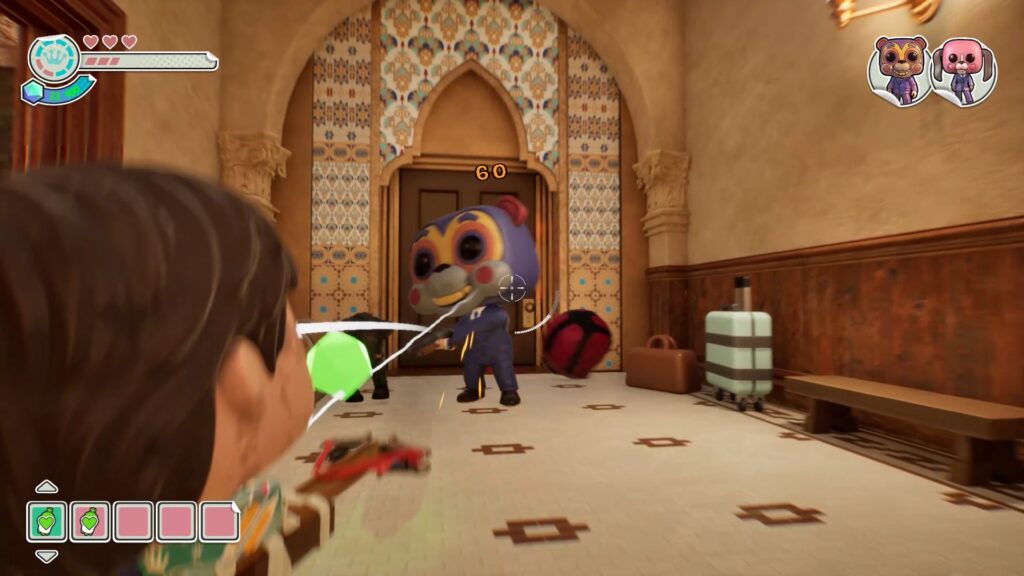
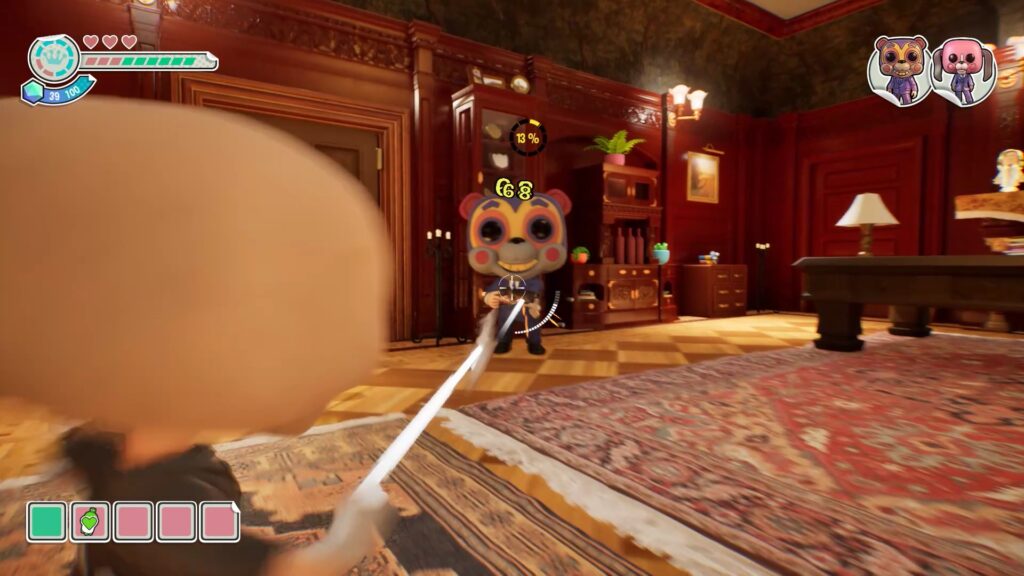
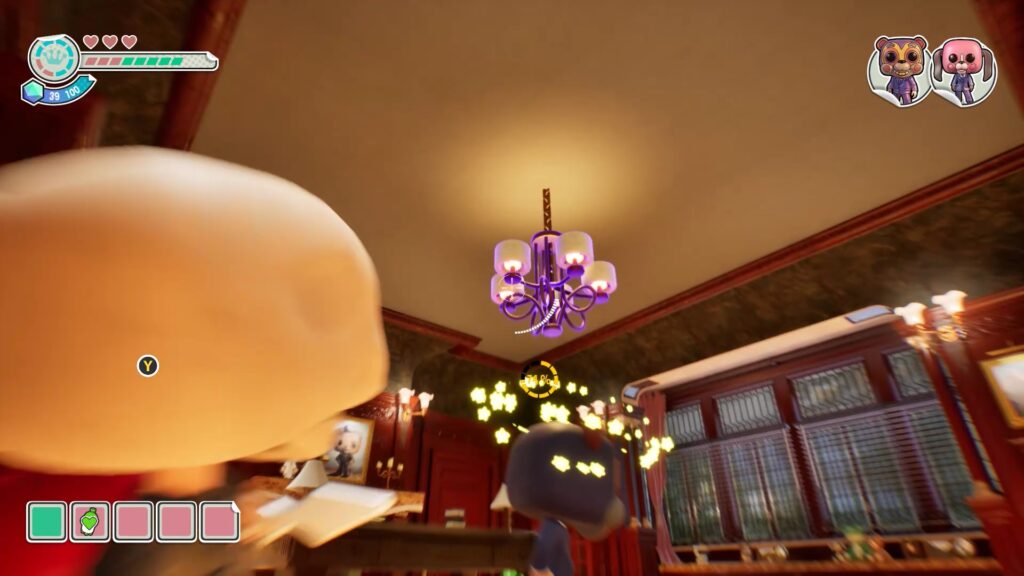
You come across your enemy. Shoot him and follow him to an office. In the office, shoot him to reduce his defense bar to 100%. He will then position himself under a chandelier. Shoot the chandelier to make it fall on him, then attack him.
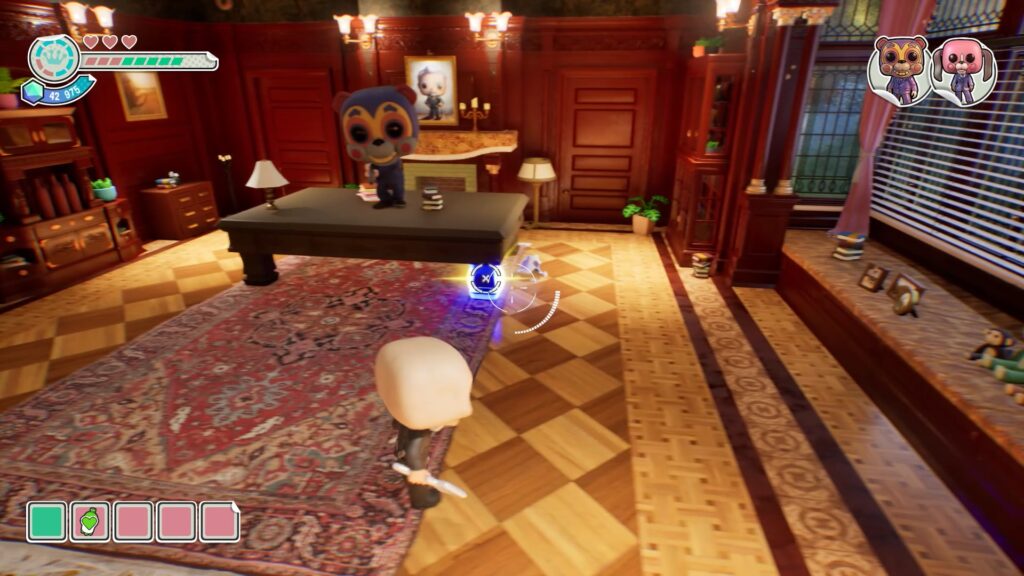
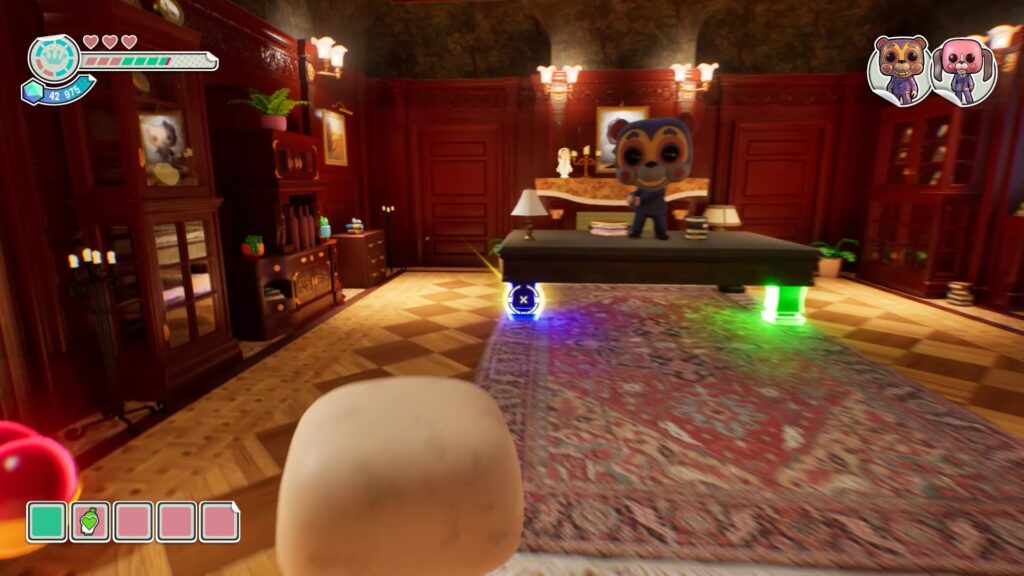
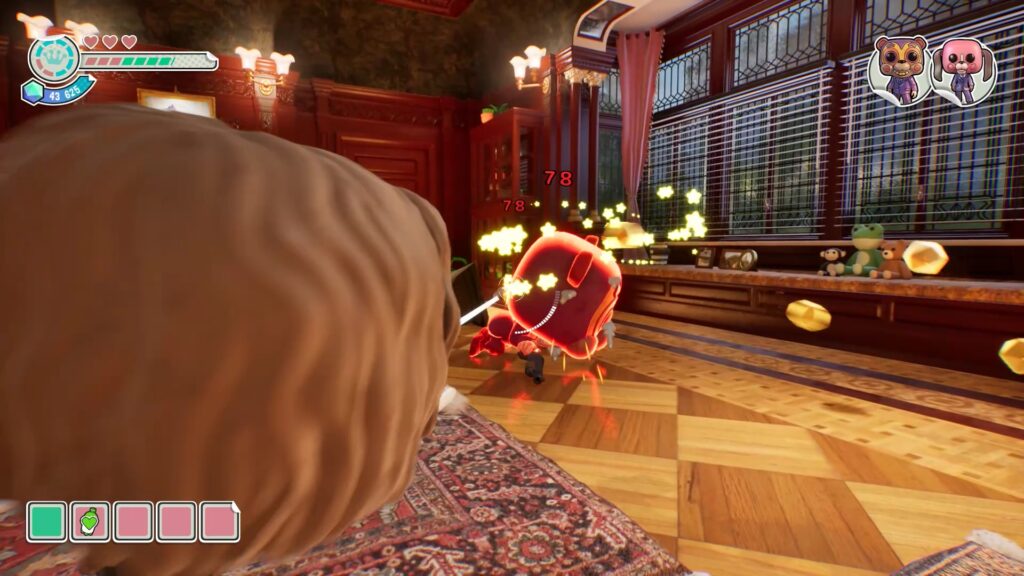
When the enemy climbs onto the desk, you must destroy the desk legs in the order shown. Follow the legs and shoot the one that lights up first. If all the legs turn red, it means you made a mistake or are too slow, and you will have to start over. Once the desk collapses, hit the enemy so that he changes rooms.
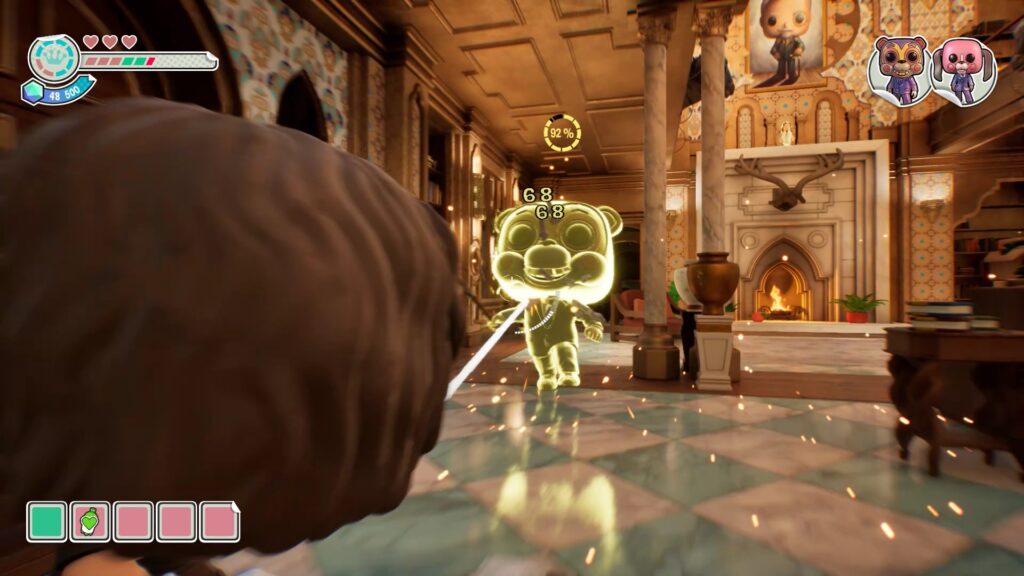
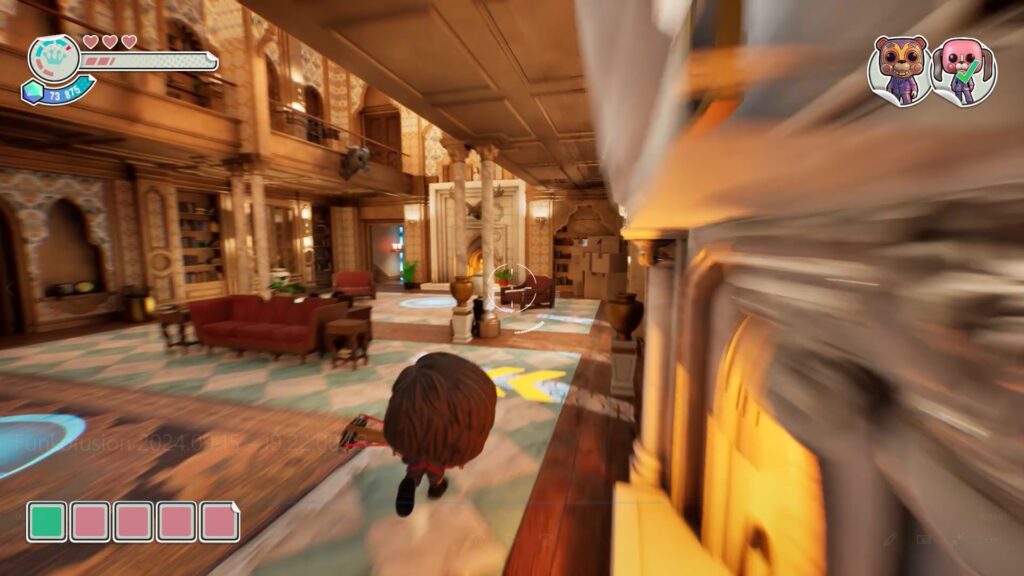
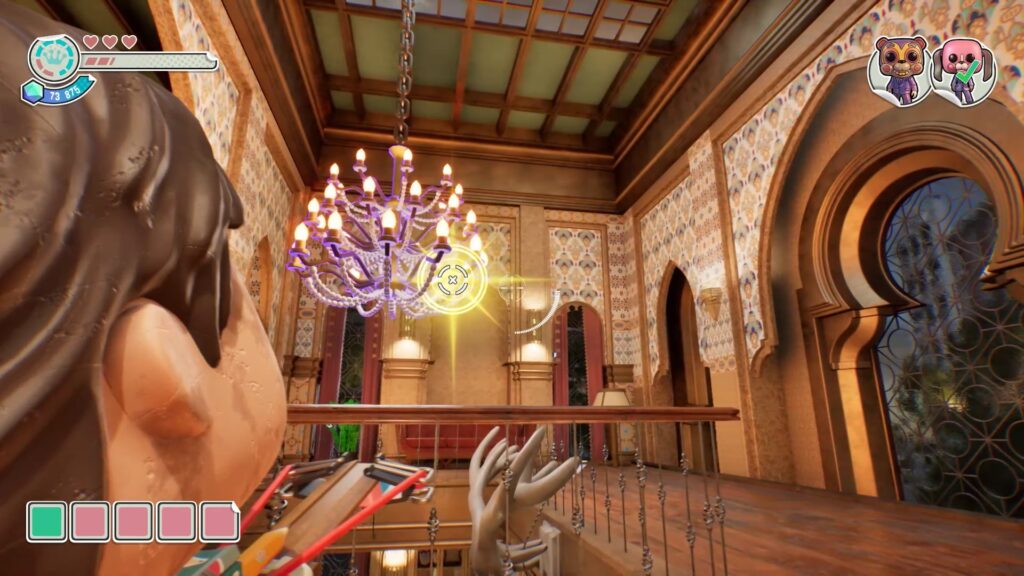
Follow him to a large living room. To defeat him in this area, make sure you play as « Number Five ». Start by attacking him to reduce his defense bar to 100% and stun him. Once stunned, he will stand under a chandelier. Position yourself on the arrows on the ground to use the character’s power and reach the first floor. From the floor, shoot the chandelier above the enemy to make him fall.
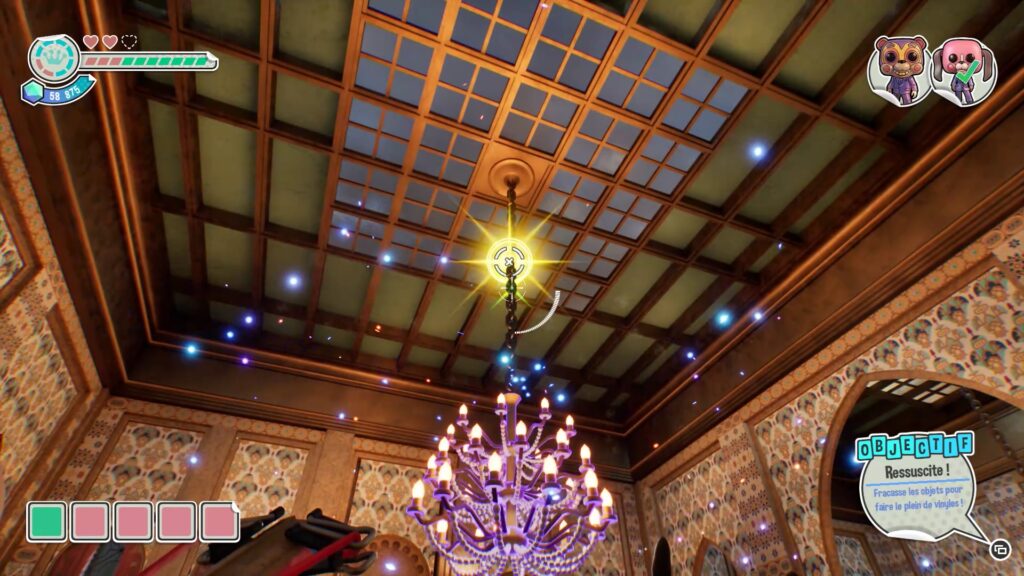
Shoot the points on the chandelier in the order shown. Once the chandelier falls, attack the enemy before repeating the entire sequence. You will need to repeat these steps multiple times to defeat him. Once defeated, collect the Funko Key and open the door.
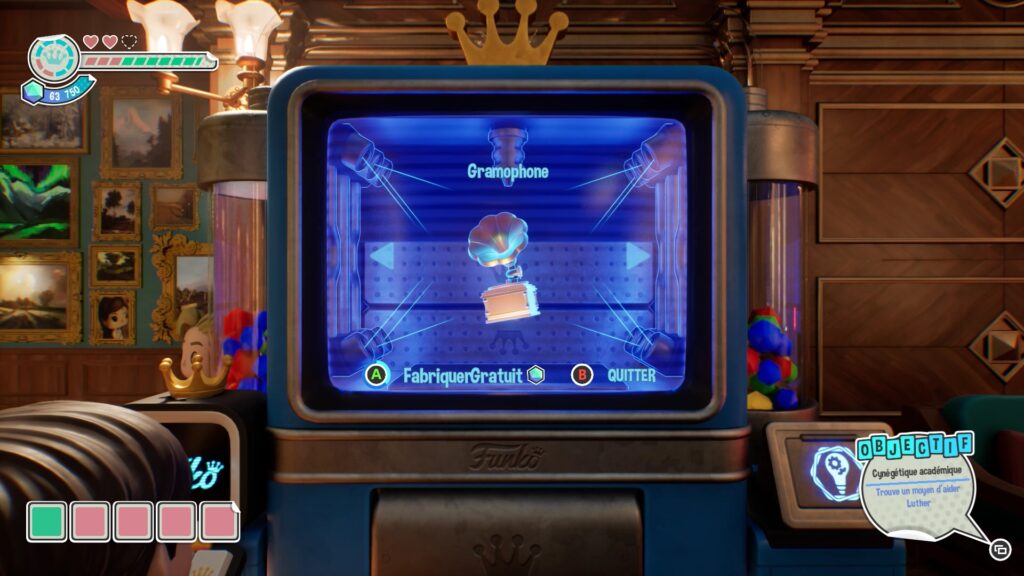
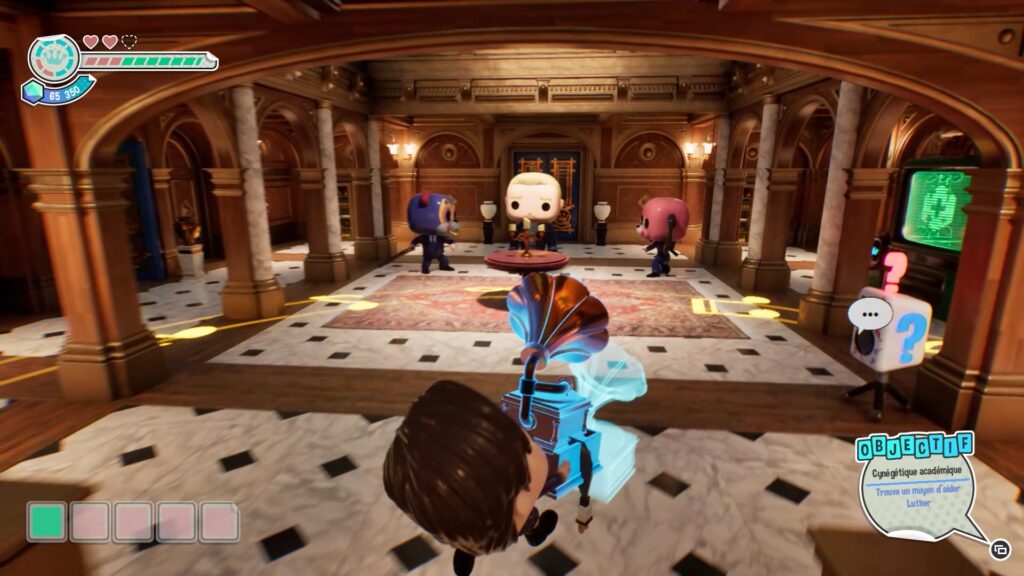
Now you have to help Luther by playing music. Create a gramophone in the creation machine. Beforehand, make sure you have found three blue chests: one in the room and others scattered around the level (near the stairs and in the kitchen). Place the gramophone near the characters to complete the level.
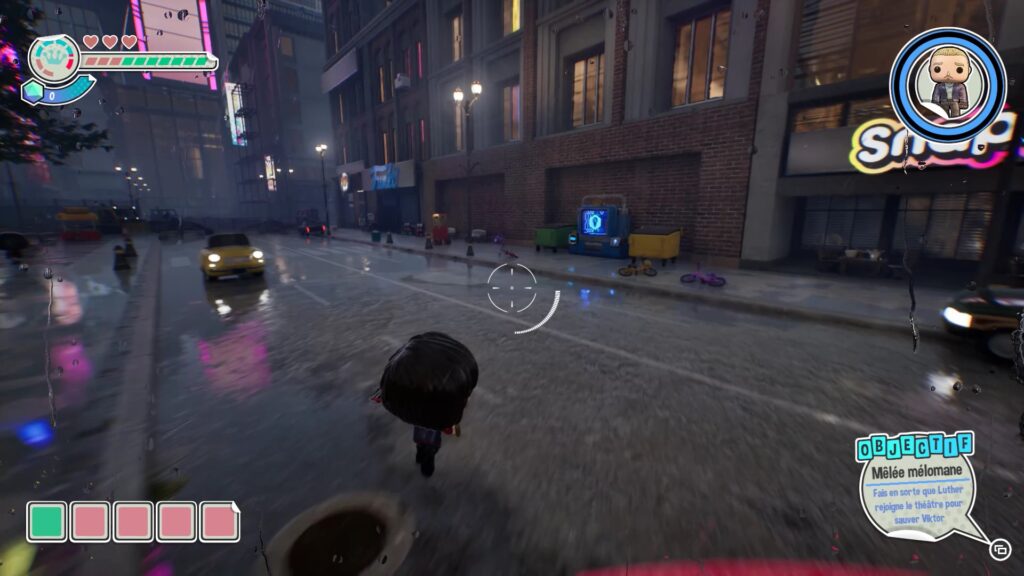
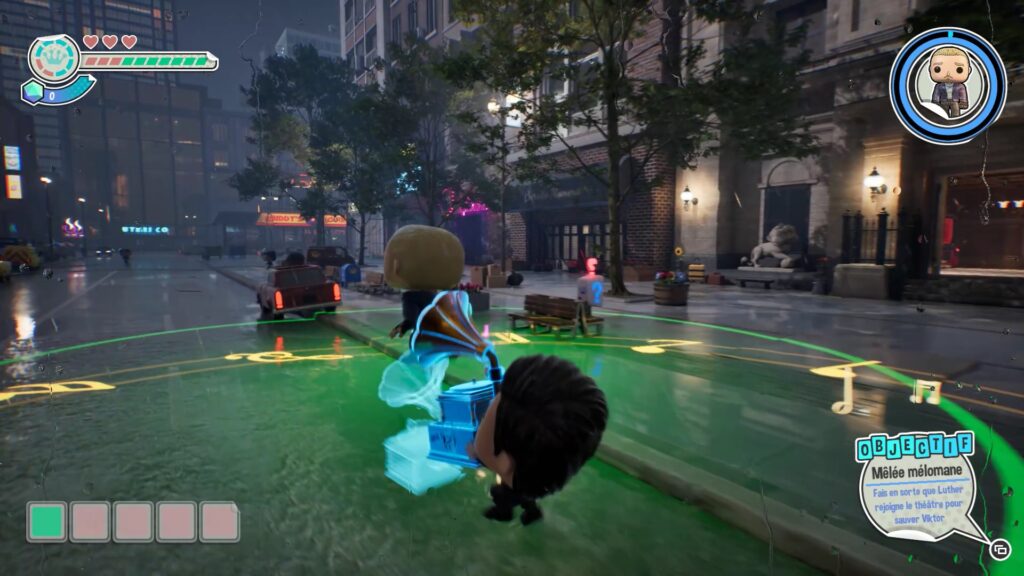
In this new chapter, create a gramophone and take it to Luther to make him move forward. You must escort him using music. Move forward until you reach a body of water that blocks your path.
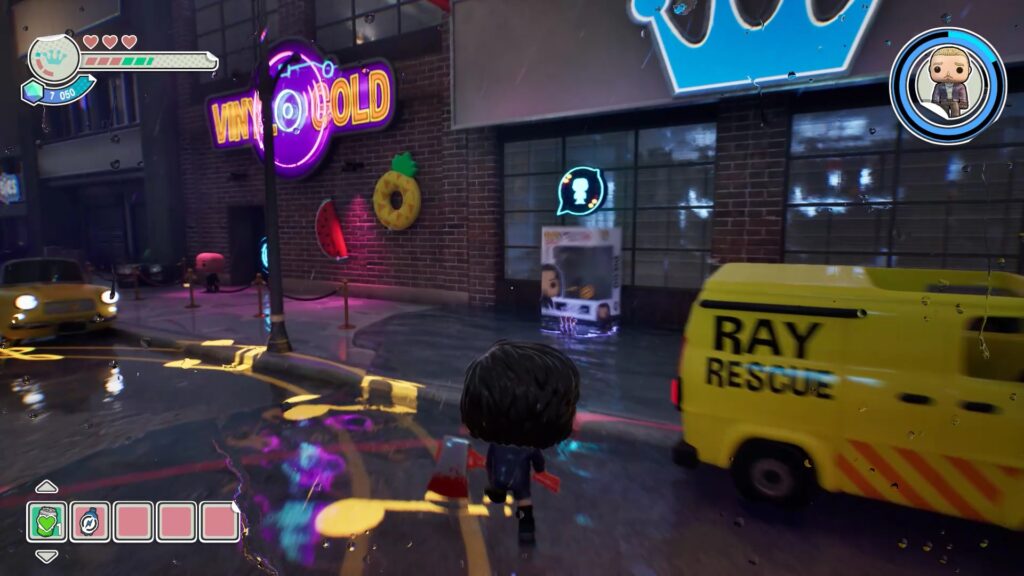
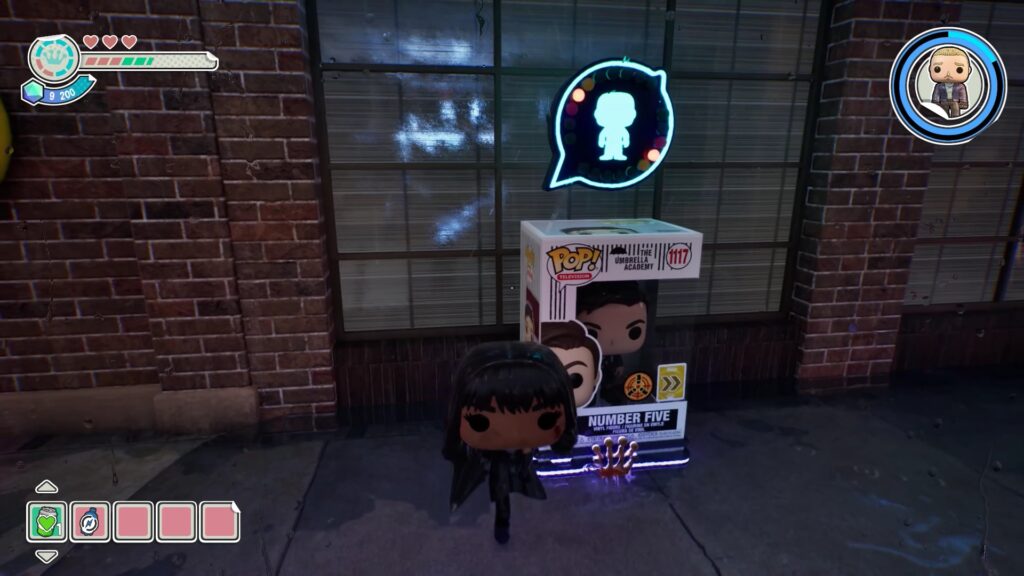
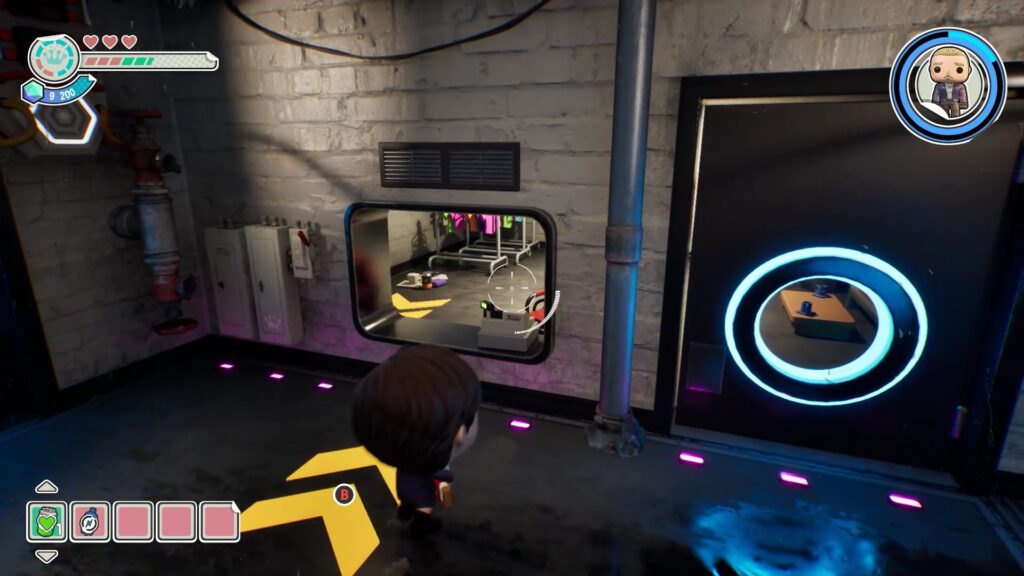
You need to find a crank to cut off the water in the pipes and be able to move forward. Use Alison’s character to talk to the bouncer in the « Vinyl Gold » room so that he lets you in. Then, change to « Number Five » and enter again. Position yourself on the arrow to use the character’s power and reach the room in front of you.
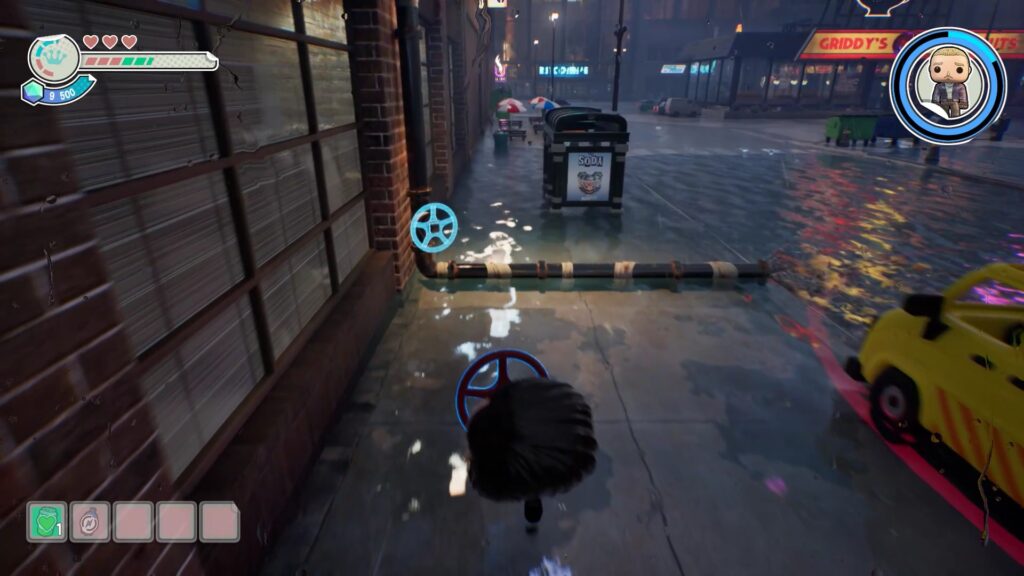
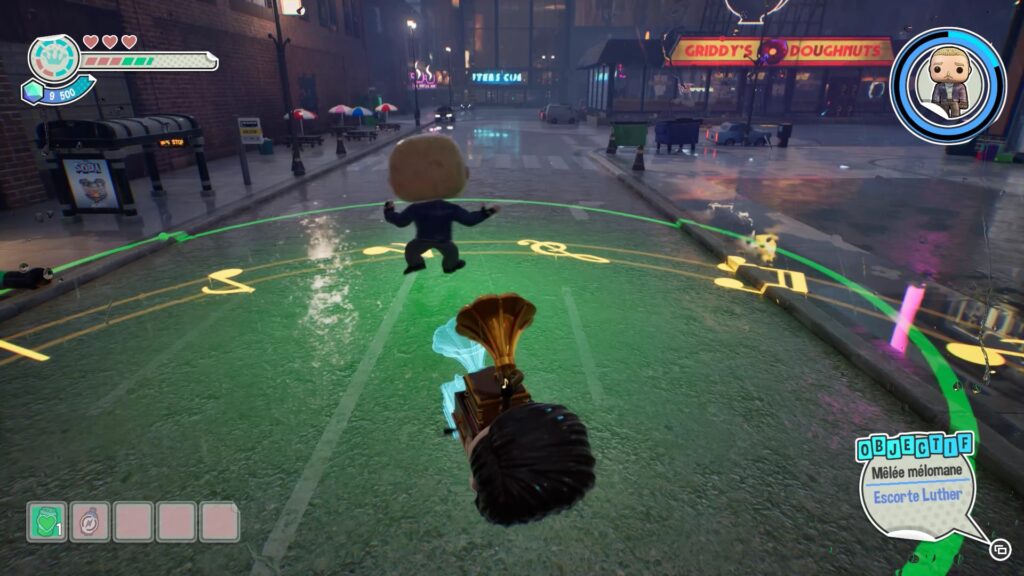
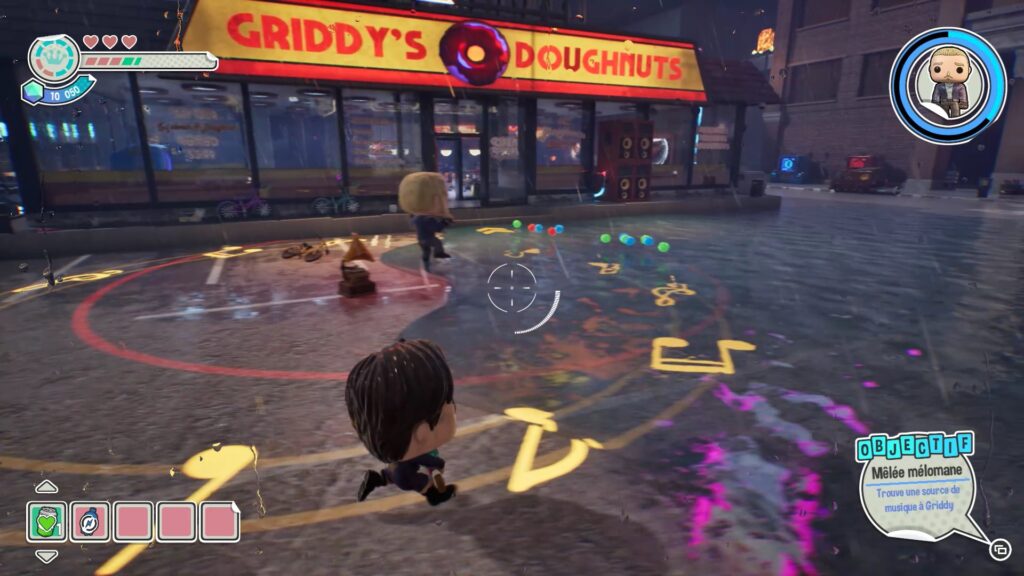
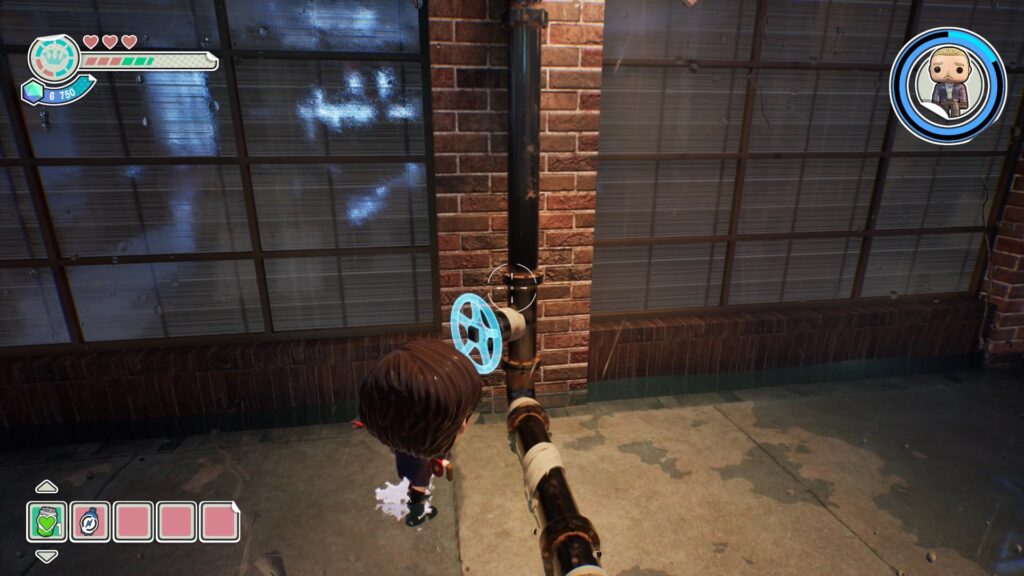
Pick up the crank on the pipes and break the padlock on the door to return to the street. Place the crank in its place to continue moving forward with Luther. Pick up the gramophone and escort him. You are now blocked by water again at the « Griddy’s Doughnuts » restaurant.


As the character « Number Five », stand on the arrow on the ground at the entrance to the restaurant. Use the power to enter the restaurant. Go to the back room and hit the crates to reveal a safe. Hit the safe to get a token. Then, place the token in the coin machine on the jukebox at the entrance to the restaurant.
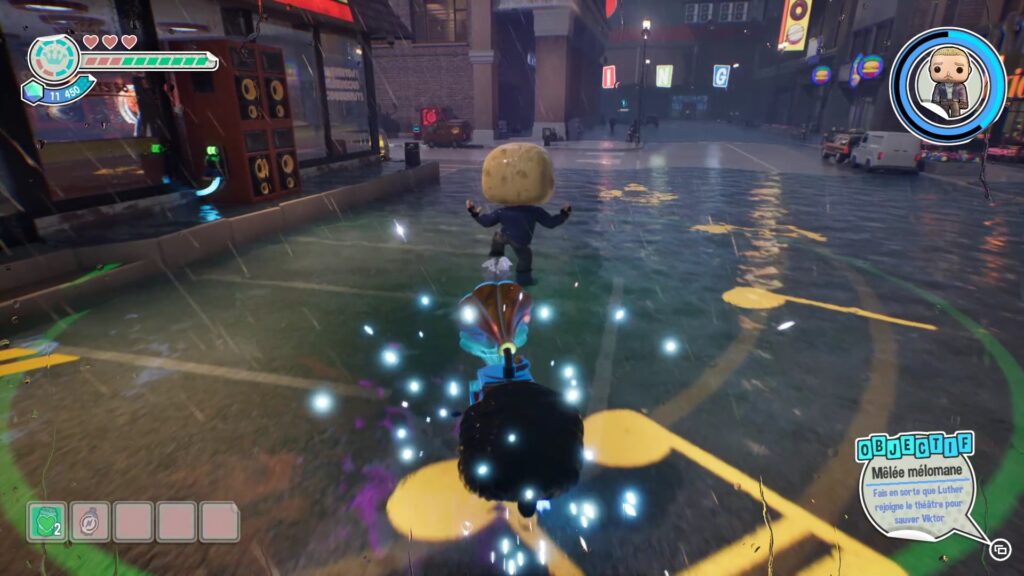
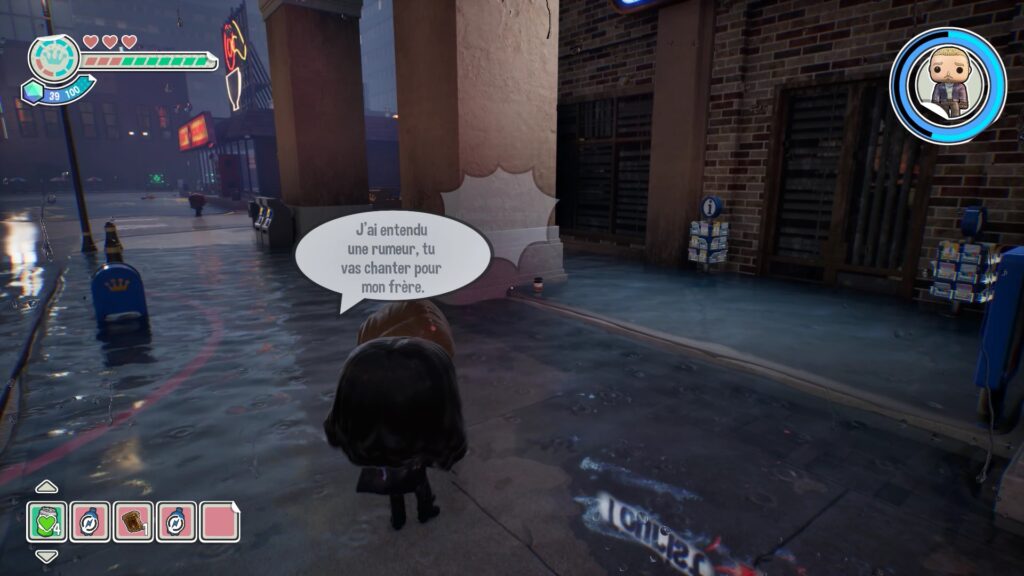
Exit the restaurant and activate the lever on the speaker near the front door. By turning on the music, you can move forward again. Pick up your gramophone and continue escorting Luther. Once blocked by water again, use the character « Alison » to convince the sad person near Luther to sing. This will allow Luther to move forward. Continue your journey before being blocked by fire.
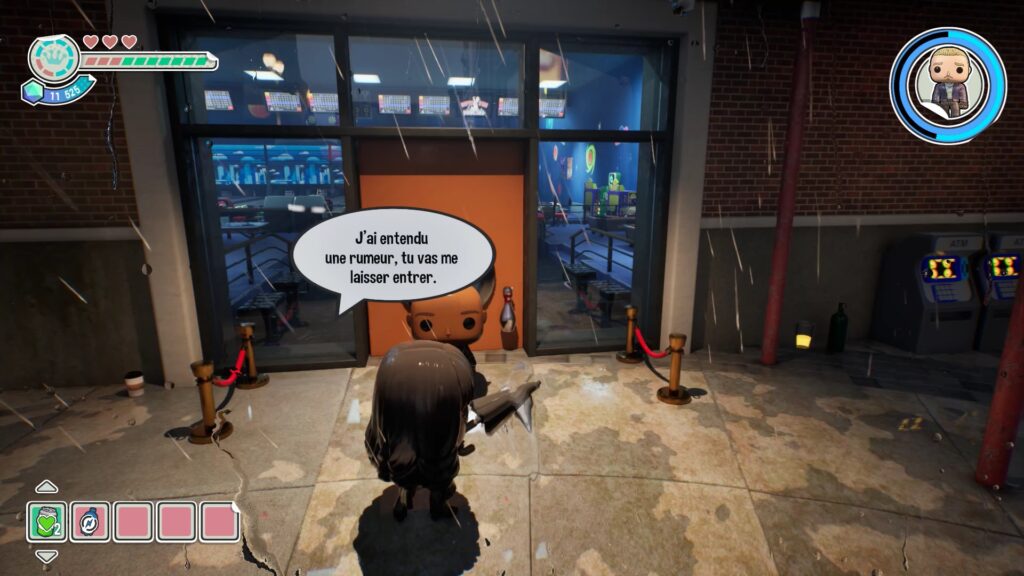
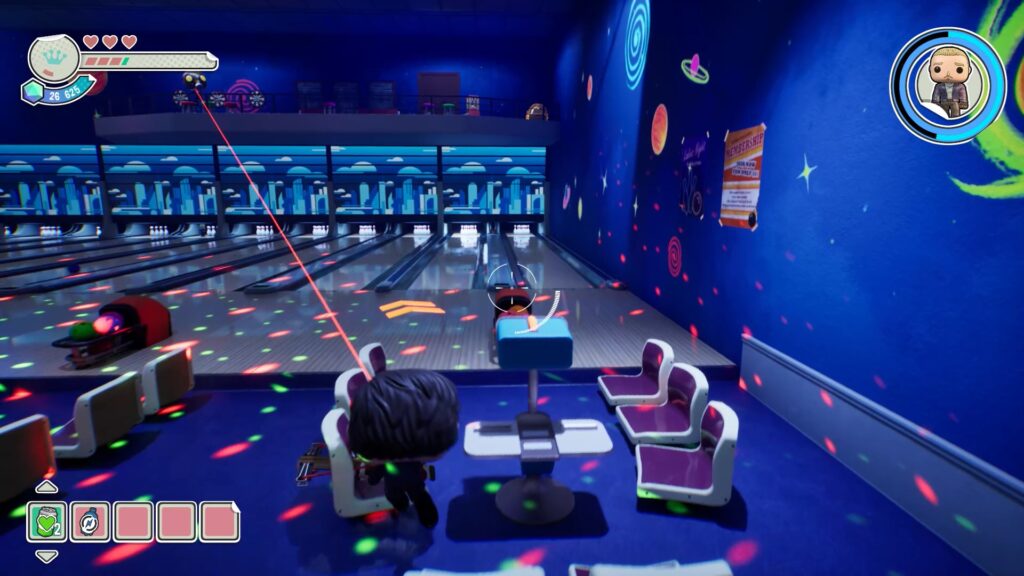
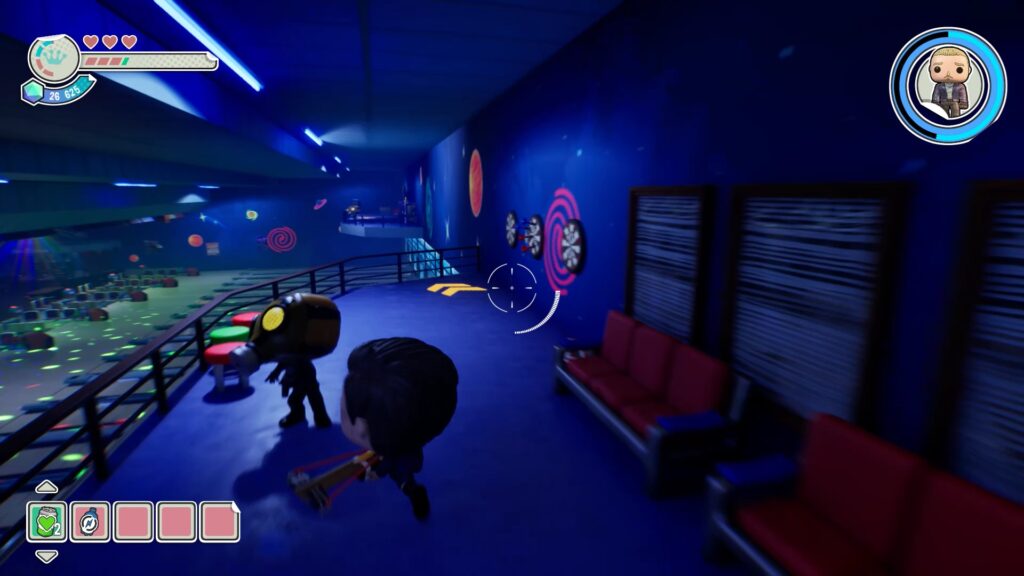
Enter the bowling alley as Alison, then switch to « Number Five ». In the bowling alley, head to the first lane at the entrance. Stand on the arrow on the ground and use your power to reach the platform above. Then, use the arrow on that platform to reach the second platform in front of you.
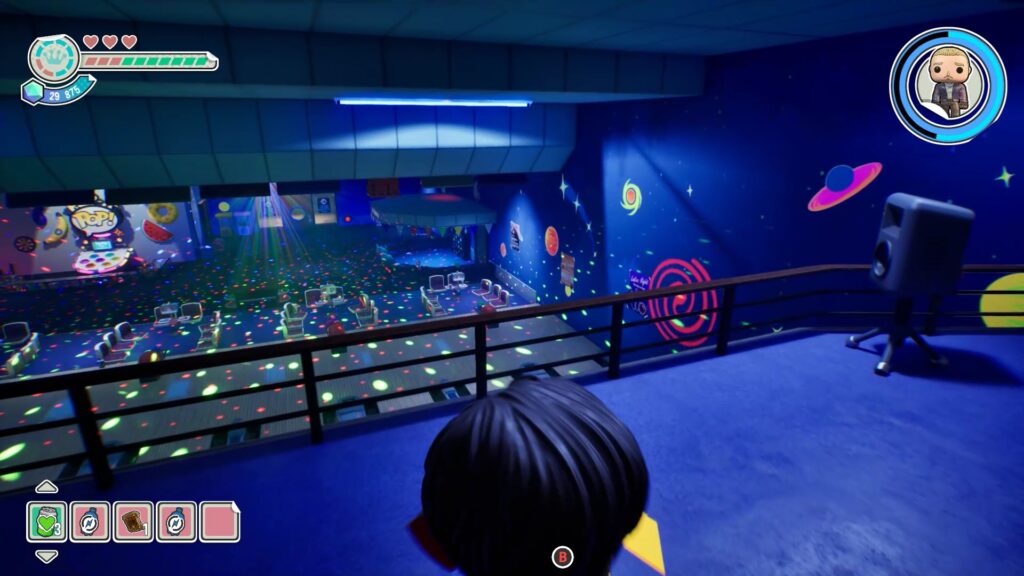
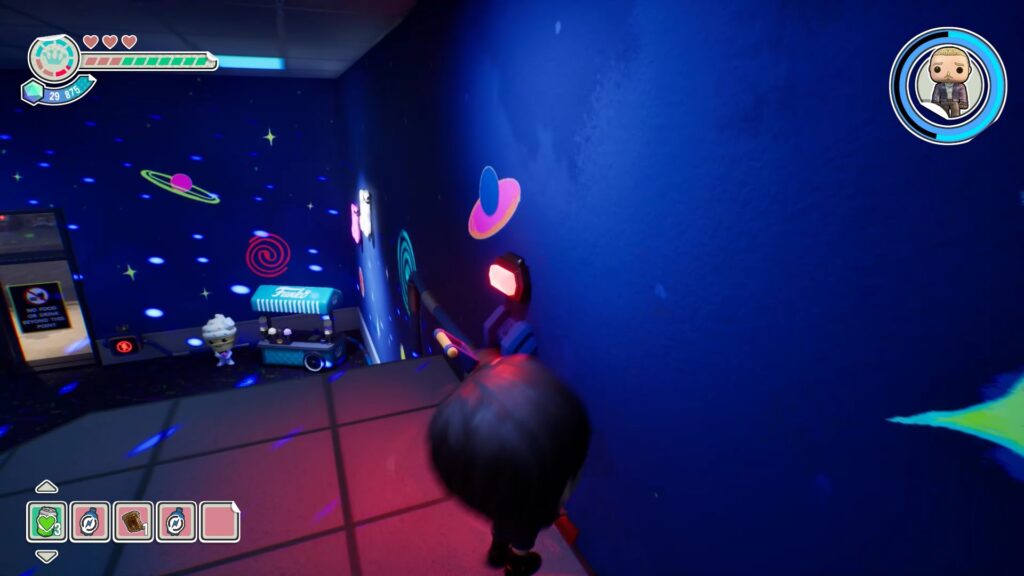
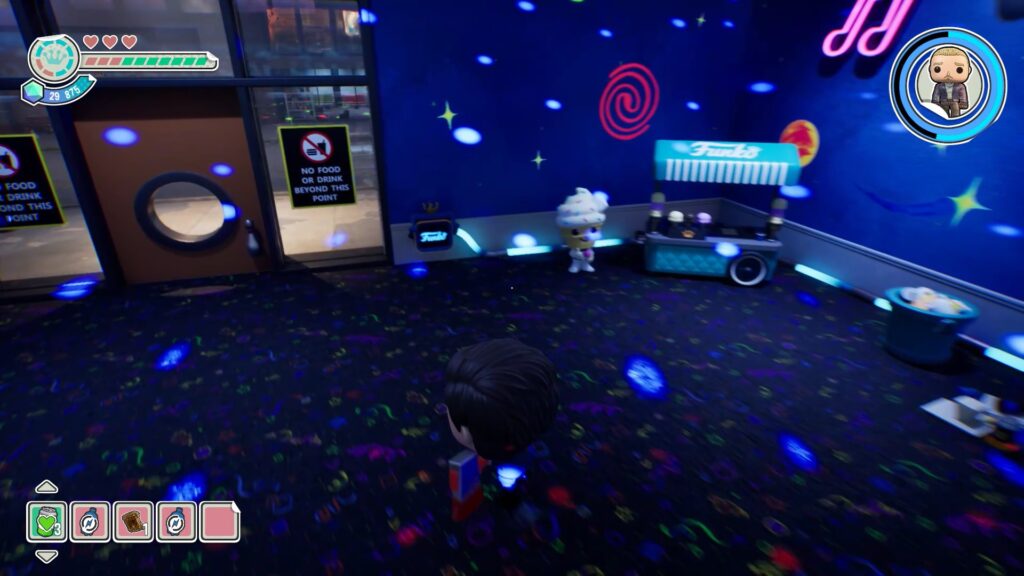
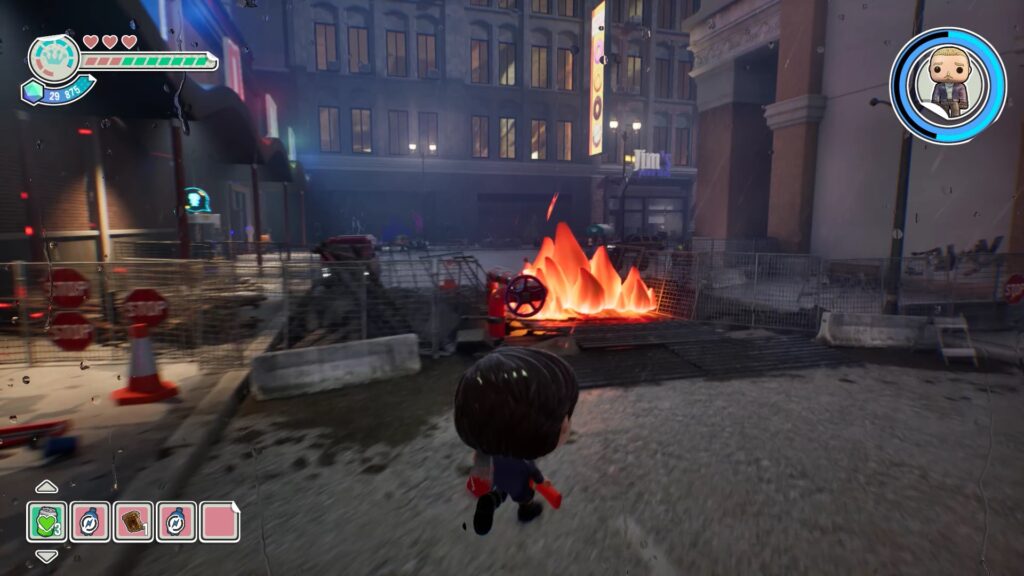
From the second platform, head back up the arrow to reach a lower platform with a lever. Activate the lever to power the exit door. Then, exit the bowling alley to reach the valve to extinguish the flames blocking the way.
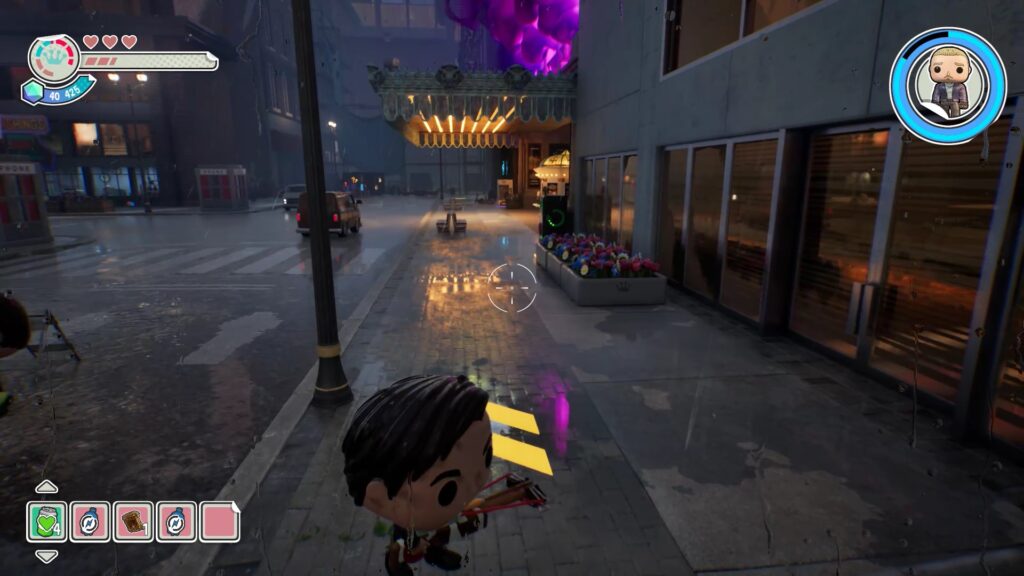
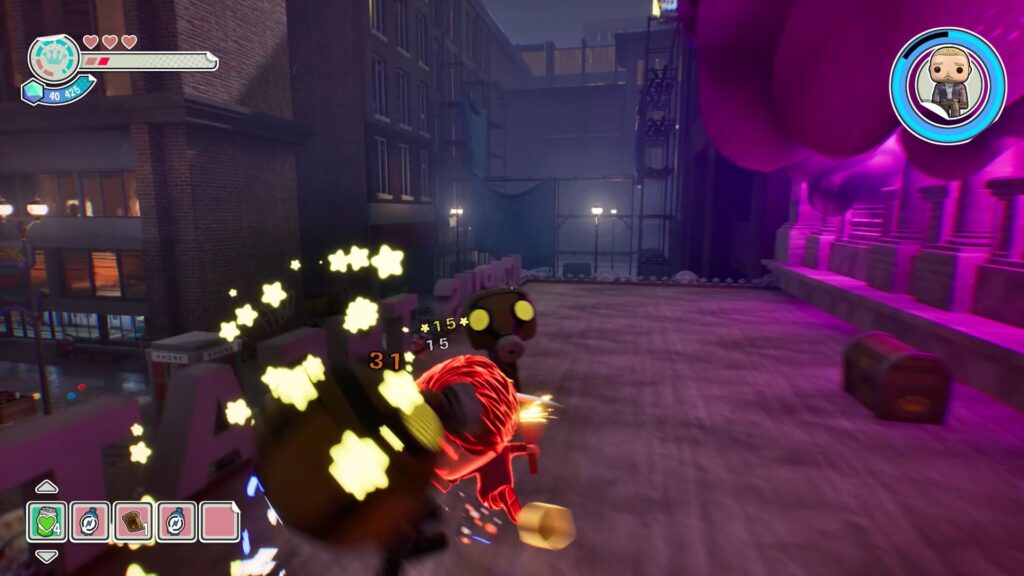
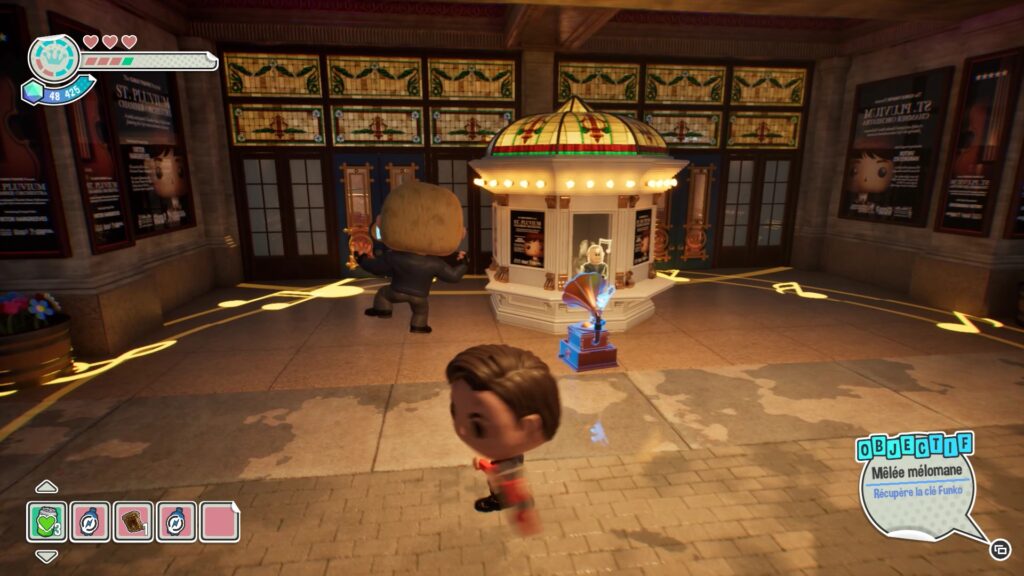
Continue escorting Luther to the theater. Clear out the enemies blocking the way. To reach the enemies on the roof of the theater, head to the sides to find arrows on the ground. Use the power of « Number Five » to reach the roof and clear out the enemies. Once the way is clear, move forward and enter the theater.
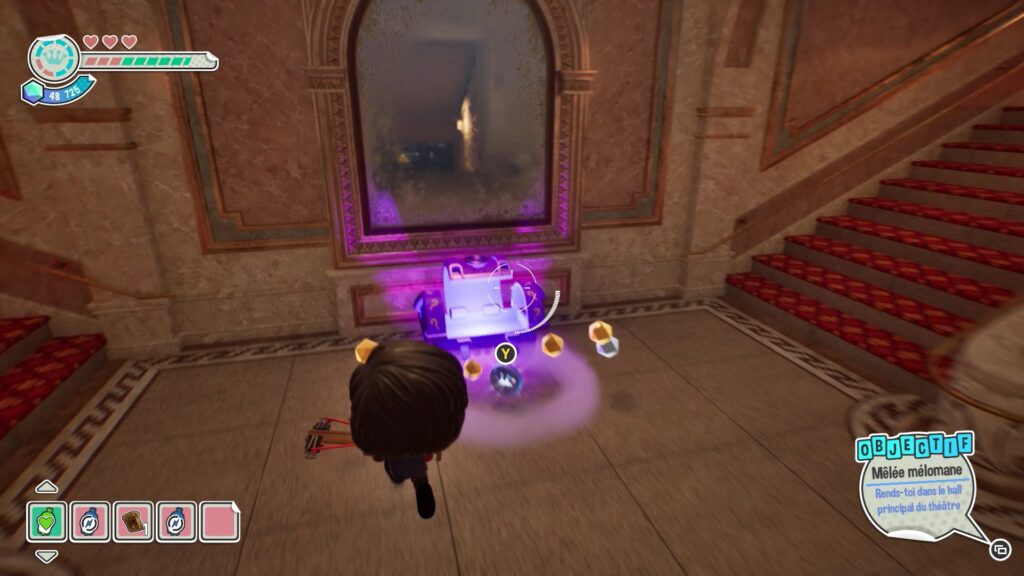
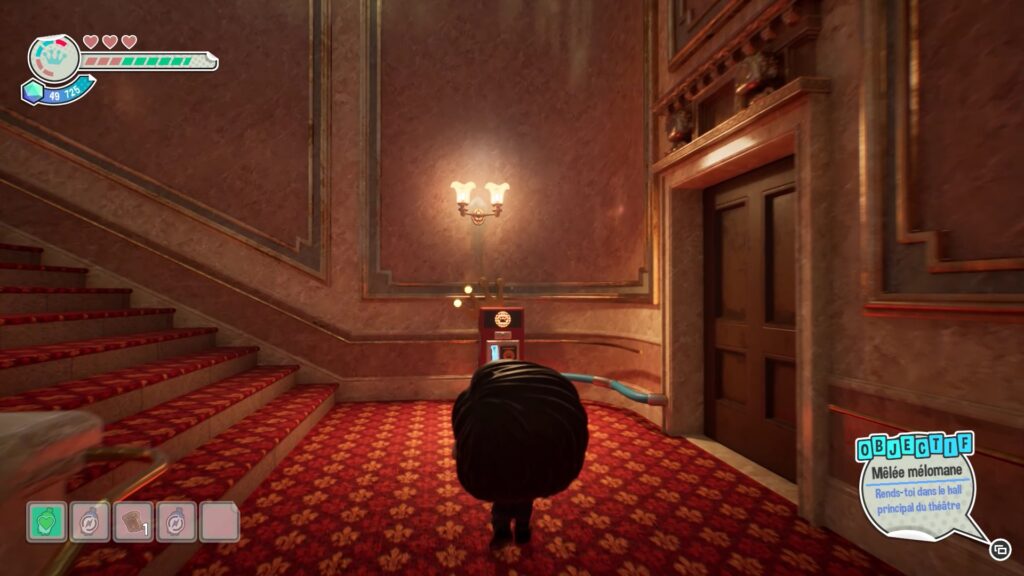
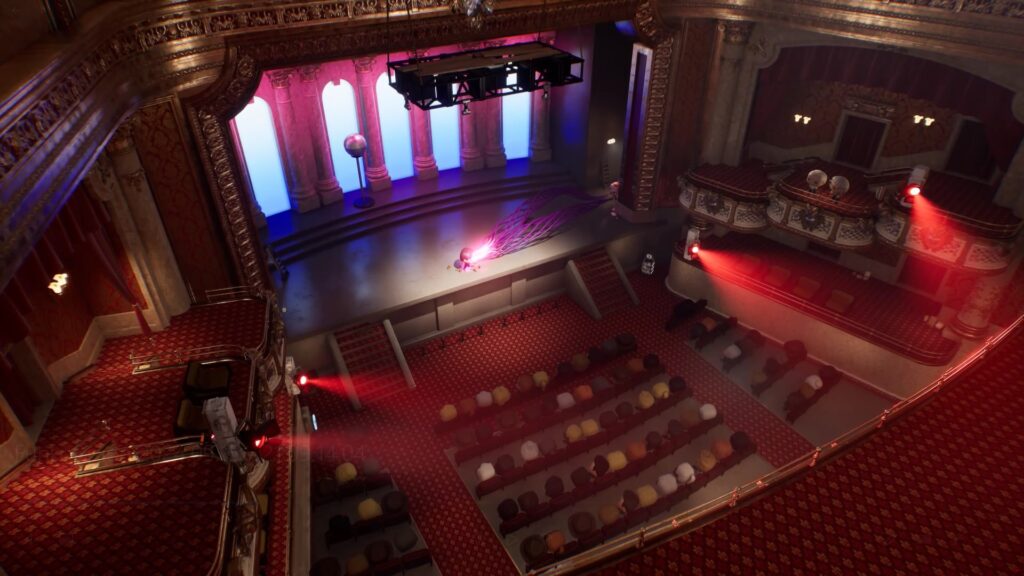
Once inside the theater, you will be faced with a locked purple chest. You must defeat all the enemies in the area to unlock the chest. Once accessible, collect a token. Place this token in the machine above the stairs to enter the theater room.
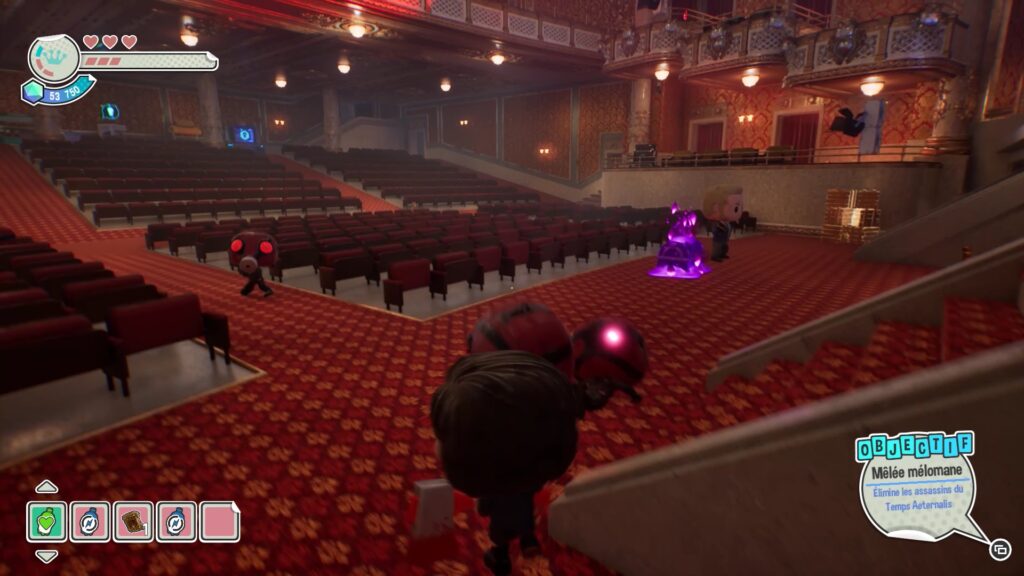
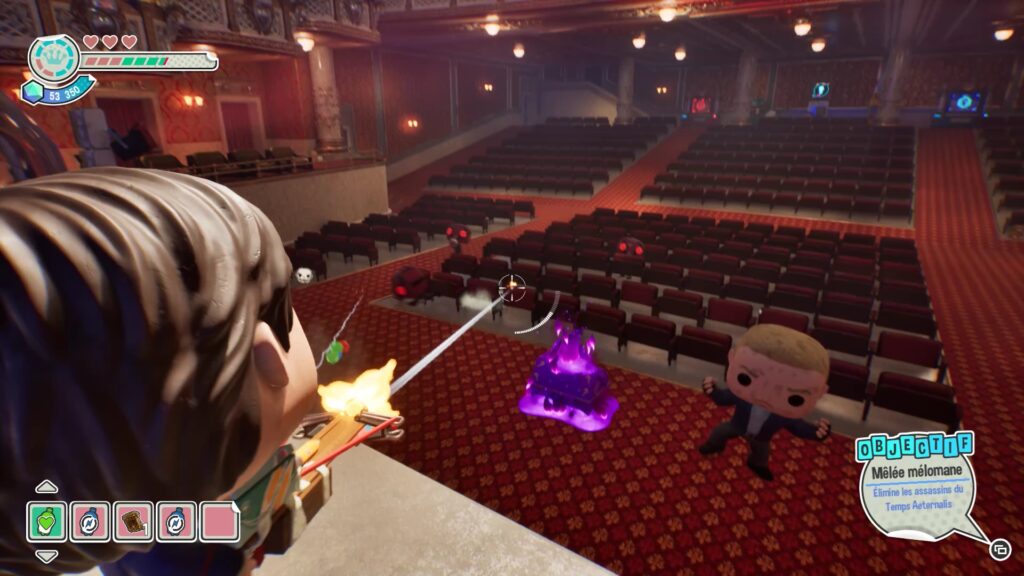
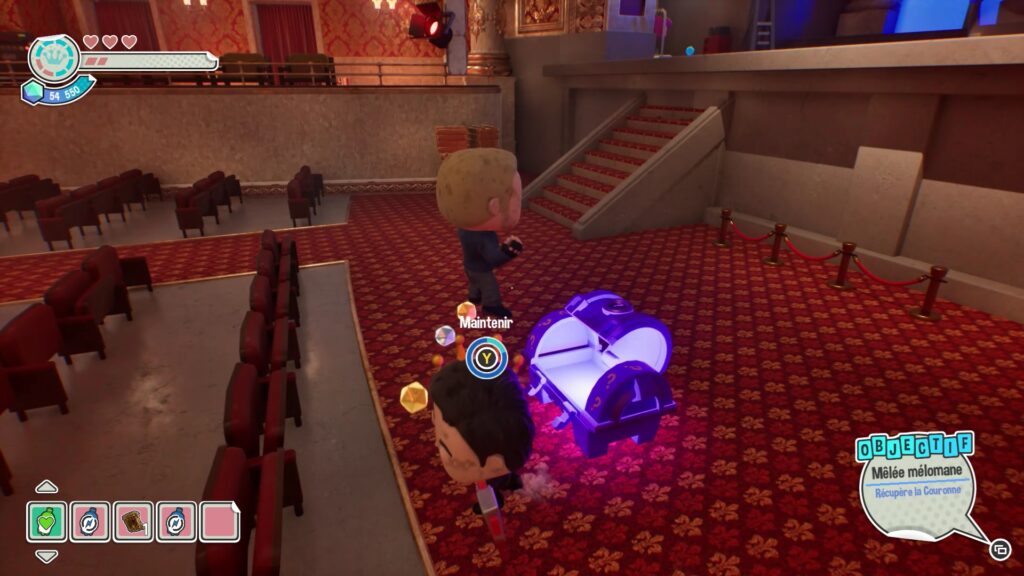
In the theater, you must defeat all the small enemies in the area. Eliminate the horde of assassins to unlock the purple chest. Once unlocked, collect the crown to complete the level.
Commission mission Funko Fusion
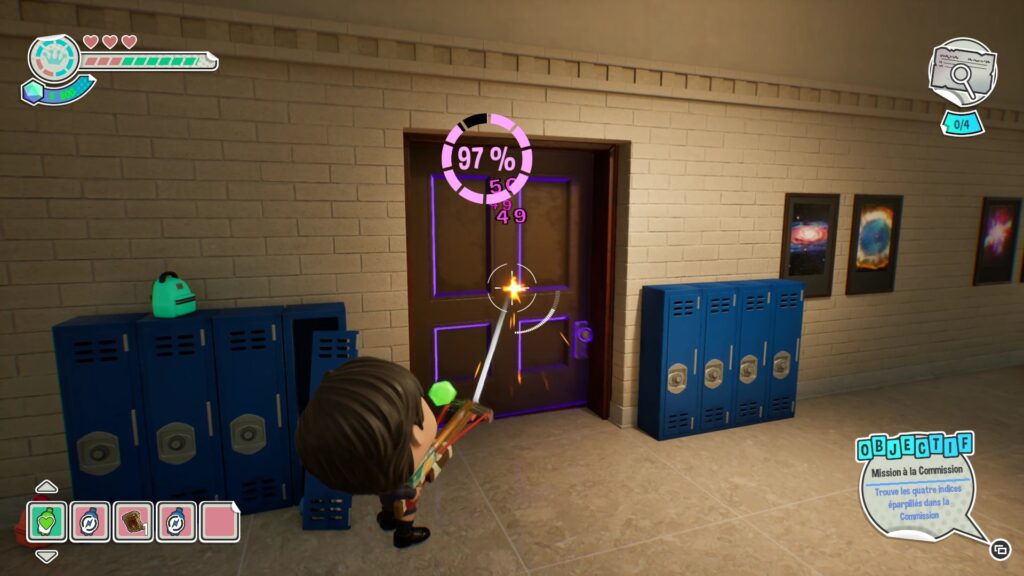
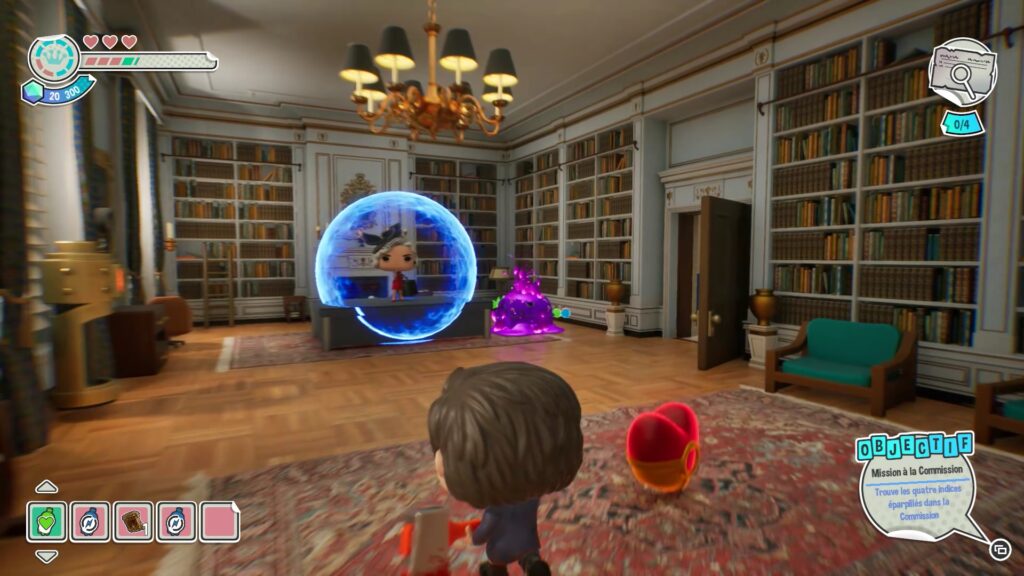
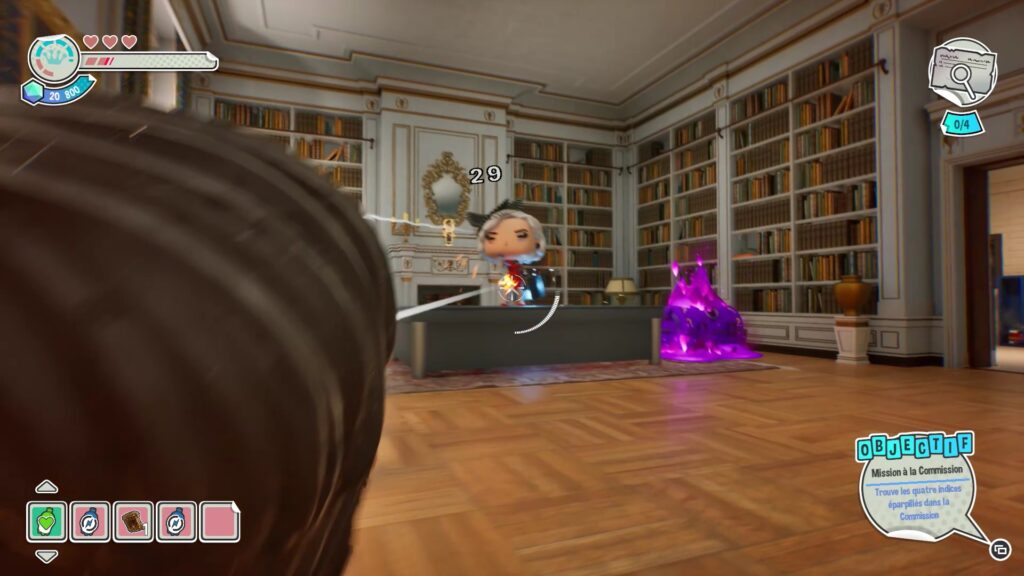
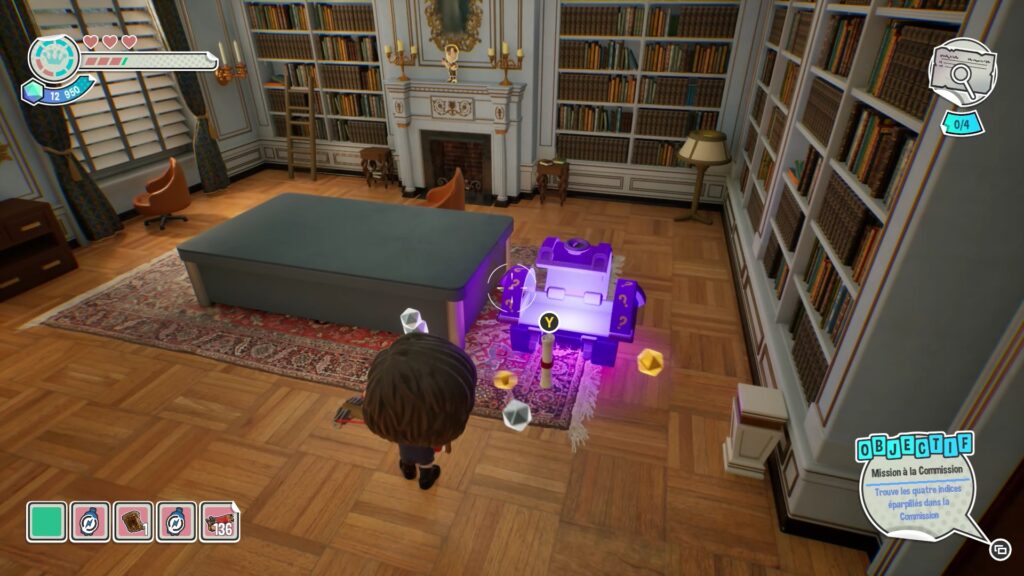
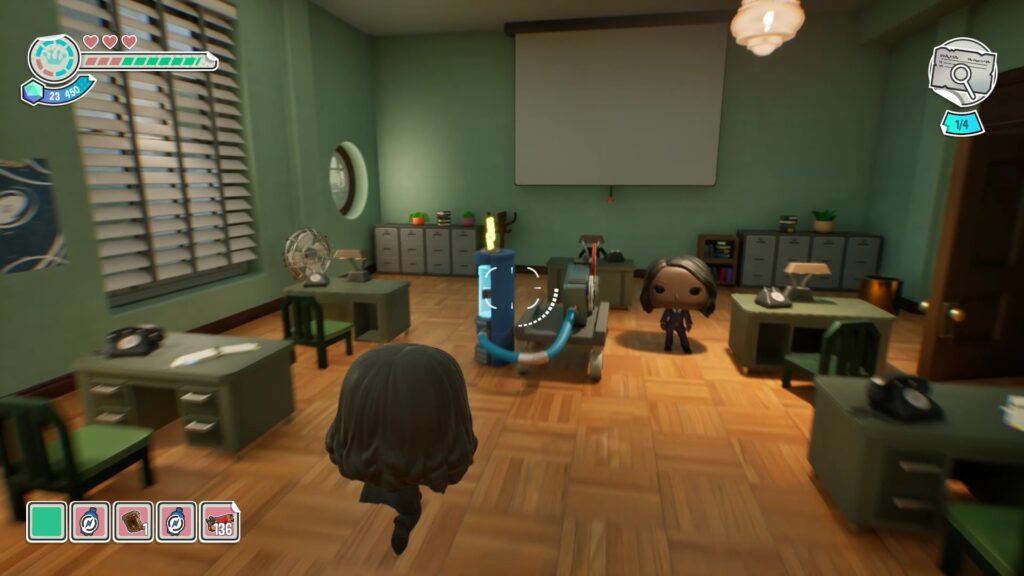
You now need to find four clues in the commission to move forward. Head left to a purple door. Shoot it to open it and face an enemy on a desk. As long as she has her protection field, you can’t reach her. Wait for her to remove it, dodge her blow, then attack her to defeat her and unlock the purple chest. The first clue is in this chest.
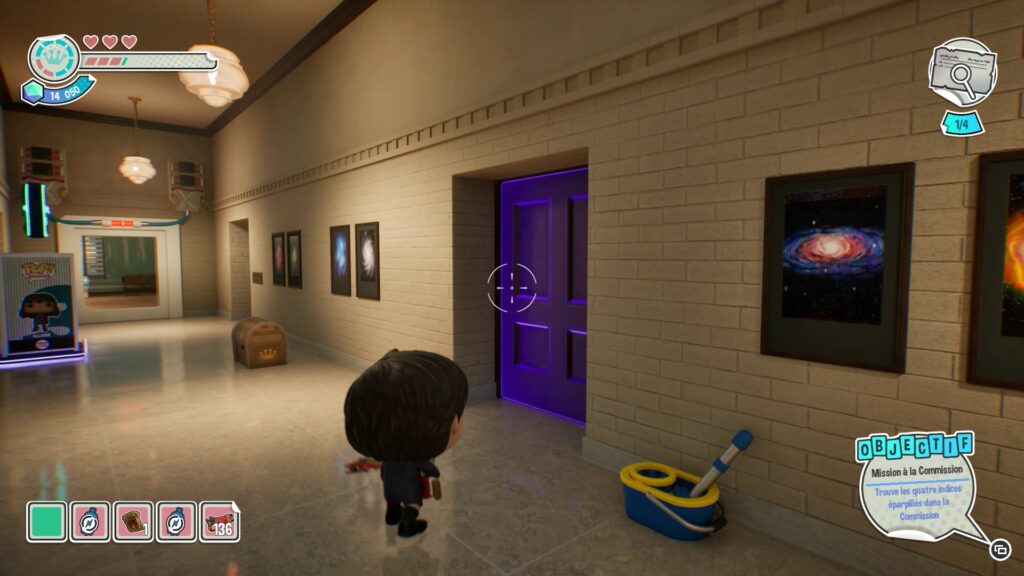
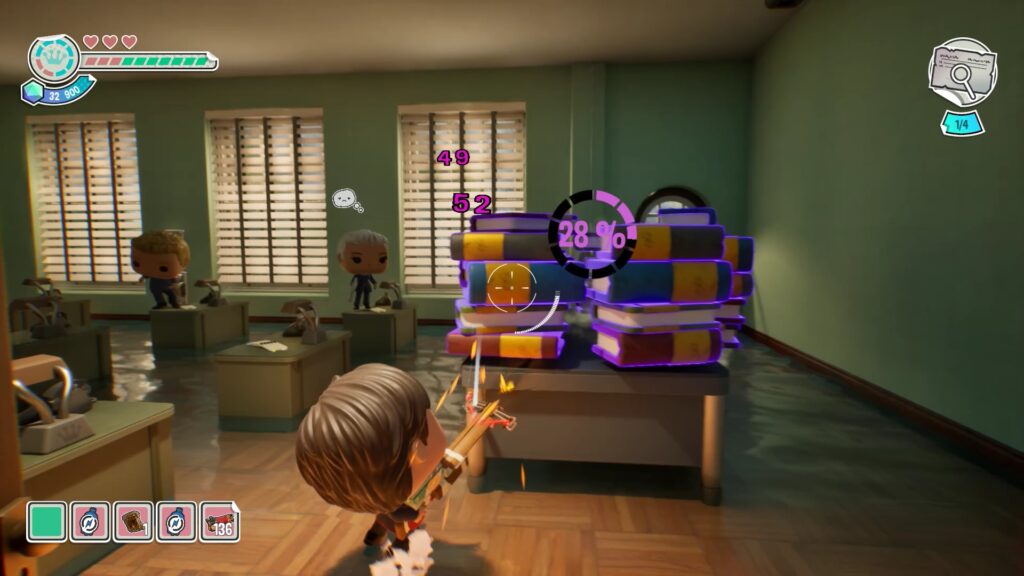
Now head upstairs and go left. Enter the room on the right through the purple door. Use your weapon to break the door, then enter the classroom. You need to retrieve the film reel from a character. Start by destroying the pile of books on the desk at the entrance to the room.
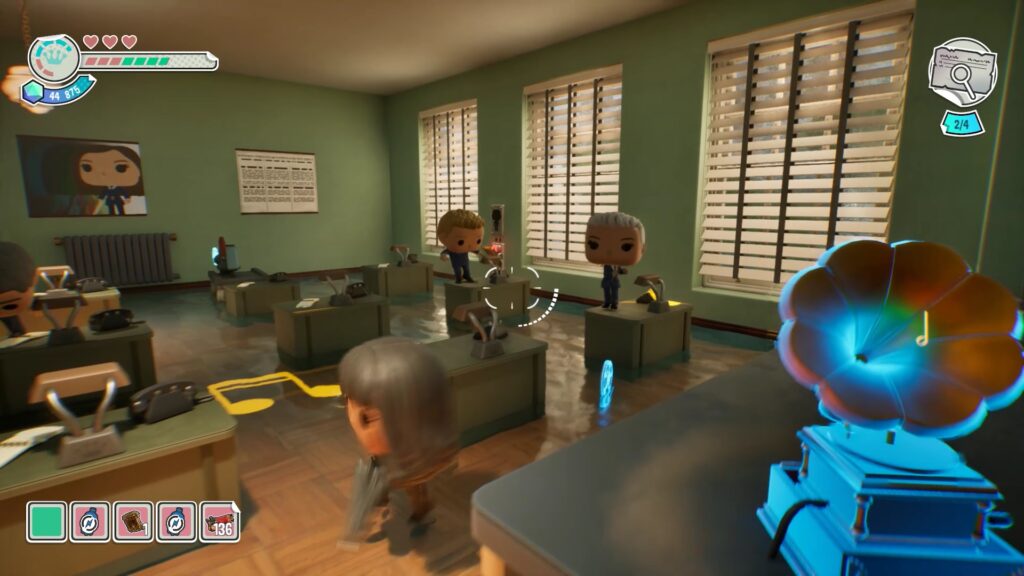
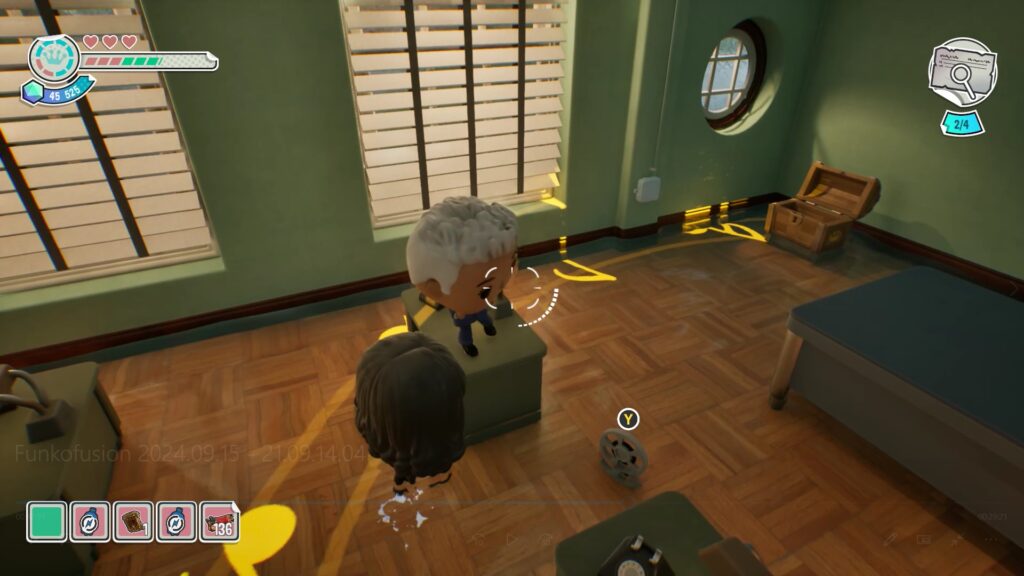
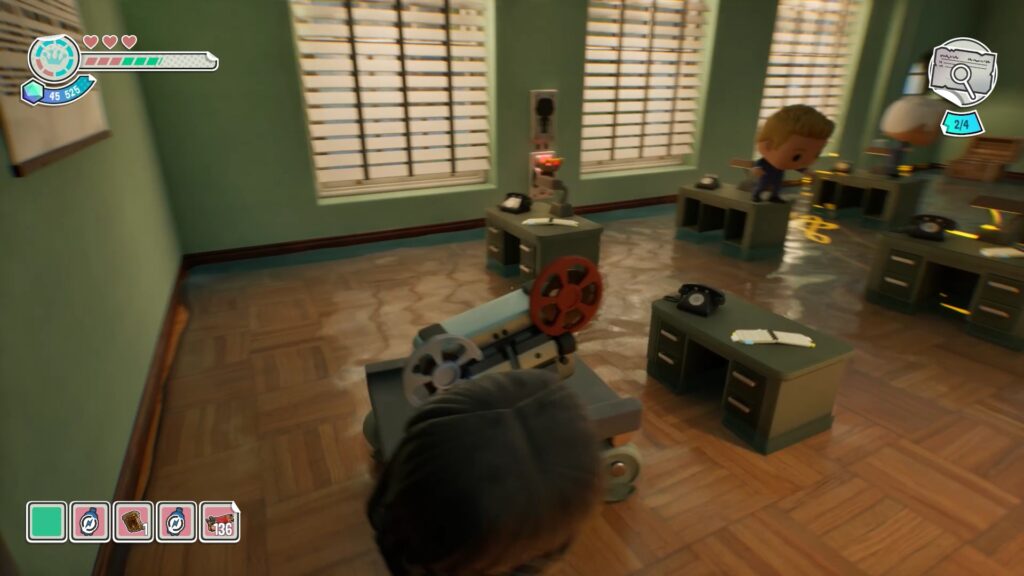
Then go create a gramophone and place it on the desk you just freed. While dancing, the character will drop the film reel. Pick it up and place it in the projector to get a new clue.
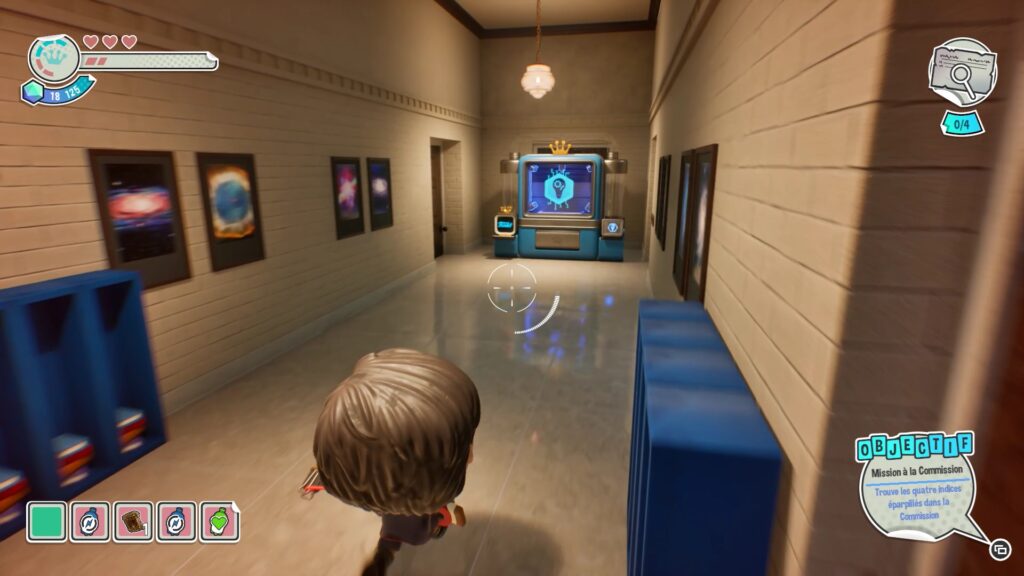
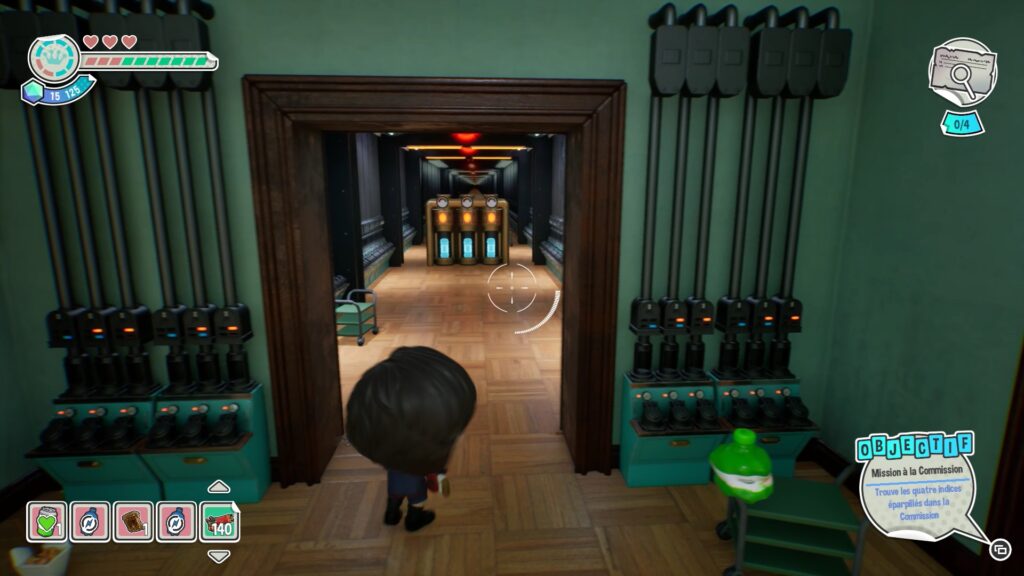
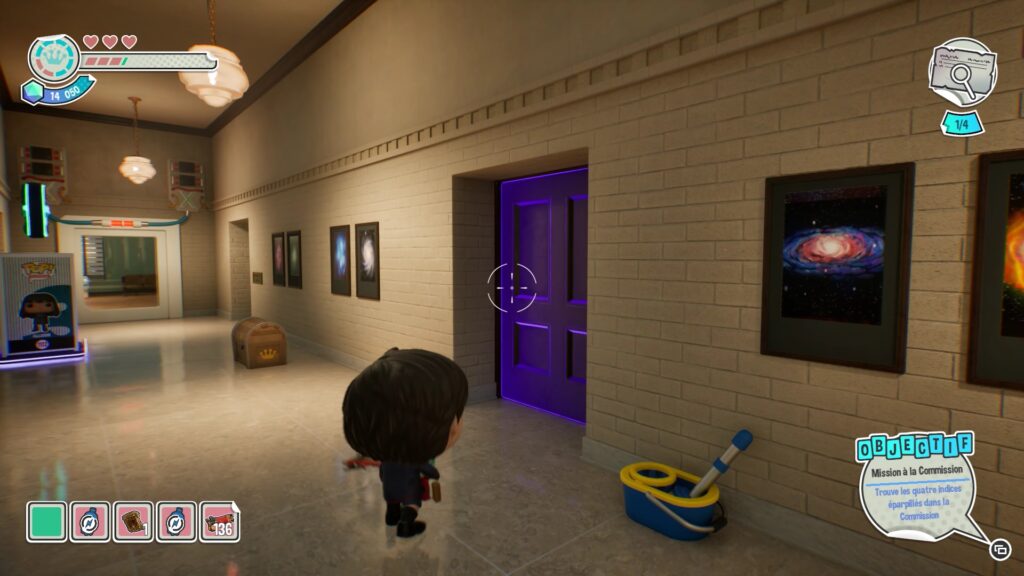
On the ground floor, go to the end of the hallway, near the blue creation machine. Enter the « Tube Room », to discover that you need to find three tubes. Next, go to the end of the hallway and enter the classroom on the right through the purple door. Shoot the door to unlock it.
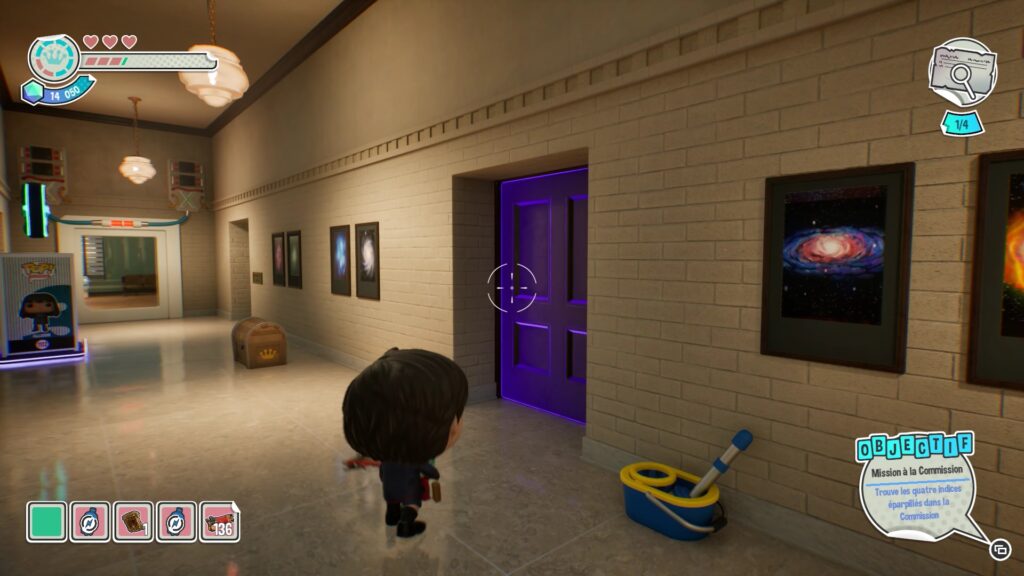
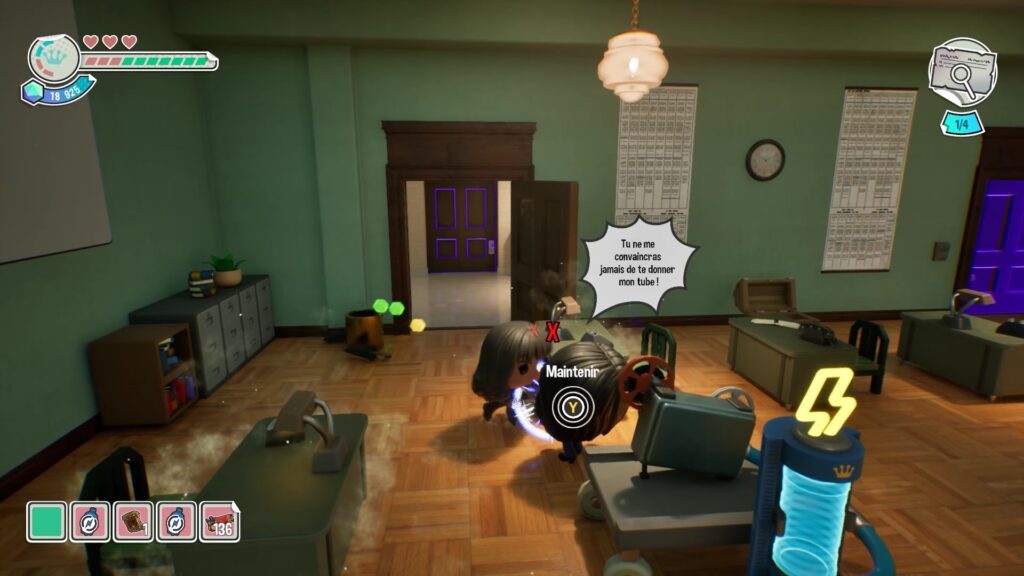
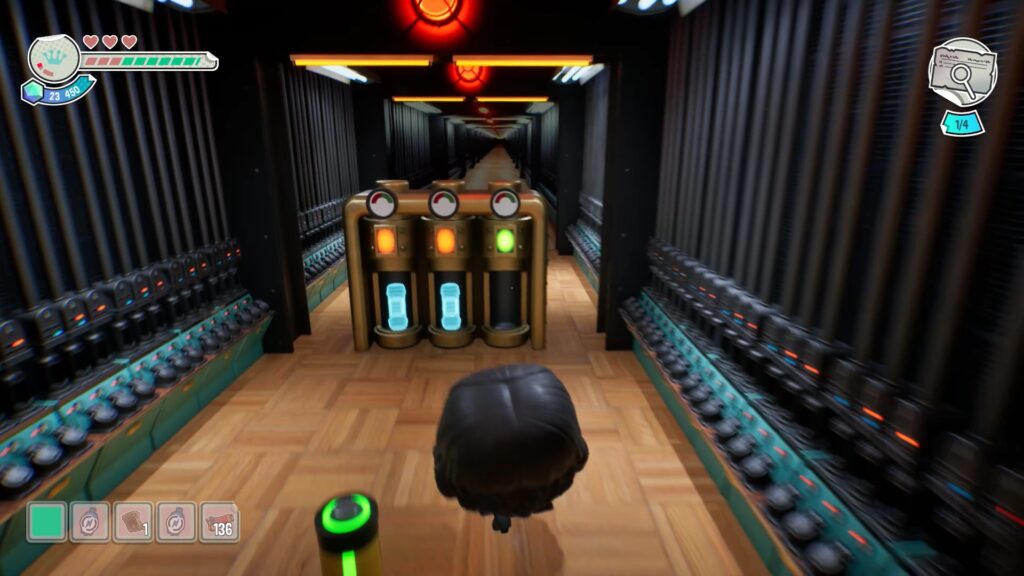
In the room, a character is holding a tube. Use Alison’s character to convince him to give it to you. Attack him, then talk to him to get the tube. Once you have it, drop it in the « Tube Room ».
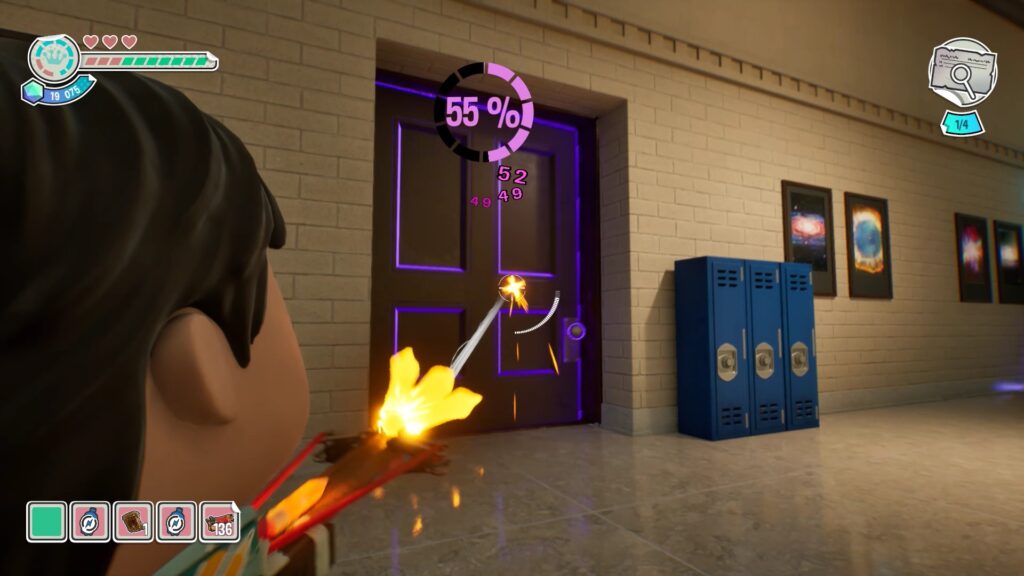
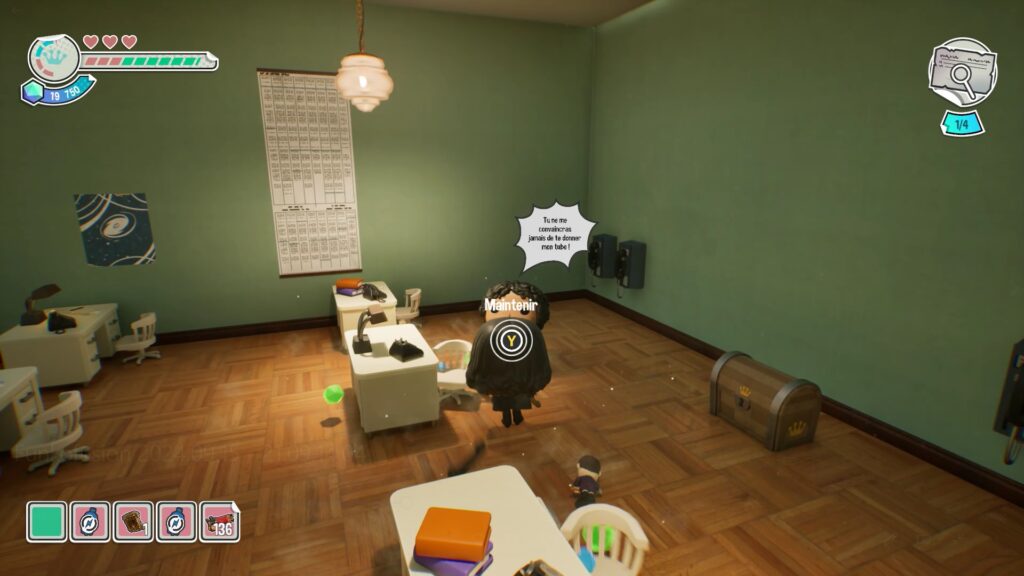
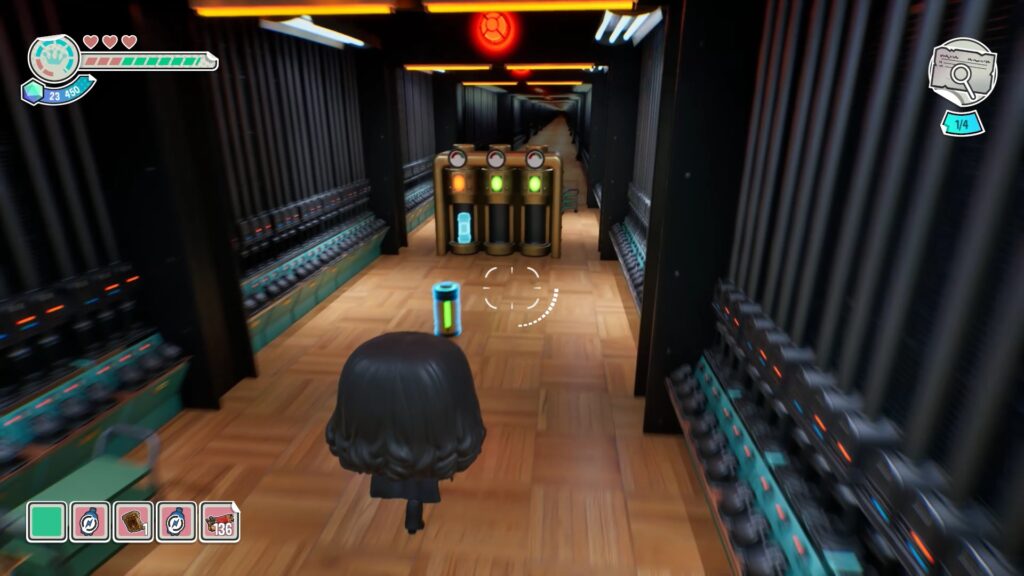
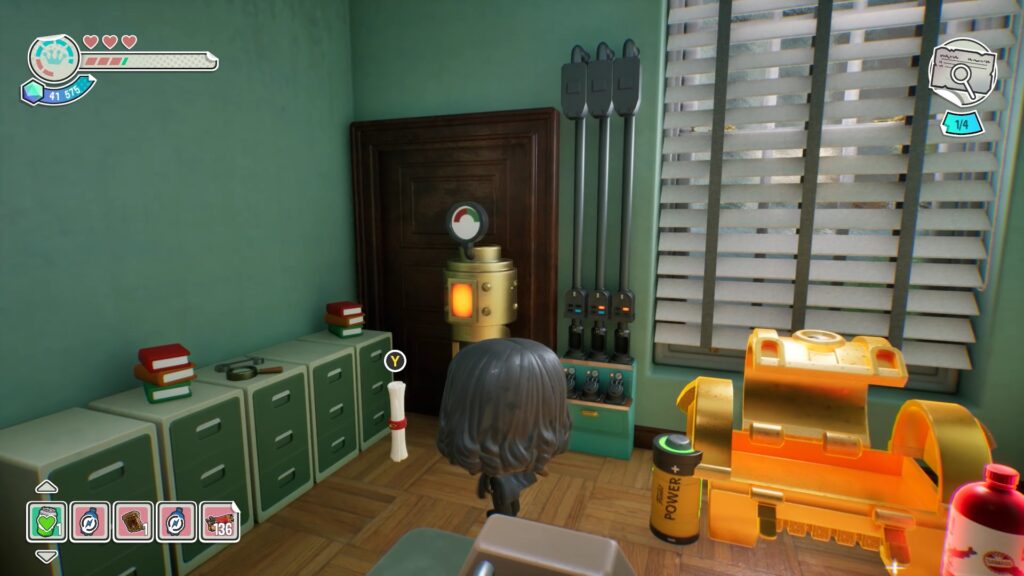
Enter the left room on the ground floor. Use Alison’s character to convince one of the characters to give you the tube. Attack him, then talk to him to get the tube and place it in the « Tube Room ». Repeat this process in the room where you got the second clue. In the room with the projector, a character is holding a tube. Once all the tubes are installed in their receptacles, go to the office to get the new clue.
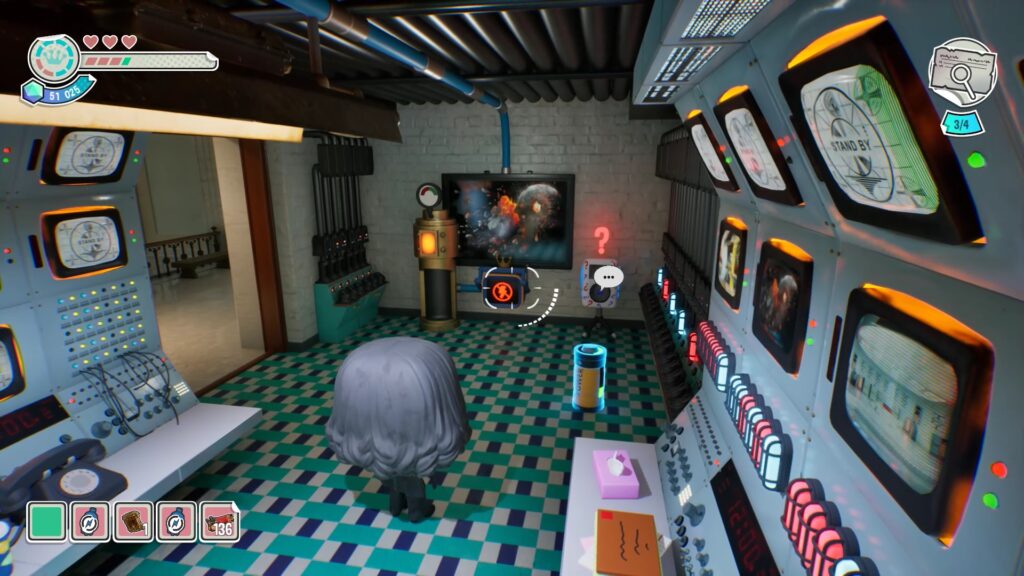
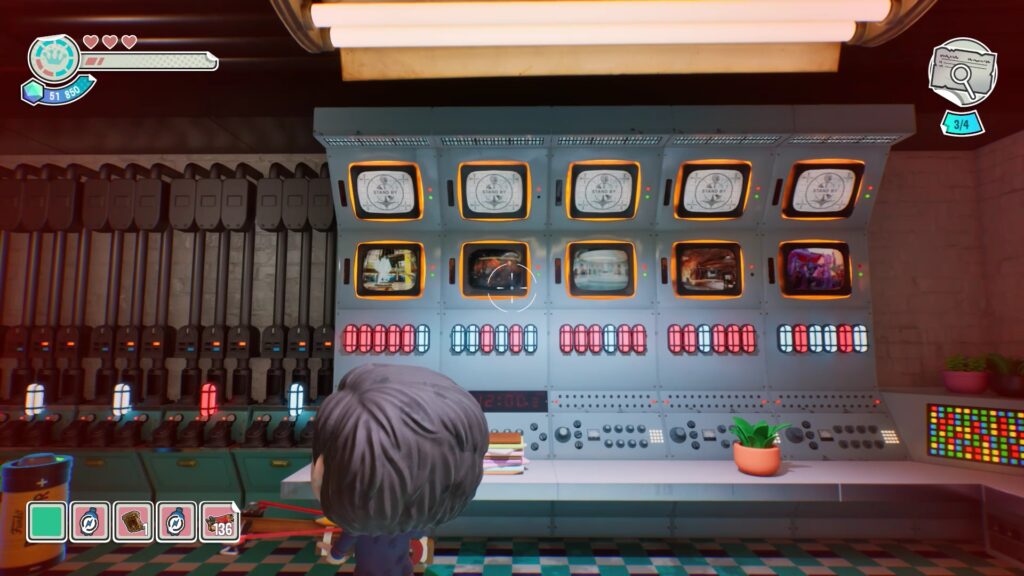
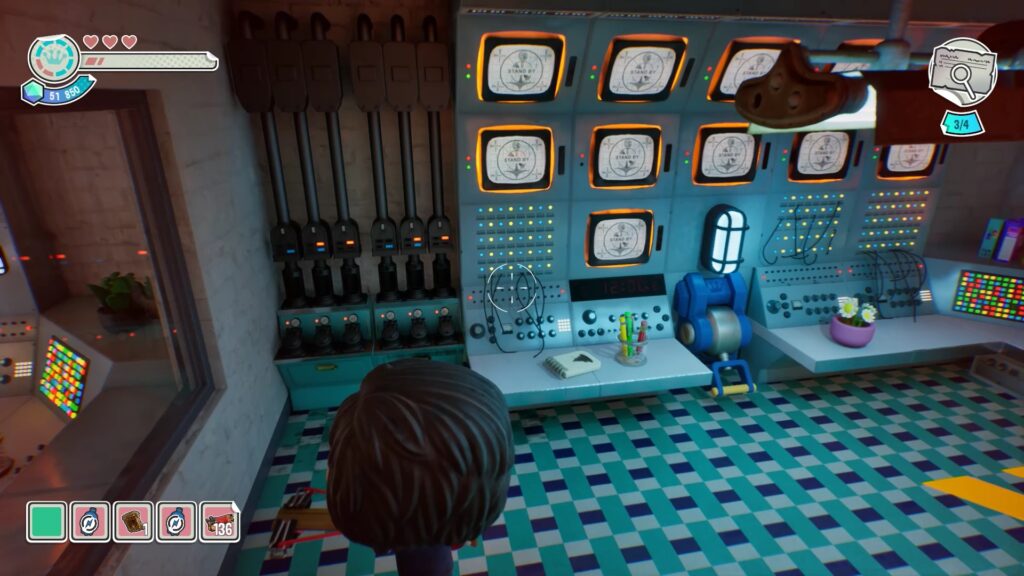
Switch characters to « Number Five » and head up the stairs. Enter the room in front of you. Inside, you’ll find a console with multiple screens. Look at the large screen showing an exploding moon. Then locate the screen with the same image and watch the sequence of lights turning on: On-On-Off-On-Off. Use the character’s power to access each room and activate the levers in this order.
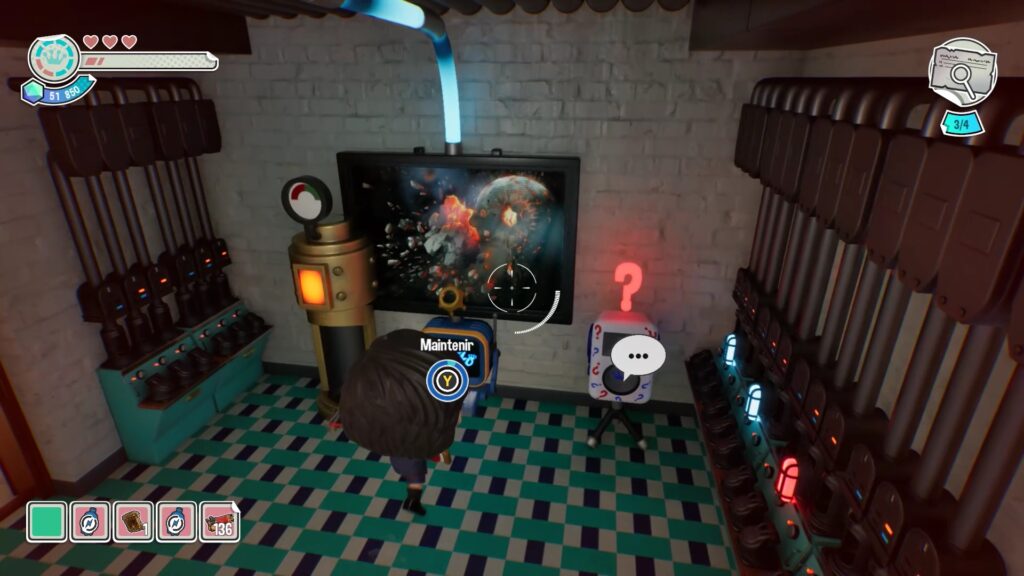
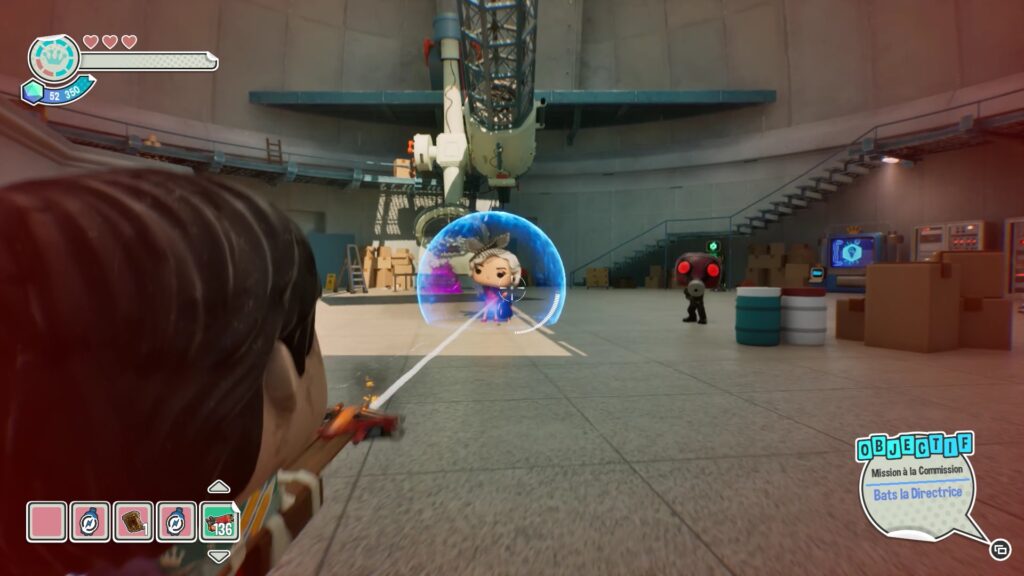
Once the levers are in place, activate the switch under the screen to retrieve the last clue. Take the Funko key and go upstairs to face the director. As before, wait for her to remove her shield before attacking her. Chain attacks to defeat her. Then retrieve the level 1 access card from the purple chest and complete the level.
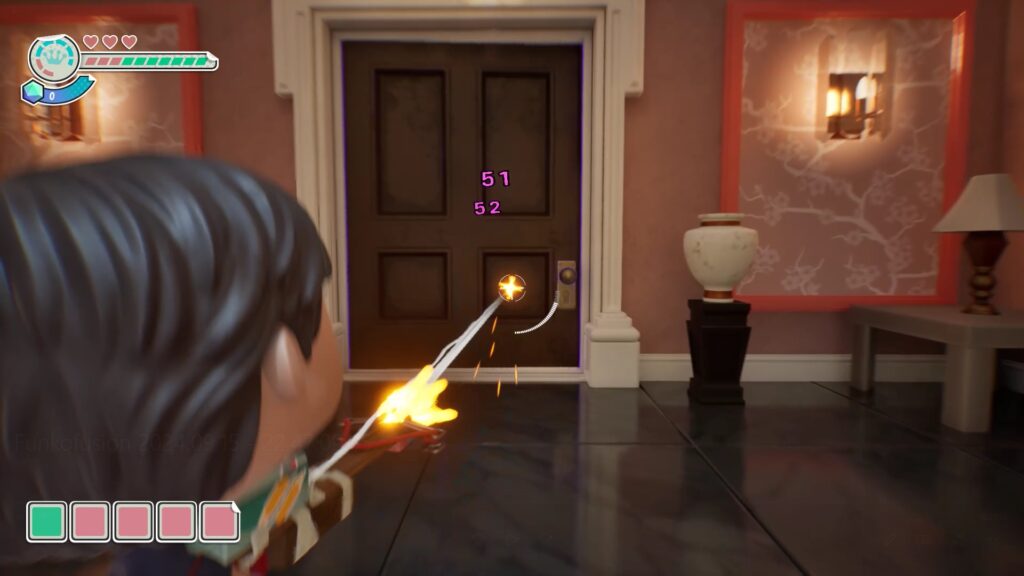
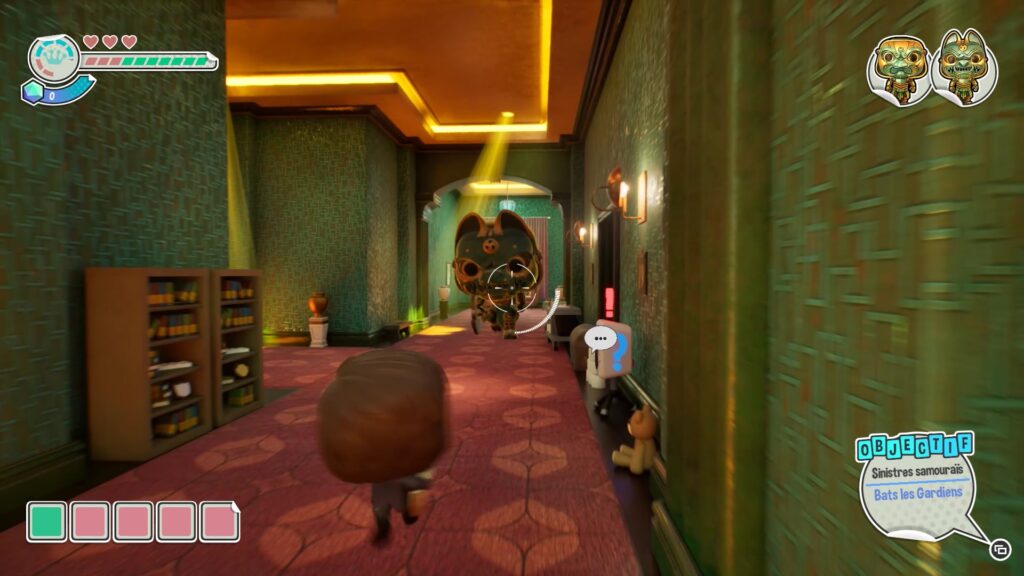
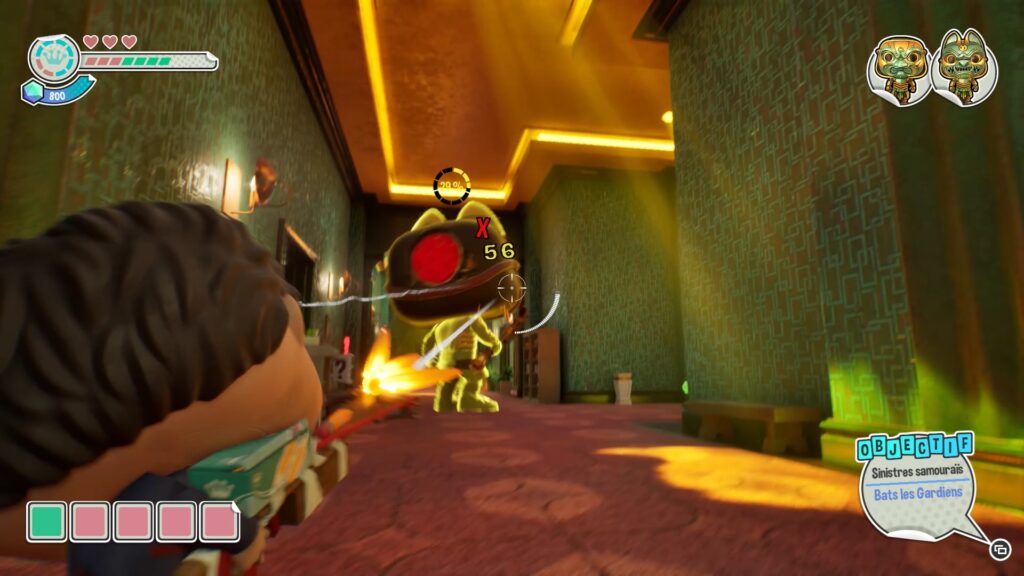
In this chapter, you must defeat two guards. Start by shooting the purple door to access the corridors. The first guard patrols these corridors. To defeat him, shoot him in the back of the head, at the red dot.
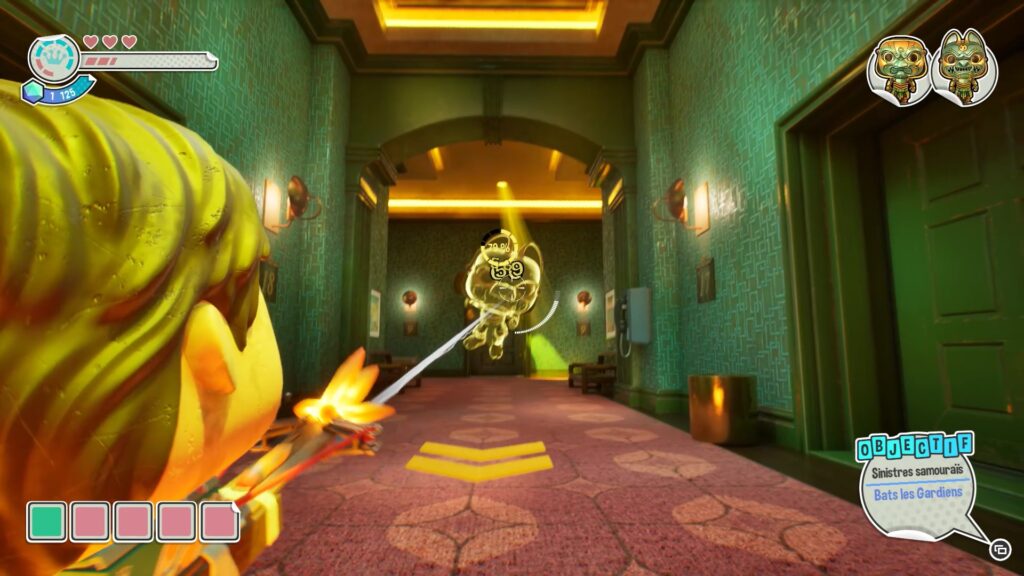
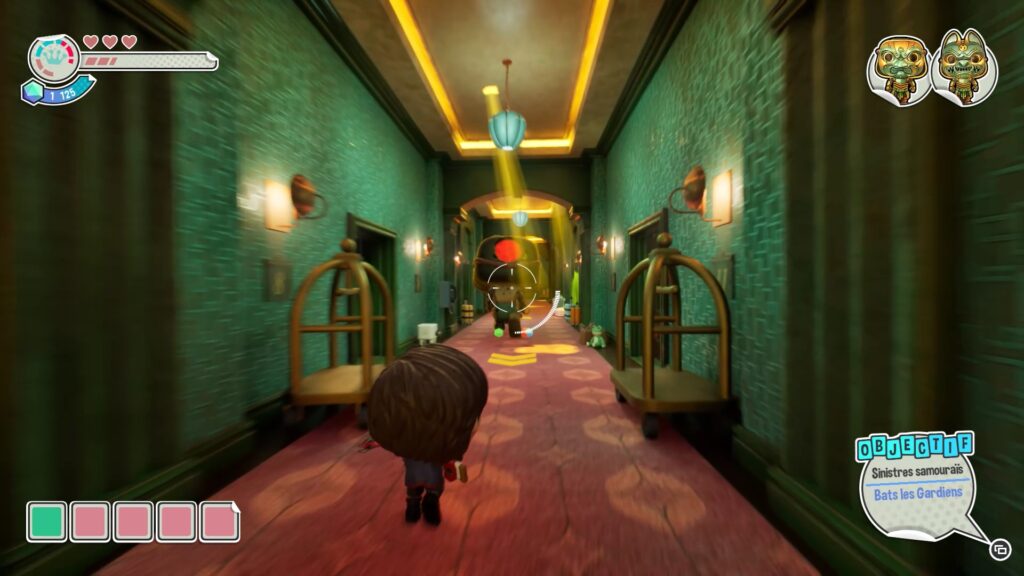
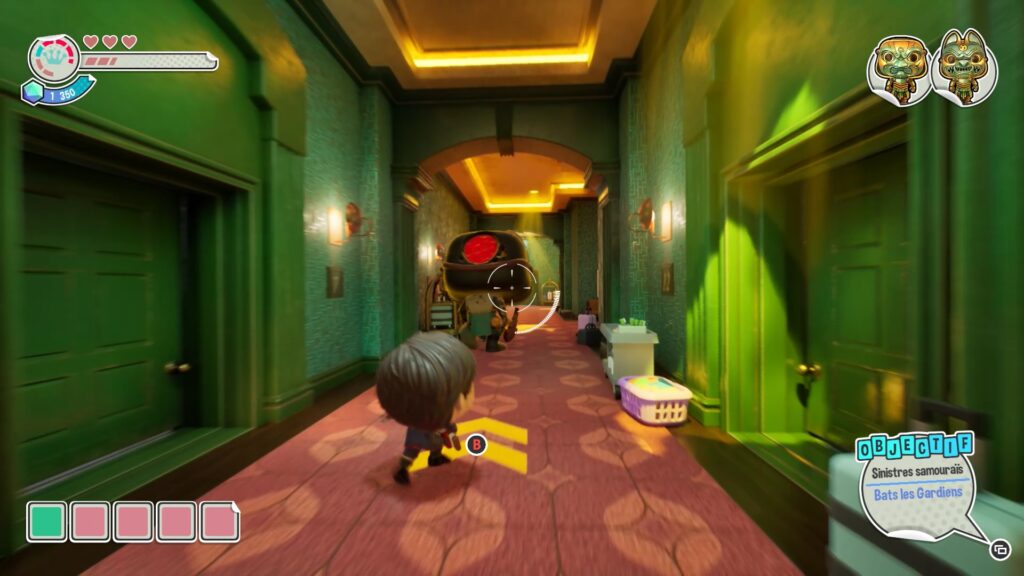
To get behind the guardian, wait until he is near an arrow on the ground. Then, use the character « Number Five »‘s teleport power to attack him by surprise. If the guardian is not near an arrow, shoot him from a distance to force him to move. Dodge his attacks by using teleport.
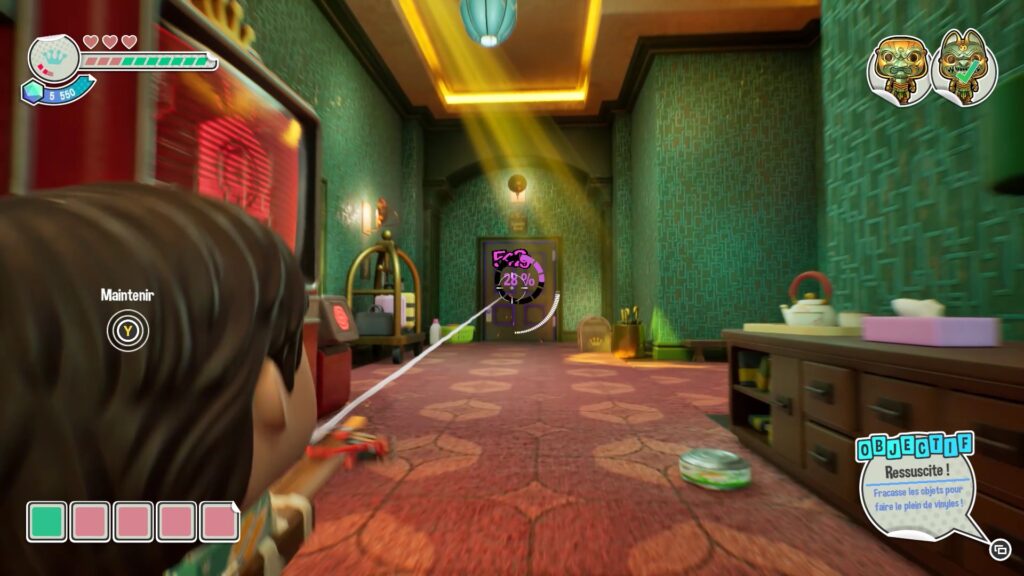
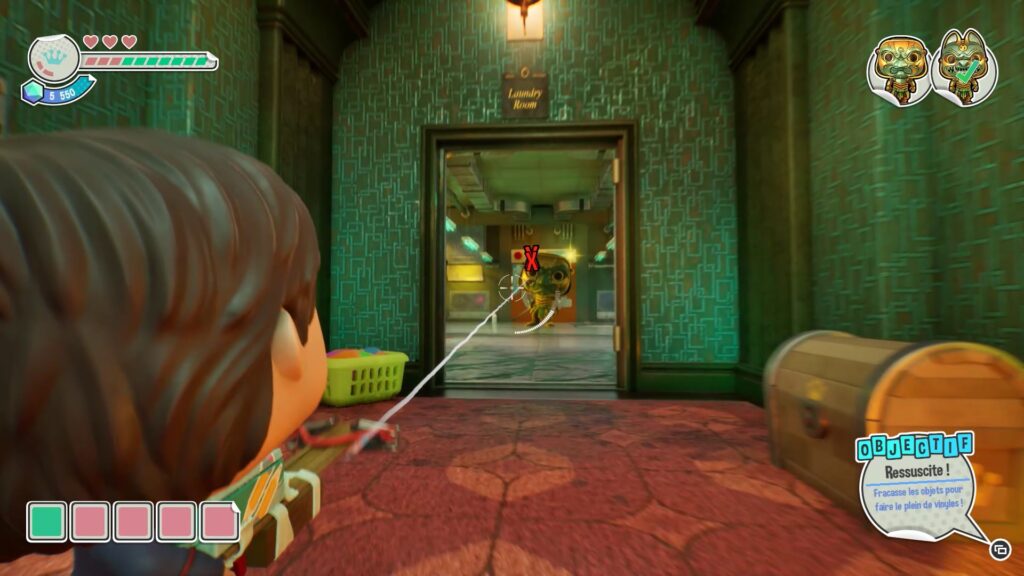
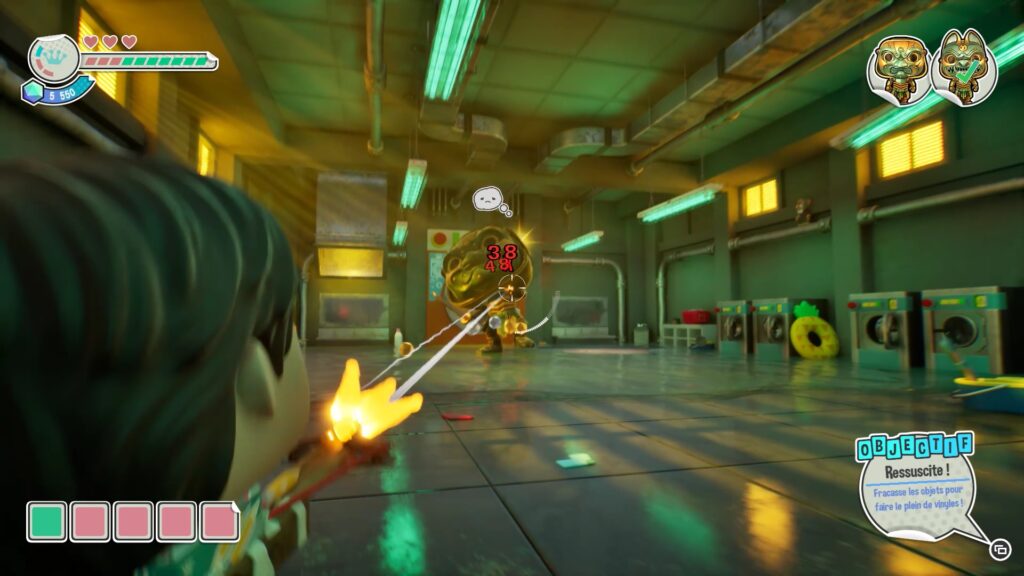
Once you have attacked the first guardian several times and defeated him, head to the Laundry Room. There you will be able to fight the second guardian. The door to this room is near the red creation machine. Shoot the door to unlock it and access the second fight.
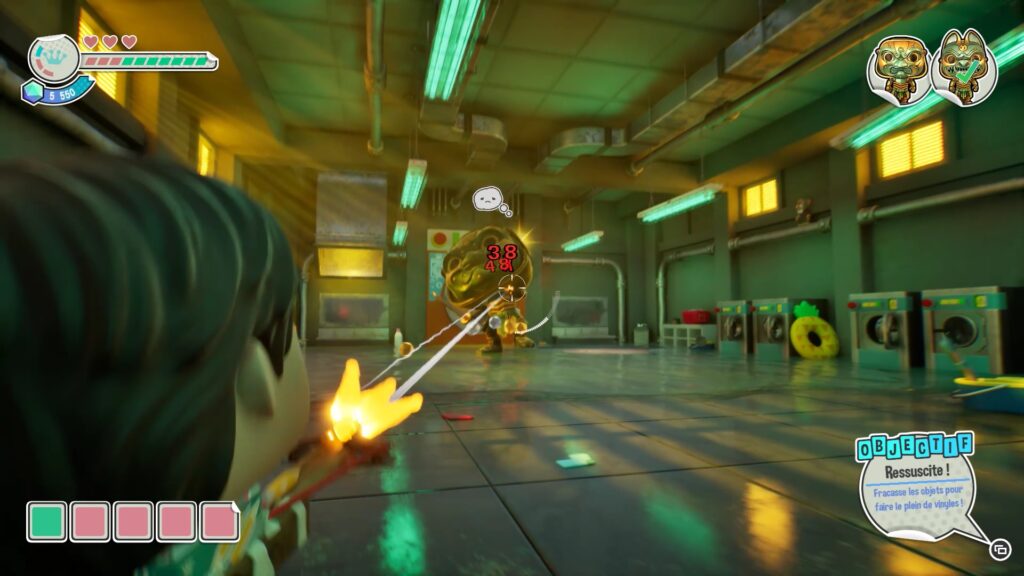
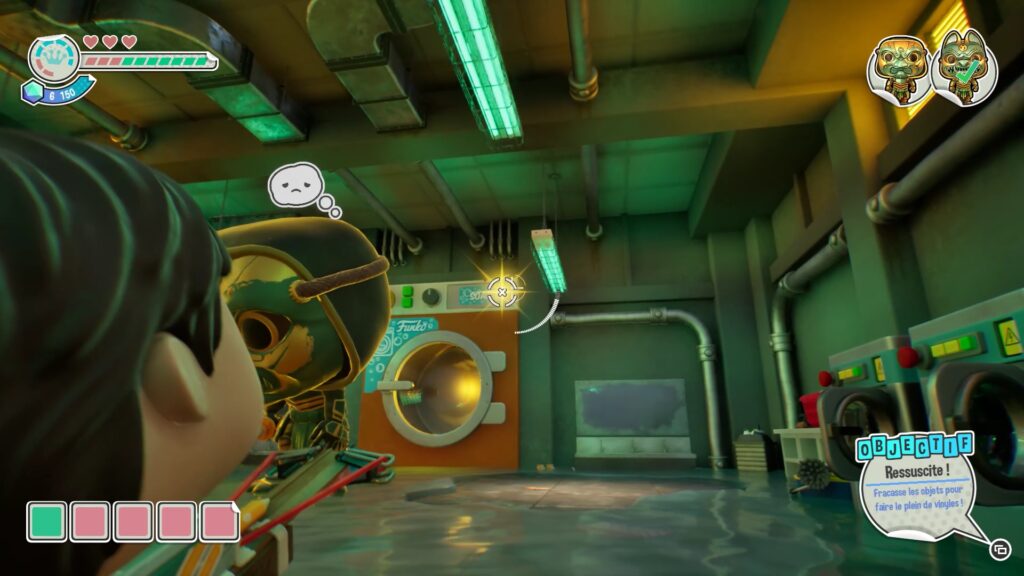
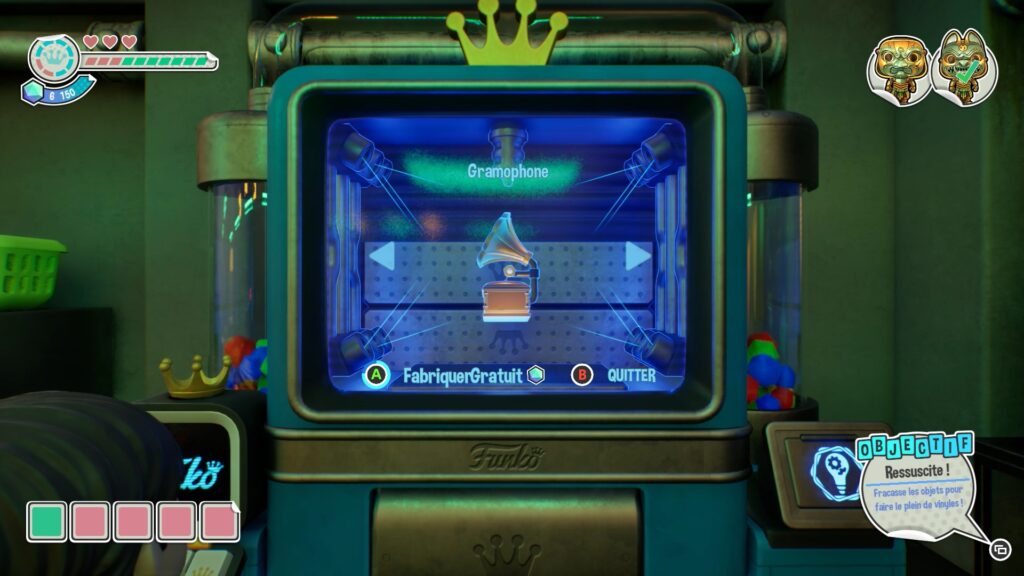
In the laundry room, start by shooting the guard to stun him. Once he is stunned, aim at the washing machine behind him and shoot the buttons in the order indicated. Once the machine is open, go create a gramophone to use in the rest of the fight.
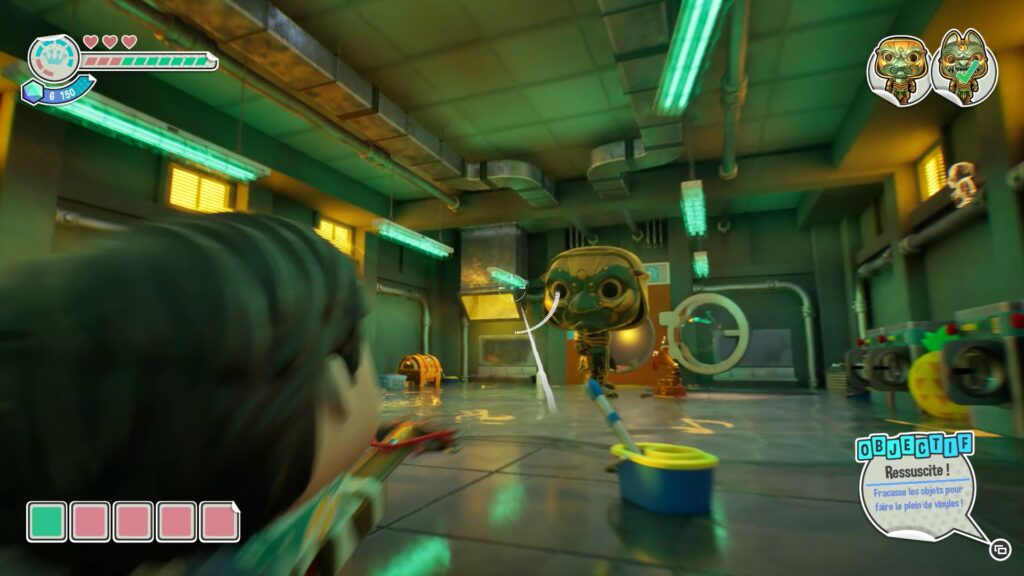
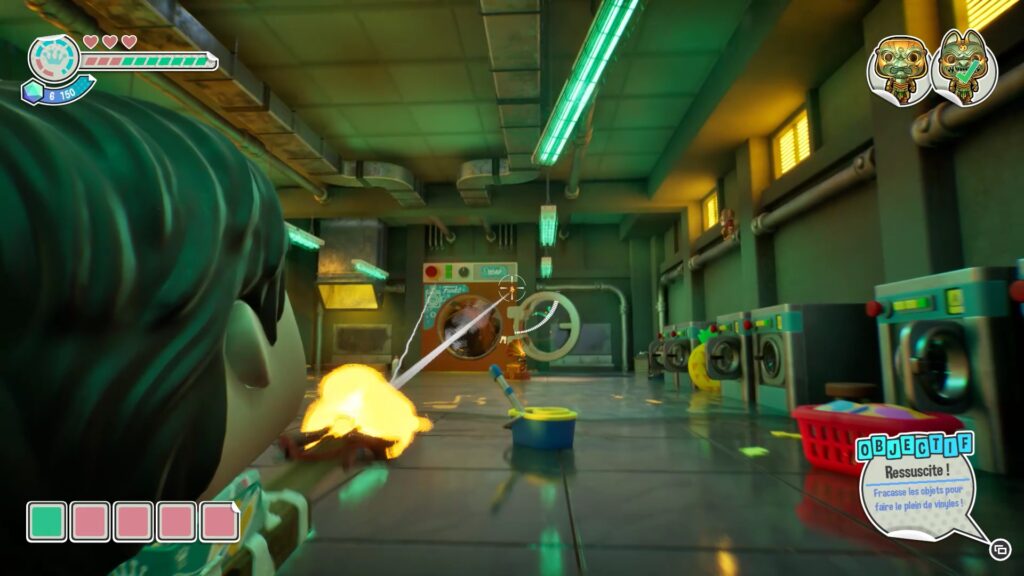
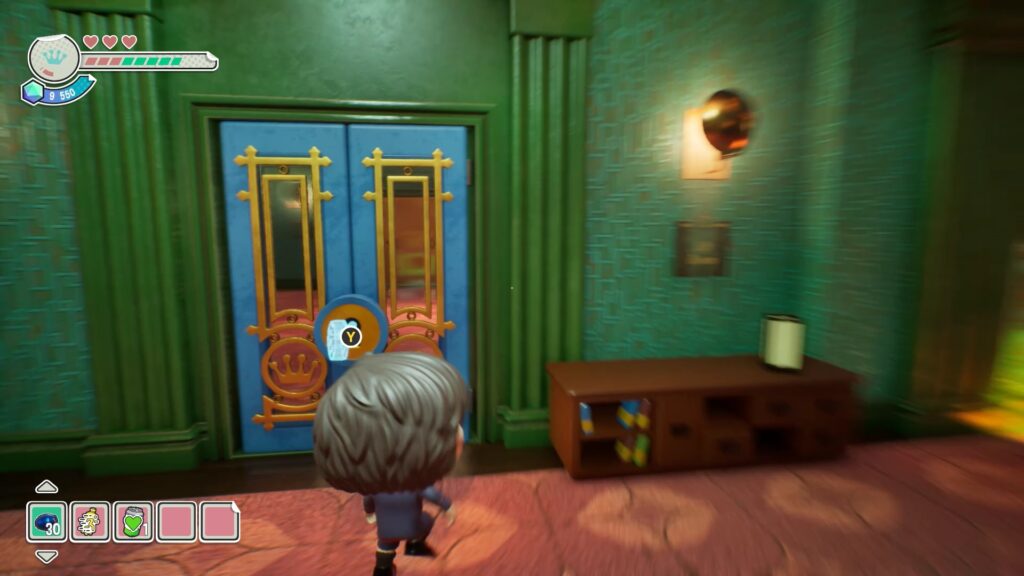
Then place the gramophone on the dry part of the ground, near the guard. Once he starts dancing, shoot him to propel him into the washing machine. Repeat this several times until you defeat him. After defeating him, collect the Funko key to complete the level.
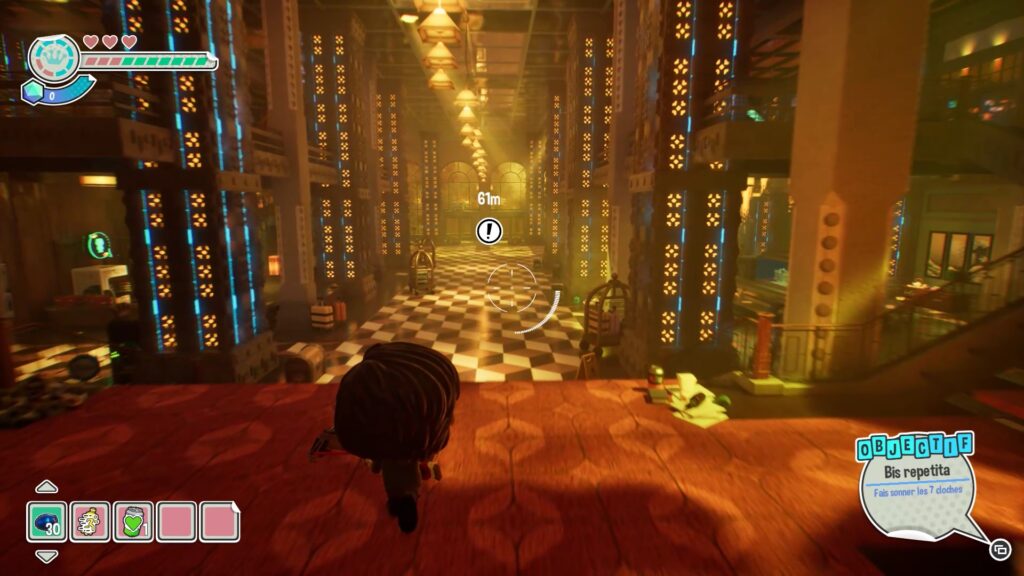
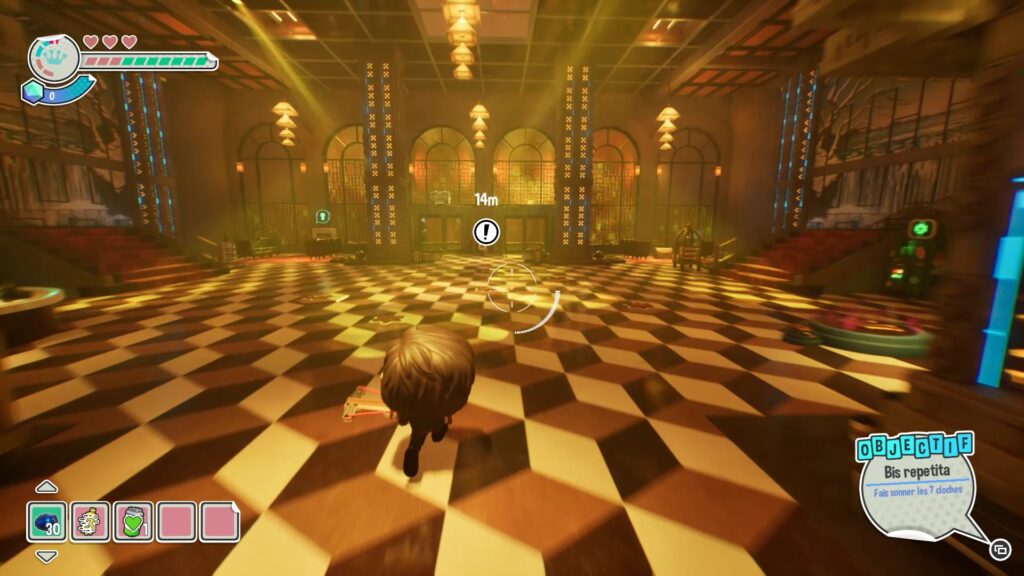
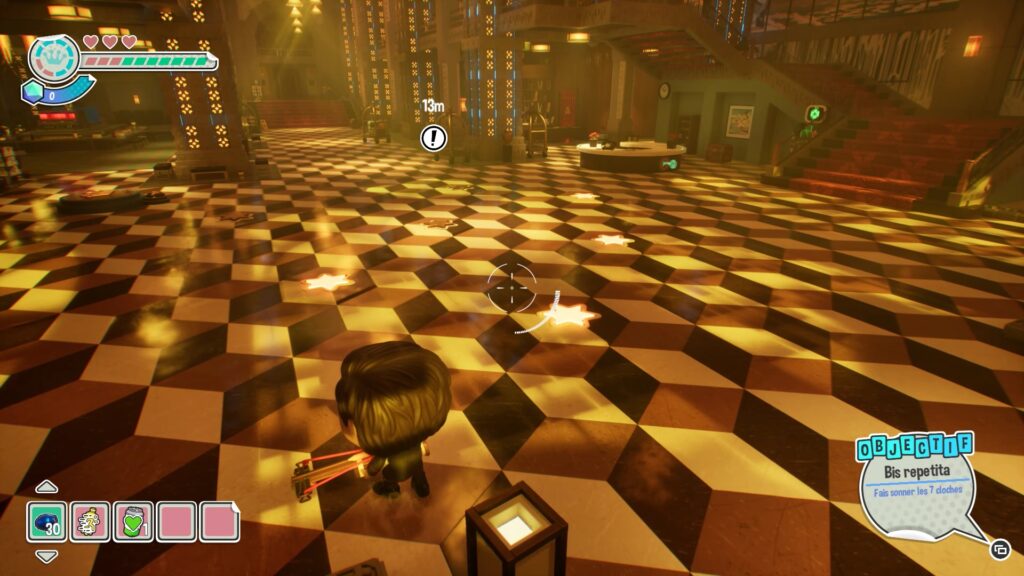
In this room, head to the back, where the quest marker is. Your goal is to step on the 7 stars on the ground to activate them. It is important to activate them quickly, one after the other, in order to respect the imposed timing.
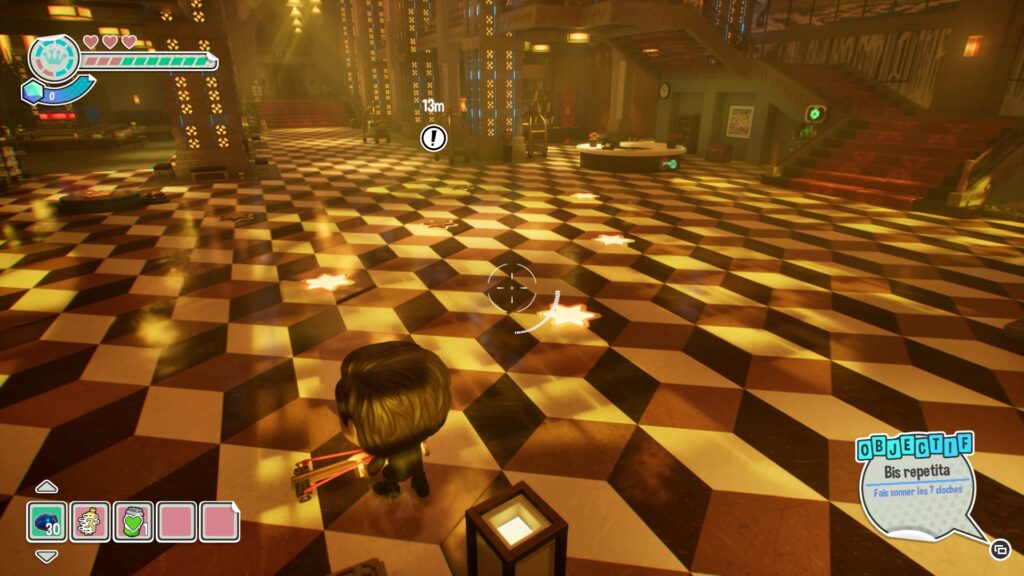
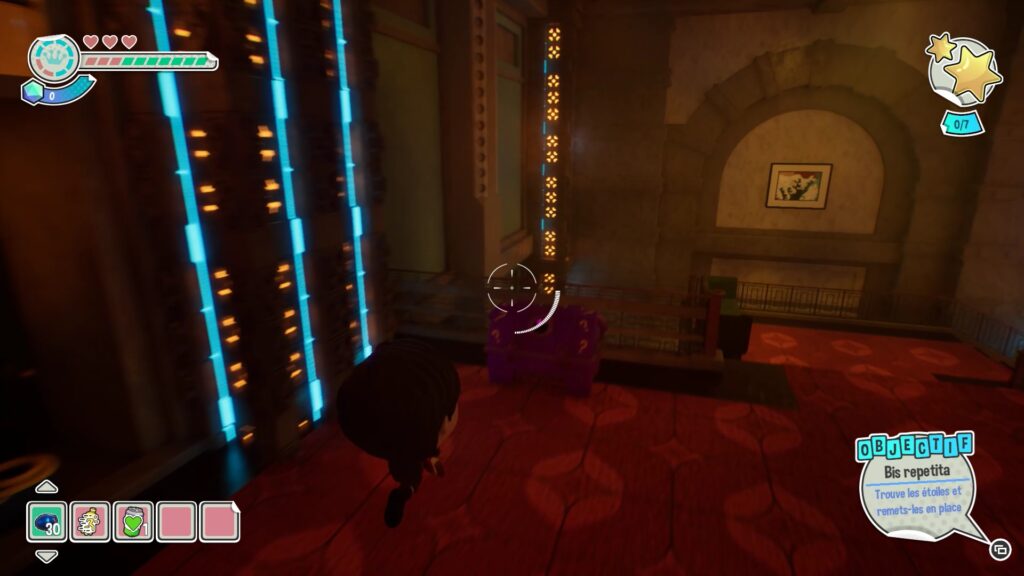
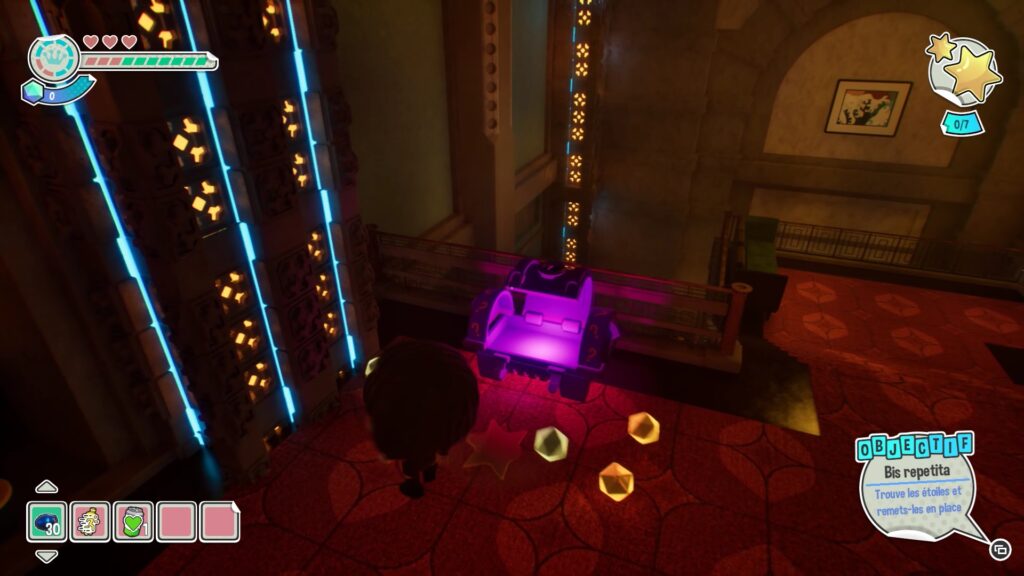
Once all the stars are activated, an enemy will join the game. You must now find the 7 stars and put them back in their place. Dodge the enemy and explore the area to locate them. The first star is in a purple chest, at the top of the stairs on the right (from the entrance of the room).
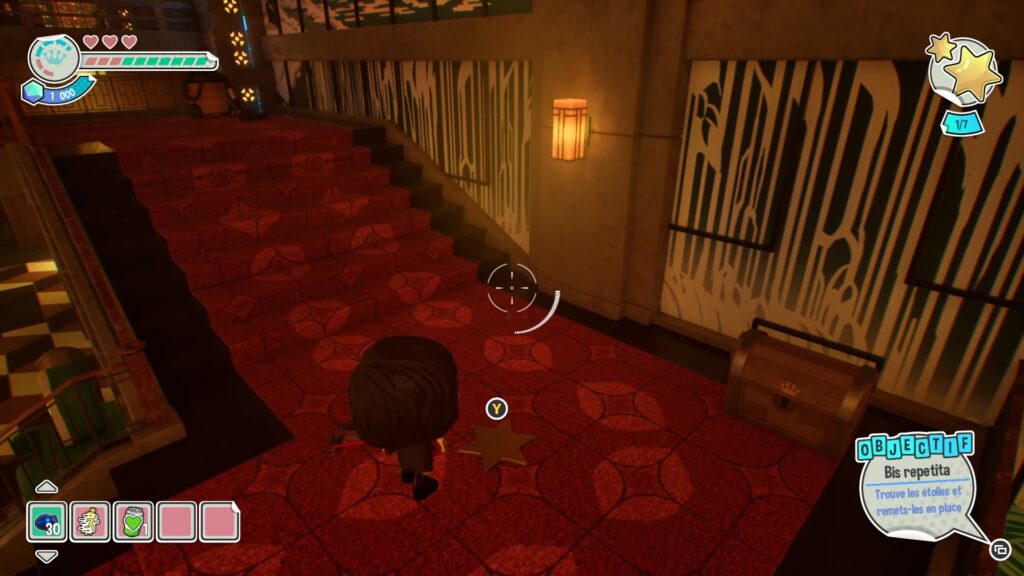
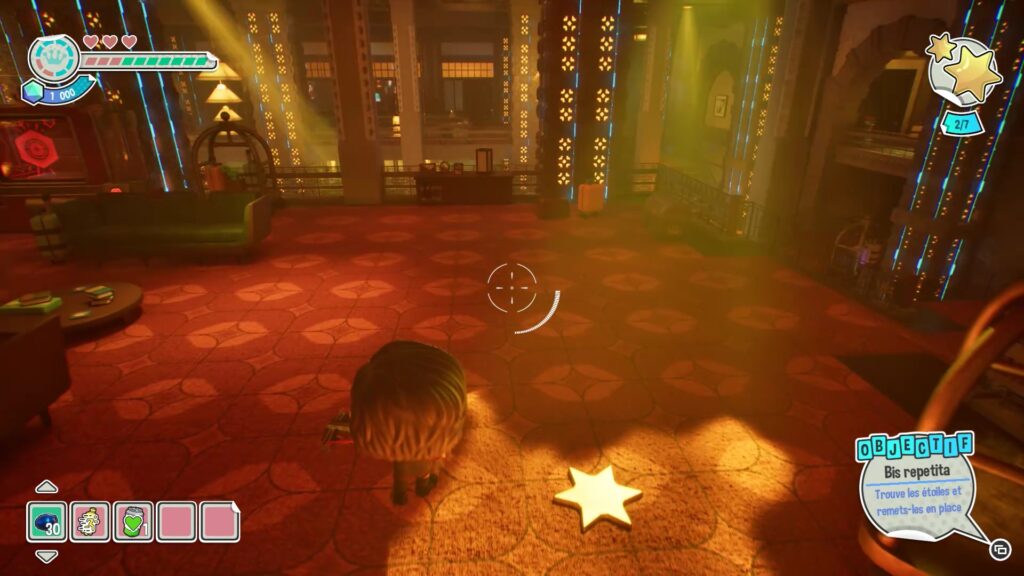
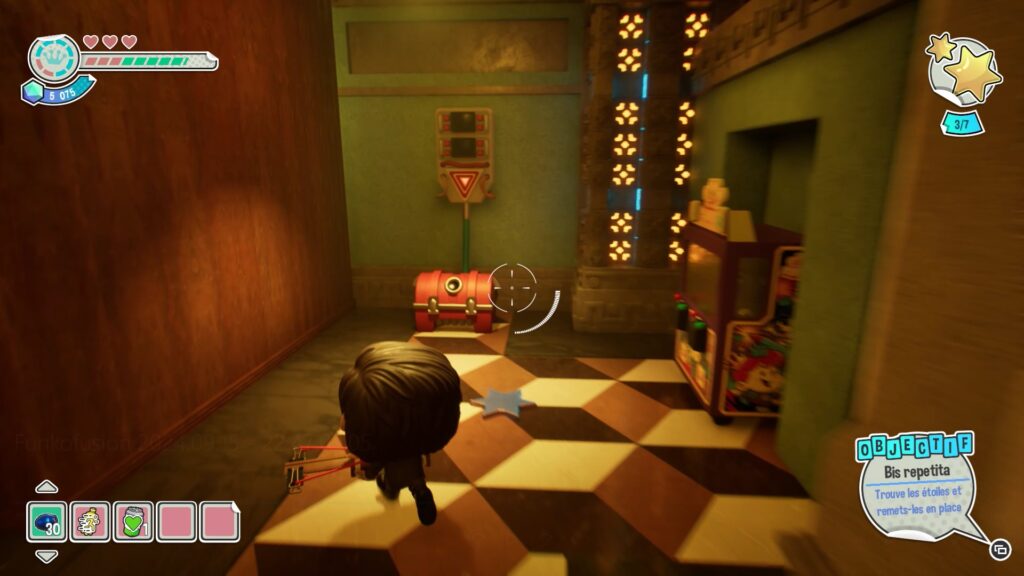
A star is located on the stairs near the desk containing the Funko Key location. Another is on the ground, at the top of the stairs to the left as you enter the room. Finally, a star is near a red chest, near the desk with the Funko Key.
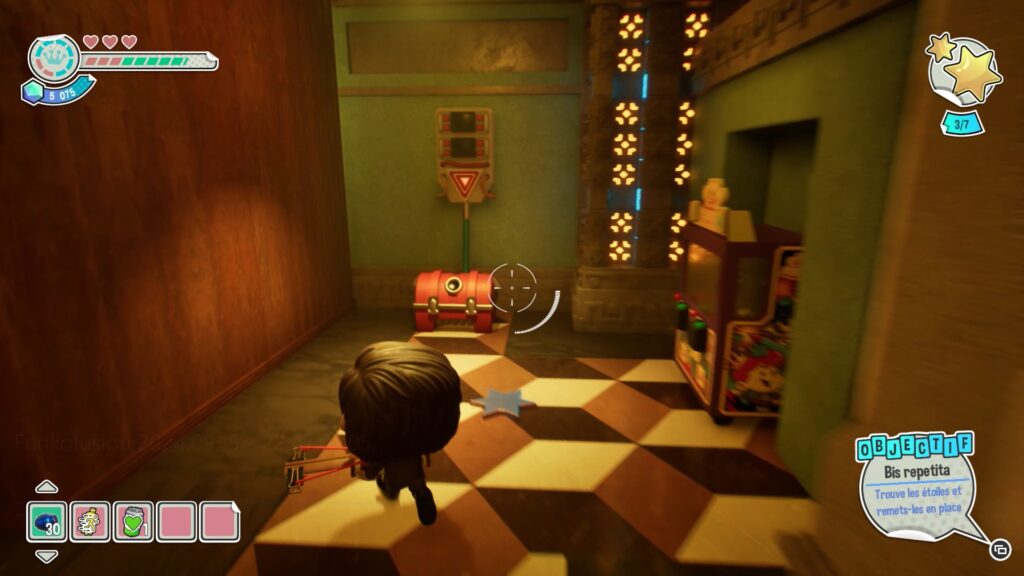
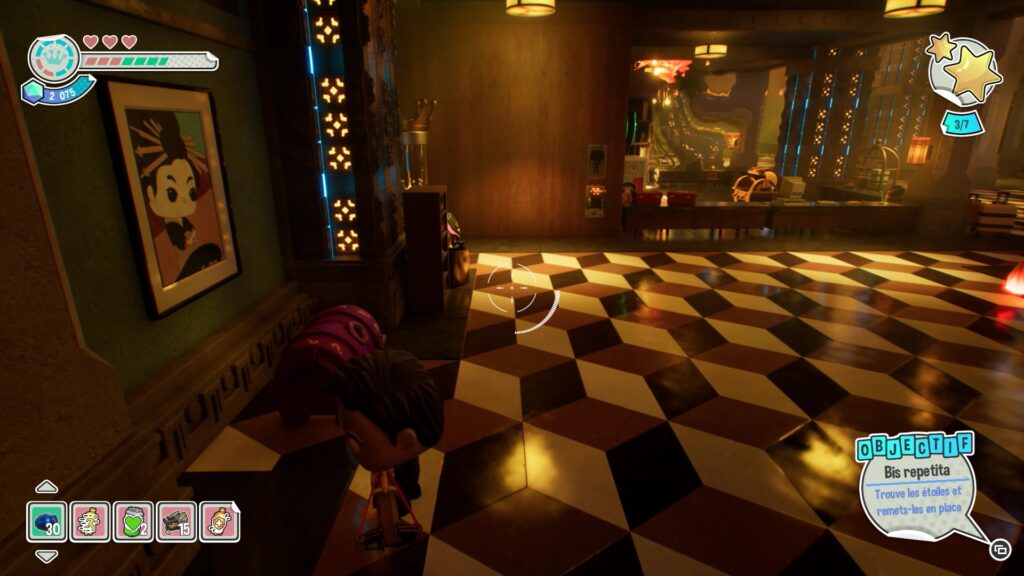
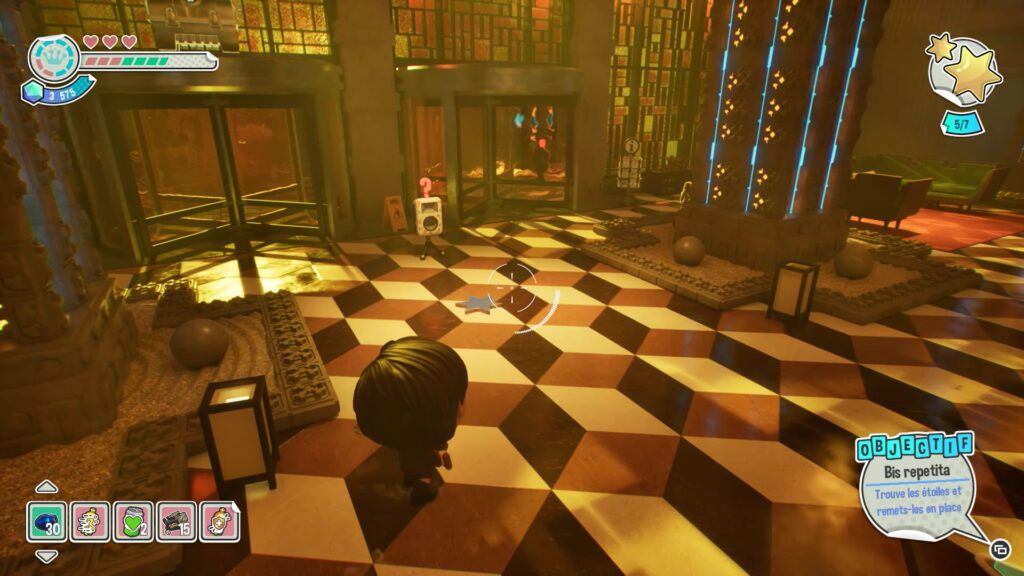
One star is in a purple chest to the left of the entrance. Another star is on the ground to the right of the entrance, near a gold chest. The last star is on the ground at the end of the area, near the revolving doors. Once all the stars are placed, step on each one again, one after the other.
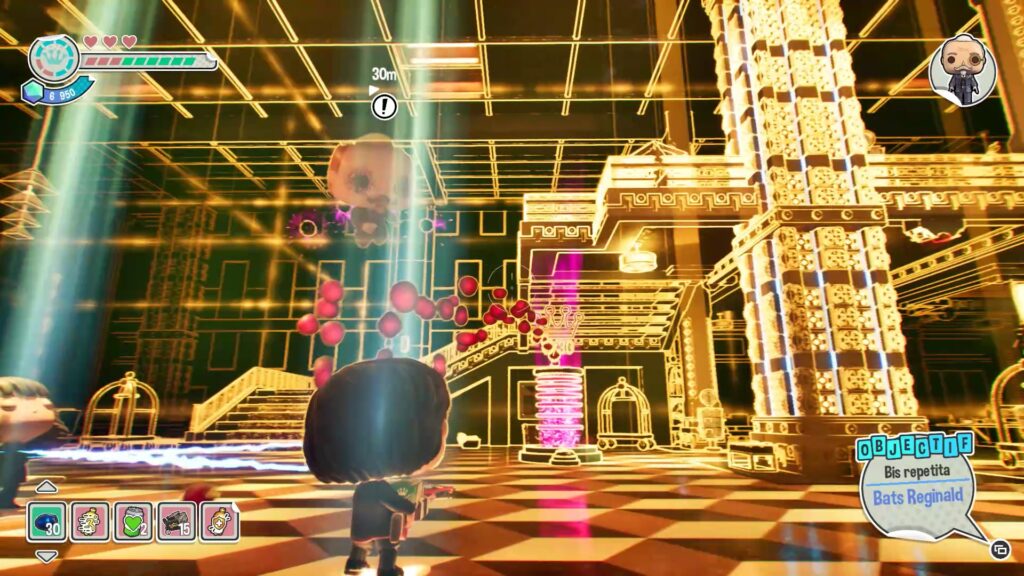
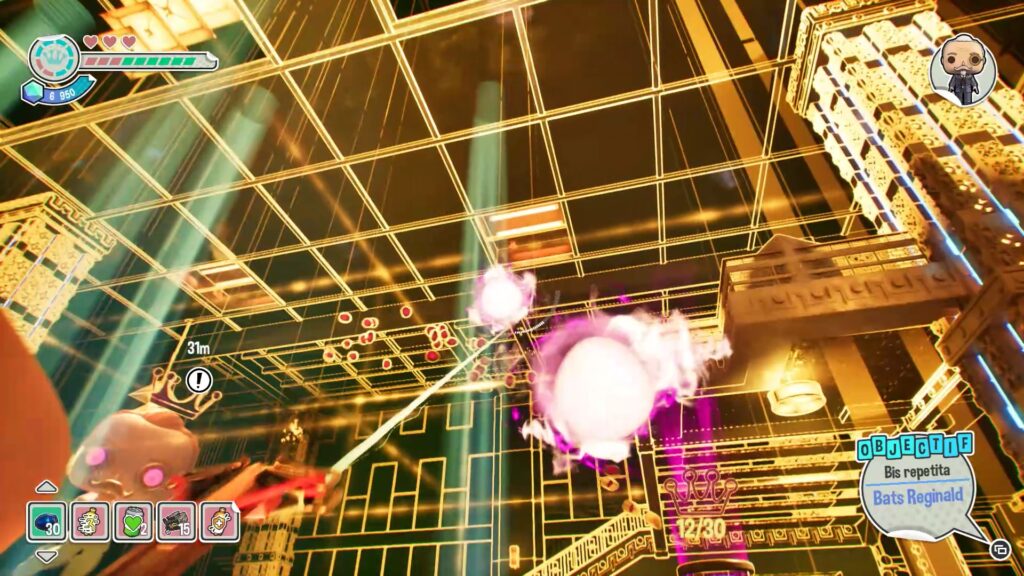
Once the bells ring, collect the Funko Key and place it in the nearby office to trigger the battle against Reginald. To defeat him, simply shoot the balls he throws at you to collect purple orbs. Collect enough orbs to fill the crown receptacle.
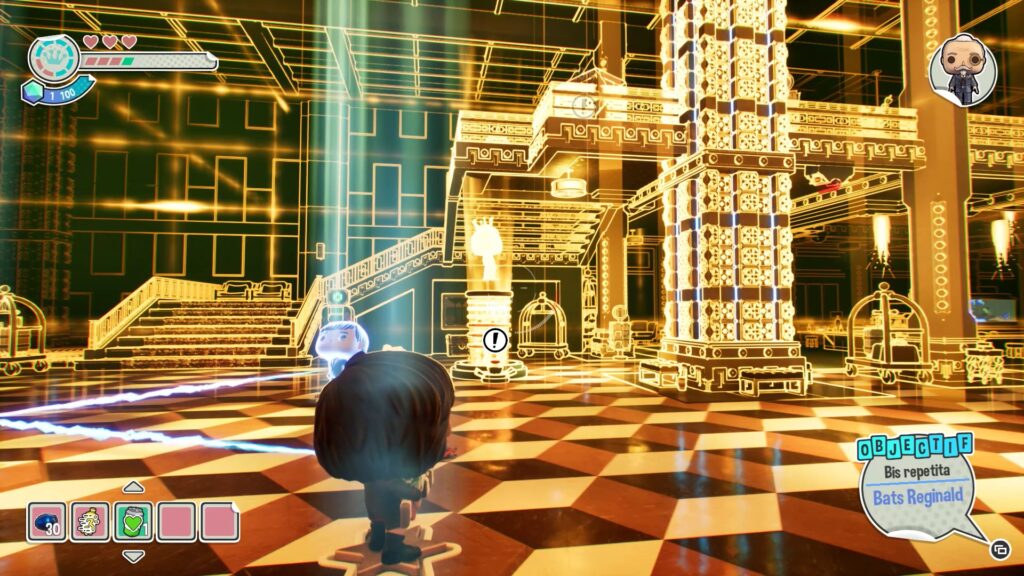
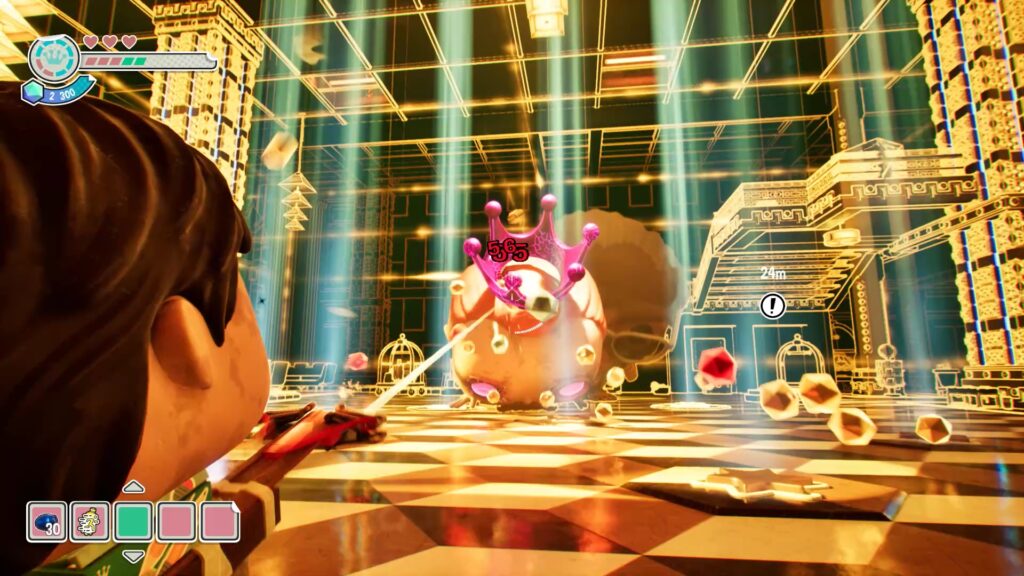
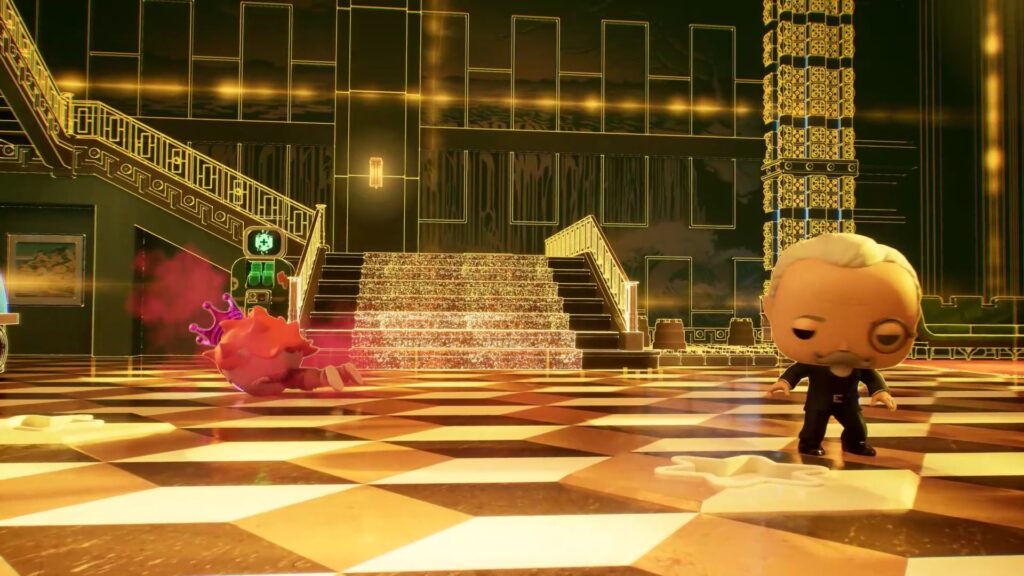
Once you have collected all thirty orbs and filled the vessel gauge, activate it remotely. This will give you some help for the final fight. Keep shooting Reginald to defeat him for good and complete the Umbrella Academy world.
Masters of the Universe
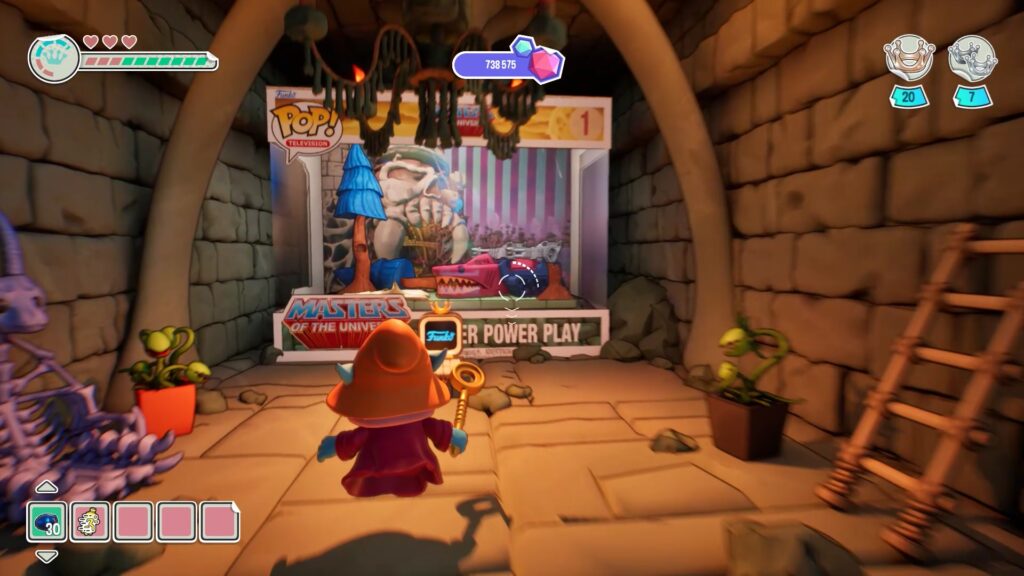
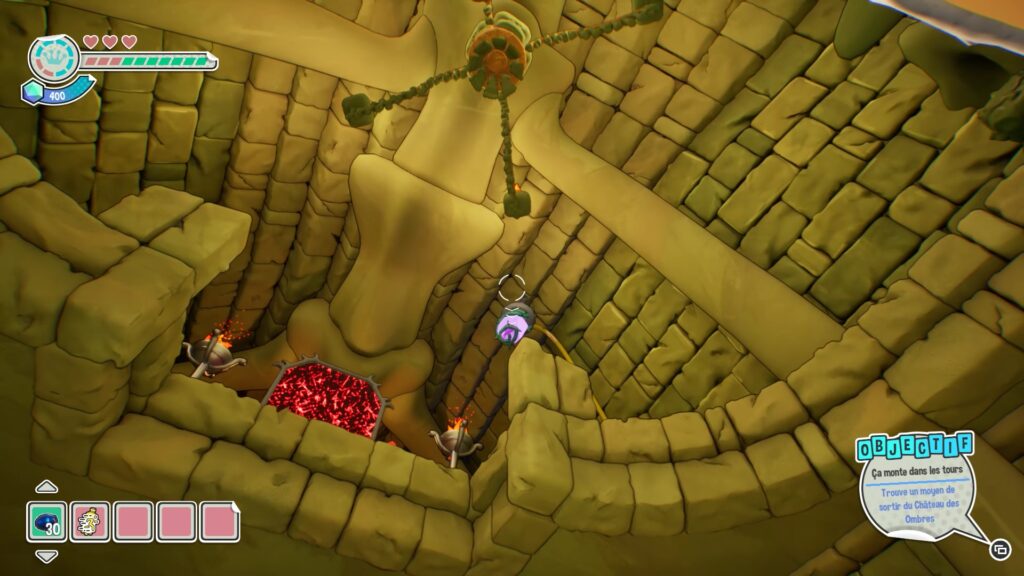
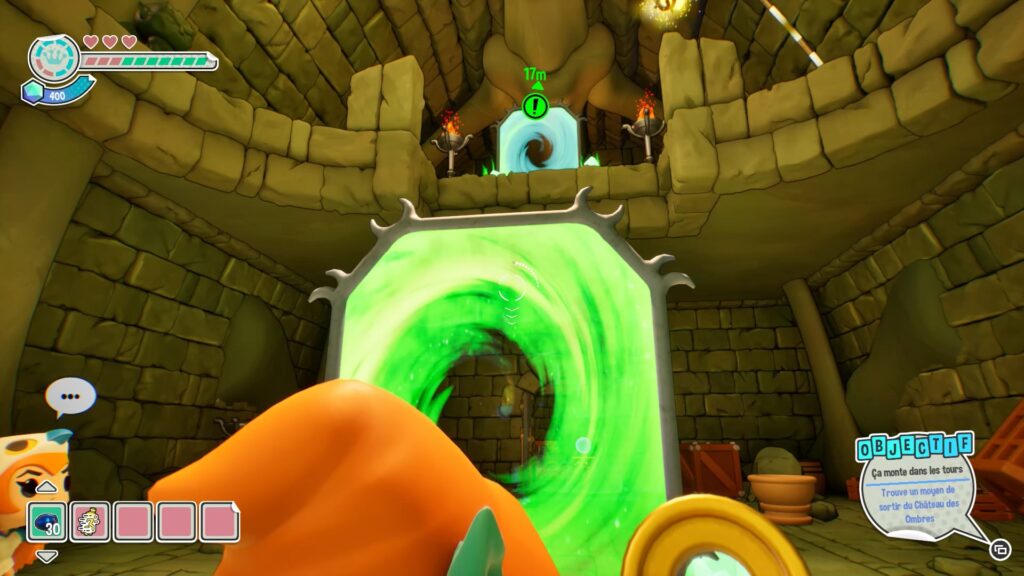
In the first level of « Masters of the Universe », you must use the different portals to teleport from one portal to another. To activate the portal, aim at the purple crystal located high up. Once the crystal is activated, look at the portal high up to activate it.
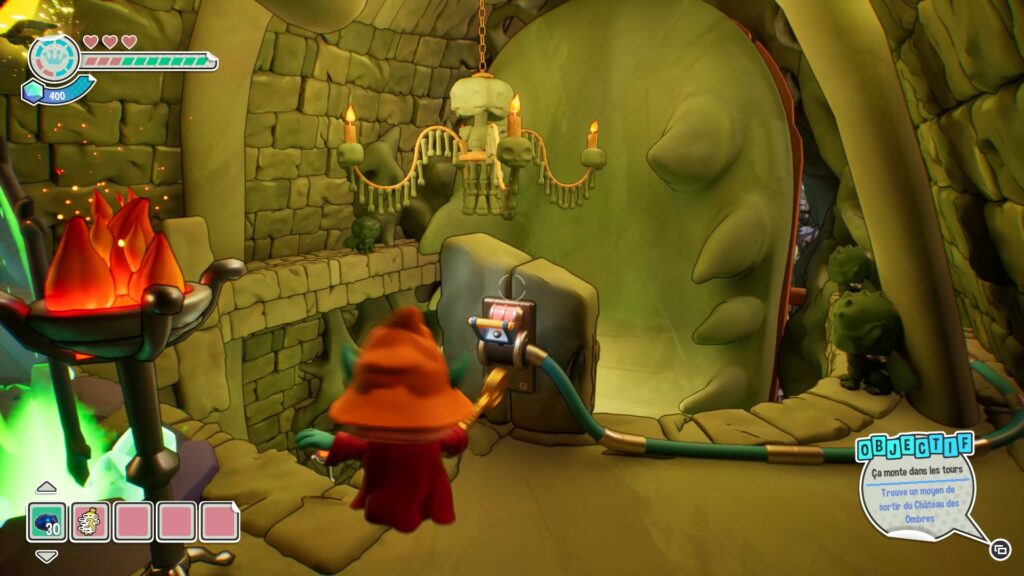
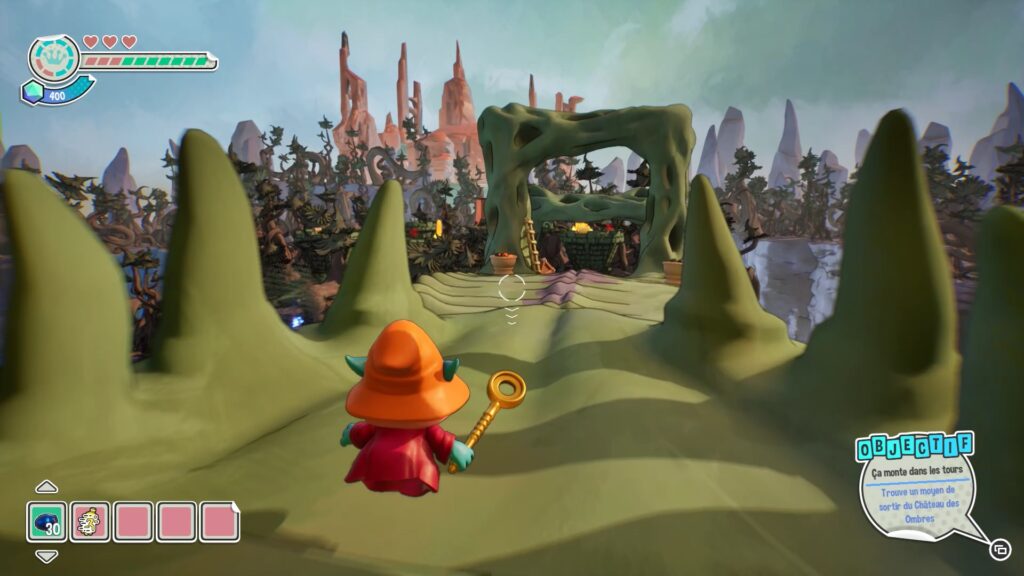
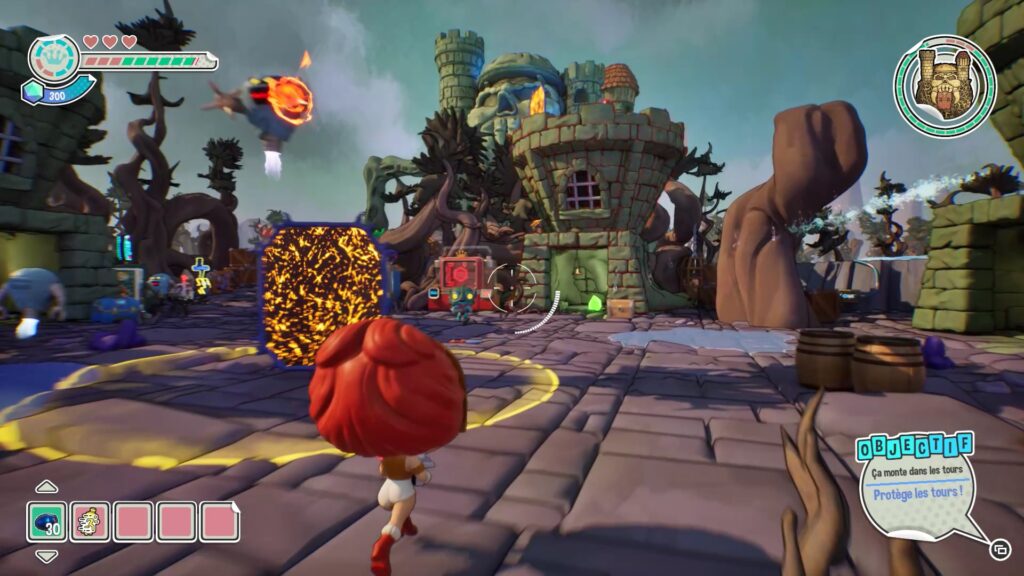
Once the portal turns green, enter the lower portal to teleport to the upper portal. Once up high, use the lever to create a passage that will allow you to progress. You will reach a battlefield where you will have to protect towers against waves of enemies.
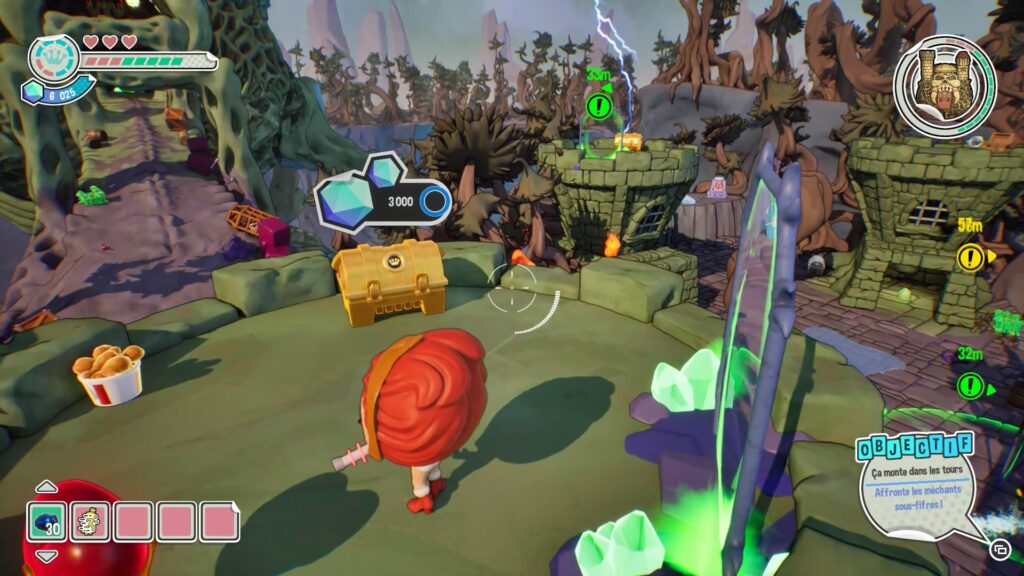
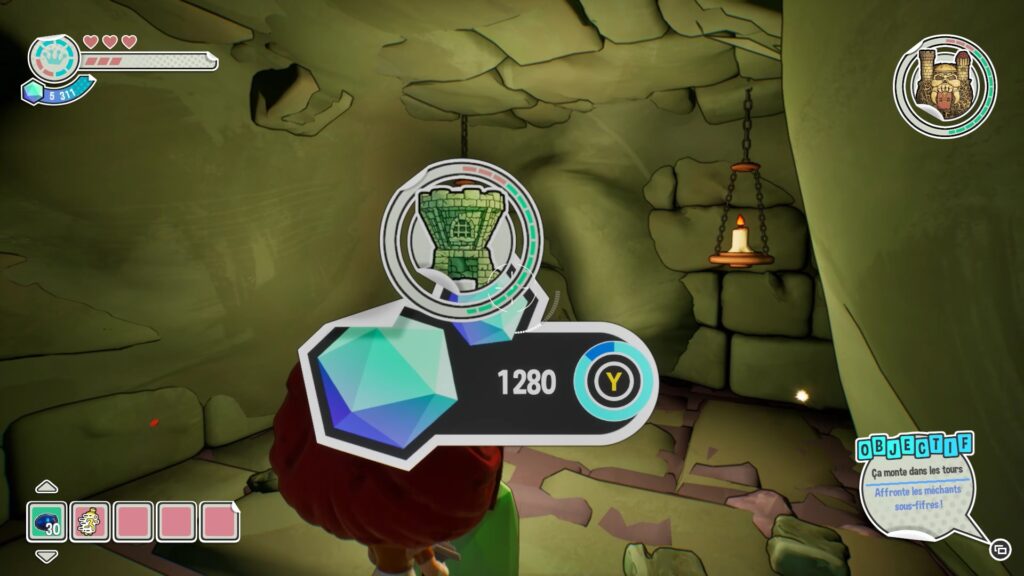
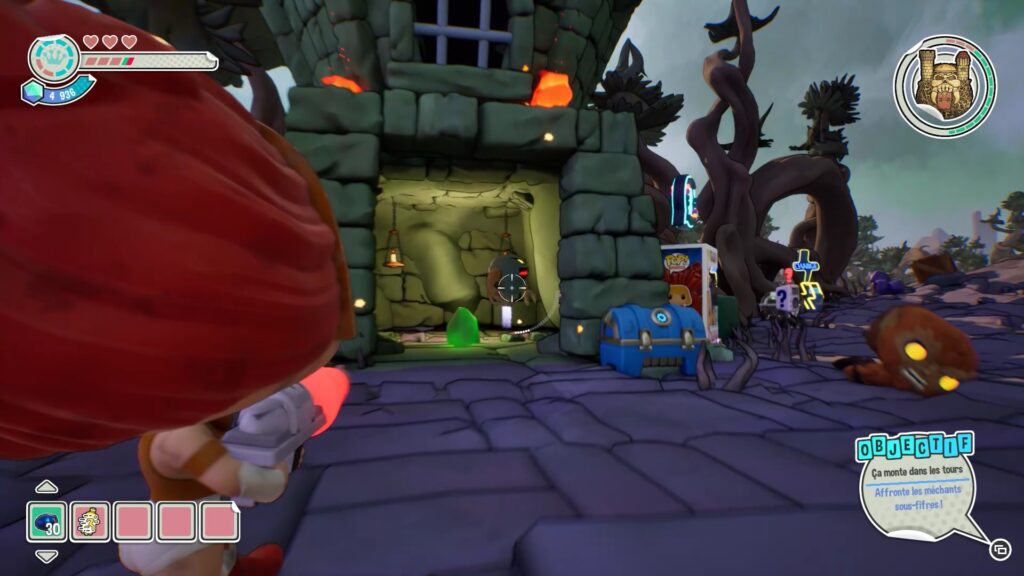
Eliminate all enemies while protecting the towers. Use the portals at the top to gain strategic advantage or to access chests and creation machines. If the towers take damage, go to their center and interact with the green crystal to restore their gauge and continue defending them.
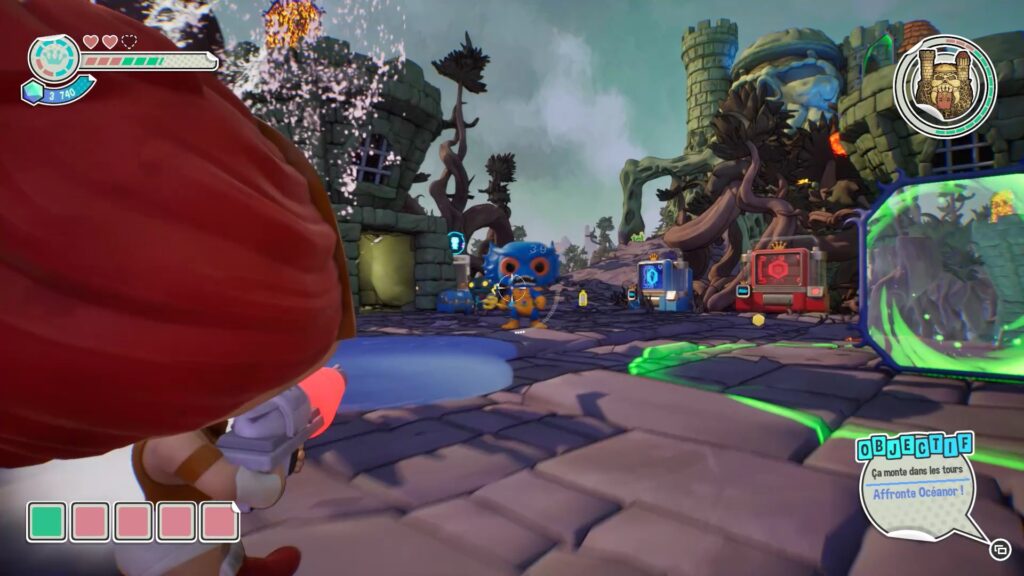
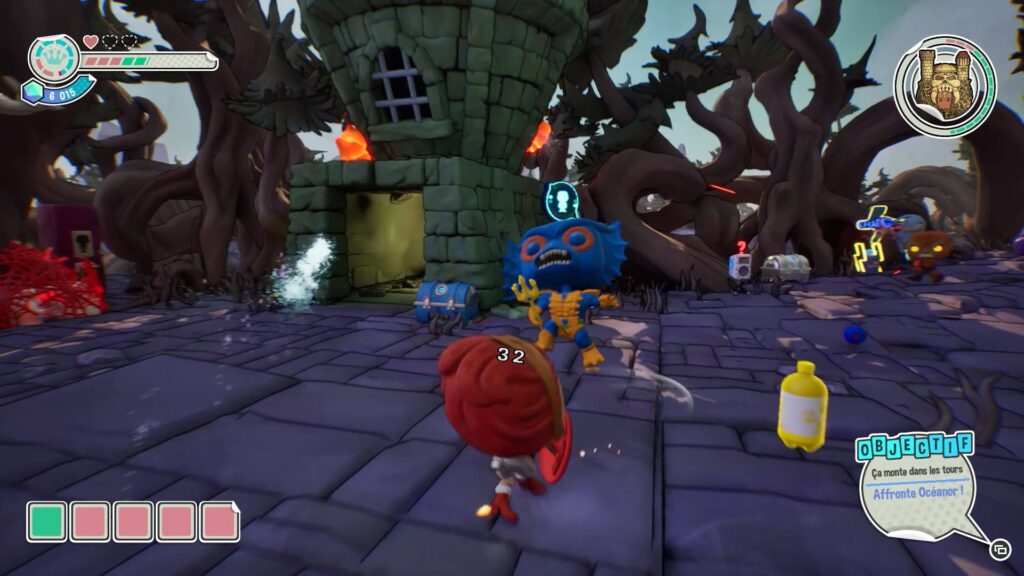
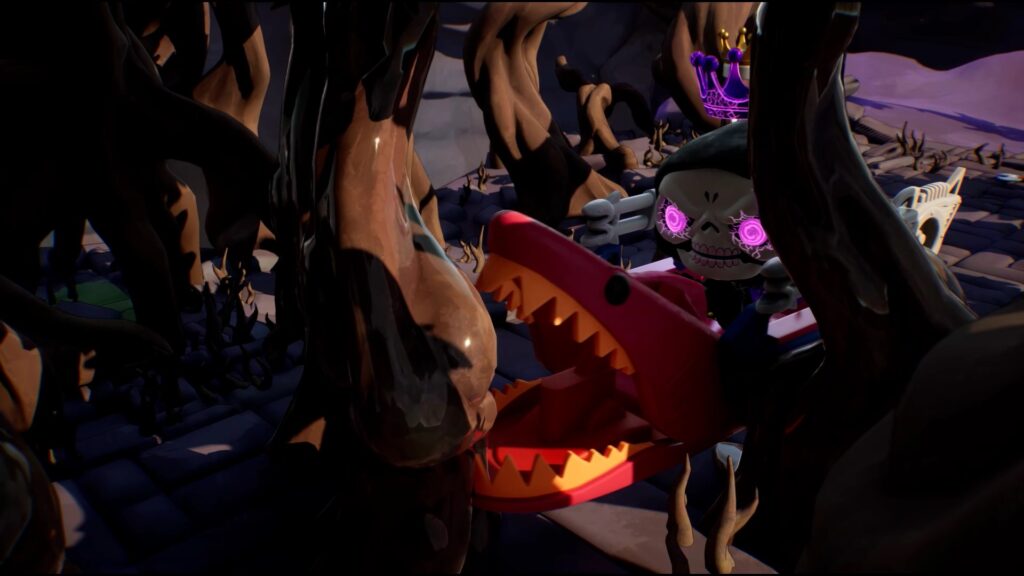
To defeat Oceanor, attack him relentlessly to prevent him from regenerating in the water. After weakening him, eliminate the enemies attacking the towers. Hold until the final cutscene.
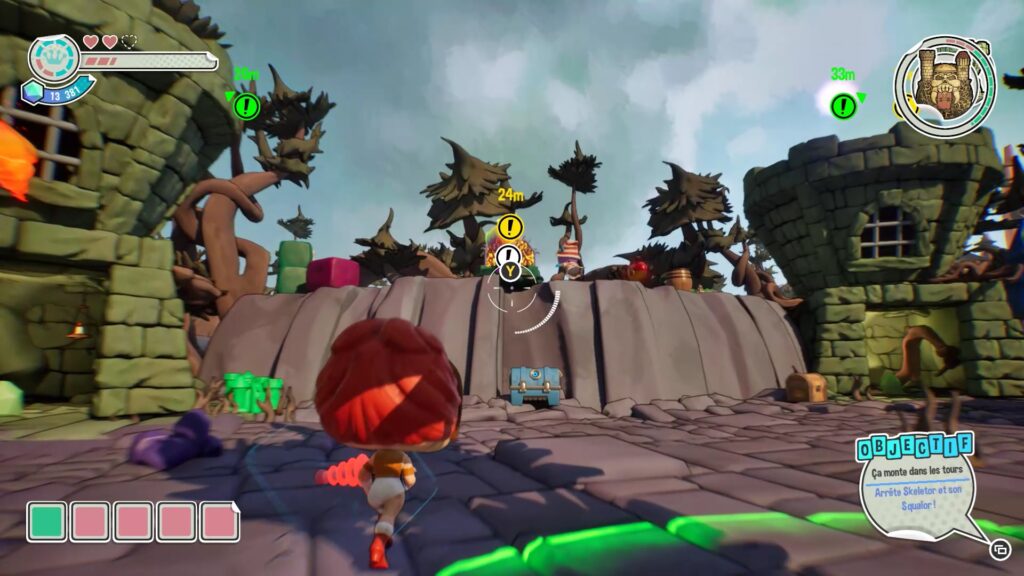
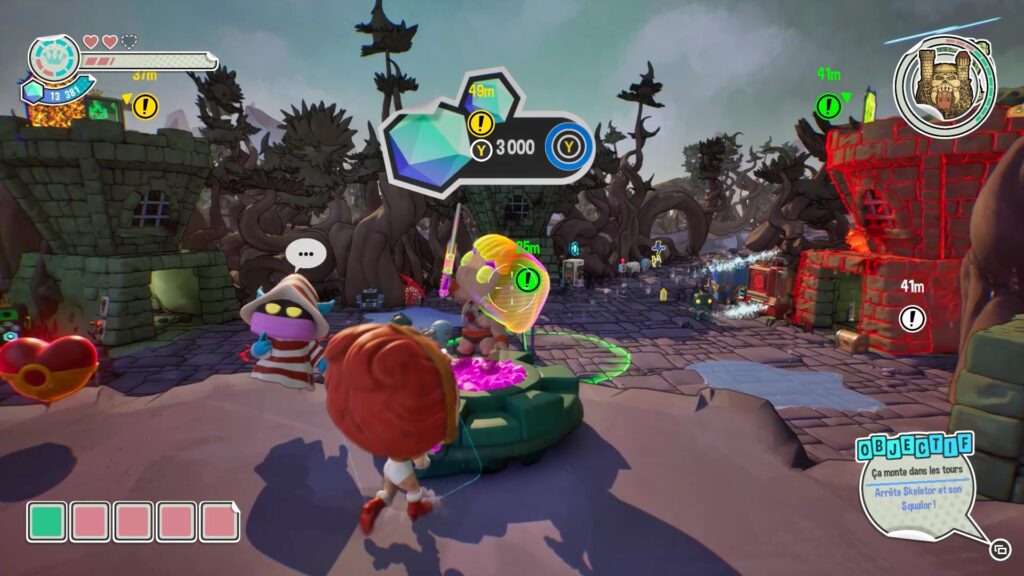
After the cutscene, play as Prince Adam and follow the quest marker to a portal high up. You will discover the prince’s power base allowing you to unlock his power and face Skeletor.
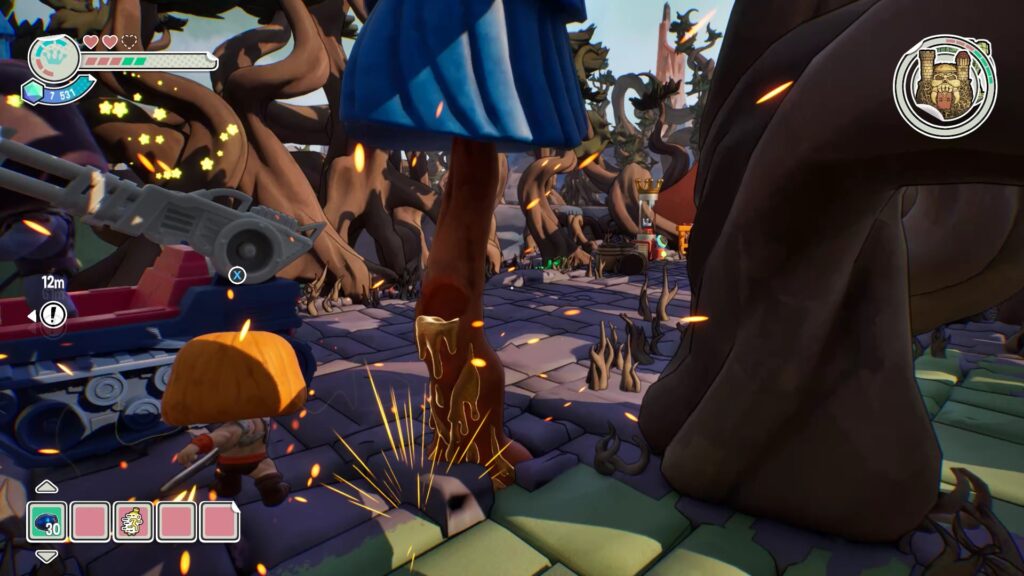
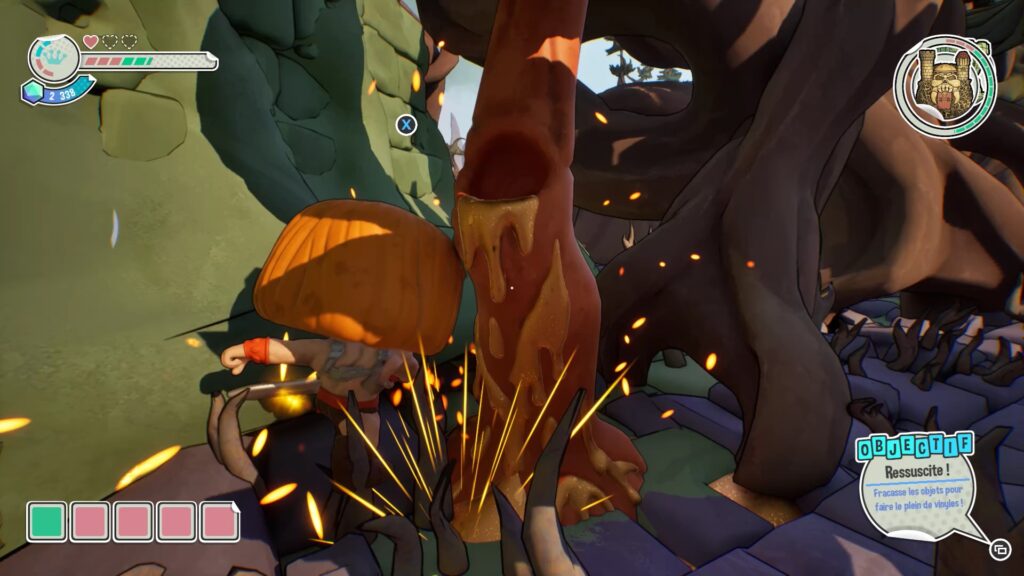
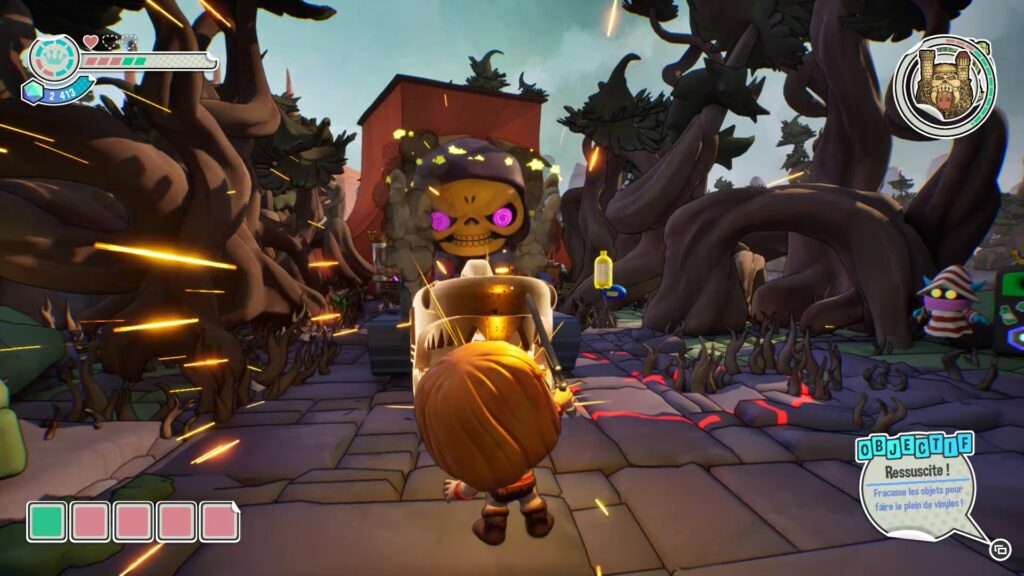
Once transformed, head towards Skeletor and shoot him to stun him. Approach both ends of his vehicle and, following the tutorial, hit the trees to make them fall on him. After knocking down both trees, hit the front of the vehicle to defeat Skeletor and complete the level.
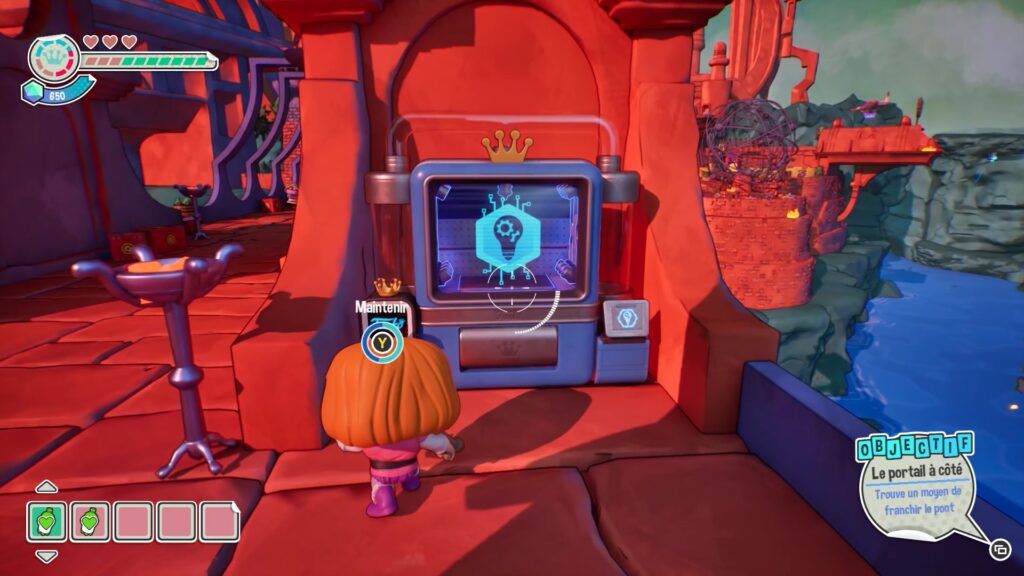
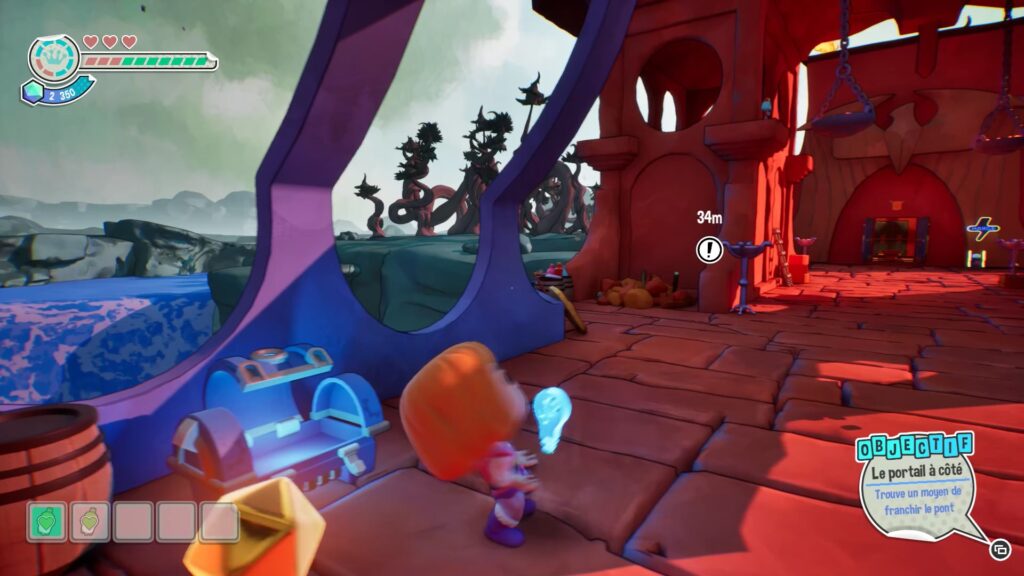
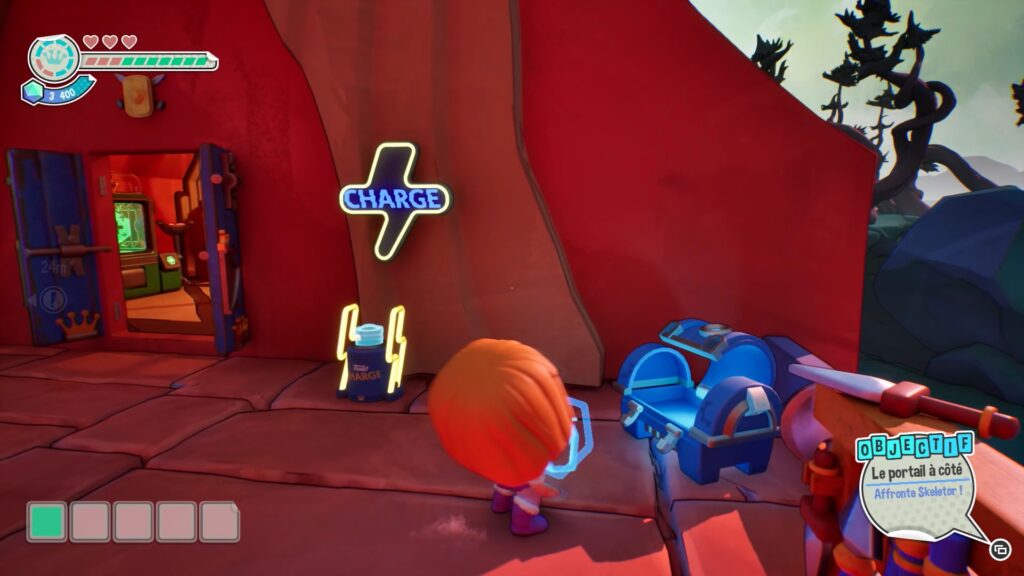
In this new level, advance onto the bridge to trigger a cutscene. Once the bridge is destroyed, find a way to rebuild it. Start by creating a portal at the creation machine located at the entrance to the area. The blue chests needed to unlock the portal are scattered around the bridge.
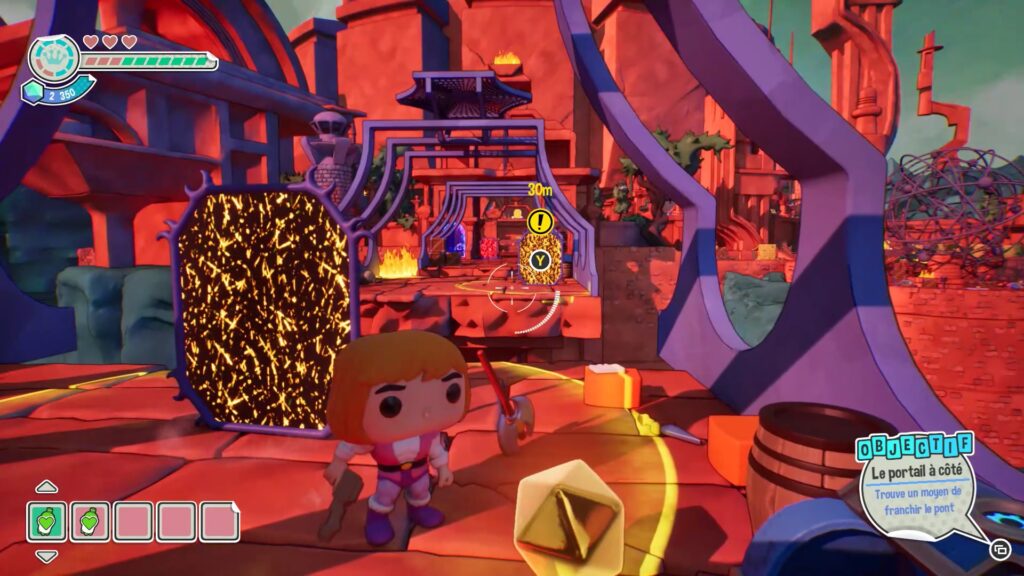
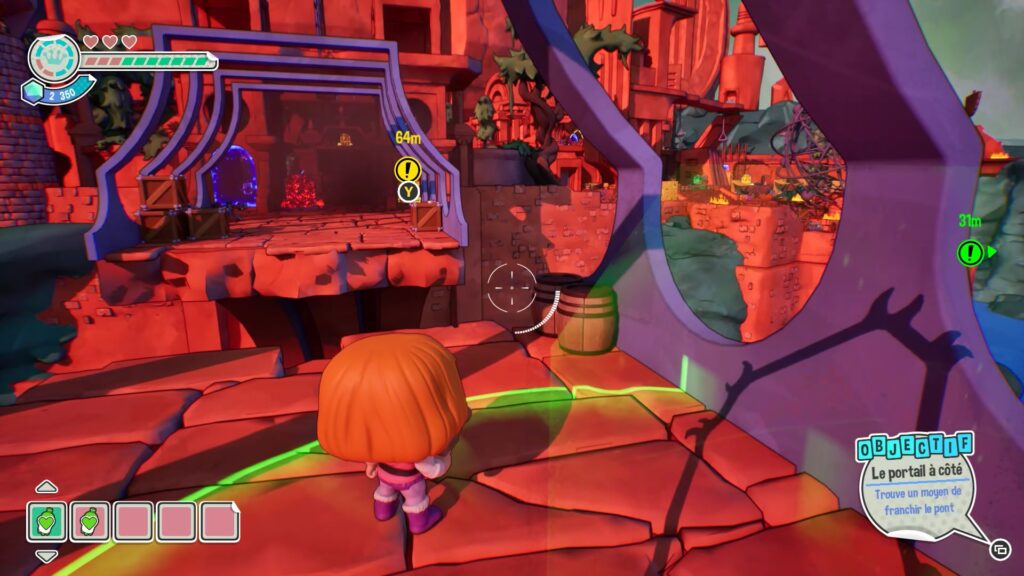
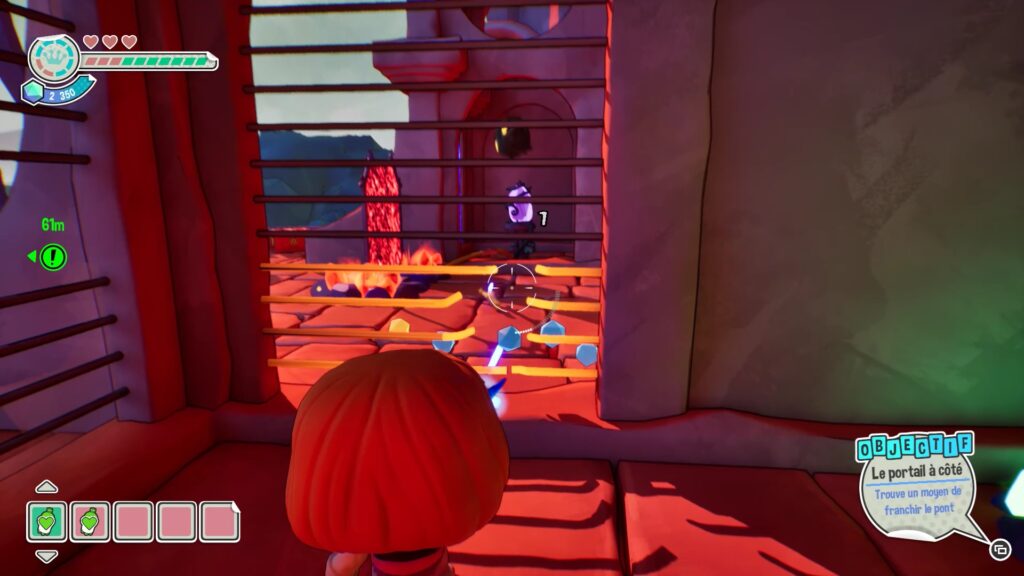
Create a portal and place it at the end of the bridge facing the second portal. Activate the latter on the other side and teleport. From this new position, look at the end of the bridge that you need to reach. Activate a third portal on the right and teleport there. You will find yourself in a cage. In front of you, shoot a purple crystal to activate a fourth portal.
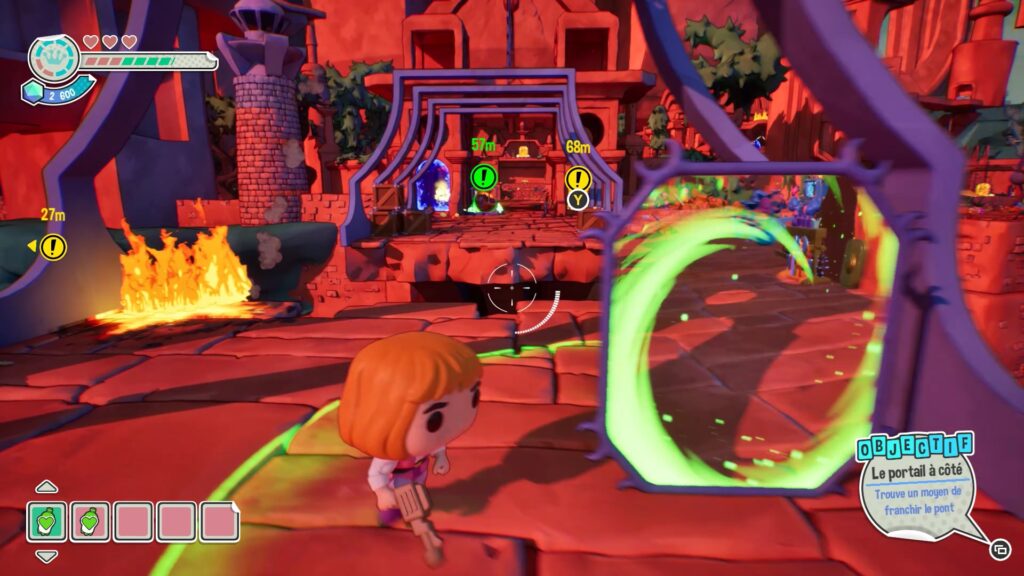
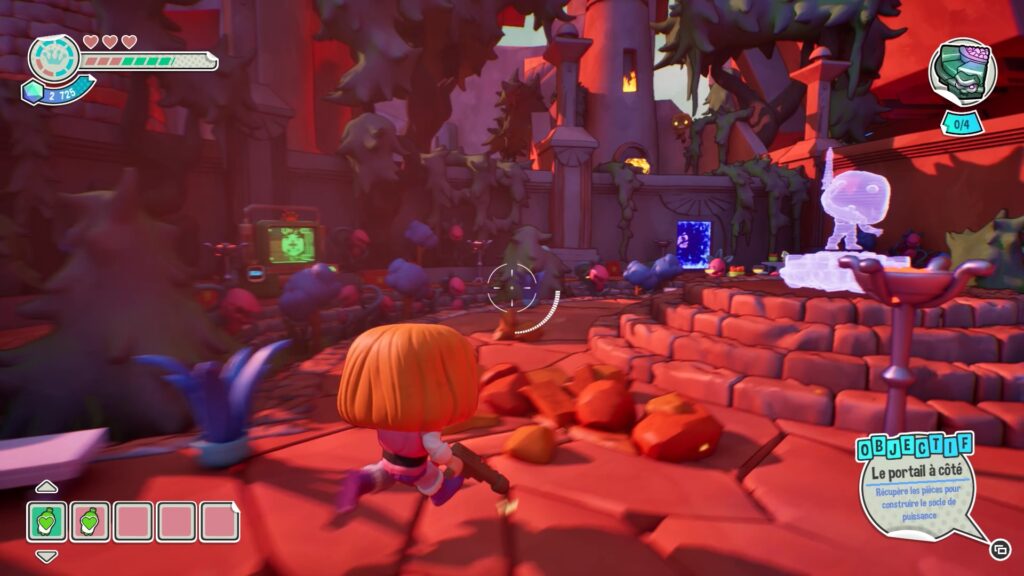
Return to the center of the bridge and activate the fourth portal on the left. Teleport through this portal to cross the bridge permanently. In the new area, you will find a Power Base, but it is missing some parts to collect.
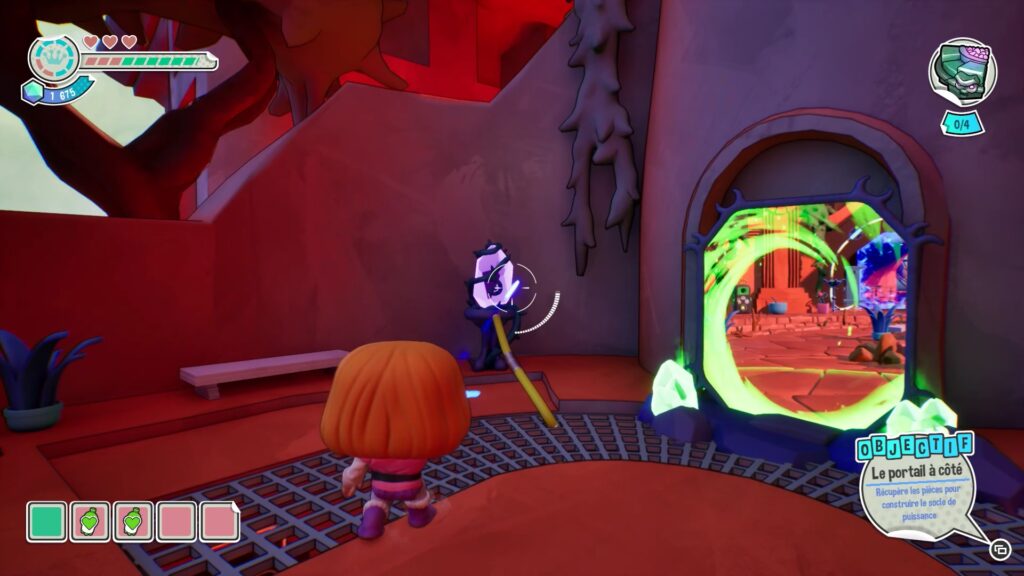
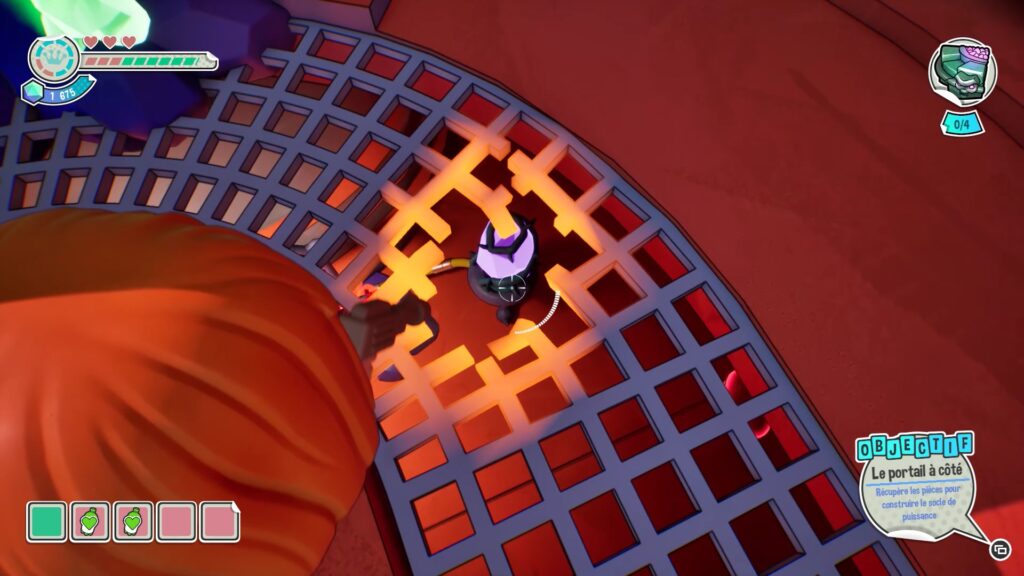
To get the first piece, create a portal near the base, facing a tower with fire on top and a red portal at the bottom. Teleport to the top portal of the tower and shoot the crystal nearby. Then, look under your feet to find a grate with a melted part. Use this melted part to shoot the second crystal at the bottom.
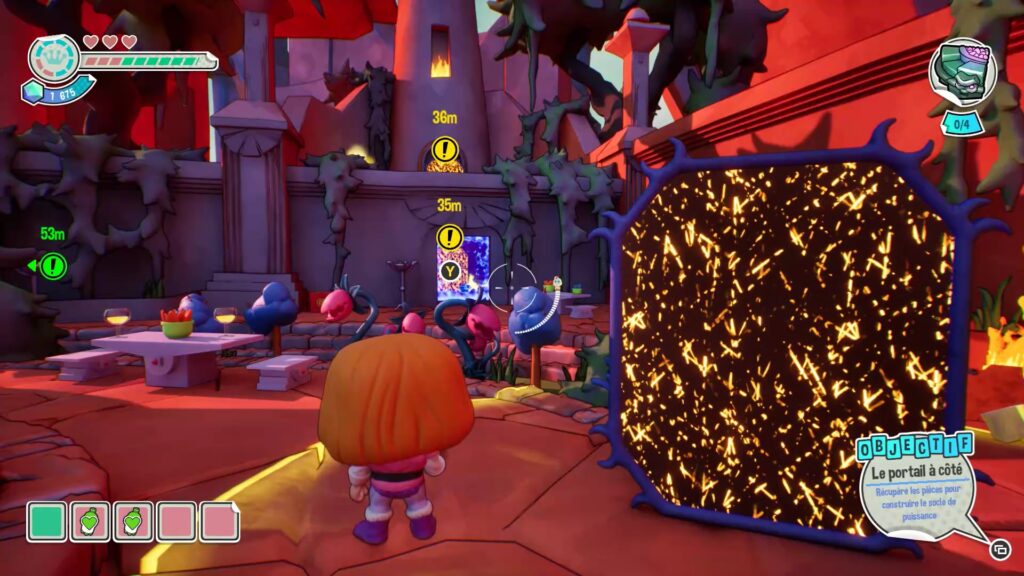
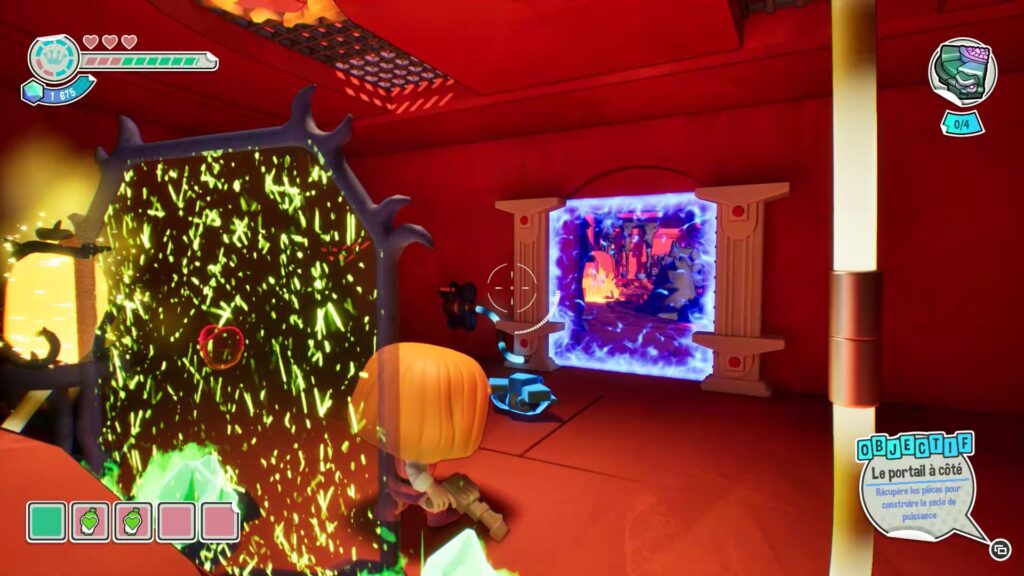
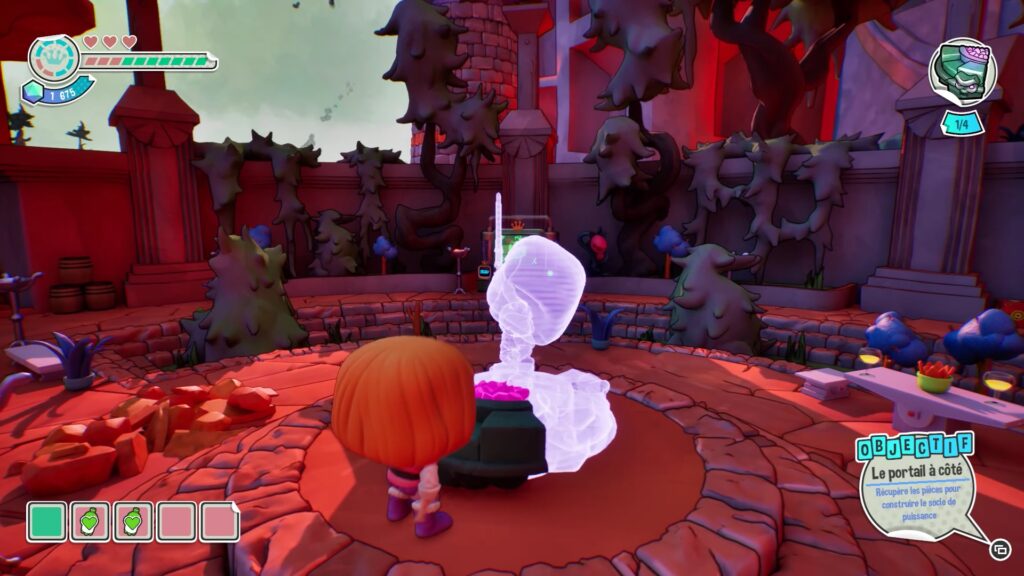
You have unlocked the portal in the lower part of the tower. Go back down to your starting portal and activate the one at the bottom of the tower. Teleport to collect the first piece of the pedestal, then place it on the pedestal.
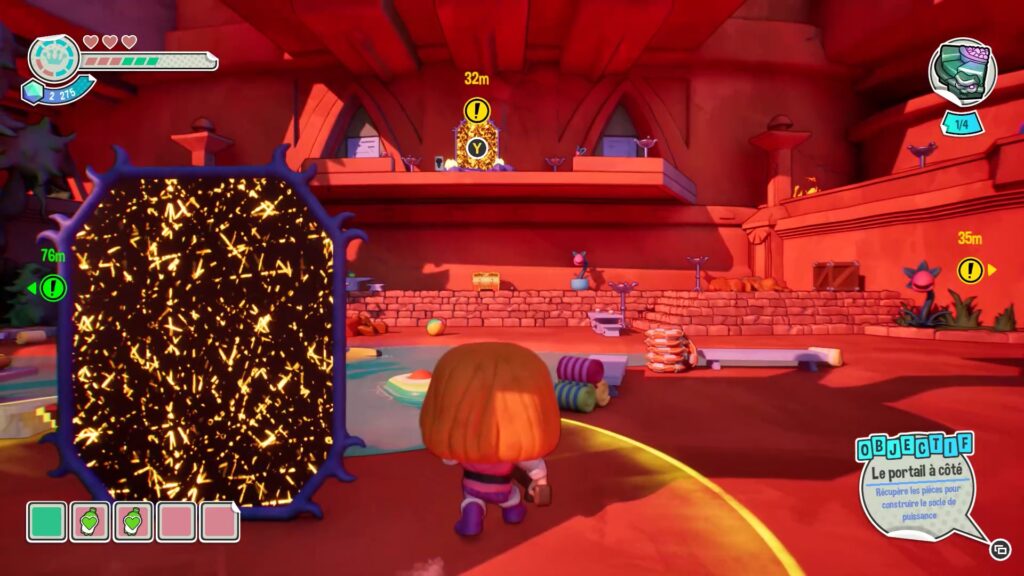
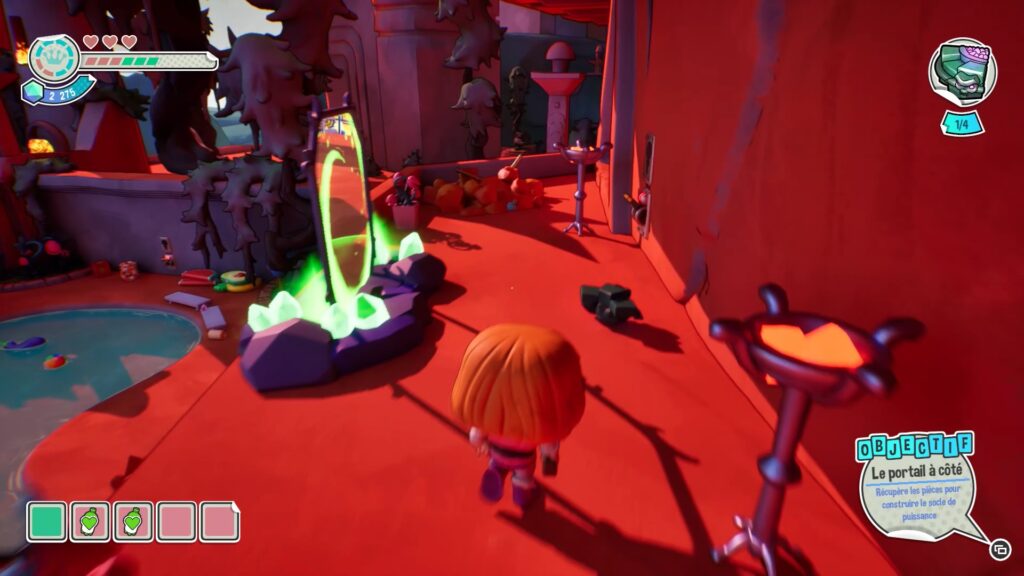
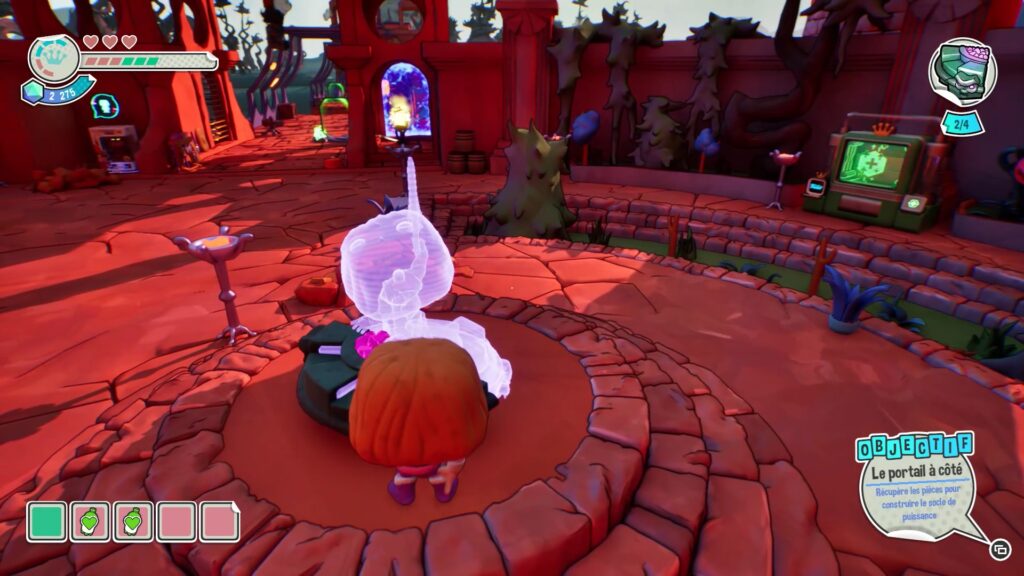
Collect your portal and place it near the pool, in front of a high portal. The pool is facing the power pedestal. Teleport to the high portal of the pool to collect a second coin, then place it on the pedestal.
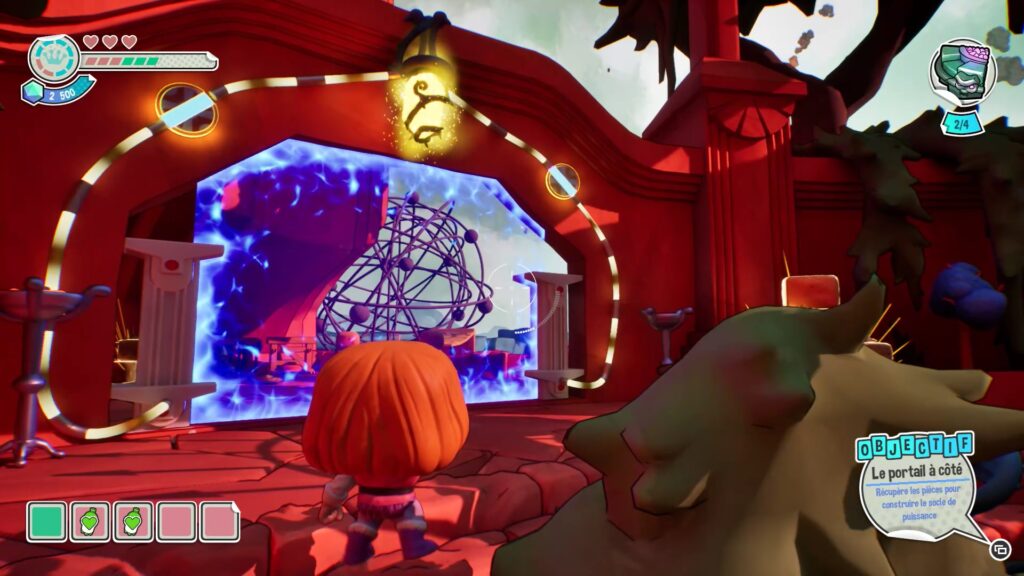
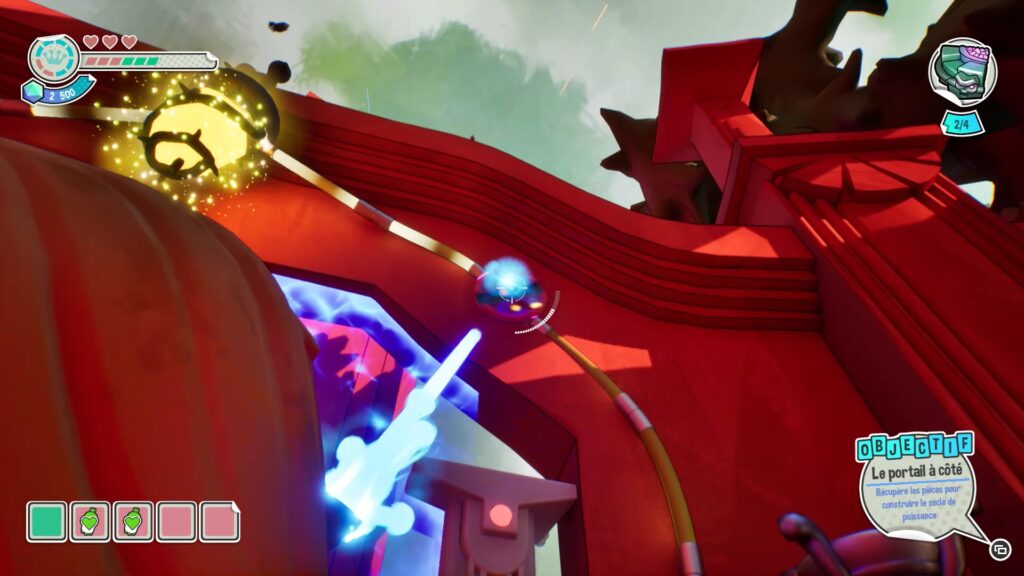
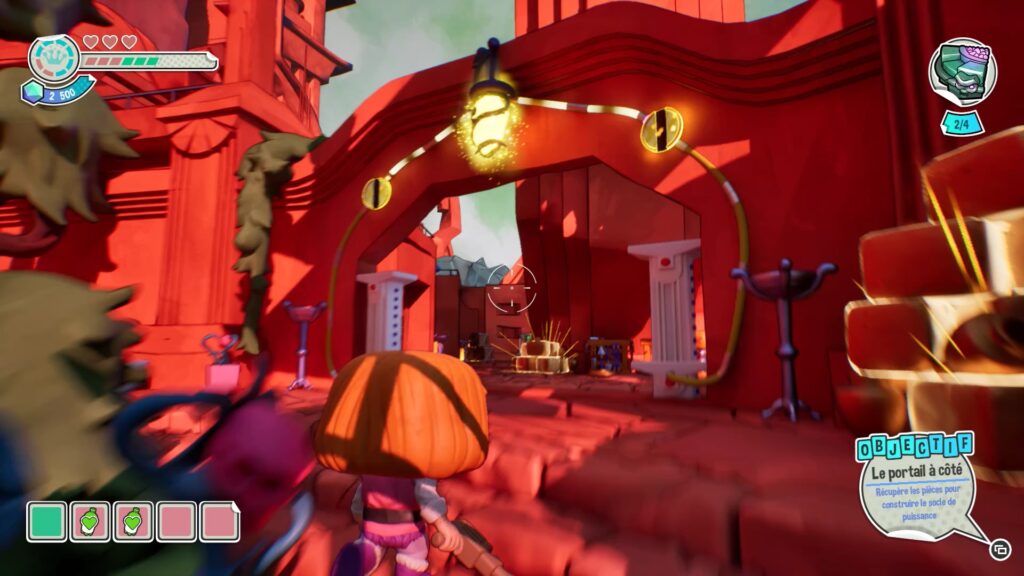
Now head to the right side of the area. To do this, you need to turn off the large blue portal that is blocking your path. Shoot the two dots on either side of the central crystal to make them rotate and thus cut off the power to the portal.
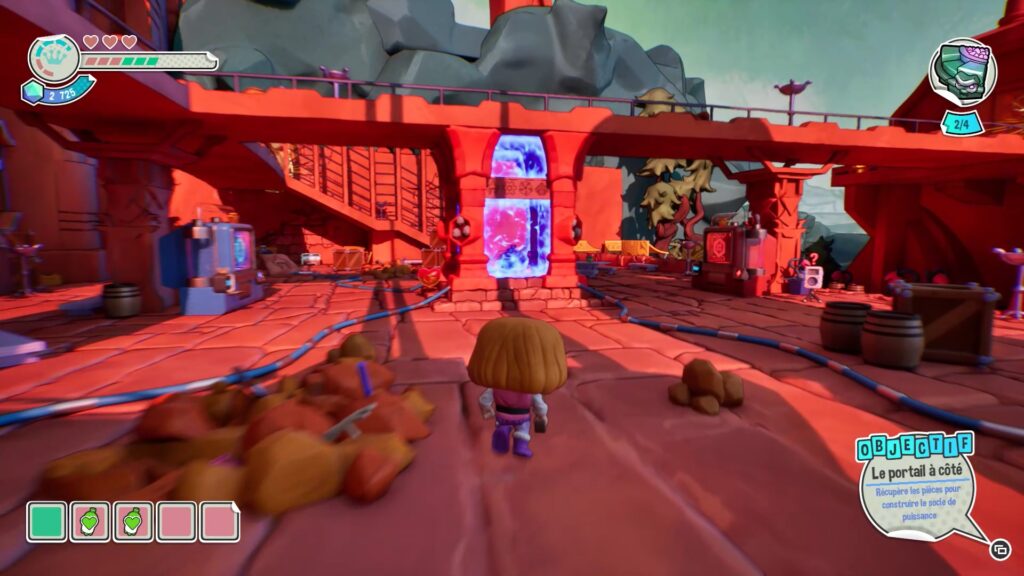
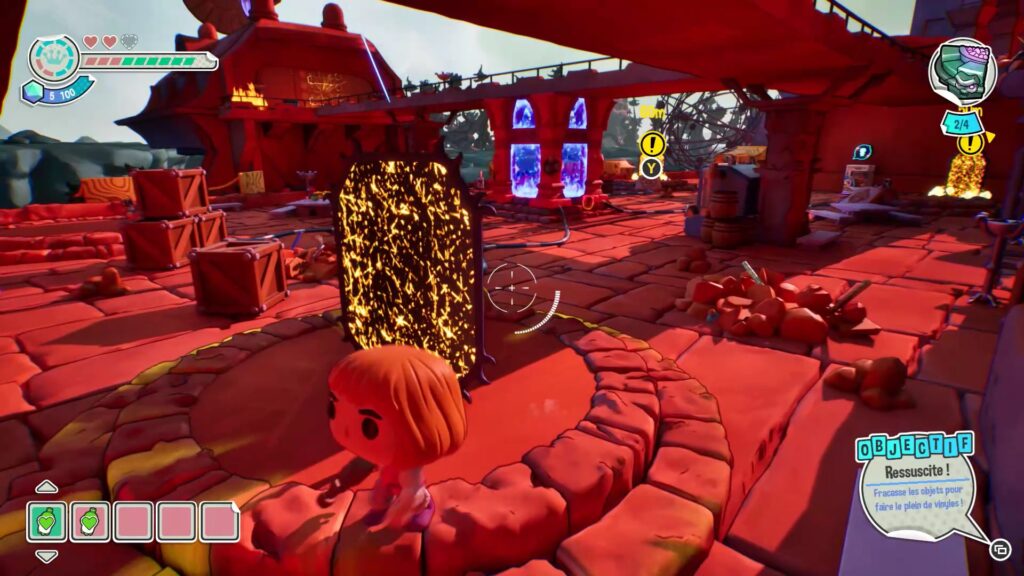
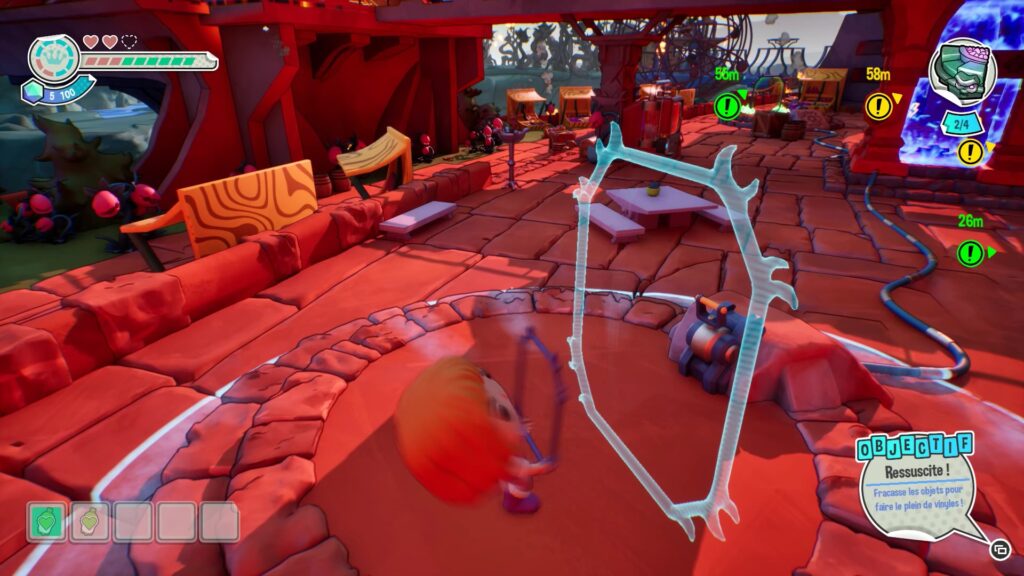
Advance into this new area. You discover a coin stuck in a pillar surrounded by a blue portal. This portal is connected to four locations: two with portals and two without. Create two portals and place them on the two locations without portals.
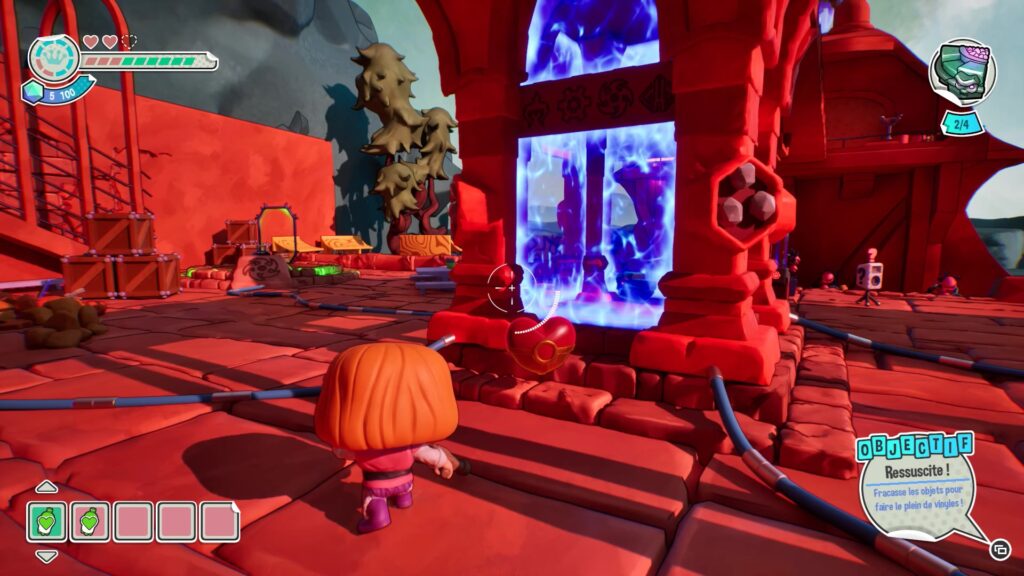
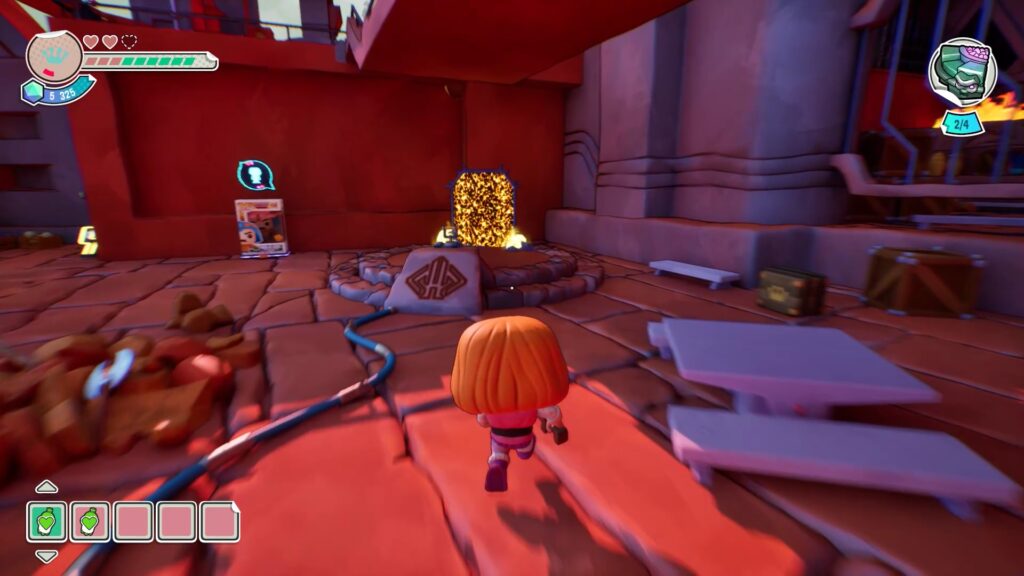
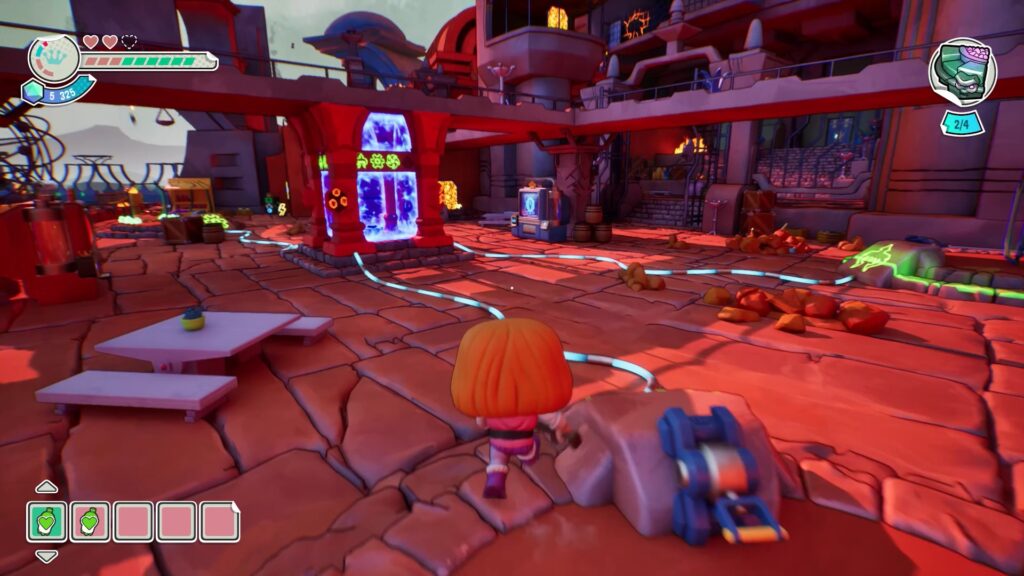
Next, analyze the area. Each portal is located near a lever, which activates a symbol on the central pillar containing the base piece. Go near the central pillar and observe the order of the symbols to activate. Now examine each lever to discover the location of the symbols.
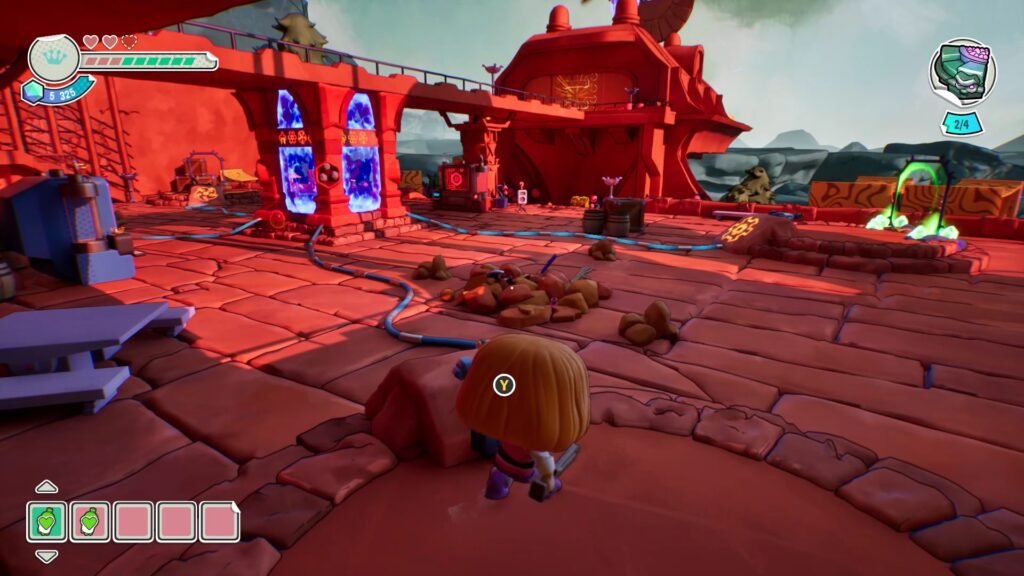
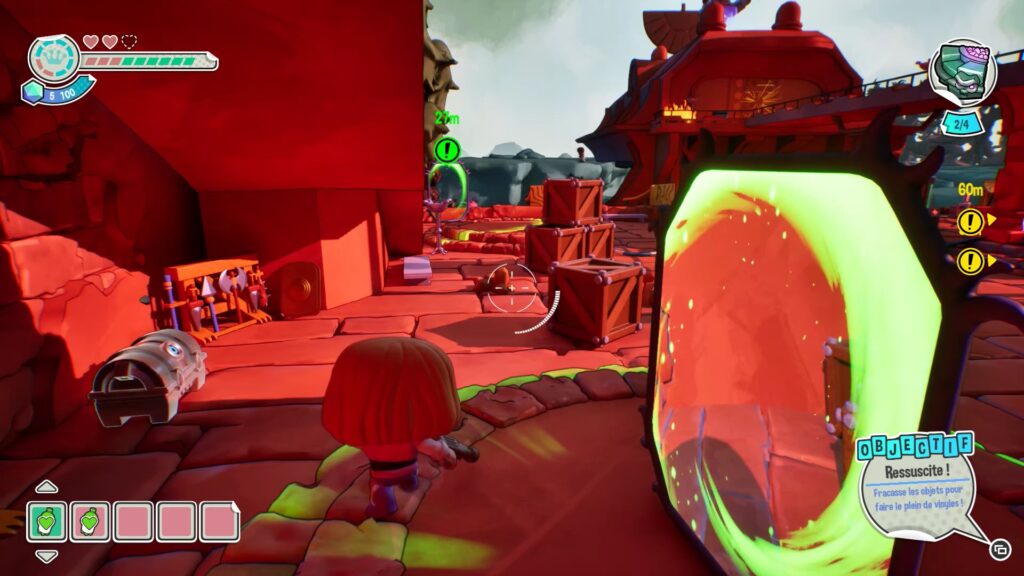
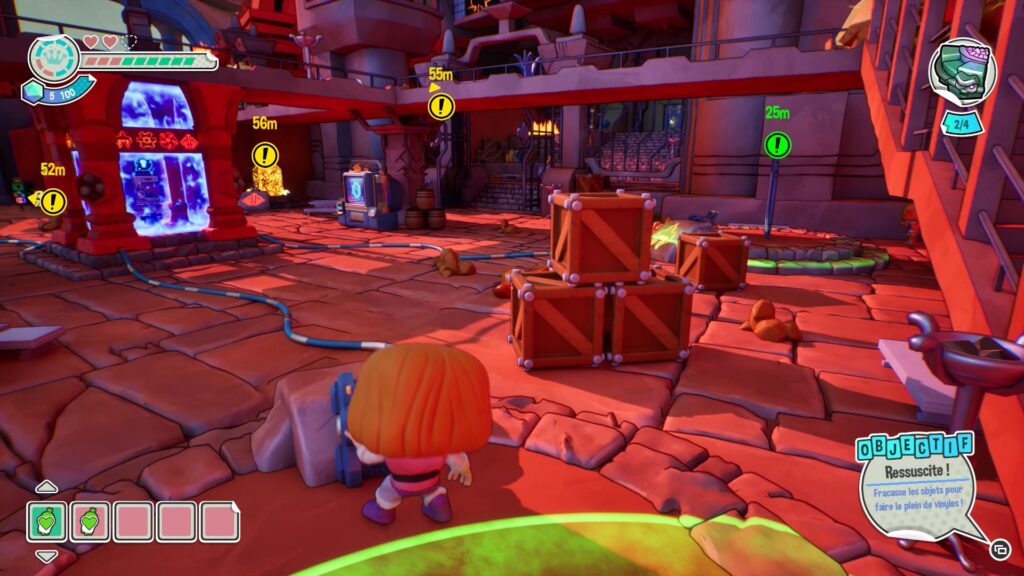
Now that you know the order of the symbols to activate and their locations, teleport from portal to portal to lower the levers as quickly as possible. If you make a mistake or are too slow, the symbols on the central pillar will turn red, and you will have to start over. You can also run from one location to another to achieve this.
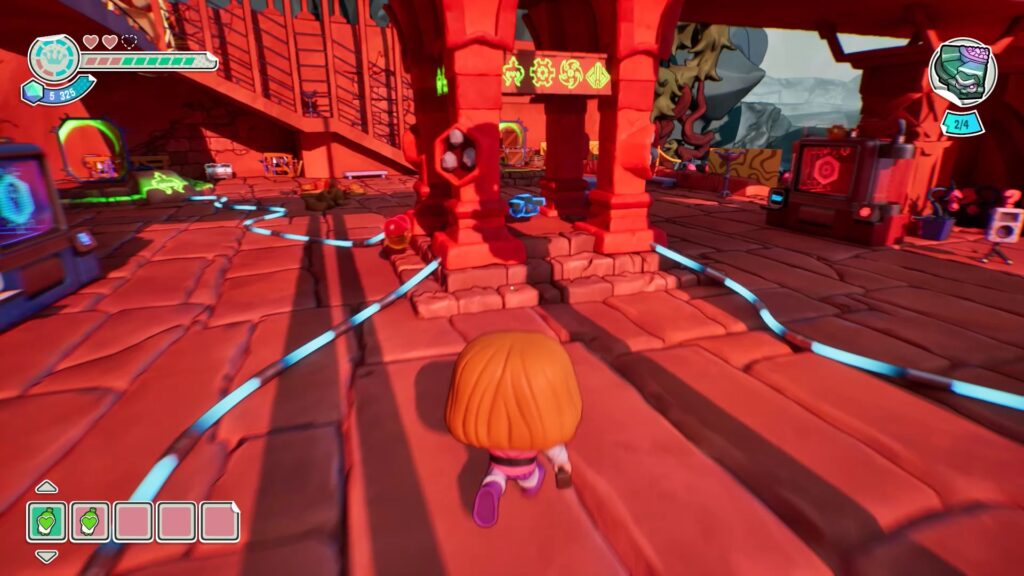
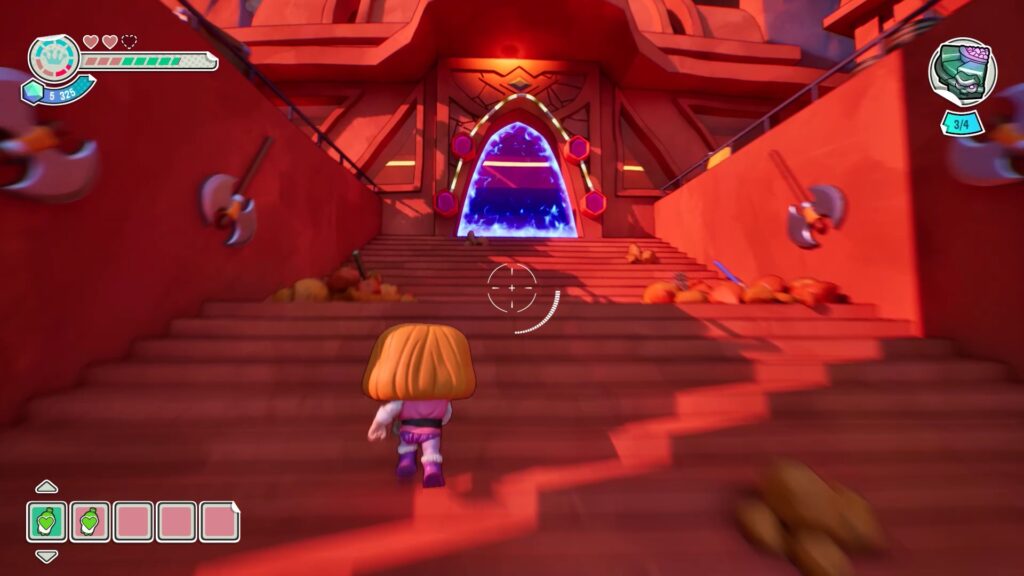
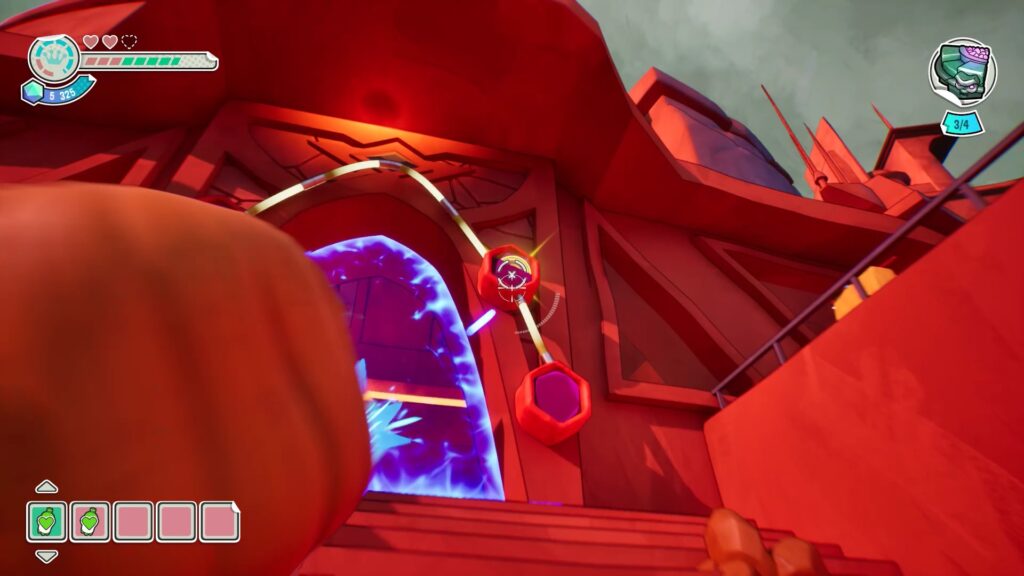
Once all the symbols are activated in order, collect the coin from the central pillar and place it on the power base. Then, return to the previous area to climb the stairs. At the end of the stairs, a blue portal with four crystals blocks your path. Shoot the four crystals to move forward.
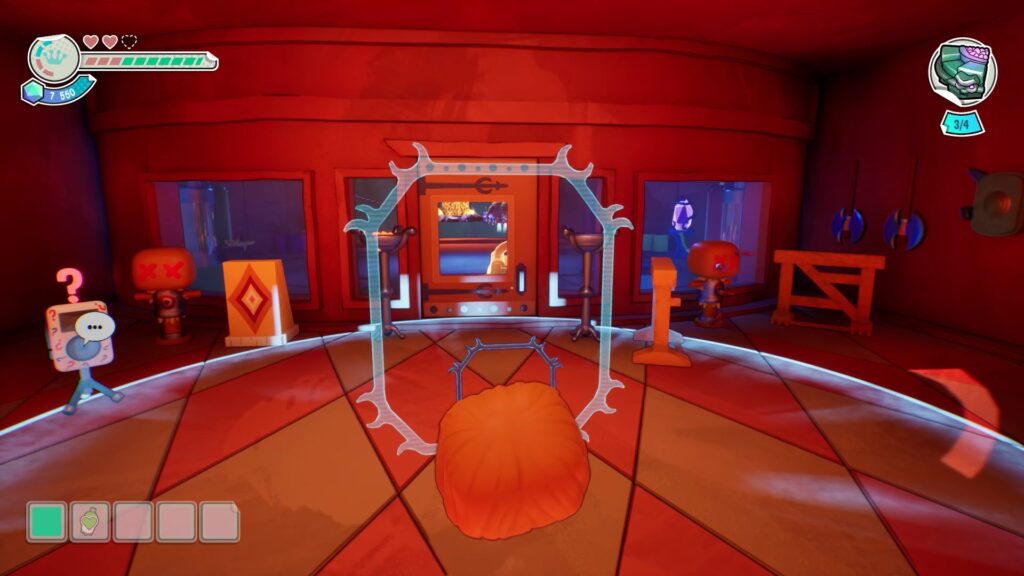
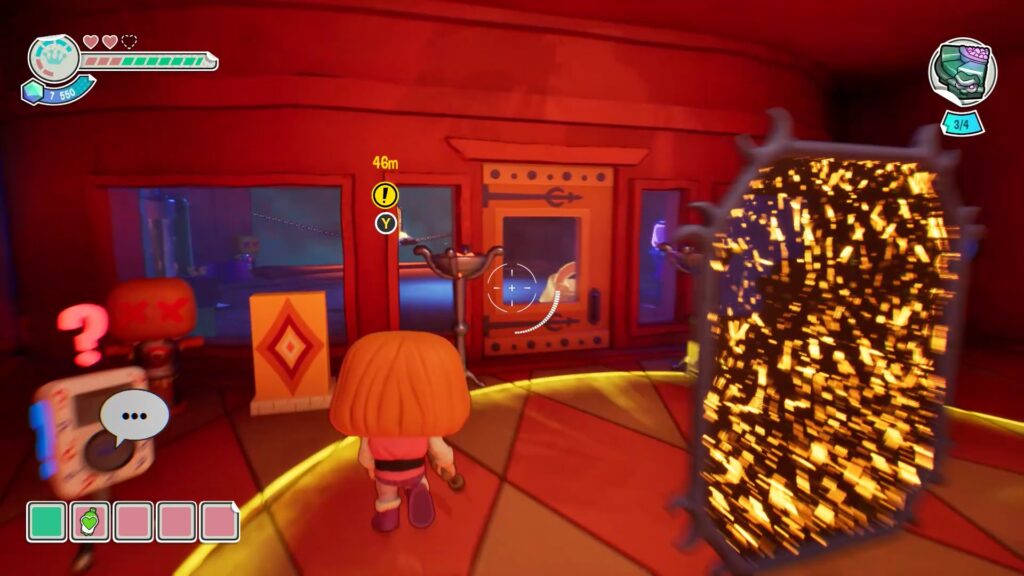
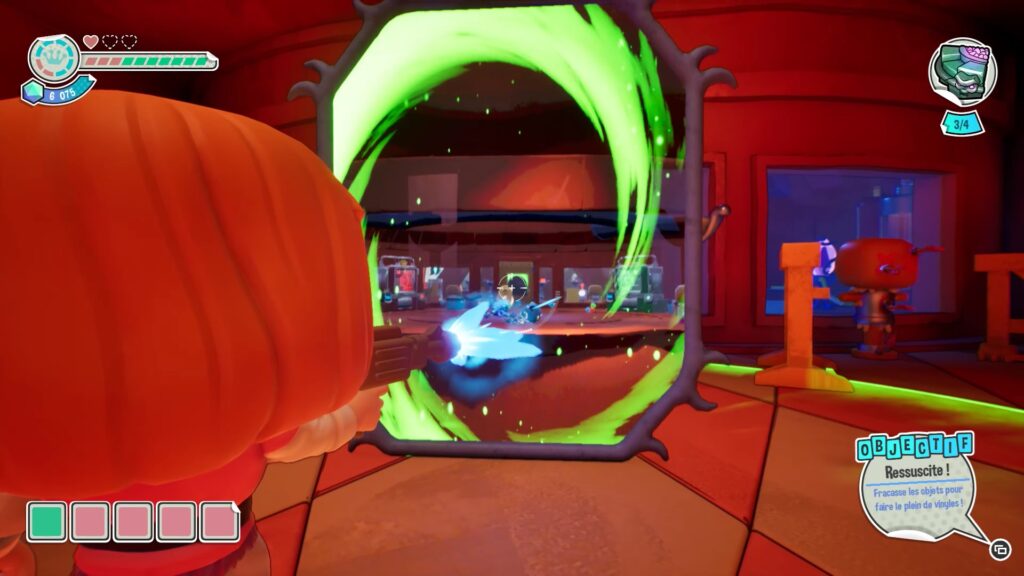
Enter the room and create a portal. Place it in front of the locked door leading to a second portal. Activate this second portal without teleporting inside. Stand in front of your portal and look inside to see the inside of the room in front of you. From your position, shoot through the portal at the padlock on the locked door.
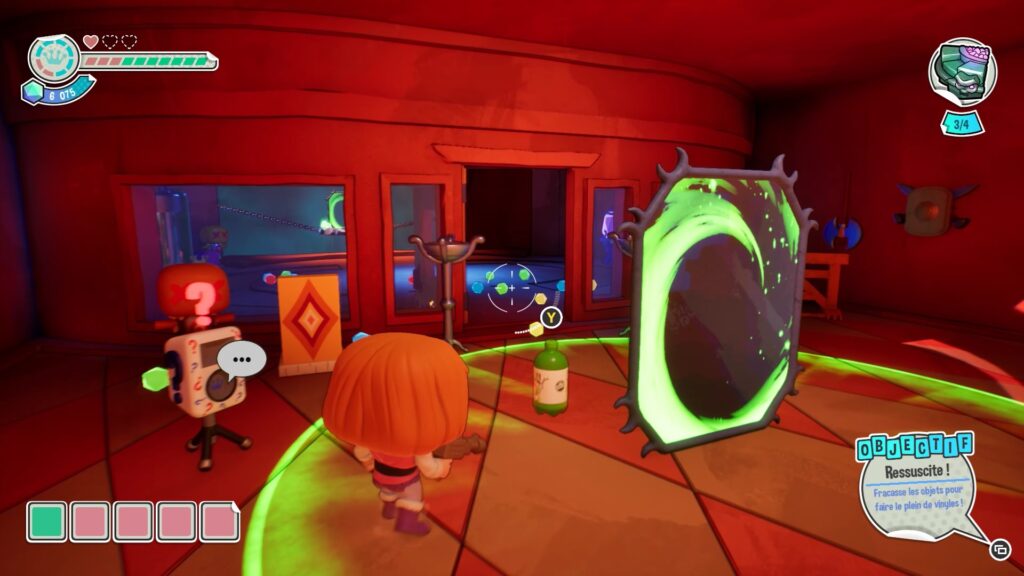
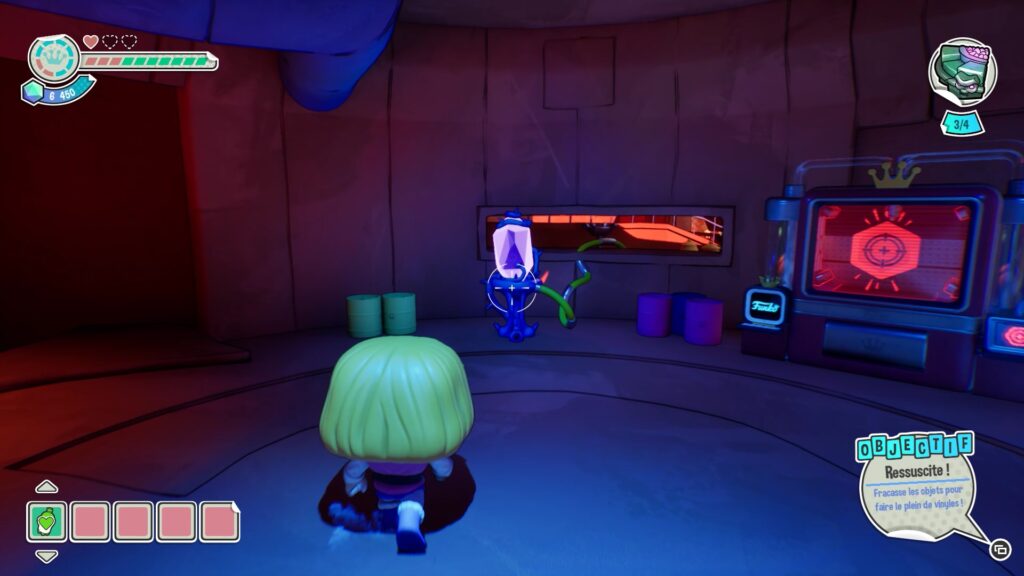
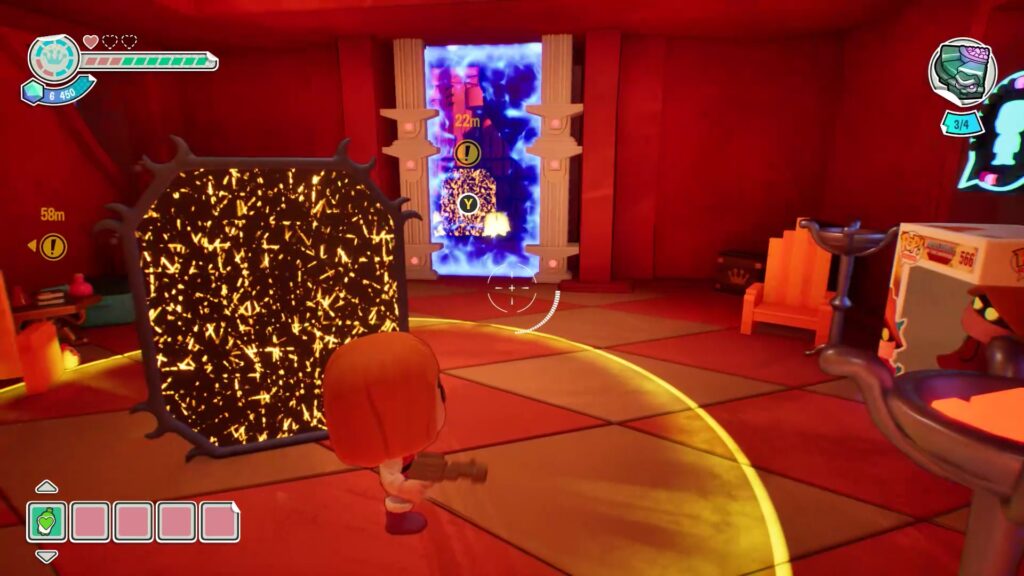
Once the door is unlocked, enter the new area. There you will find a purple crystal near a construction machine. Shoot the crystal to unlock a new portal. Exit the room and retrieve your original portal. Place it in front of the portal you just unlocked, on the right, behind the blue portal.
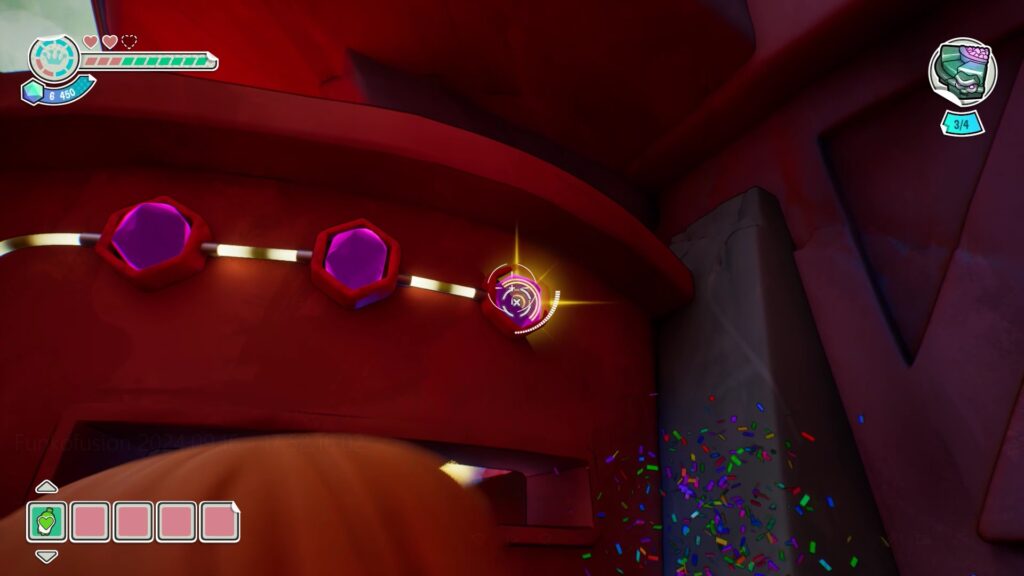
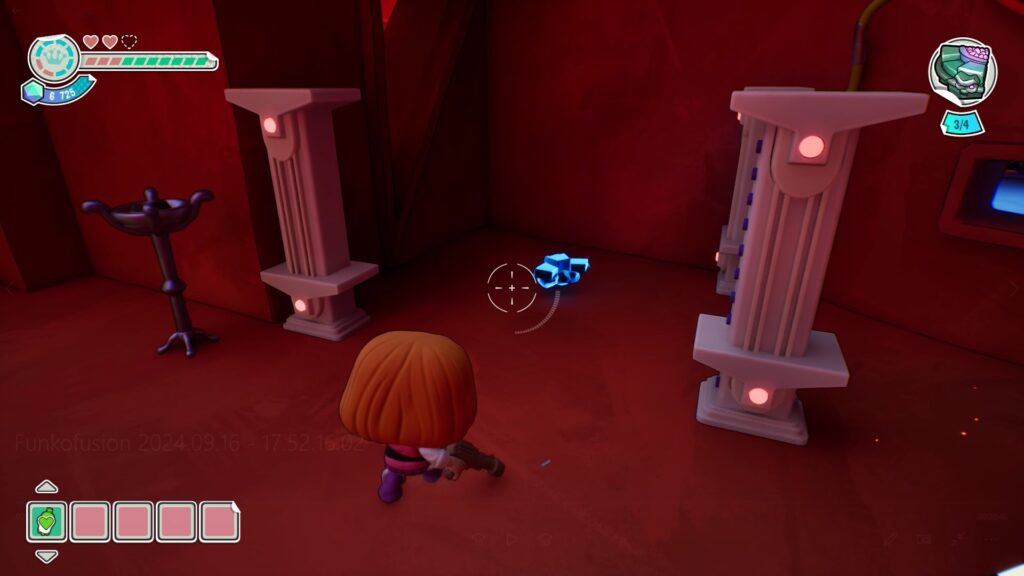
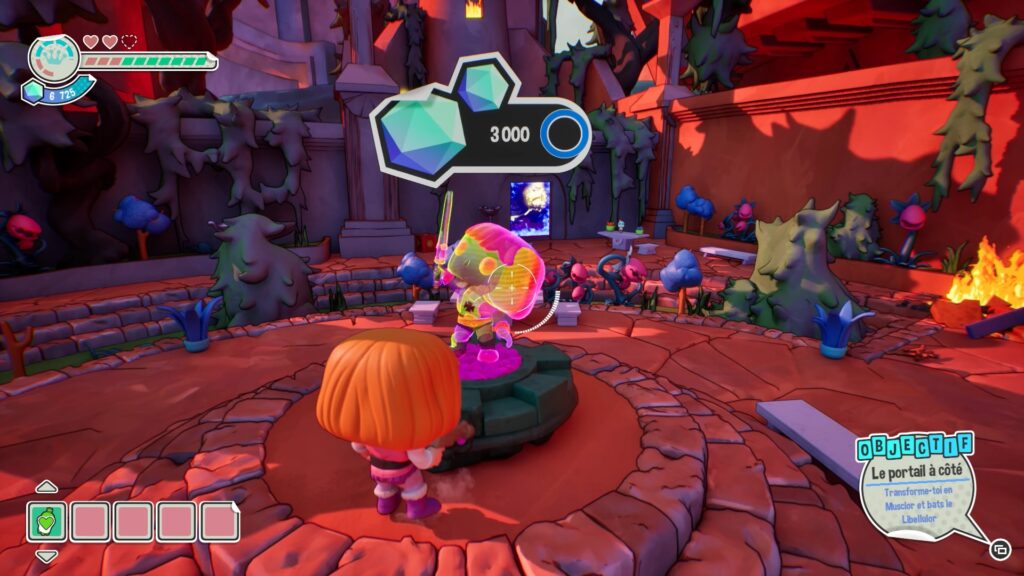
Teleport into this new portal to find one of the rooms behind a blue portal. To deactivate the blue portal, shoot the three crystals above that are connected to it. Once the portal is unlocked, collect the room and go complete the power base.
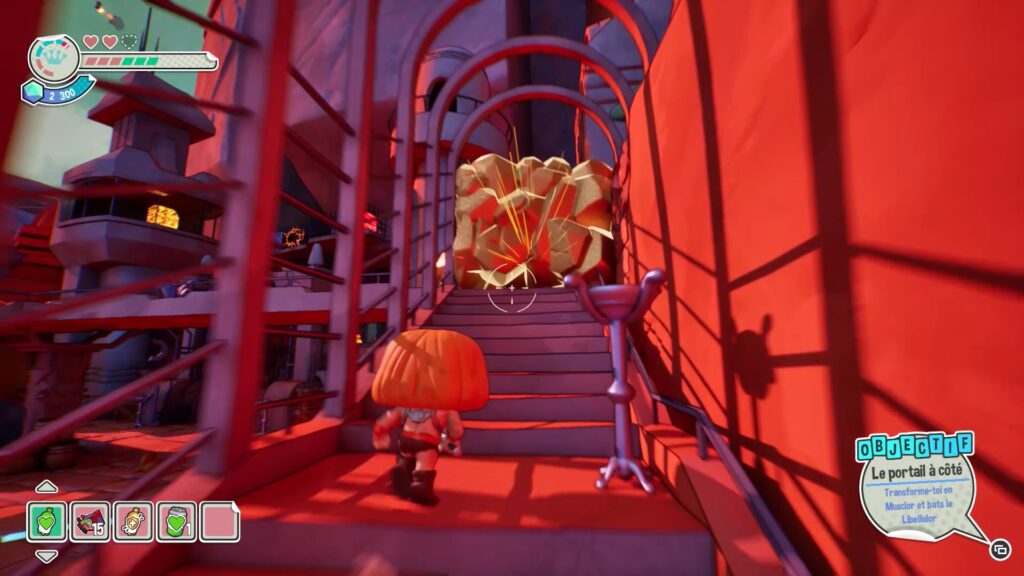
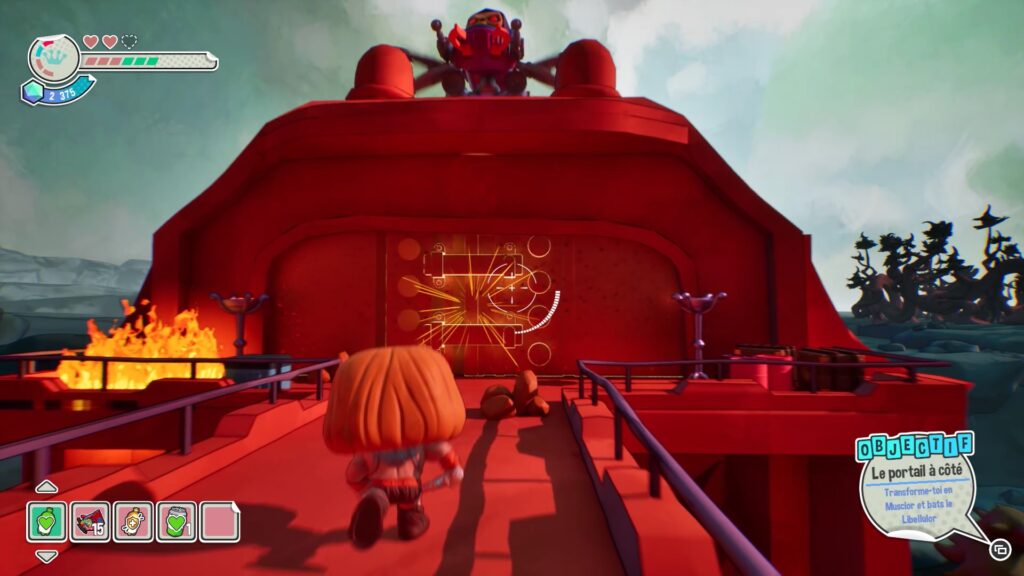
Now transform into He-Man and return to the area where you followed the symbols. Go up the stairs to the right of the area and break the rocks that block your path. Then move forward on the bridge to reach the room under Libellulor. Knock on the door of the room to enter.
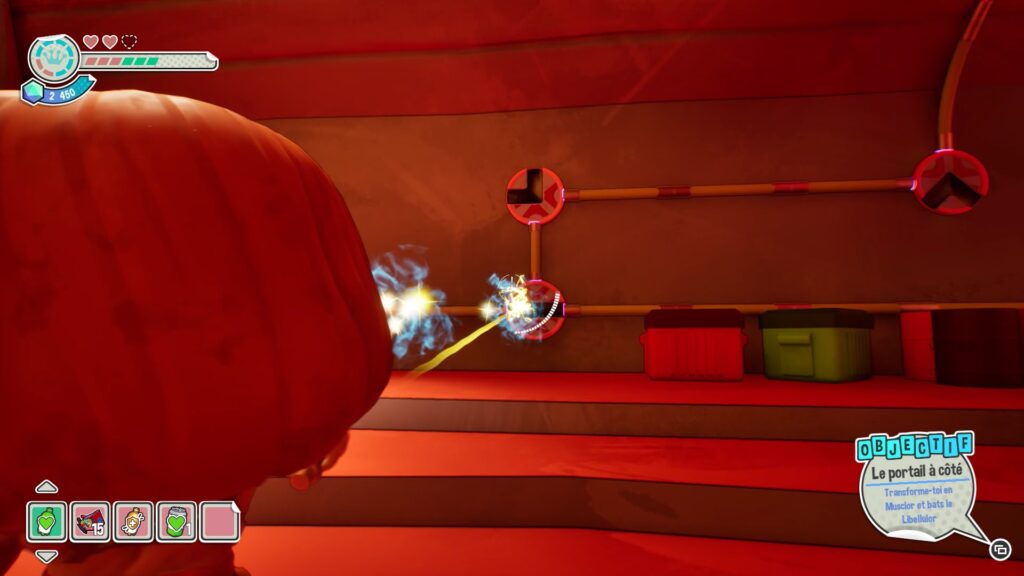
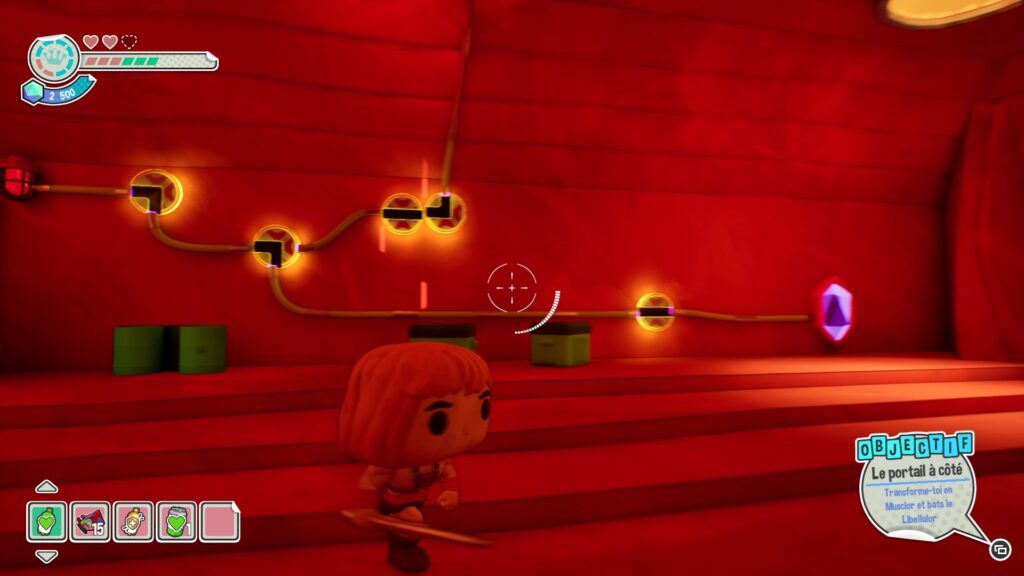
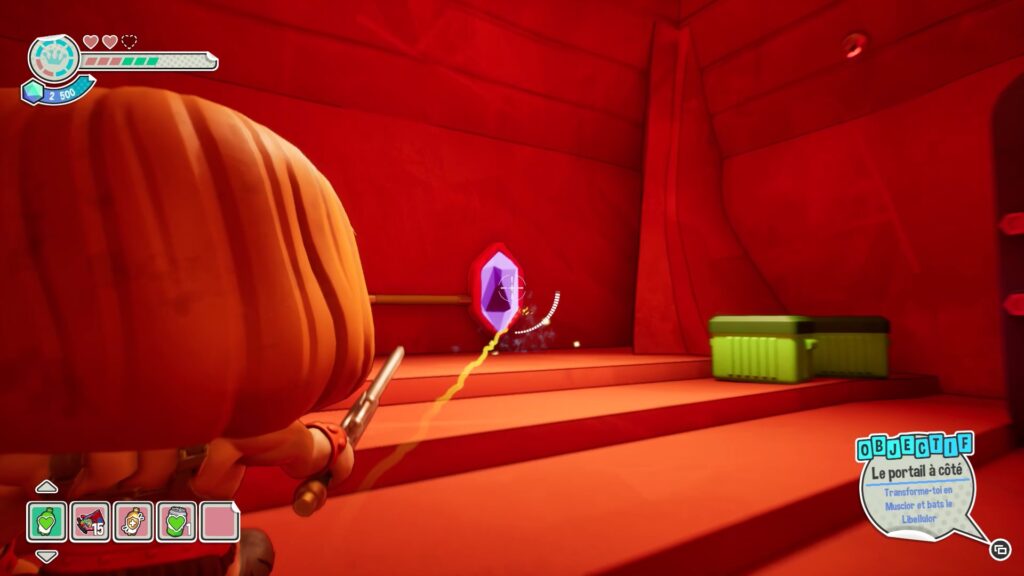
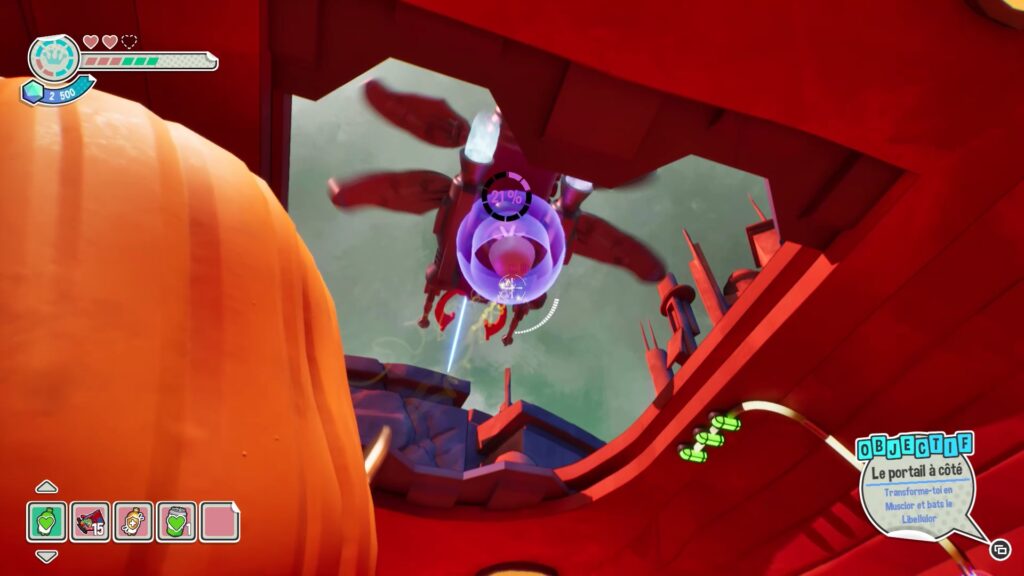
In the area, move the link points to power the power. Do this on each side of the room to connect all the points together. Once all the power points are connected, shoot the purple crystals to create an opening in the ceiling and find yourself under the boss. Aim for the purple part under the boss to defeat him and complete the chapter.
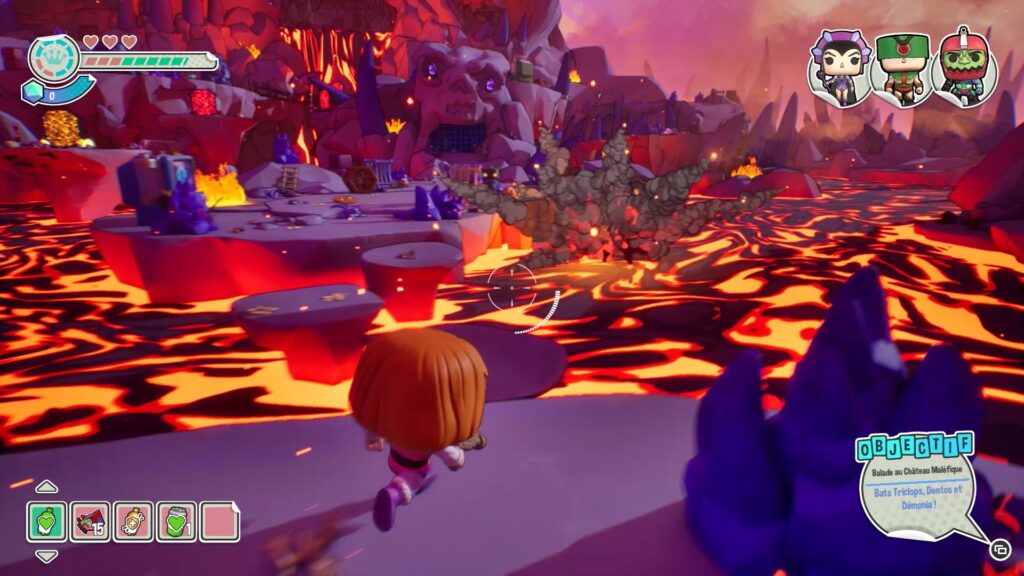
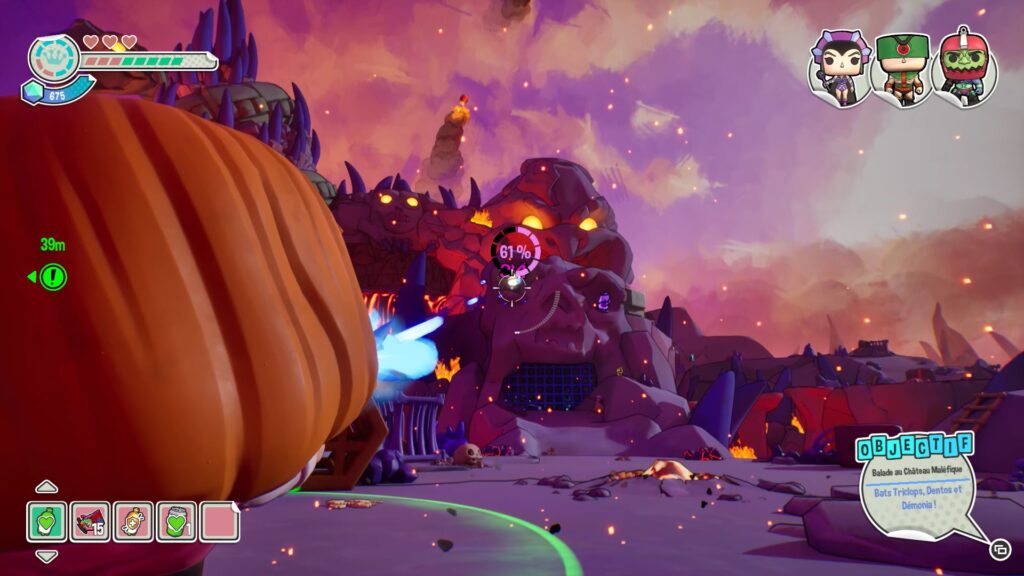
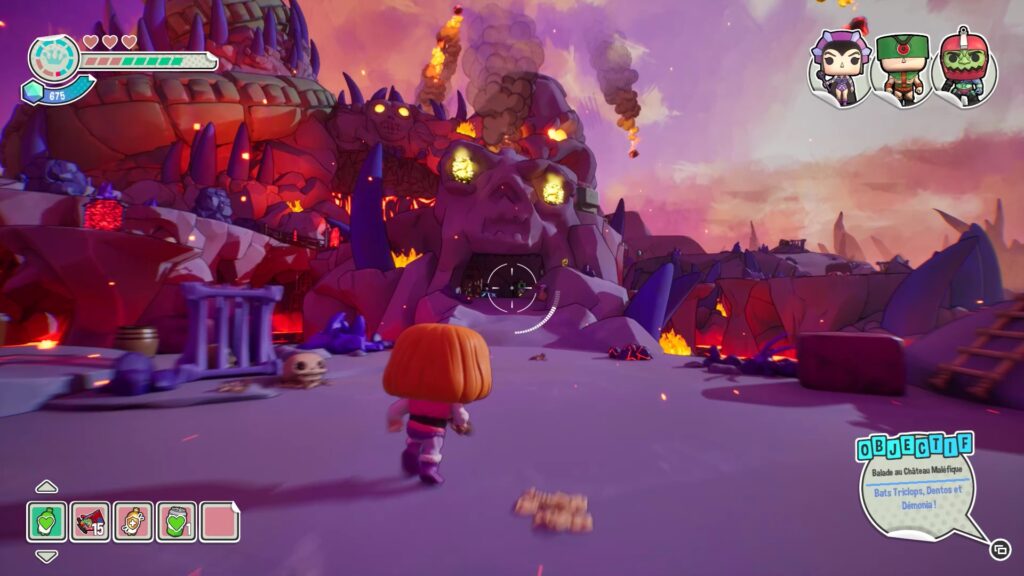
In this new level, you must defeat three bosses. For the first one, advance towards the face-shaped rock. Shoot the two crystals at its eye level to open a path.
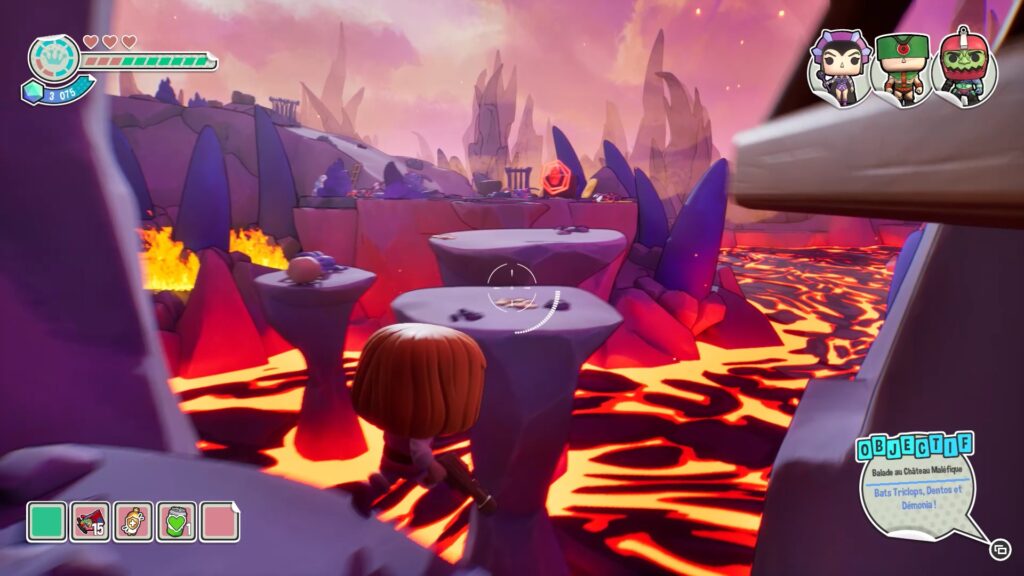
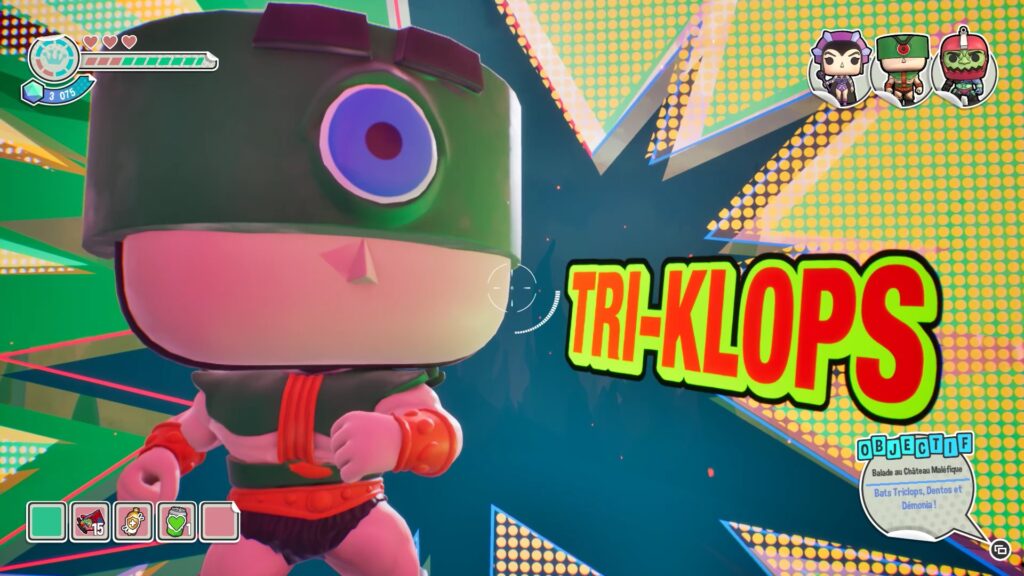
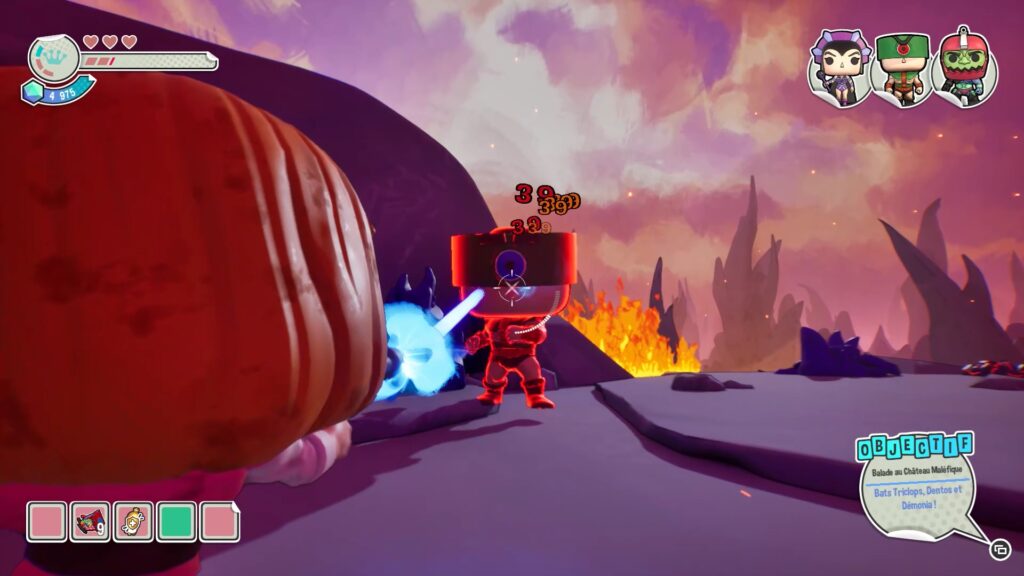
Move forward and jump from stone to stone to reach the Tri-Klops boss. He is quite easy to eliminate. From above, shoot him to make him come down. Jump to dodge his attack when he hits the ground, then attack him. Repeat this until you defeat him.
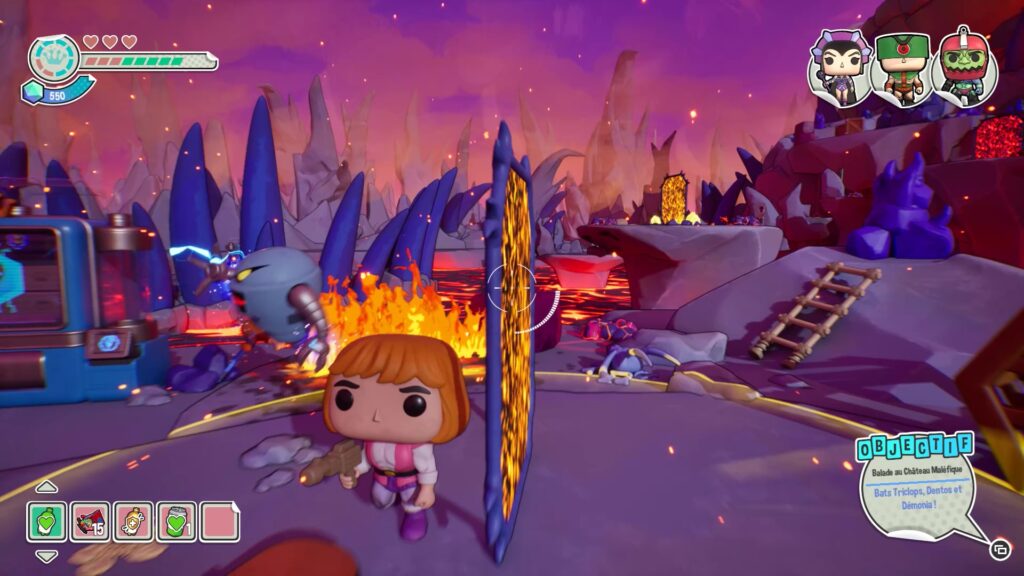
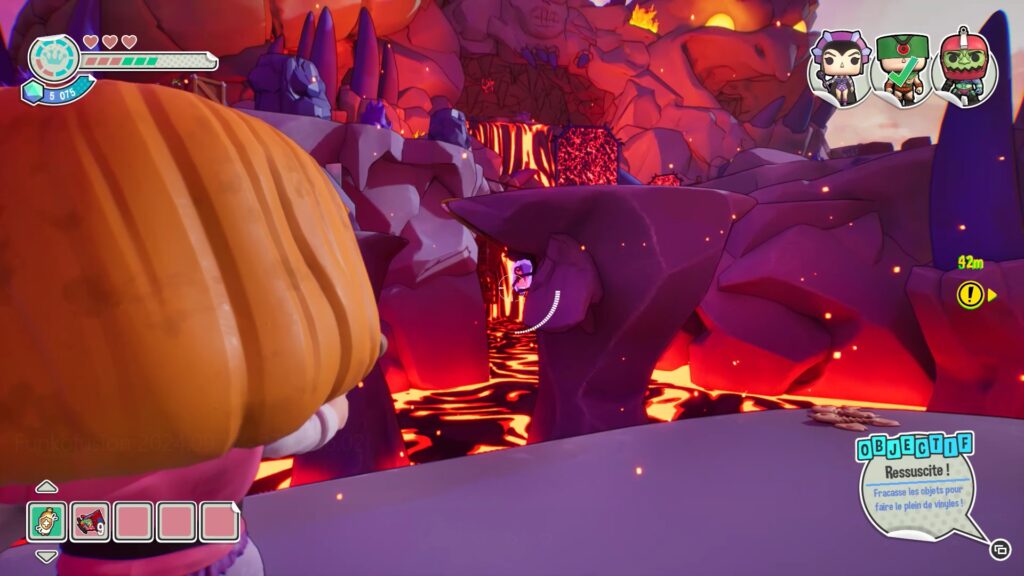
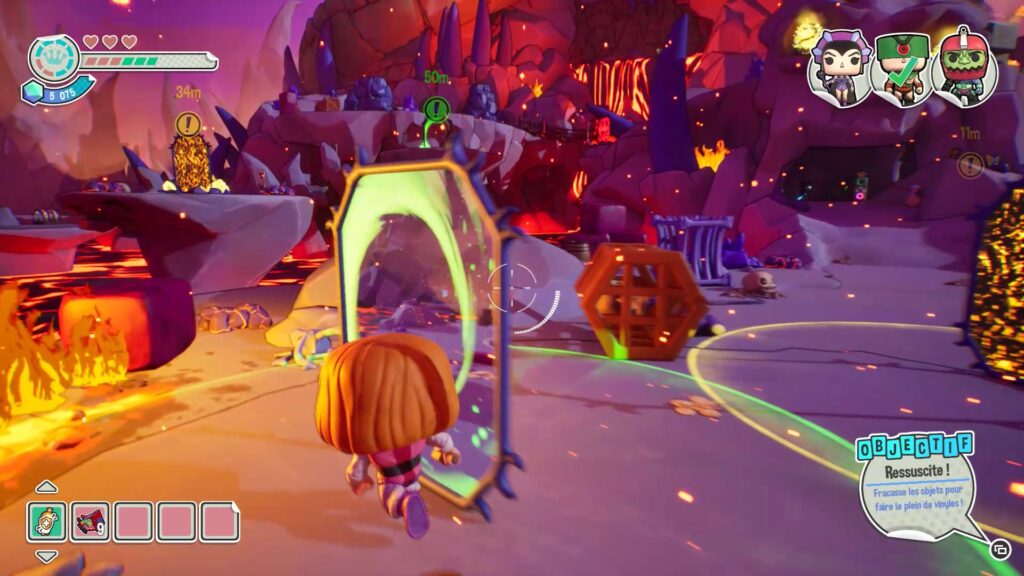
Now go back to the start of the level. Create a portal and place it in front of a second portal, on a rock to the left of the area. Activate this second portal and teleport inside. From this new rock, shoot the crystal that powers a third portal above.
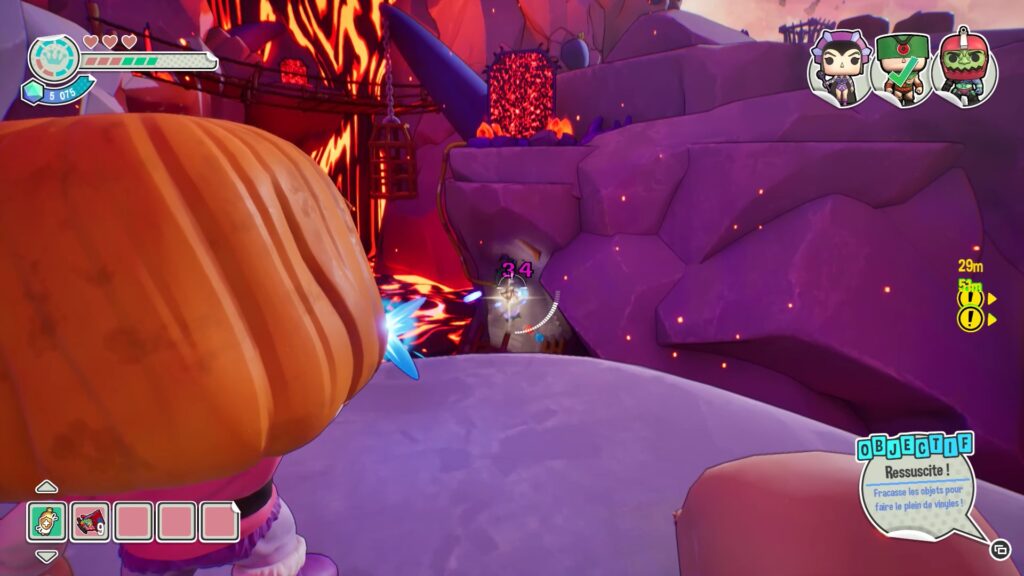
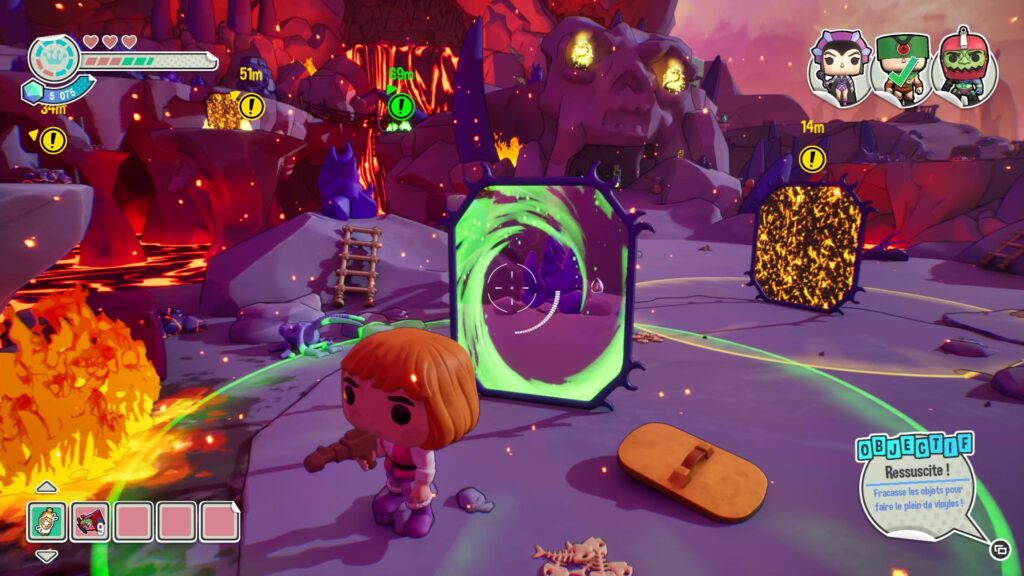
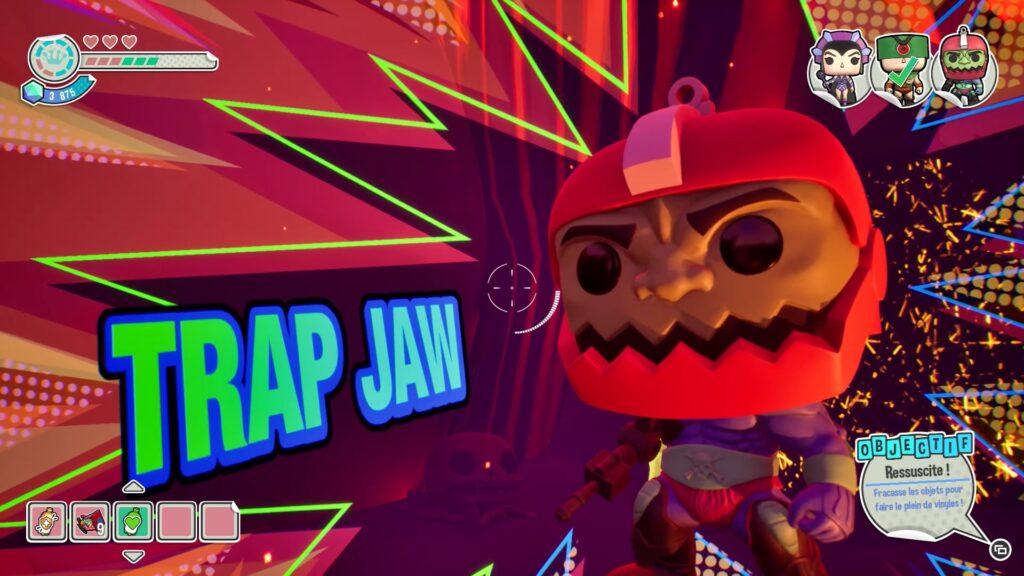
Return to your first portal and now activate the third portal you just unlocked. Teleport again and spot a fourth red portal. Shoot the purple crystal at the bottom of the portal to activate it. Do the same thing as before to teleport into this fourth portal, then move forward to find the second boss, Trap Jaw.
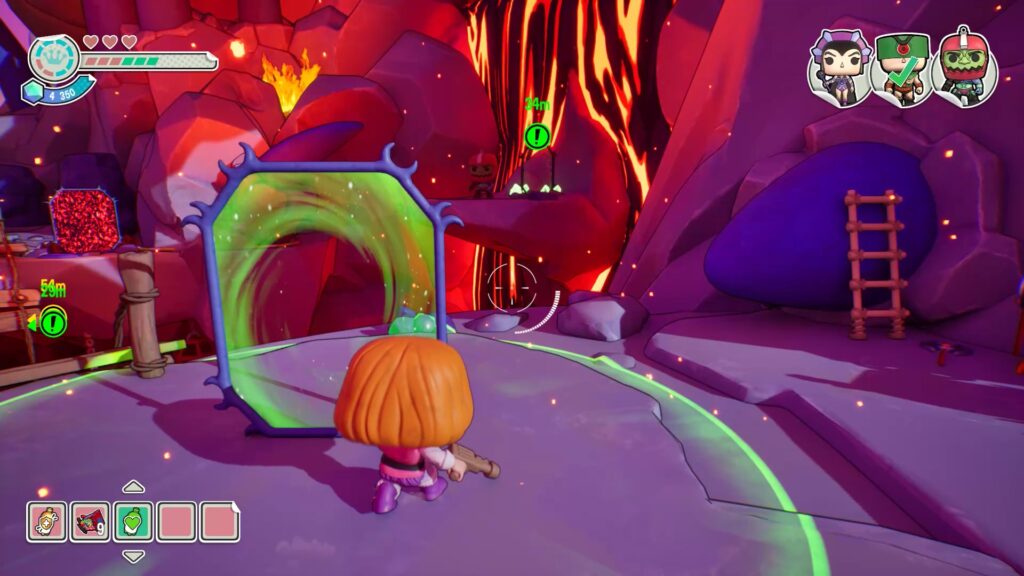
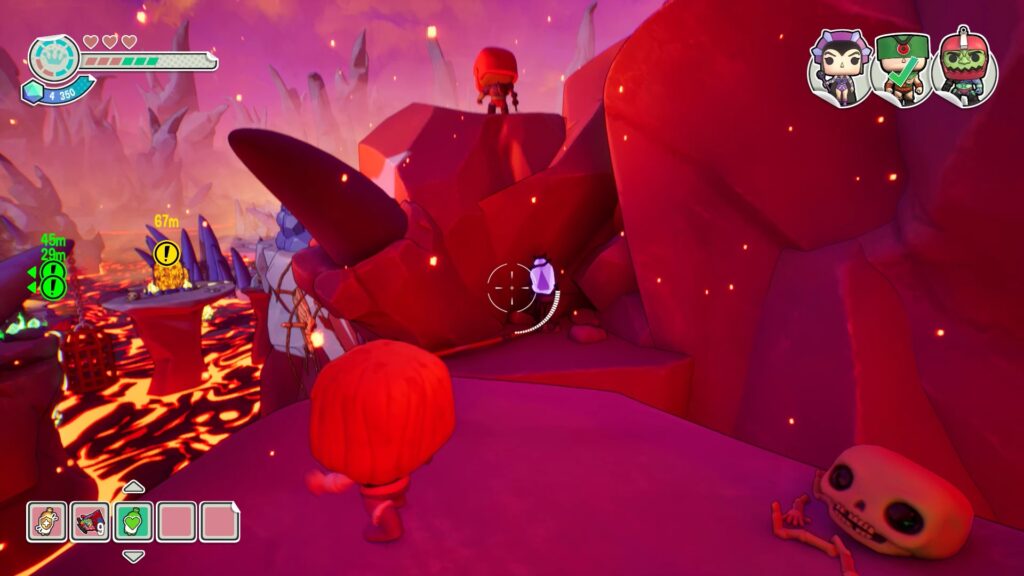
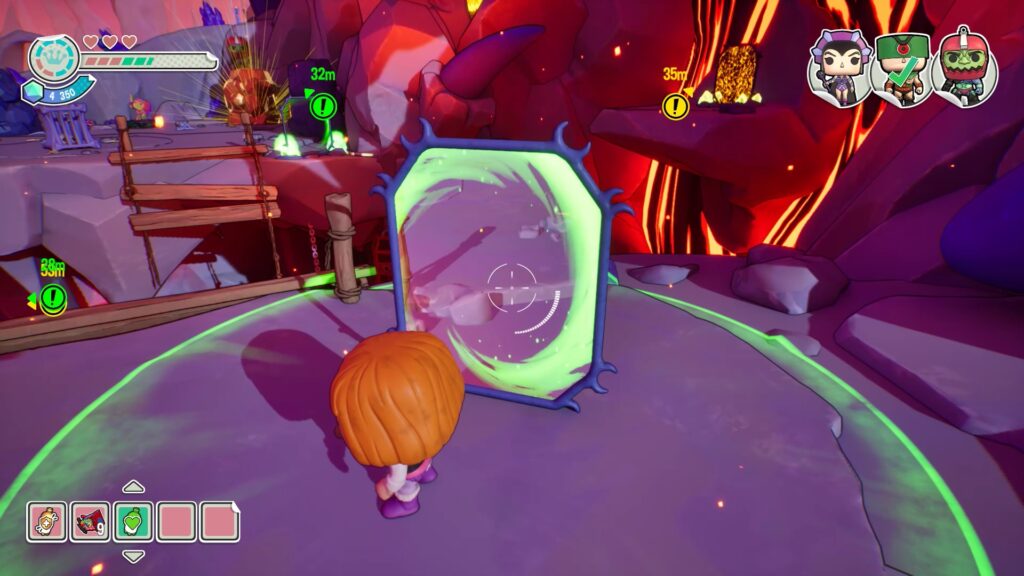
To reach the enemy, build a portal to teleport near him. Once you are near him, he will run away. From your location, shoot the purple crystal to unlock a new portal in the boss area. Teleport into this portal to reach your enemy.
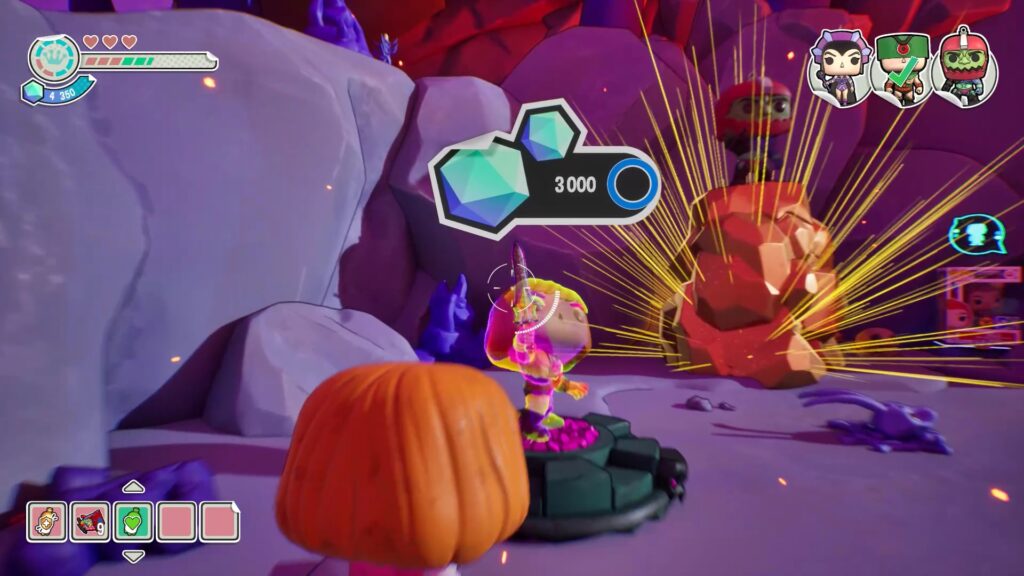
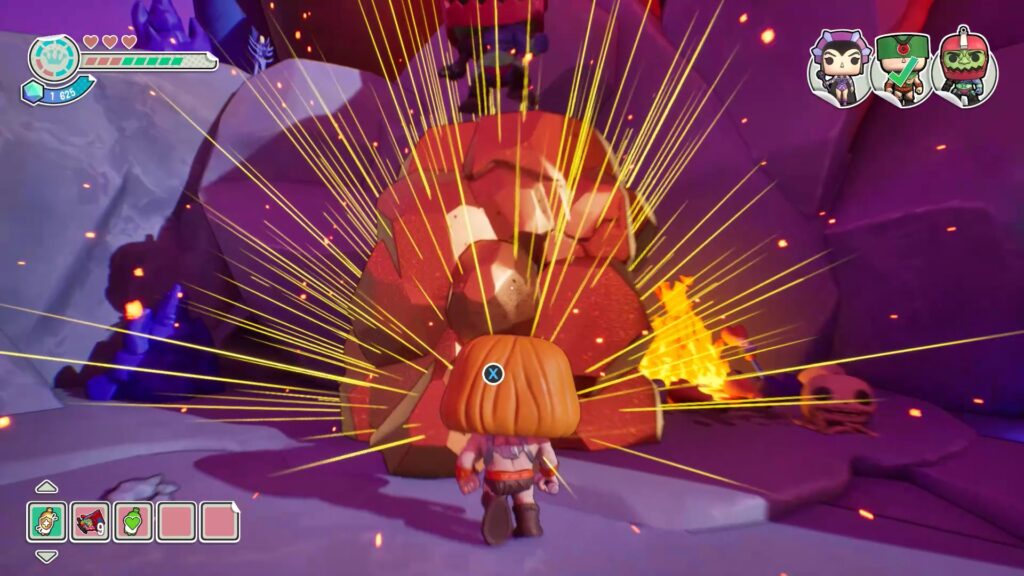
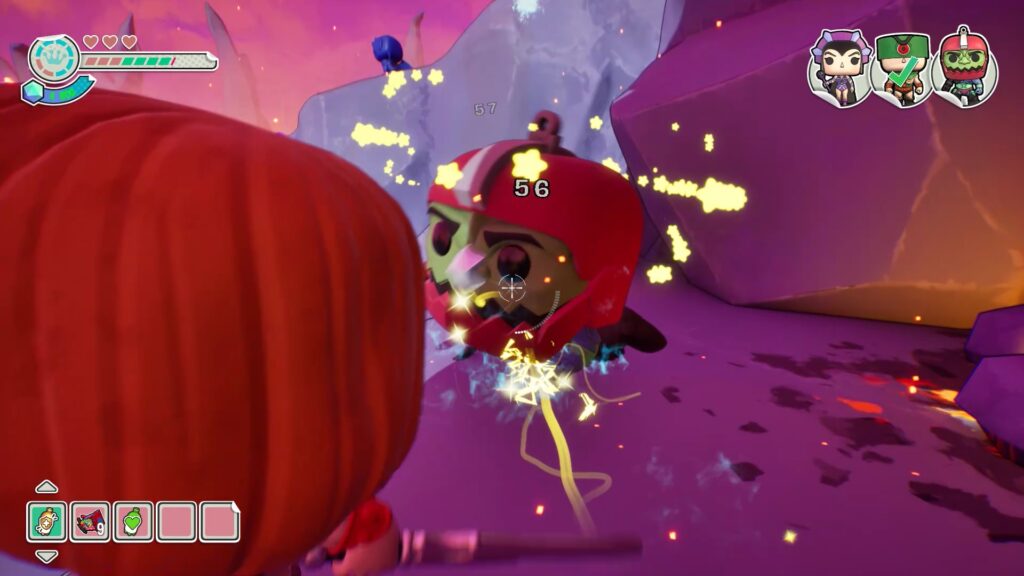
Stand on the power pedestal to become He-Man. Then, hit the rocks below the boss to make him fall. Once on the ground, attack him and repeat until you defeat him.
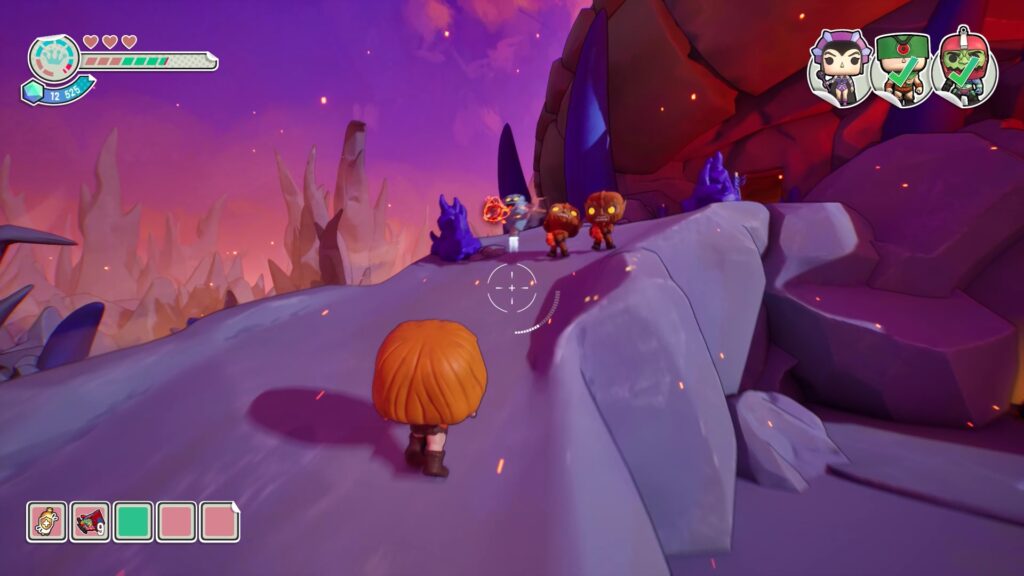

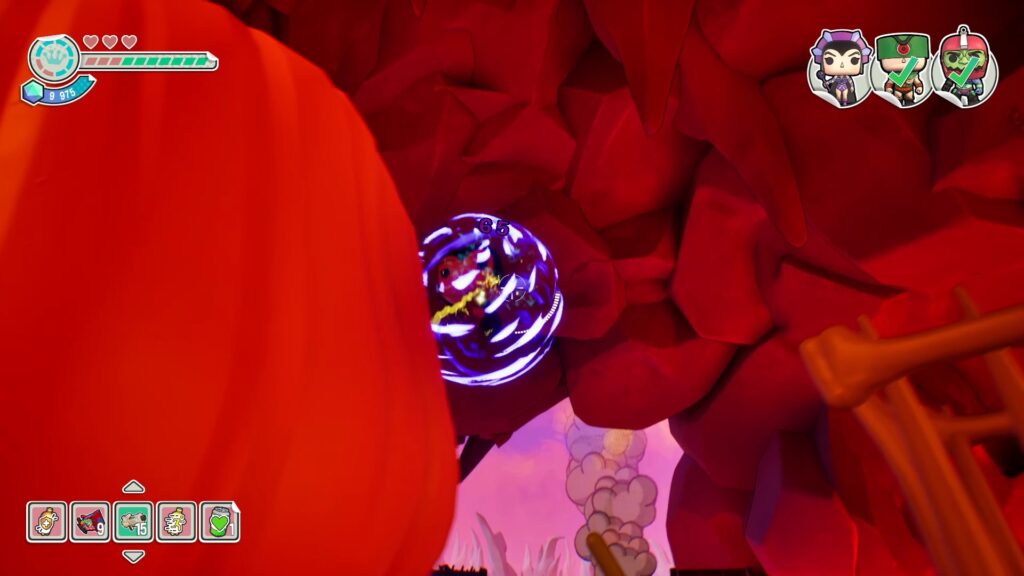
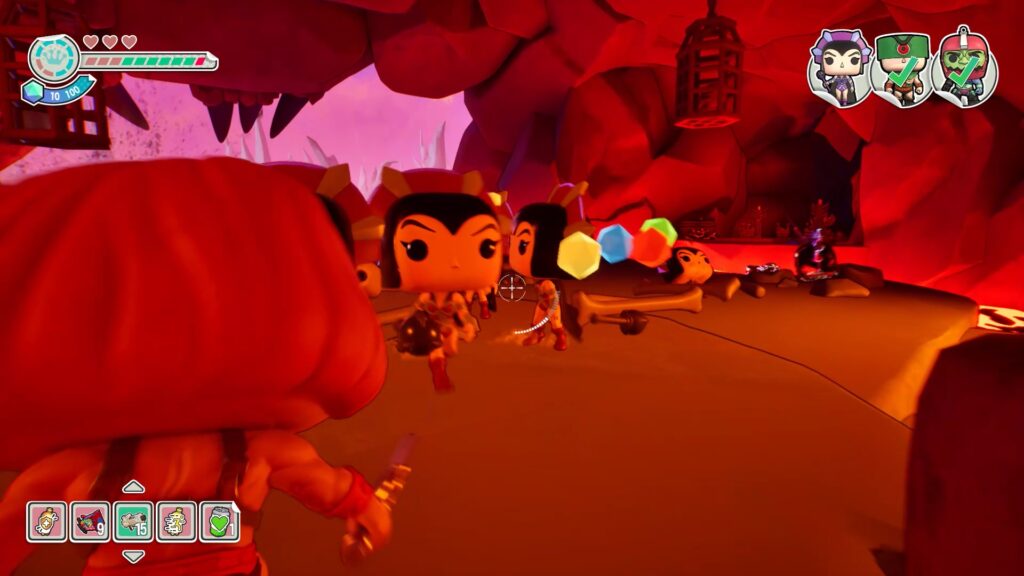
Continue your journey to enter a cave and find the last boss, Evil-Lyn. To defeat her, shoot her shield to make her fall. Once on the ground, she will attack you with clones. Eliminate all the enemies and repeat the operation several times to defeat this last opponent and complete the level.
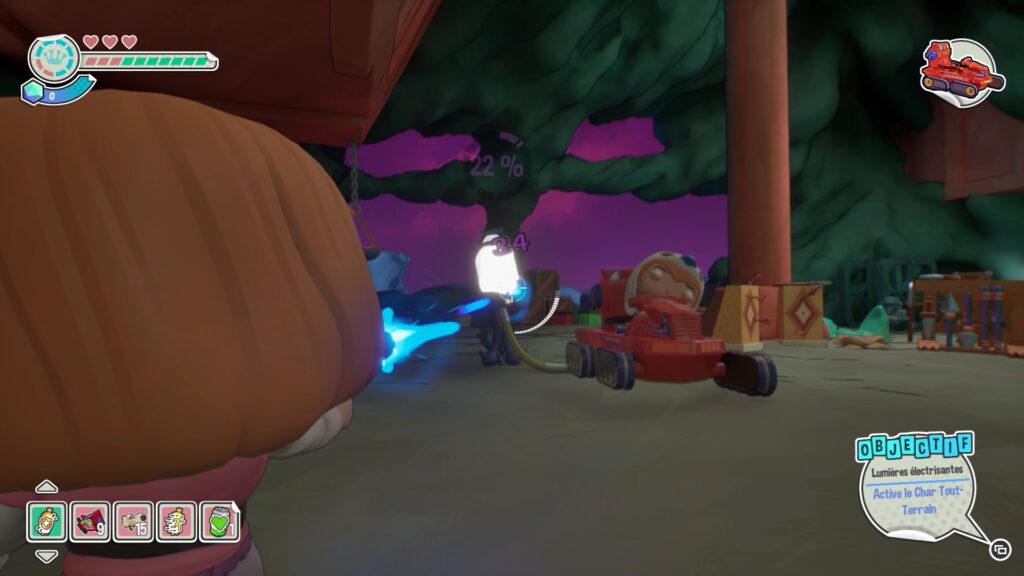
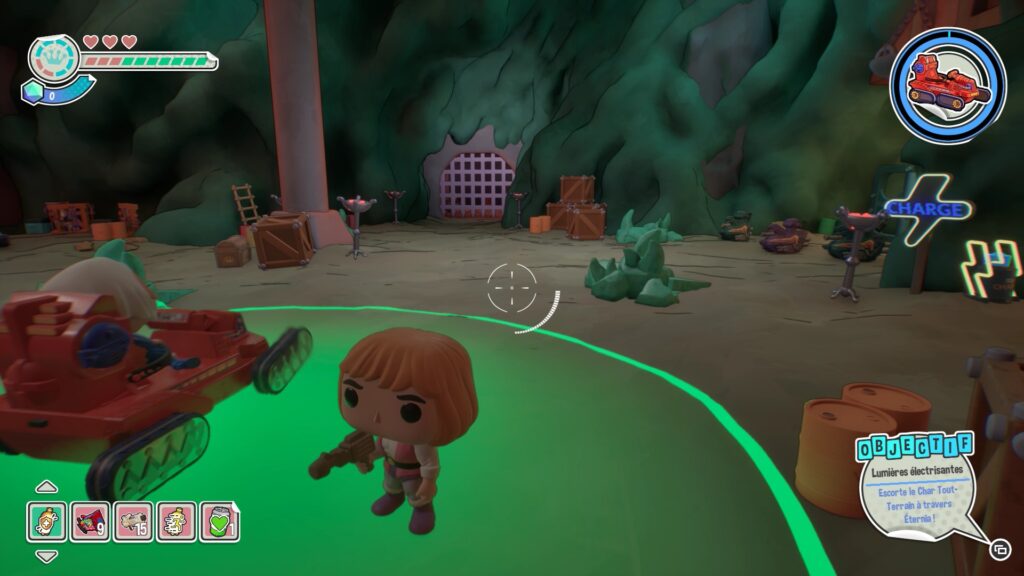
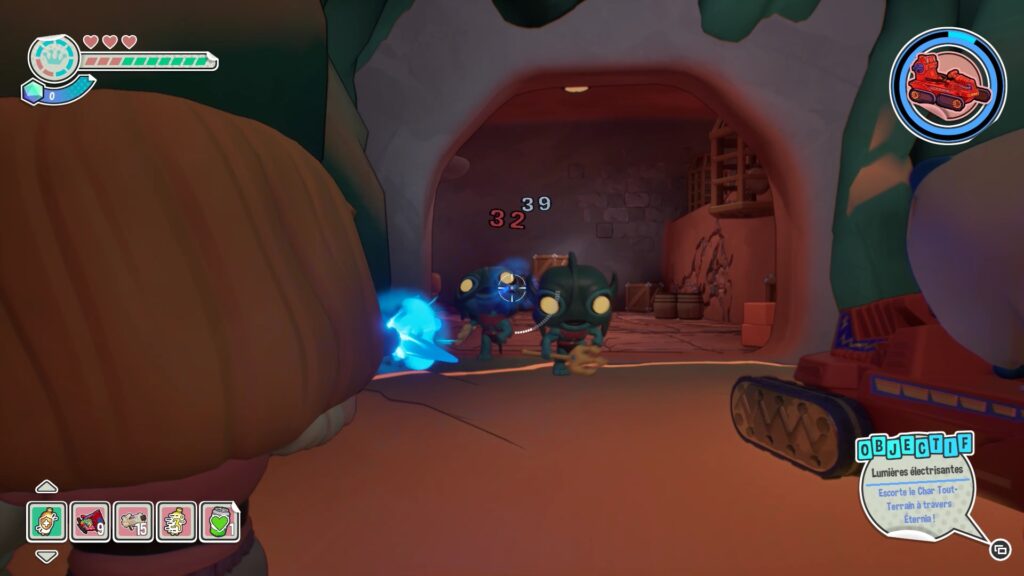
In this new level, you must escort a tank to its objective. Start by unlocking the tank by shooting the crystal that powers it. Then stay in the circle near the tank to make it move forward, while eliminating the enemies in your path.
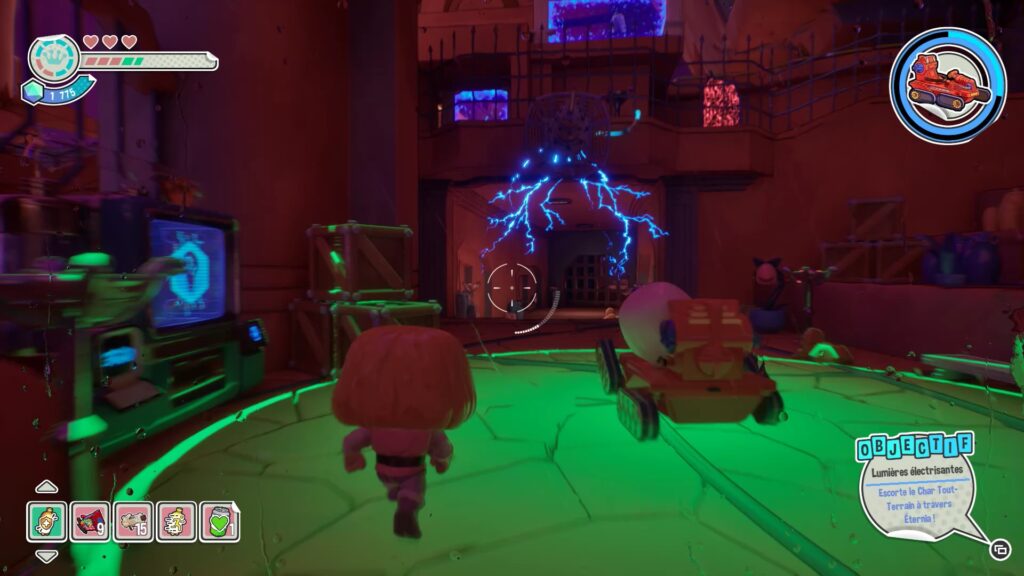
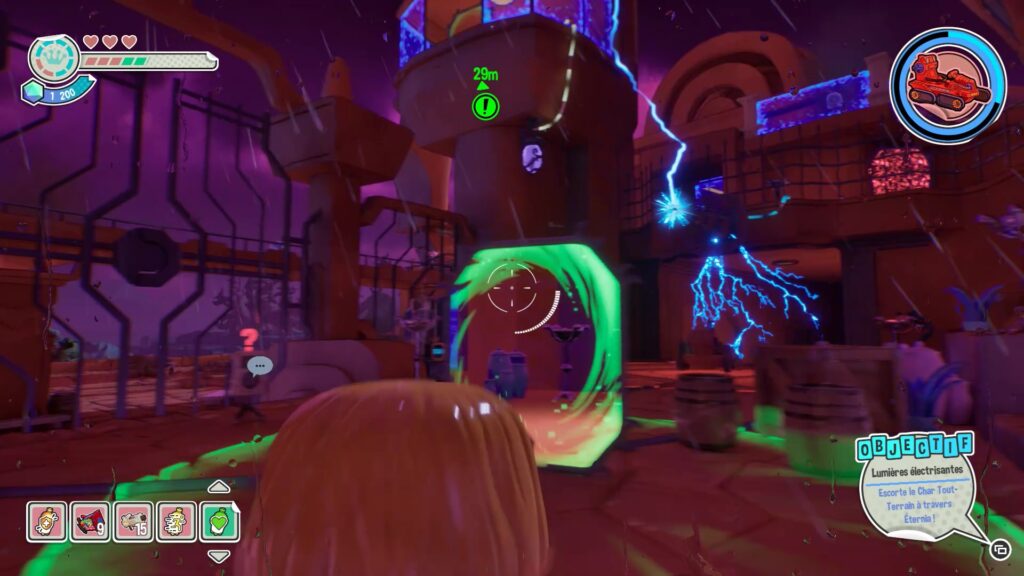
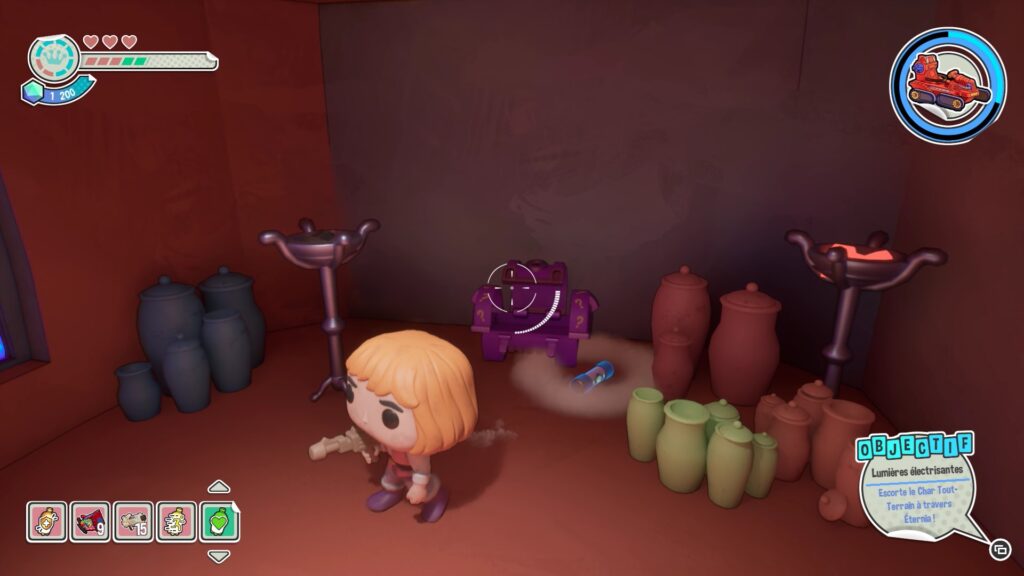
Move forward until you are blocked by an electricity field. To start, create a portal and place it near the construction machine. Then aim for a second portal high up on the left side and teleport. Open the purple chest to get a fuse, then go back down.
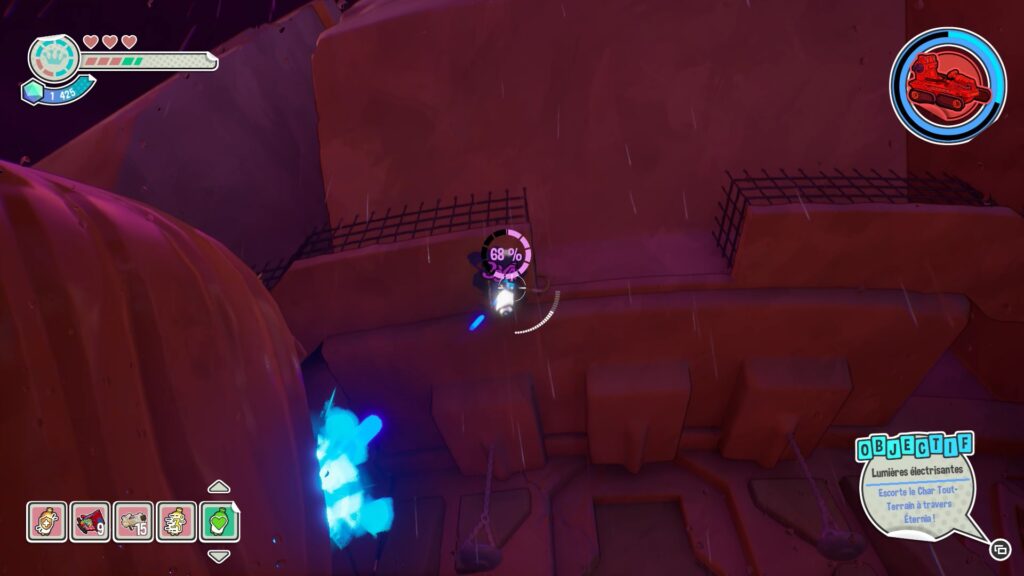
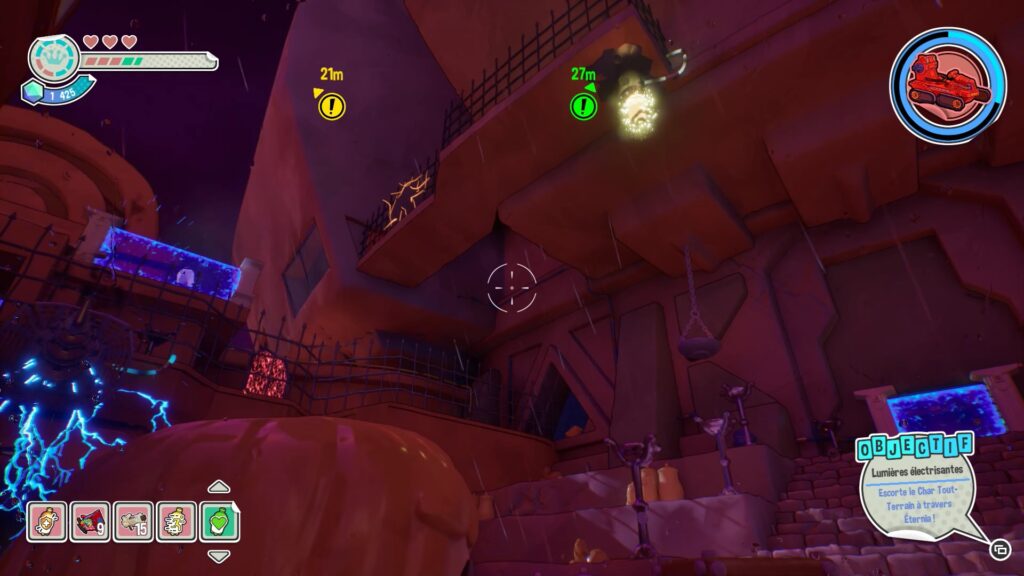
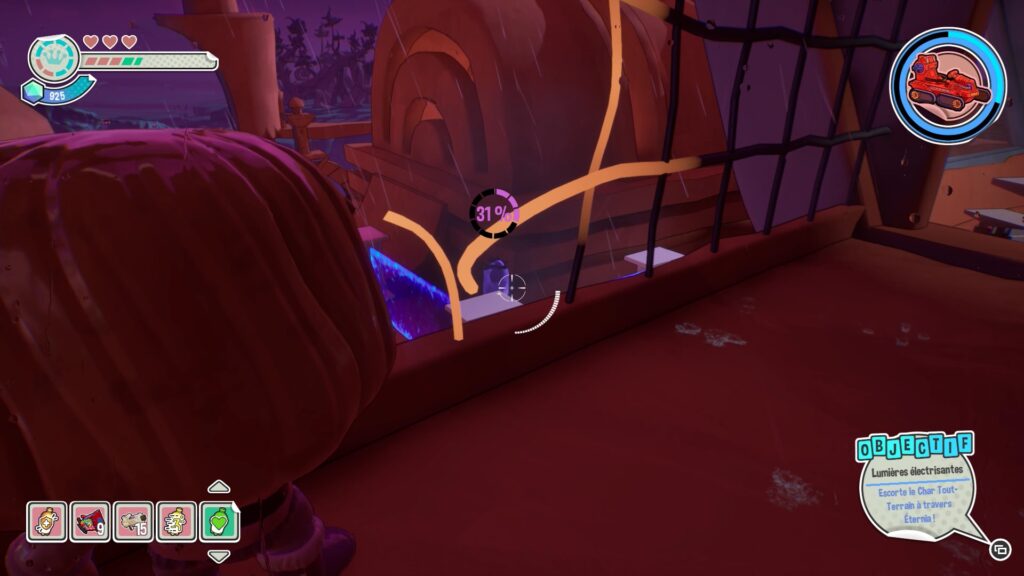
Look up to the right to find a purple crystal connected to a new portal. Shoot it to activate it, then teleport to the platform. Once up high, head to a locked door and look left through a melted grate. You’ll see a purple crystal in front of you. Shoot it to activate another portal.
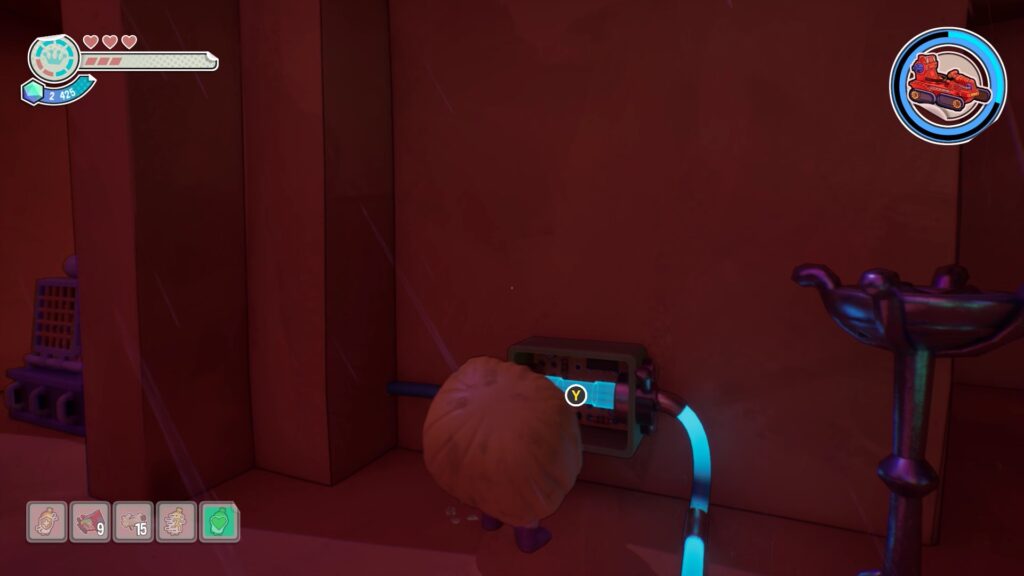
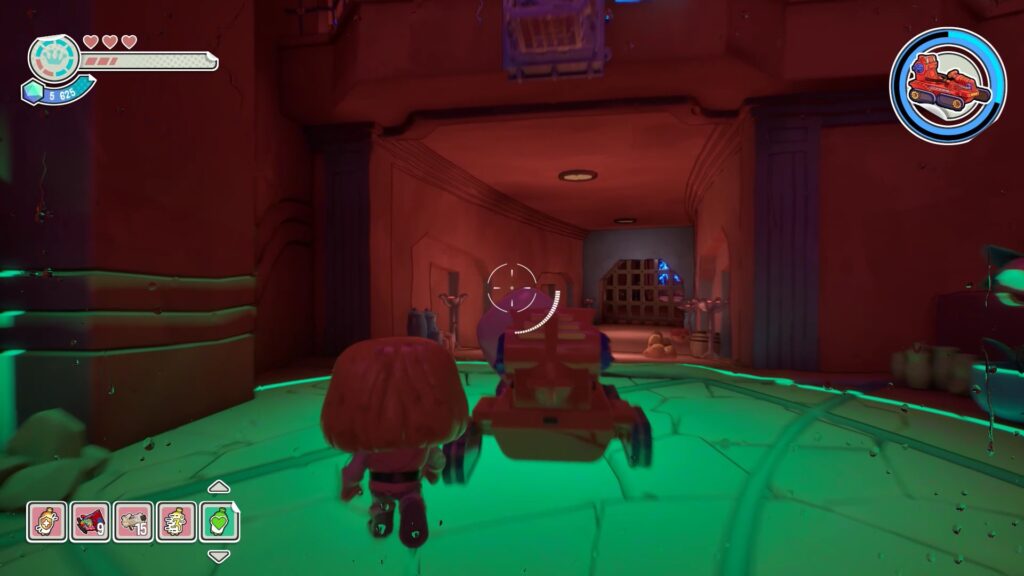
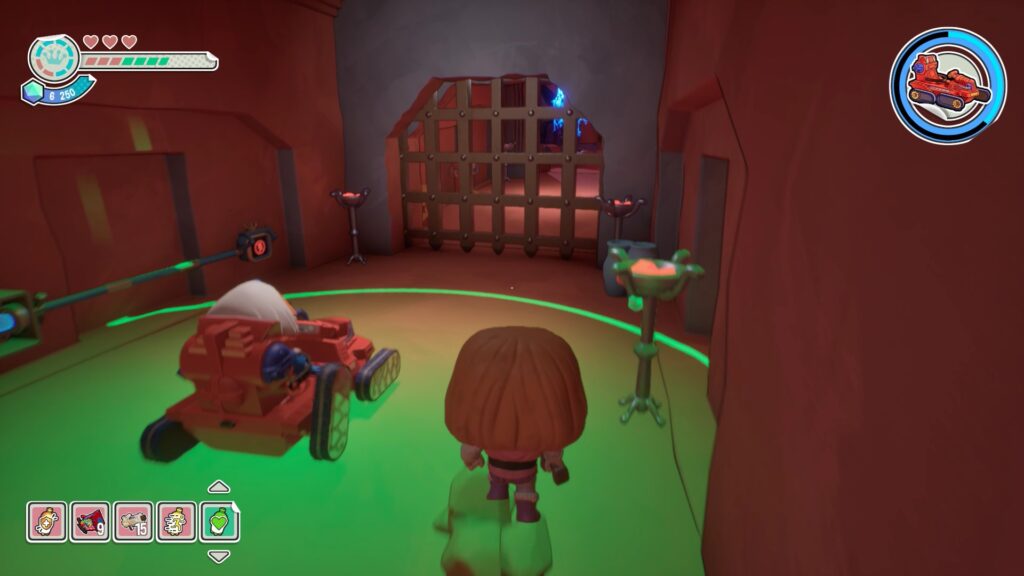
Grab the fuse and teleport into this new portal above the tank’s location. Behind the portal, you’ll find the fuse slot. Place it there to cut off the electricity and move the tank forward. Then go back down to escort the tank before you get stuck again.
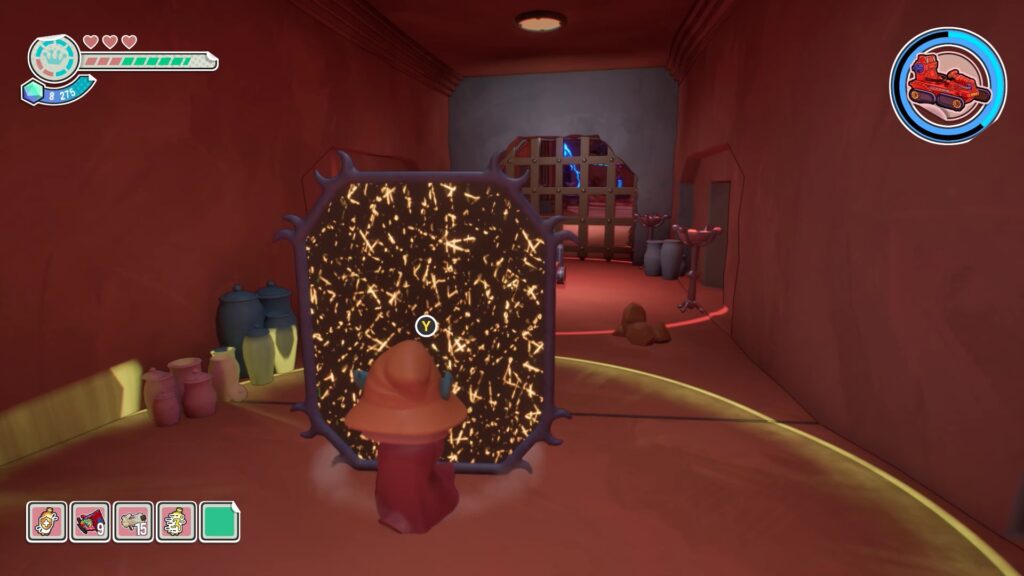
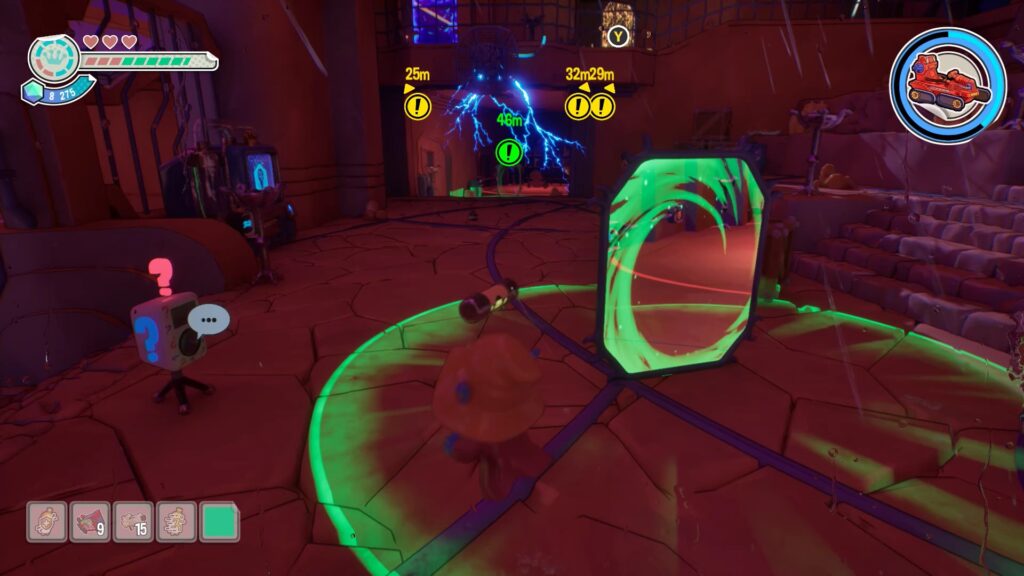
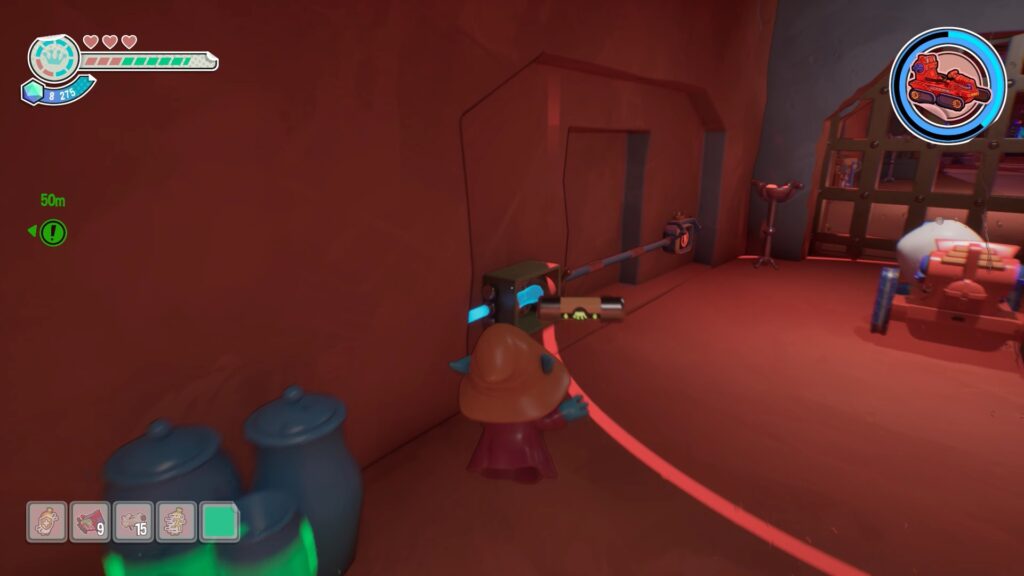
You need to use the fuse again to unlock the gate in front of you. To do this, create a portal and place it near the tank. Then, collect the fuse from the upper part of the area and go back down. You will be blocked by electricity again. Use the portal you placed near the tank to reach it and unlock the gate.
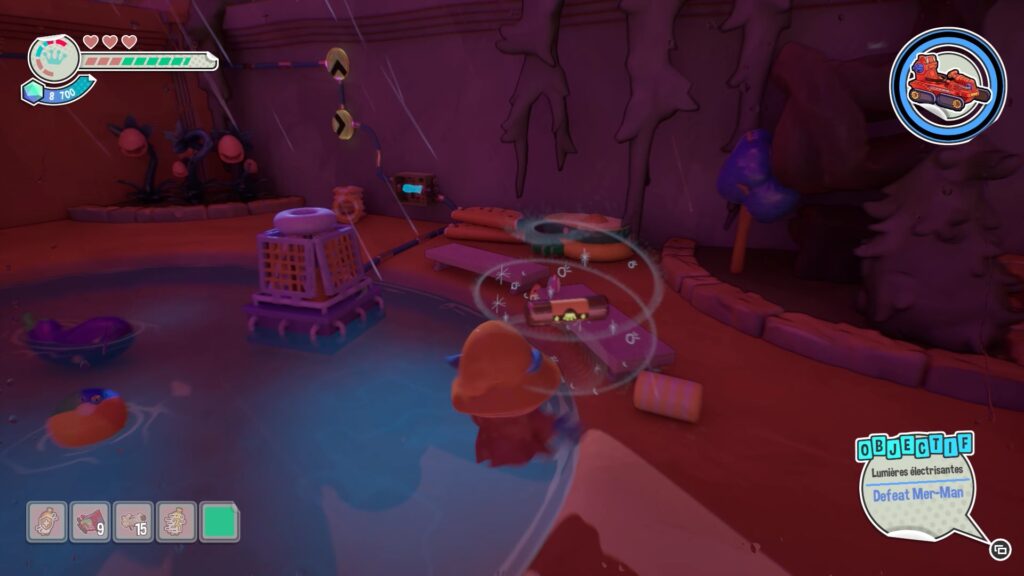
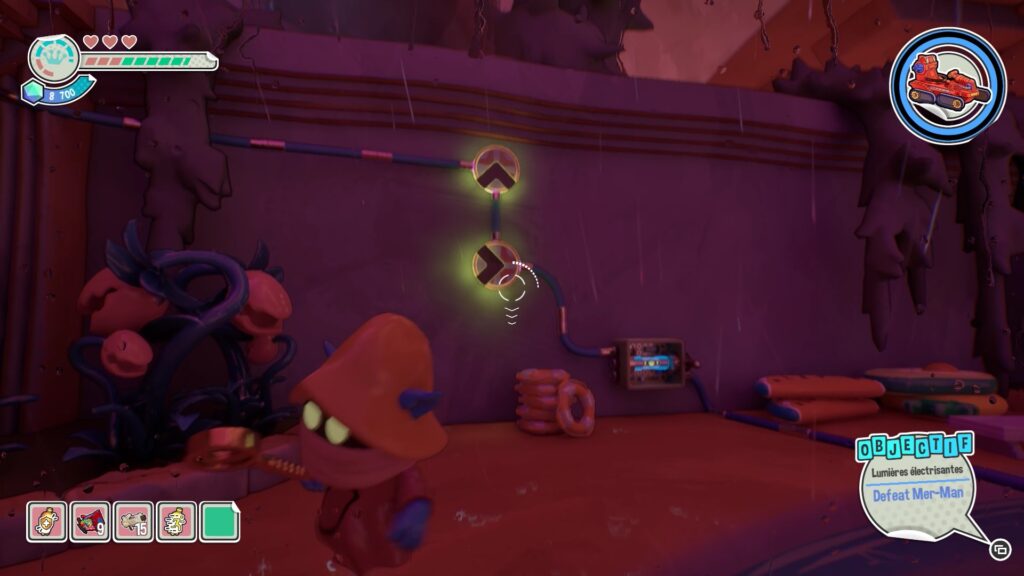
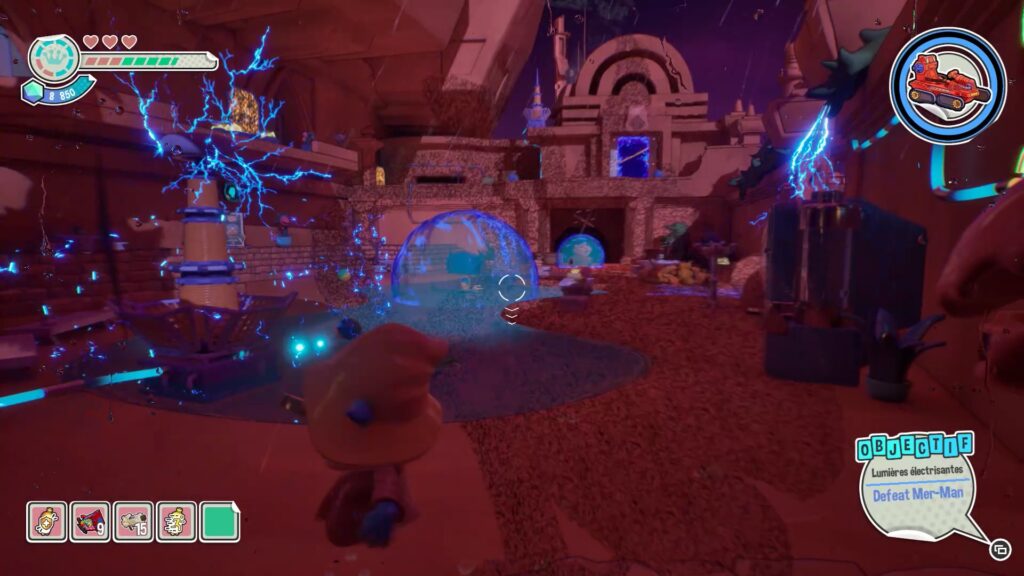
Move forward to meet the Mer-Man boss. To defeat him, you must electrify the water. Return to the fuse level and collect it. Place the fuse in its slot near the construction machine. Then, follow the power wire connected to the fuse and rotate the dots to complete the electrical circuit.
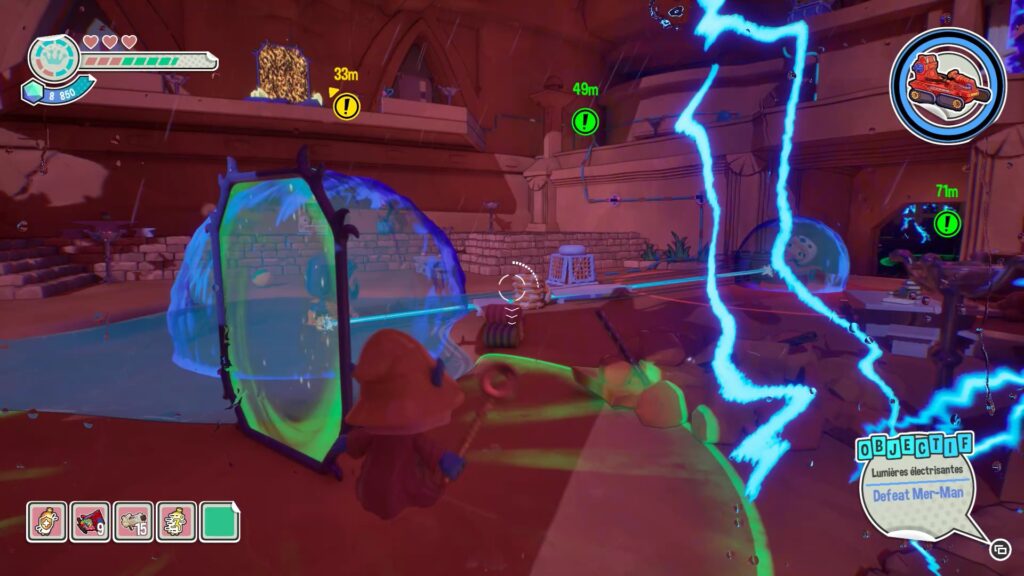
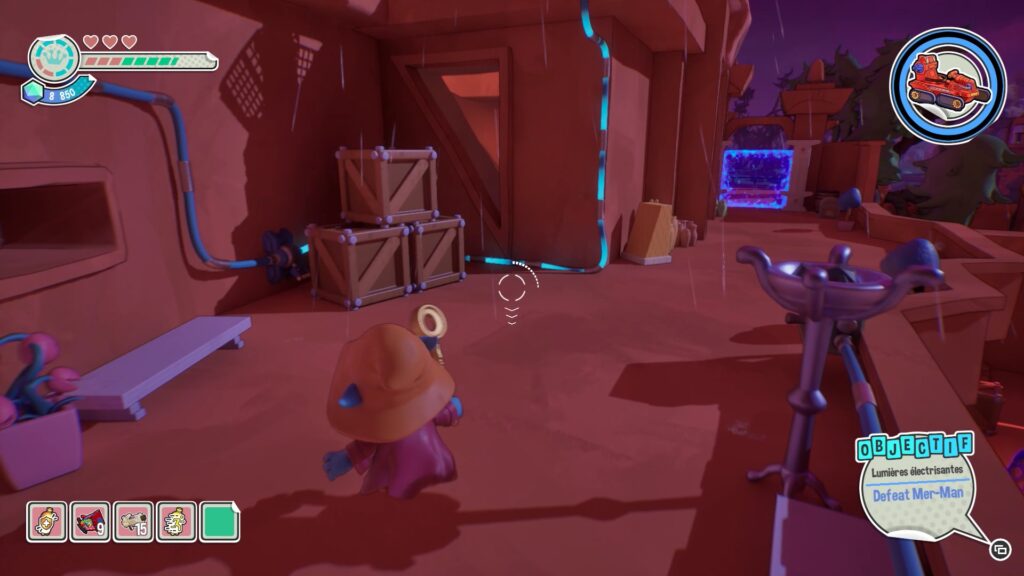
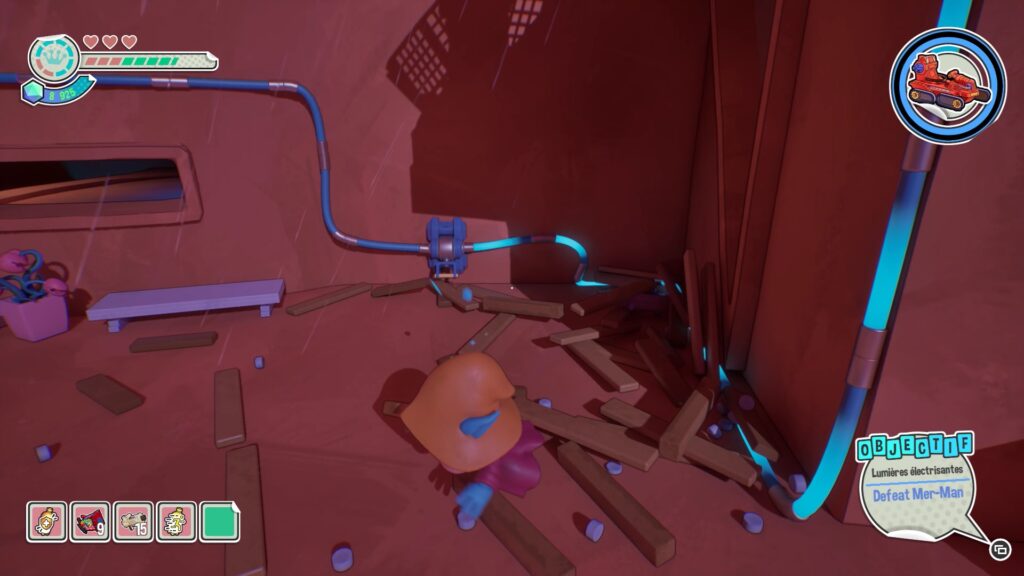
Once this is done, you have electrified part of the pool. For the second part, start by creating a portal and position it facing the portal high up on the left side. Teleport to this location. High up, break wooden crates to find a lever. Lower it to pass the current into a door on your left.
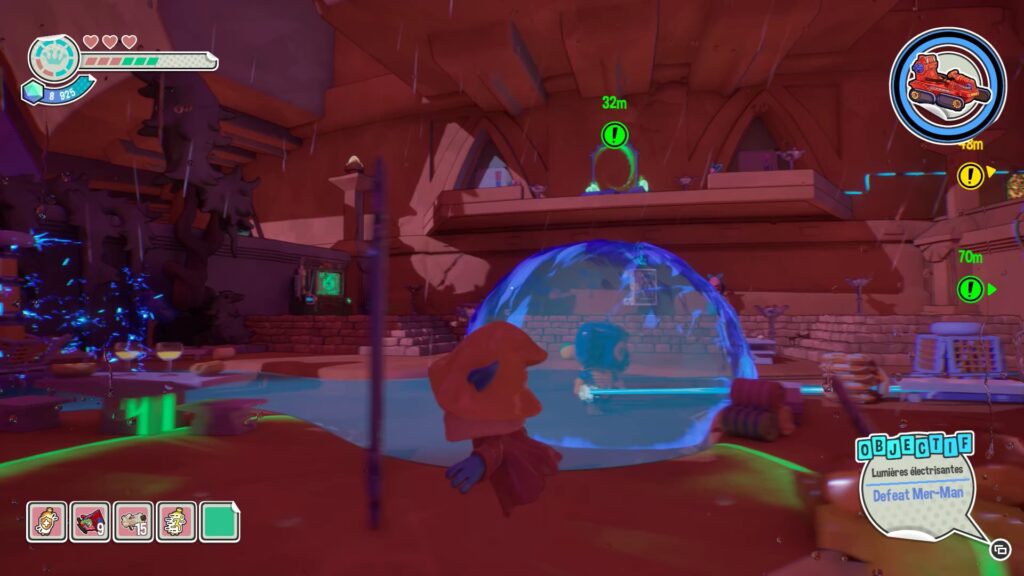
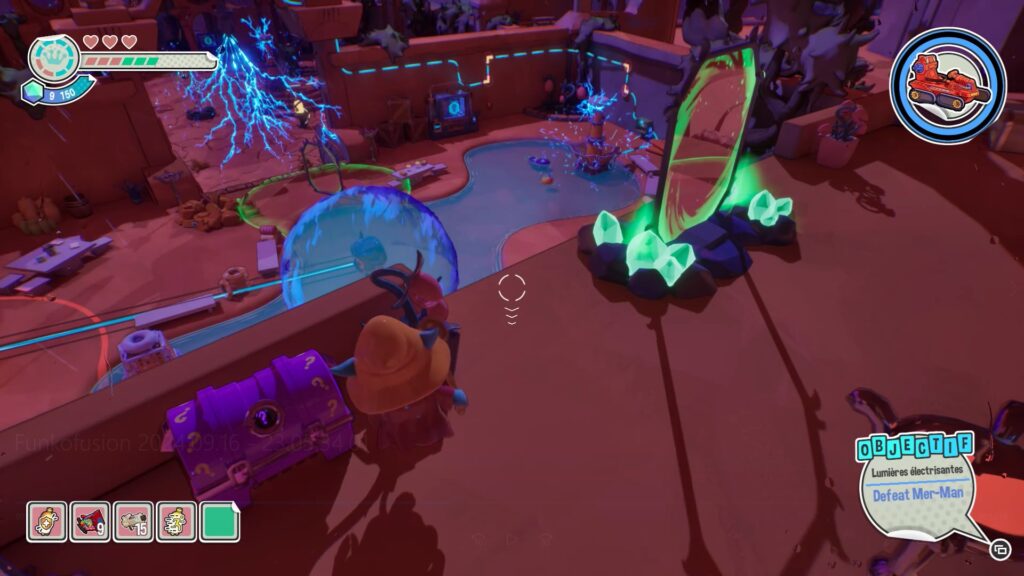
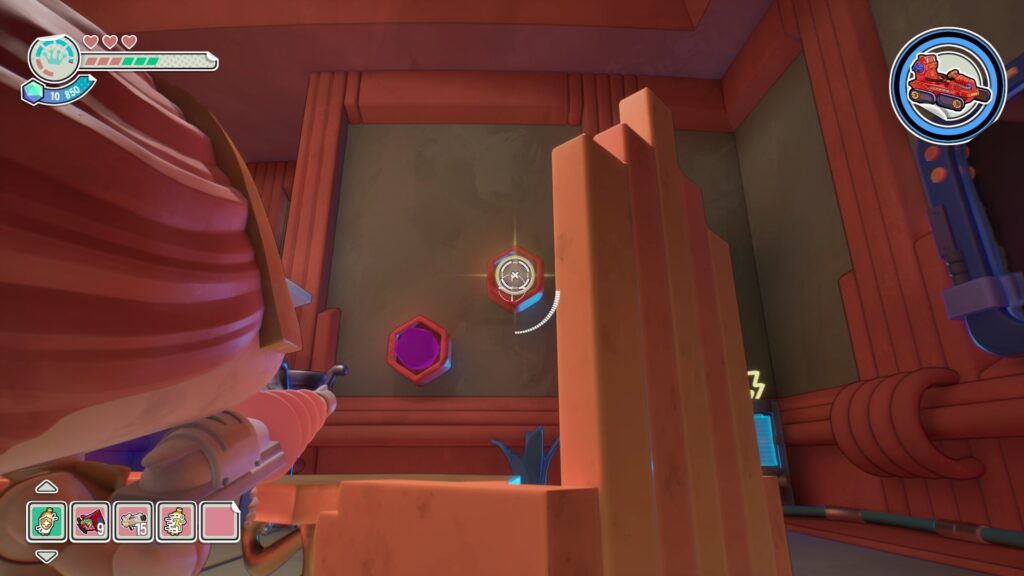
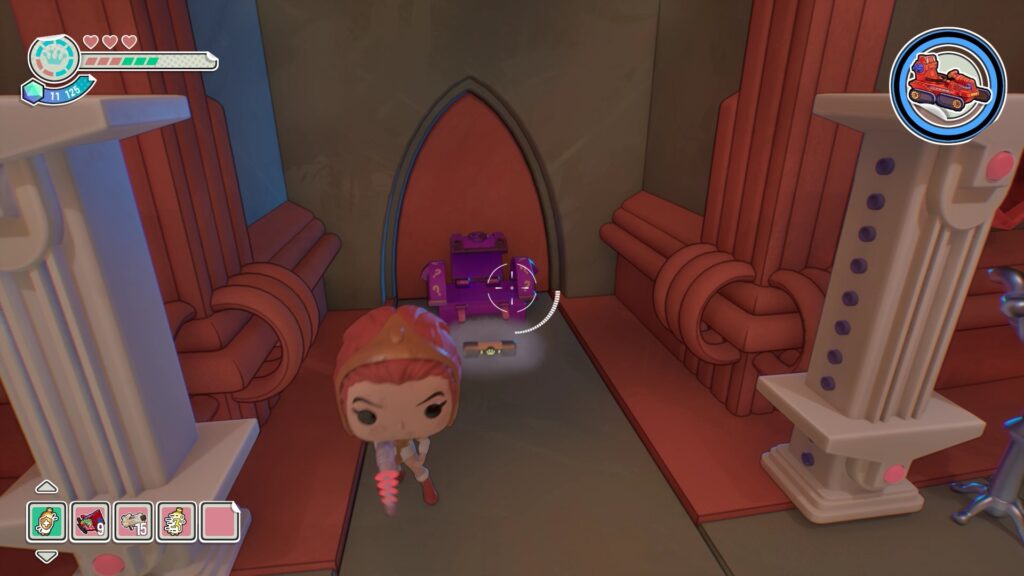
Go back down and now activate the second portal up high in the center. Teleport to this location and go open the door you unlocked. Enter a new area with a locked purple chest. To unlock it, shoot the four crystals in the room in the order indicated.
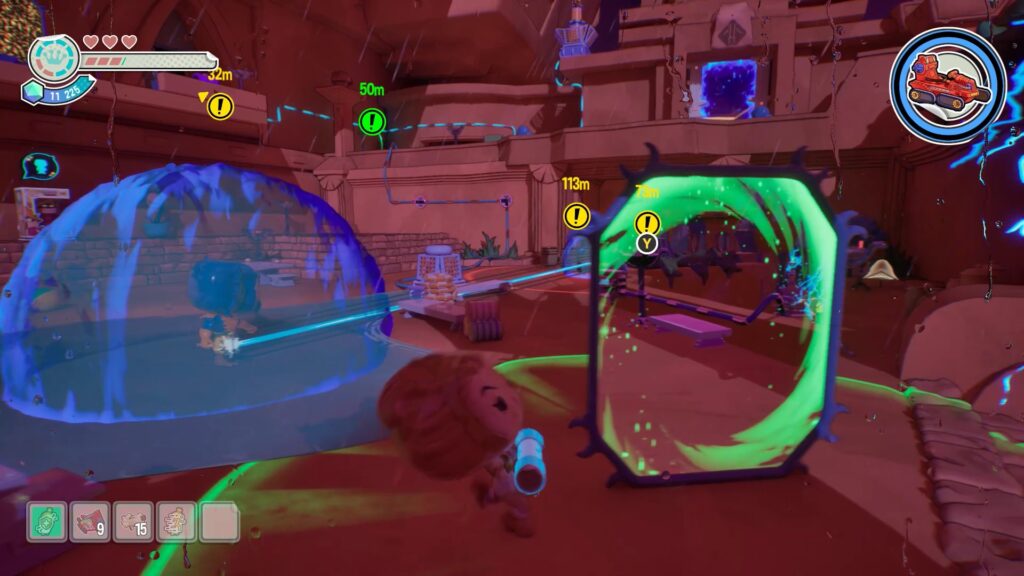
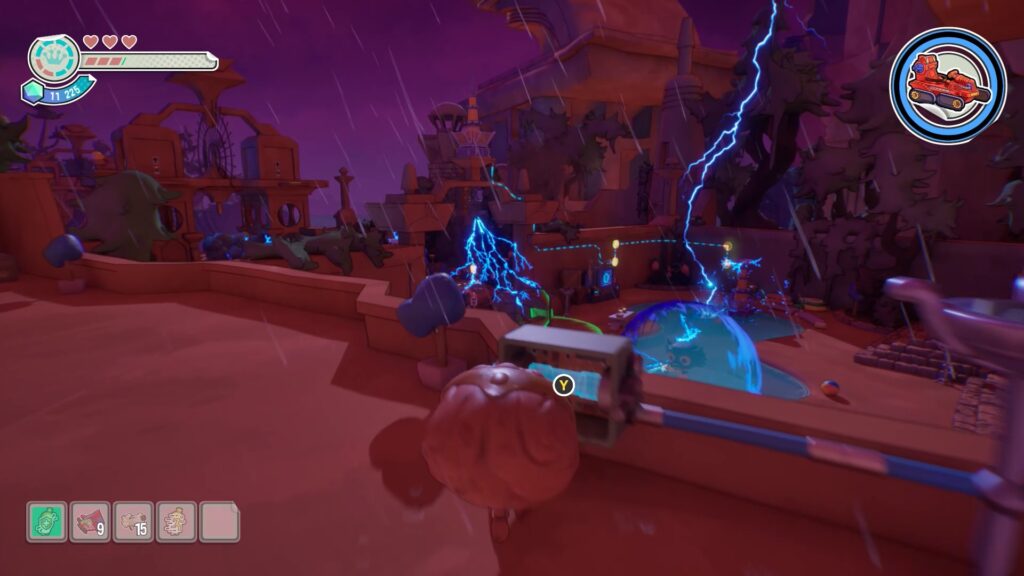
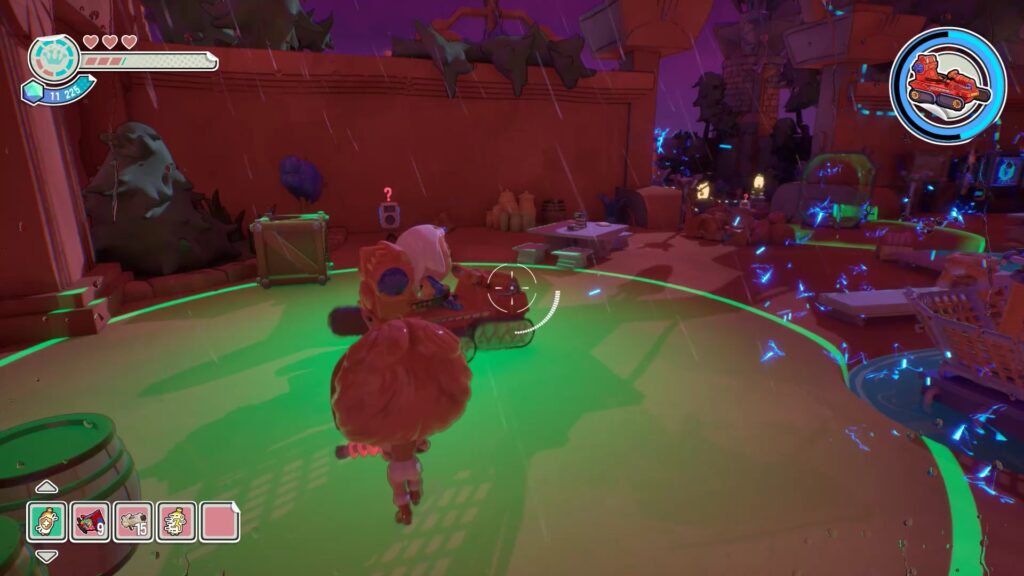
You get a new fuse from the purple chest. Now go back to the gate up high to the left where you came from. Once in the area, place the fuse in its mechanism. Go back down, follow the power wire connected to the fuse and rotate the points to complete the electrical circuit and completely electrify the pool.
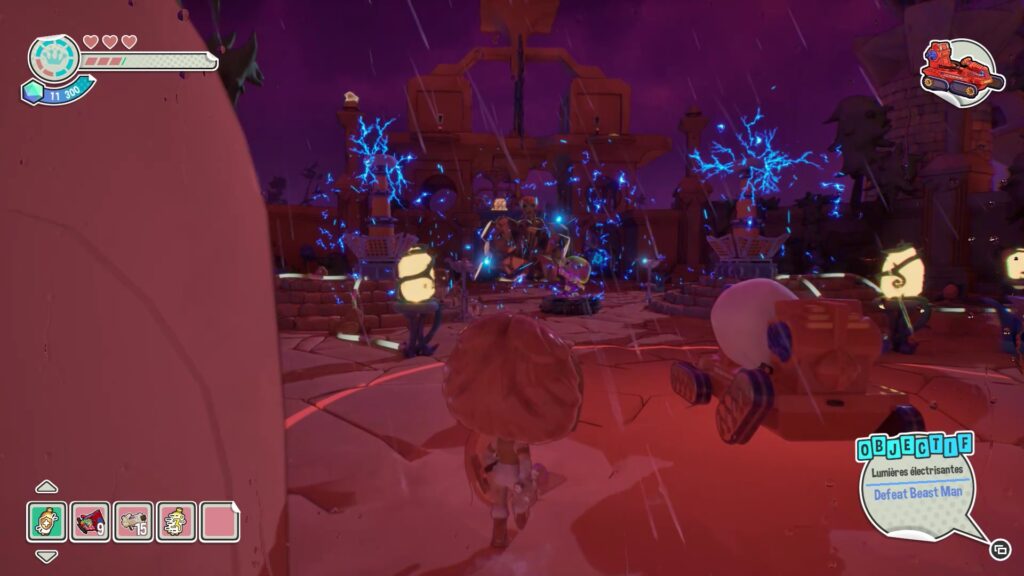
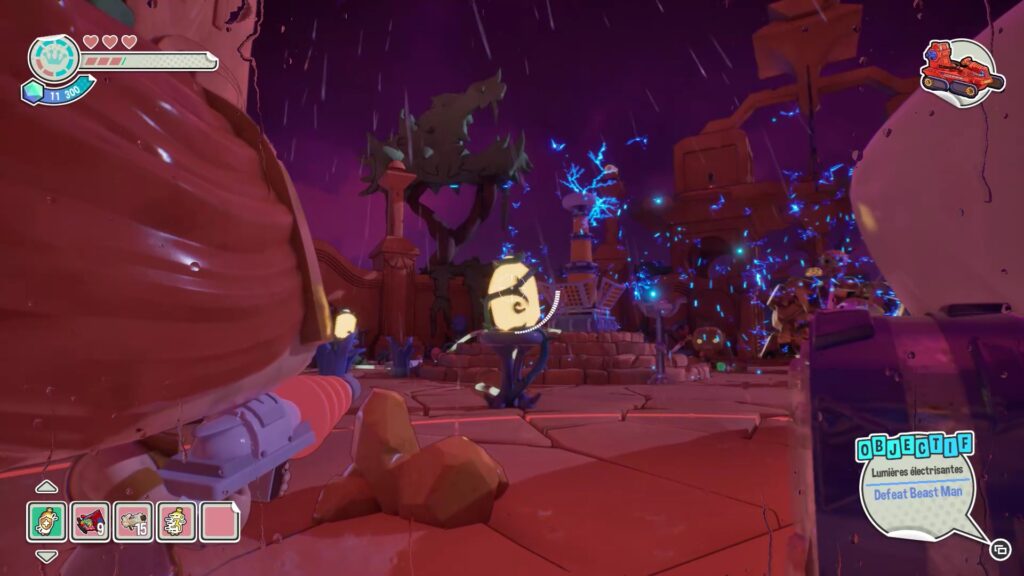
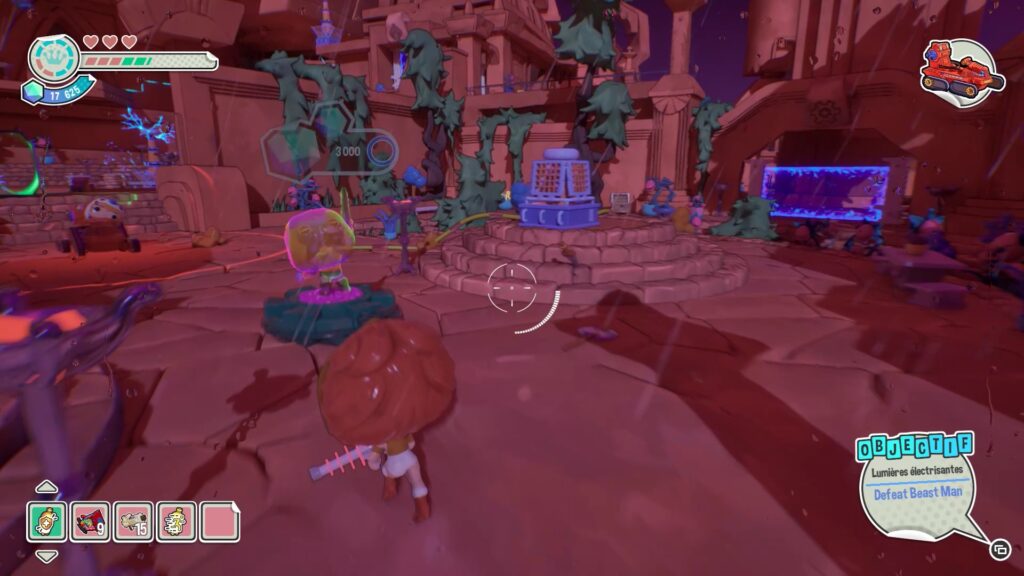
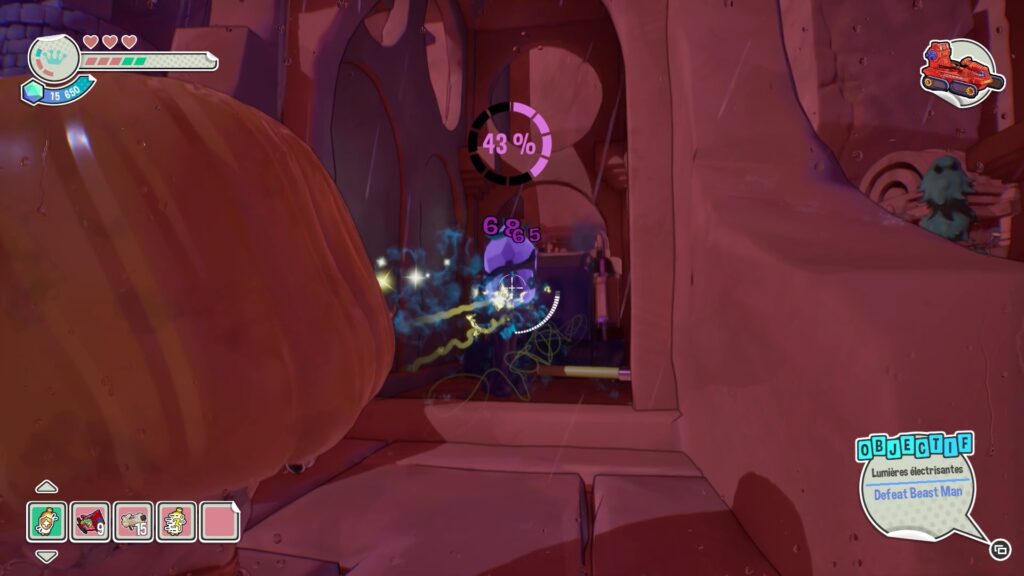
Once your enemy is defeated, continue the tank escort until you encounter Beast Man. To defeat him, you must use the Force Receptacle, which is currently surrounded by electricity. To cut off this electricity, shoot all the yellow crystals in the area, which will allow you to access the receptacle.
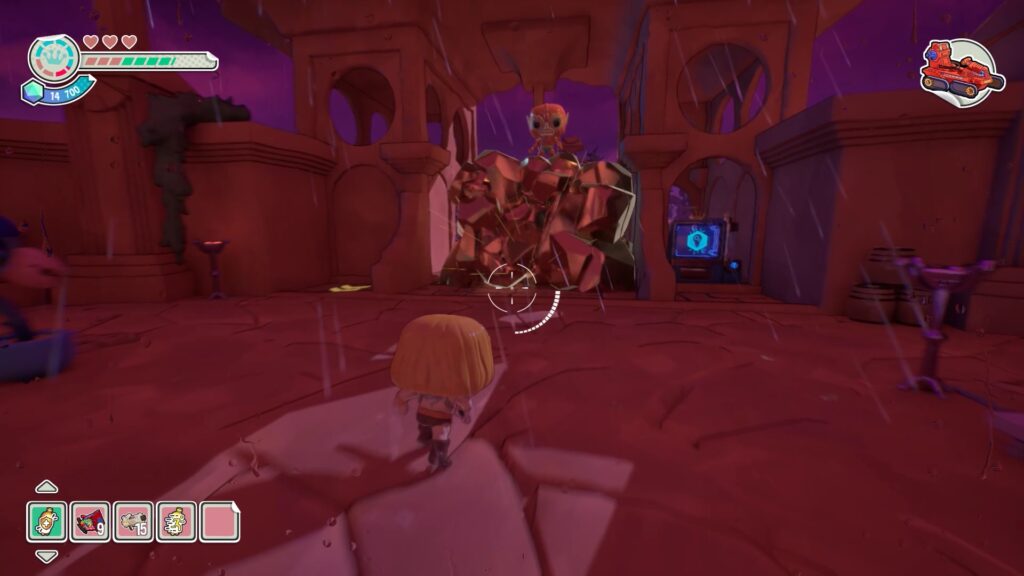
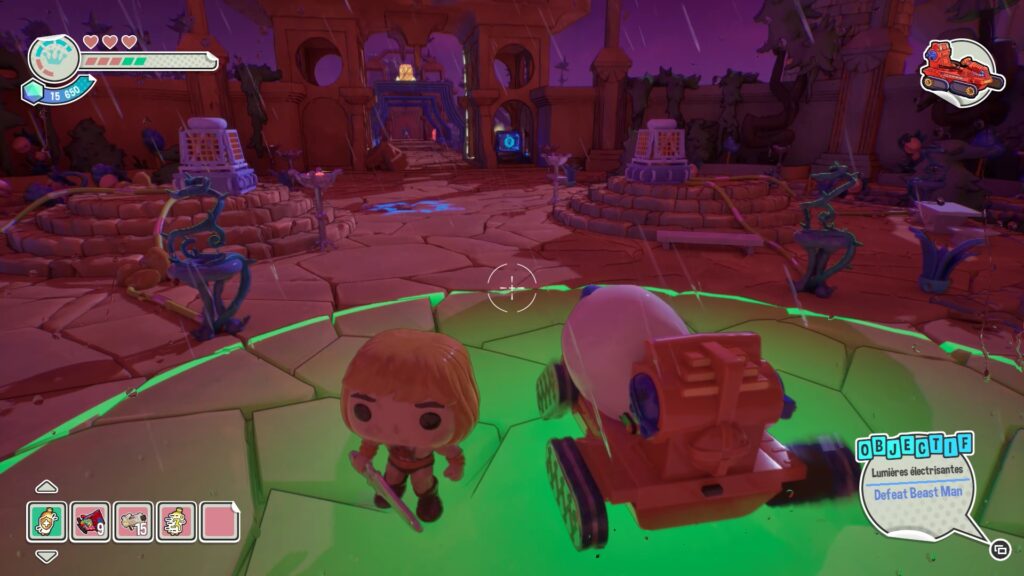
Use the character « Prince Adam » and climb onto the receptacle to become He-Man. Then head to the foot of your enemy and hit the rocks to make him fall. You can now continue escorting the tank across the bridge.
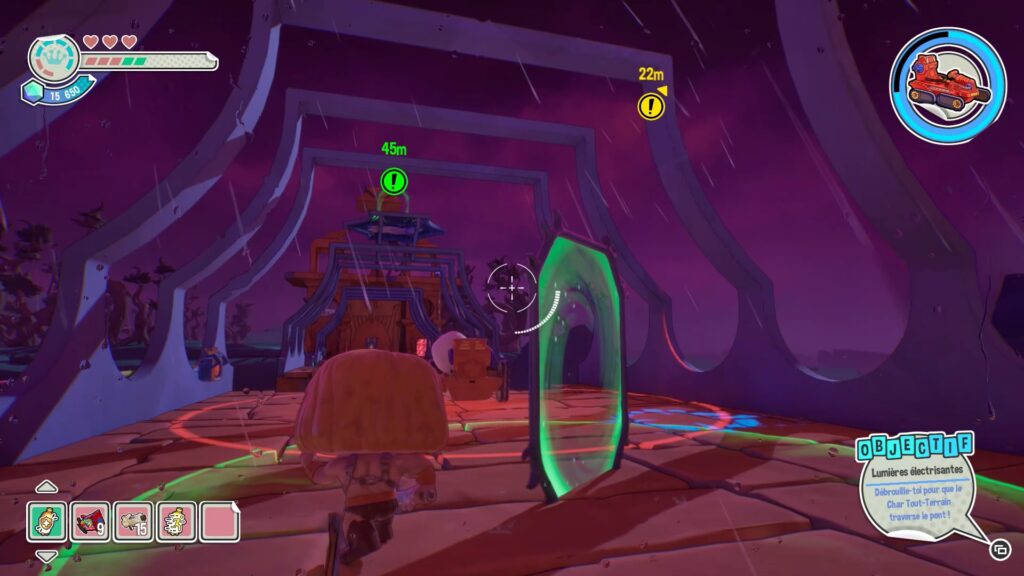
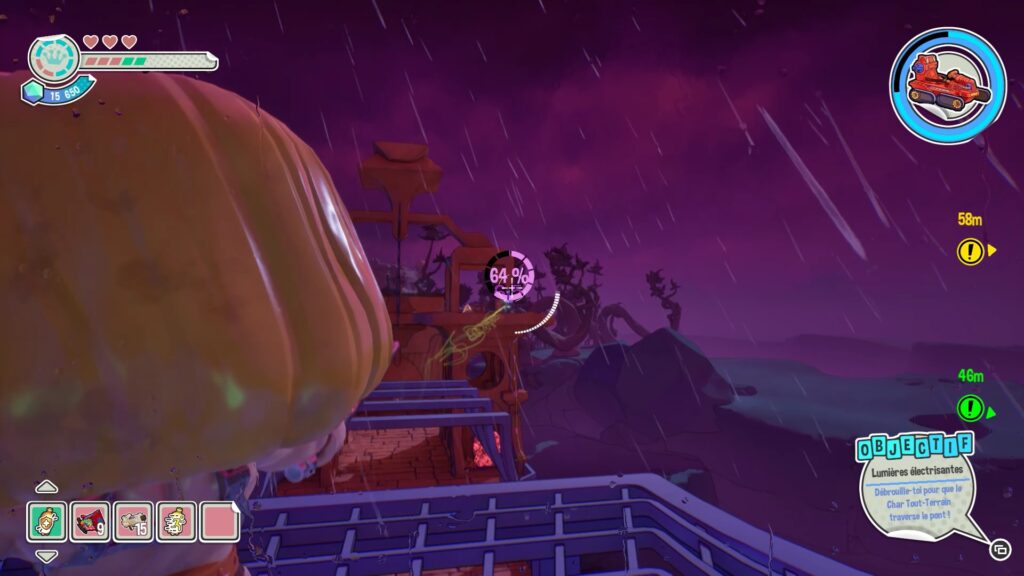
To cross the bridge with the tank, start by creating a portal and placing it at the end of the bridge to teleport to the portal above. From the location, look at the end of the bridge where you need to go and shoot a purple crystal to unlock a new portal. Then, go back down and also shoot the purple crystal that powers a portal above near you.
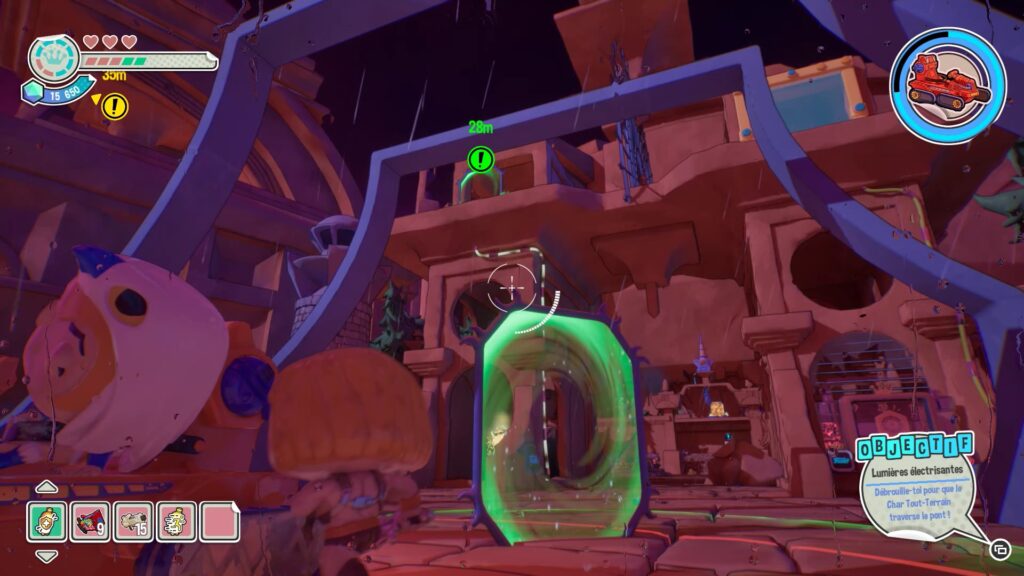
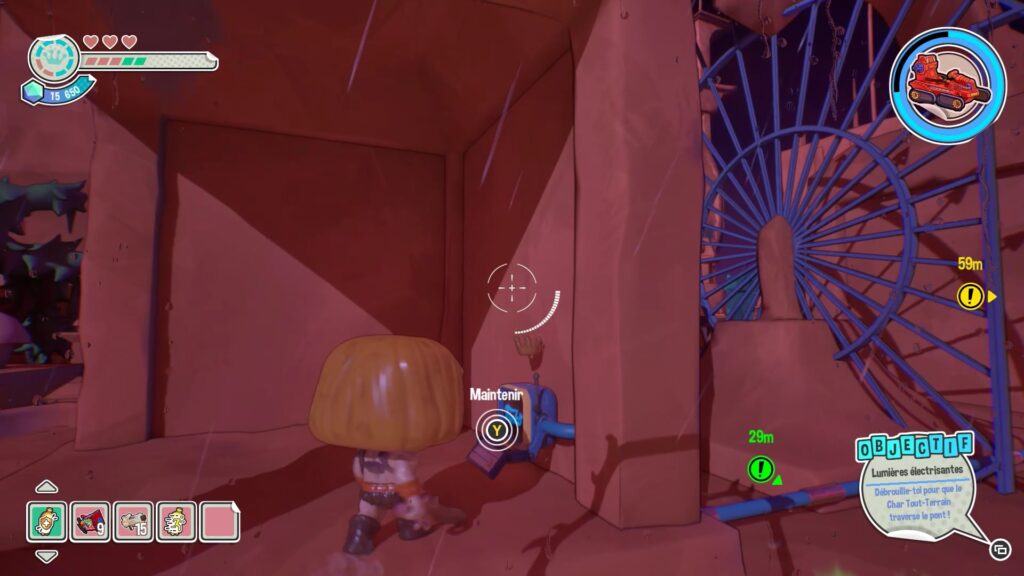
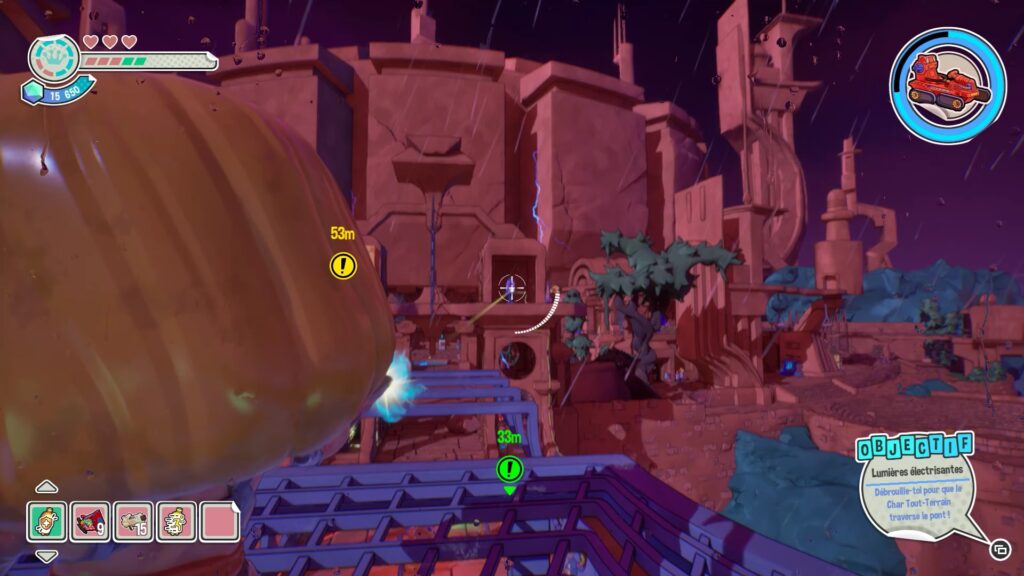
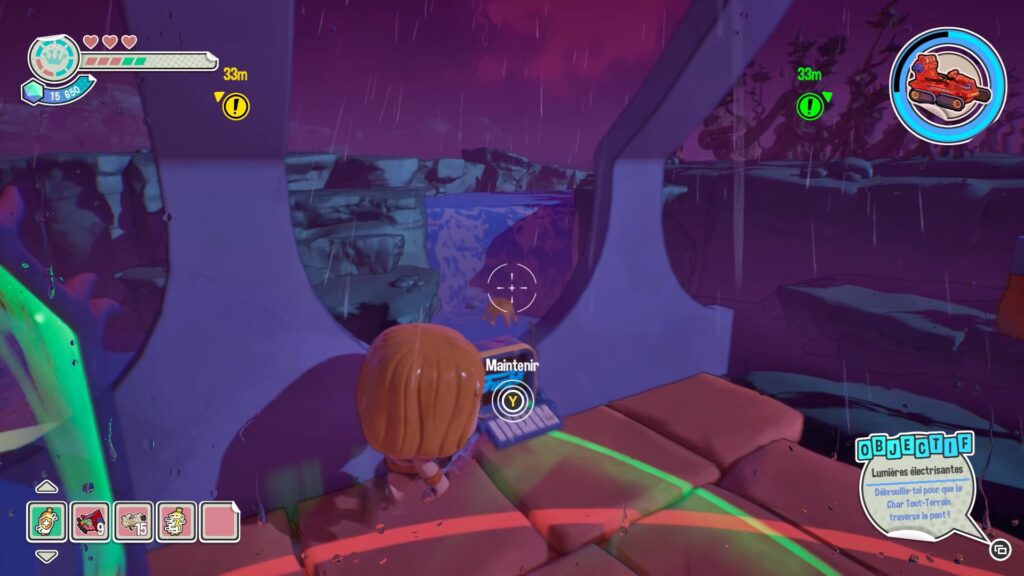
Once powered up, teleport to the high portal on the left side. At the top, interact with the mechanism to release a new crystal. To reach it, go back and teleport to the central portal high up. From there, shoot the crystal on the right side that just released to power the bridge mechanism. Then, return to the tank and activate the bridge mechanism to move forward.
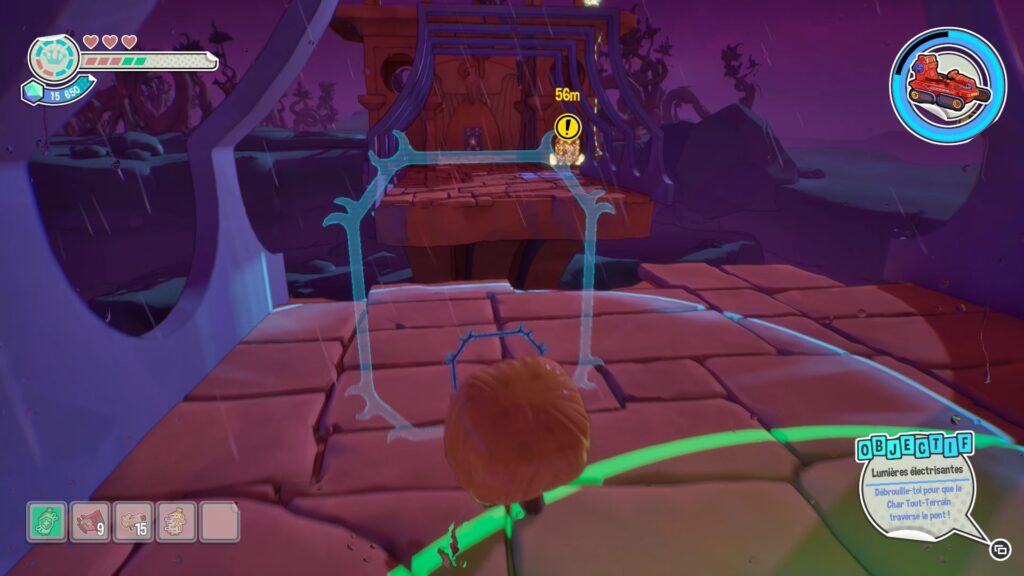
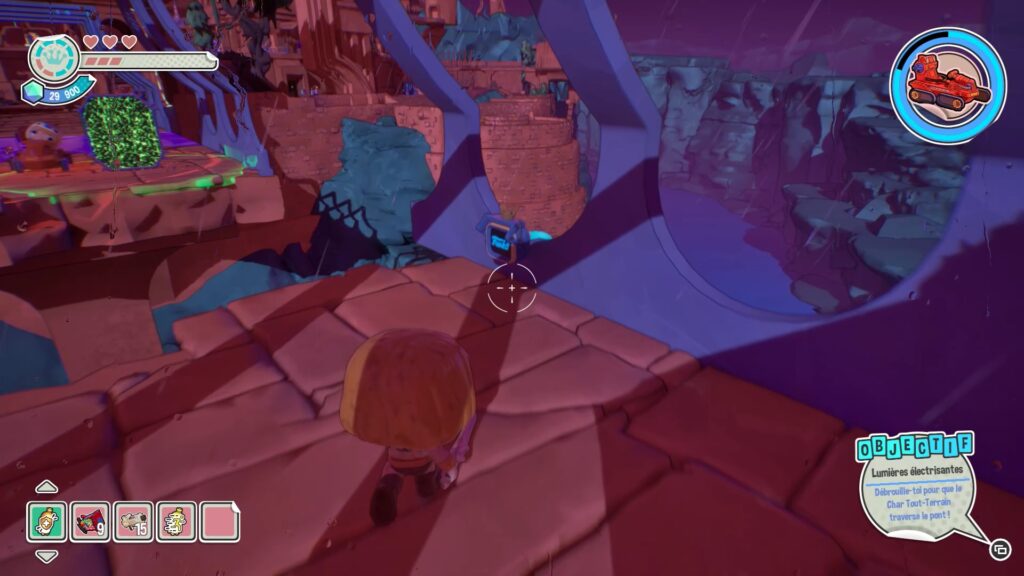
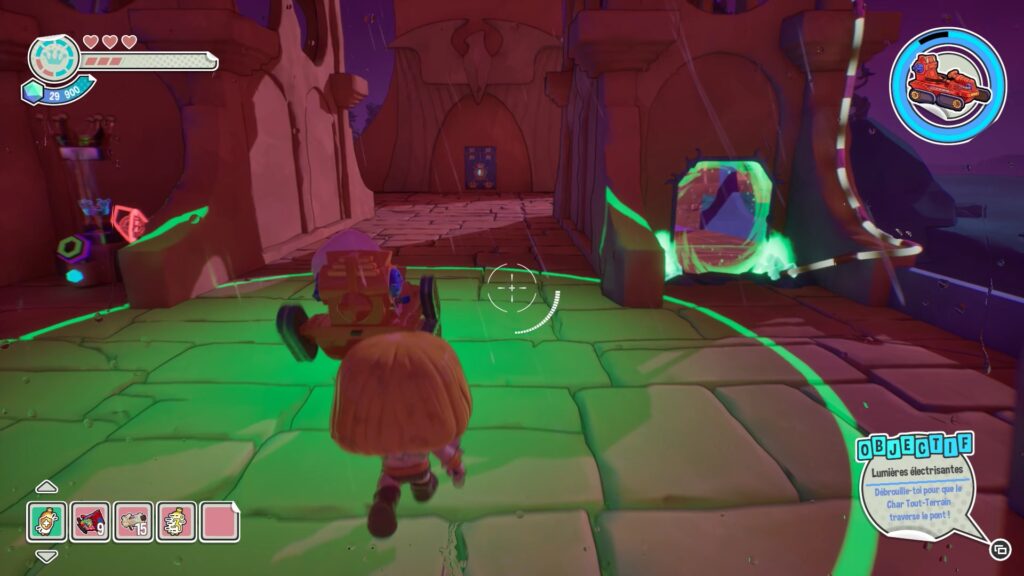
Blocked by the void again, place a portal to teleport to the one in front of you, at the end of the bridge. From the end of the bridge, activate the mechanism to restore the bridge and advance the tank, thus ending the chapter.
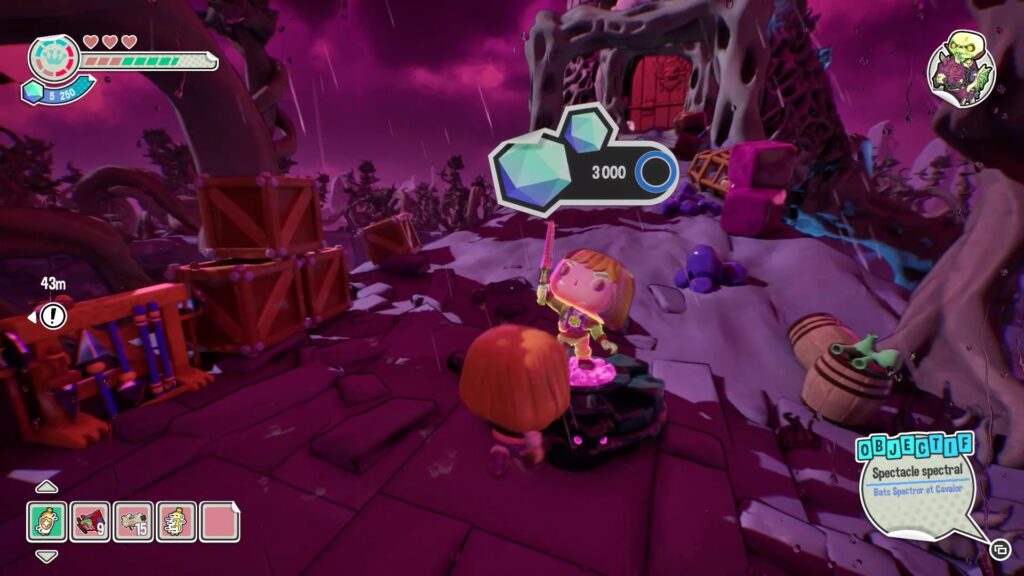
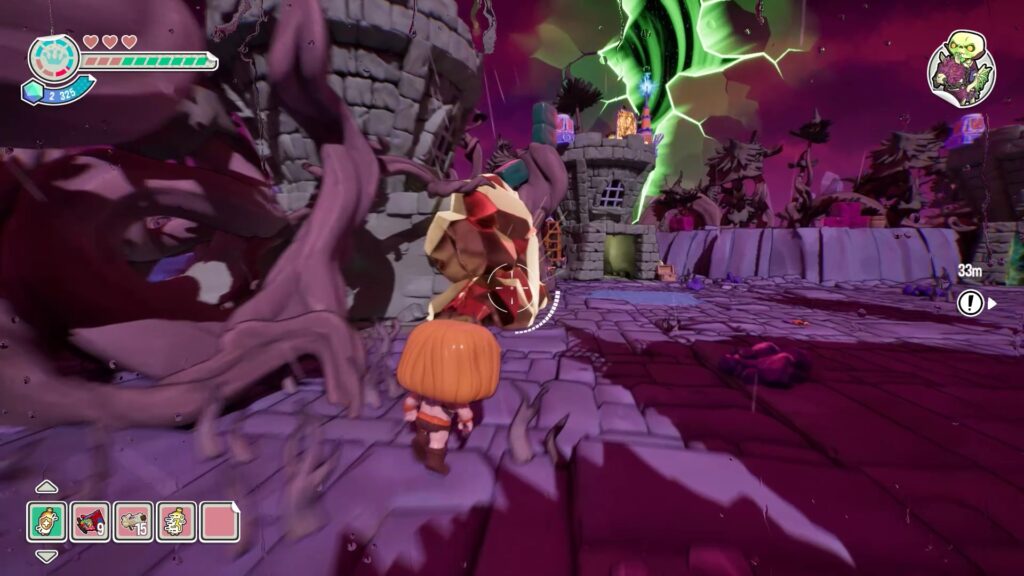
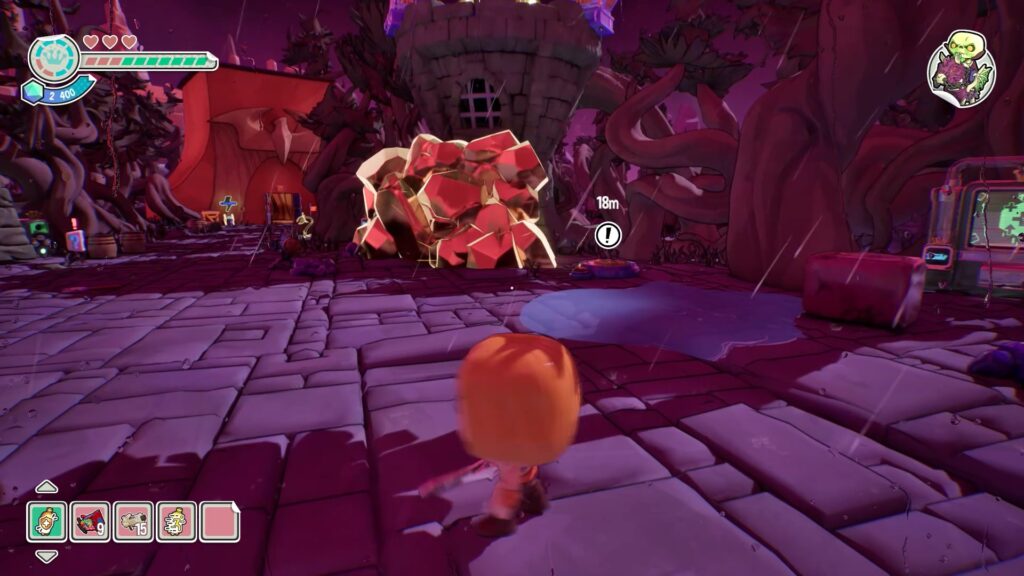
In this level, you will have to face the final boss. To do this, start by transforming into He-Man. Once you have acquired the power, break the two rock blocks to reach a creation machine and a purple chest containing a fuse.
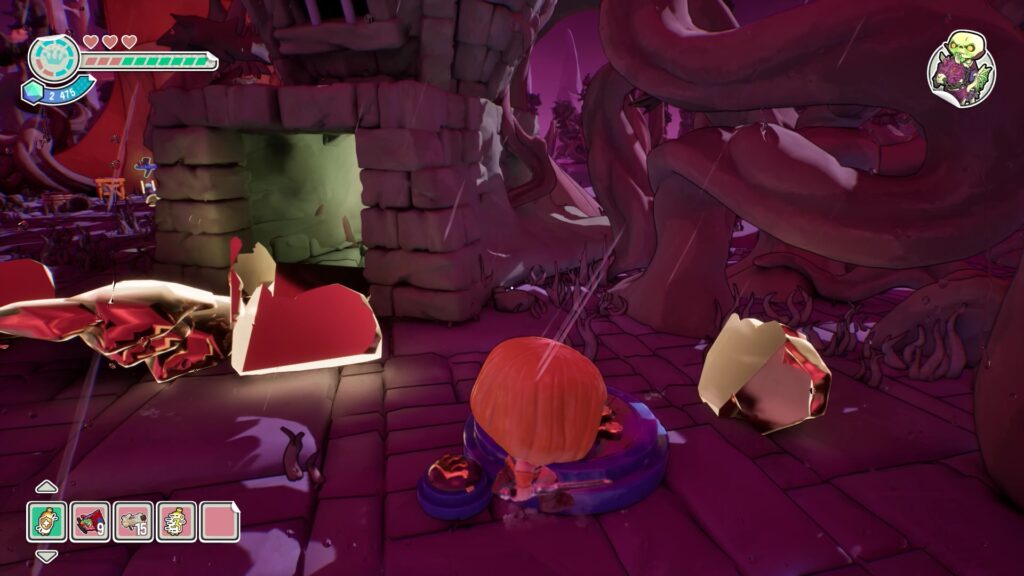
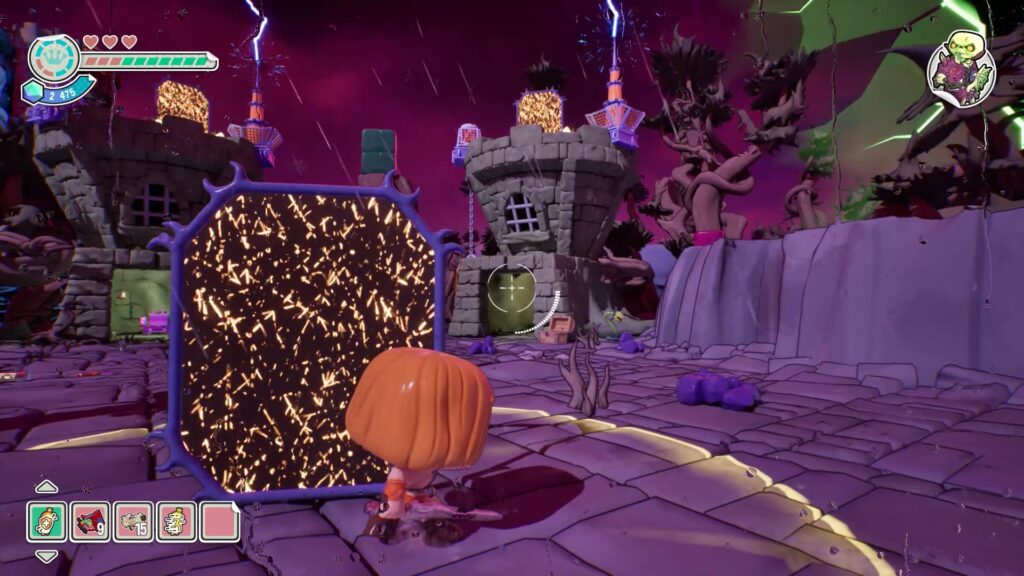
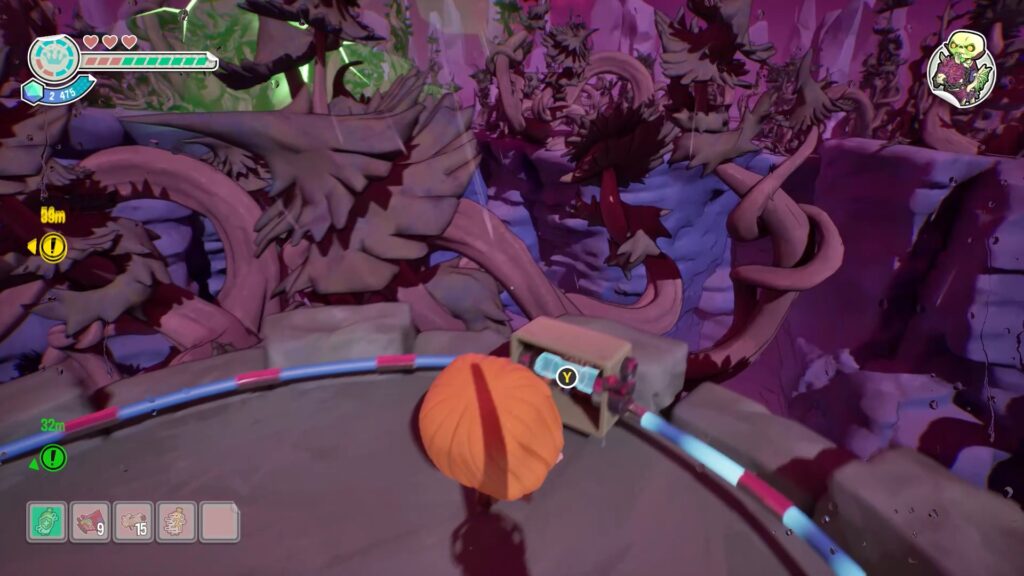
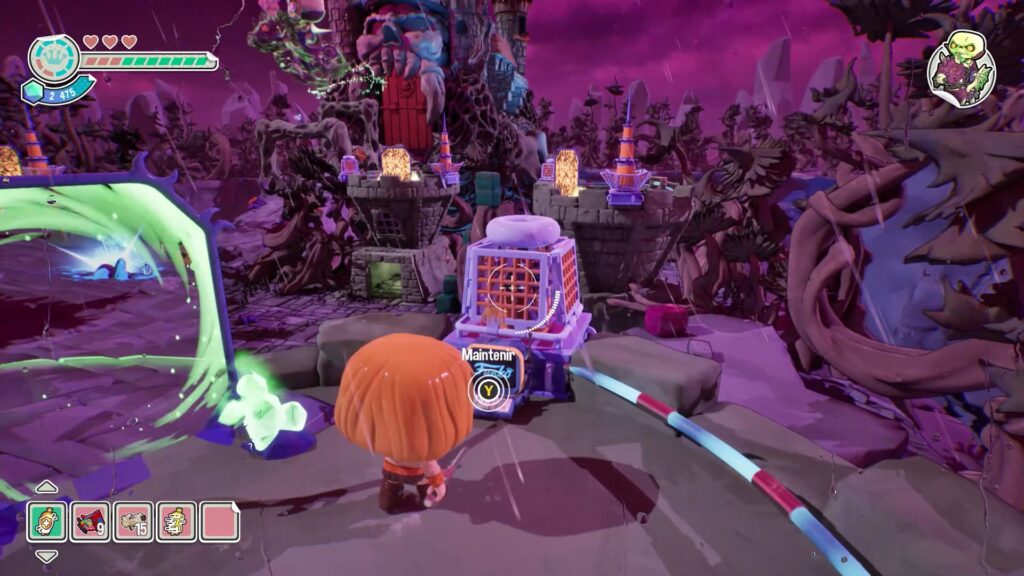
Then activate the switch on the orb receptacle for the final crown. You can now create a portal and place it in the center of the area. Activate any other portal above to teleport there with the fuse in hand. Place the fuse in its slot and activate the current to create an electrical flow and electrocute the enemy in the air.
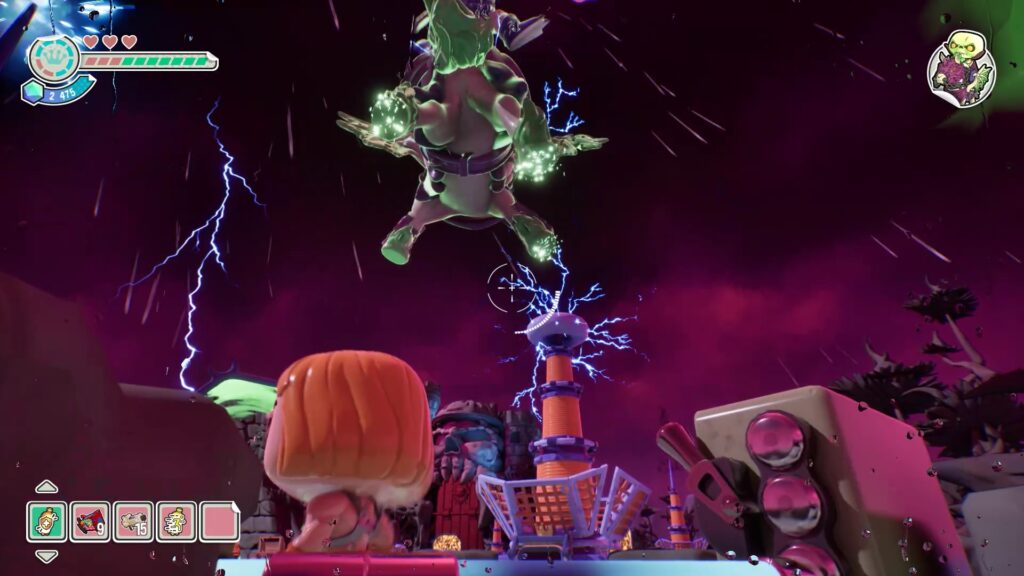
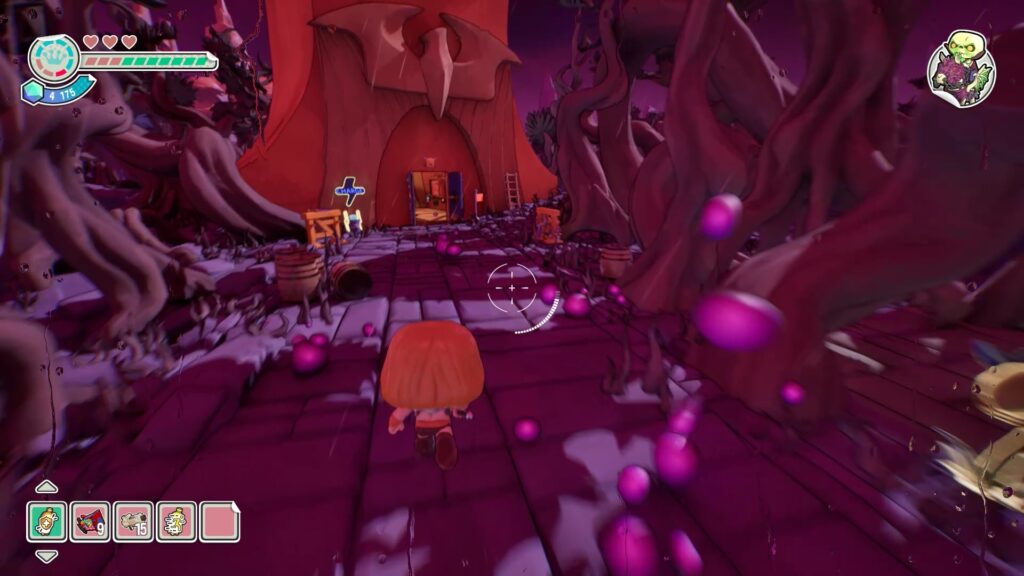
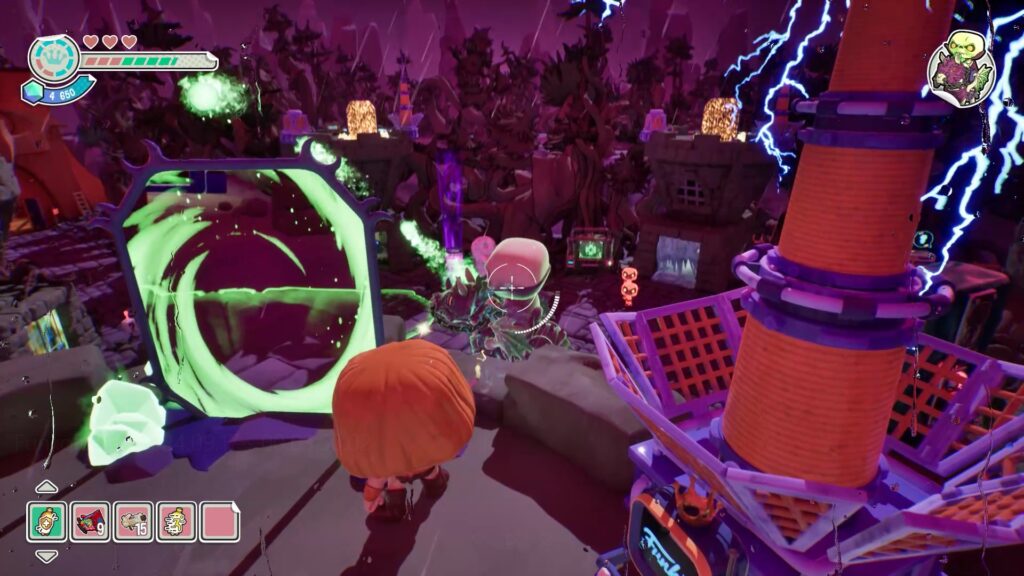
Once electrocuted, the boss will fall to the ground. You will need to shoot him to get him back in the air. Then collect all the purple orbs on the ground to fill the crown gauge. Repeat this as many times as necessary to defeat him. Once the crown gauge is filled, you will receive help to defeat the enemy and complete the world of Masters of the Universe.
Funko Fusion Hot Fuzz Walkthrough
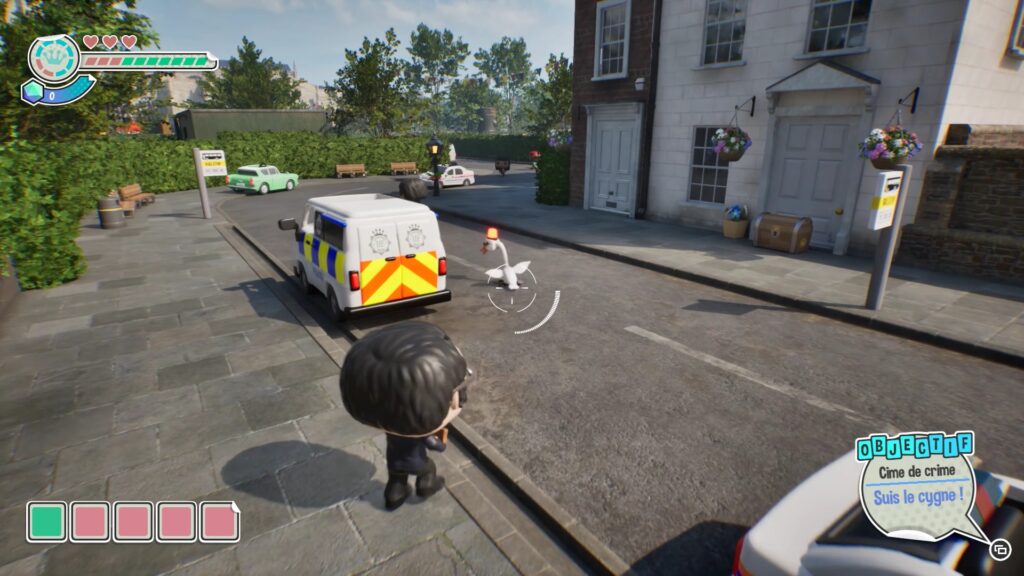
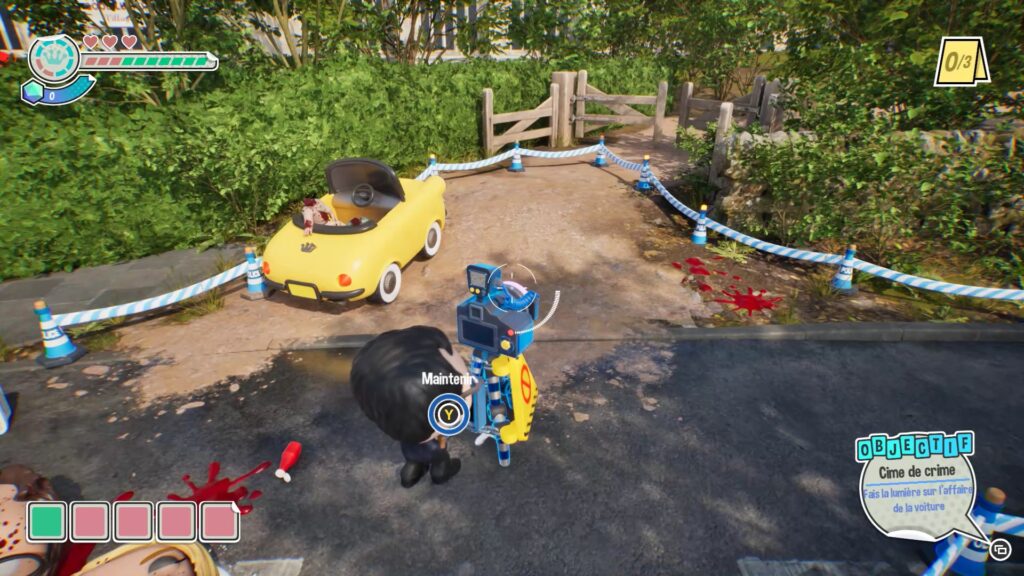
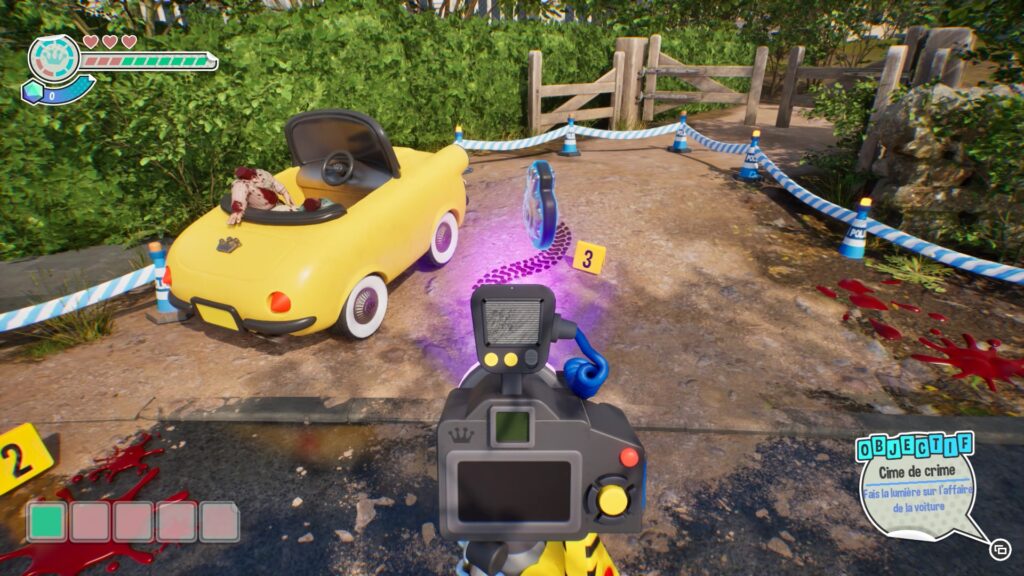
In the first level of Hot Fuzz , start by following the swan to a crime scene. Pick up the camera located near the bodies and use it to scan the area. Examine the surroundings of the scene by scanning with the camera to spot clues related to the crime.
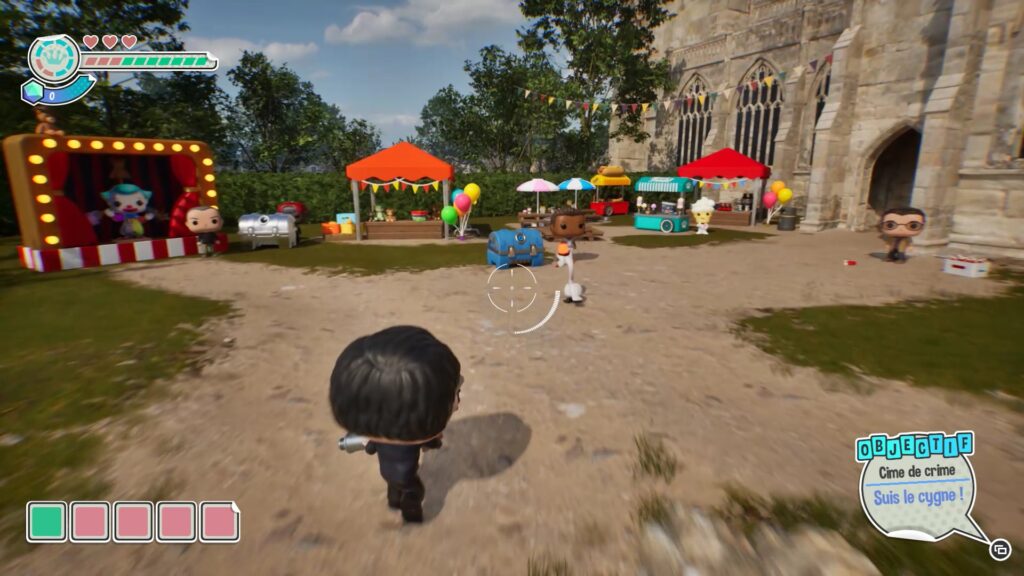
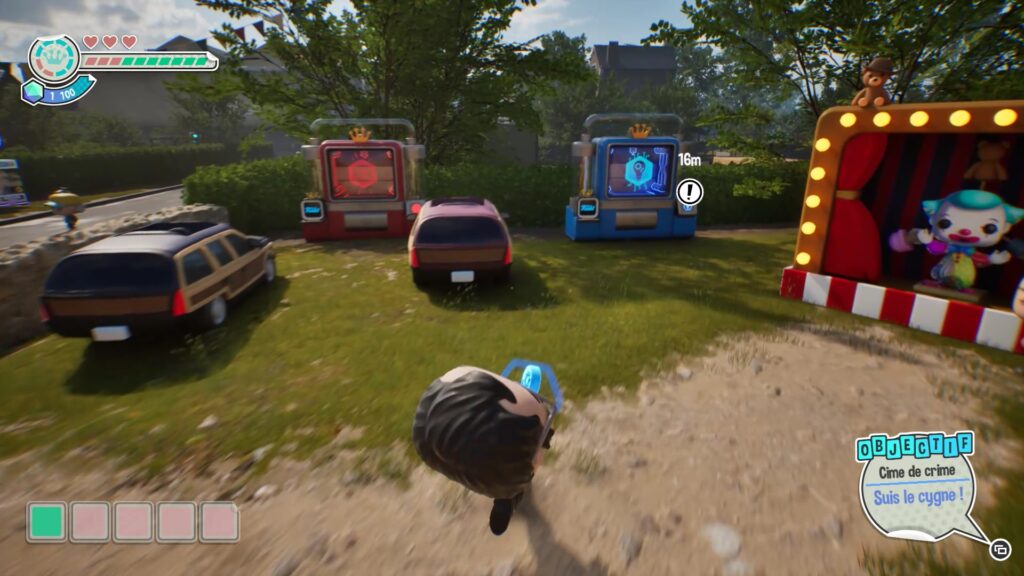
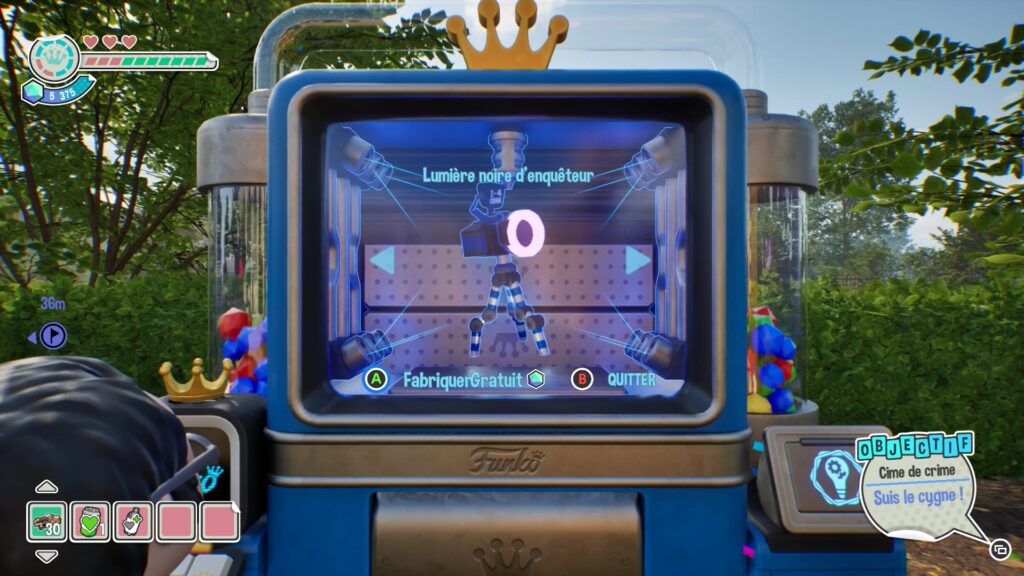
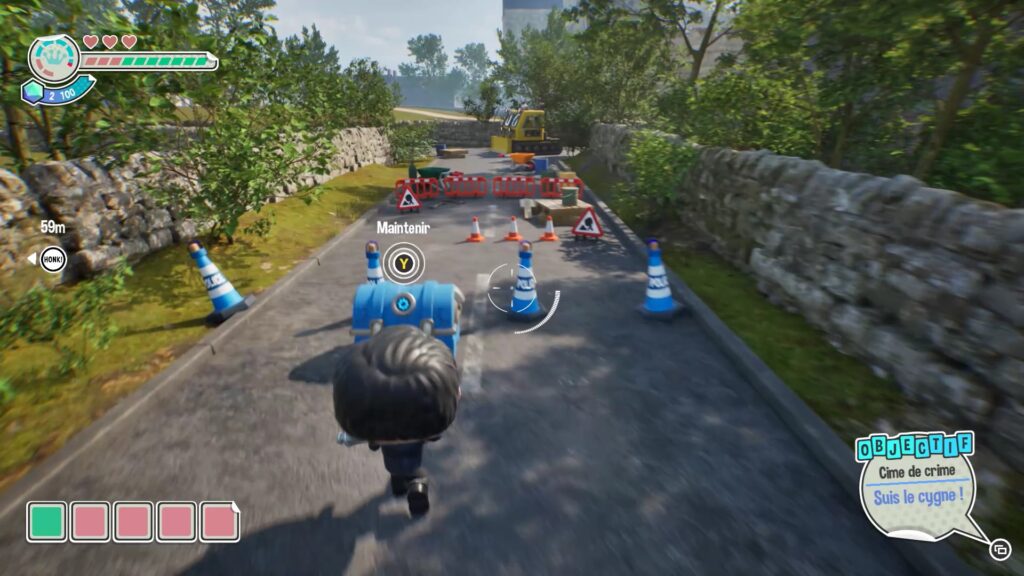
To continue, collect the clue at the crime scene and then follow the swan again to reach a church square. There, collect a blue chest that will allow you to create an investigator’s black light, essential for your future investigations.
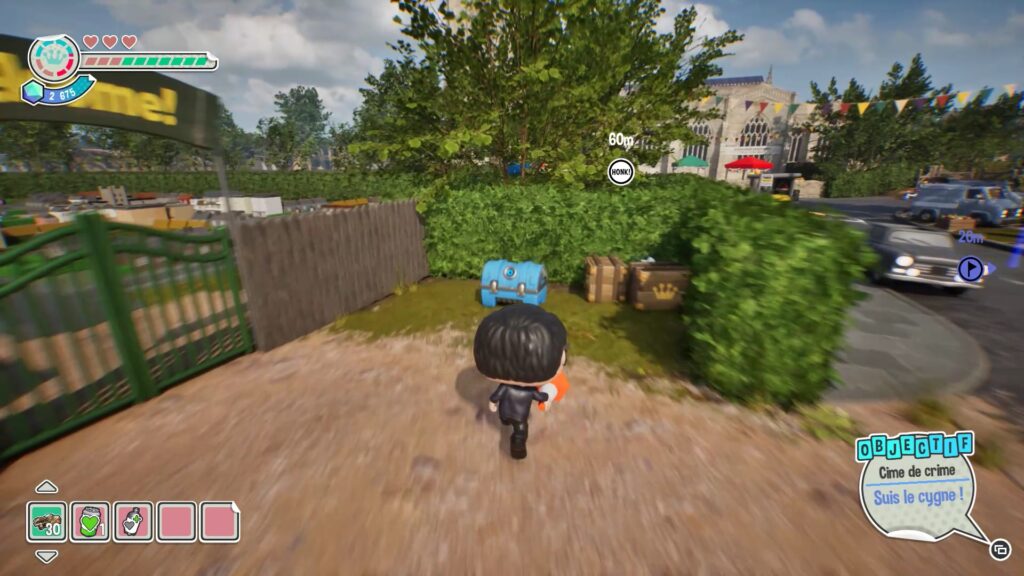
You will be able to create the Black Light once you have found three blue chests and deposited their contents into the creation machine located in the square. One of the chests is located near the first crime scene, another near the entrance to the area, next to a green portal.
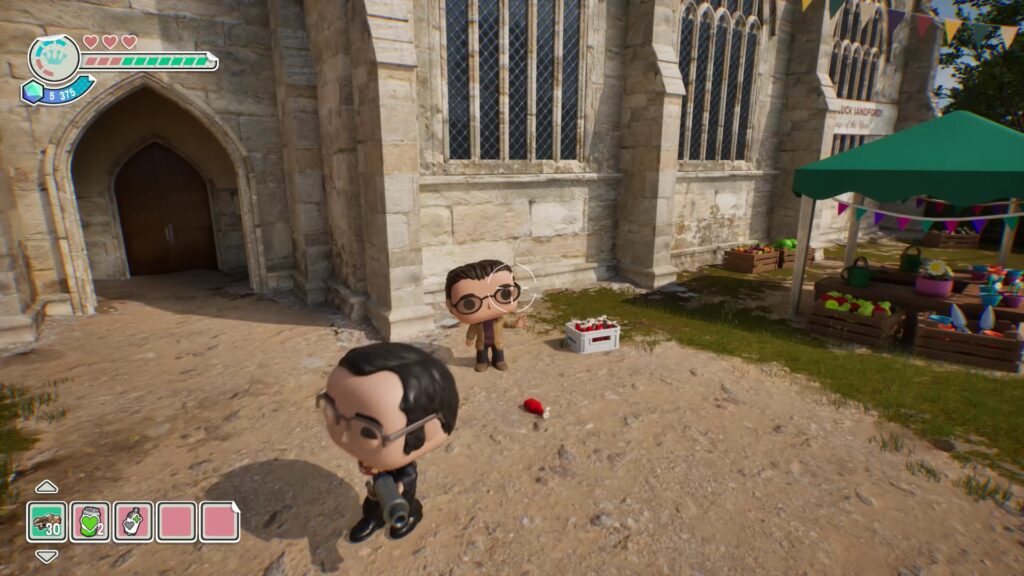
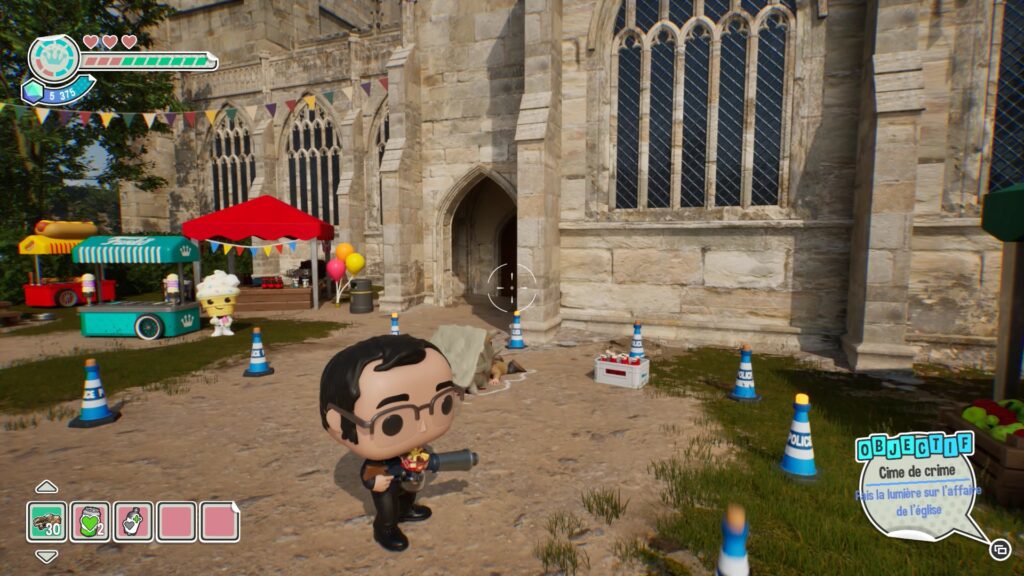
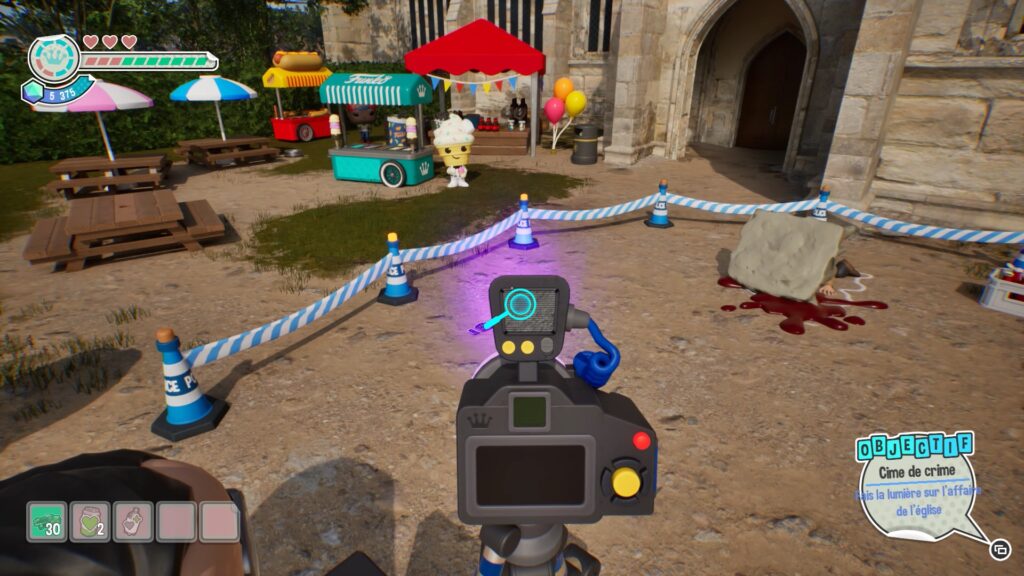
In the church square, talk to the bespectacled character near the church entrance to trigger a new crime scene. Take out your camera and use the black light to examine the scene and discover what just happened. Once all the clues are found, collect the key clue to advance in the investigation.
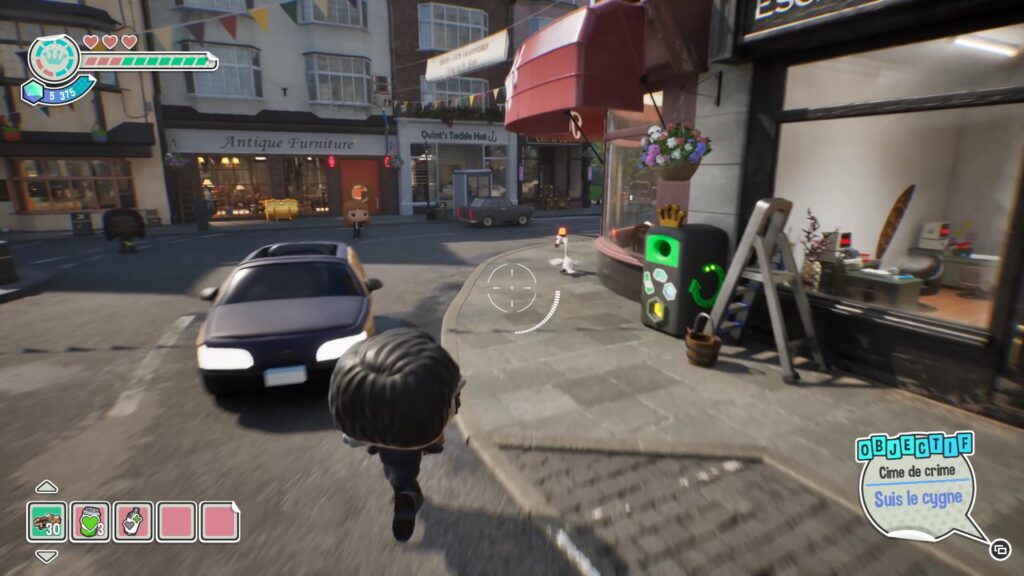
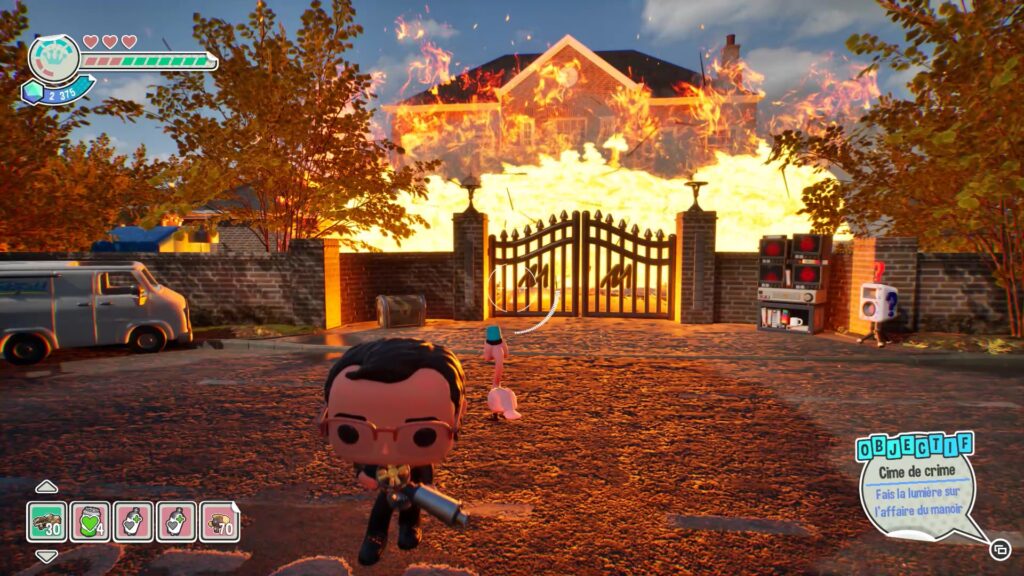
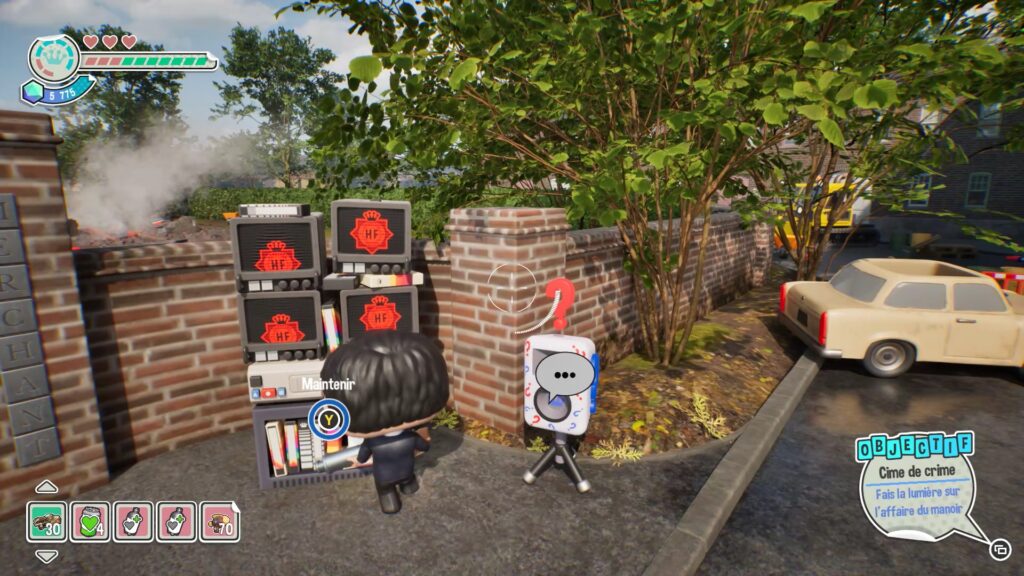
Follow the swan back to the mansion, which explodes upon your arrival. This new investigation leads you to the four surveillance screens located to the right of the mansion gate to collect clues.
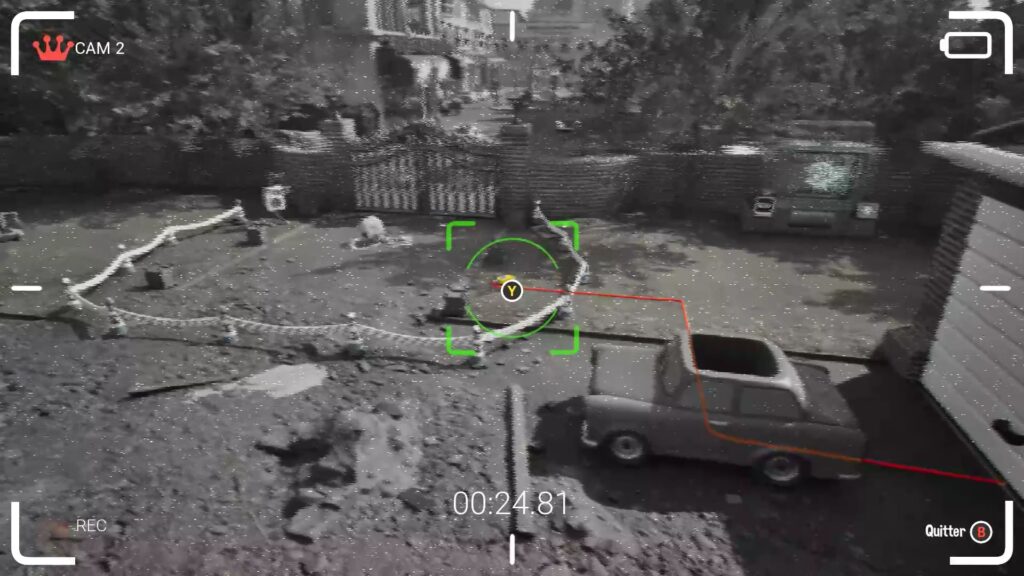
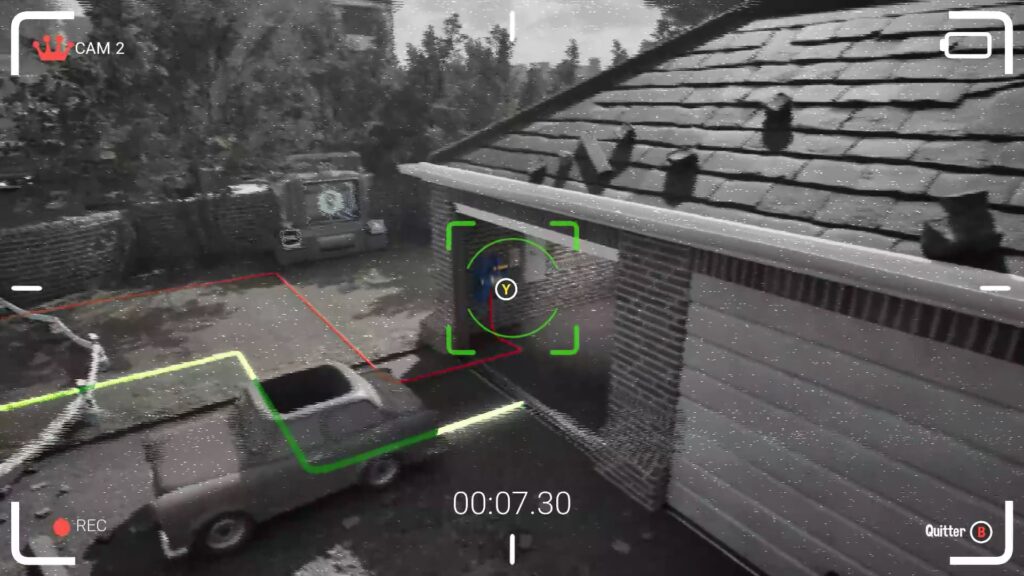
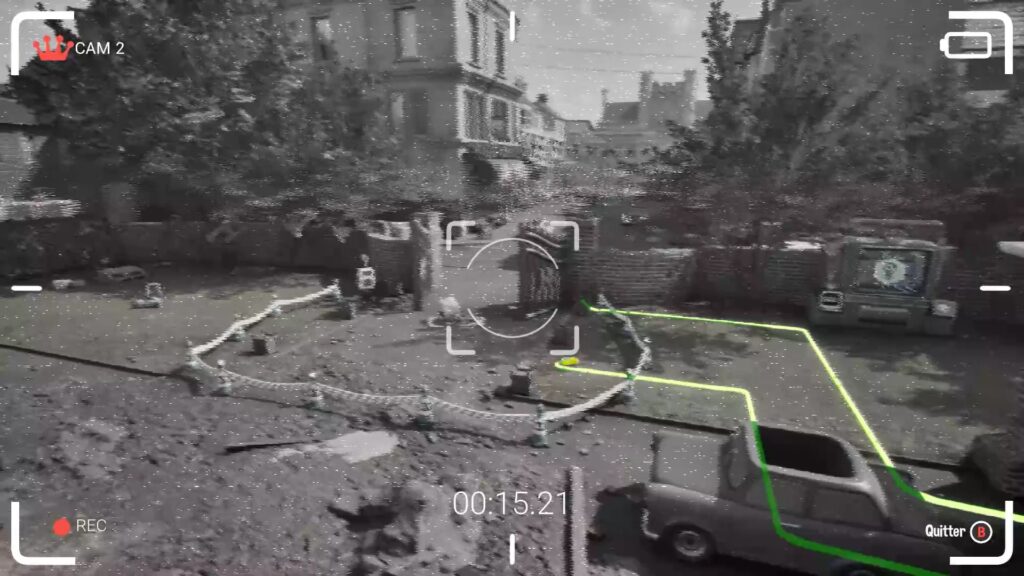
On the surveillance screens, aim for the yellow remote control located in the center of the area. Then follow the pipe that leads to the garage to open the door. Once inside, aim for the left wall of the garage to reveal the gate lever. Follow the cable from the lever to the gate to unlock it.
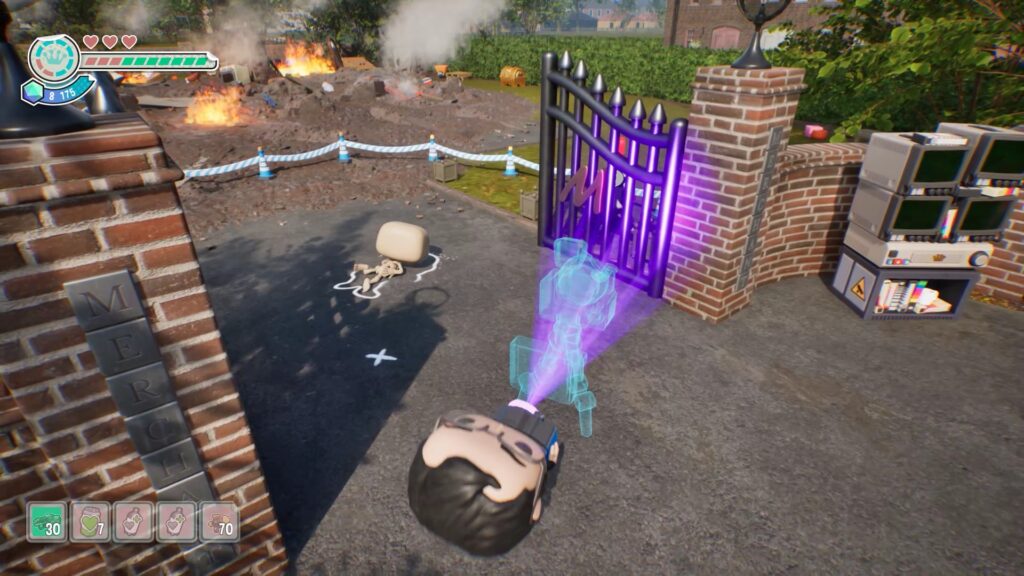
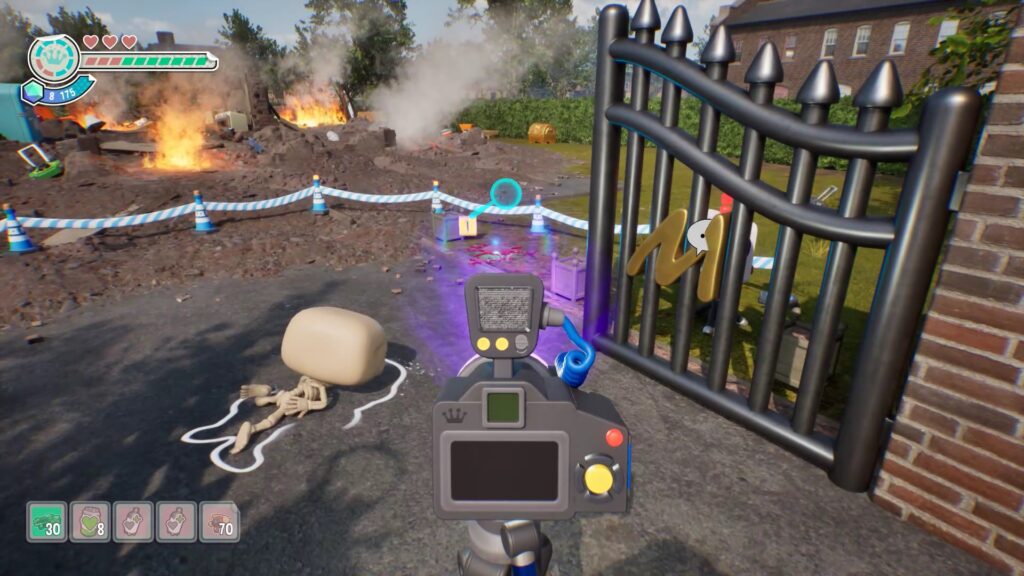
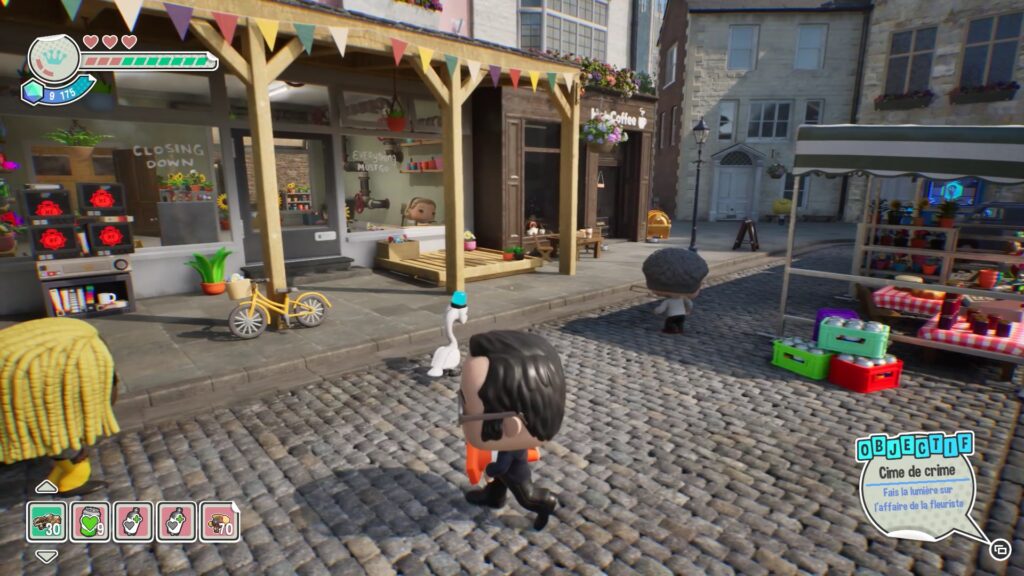
After unlocking the gate, enter the courtyard of the mansion and find a body. Use your camera again to scan the area and discover all the clues. Once the investigation is complete, collect the final clue, then follow the sign to a flower shop.
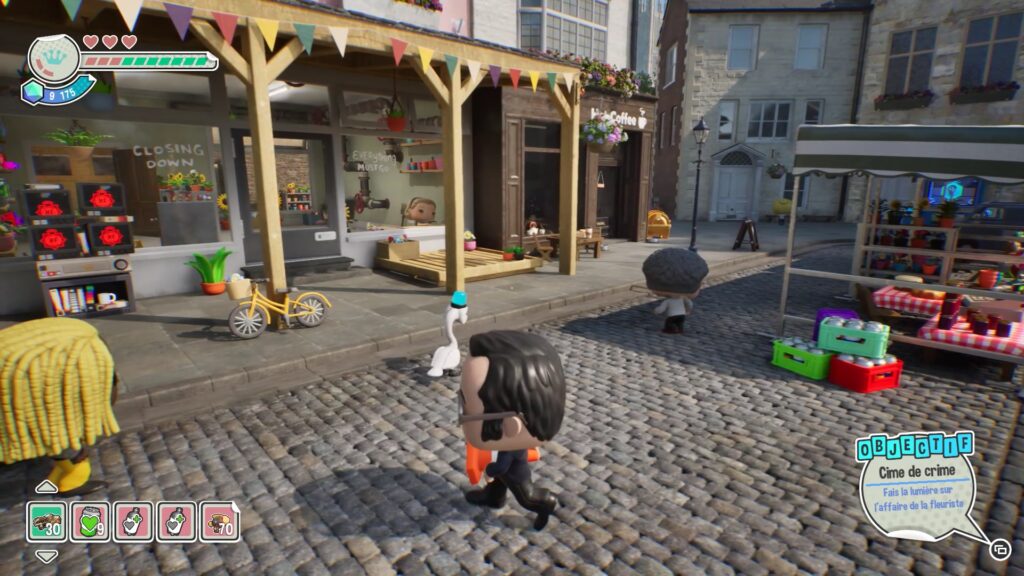
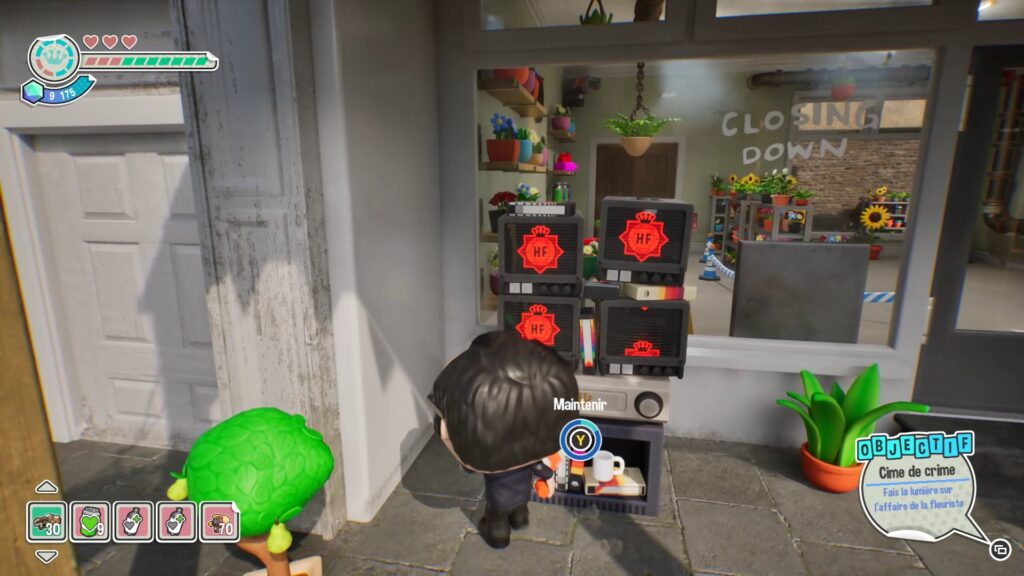
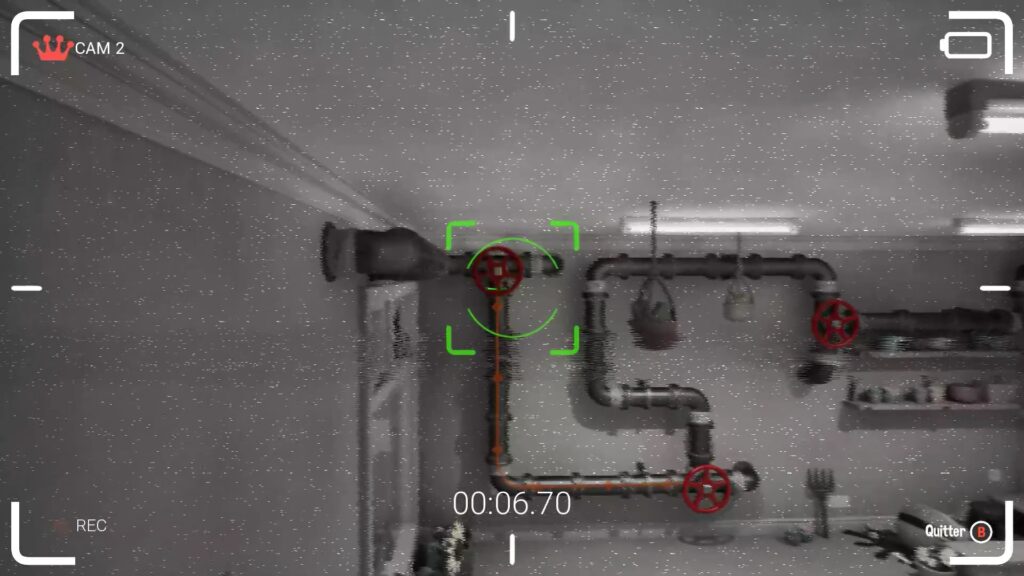
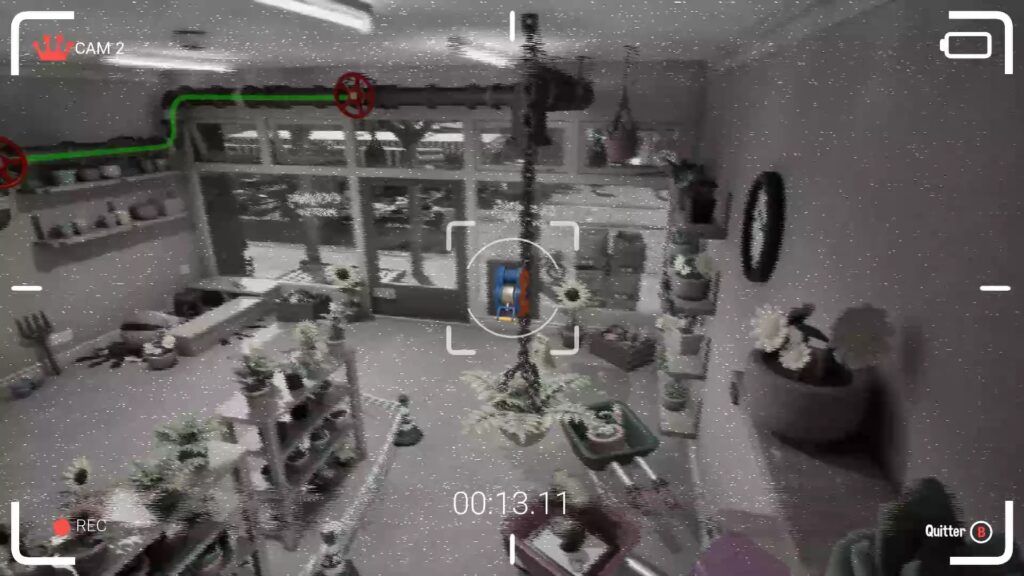
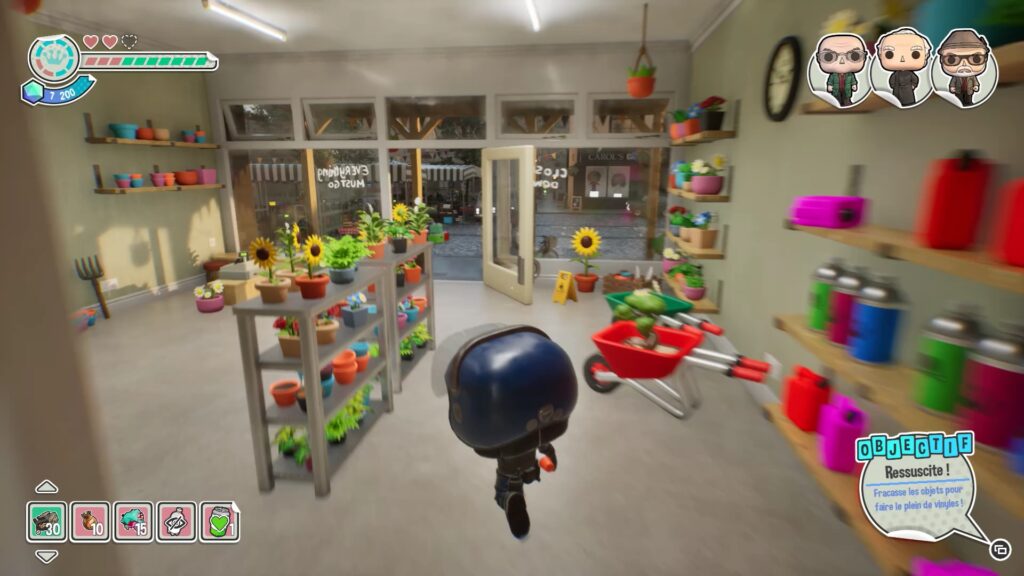
In front of the florist shop, interact with the screens on the left side. In the surveillance screen, aim at the valve on the far left and pass the electricity from valve to valve by following the pipes. Once all four valves are activated, zoom to the right of the shop entrance to find the door lever and unlock it.
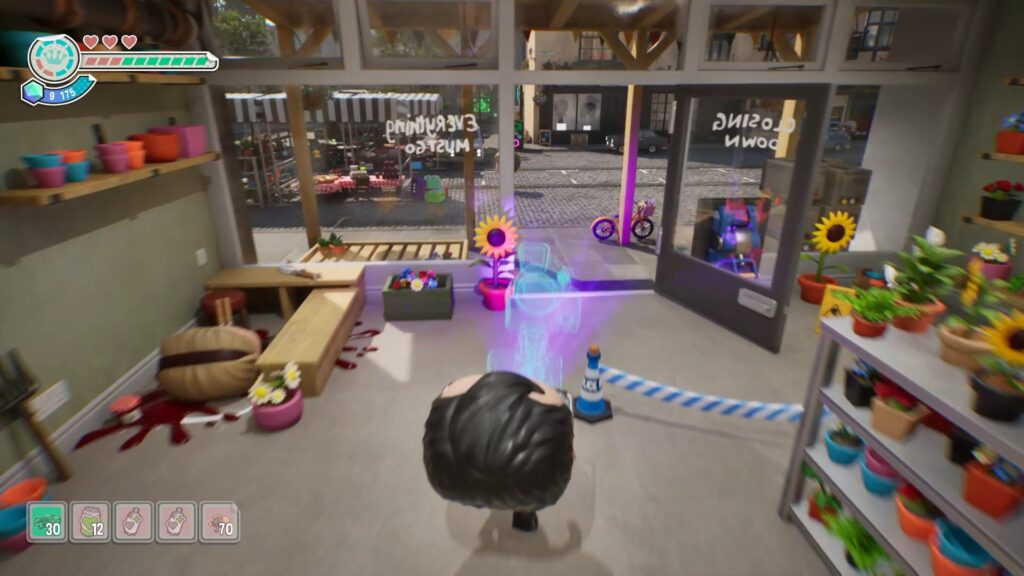
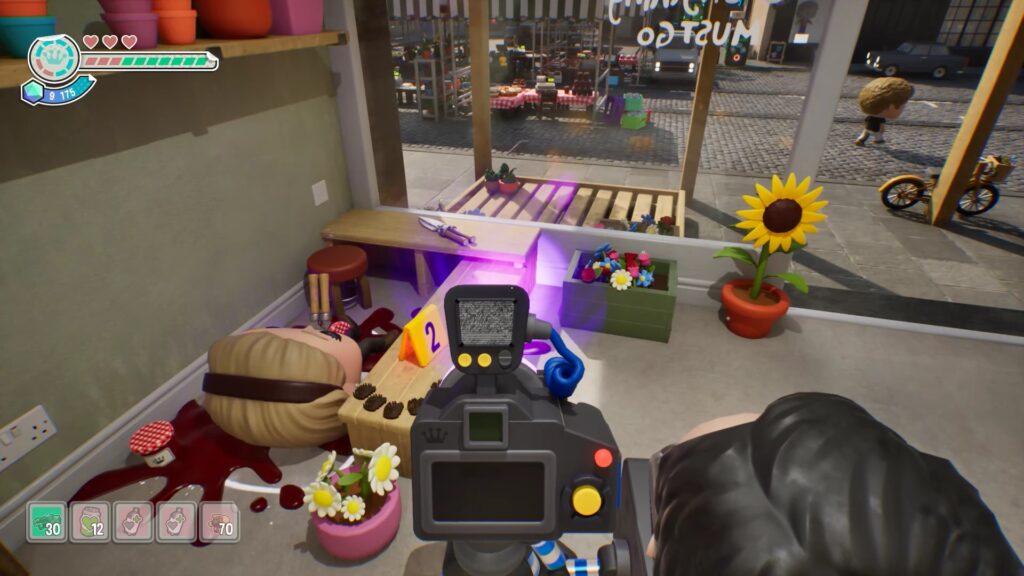
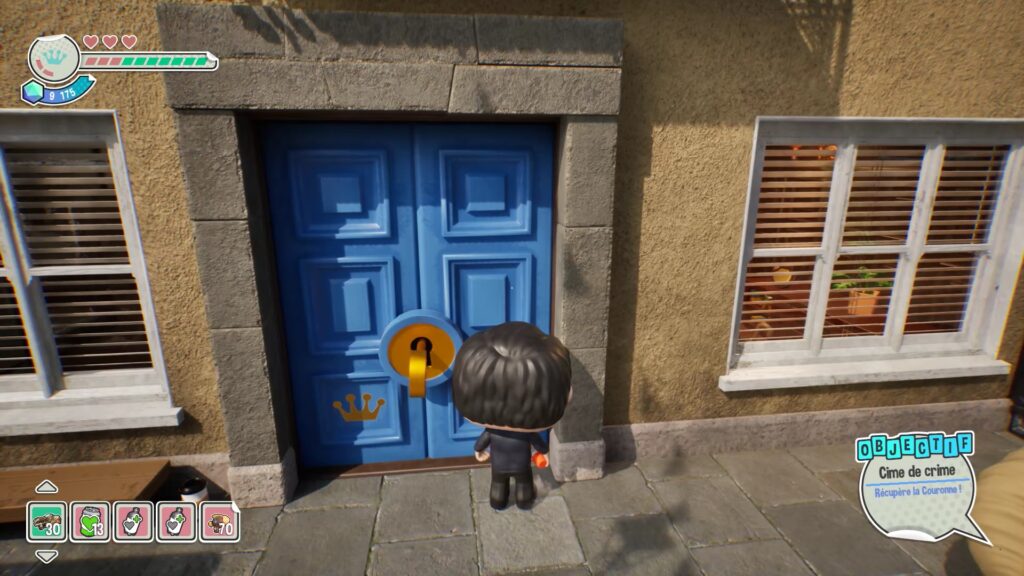
Enter the shop to discover a new crime scene. Use your camera to collect clues about the florist’s death, then collect the final clue to unlock the key that will allow you to complete the level. Follow the quest marker to reach the exit and collect the level’s crown.
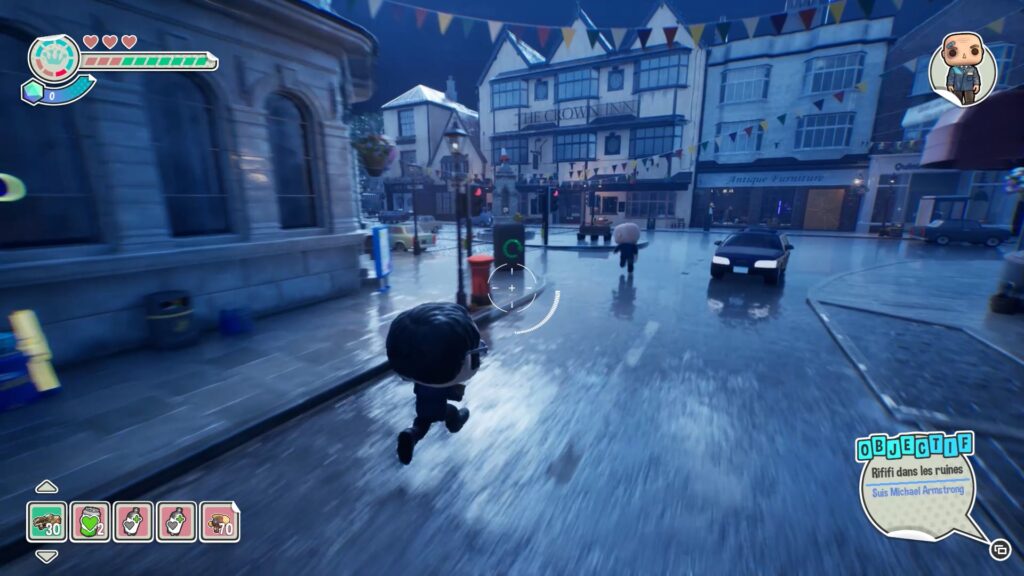
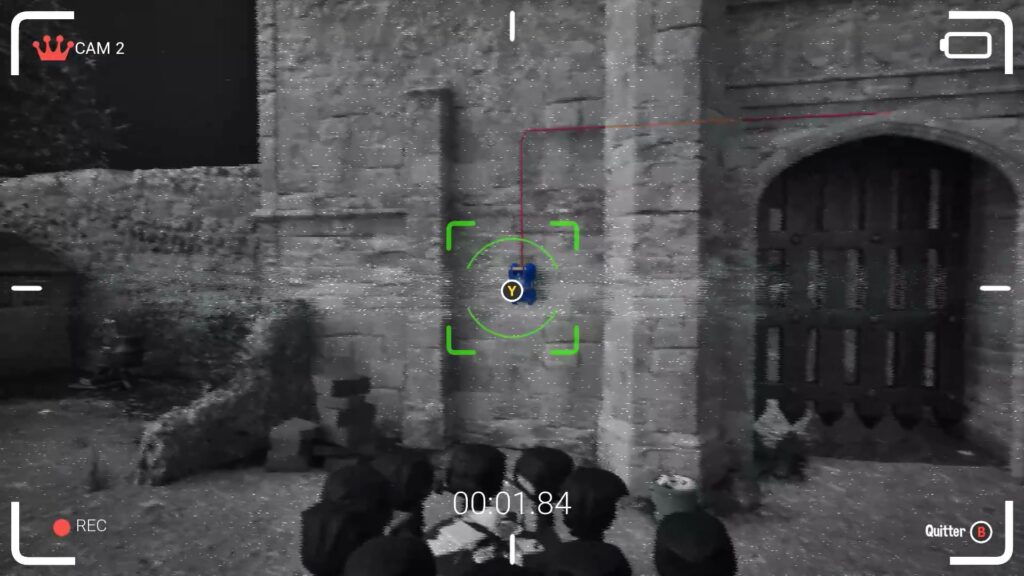
In this new level, start by following Michael. You will be interrupted by a gate closing in front of you. Go back and interact with the screens near the gate. In the surveillance screen, aim at the switch and follow the red wire to unlock the gate.
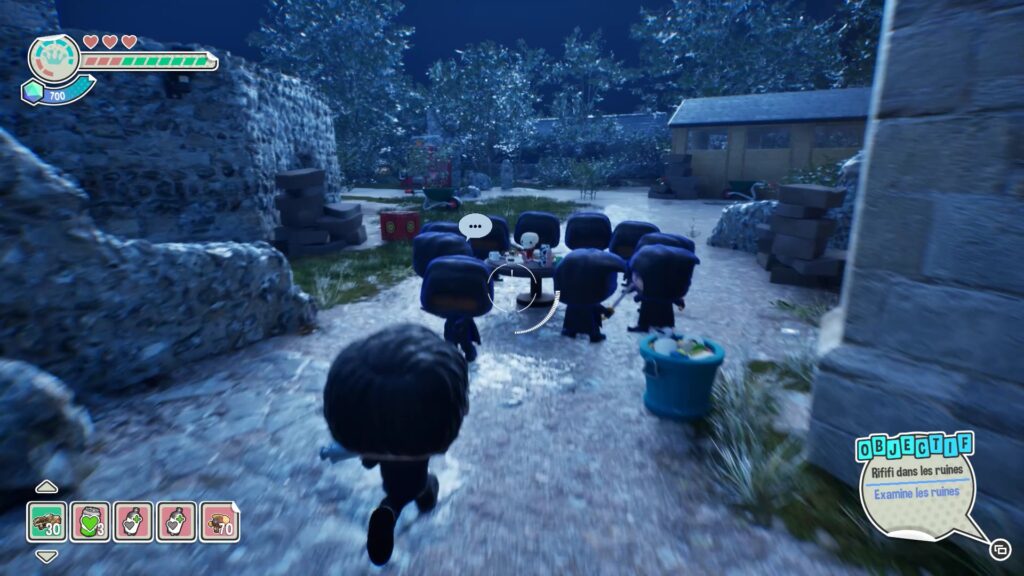
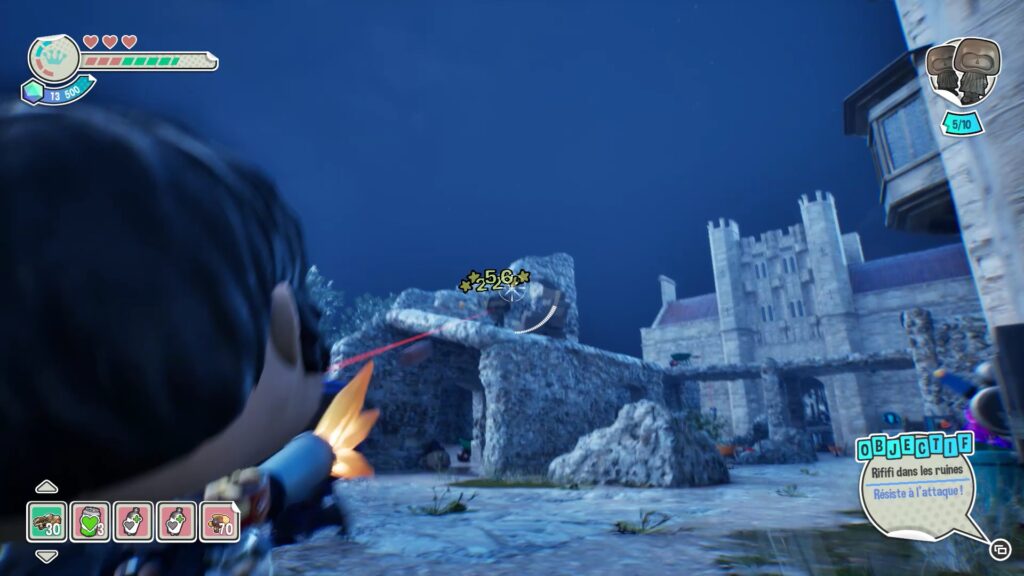
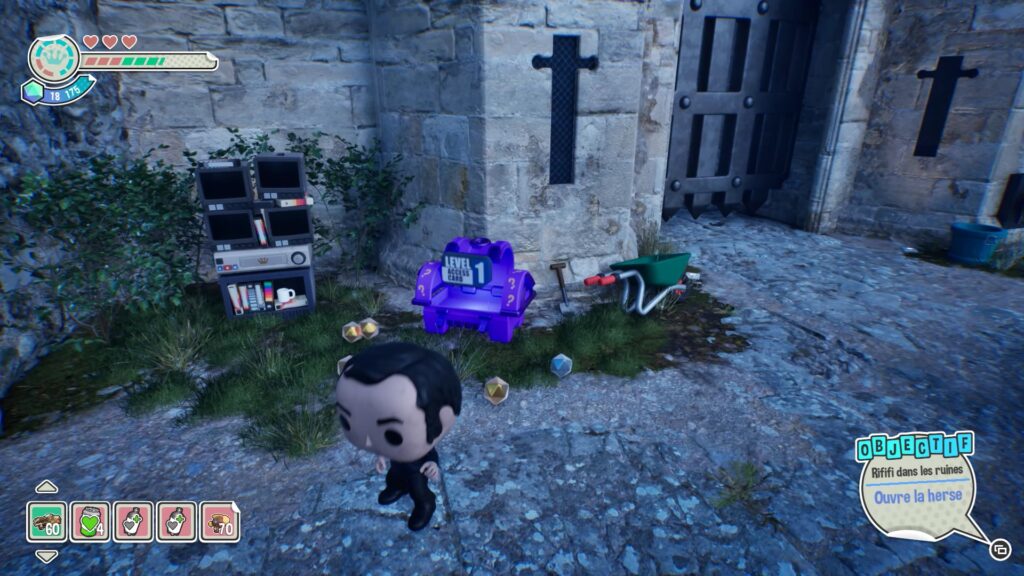
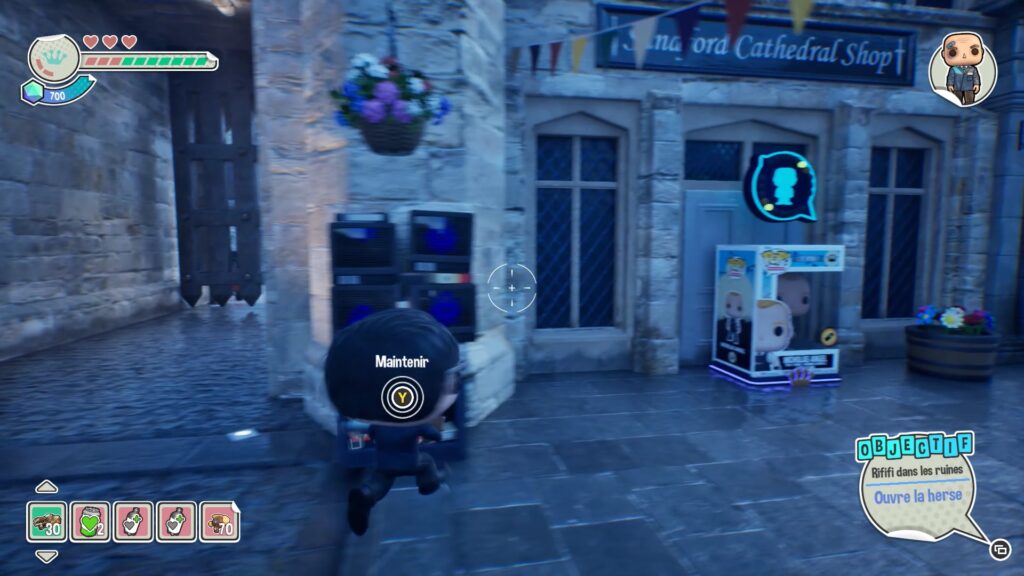
Behind the gate, you will arrive in a courtyard full of enemies. Survive the attack and eliminate all the enemies to progress. For the snipers, start by stunning them with a firearm, then approach to attack them in melee. Once all the enemies are defeated, retrieve an access card from the purple chest near the portcullis.
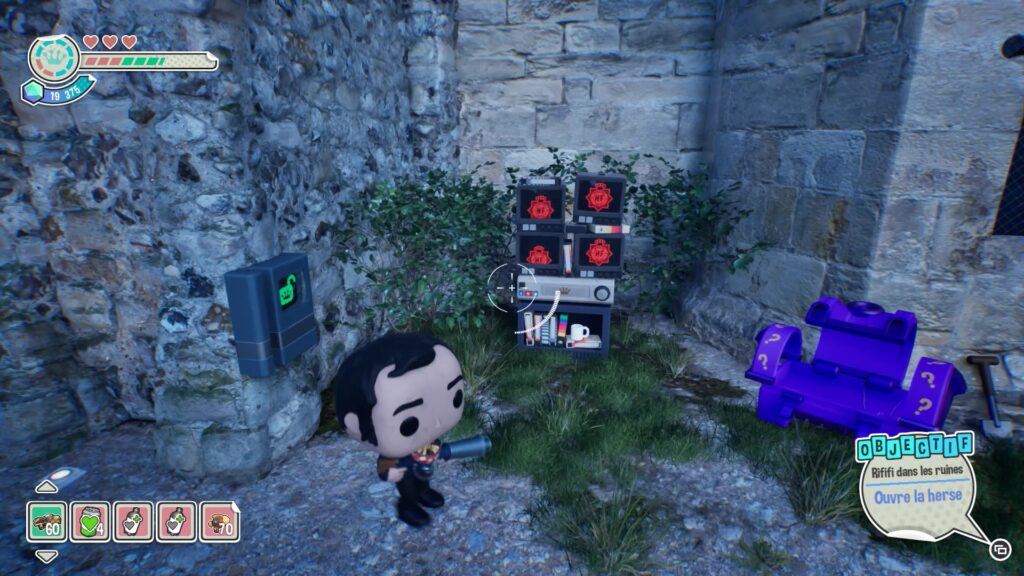
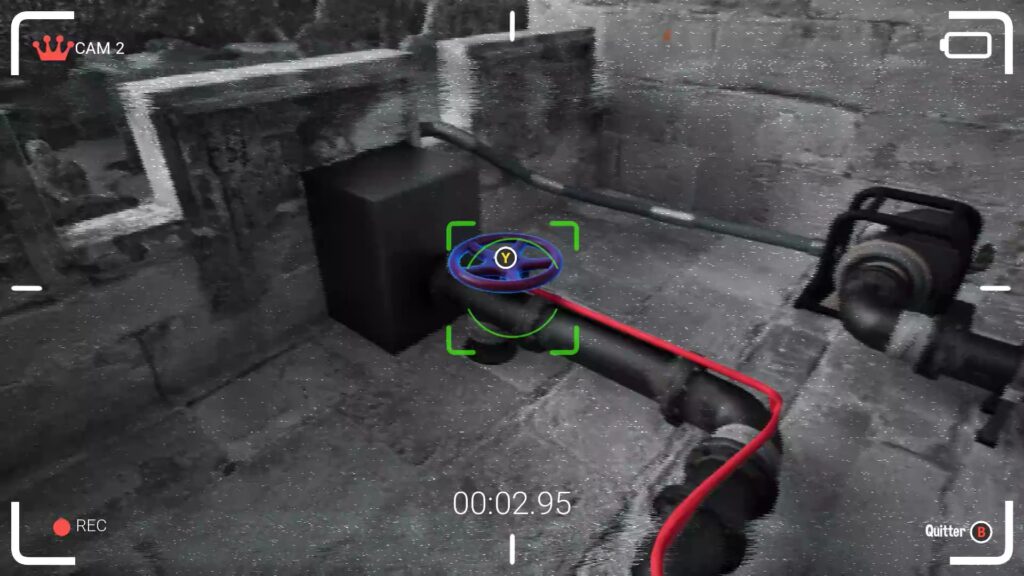
Use the keycard on the portcullis mechanism near the surveillance screens. Then, activate the valve on the far left of the screens and follow the red wire to unlock the portcullis. You can then pursue Michael and reach a new courtyard.
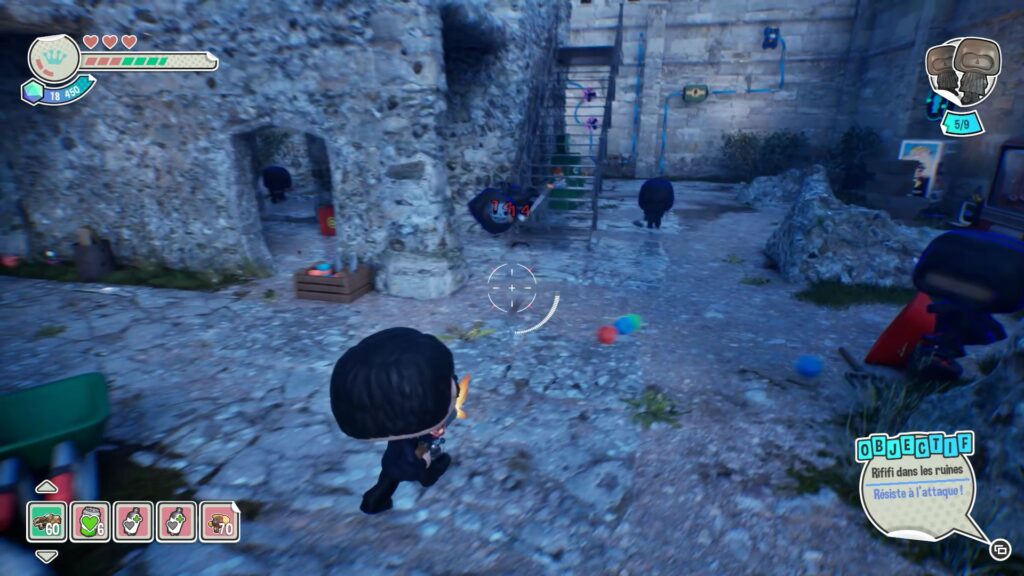
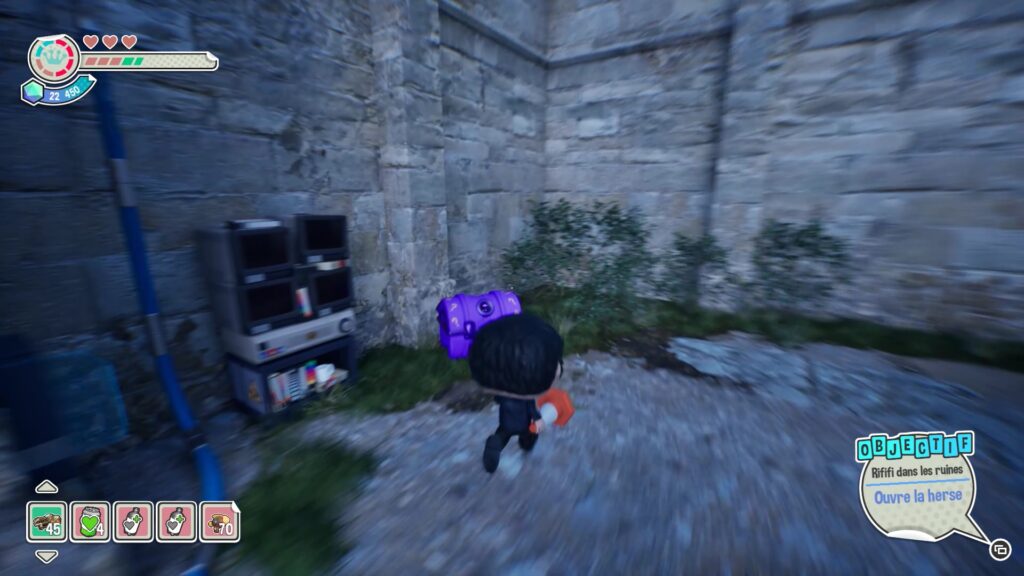
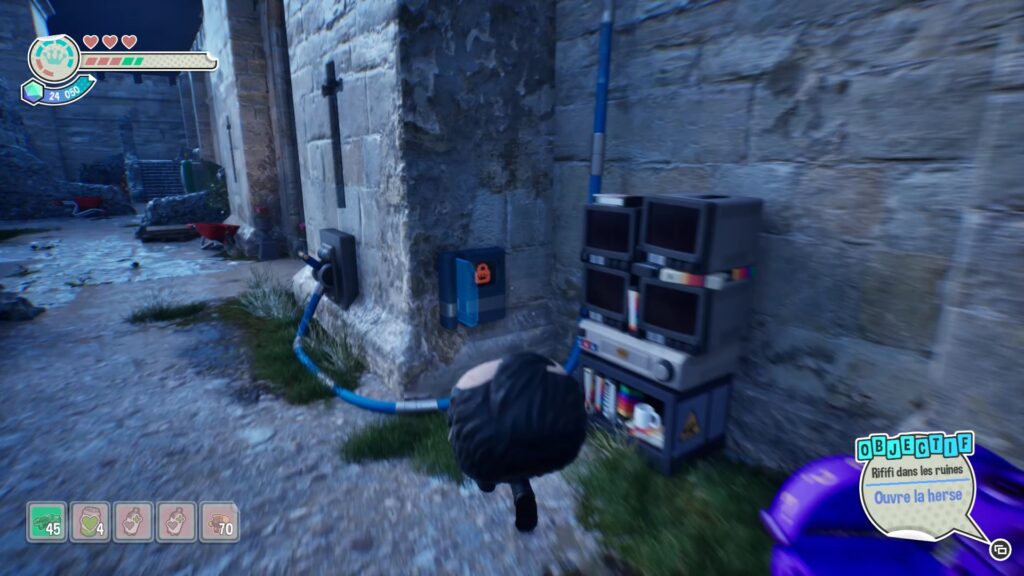
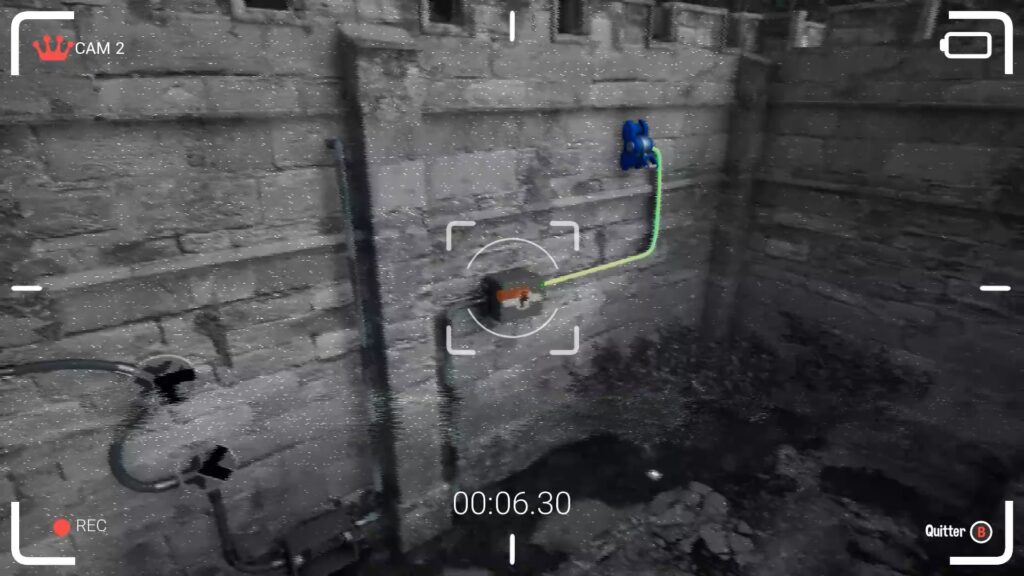
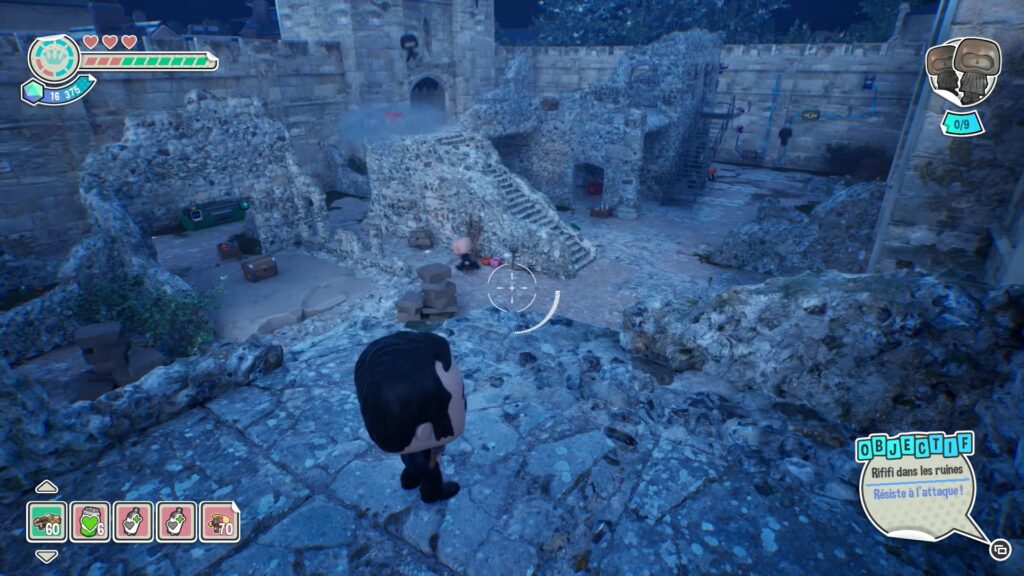
Defeat all the enemies in the area. Once defeated, head to the portcullis and retrieve a new access card from the purple chest. Next, power up the surveillance screens. Pull the lever to the right on the screens and follow the power wire before being blocked by an empty box.
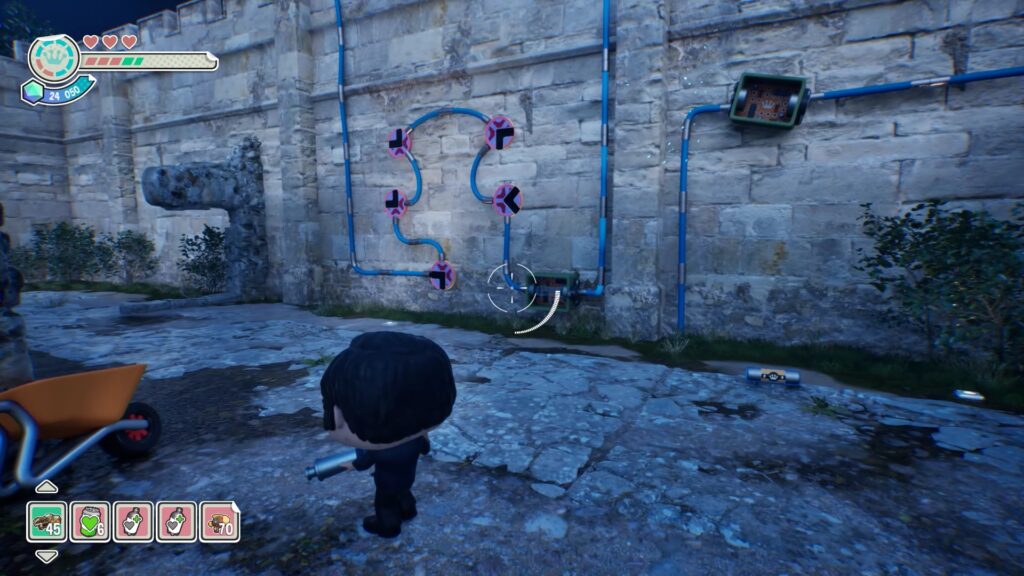
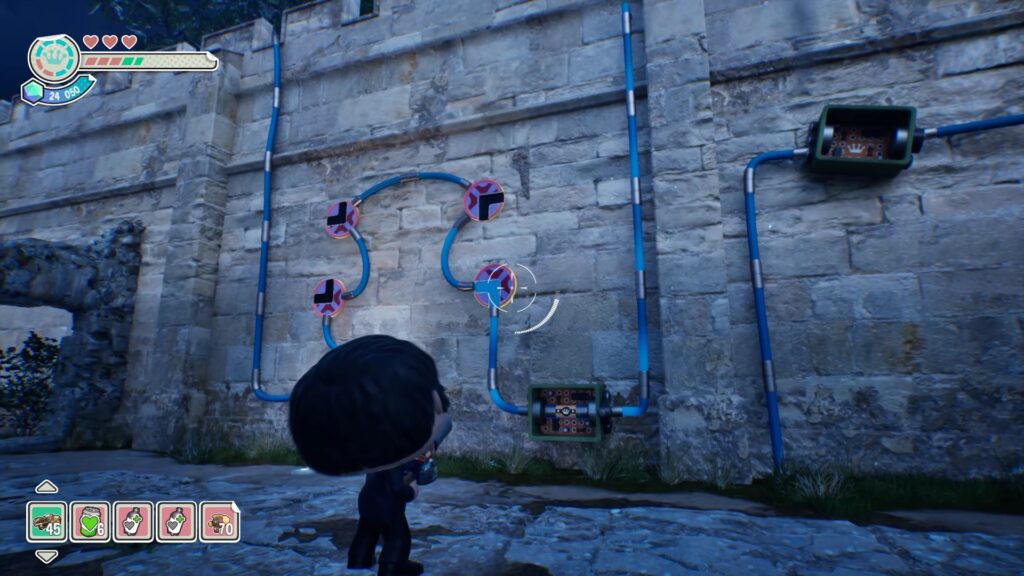
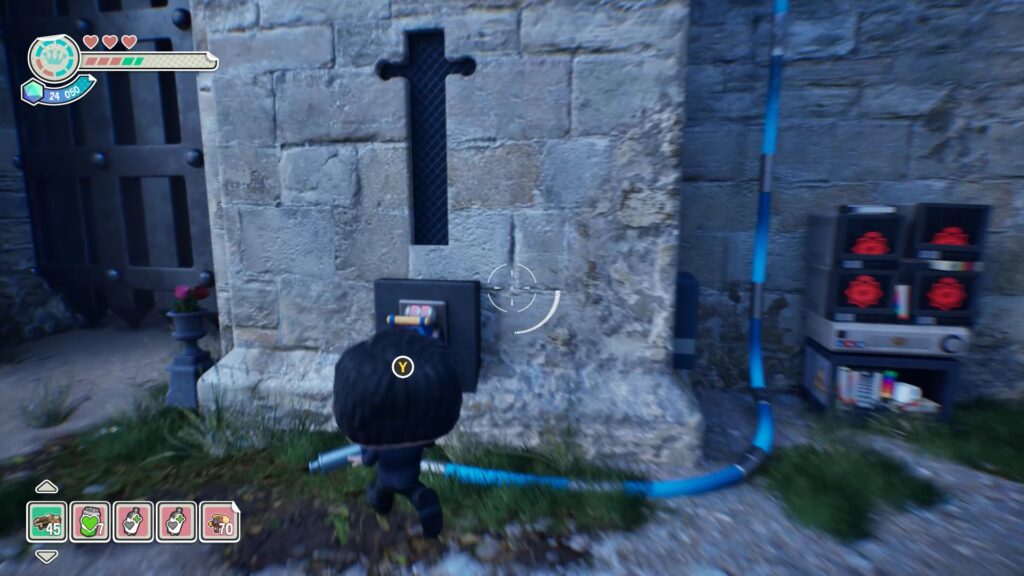
In the courtyard, head to the back to find the surveillance camera circuit on a wall in the ruins. Pick up the fuse at the base of the damaged box and place it in the lower box, which is connected to power points. Rotate the four power points to restore the circuit. Once the circuit is restored, go to the portcullis and pull the lever near the entrance to continue your advance.
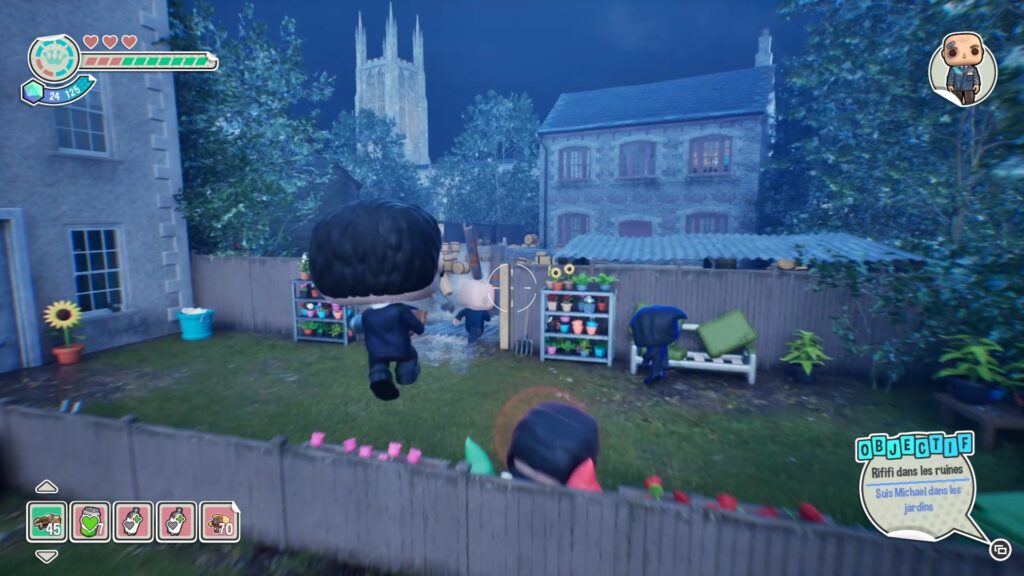
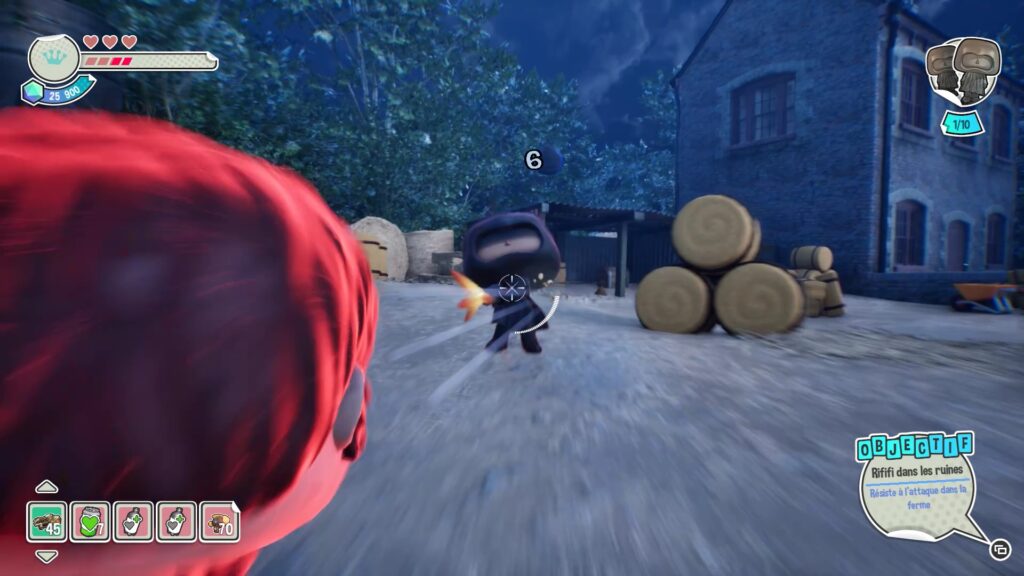
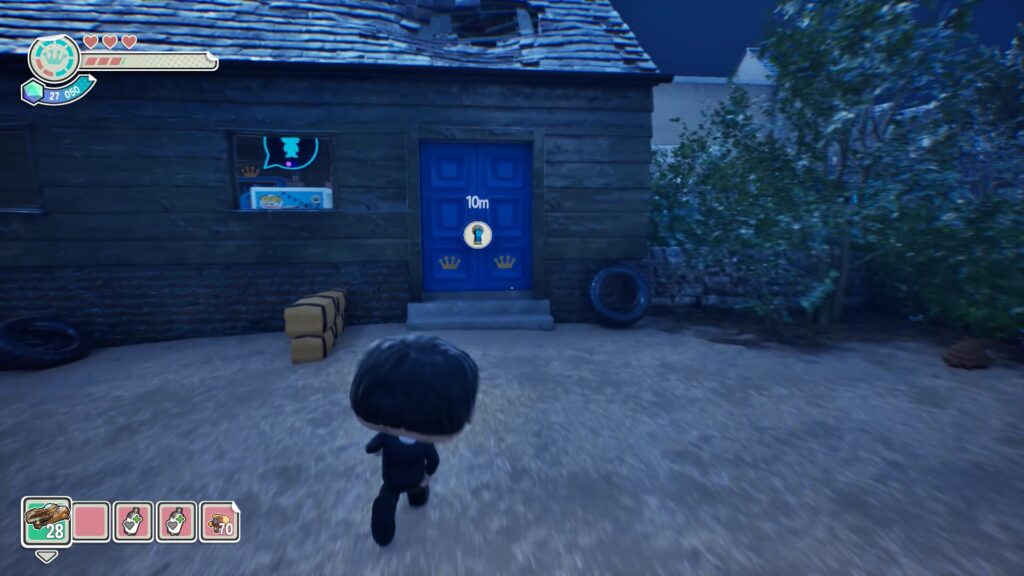
Continue chasing Michael, but you will be ambushed again. Eliminate all the enemies on the farm to unlock the key and complete the level.
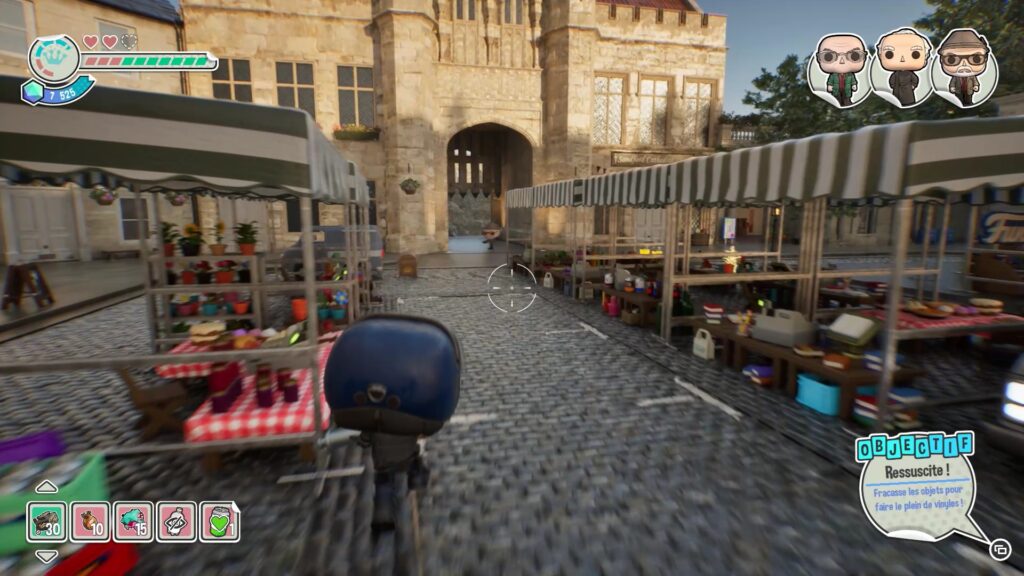
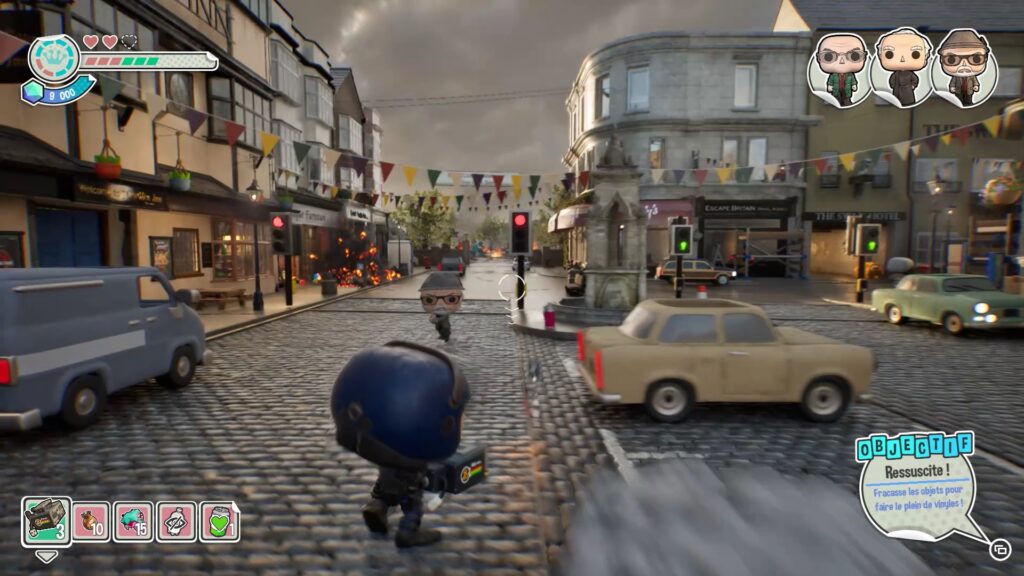
In this level, you must defeat three gang leaders. The first one is near the florist. Return to the city, then head to the castle portcullis to confront him. To defeat him, simply shoot him while dodging his attacks. Search the chests in the area for powerful weapons to eliminate him faster.
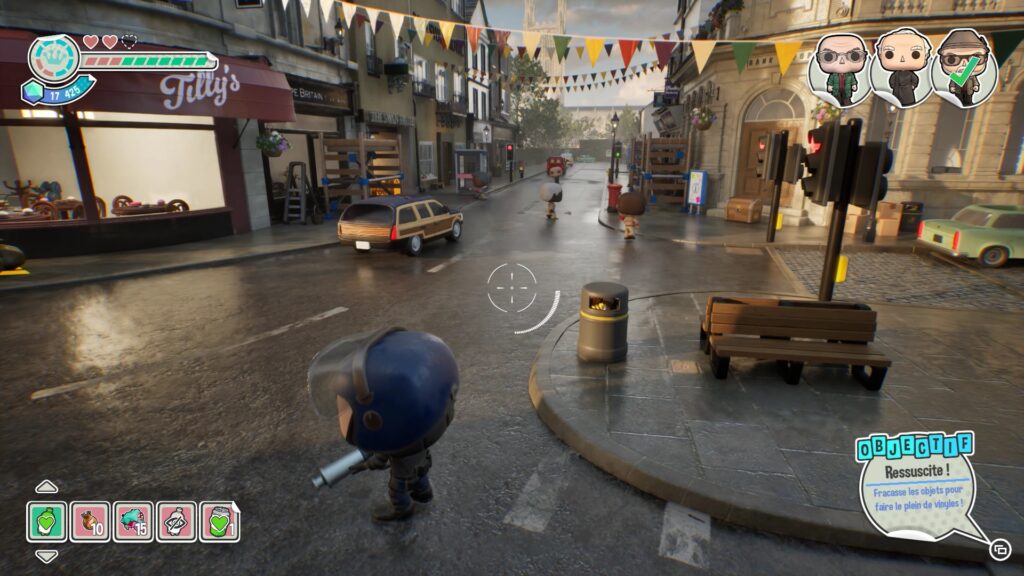
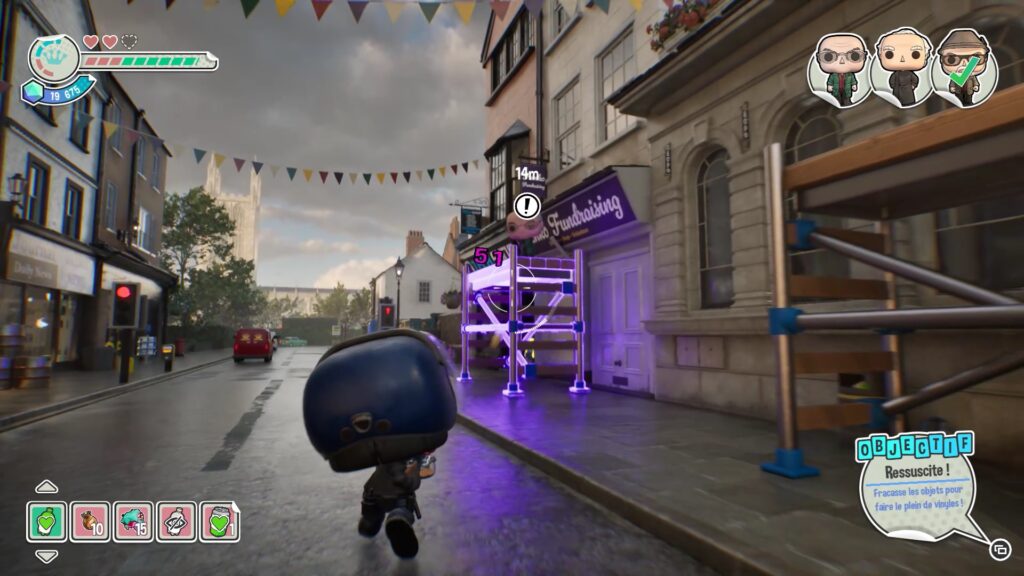
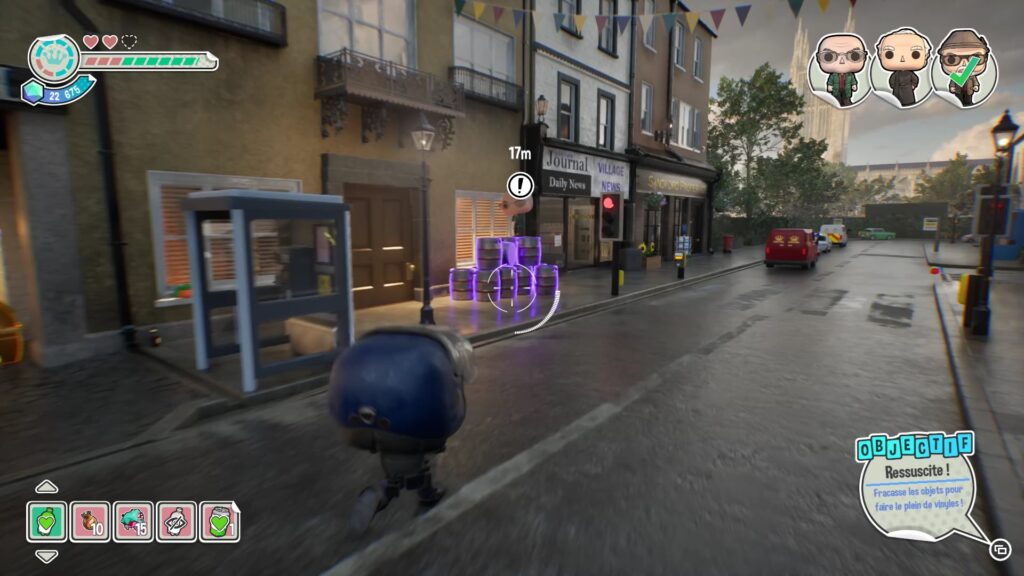
The second boss is located on the street parallel to Tilly’s store. To defeat him, shoot the structures where he is located to make him fall. Once on the ground, attack him, then repeat this operation until he is eliminated.
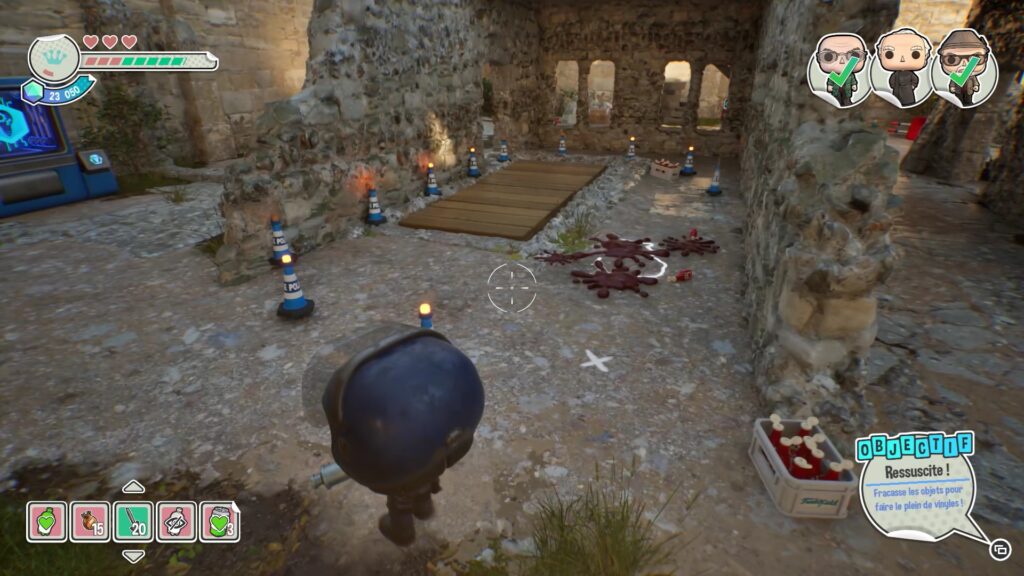
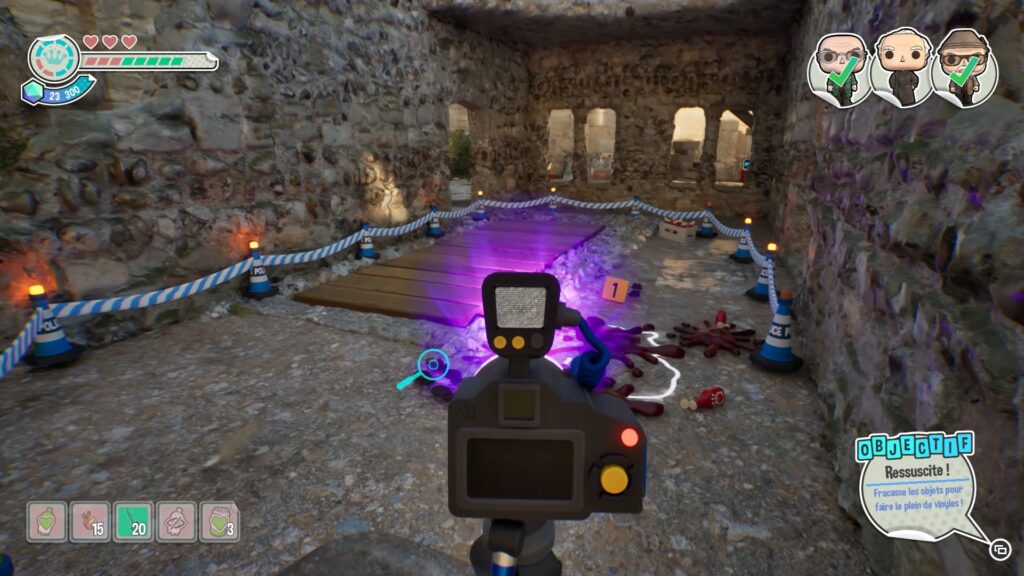
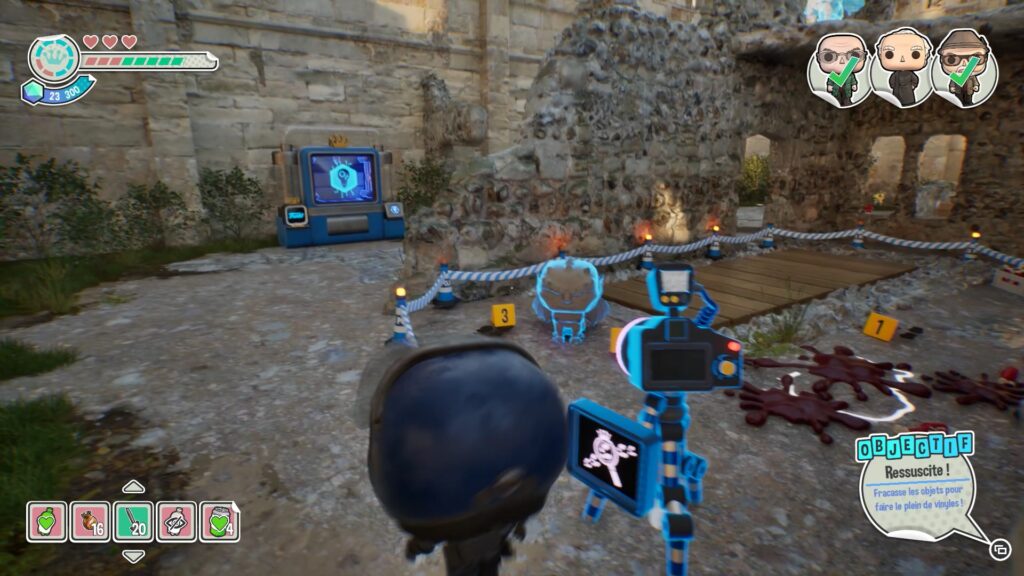
To find the last boss, return to the ruins (near the farm). A new crime scene has appeared near the creation machine. Use your camera and the black light to uncover all the clues to the crime, which will cause a gargoyle to appear.
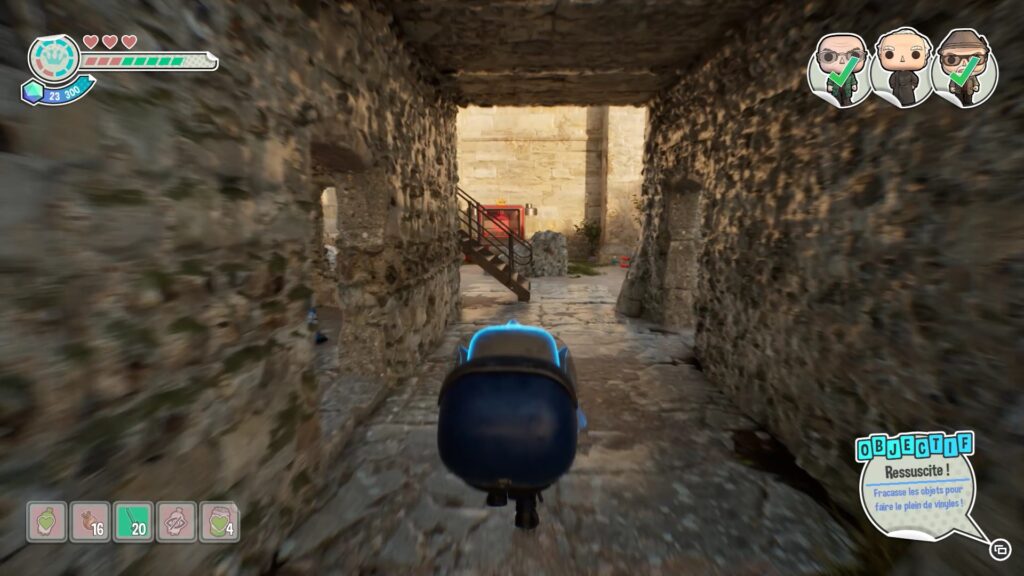
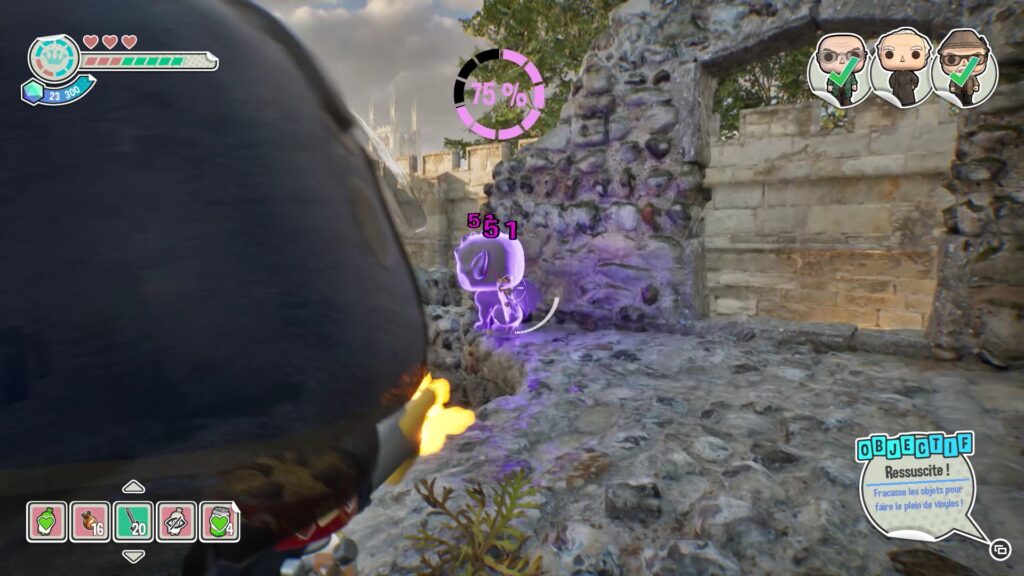
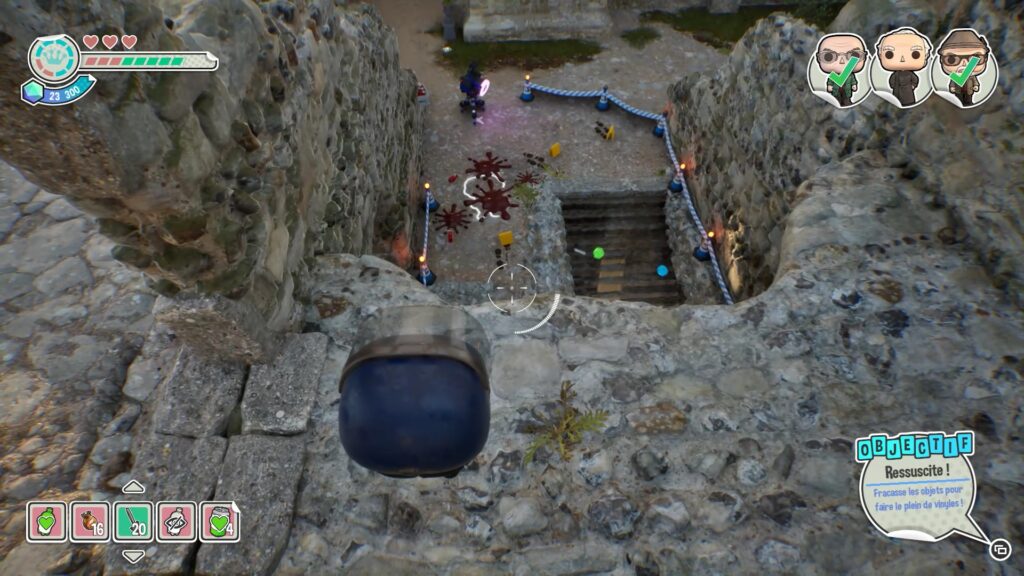
Pick up the gargoyle and place it high up in the crime scene, using the stairs. Then, shoot it to make it fall onto the wooden planks, which will open a new path.
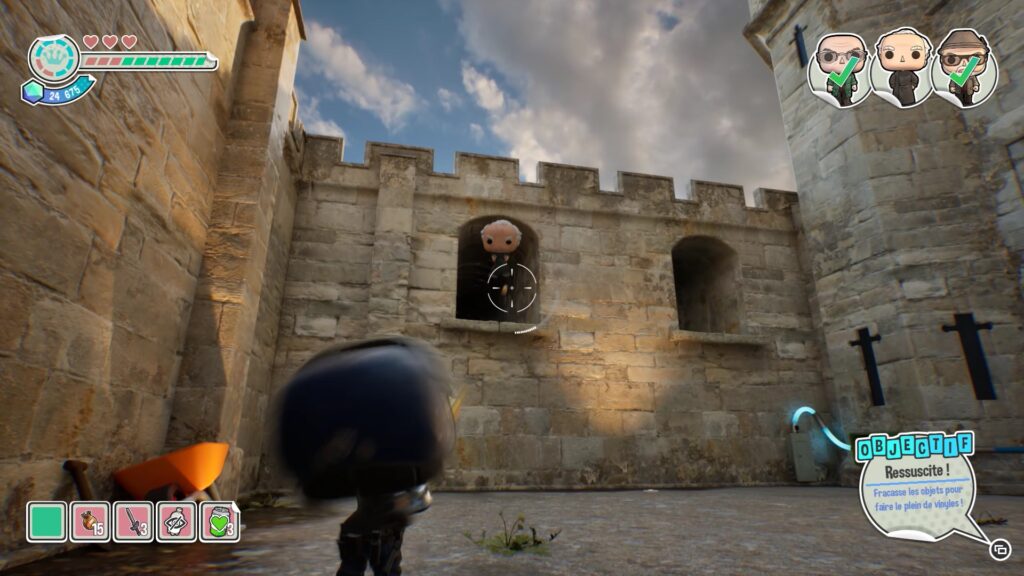
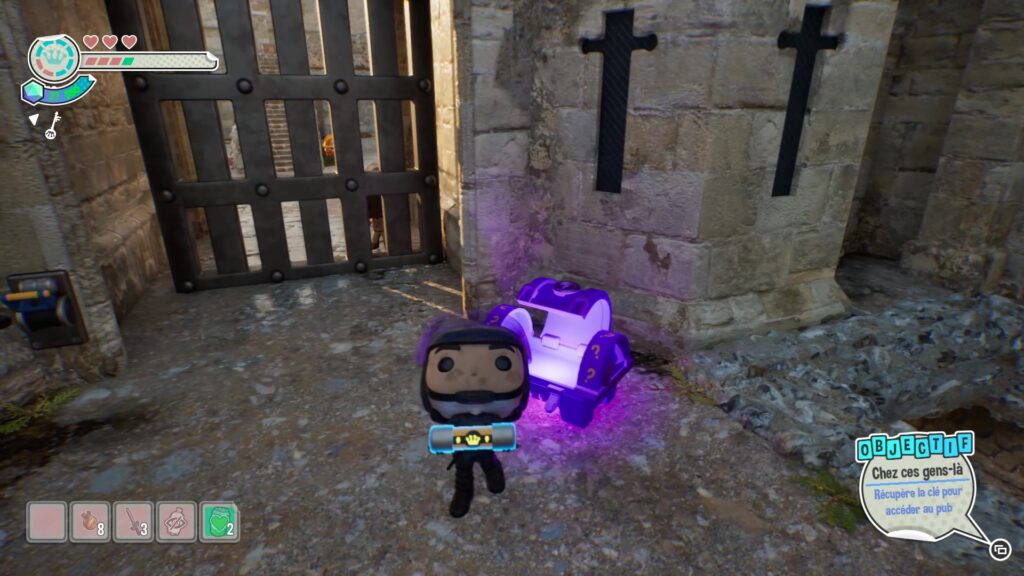
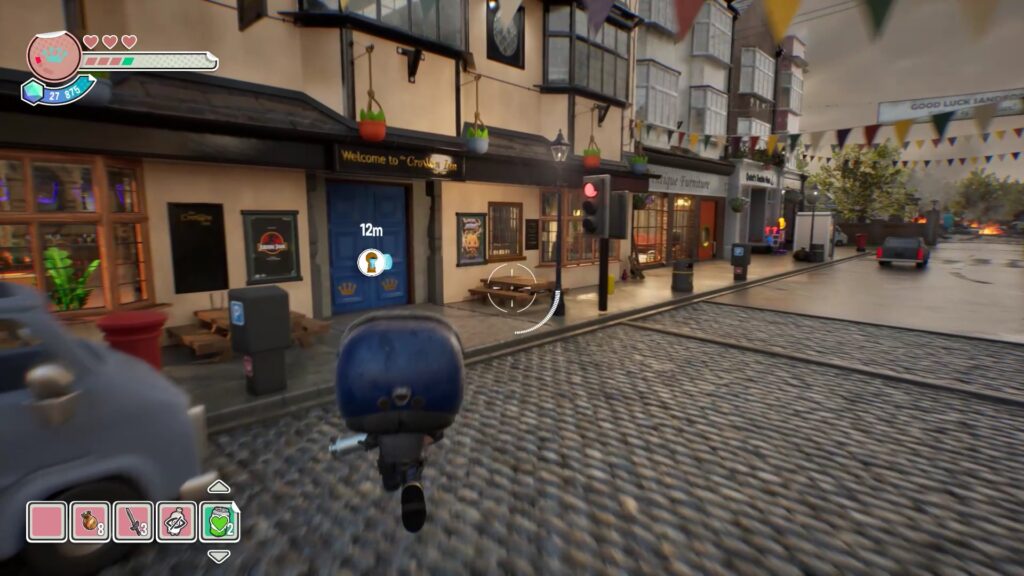
Go down and move forward to meet the last boss, who will attack you with many minions. Defend yourself and shoot the boss to neutralize the threat. Once all the enemies are defeated, open the purple chest to retrieve a fuse. Place it in the door mechanism to unlock the path. Then, retrieve the Funko Key and follow the quest marker to reach the bar.
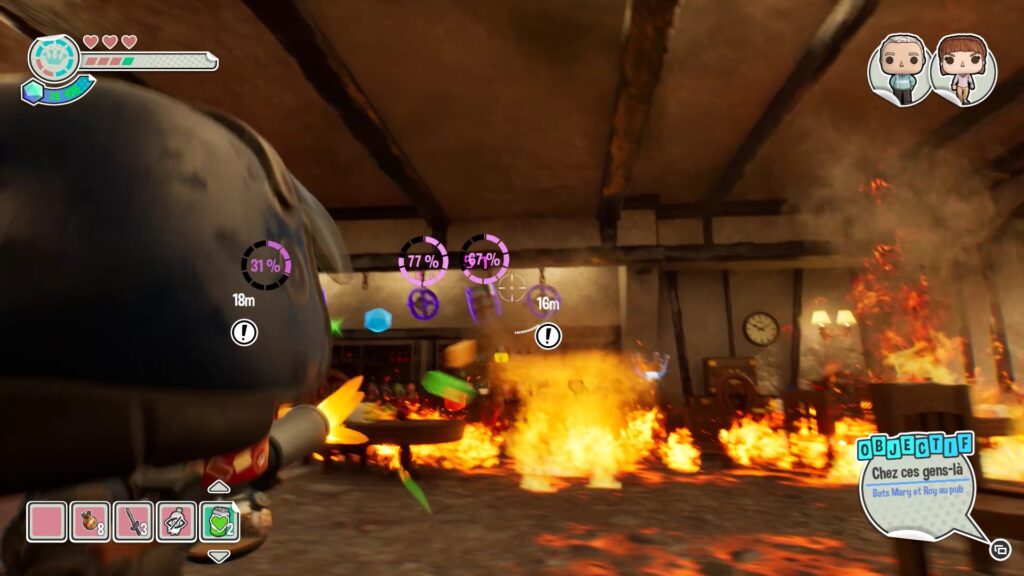
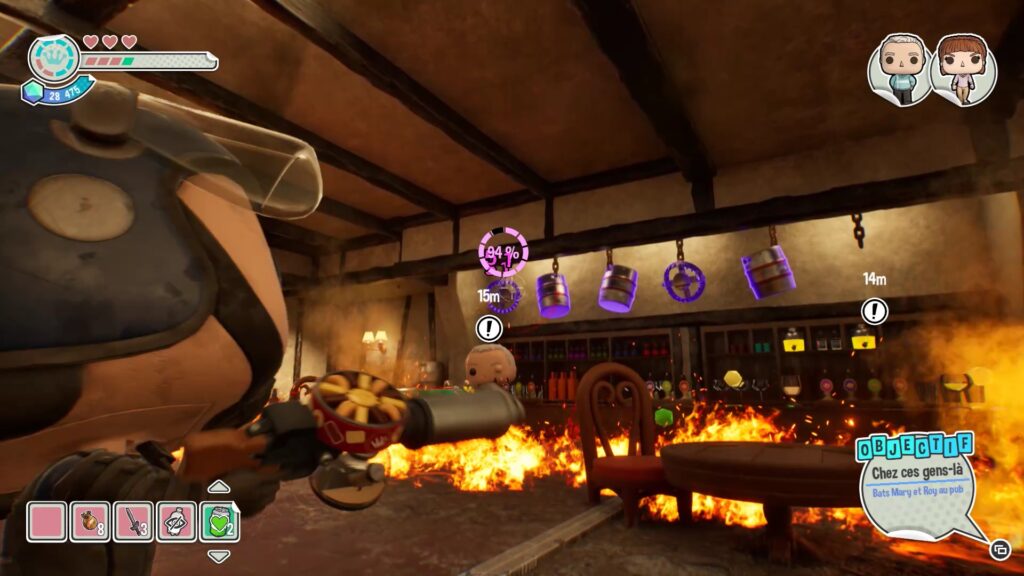
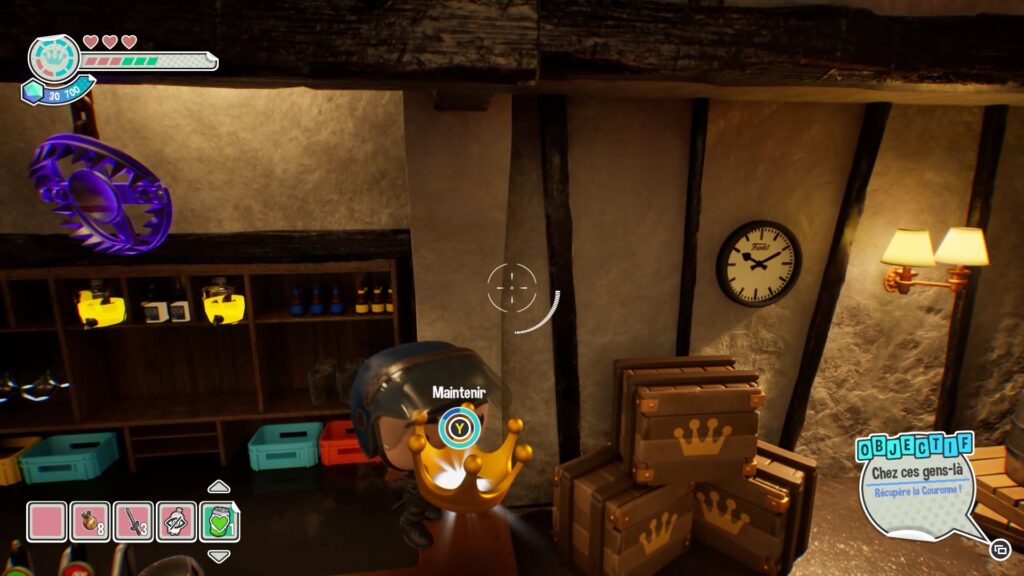
Once the door is unlocked, you will arrive at a bar with two enemies. Shoot the objects above to make them fall on Mary and Roy. After dropping objects on them several times, you will unlock the crown and complete the level.
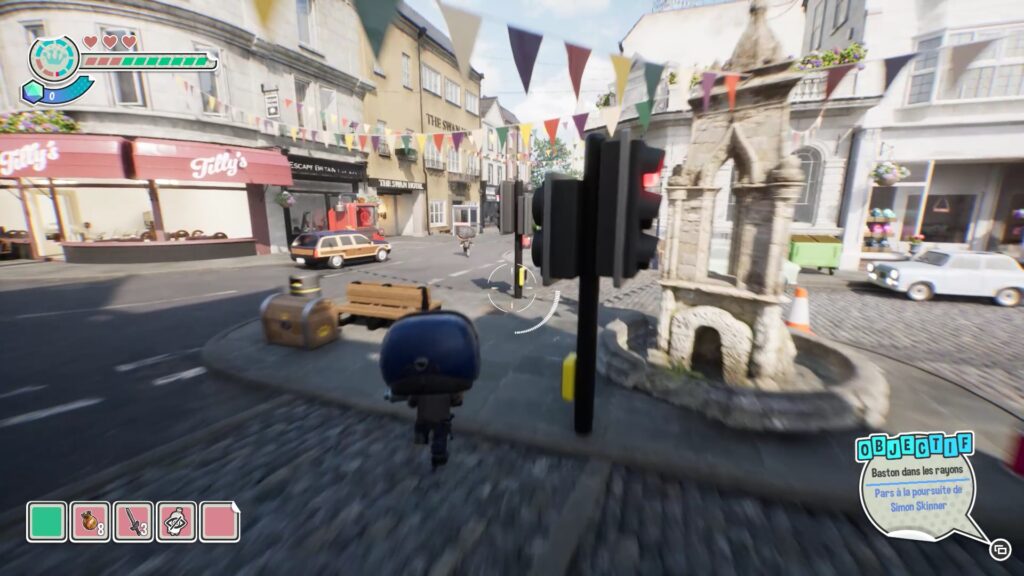
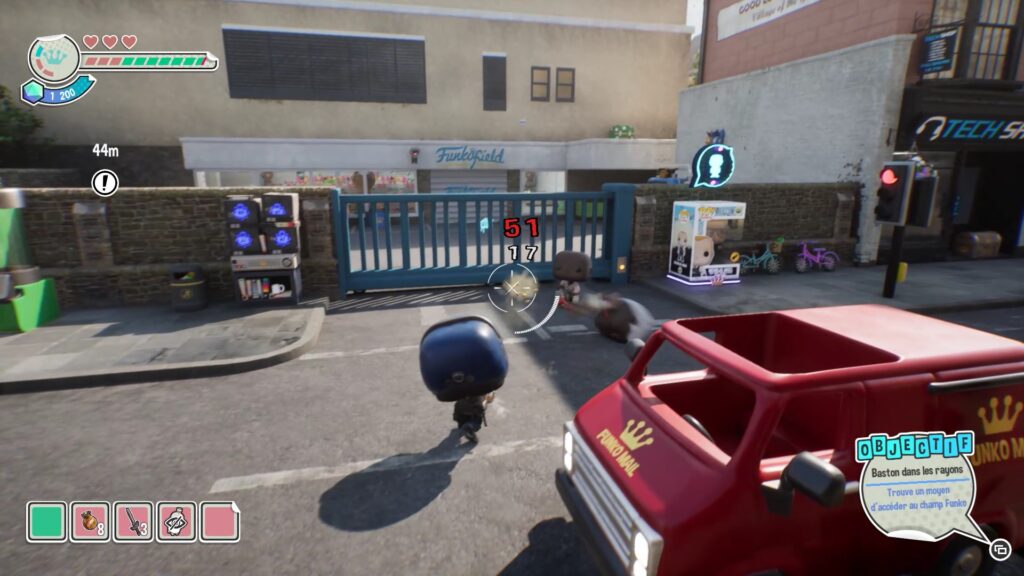
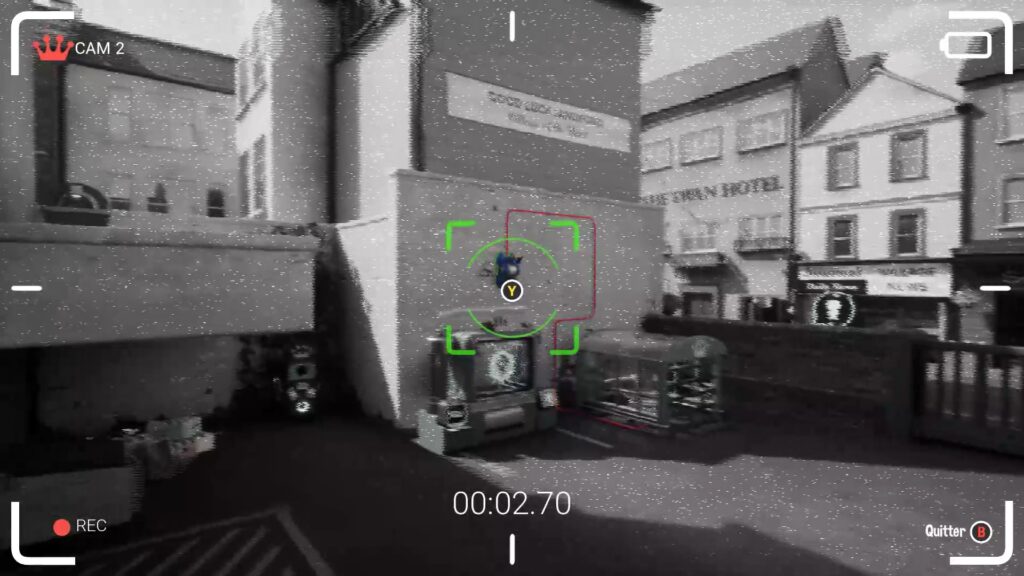
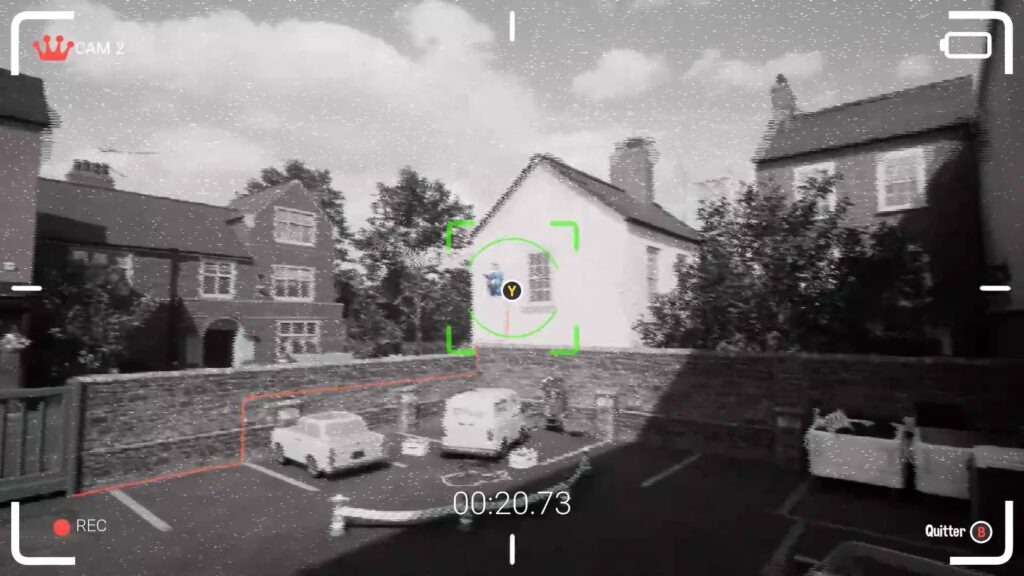
In this level, start by chasing Simon Skinner before he gets blocked by a portal. Eliminate the enemies nearby, then use the surveillance screens on the left side. Scan the right and left sides of the area to activate two levers. Follow the power wires to unlock the portal and unlock shopping carts.
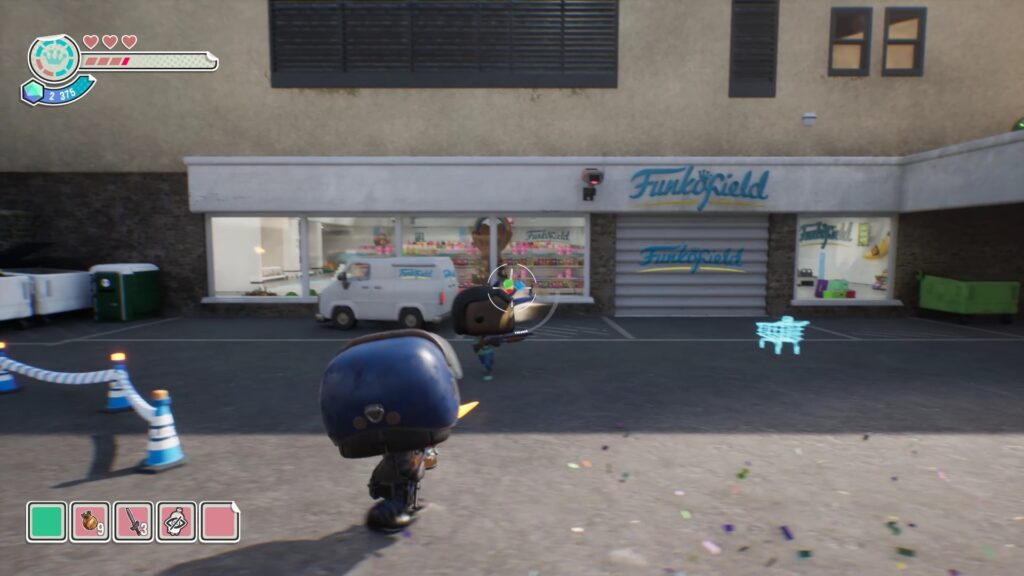
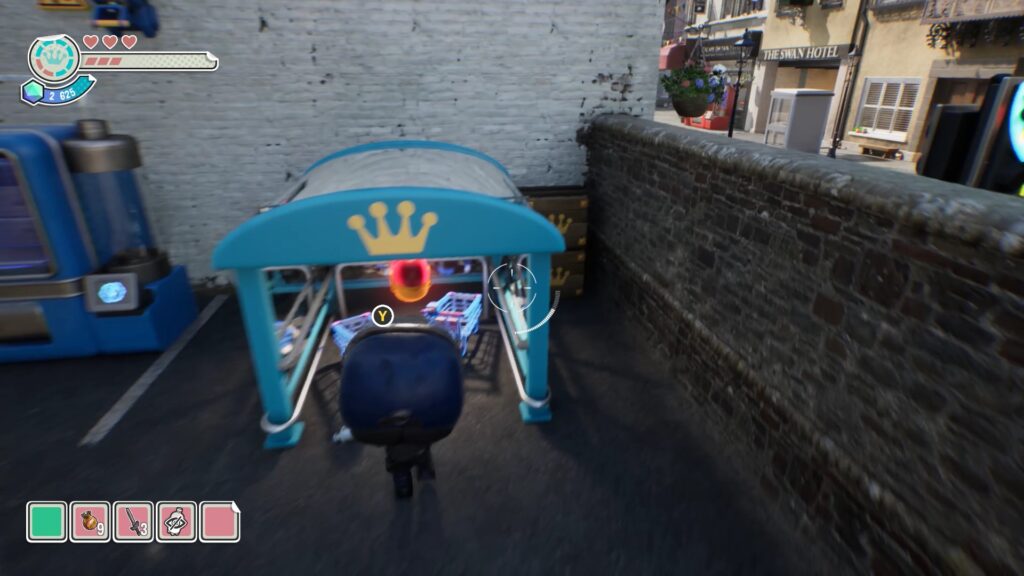
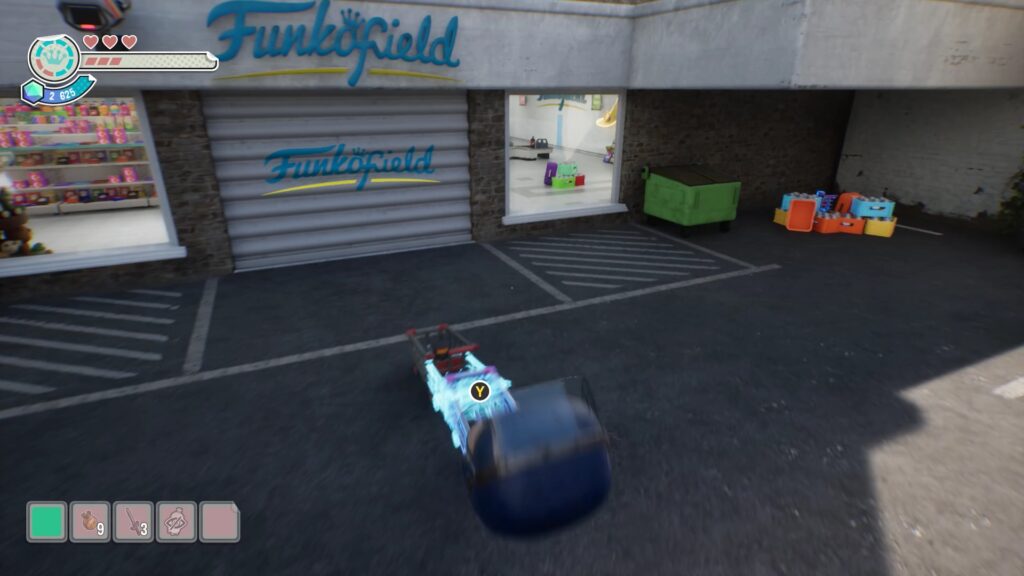
Ahead of you is an empty shopping cart slot. You need to find several of them to break down the door to the shop opposite. The first two shopping carts are near the crafting machine, under a shelter. Collect them and place them in front of the shop.
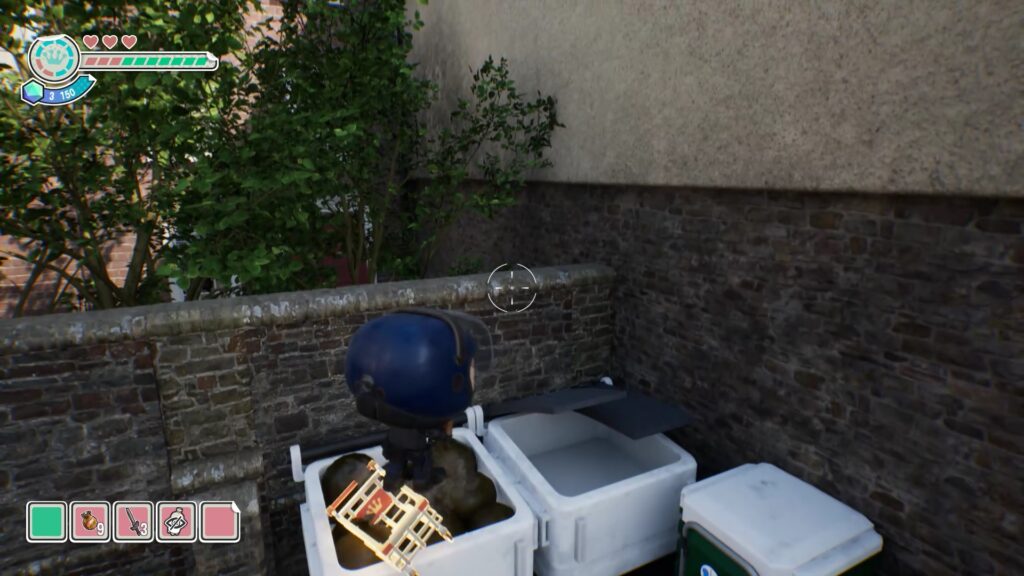
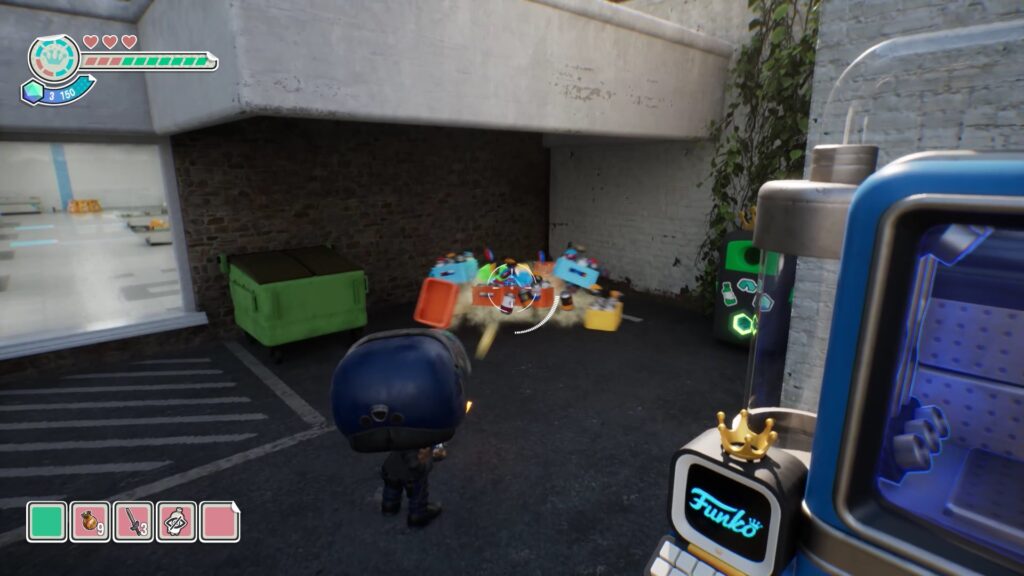
A shopping cart can be found in the dumpsters to the left of the store. Shoot it to make it fall, then pick it up and place it in front of the store. Another shopping cart is located behind a pile of crates and cans near the crafting machine.
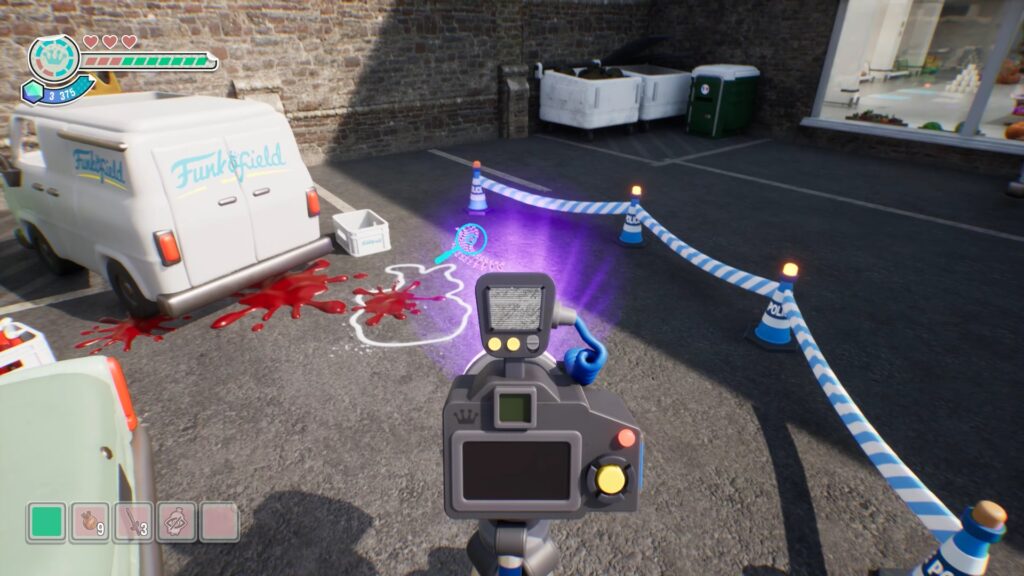
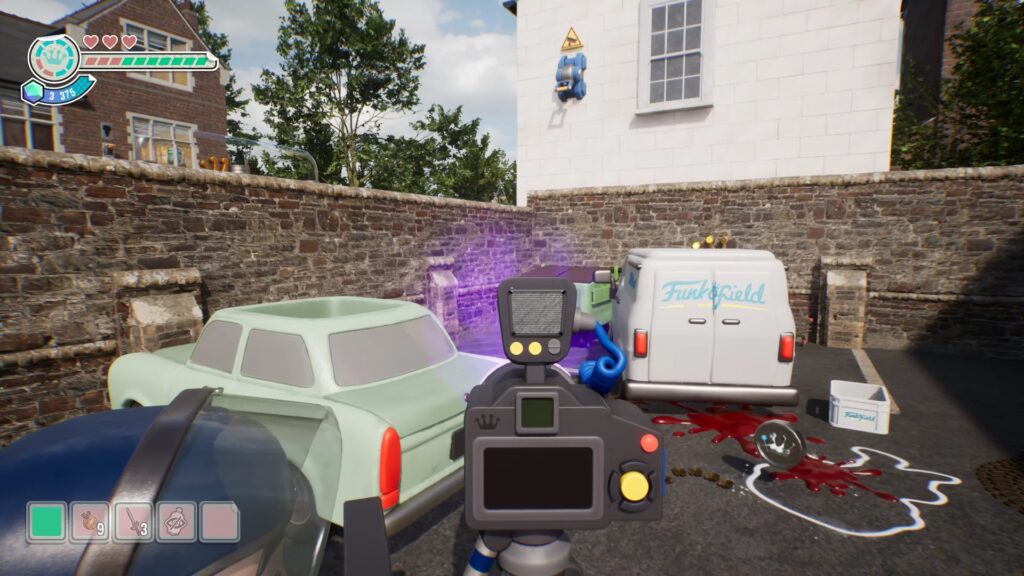
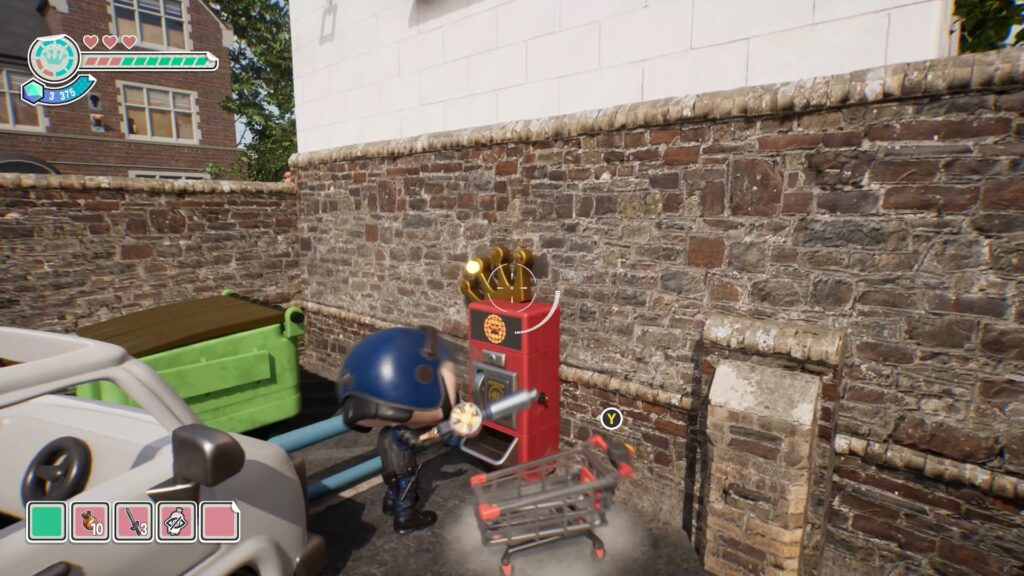
Next, create a black light and place it on the crime scene near the white vans in the parking lot. Analyze the scene to discover all the clues and get a token. Place this token in the machine in front of the van to get one last shopping cart.
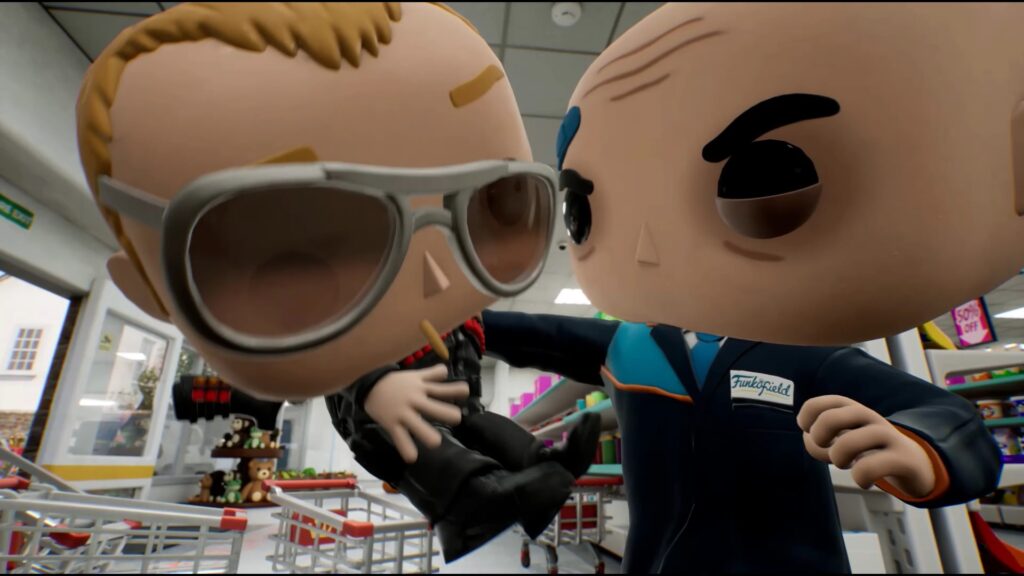
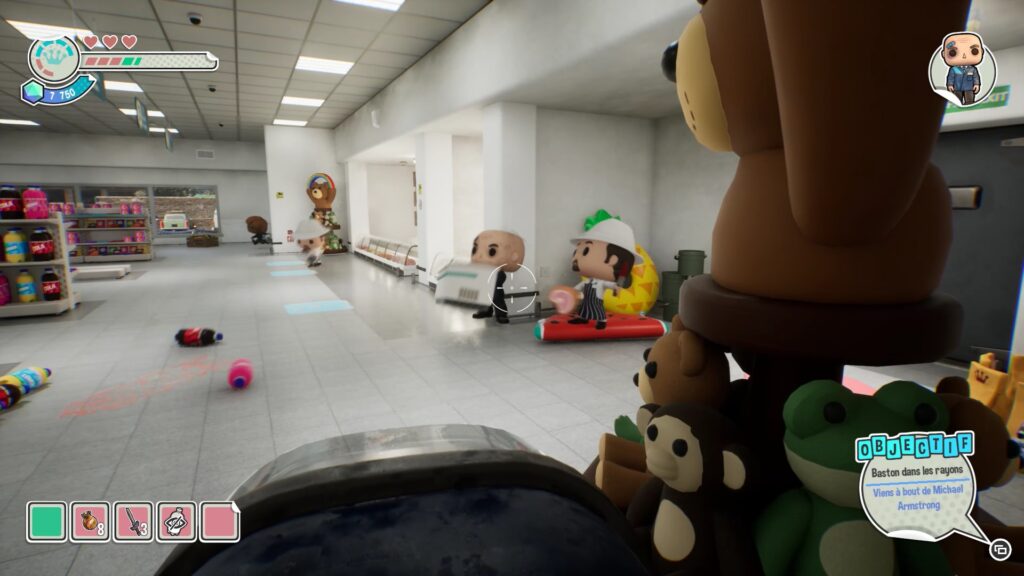
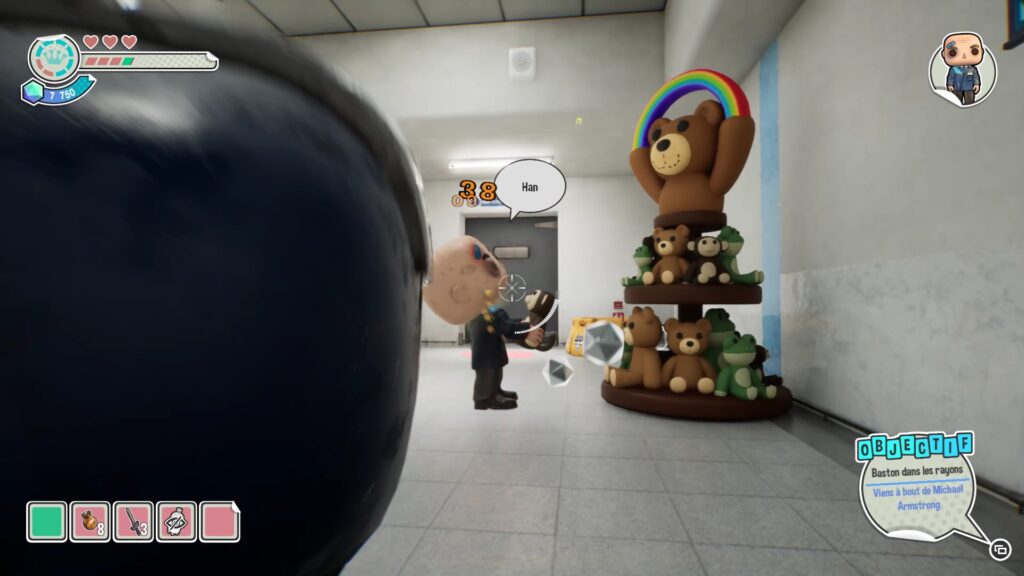
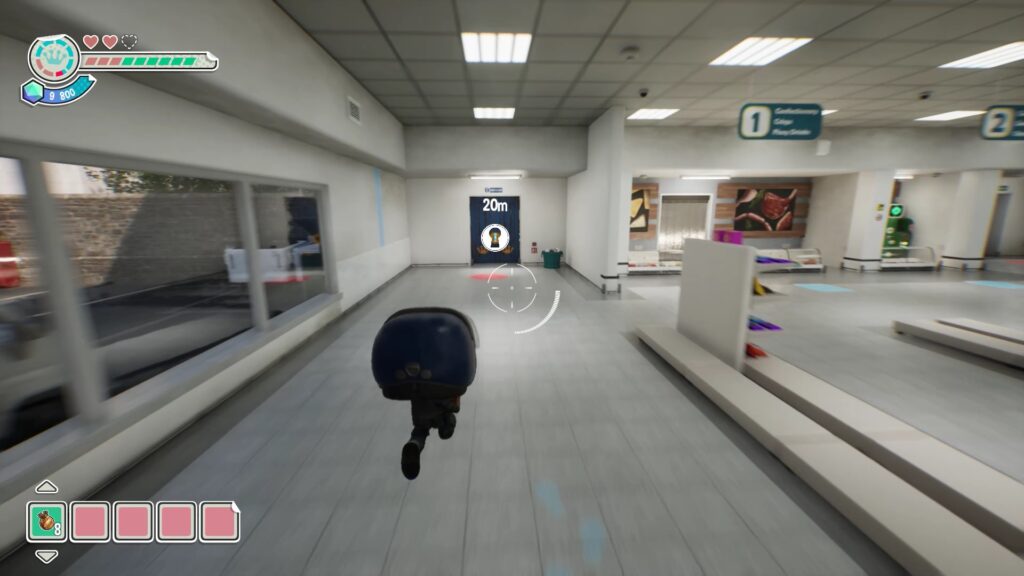
You are now facing the boss, Michael Armstrong. To defeat him, lure him to the teddy bear displays at the ends of the store and attack him while he is busy looking at them. Repeat this several times to eliminate him and collect a Funko Key. Then, head to the door to continue the level.
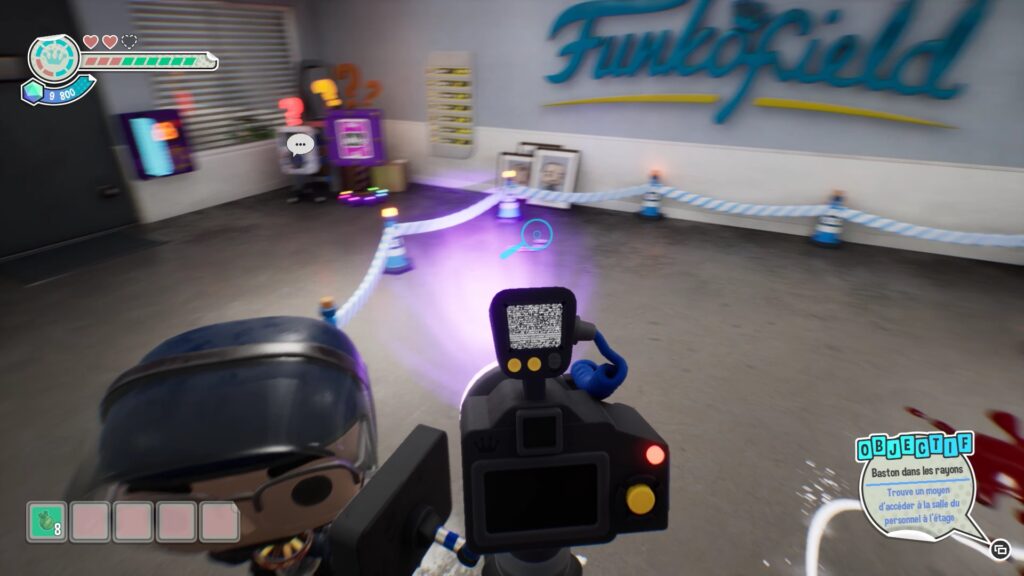
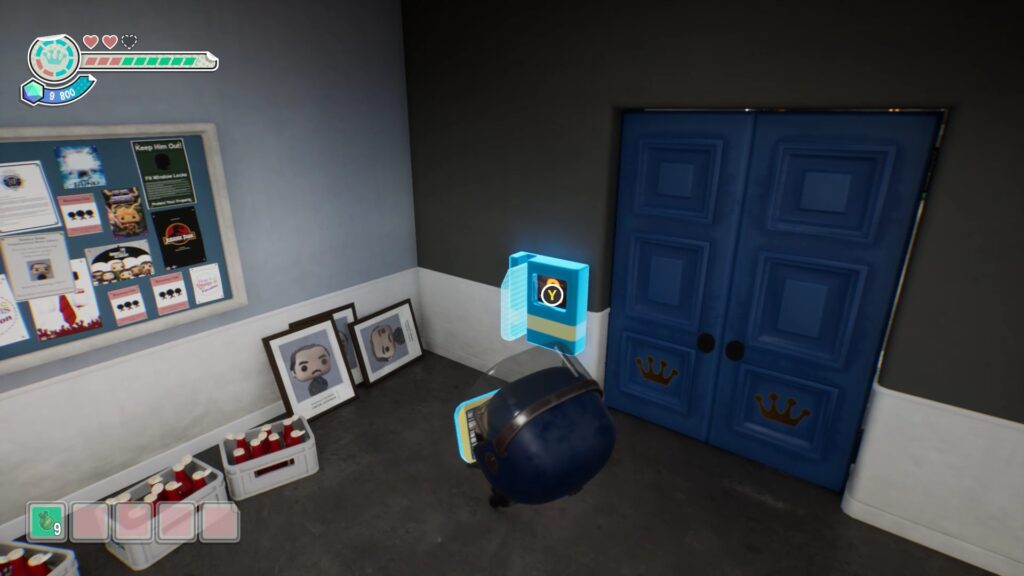
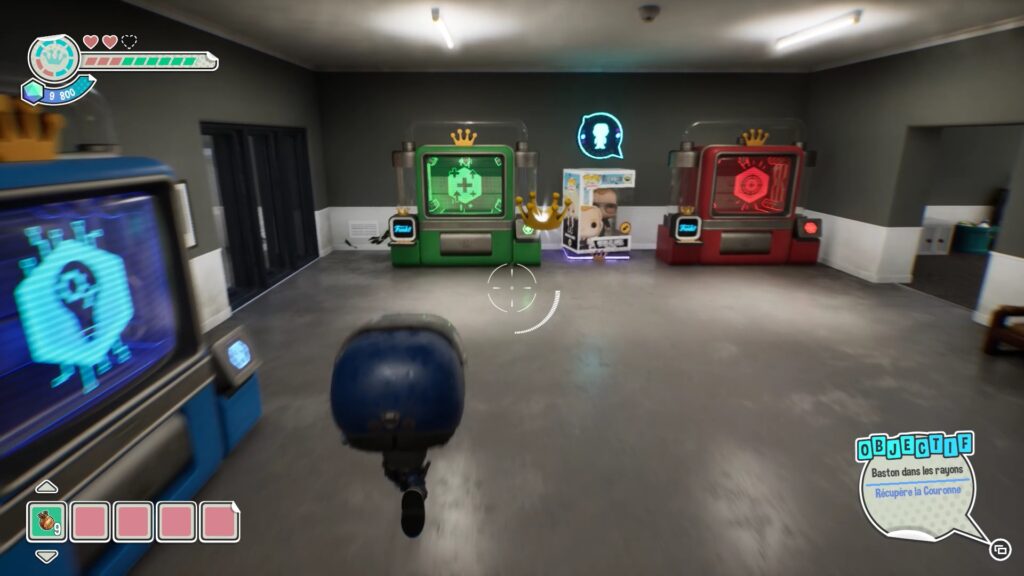
Climb the stairs to reach a crime scene. Use the black light to collect all the clues and get an access card. Then use this card on the blue door to collect the crown and complete the level.
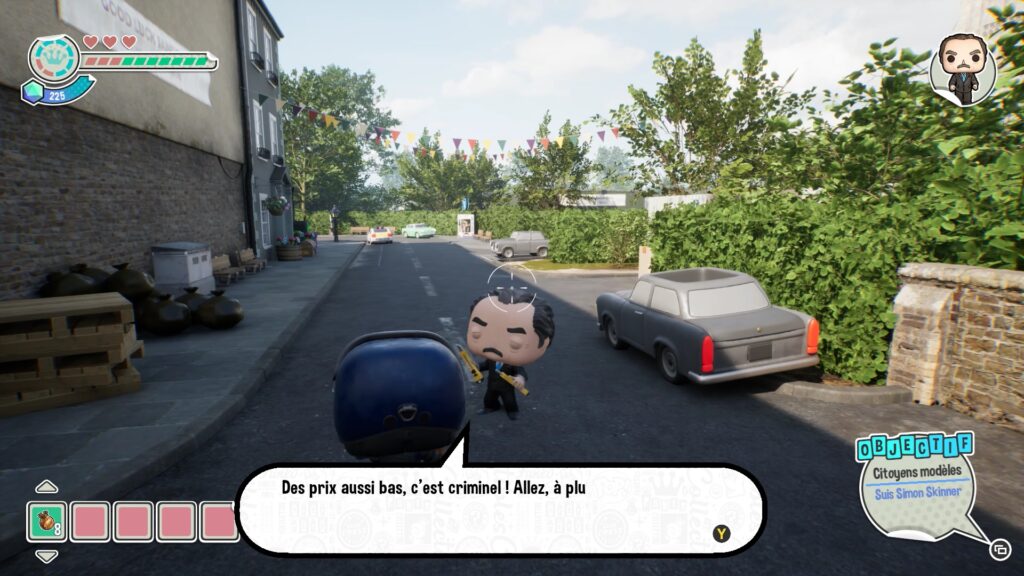
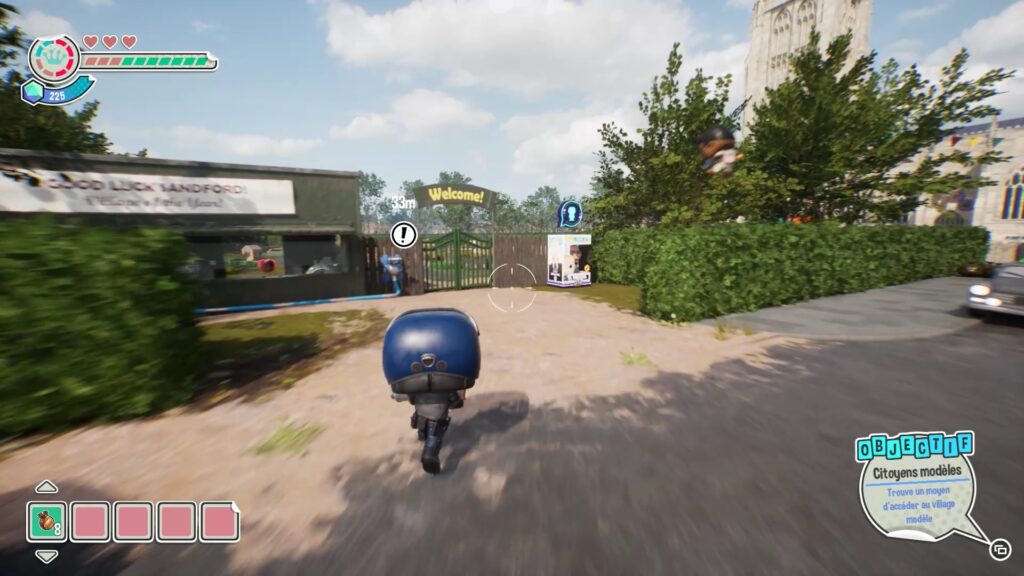
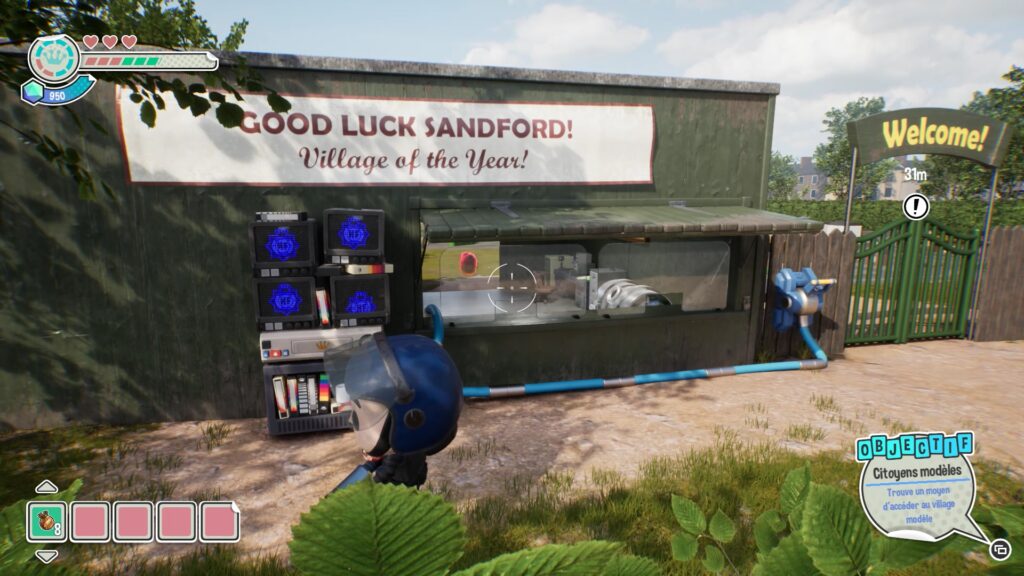
In this level, start by following Simon Skinner again. You will be blocked by a green gate under a « Welcome » banner. Use the surveillance screens to the left of the gate to continue.
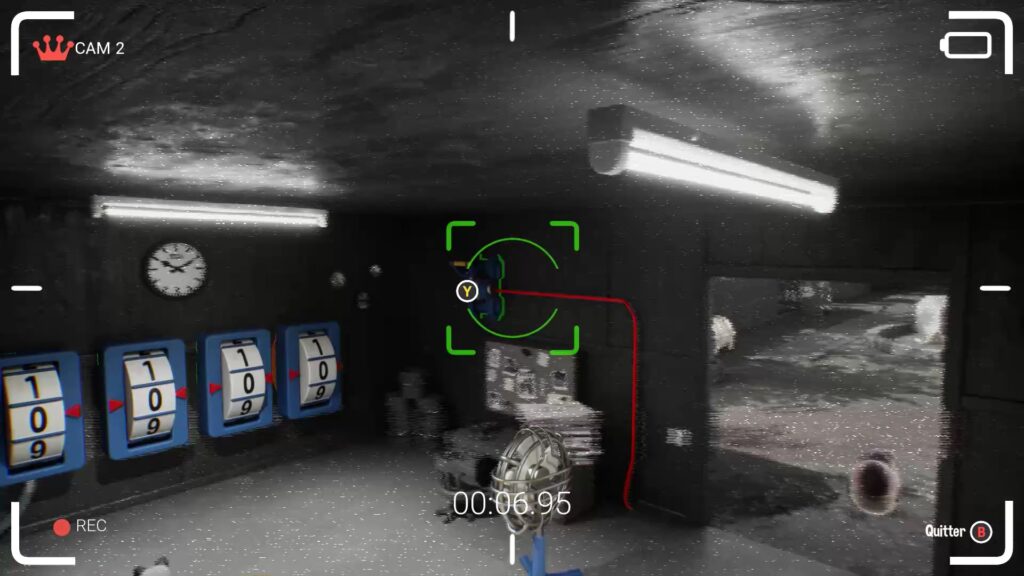
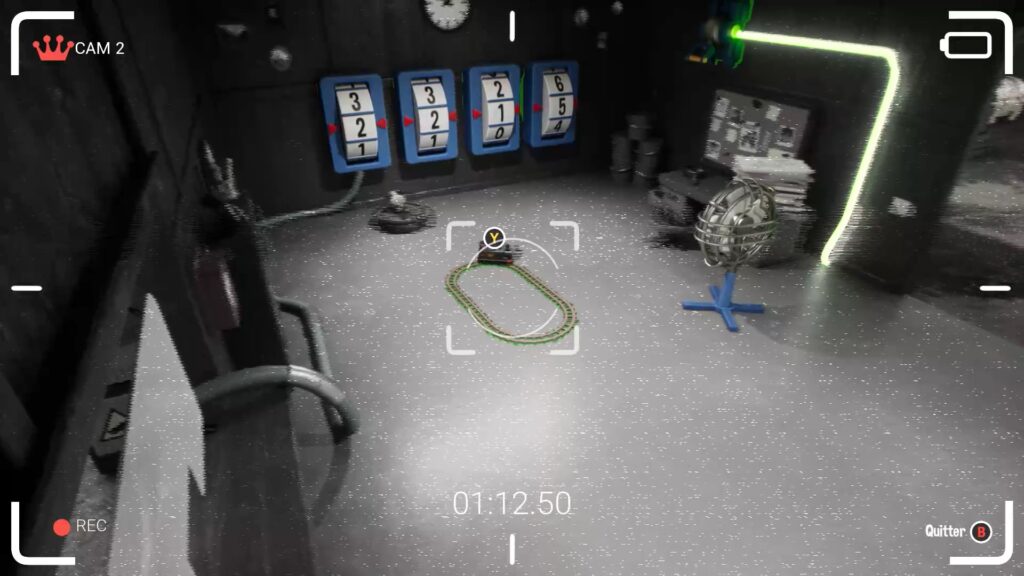
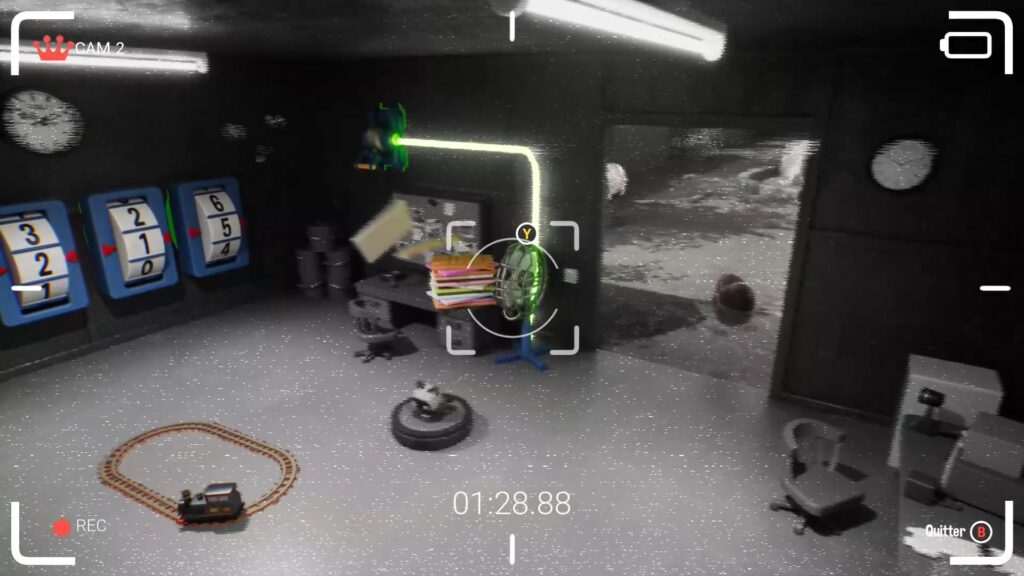
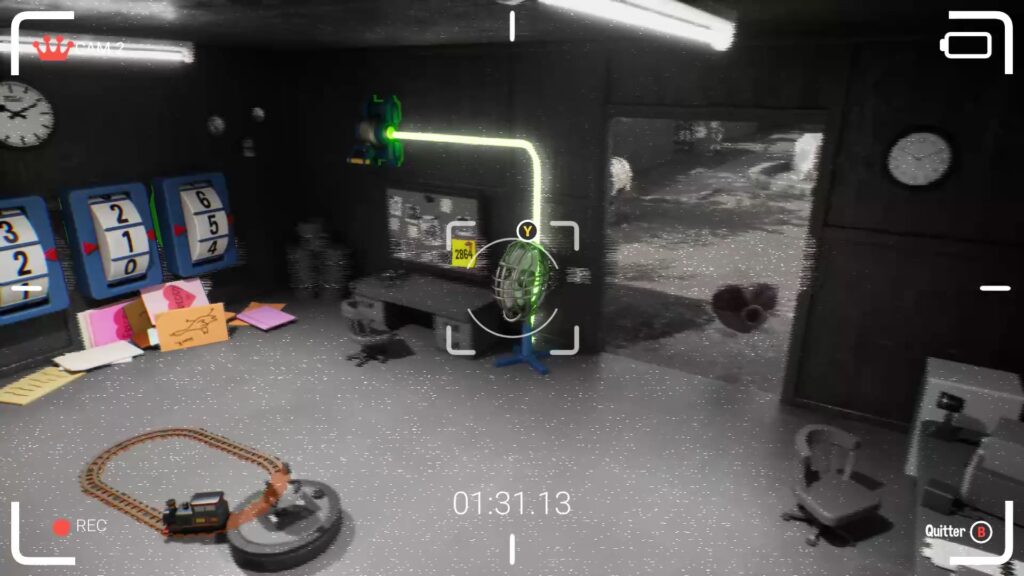
In the surveillance screens, start by lowering the lever in the upper right and follow the red wire to activate the fan. Then, activate the train in the center of the room to clear it from the path of the vacuum robot. The robot will then push the fan in front of the desk. Activate the fan to lift the stack of files on the desk and reveal the code to replicate with the numbers in front of you.
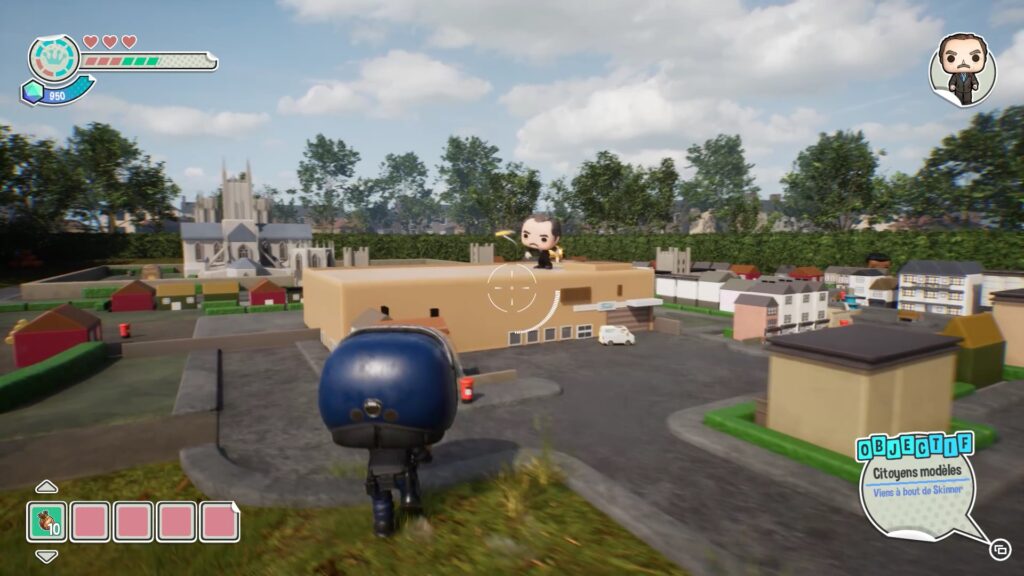
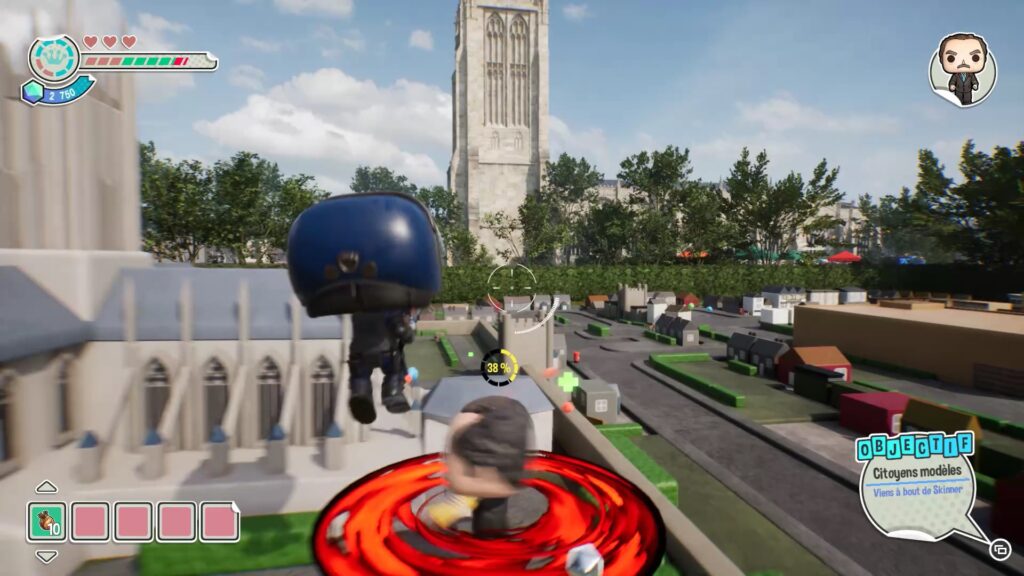
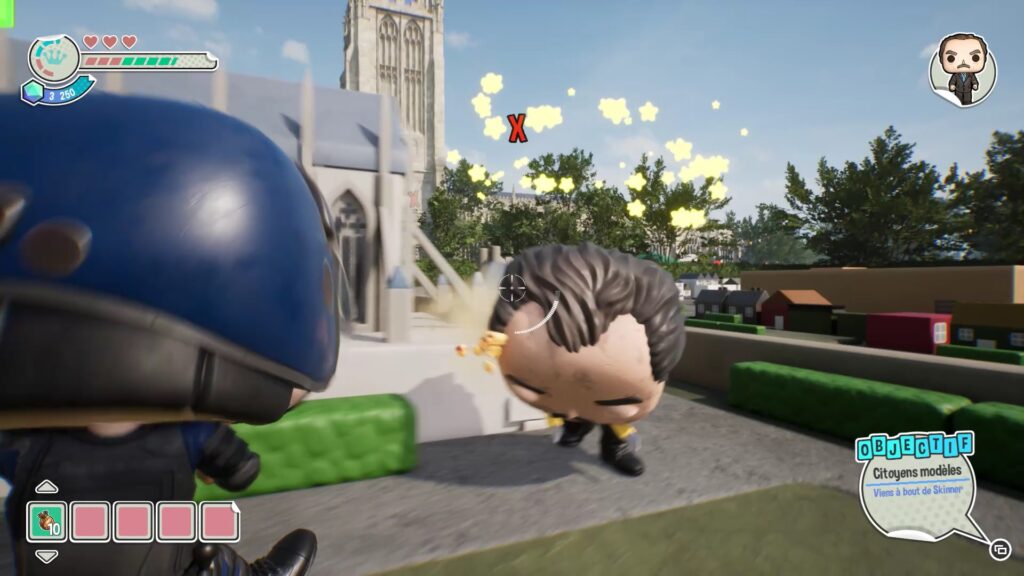
The gate is now unlocked. Move forward to find your enemy. To defeat him, shoot him while he is spinning to stun him, then attack him. Repeat this several times to defeat him.
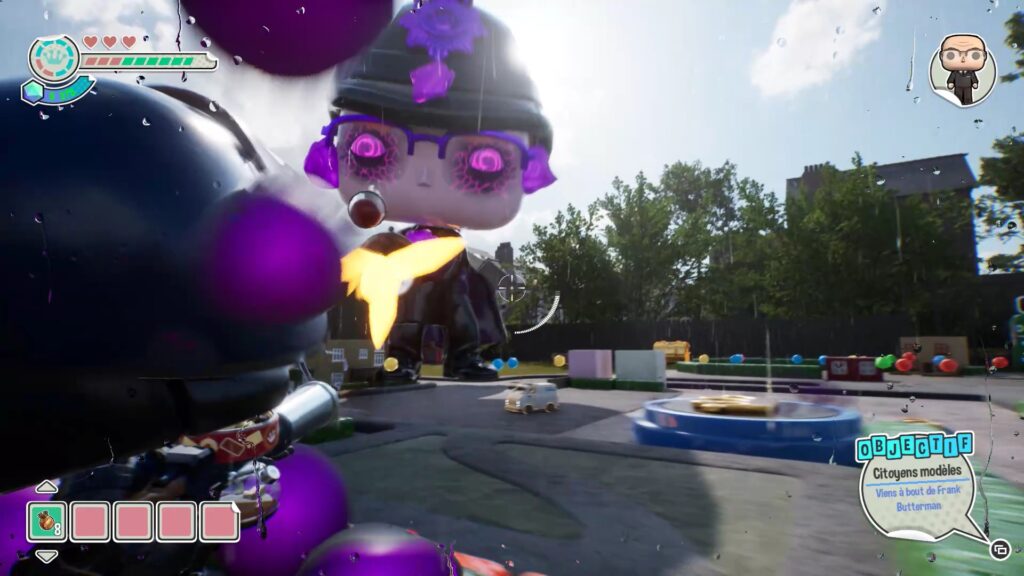
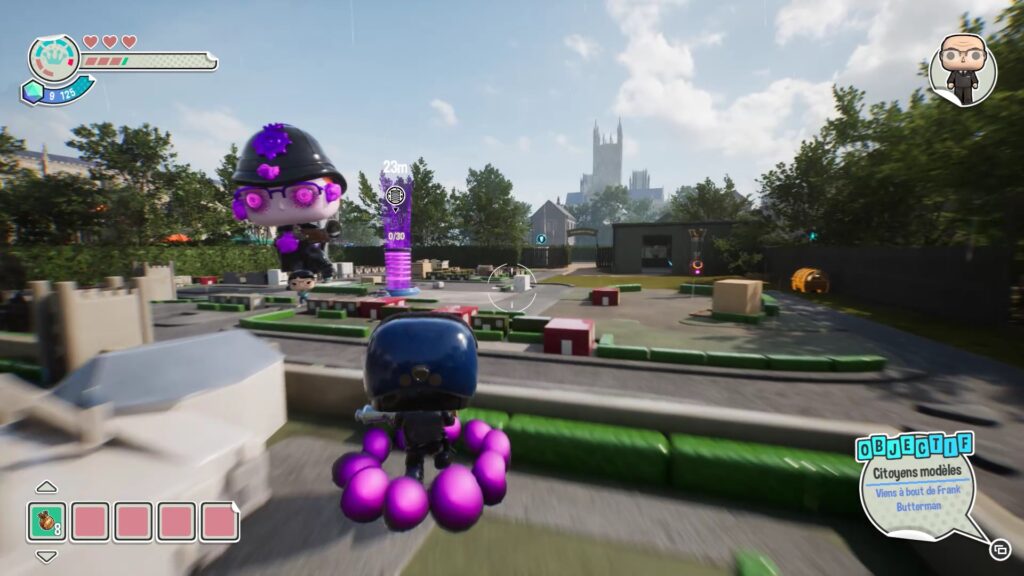
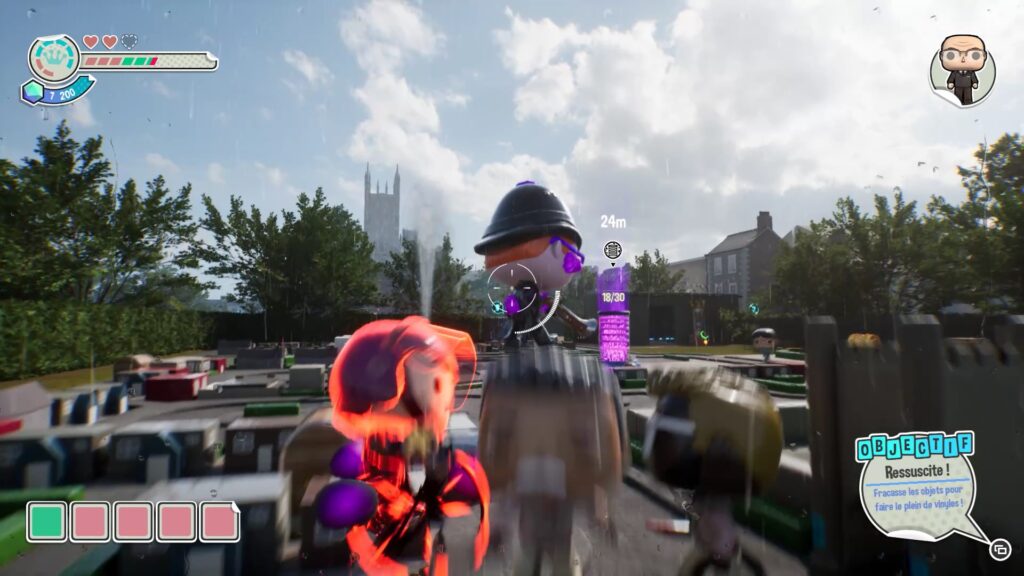
Now you’re facing your final enemy, Frank Butterman. Start the fight by unlocking the crown’s purple receptacle to collect orbs. To defeat the boss, shoot the purple growths on his body. Each time you hit him, purple orbs will fall to the ground. Collect these orbs to fill the crown’s receptacle.
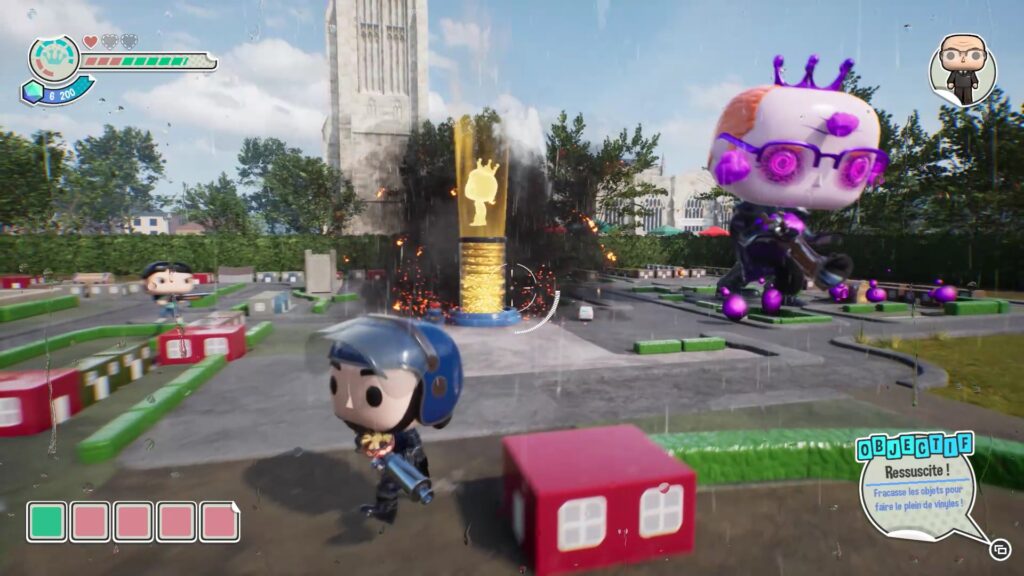
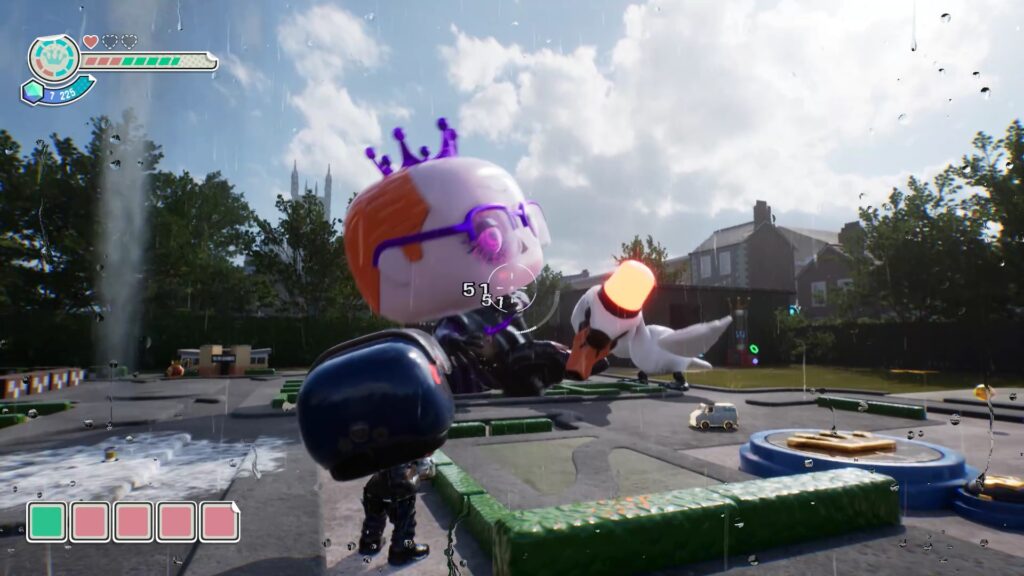
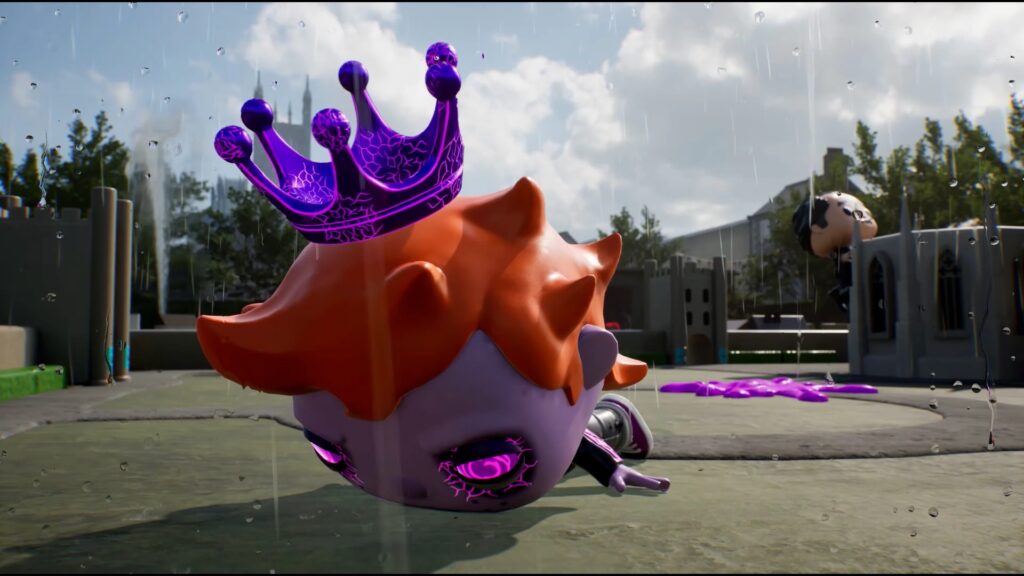
Once the orb gauge is reached, the receptacle turns gold. Interact with it to get help during the final fight. Then attack Frank Butterman to complete the « Hot Fuzz » level.
Battlestar Galactica
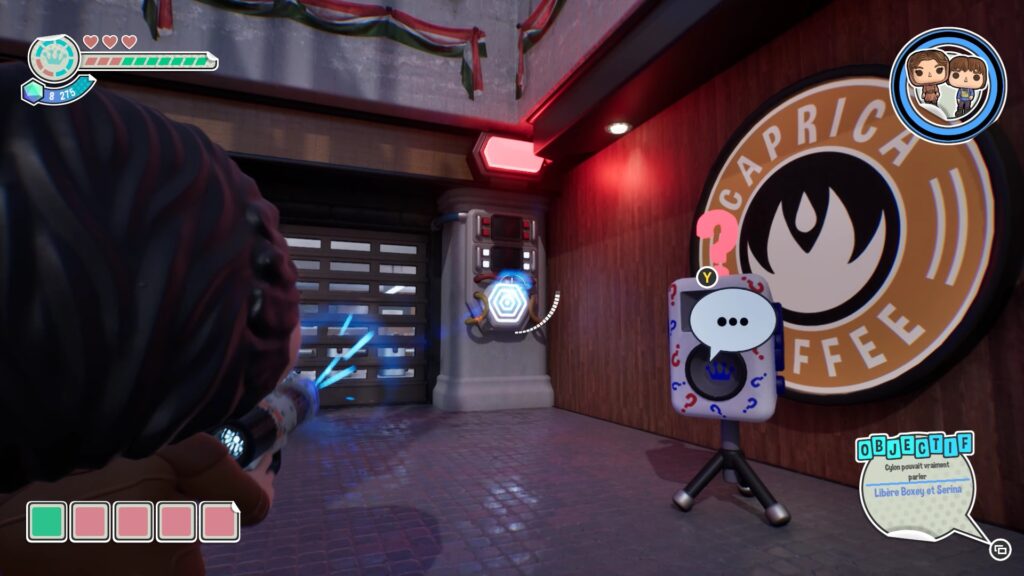
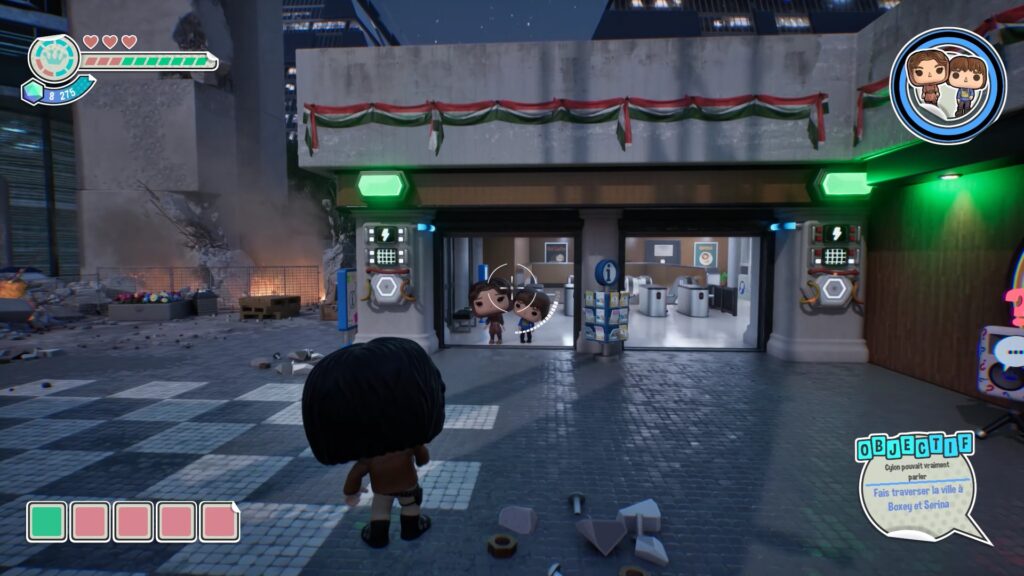
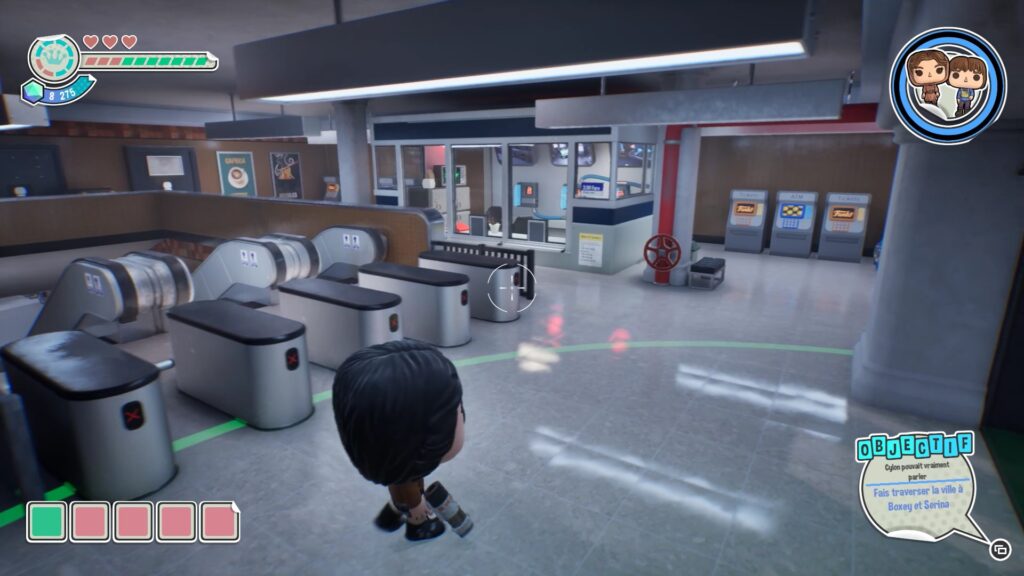
In the first level of Battlestar Galactica , you must free two characters trapped behind a grate leading to the subway. Shoot the switches at both ends of the grate to unlock it. Then enter the subway and collect a valve from a red pipe.
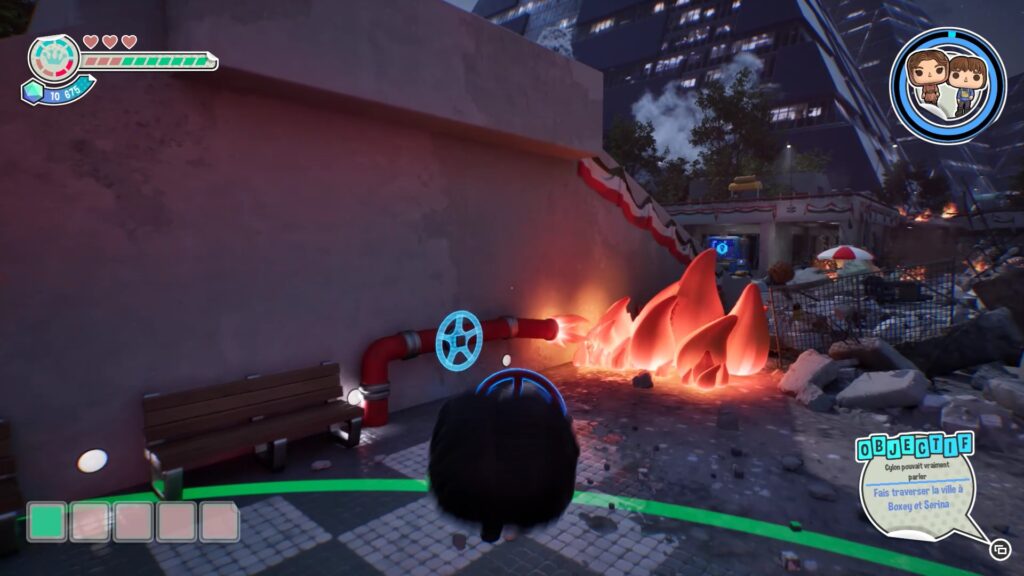
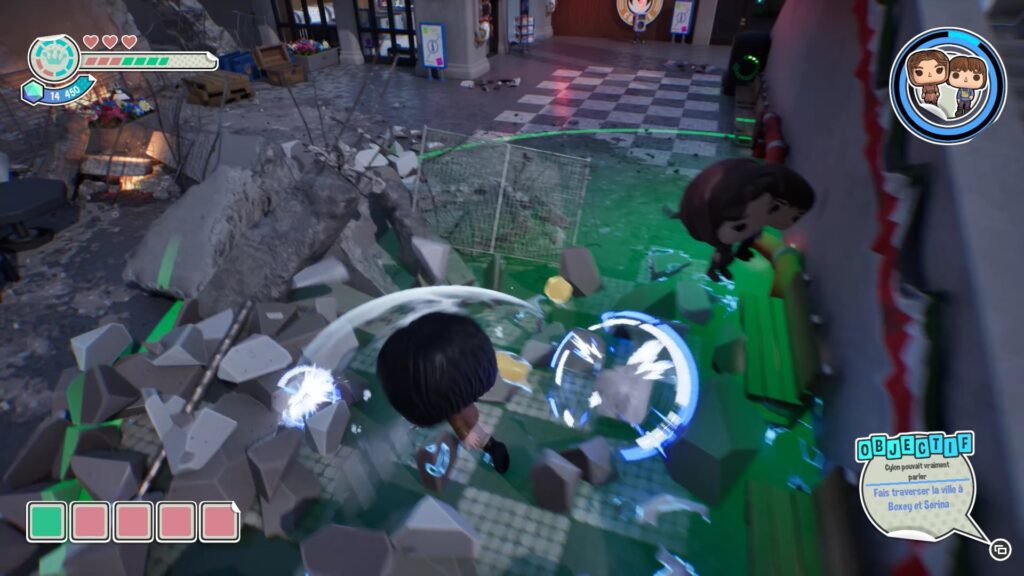
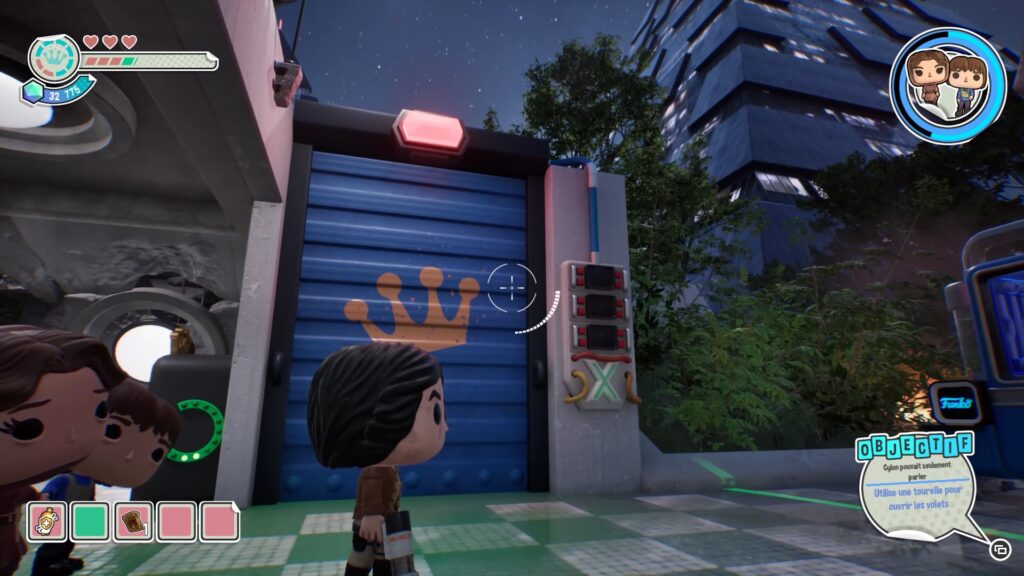
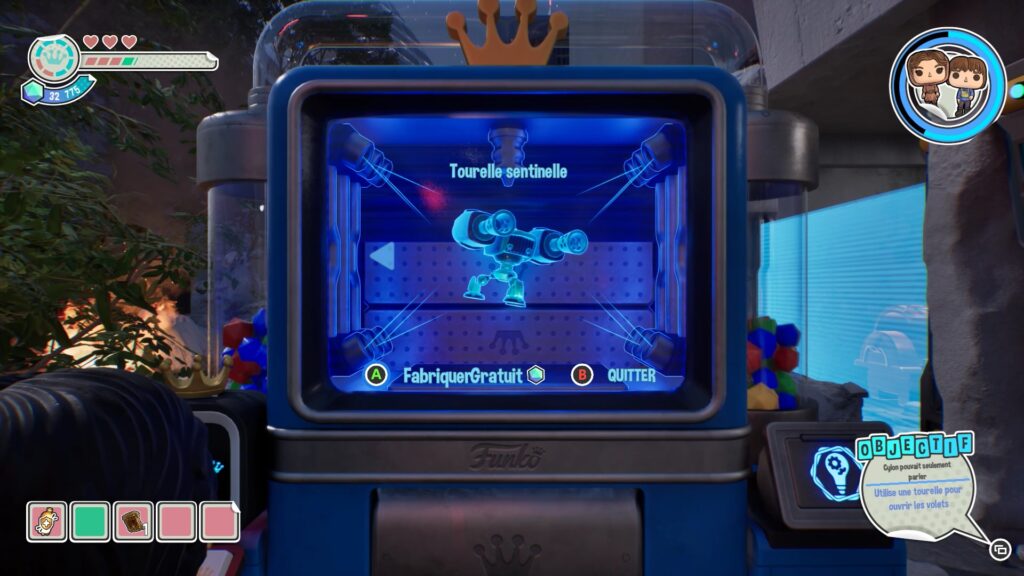
Place the valve on the pipe connected to the flames that are preventing you from moving forward. You must then escort the two characters by staying close to them in the circle to make them progress. Eliminate the enemies and clear the debris in your path. Further on, you will be blocked by a locked door. To open it, build a turret that will unlock the door.
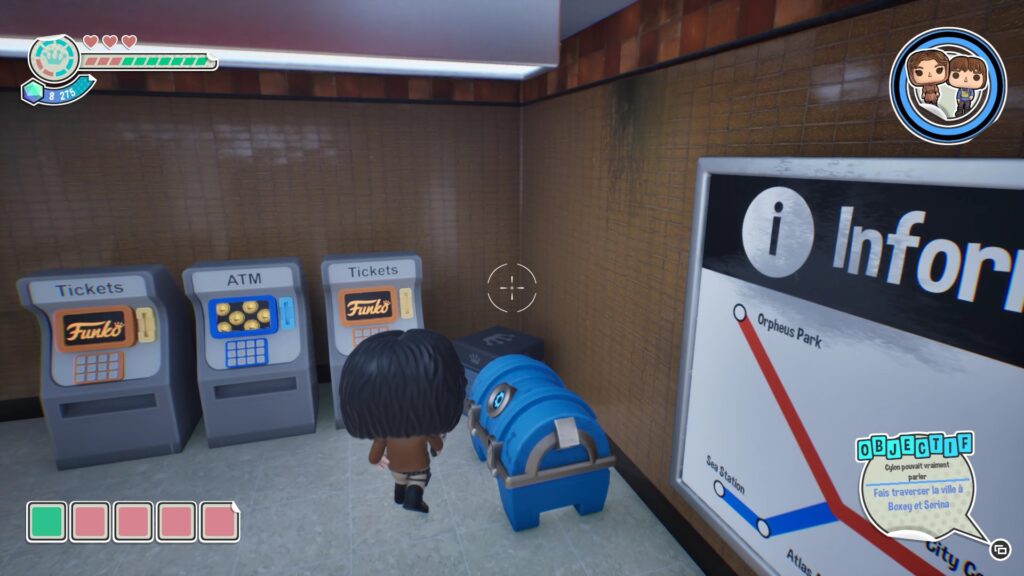
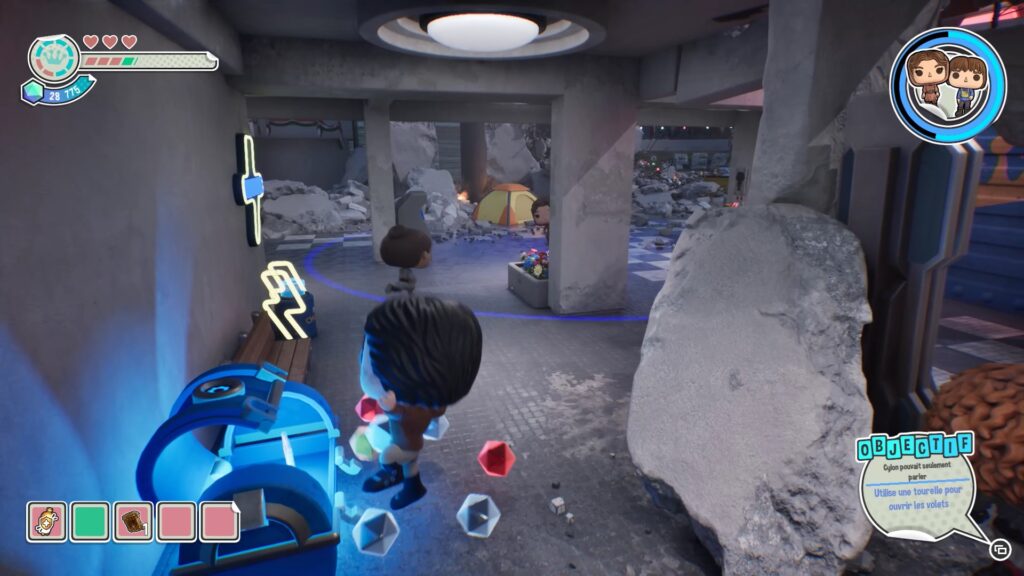
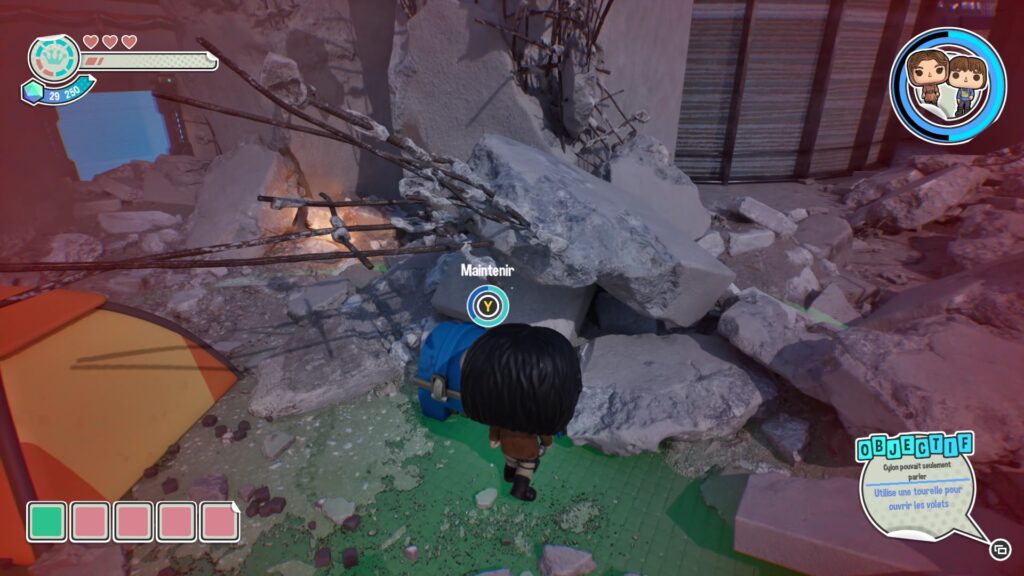
To create the turret, you need to find three blue chests. The first is located at the beginning of the level, in the subway. The second is located near the creation machine, near the characters you are escorting. The last one is hidden in the rubble, near a yellow tent.
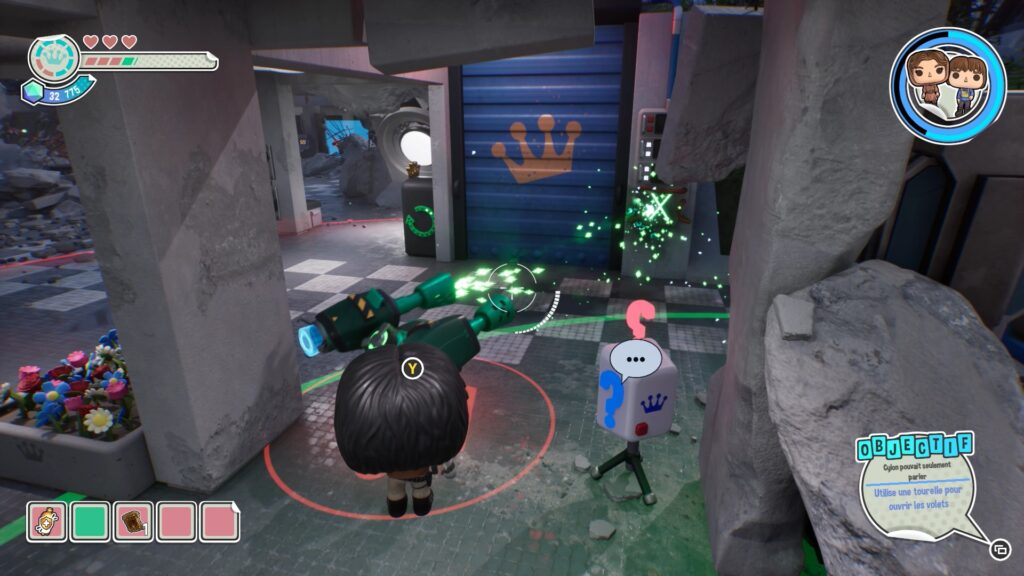
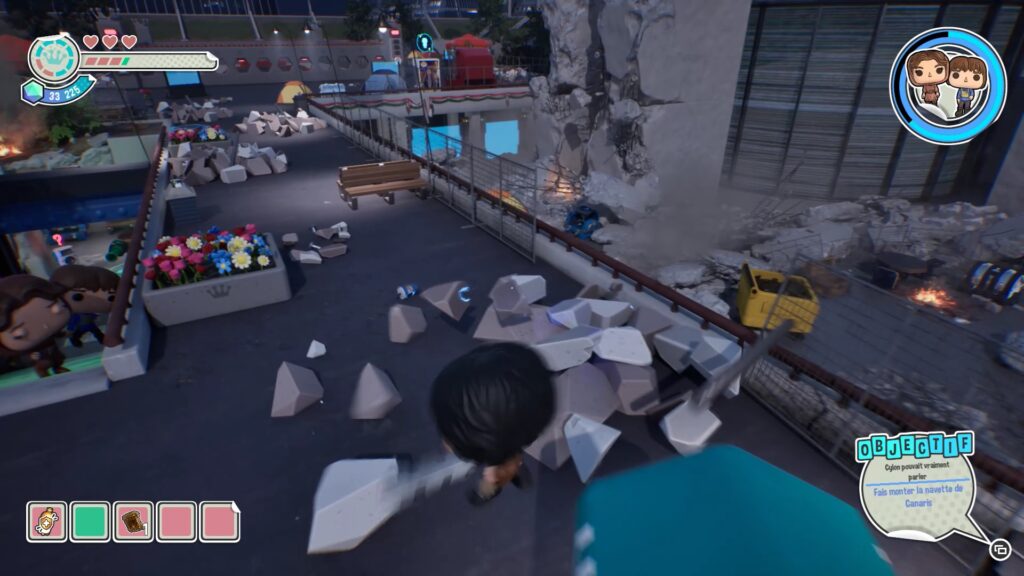
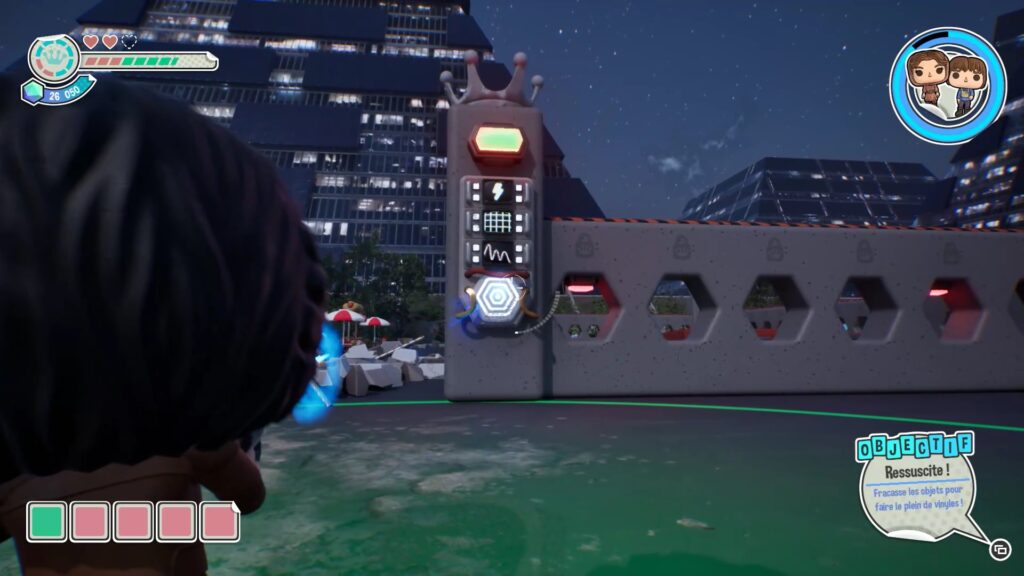
Once all the chests are open, create the turret. Then place it in front of the locked door to unlock the passage. Go up the stairs and continue escorting the characters, eliminating enemies and debris on your way. You will then arrive in front of a shuttle blocked by a portal.
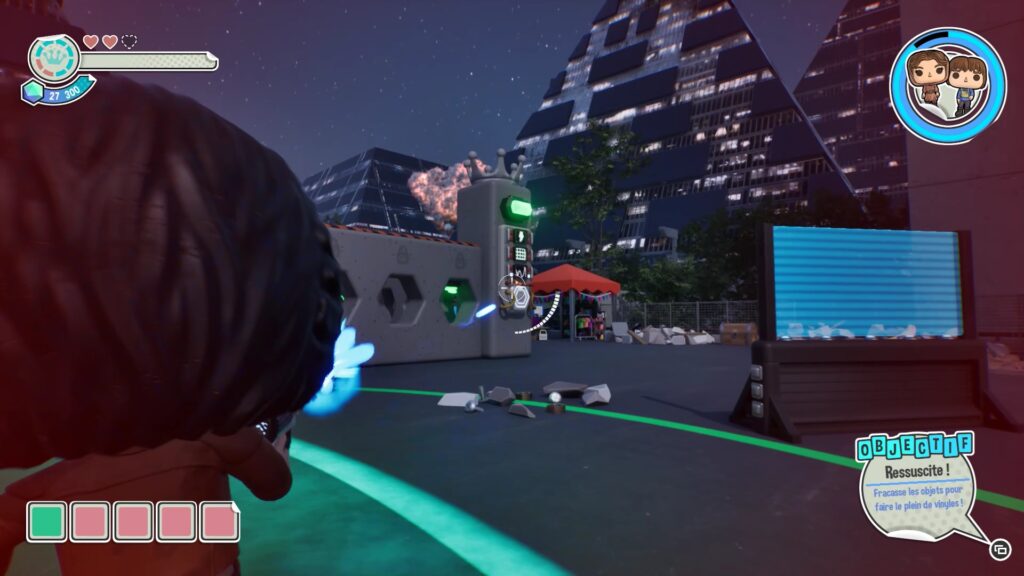
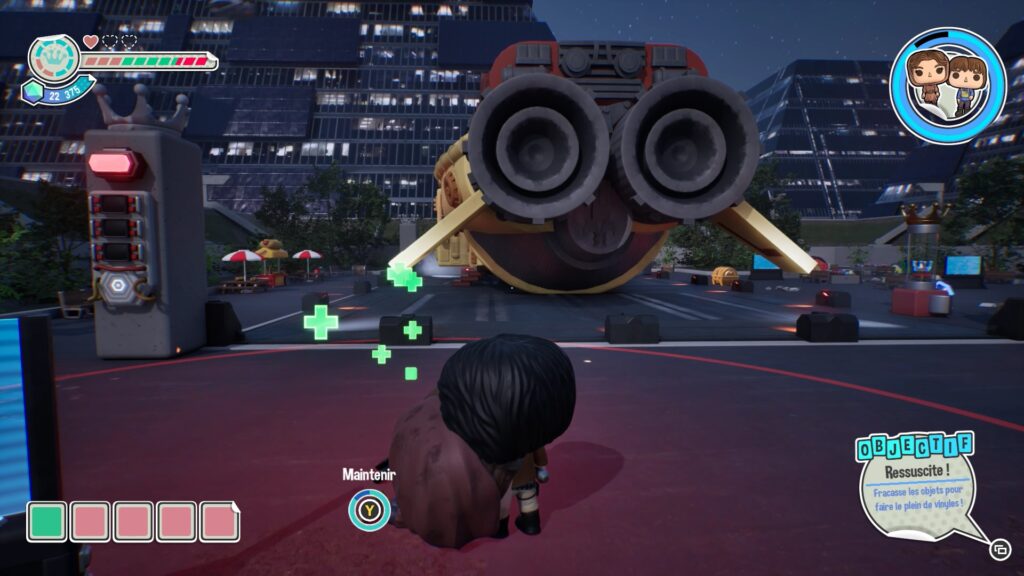
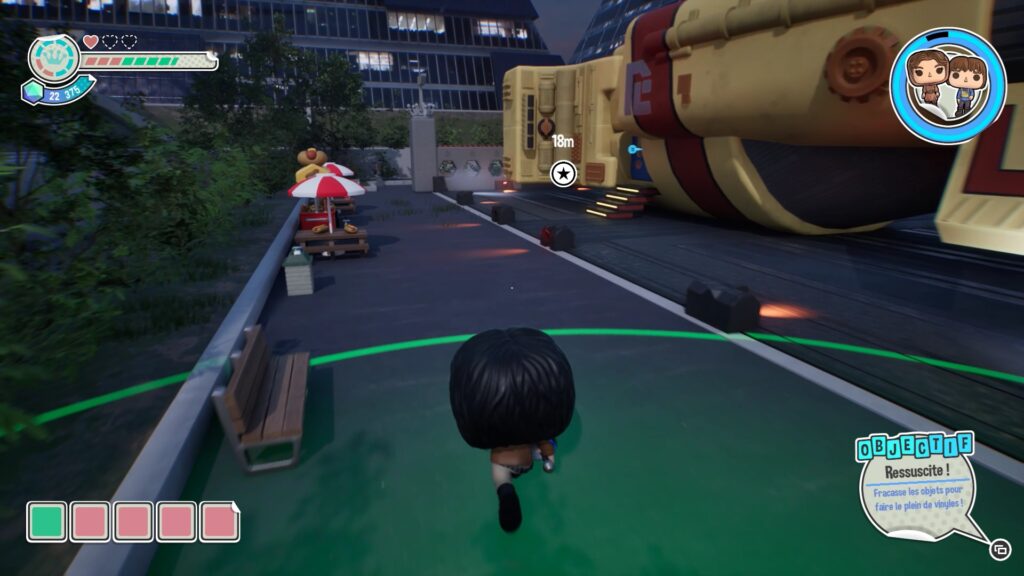
To unlock the gate, pull the mechanisms at both ends and light them green simultaneously to release the shuttle. You will need to repeat this several times, alternating between the right and left mechanisms. Once the shuttle is unlocked, board it to complete the level.
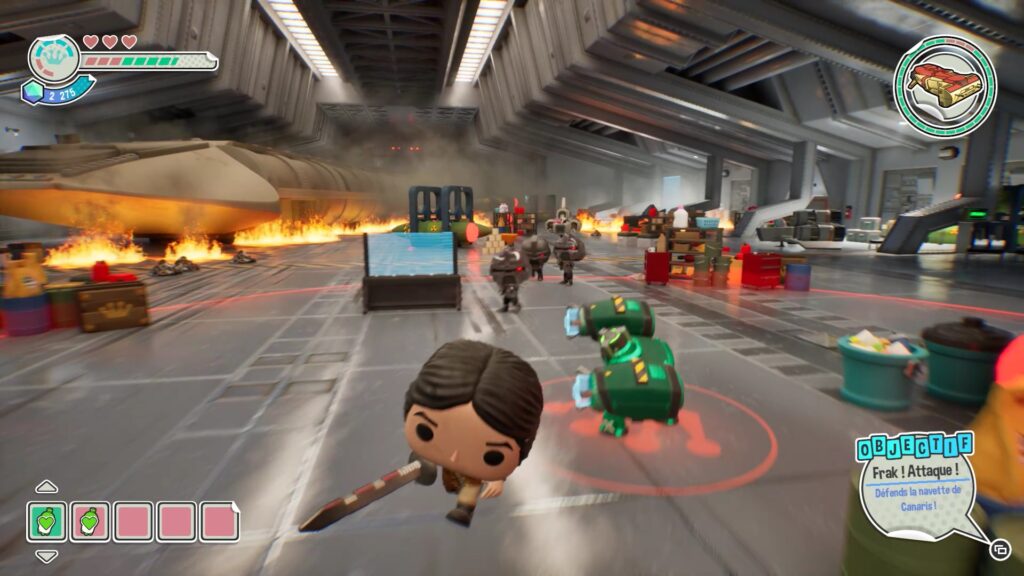
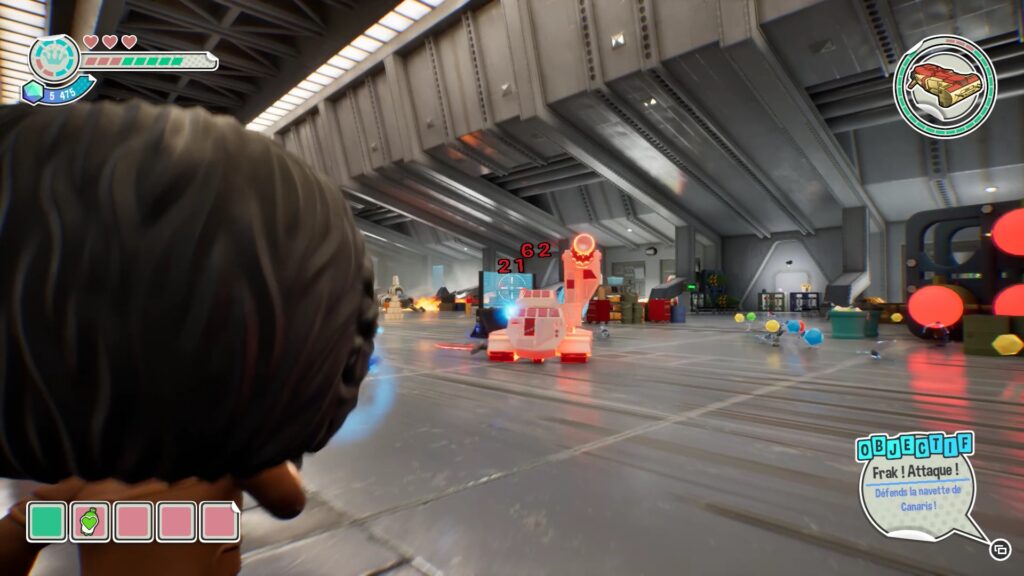
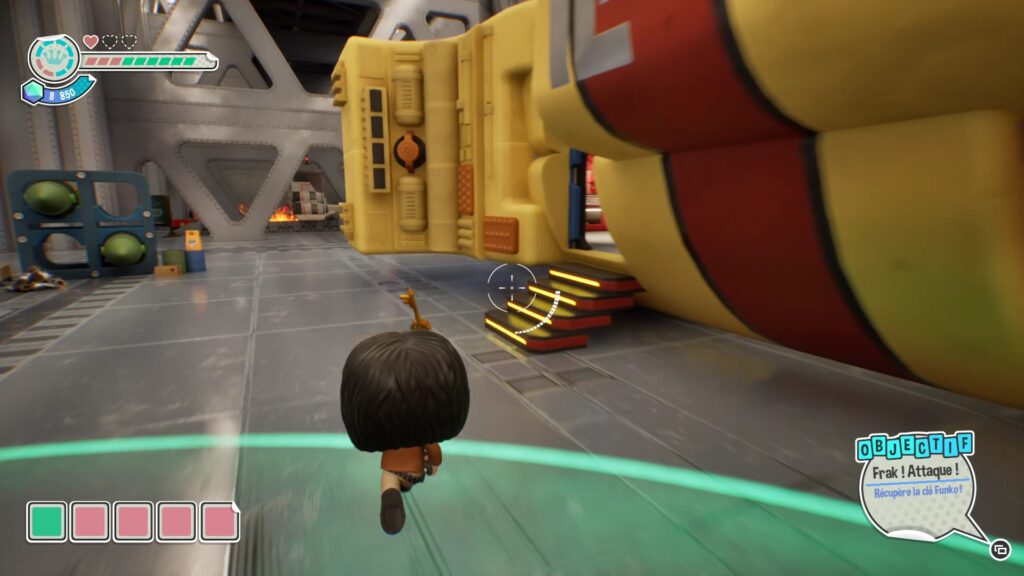
In this level, your goal is to protect the shuttle from all the enemies in the area. Eliminate all the threats, then collect the Funko key to complete the level.
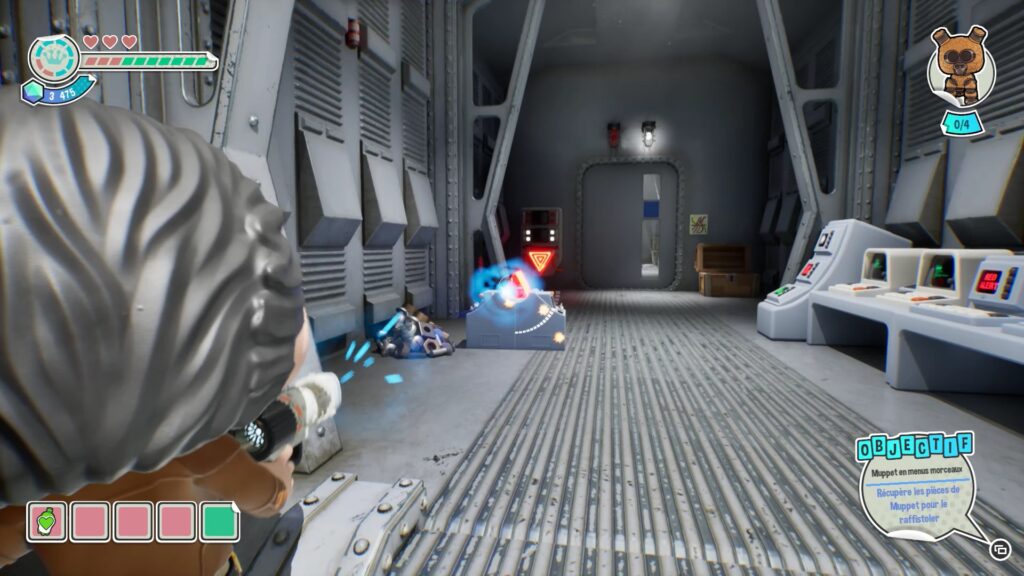
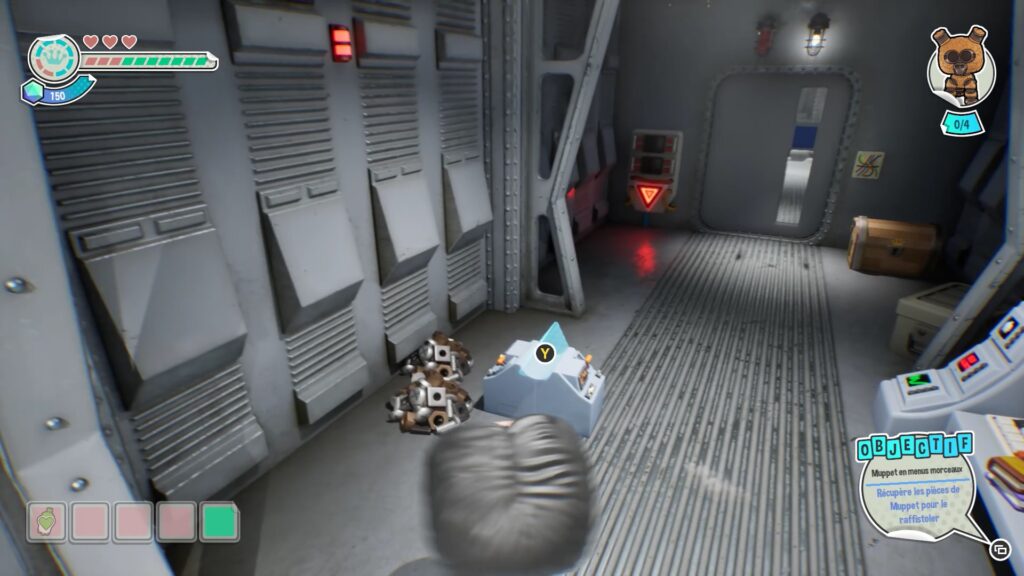
In this new level, start by going up the stairs until you are blocked by a door. Pick up the red crystal on the ground and place it on its base, facing the computers. Then, position yourself behind the crystal and shoot it so that it ricochets off the switch to the left of the door to power it. Shoot it several times to unlock the door.
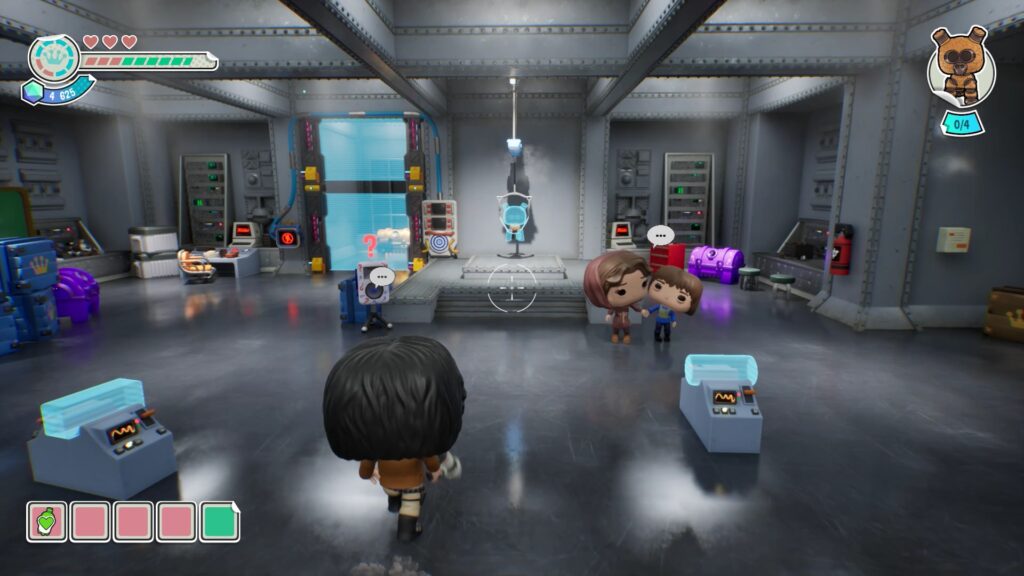
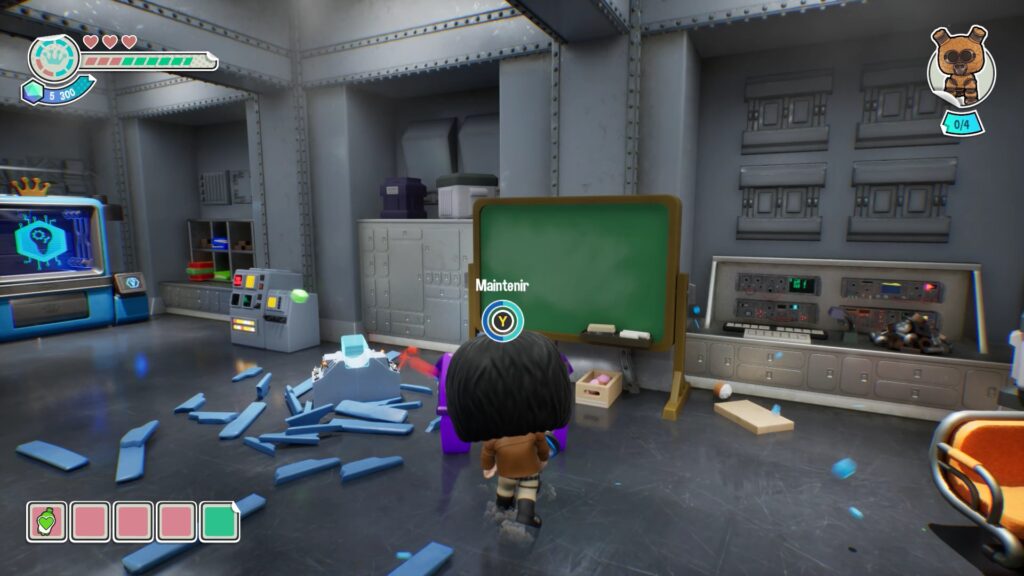
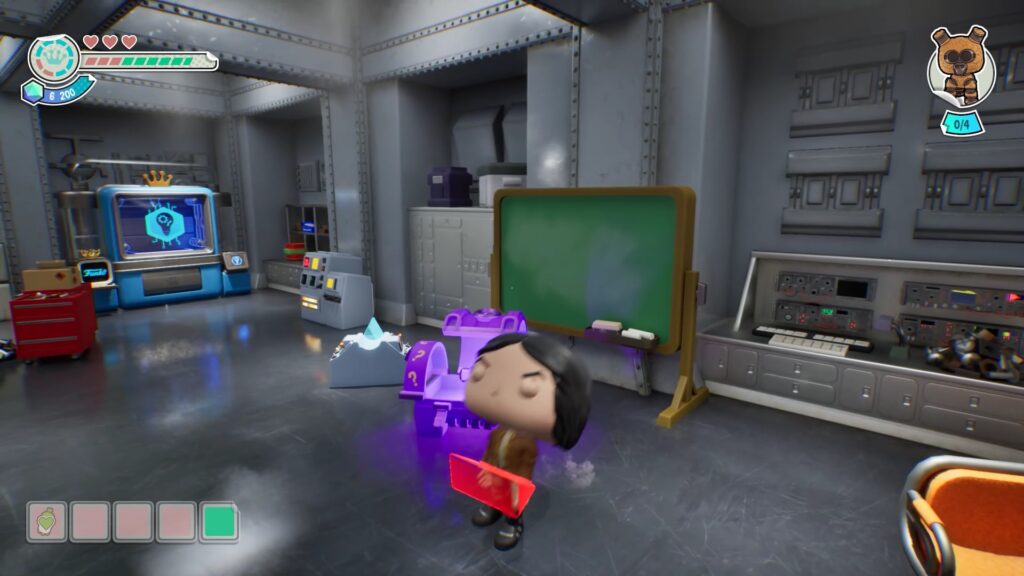
Move forward in the shuttle to find the two characters you escorted. In this room, you will have to find the four Muppet pieces to reconstitute him. Start by opening the two purple chests in the room to recover two crystals.
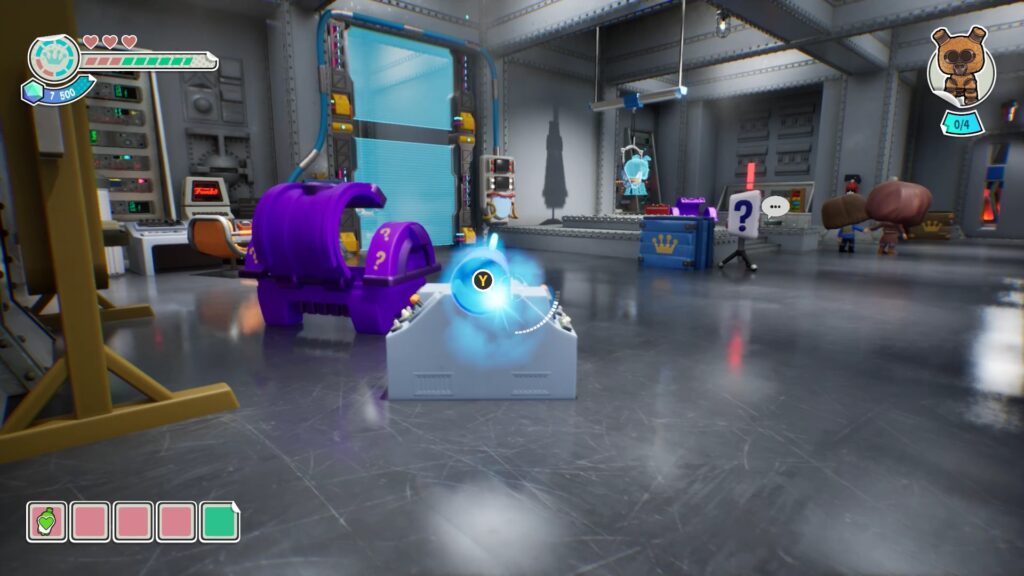
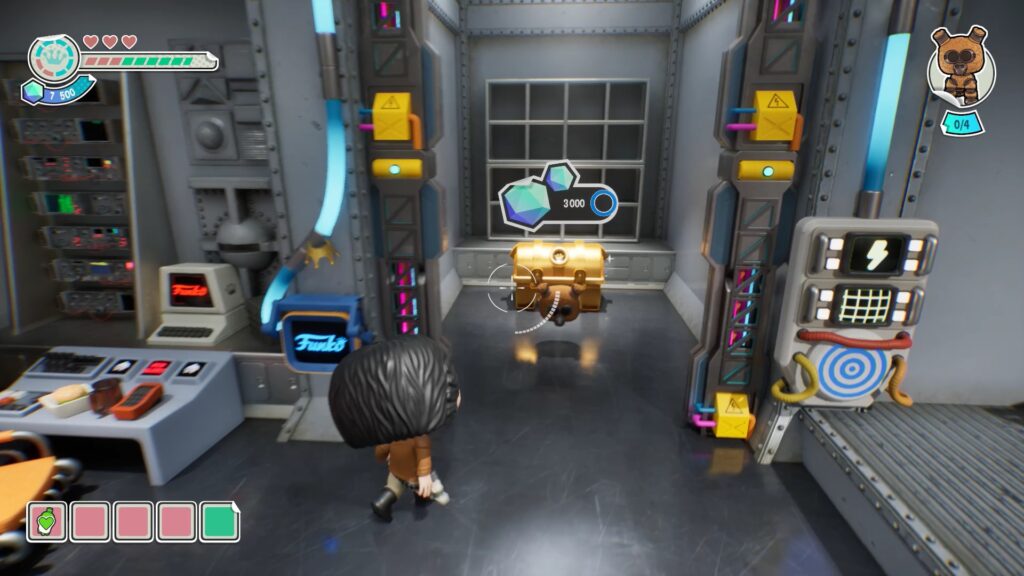
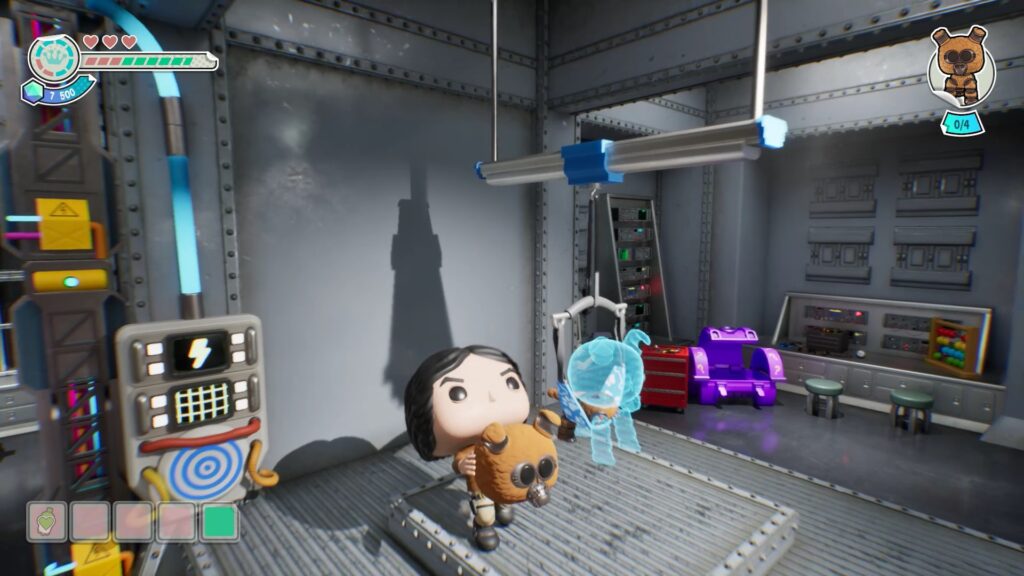
Collect the blue crystal and place it on the pedestal on the left, facing the blue portal mechanism. Now shoot the blue crystal so that it reaches the portal mechanism and deactivates it. Then, open the portal to collect a Muppet part.
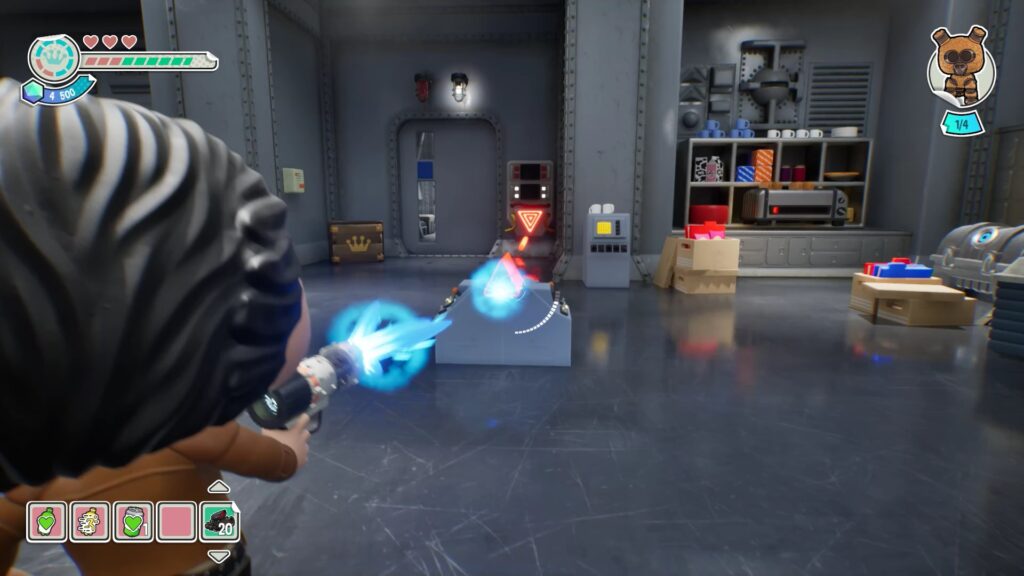
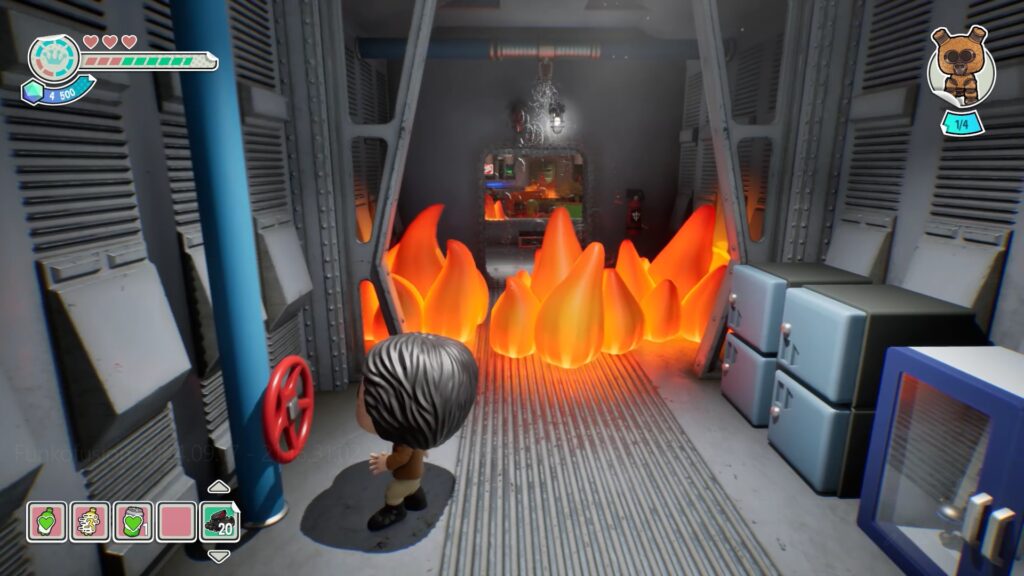
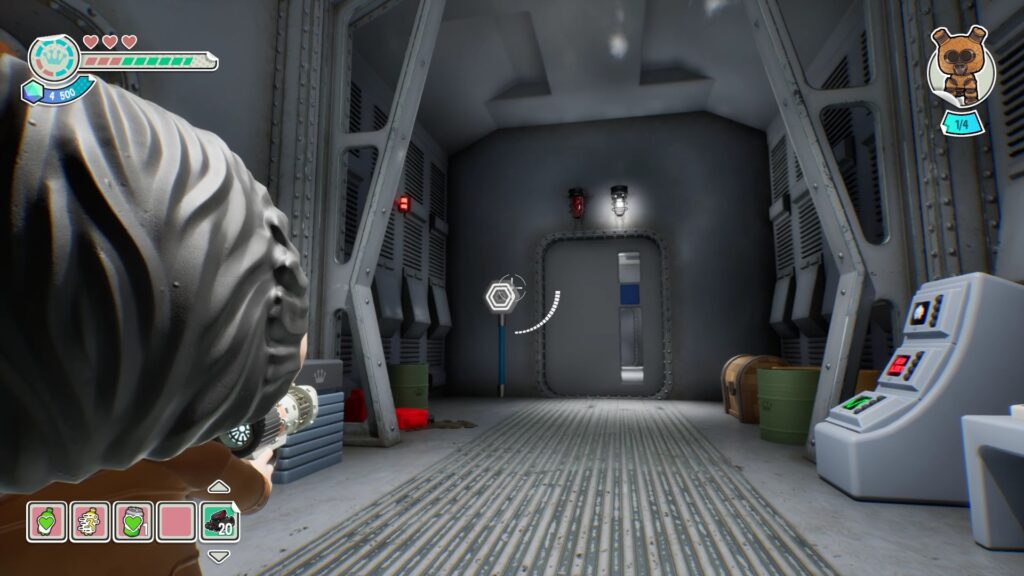
Then pick up the red crystal and place it on the right pedestal, facing a locked door. Shoot the crystal to unlock this door. Then move forward until you reach some flames and use the valve nearby to put them out. Continue forward and head to the right. Shoot the white switch on the door to unlock the path.
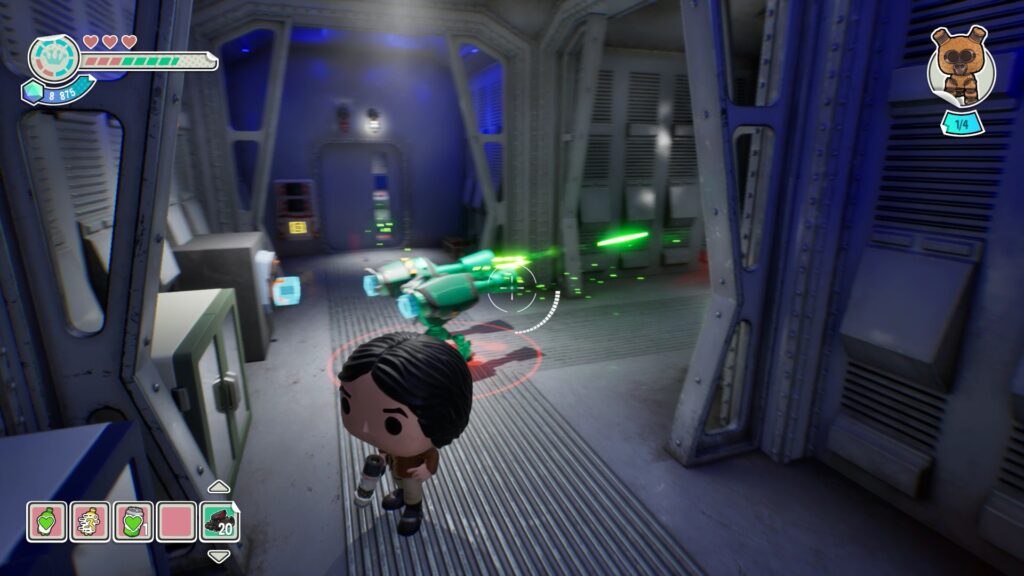
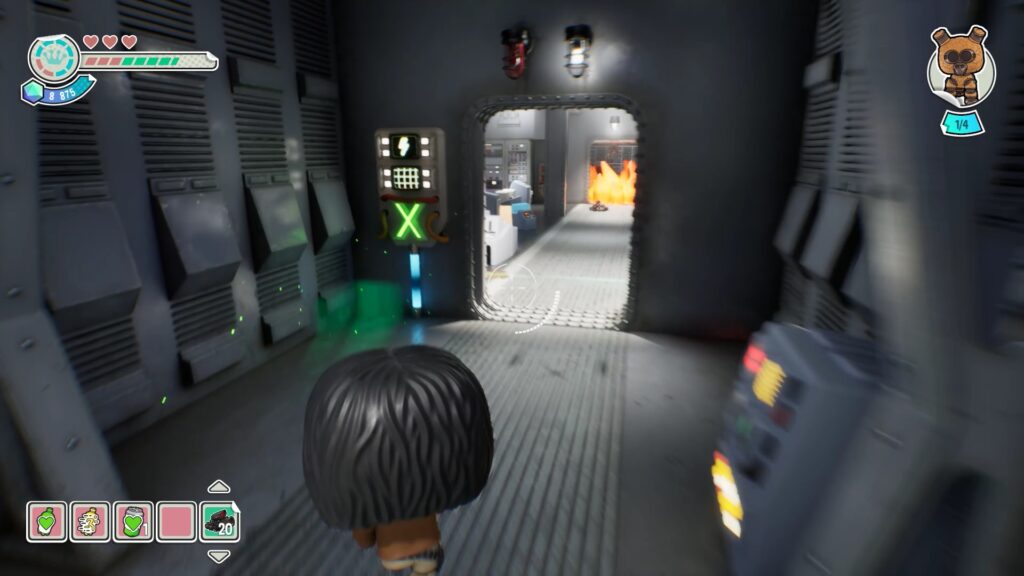
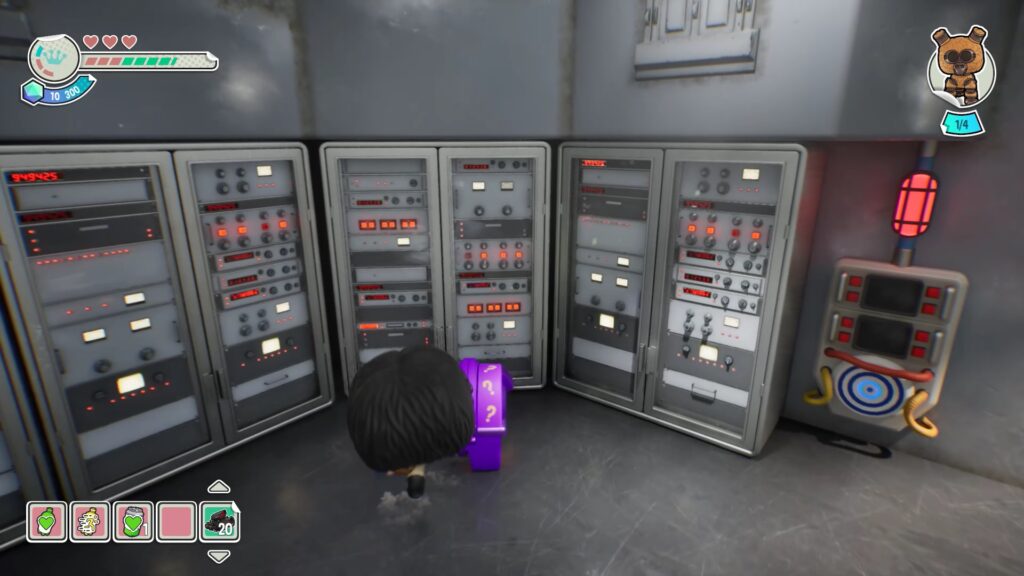
After defeating the enemies, head left and then right to find a locked door. You will need a turret to unlock this door. Once unlocked, enter the room and defeat the enemies to access the two purple chests.
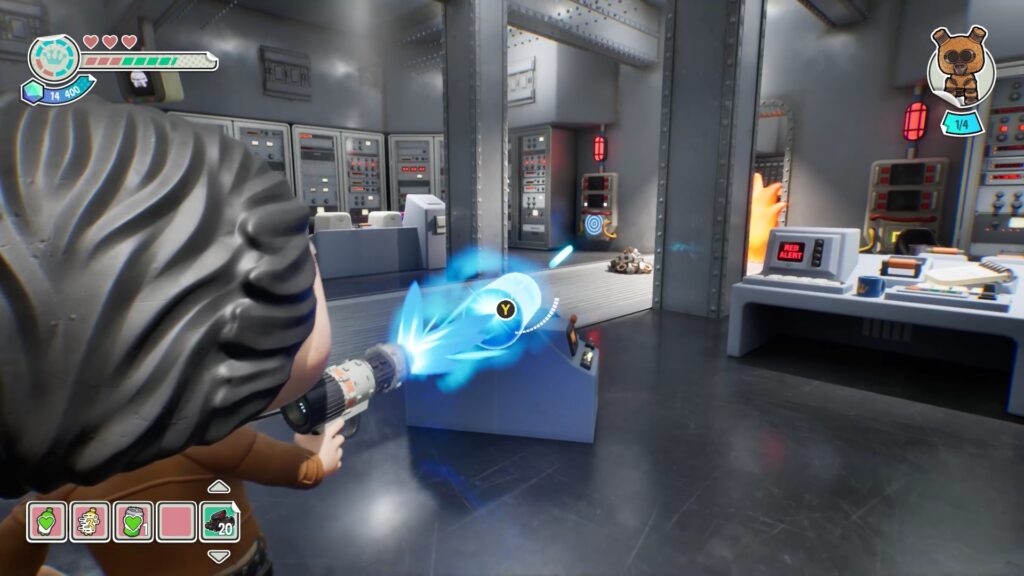
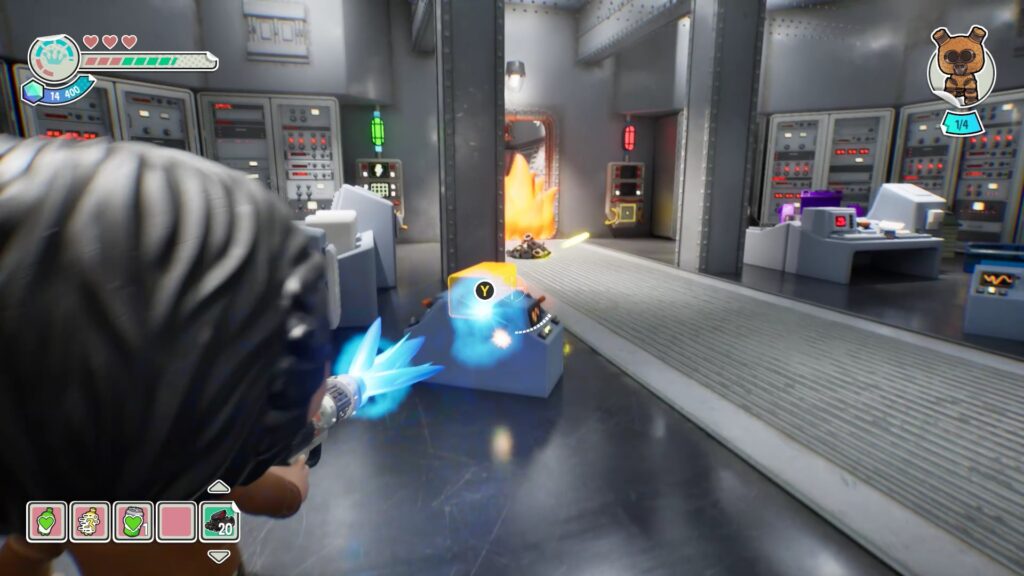
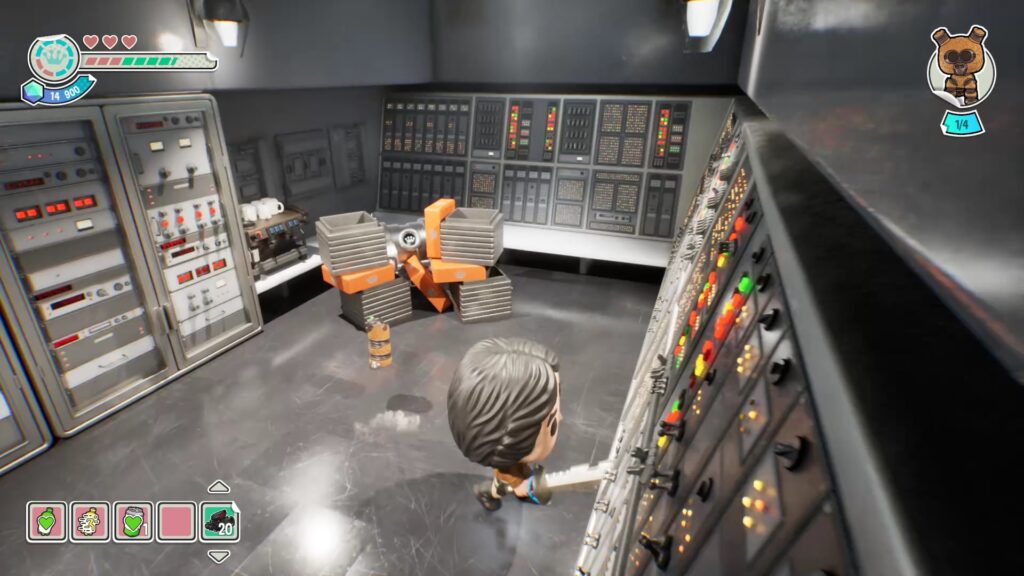
Collect two crystals from the chests. Place the yellow crystal on the left pedestal and the blue crystal on the right pedestal. Shoot both, one after the other, to put out the flames and reach a second Muppet Piece.
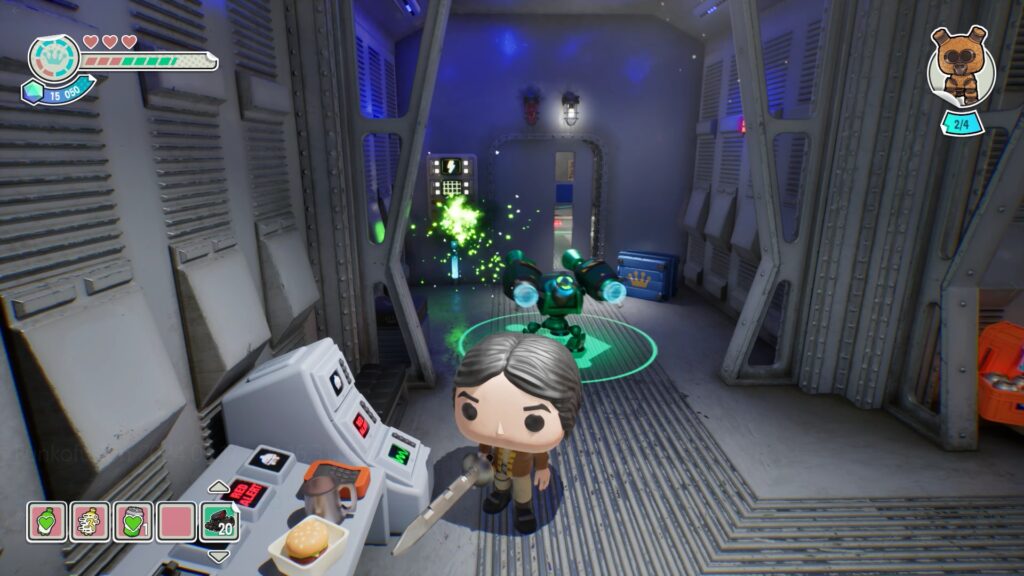
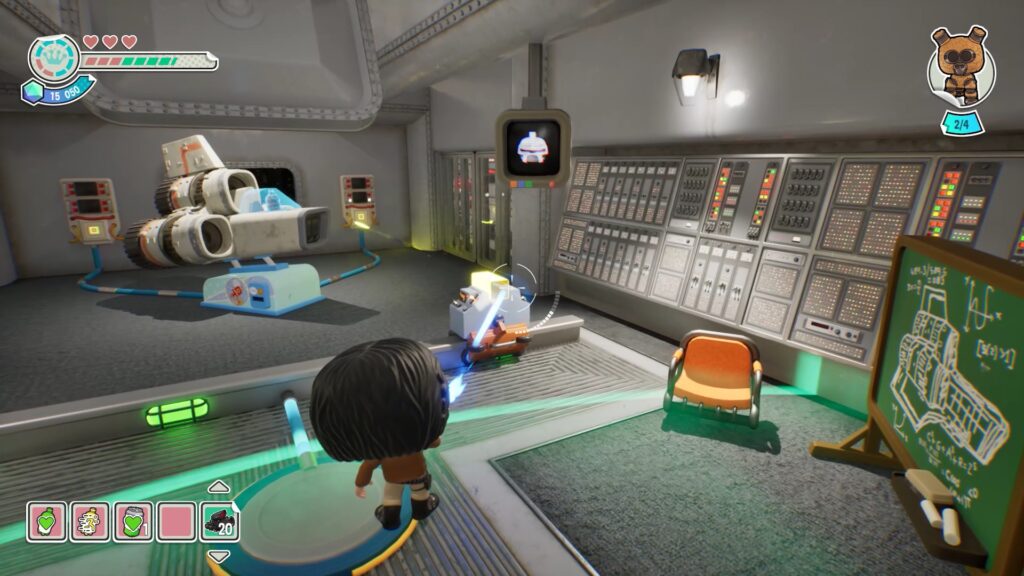
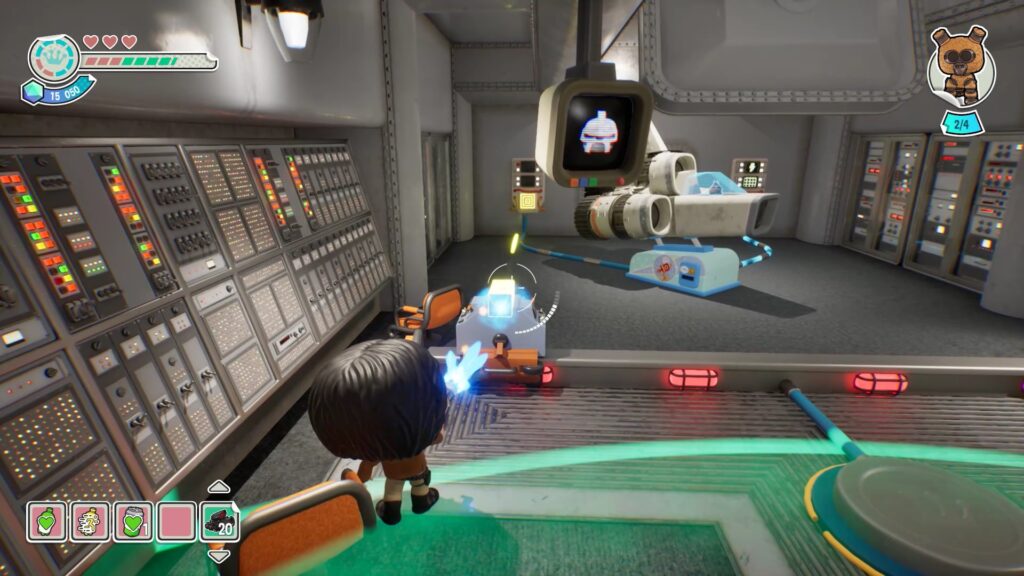
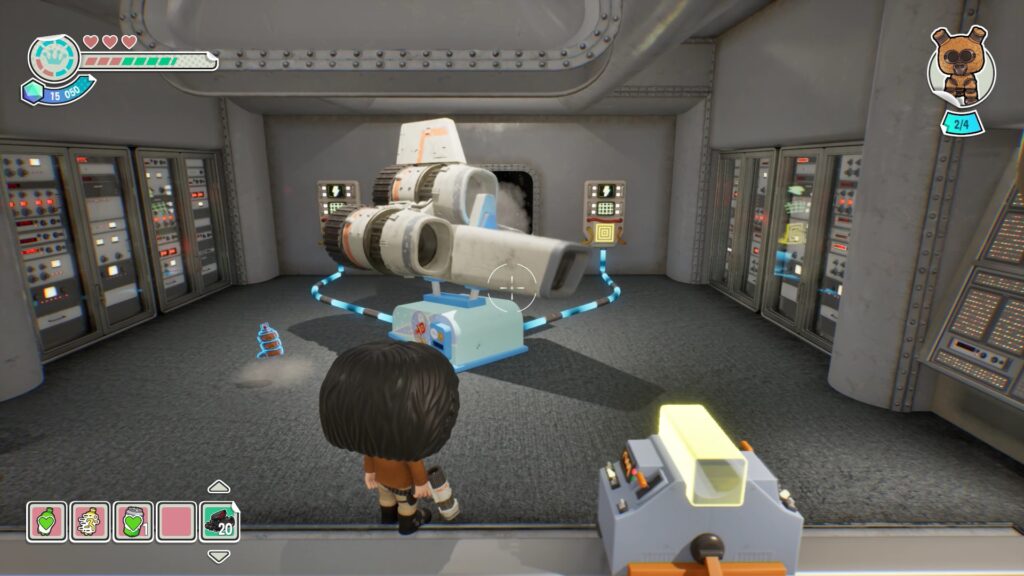
Exit the room where the characters are and head to the right. You will be blocked by a door that you will need to open using a turret. Once inside the room, stand in the center to press a switch. This will move a yellow crystal from one side of the room to the other. You must power the two shuttle mechanisms with the crystal. Stand on the switch to place the crystal in front of the mechanisms, then shoot it to collect a third Muppet piece.
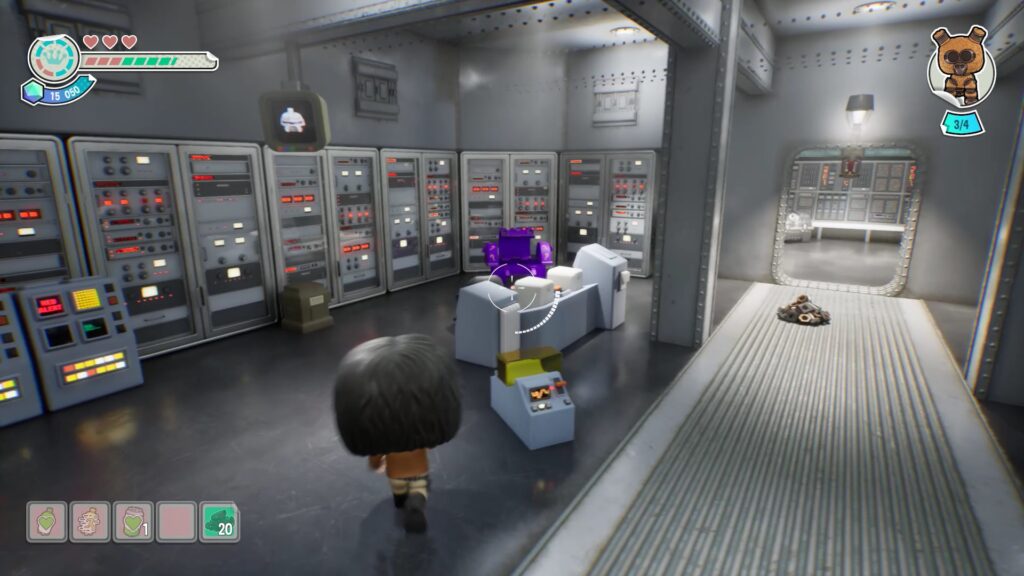
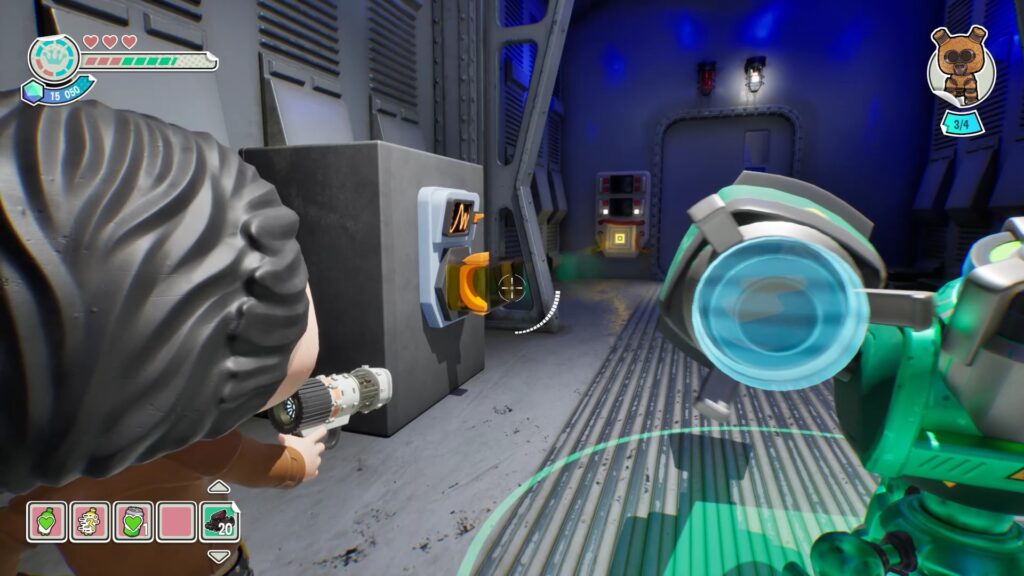
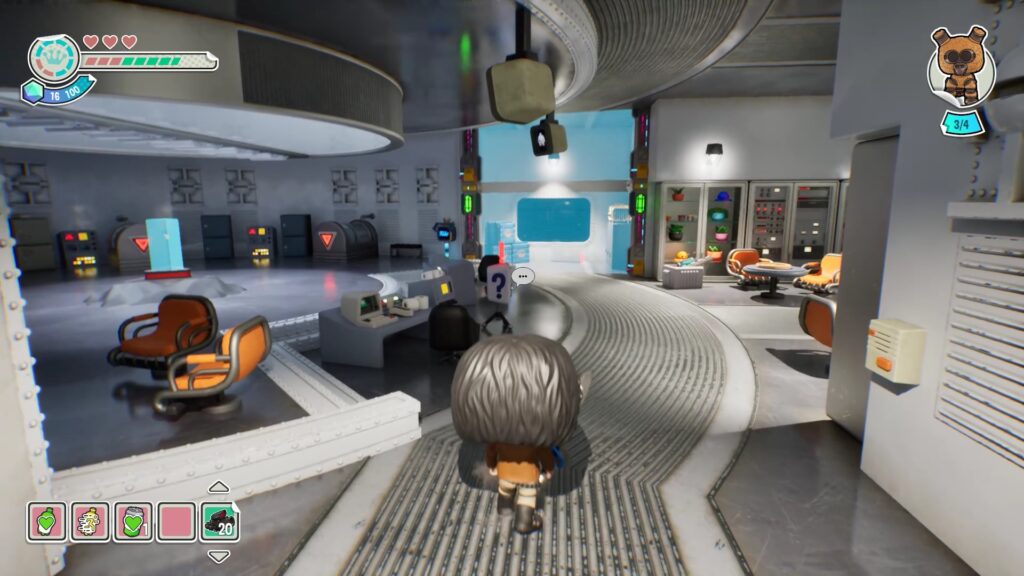
Then return to the room where you got the second piece. Pick up the yellow crystal and place it outside the room on its base, facing a locked door. Unlock the door and move forward to find a « break » room.
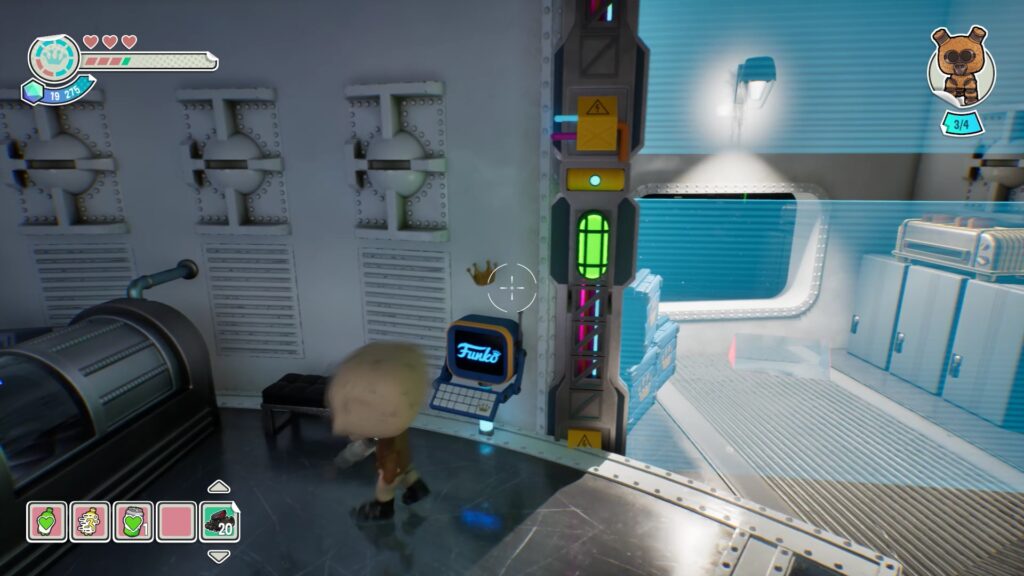
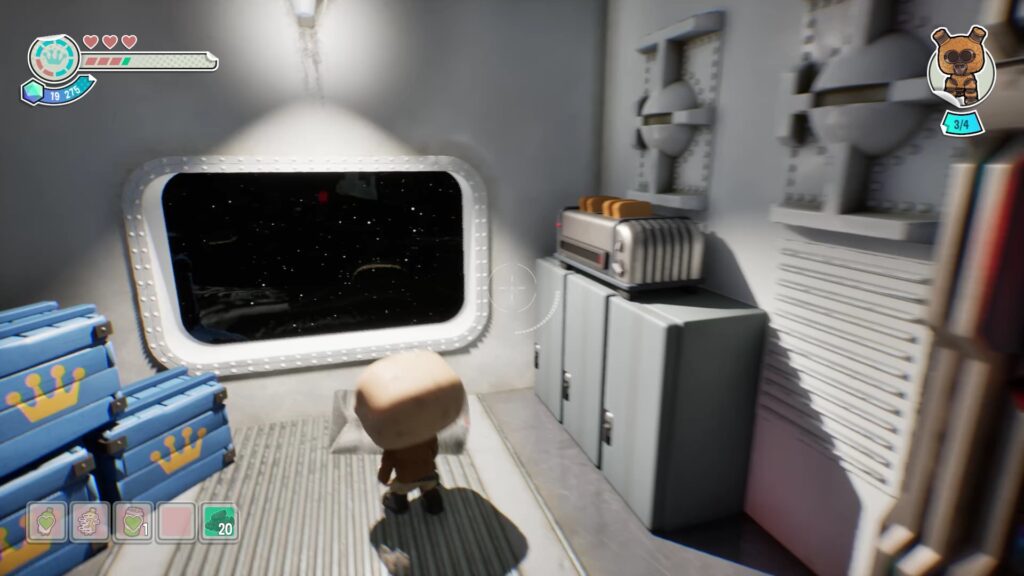
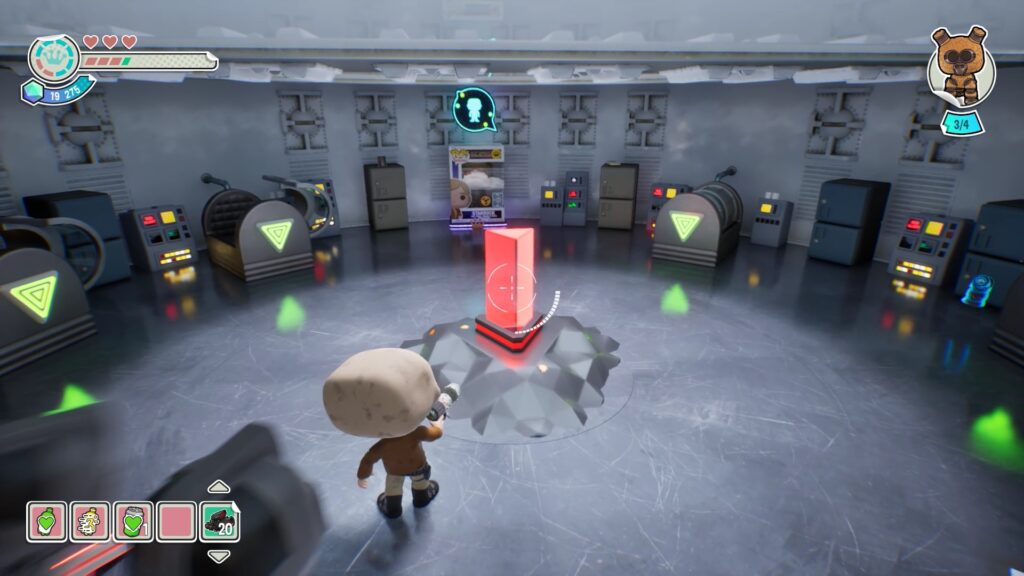
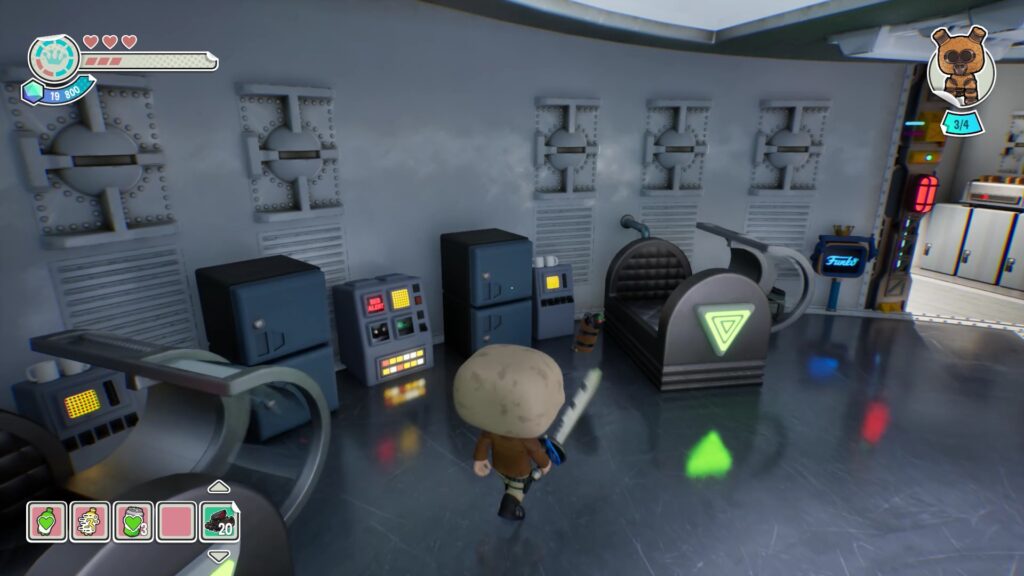
In the room, head to the blue portal and unlock it using the connected mechanism. Then pick up a large red crystal and place it in the center of the cryogenic beds. Shoot the crystal while aiming at the switches on the beds to unlock them and collect the last Muppet Piece.
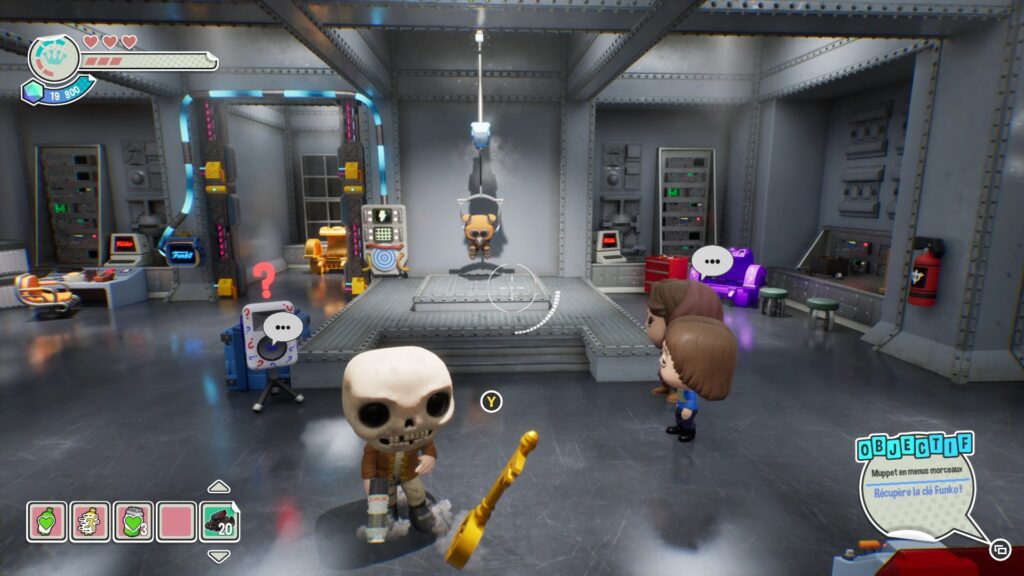
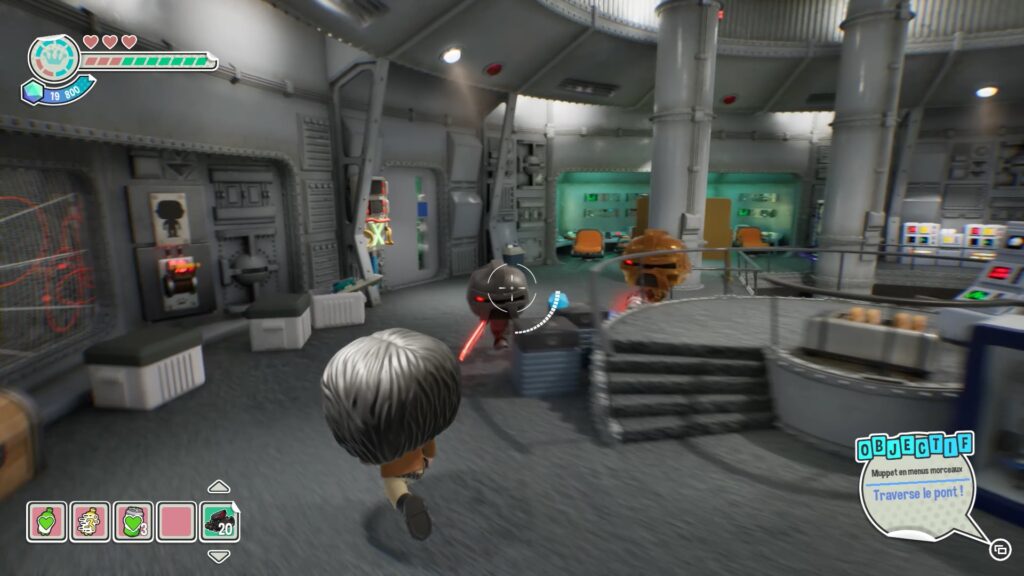
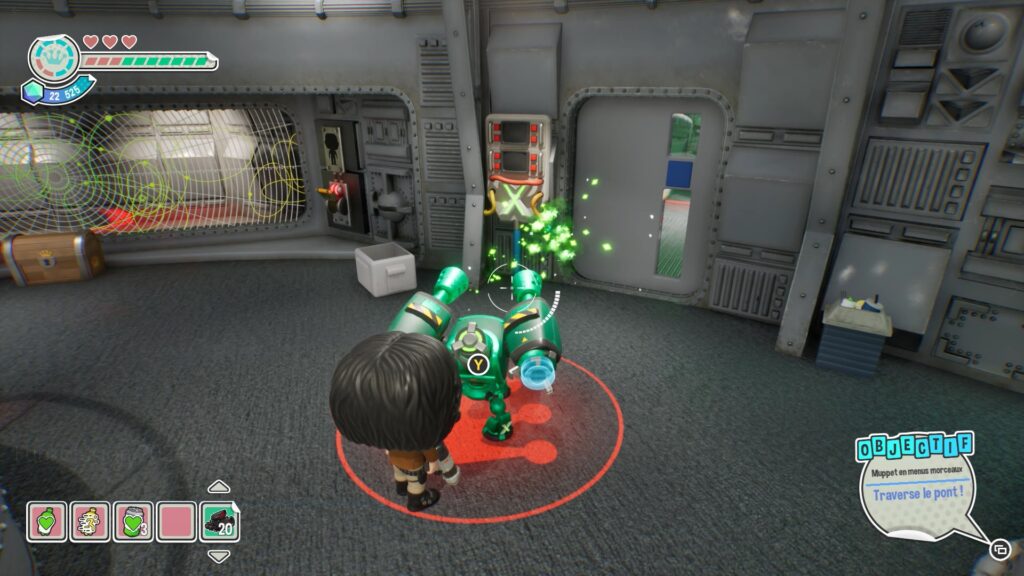
Return to place the last Muppet piece to retrieve the Funko Key. Then follow the quest marker to reach a command bridge. Eliminate the enemies and use a turret to unlock the door. Continue forward to complete the chapter.
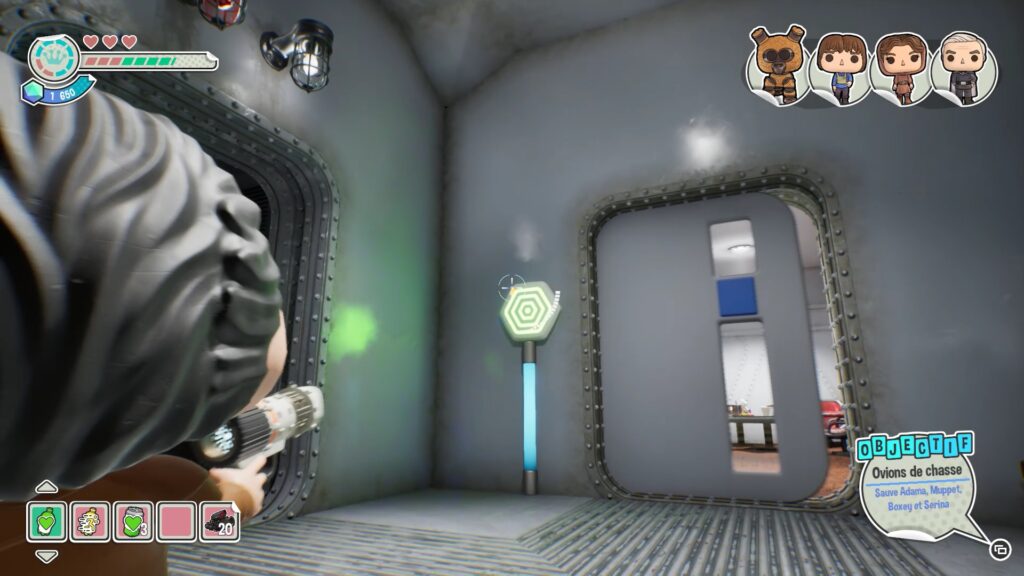
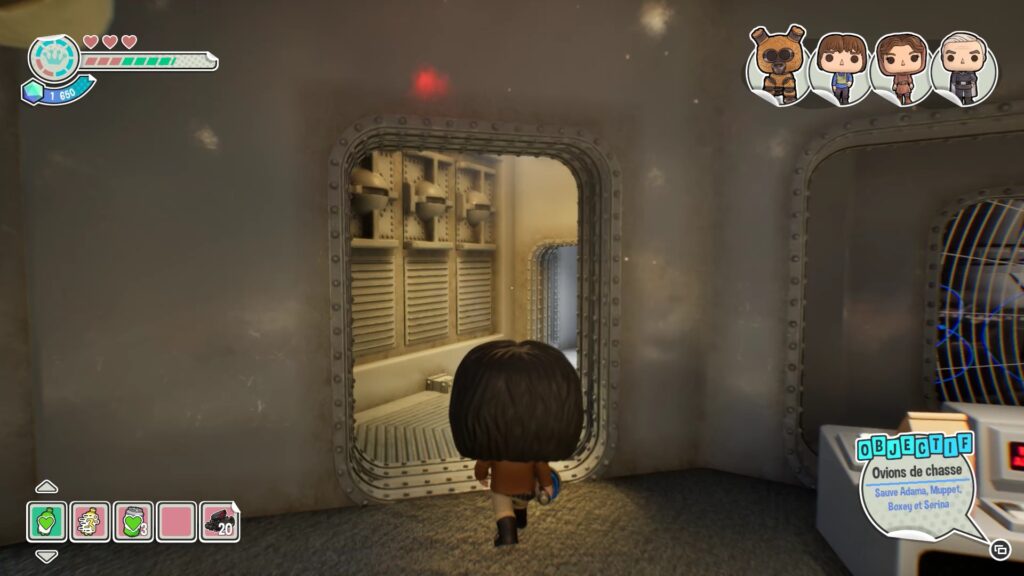
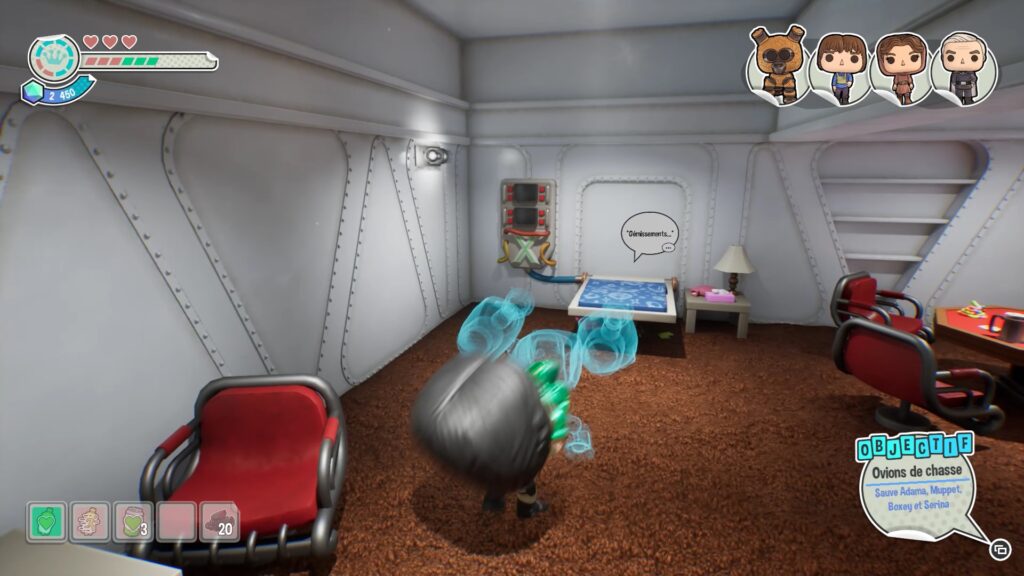
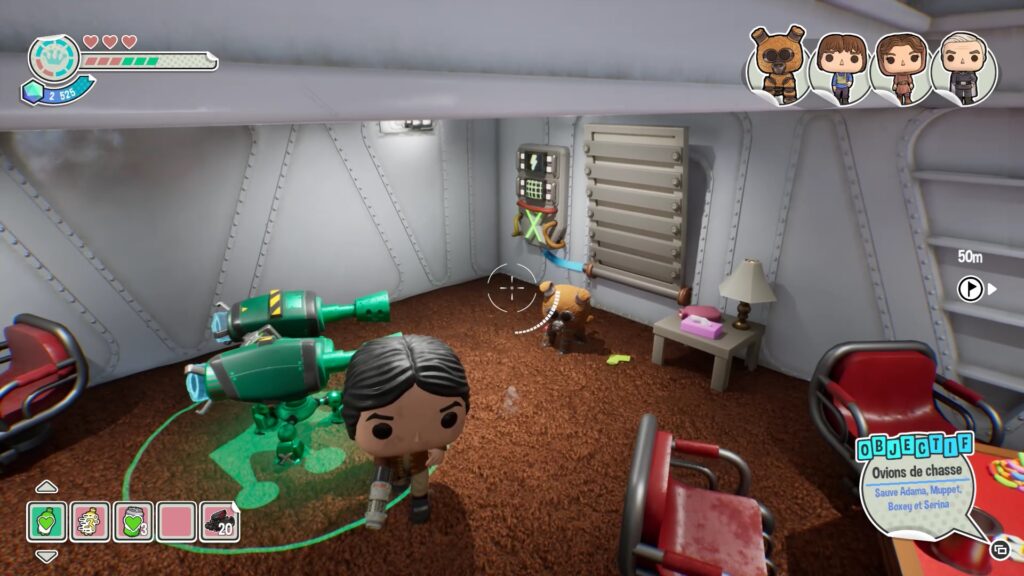
In this level, you must rescue four characters. Start by heading right from the control room, then move forward until you are blocked by a door. Shoot the switch to enter a dirt area. Eliminate the enemies and move forward to the end of the path to find Muppet stuck under a table. Use the turret on the table switch to free him.
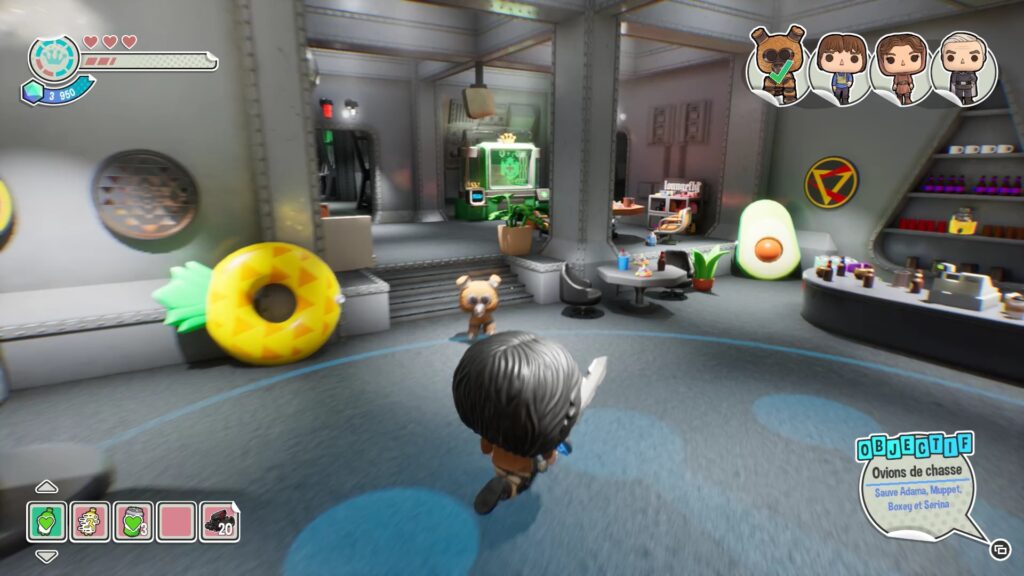
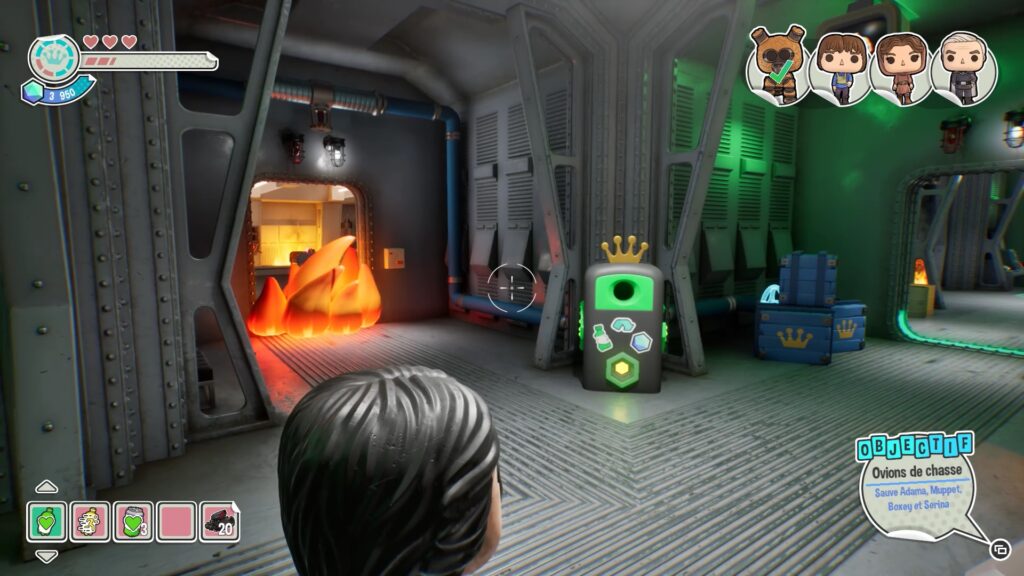
Then follow the quest marker to take Muppet to safety. You’ll need the turret to clear the path to the safe zone. Then explore the area to find a room with the entrance filled with flames.
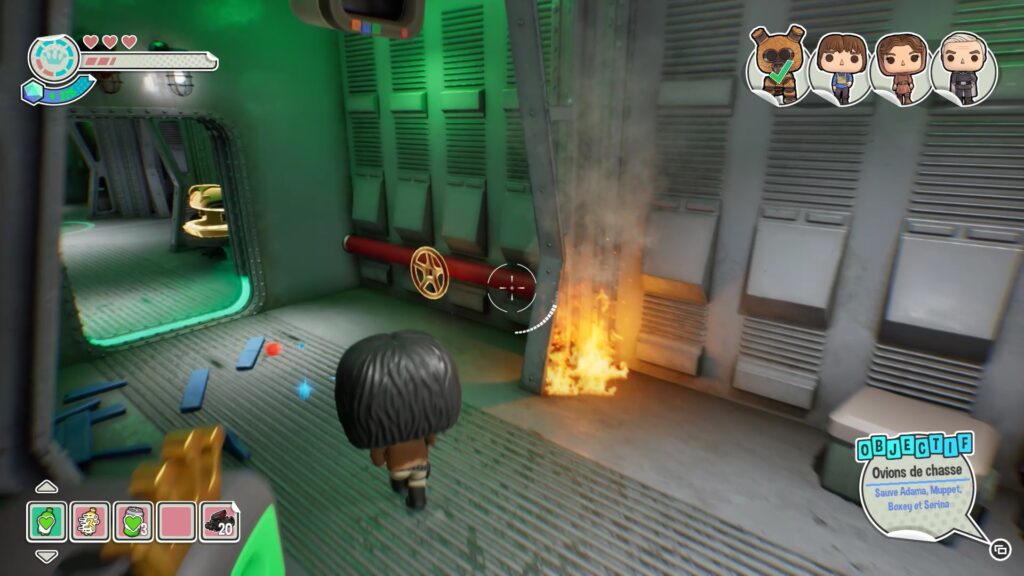
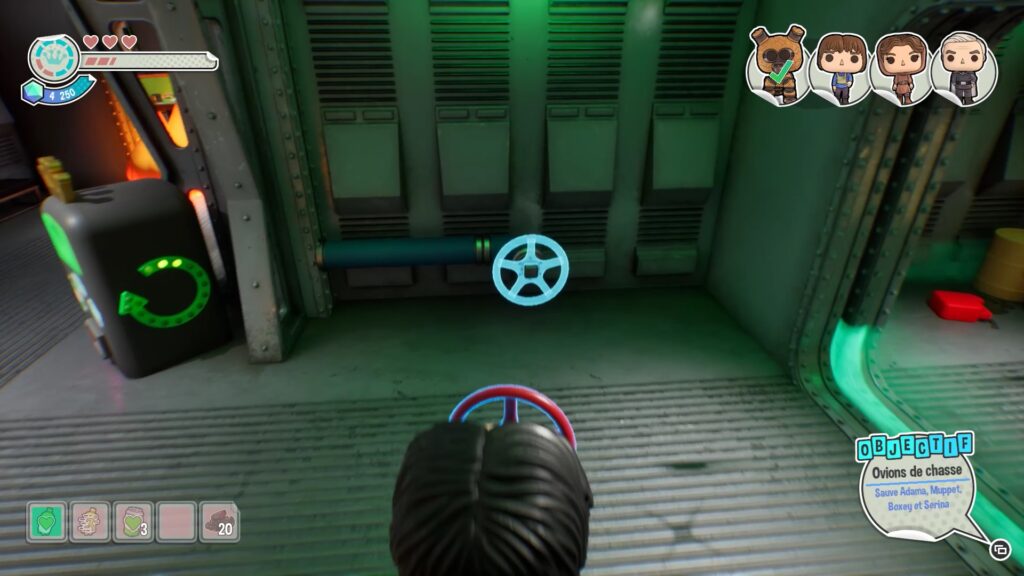
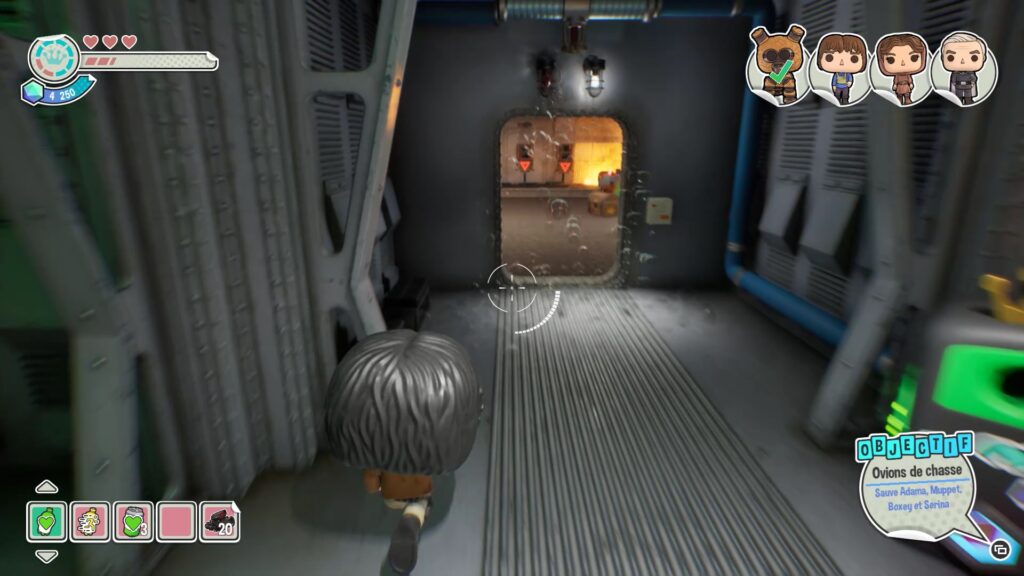
Near the flames, you’ll find a small burning area with a valve nearby. Shoot this valve to make it fall and collect it. Then, place it on the pipes in front of the small fire to put out the flames blocking the hallway.
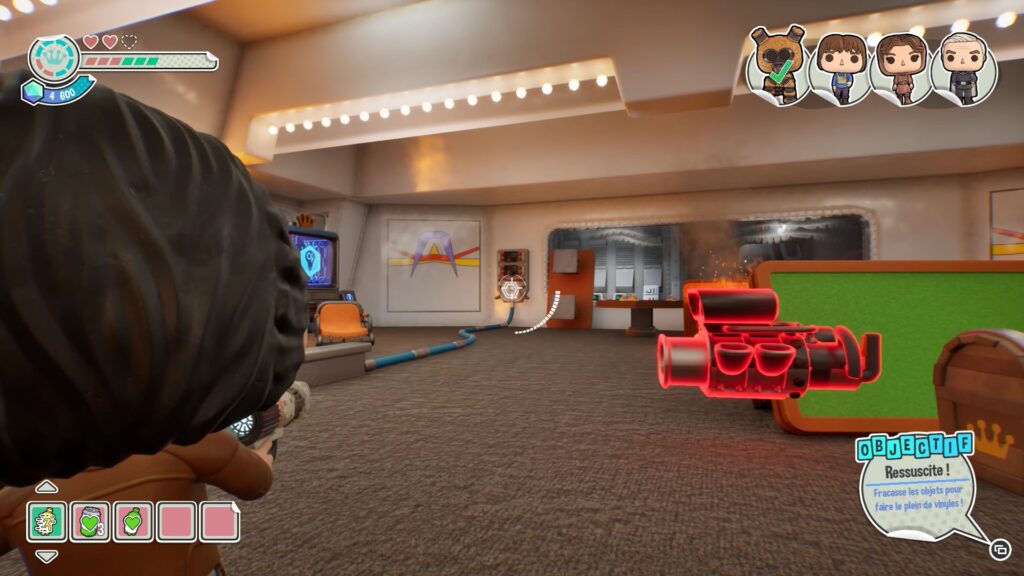
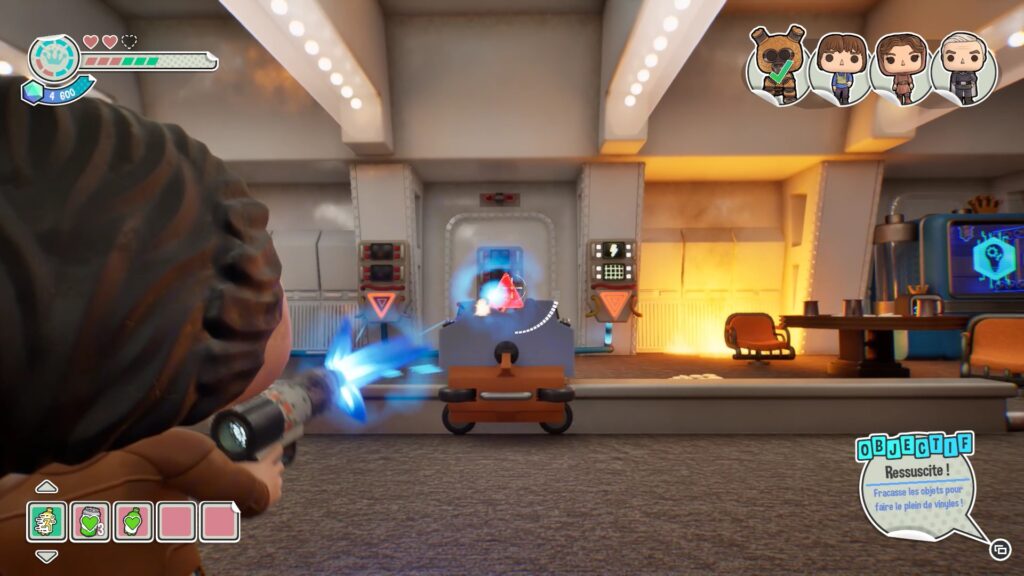
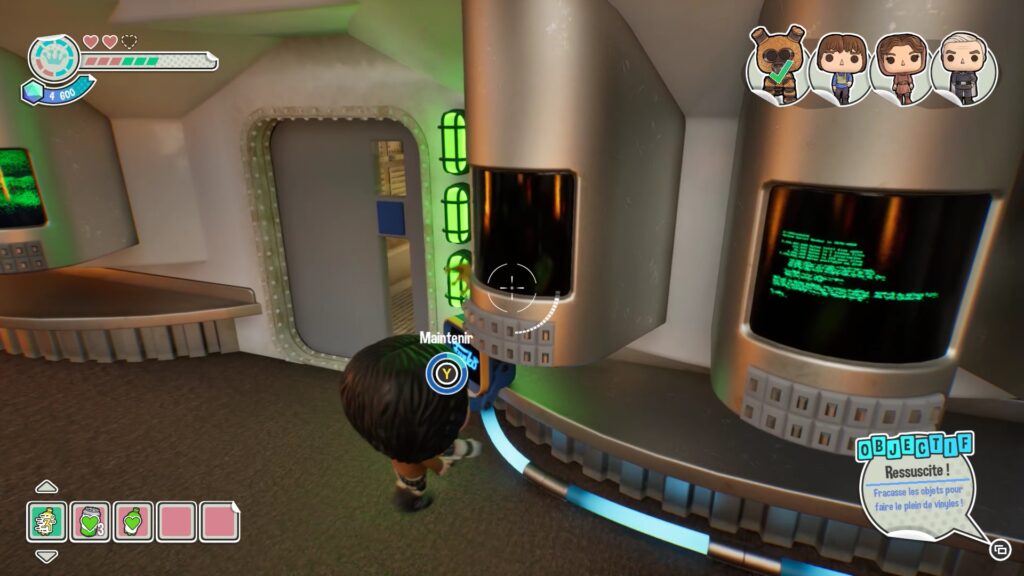
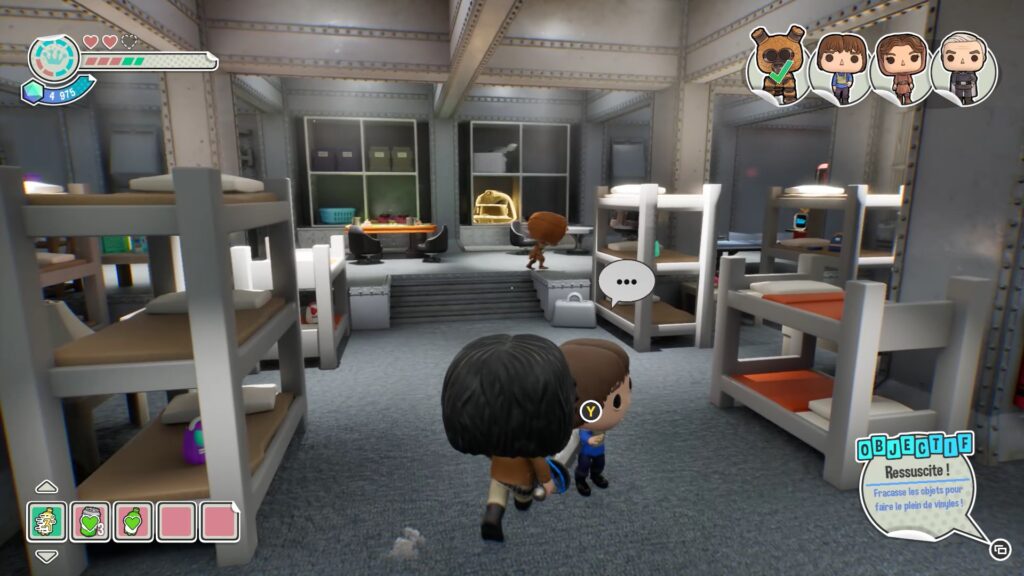
Enter the room. To unlock the door on the left, you must move the red crystal base. Pull the switch on the base to activate it. Then, when the crystal is in front of one of the three red switches, pull the crystal to power each switch. Repeat this for all three switches in the area. Then open the door to rescue a character.
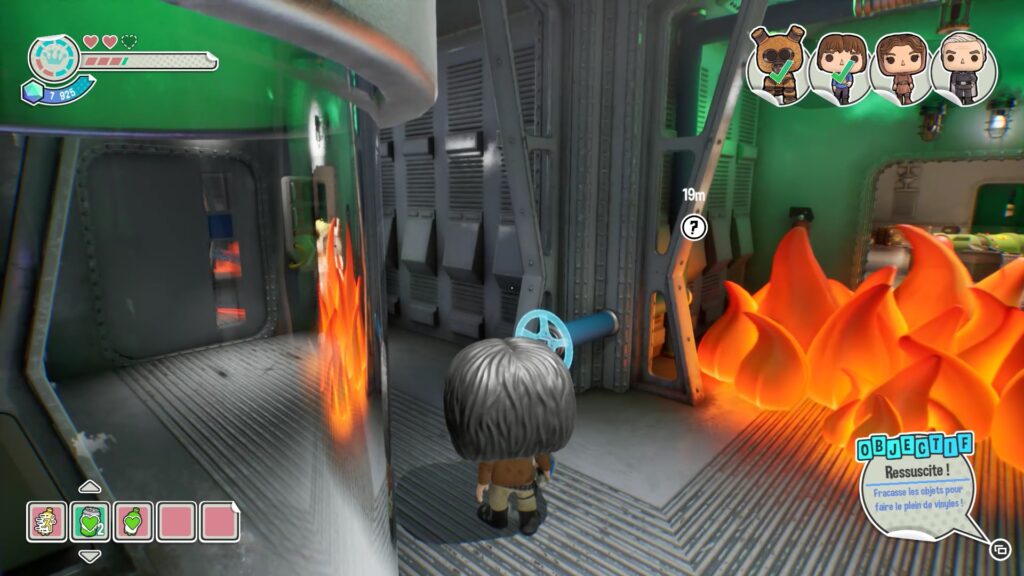
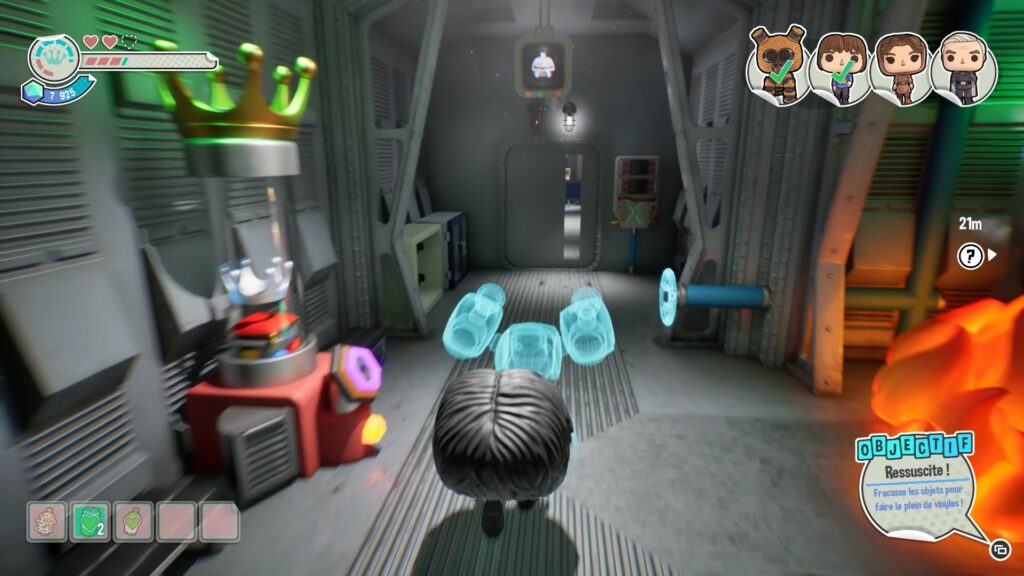
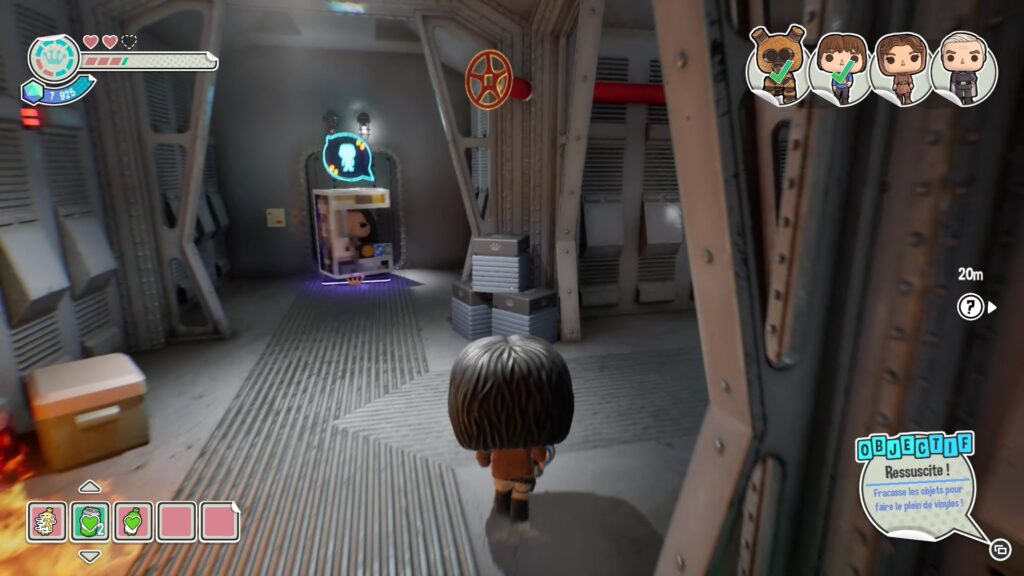
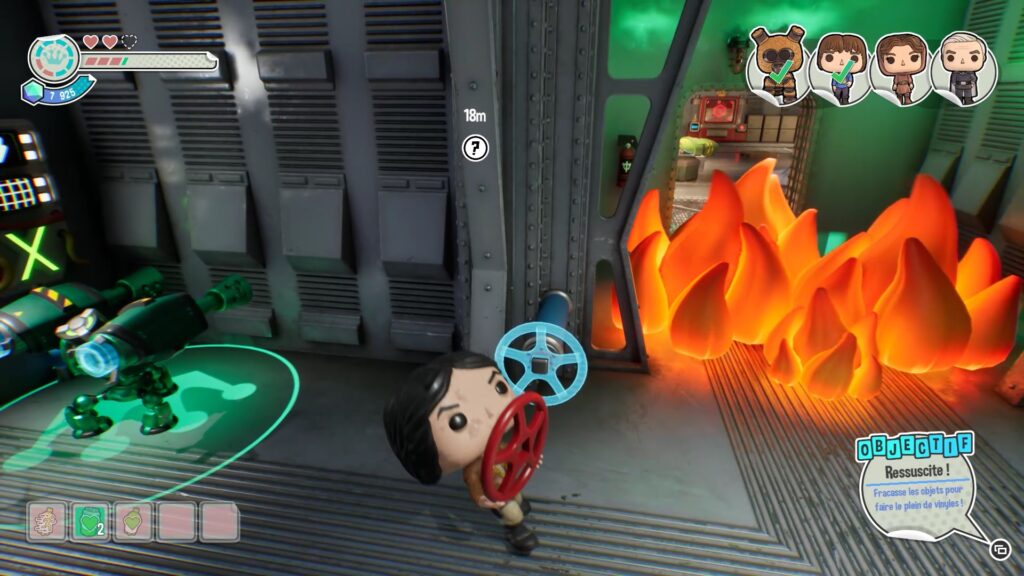
In the shuttle, locate a fire blocking access near a crown gauge. Use a turret on the door switch to the left of the fire to enter a room with a valve high up. Shoot the valve to retrieve it, then go put out the fire by placing the valve near the flames.
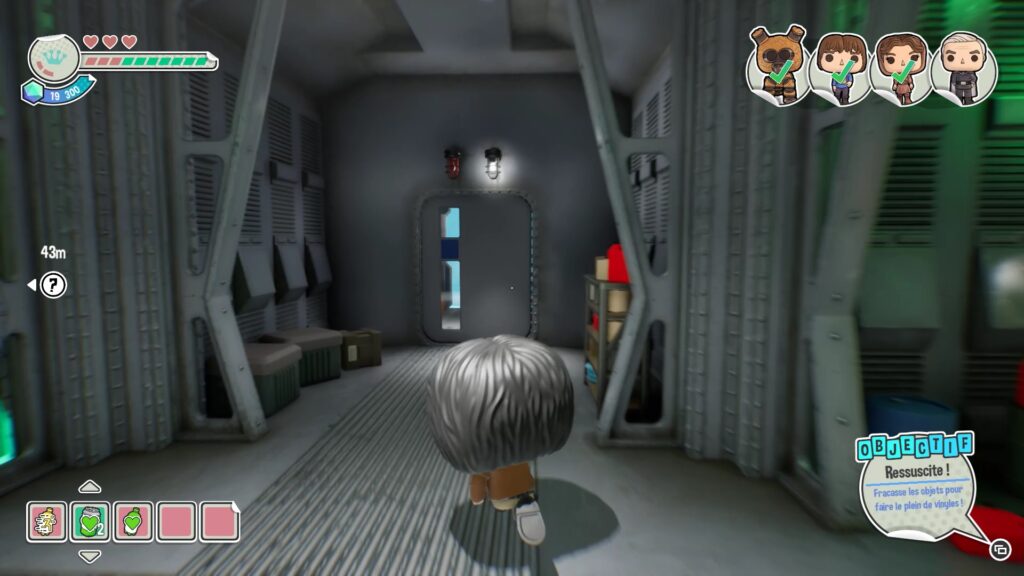
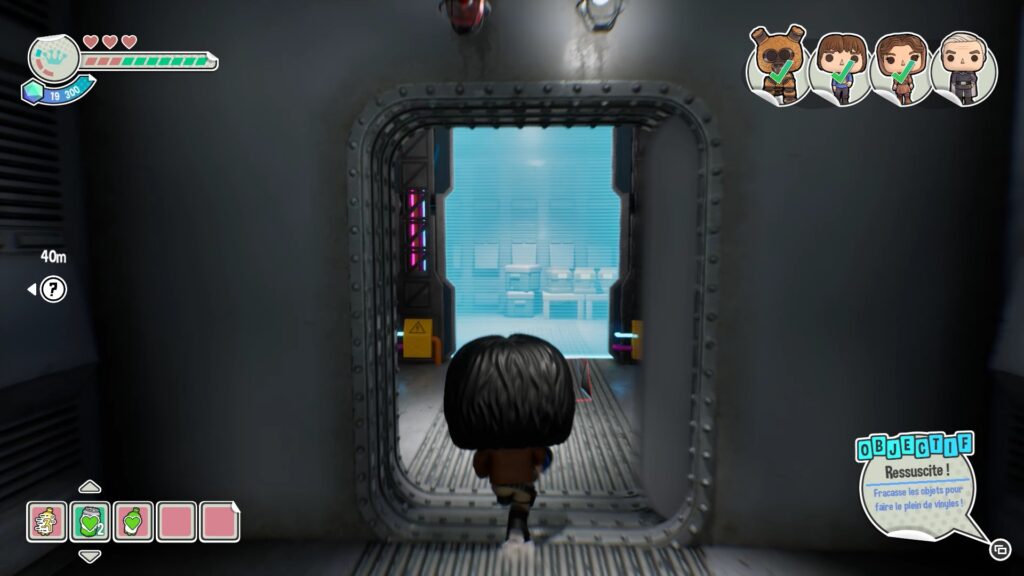
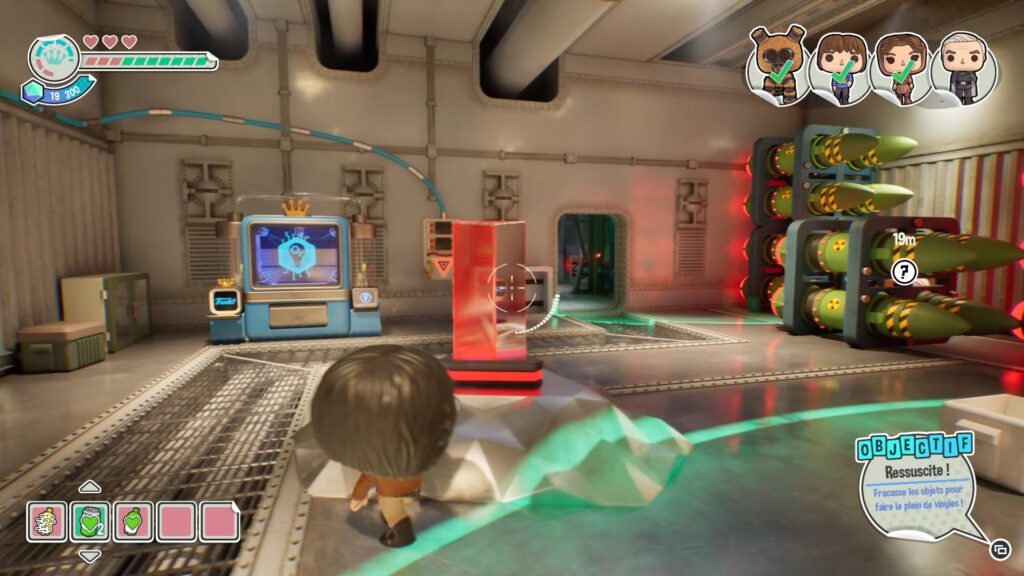
You enter a room full of missiles. Move forward to open the door opposite the entrance, then head down the hallway to the left to enter another room and pick up a red crystal on the ground. Then return to the missile room and place the crystal on its pedestal.
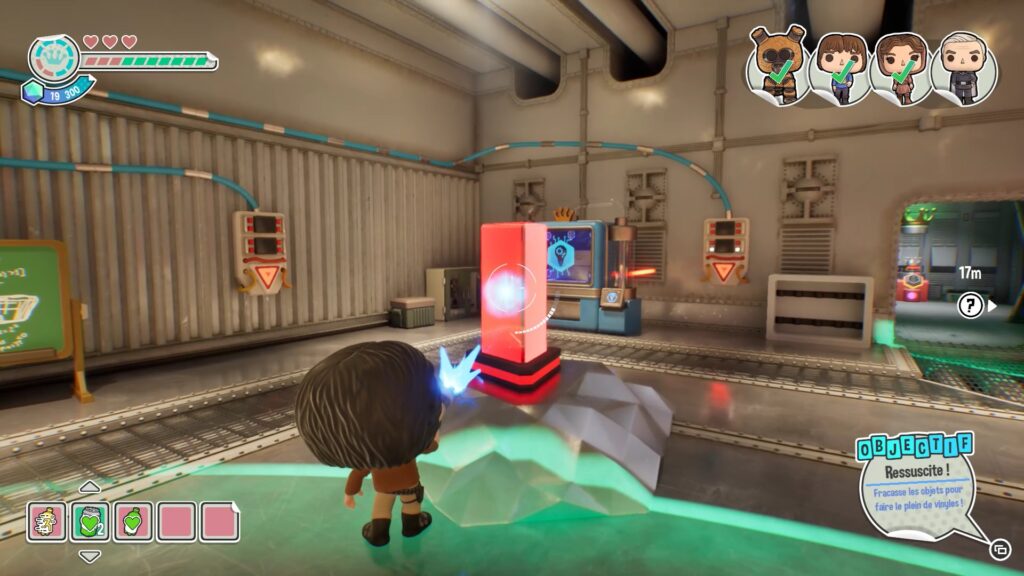
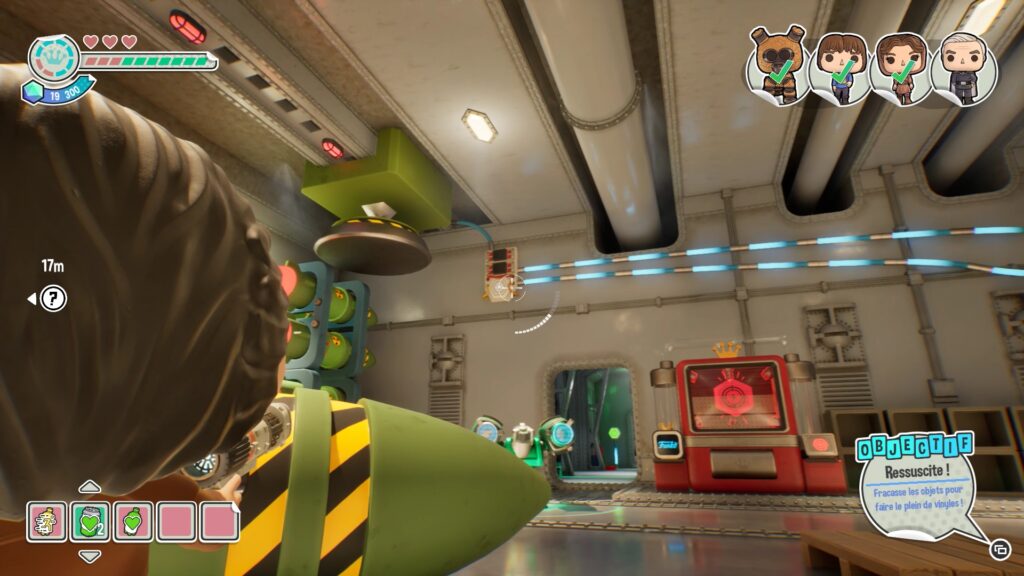
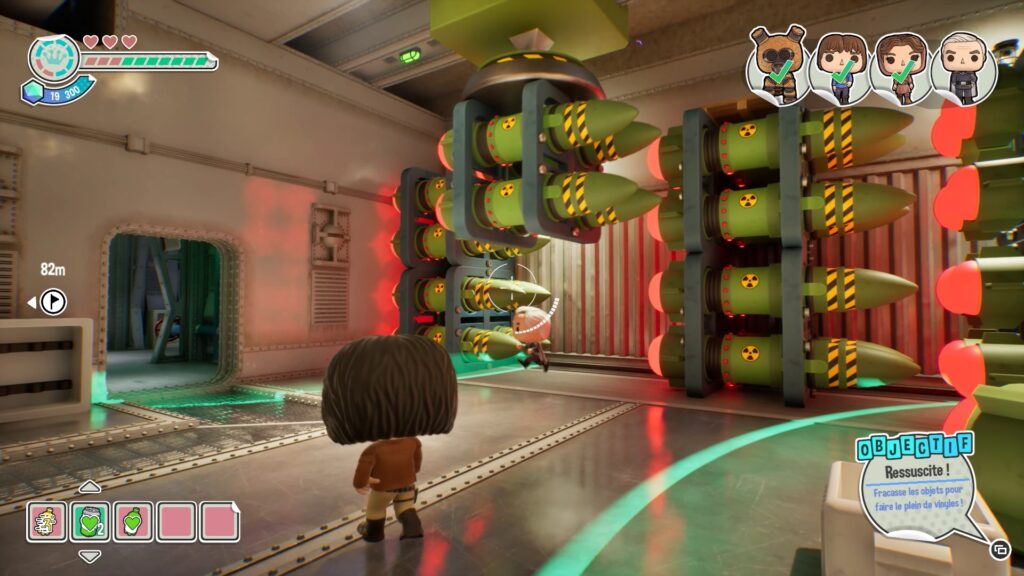
Shoot the red crystal towards the two red switches in the room to turn them on. Then, shoot the white switch high up near the red creation machine. Doing so will free a new character.
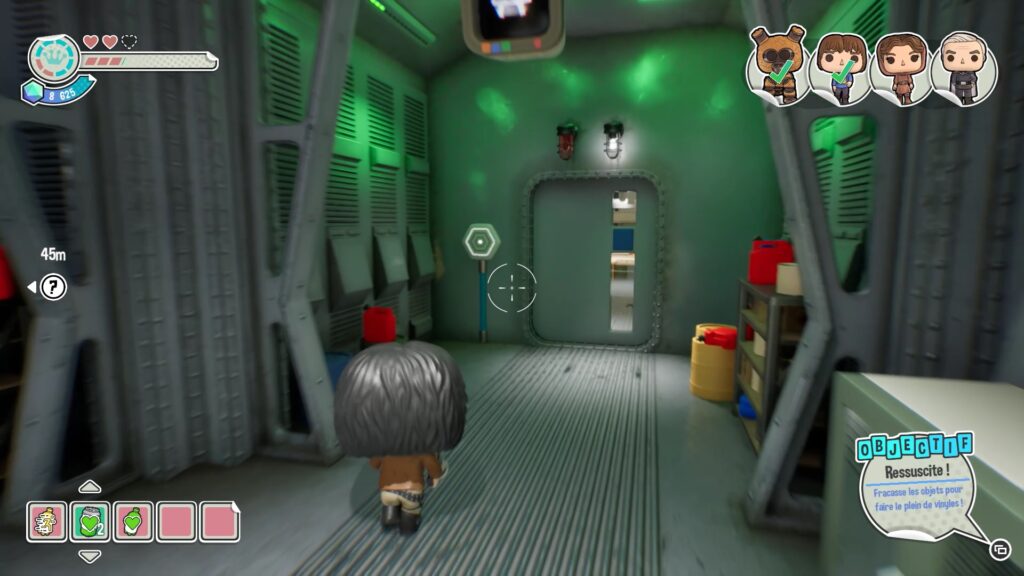
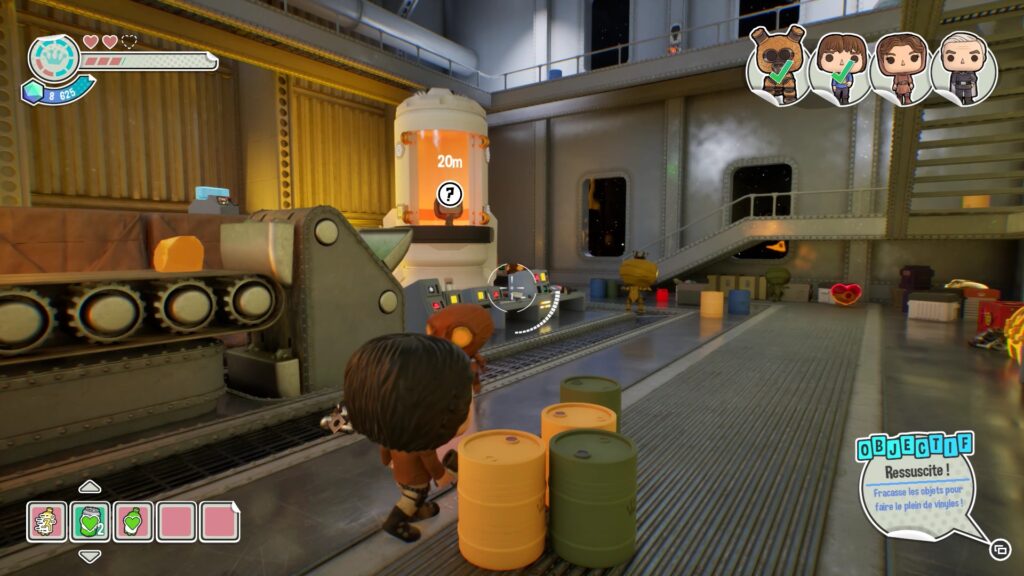
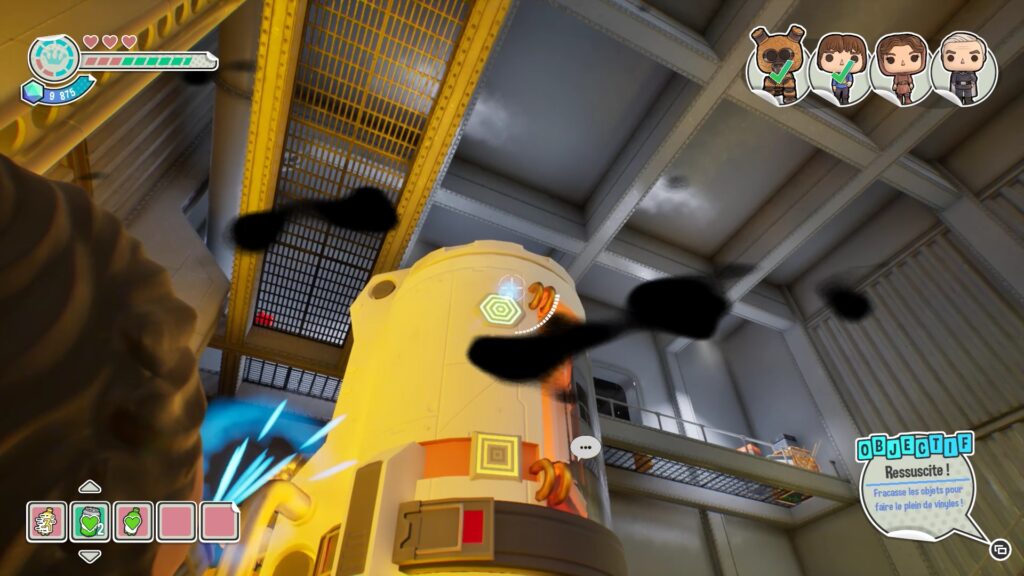
From the missile room, go through the door at the red construction machine and head straight. Unlock the door in front of you by shooting the white switch to find the last character stuck in a vat. There are two switches on the vat. Start by shooting the white switch high up in the octagon shape.
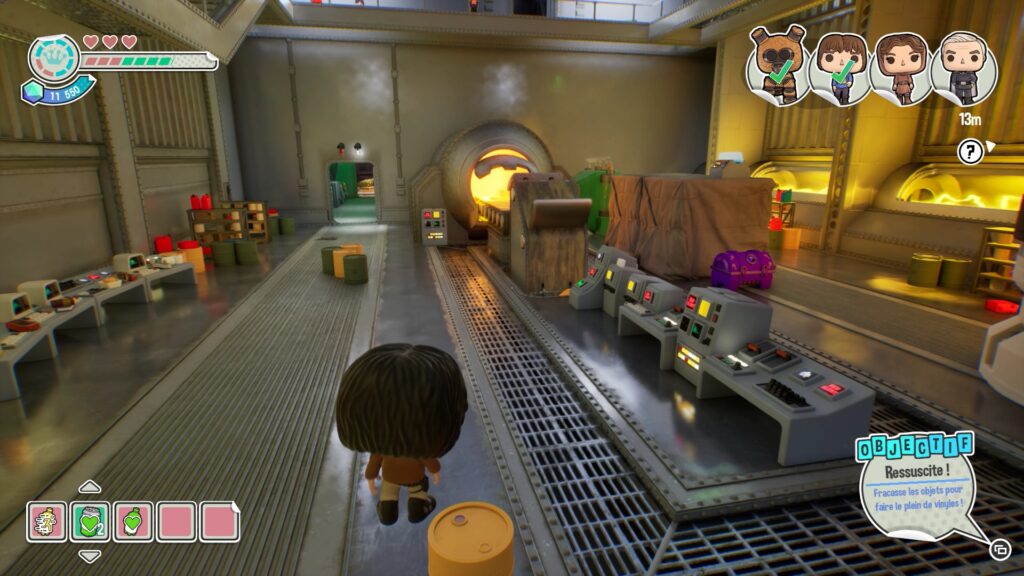
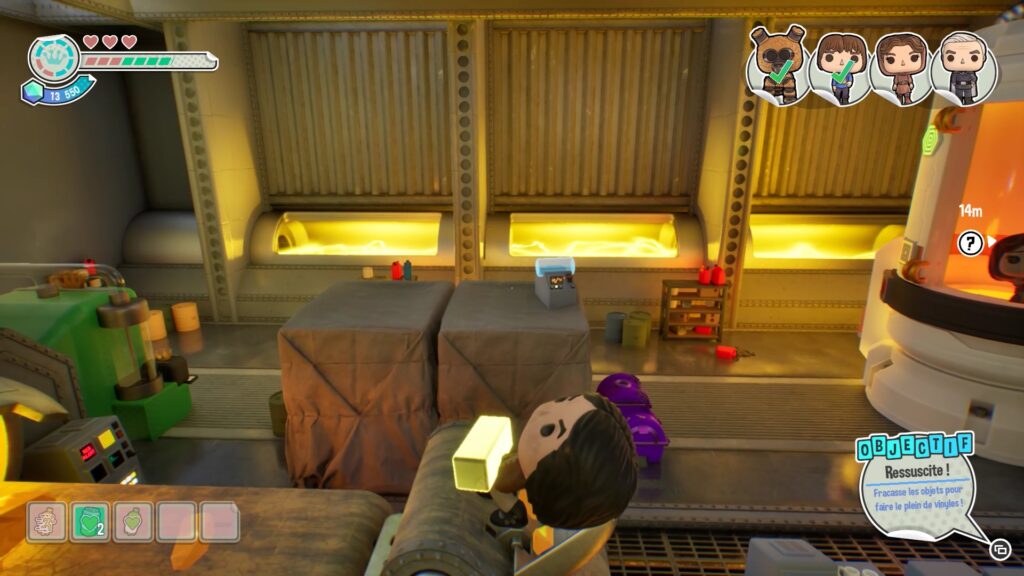
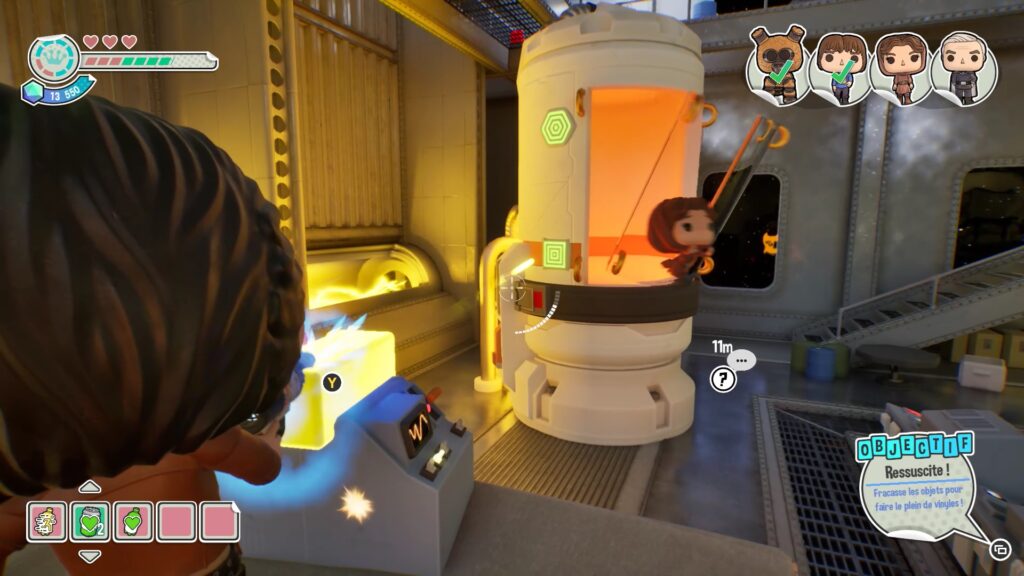
Next, find a yellow crystal to activate the square-shaped switch. You’ll find the crystal in a purple chest near the vat. Then use the machine’s carpet to climb up the crates where the crystal’s base is. Shoot the vat switch through the crystal to save the last character. Place all characters in the safe zone and follow the quest marker to complete the level.
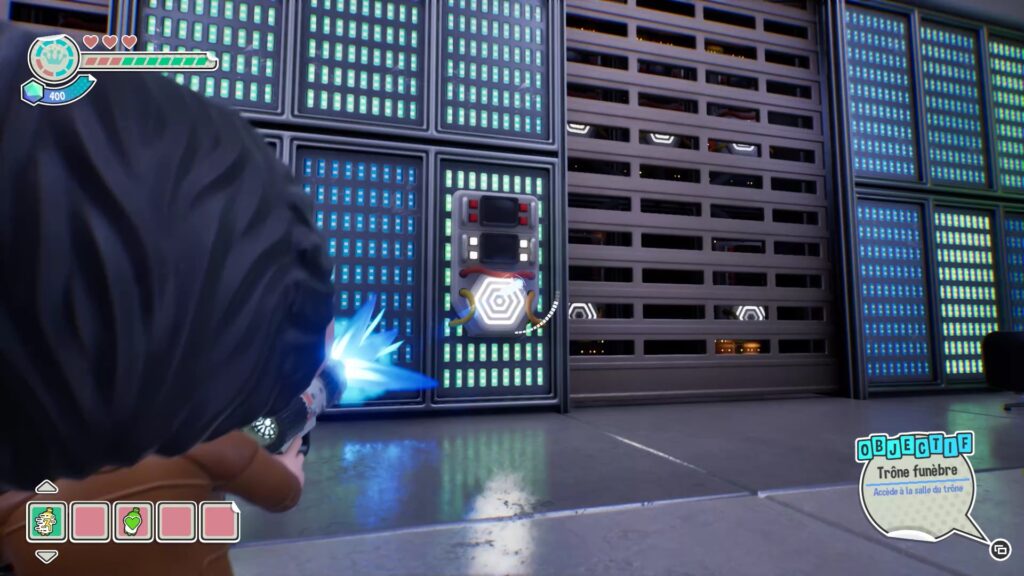
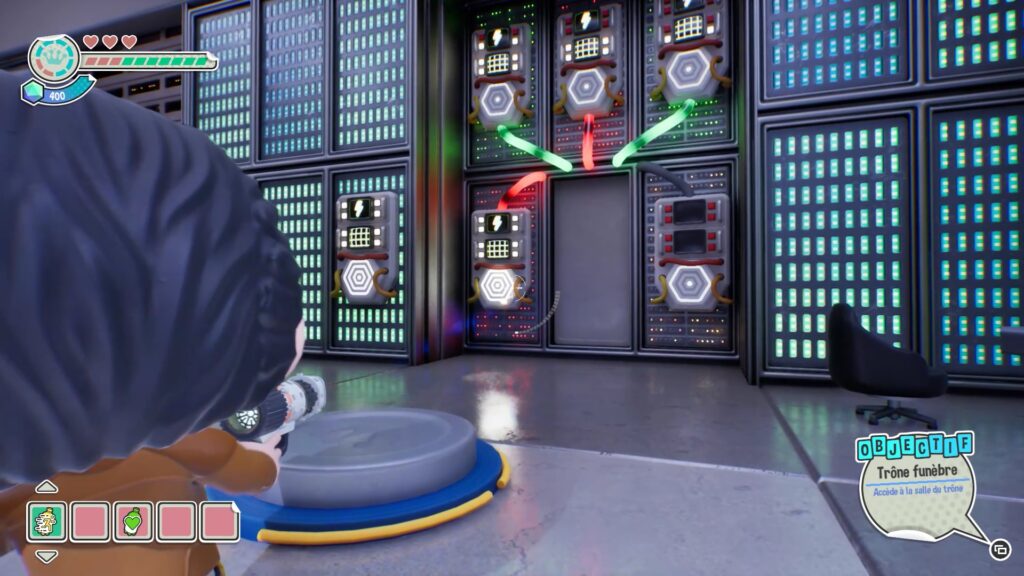
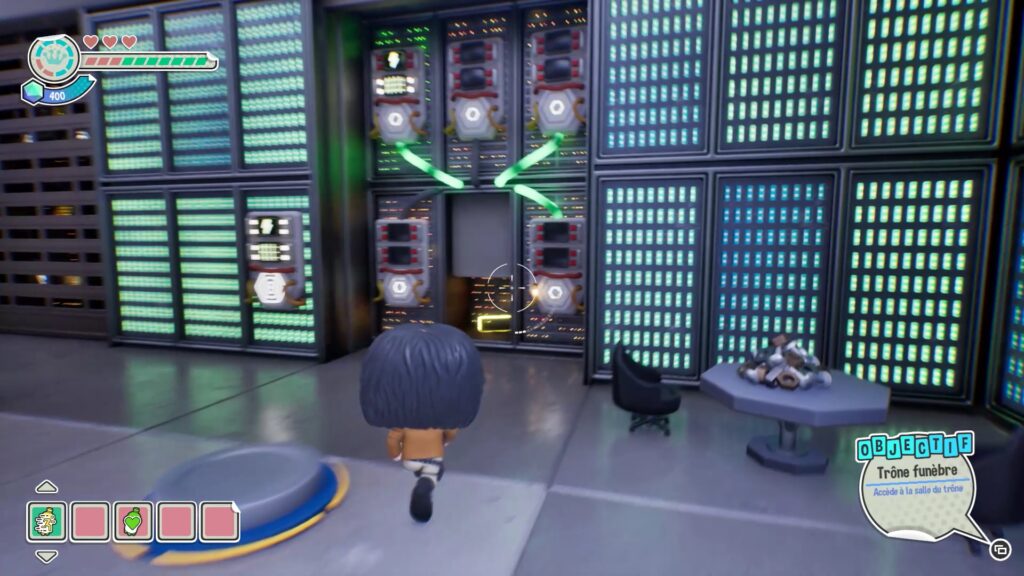
In this new level, you must reach the throne room. Use your weapon on the switch at the grates to make more switches appear. Shoot these switches to identify the ones that are powered in green. Once you find them, shoot only these switches to get a yellow crystal.
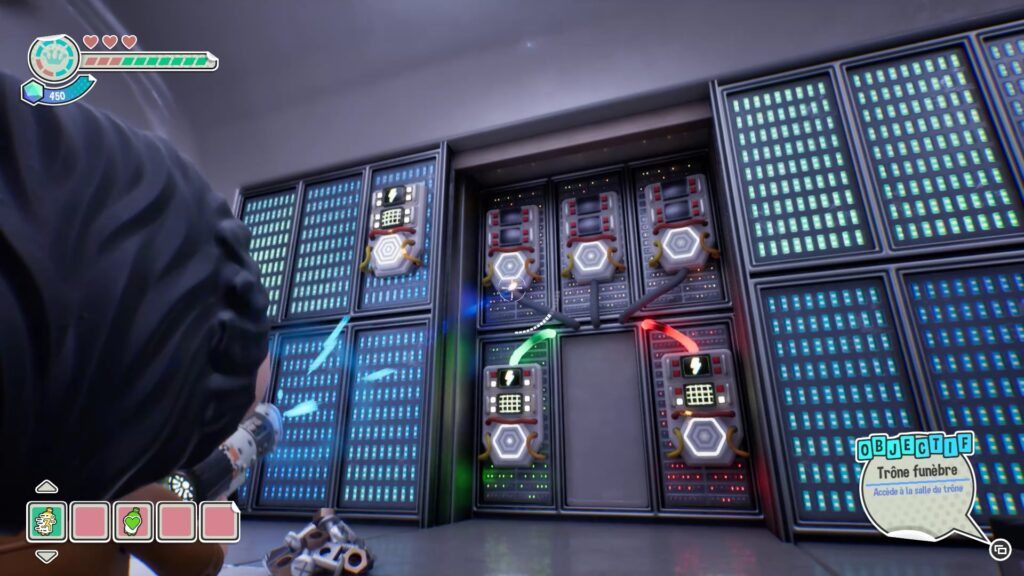
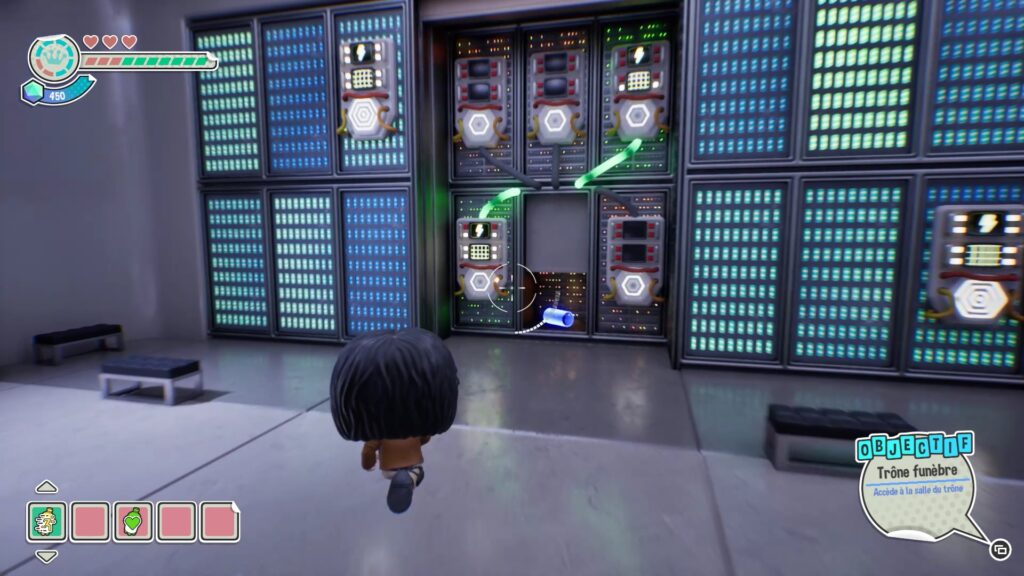
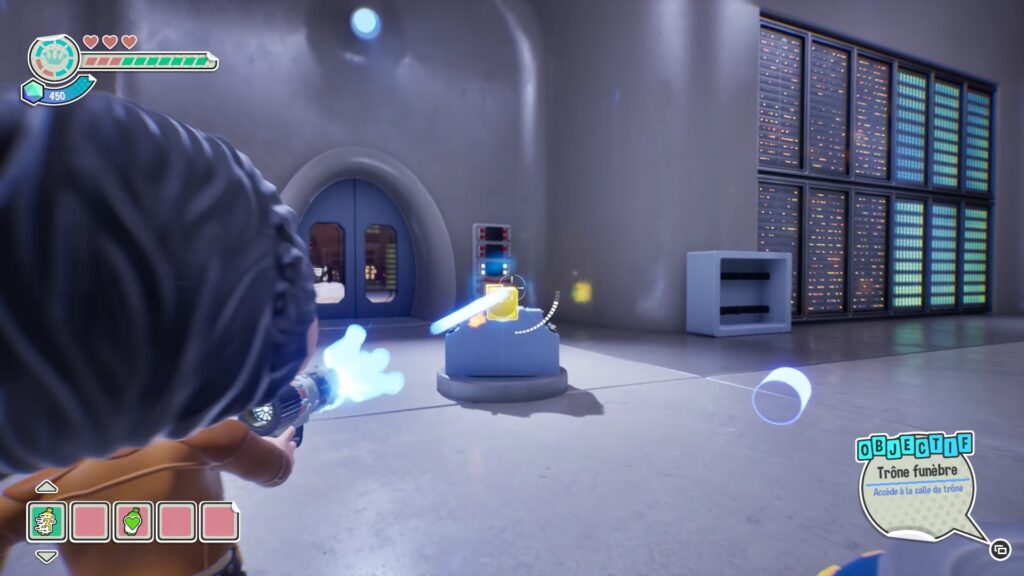
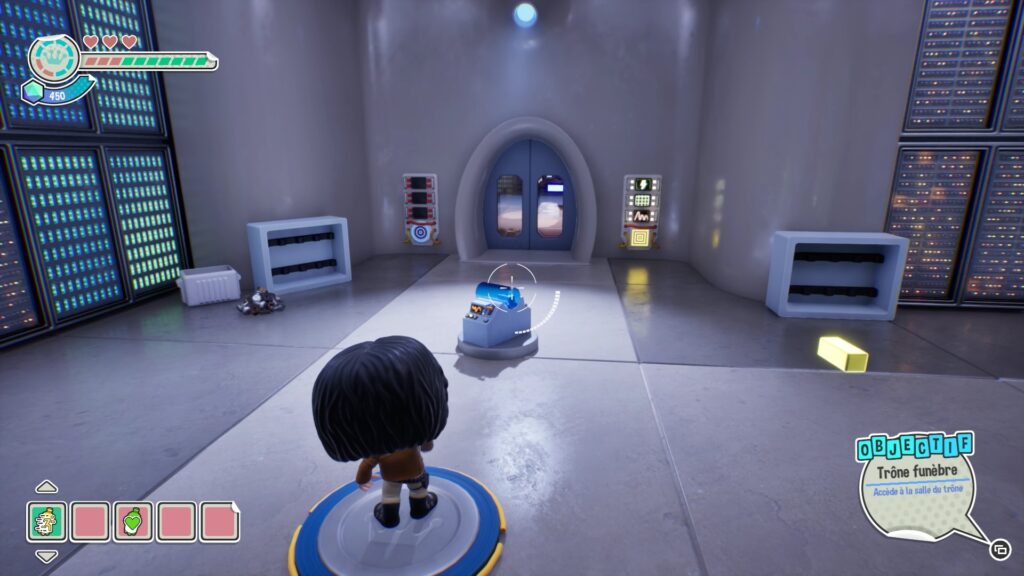
Do the same on the switches on the left side to get a blue crystal. Then place the crystals in the rotating base and use the floor switch to slow down the base and make it spin less quickly. By spinning more slowly, this will allow you to target the two switches in the throne room with the corresponding crystals and shoot them to power them up.
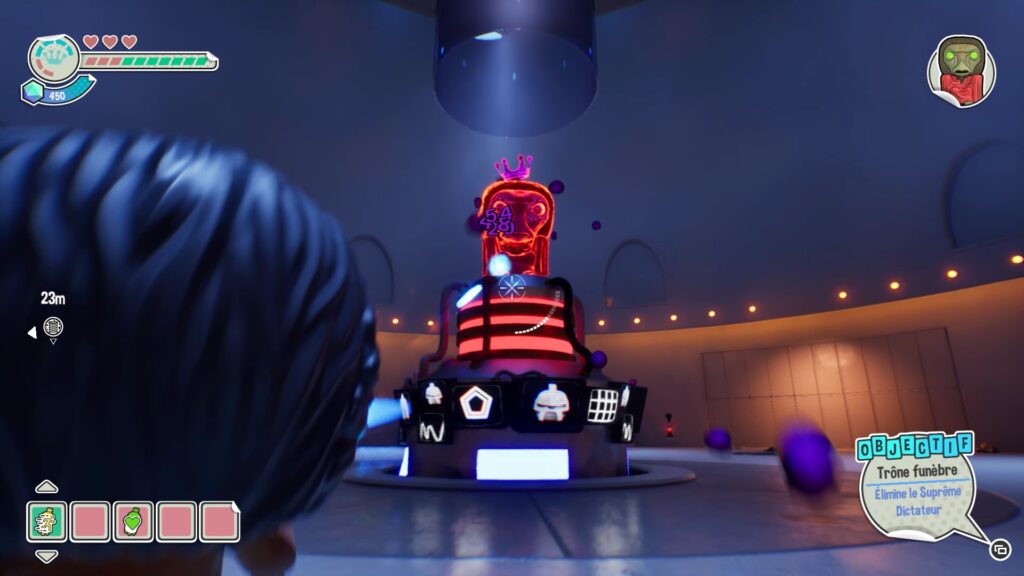
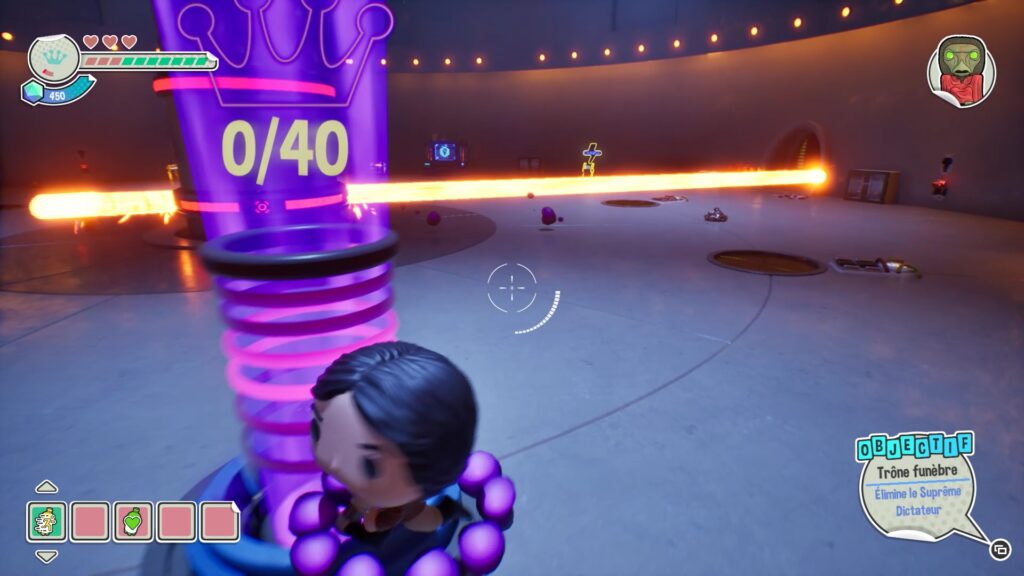
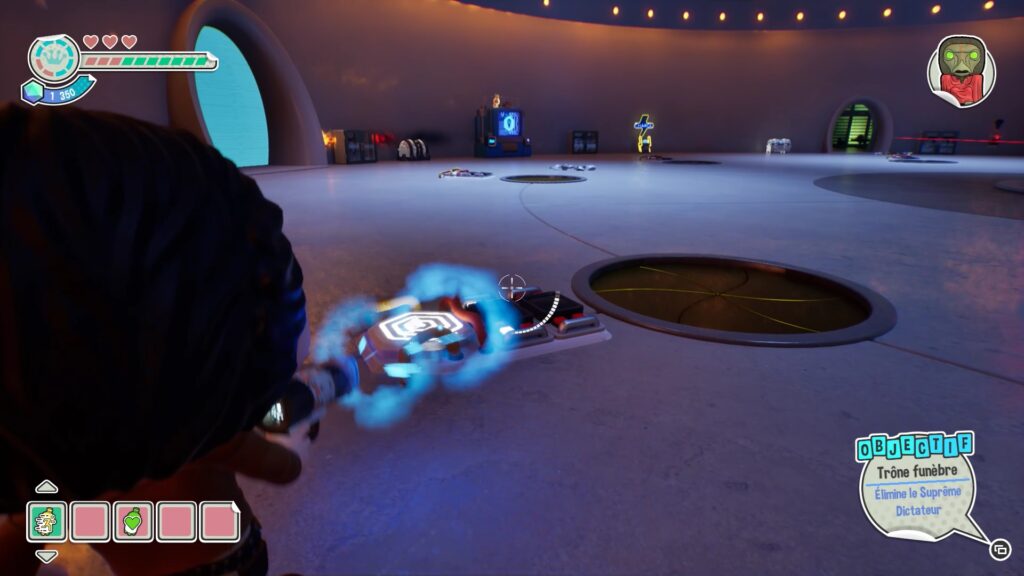
In the throne room, start by unlocking the purple crown receptacle, then shoot the boss. When the boss is behind a shield, take the opportunity to unlock all the floor switches in the arena to get crystals and shields.
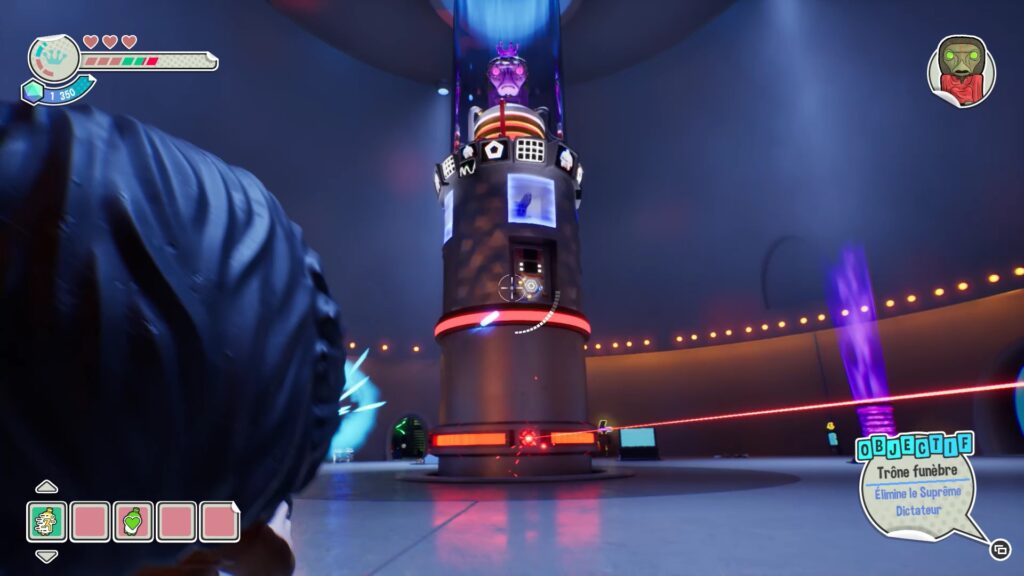
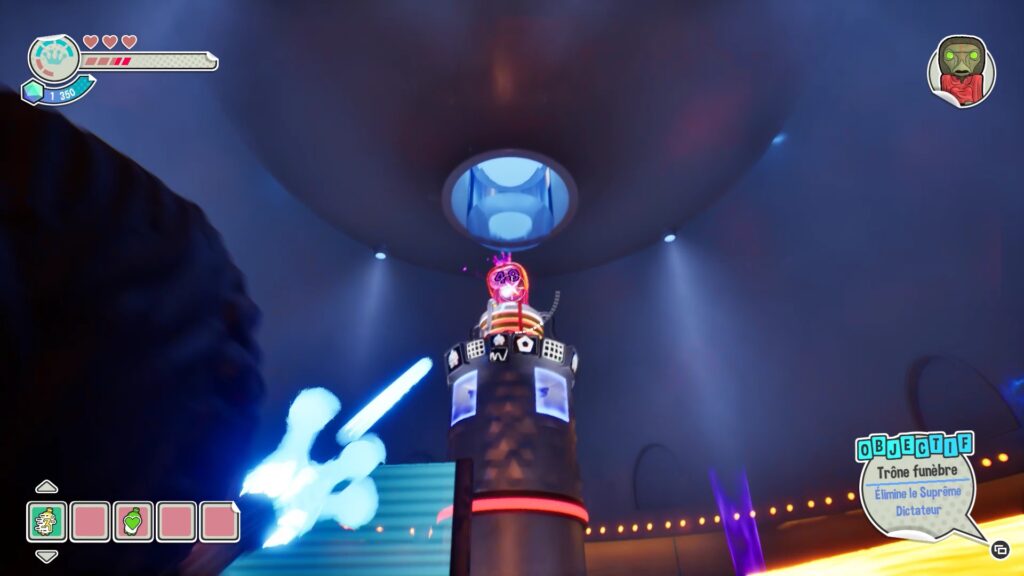
As soon as you attack the boss, collect the purple orbs on the ground to place them in the receptacle. You must collect 40 of them to get help against the boss. To remove the boss’s first shield, shoot the white switches located on the pillar structure where the boss is. Once the shield is removed, shoot the boss again.
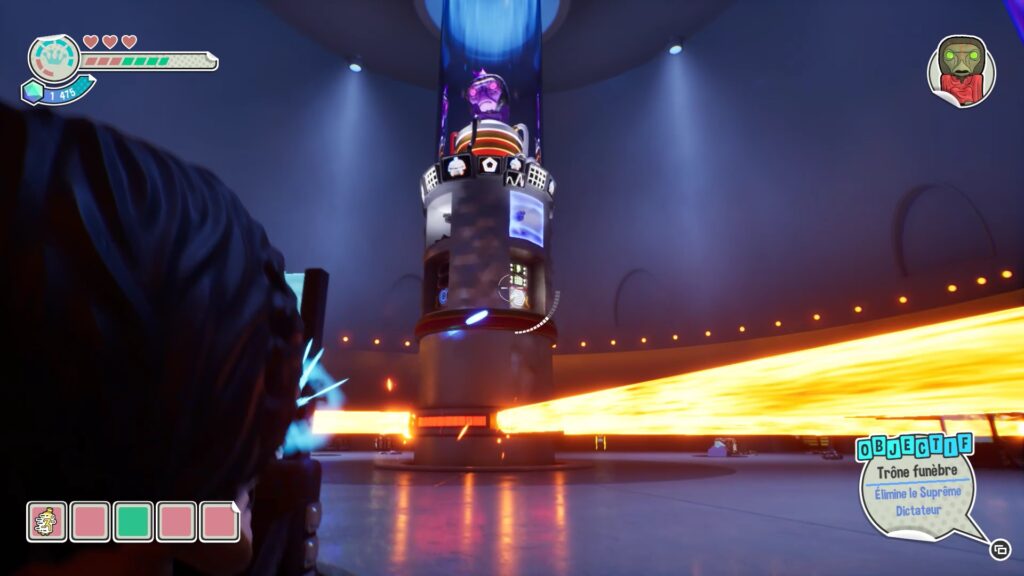
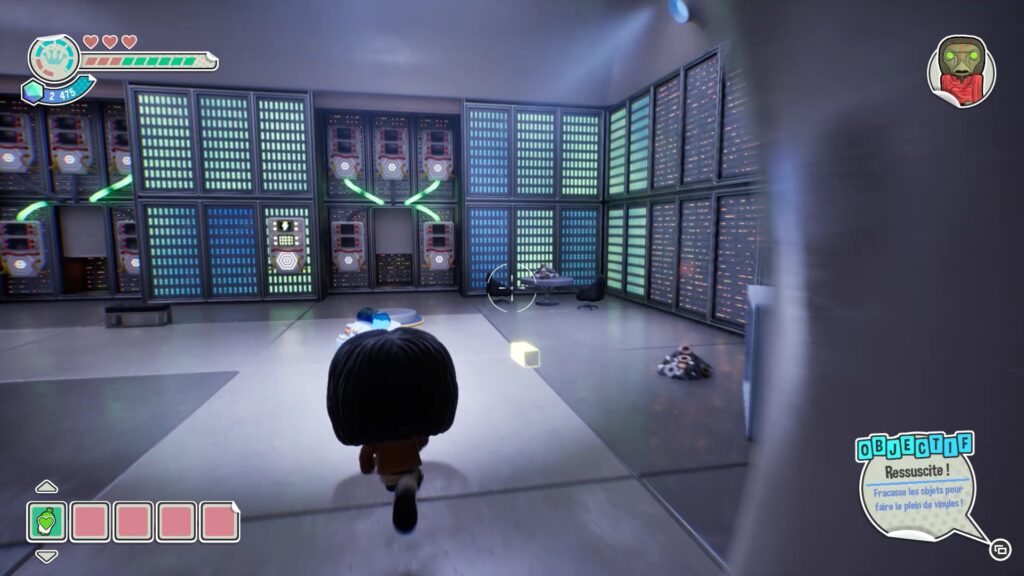
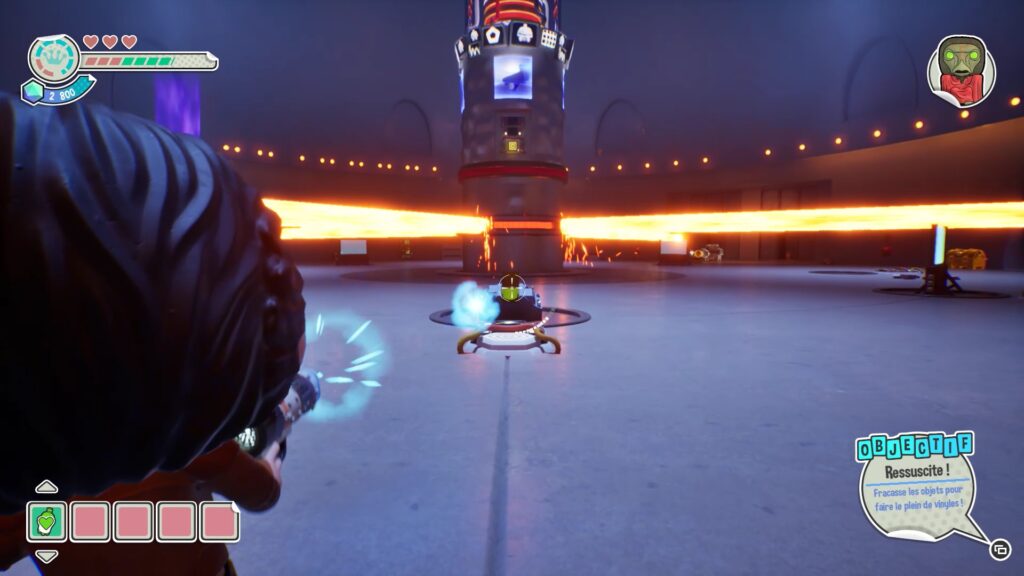
Repeat until you have 20 orbs in the receptacle. Once you have reached this quota, you will need to use crystals to eliminate the boss’s shield. Return to the room at the start of the level and collect the blue and yellow crystals. Place them facing their respective switches on their bases. Power the switches located on the base of the boss’s pillar by shooting them from the corresponding crystals.
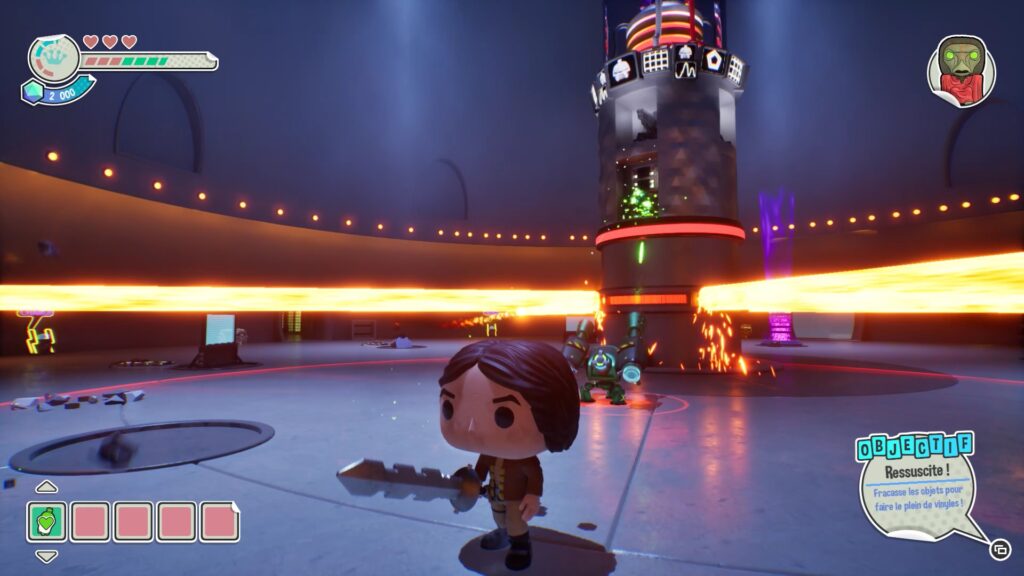
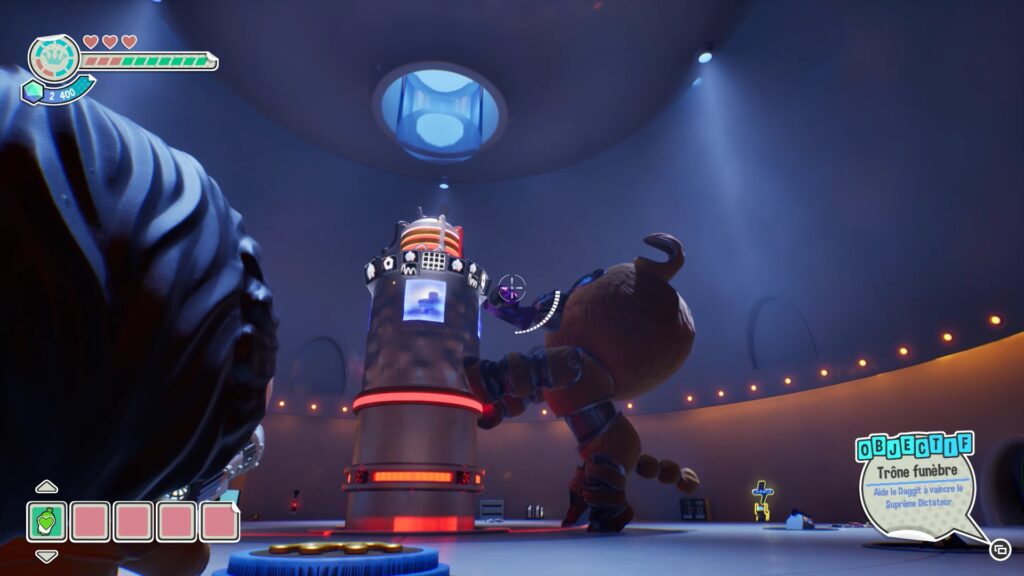
Repeat this as many times as needed and add a turret when the switch is cross-shaped. Once the boss is weakened you will get help, continue attacking the boss to complete the world of Battlestar Galactica

Journaliste gameactuality.com


