[Guide] Asterigos Curse Of The Stars : Complete Walkthrough and Tips
Asterigos Curse Of The Stars is an RPG video game heir to Dark Souls. Available on PC, Xbox and PlayStation we deliver our complete walkthrough and game tip in this article. Before you begin, here are some practical tips to help you progress. Although Asterigos is accessible, we advise you to attribute your talents and abilities as soon as you gain them. Your skills are essential against opponents. Use the daggers to be faster and your staff to do ranged elemental attacks.
Summary
- Outerrim
- Black streets
- Arges Bazaar
- Phalan Academy
- Stella mine
- Cloaca Rhodos
- Sunken Outskirts
- Styx
- The Glittering Deeps
- Arges Esplanade
- Caelum summit
Outerrim
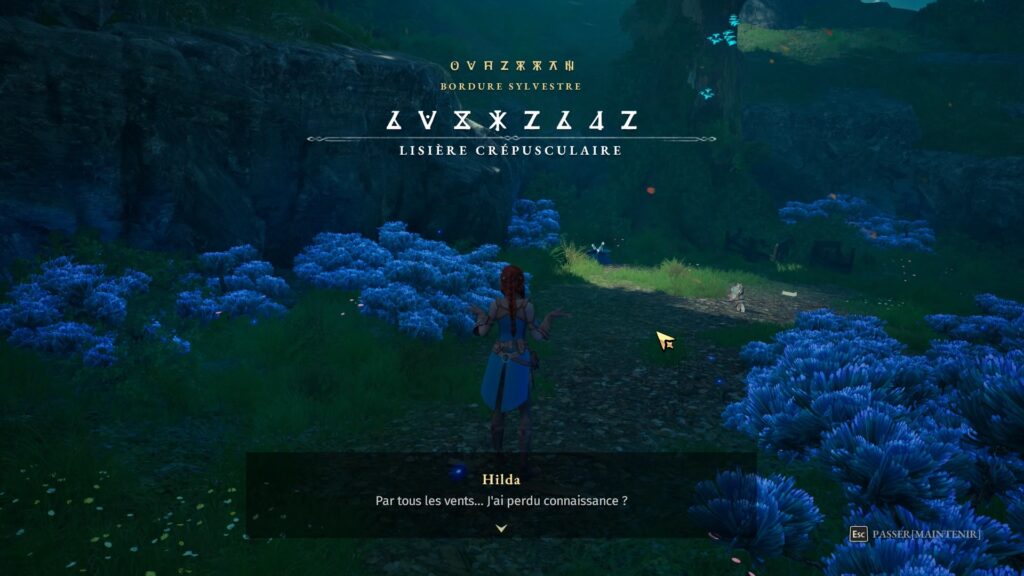
You start your game in the heart of a forest. Collect some of your weapons and a note in the center to learn about your mission. Once the weapons in your possession, advanced and clear the barricade in front to find the equipment thief. Pursue him while taking care of his allies.
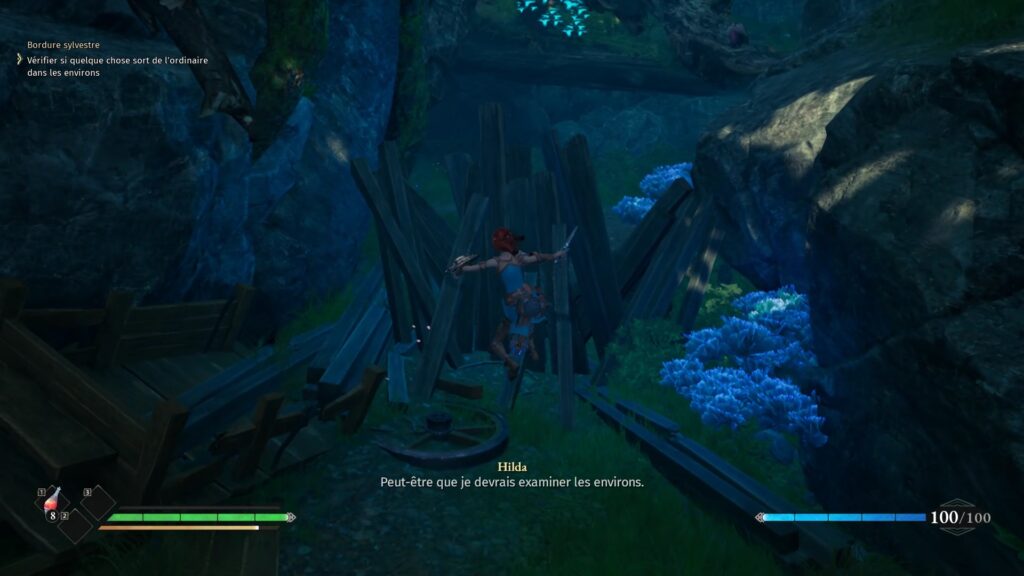
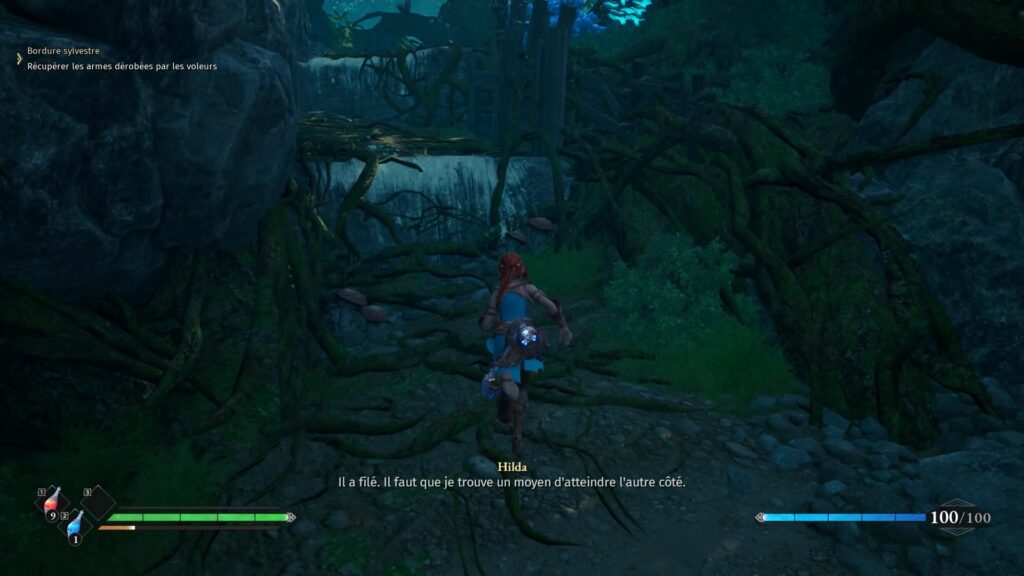
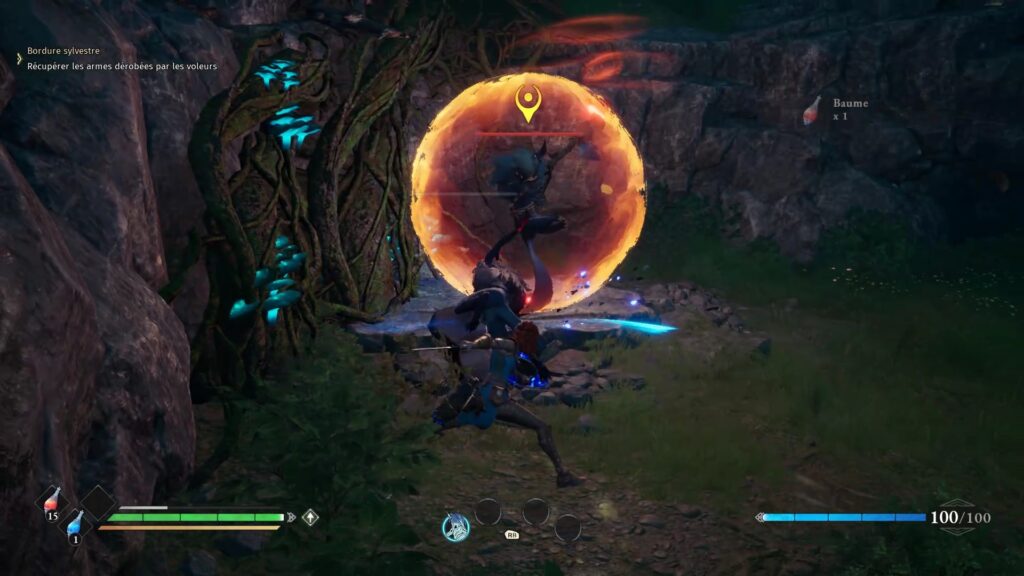
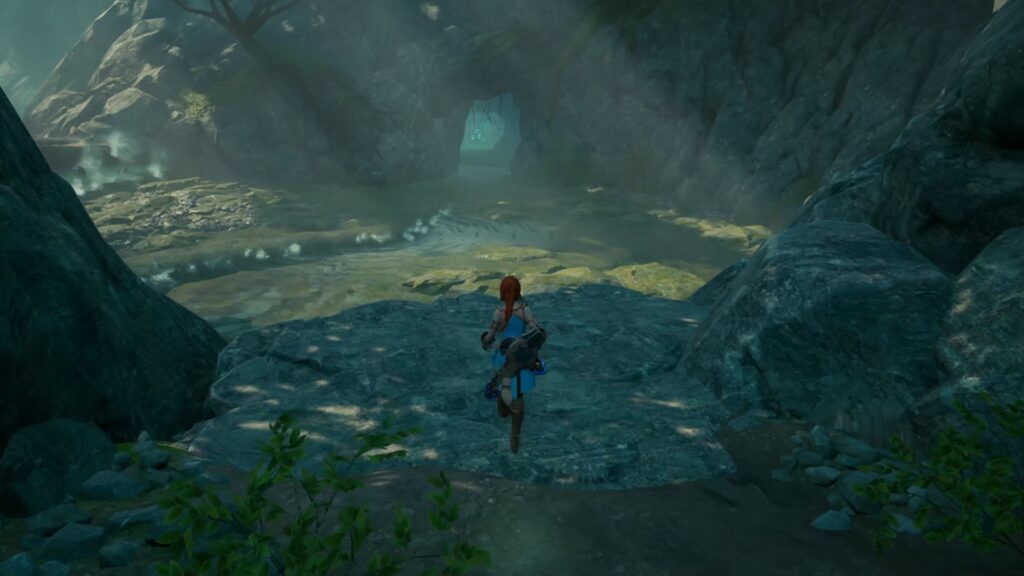
When he manages to sow you, continue your way by climbing on the stone platforms. Climb to find a descent. Activate the armillary sphere to create a checkpoint. Move forward to find the equipment thief. Fight his allies and break his magic shield to destroy him. Collect your gear from the stone altar to unlock the area. With your equipment, move forward and pass a tree trunk to reach a pond.
Fight against Ravenous, the Devourer
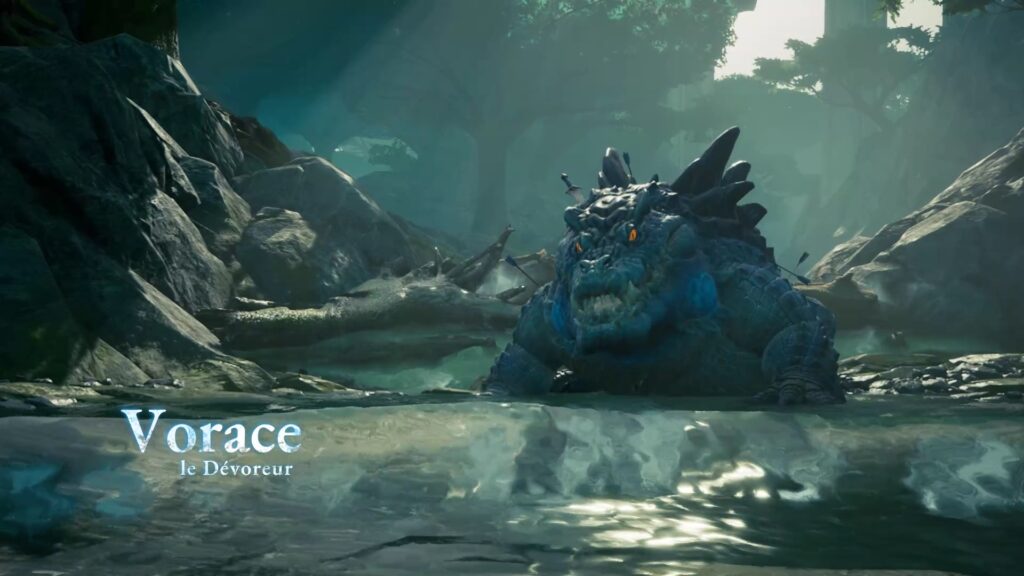
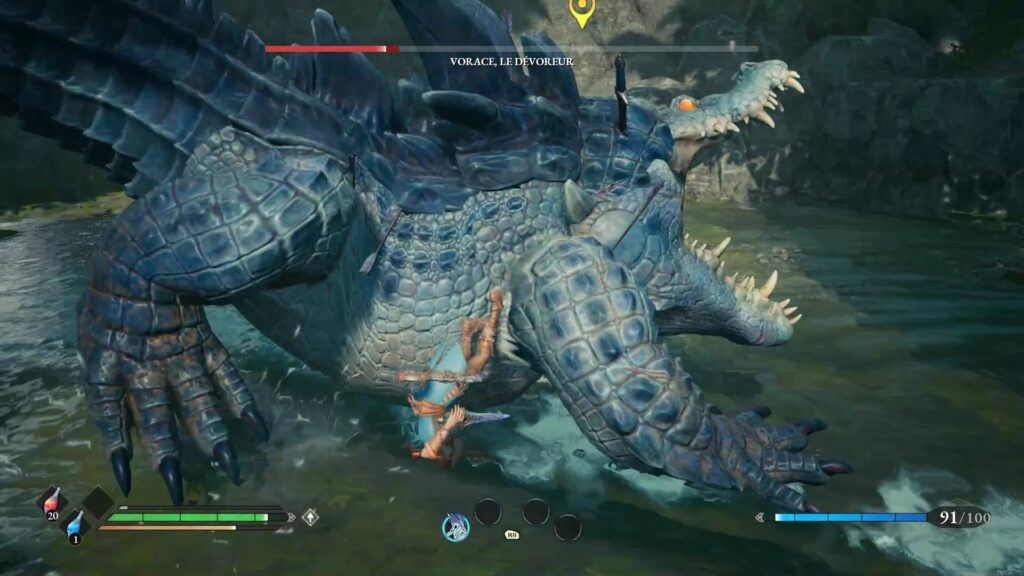
Ravenous, the Devourer is the first boss of Asterigos Curse Of The Stars. Although it is imposing, it uses a classic pattern. To avoid being hurt we recommend the use of the sword and the shield as a weapon. Use the shield to parry all his attacks. You can also dodge sideways to escape its fangs. Just strike when you have the opportunity to defeat him. Use your special attacks as much as possible to finish the fight quickly.
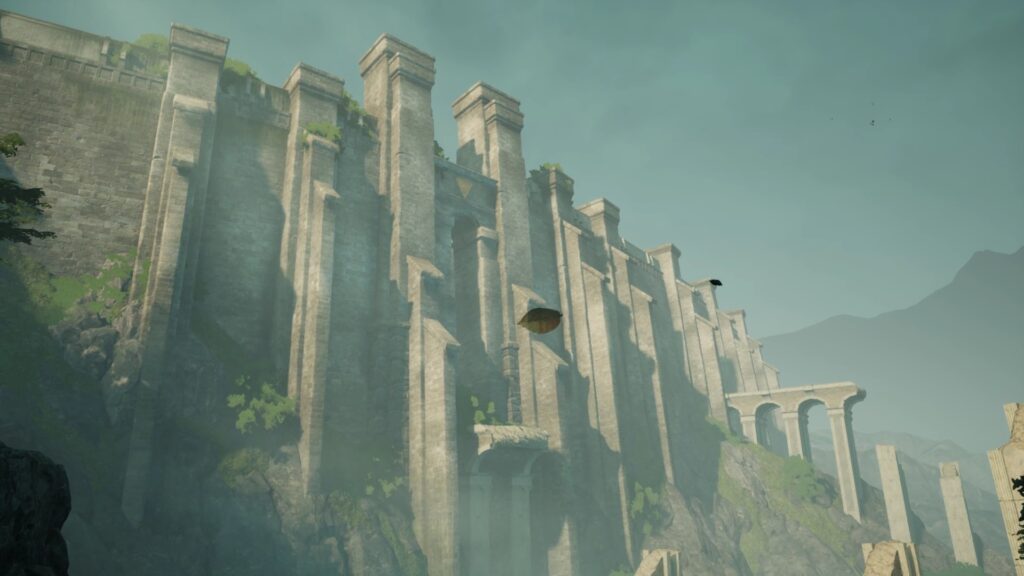
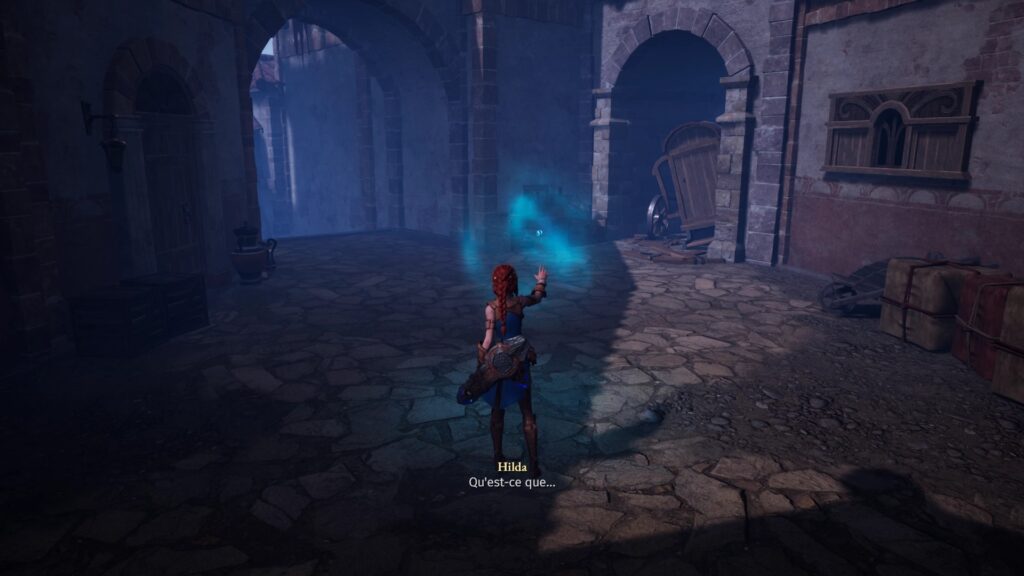
The area unlocks. Enter the cave to find a passage. Climb along a wall to exit and find the city of Aphes. Activate a new checkpoint and reach the city through the sewers. Once in the city activate an echo. Proceed to find a mysterious Strong Man.
Fight against Strong Man
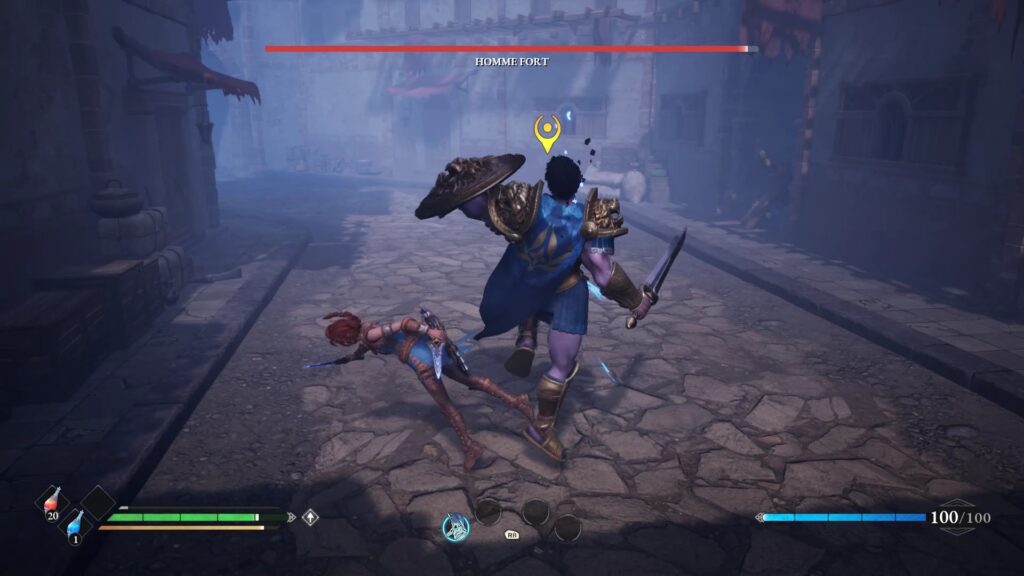
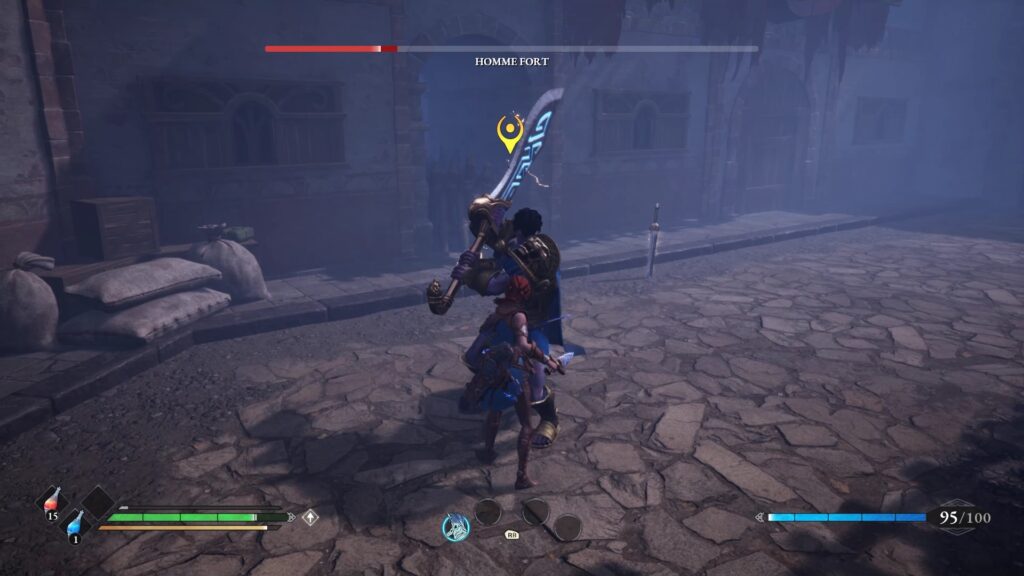
In the first part, Strong Man uses a sword and a shield against you. He usually performs a combo where you can immediately reply. Use your shield or your dodges to escape him. In the second part Strong Man sends you his shield to add some magic. You must dodge its magic attacks to avoid taking damage. In the third and final part, Strong Man wields a gigantic sword against you. His attacks are getting stronger. Prefer to use dodges to better escape. Hit him until the endgame. Strong Man uses lightning to render you unconscious. You regain consciousness in an HQ. Speak with Minerva the woman in front of the war table to choose your new mission.
Black streets
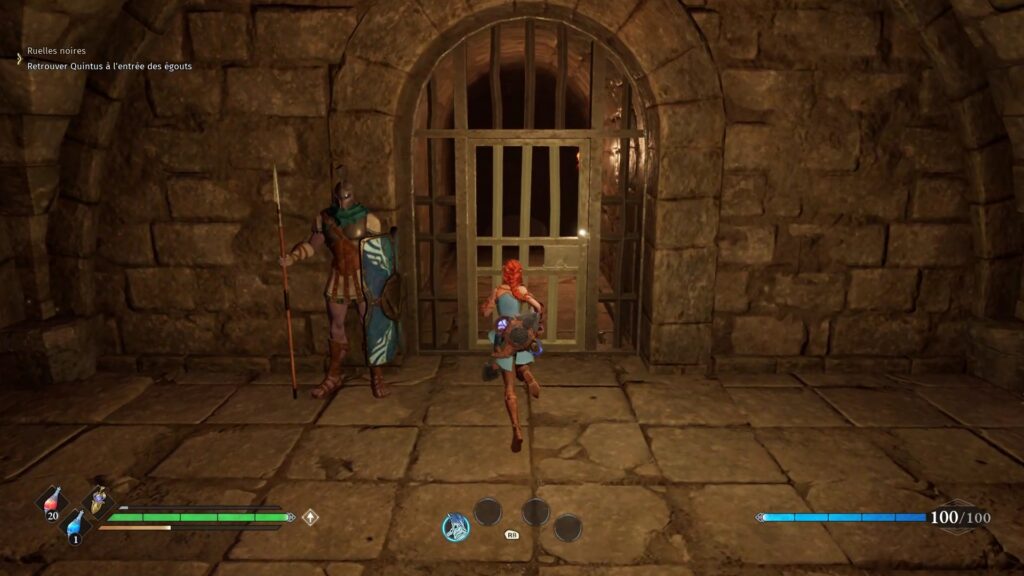
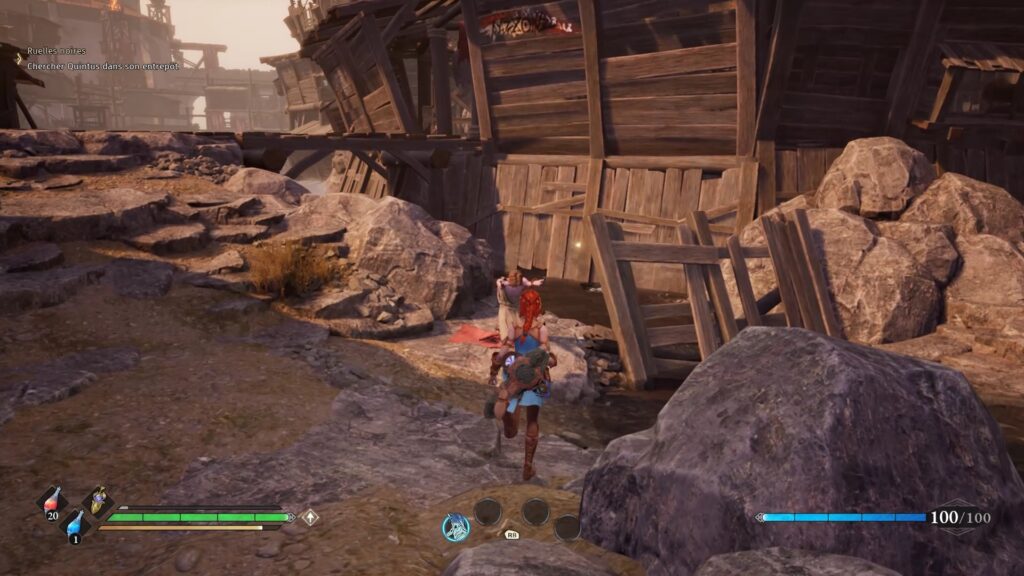
Minerva gives you a glow. Activate the item in your inventory to light your way (like in Dark Souls). Head behind Strong Man aka Bion to find a guard in front of a gate. Go through the gate to find the path from the sewers to the Black streets. Go deeper into the tunnels following the tutorial to find your way outside. Move towards the wooden structures to find a beggar. This one is cowardly shot by a bandit, eliminate it.
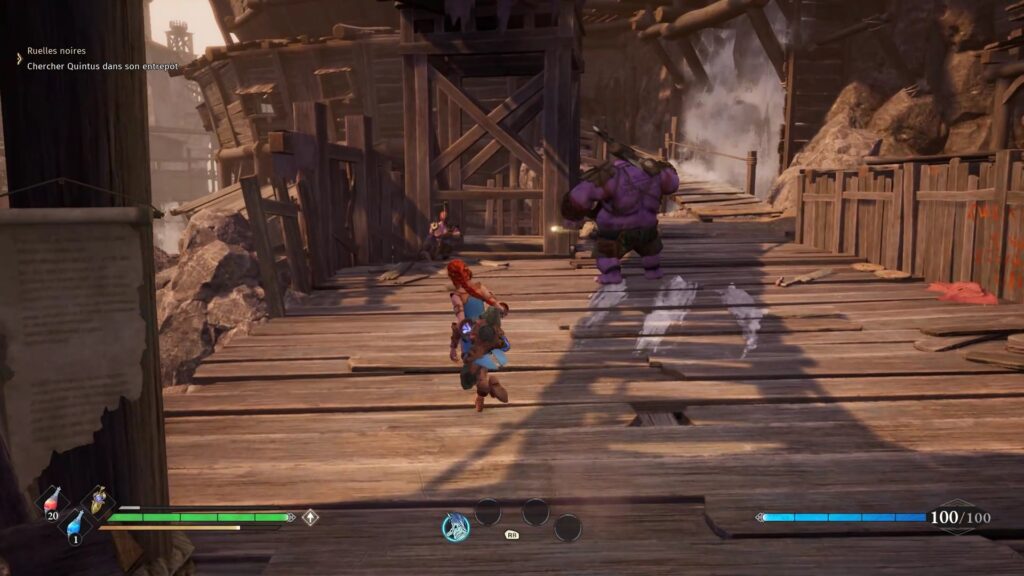
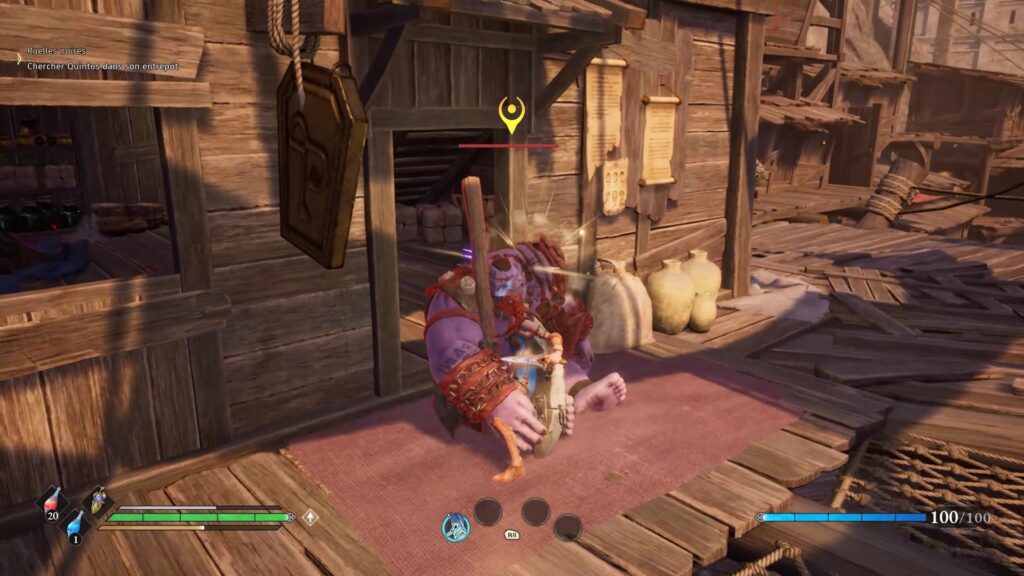
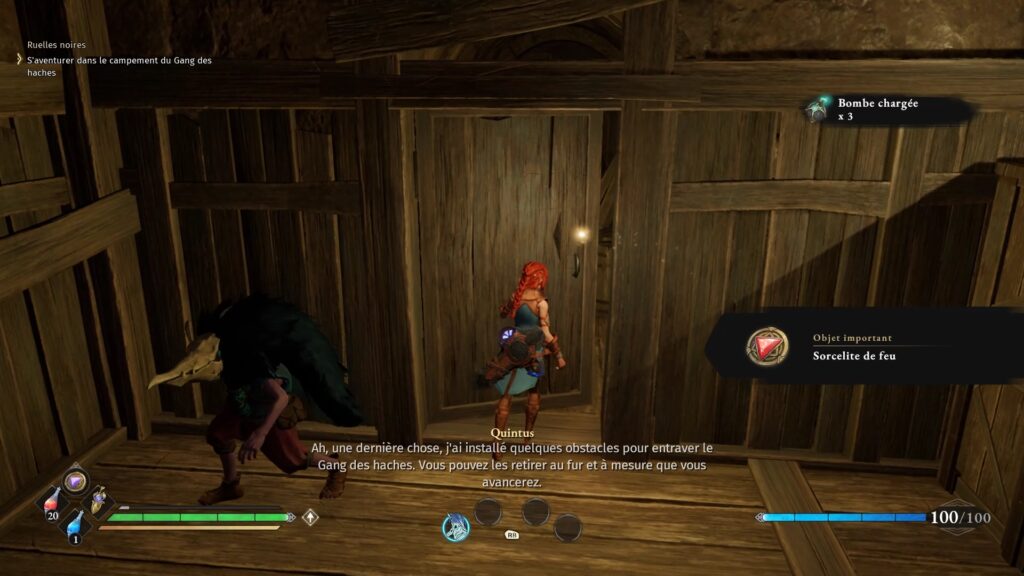
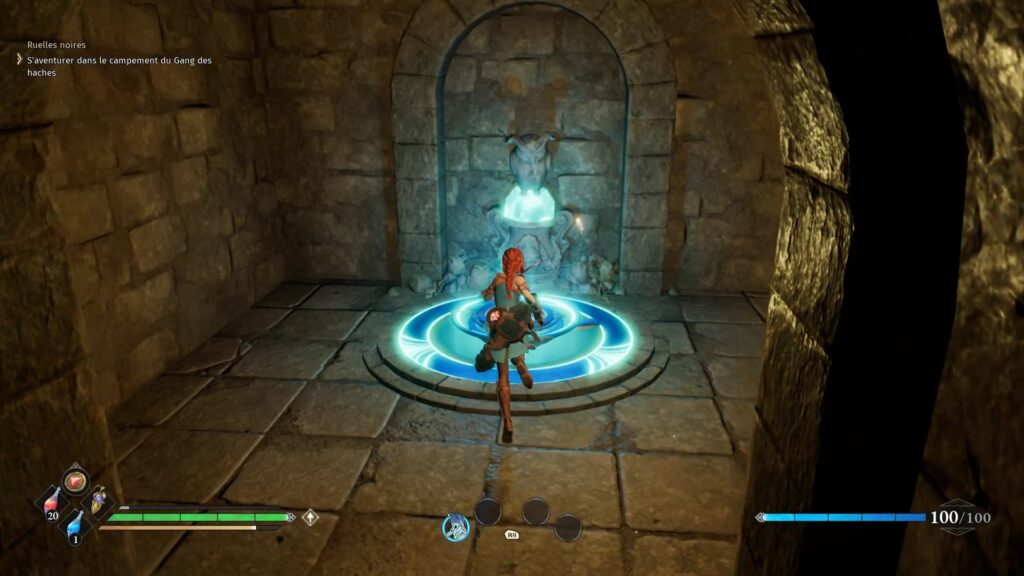
Advance in the building of fortune to find marks registered on the ground. Follow them to find Quintus’ location at the top of the structure. Once Quintus is freed, rush into his warehouse. Unblock the passage using your weapons and activate the checkpoint straight ahead.
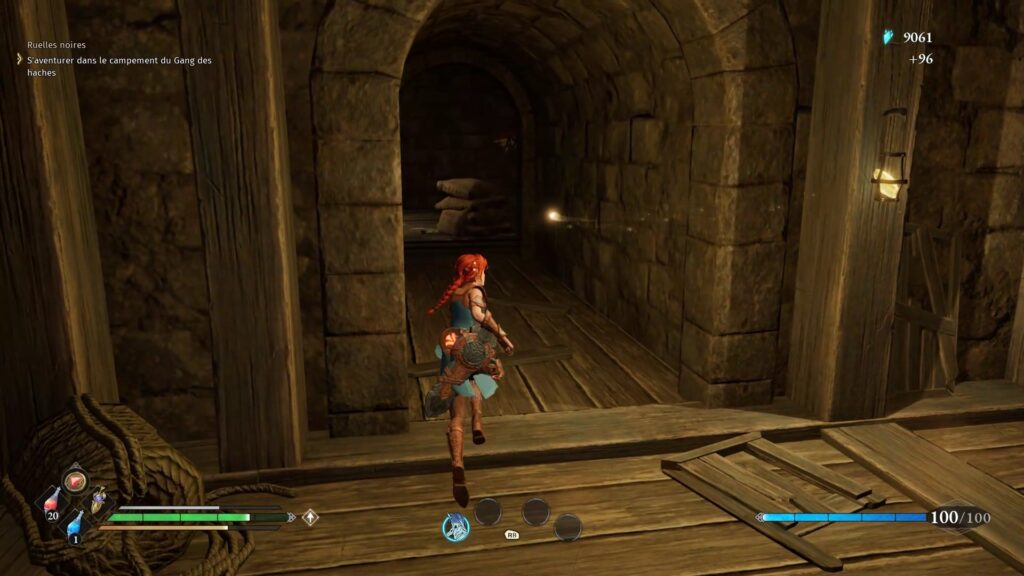
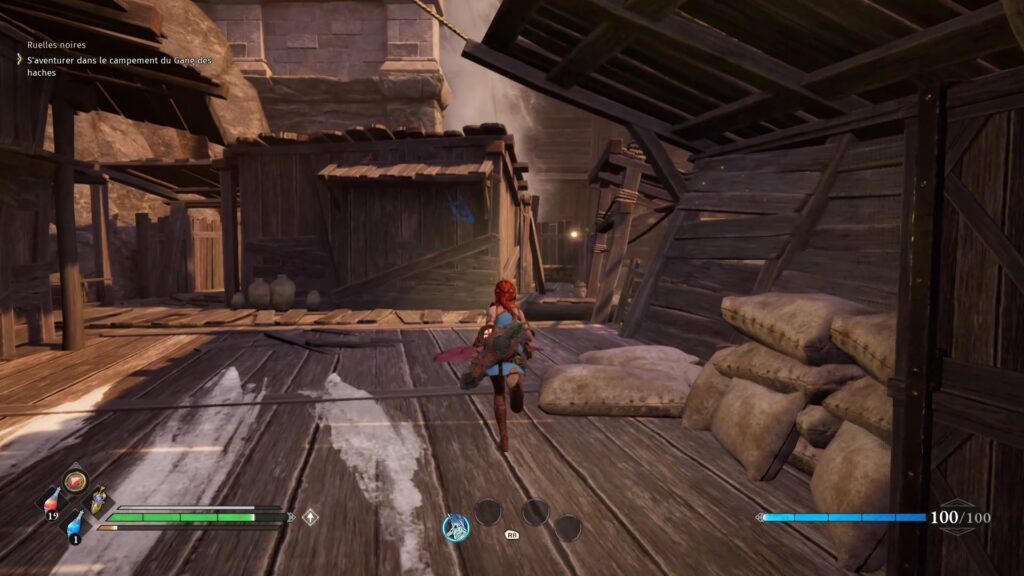
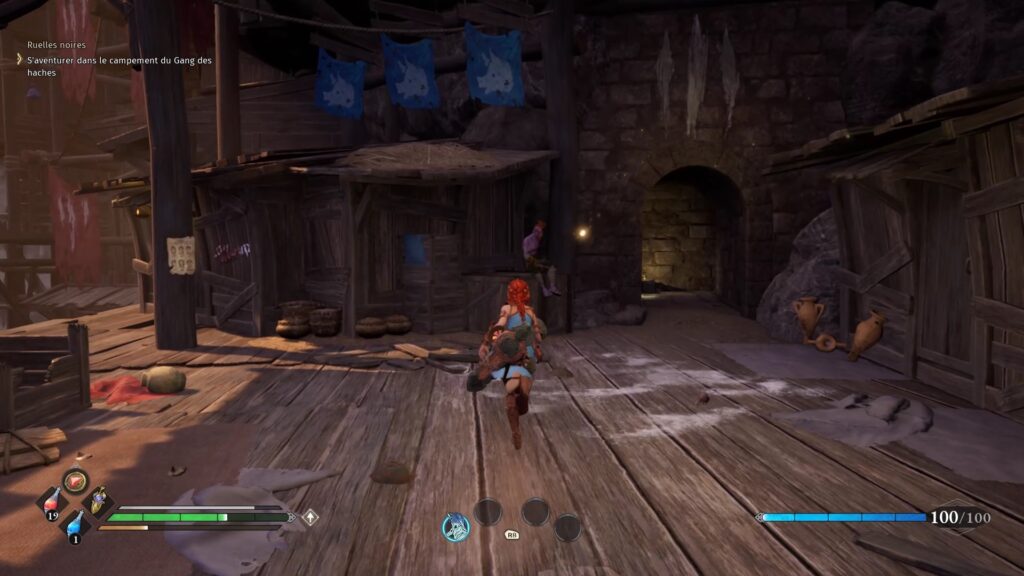
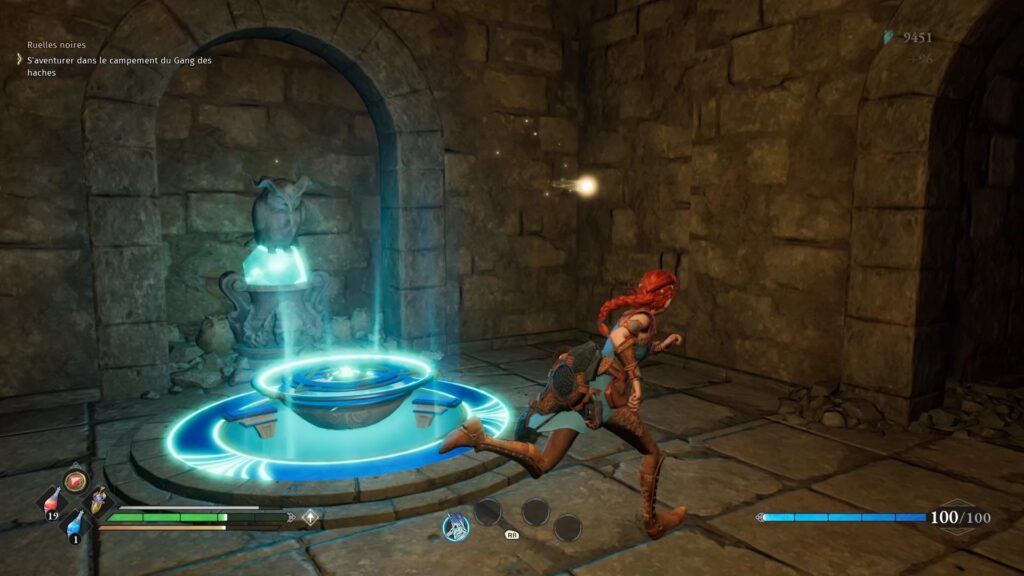
Eliminate the enemies and drop down to take a tunnel to the west. Continue west to find an exit to the outside. Search the area near the waterfall to find a blue arrow that points to a passage with a ladder. Go down the ladder and reach a new tunnel. Inside you will find a checkpoint to save your progress.
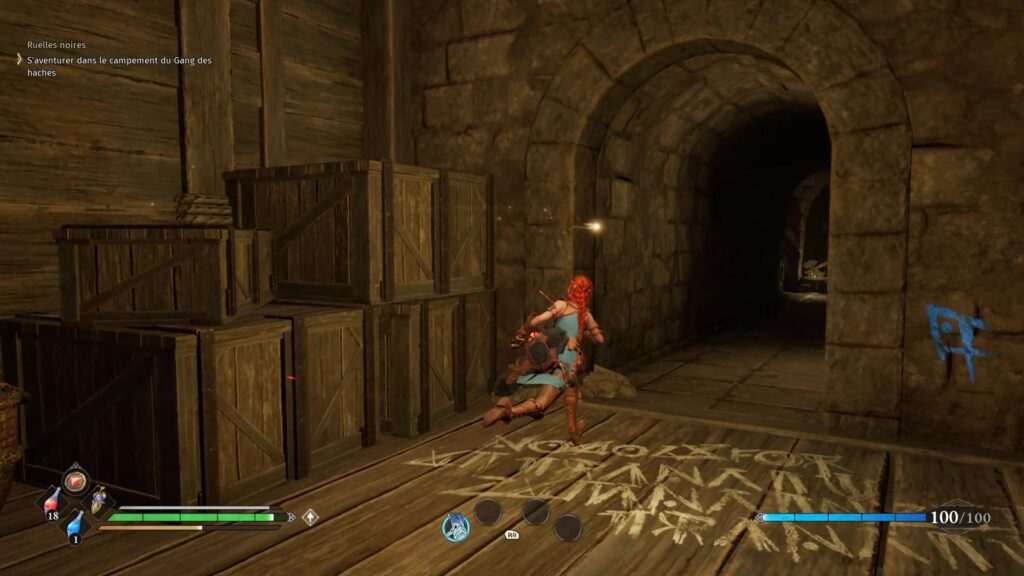
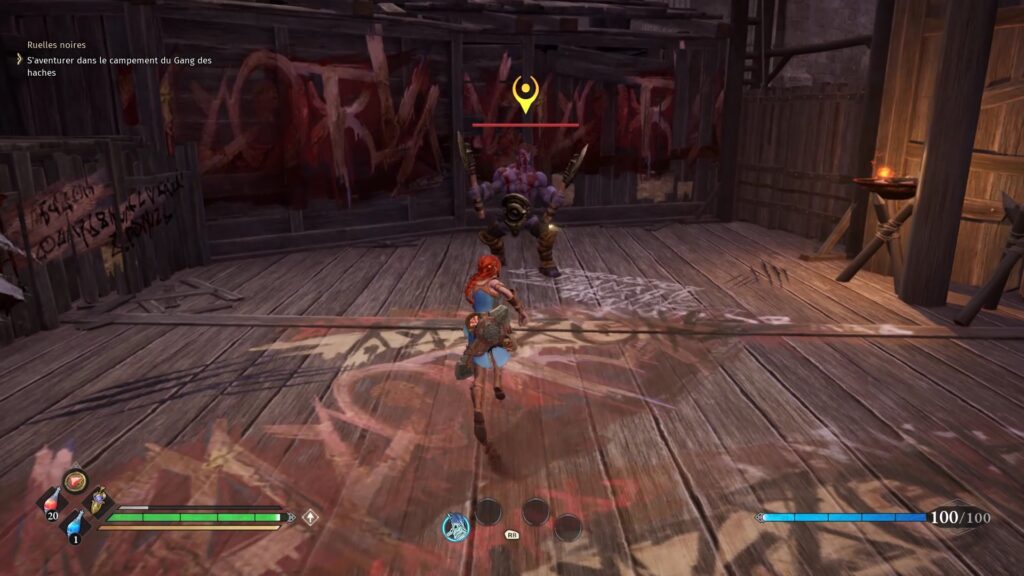
Climb to the first floor of this new warehouse to find a new passage to the outside. Kill the enemies around and enter the arena to meet a mini-boss.
Fight against Decimus
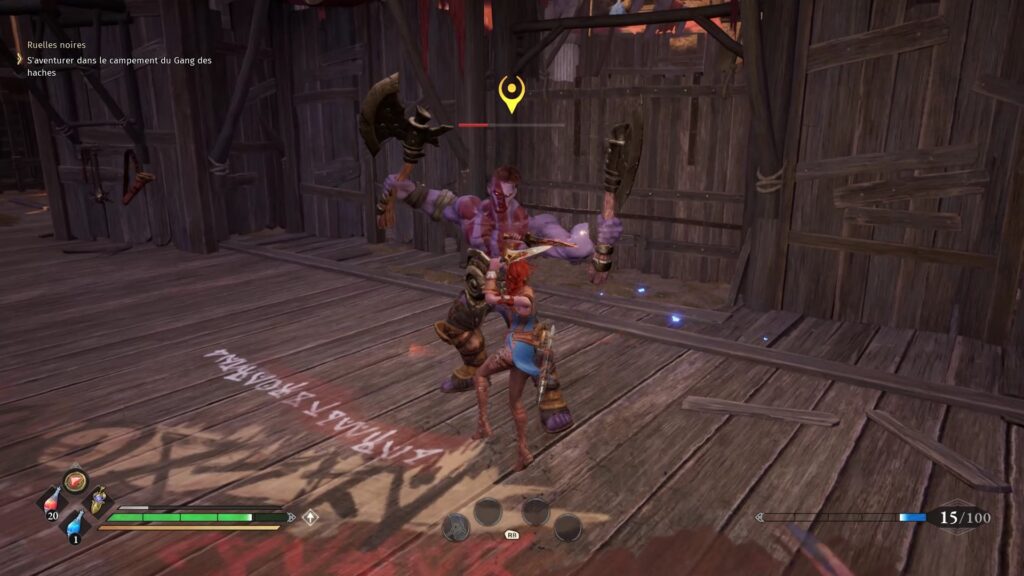
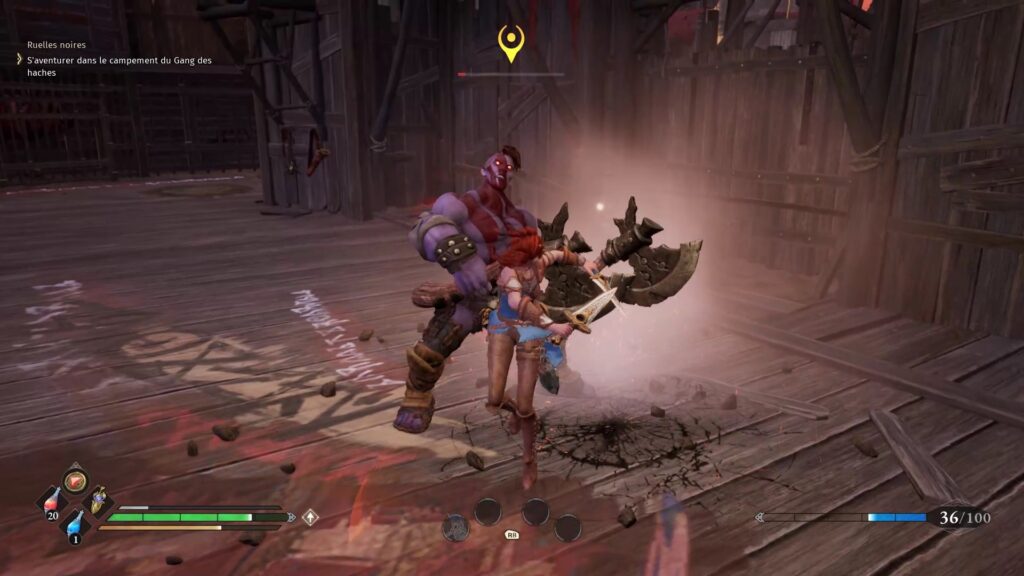
Decimus is a simple mini-boss that doesn’t require much skill from you. As with Ravenous, simply dodge or block his attacks to attack as soon as an opportunity arises. You can use the daggers for a faster response against his attacks.
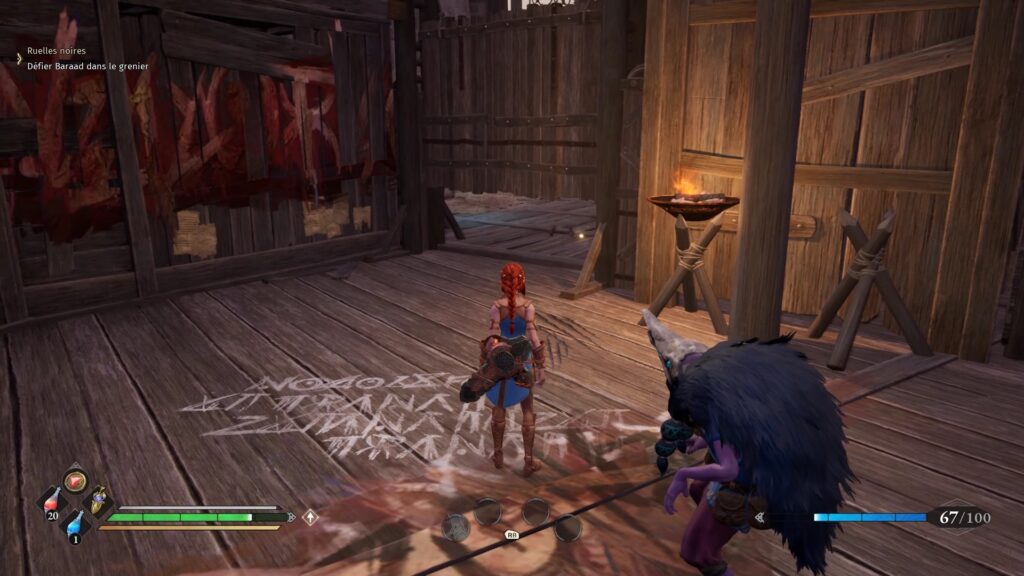
After the fight, Quintus comes back to you for a final request. Challenge Baraad in the attic. Proceed to the door that just unlocked to find the attic. Proceed through the attic to confront Baraad.
Fight against Baraad
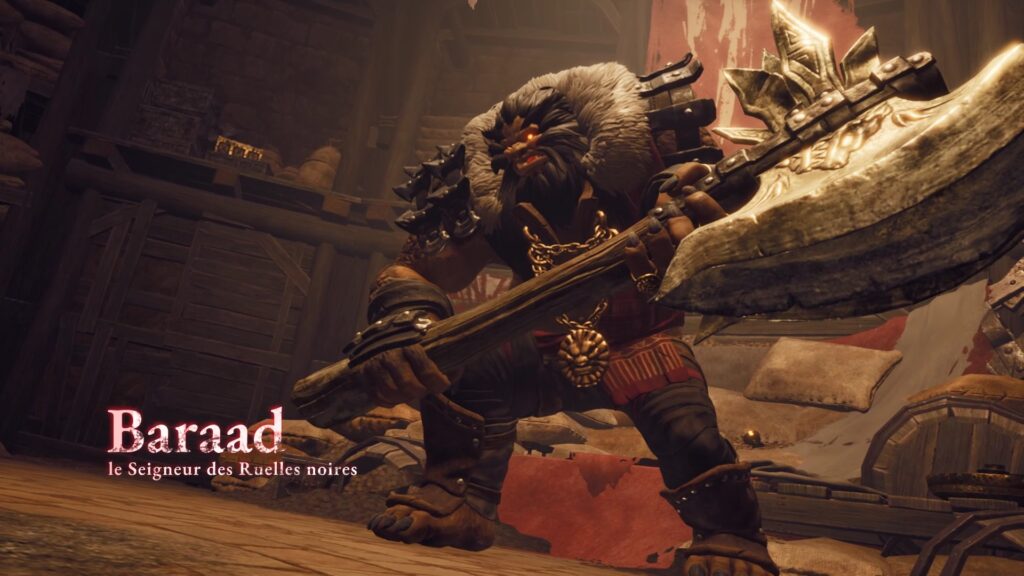
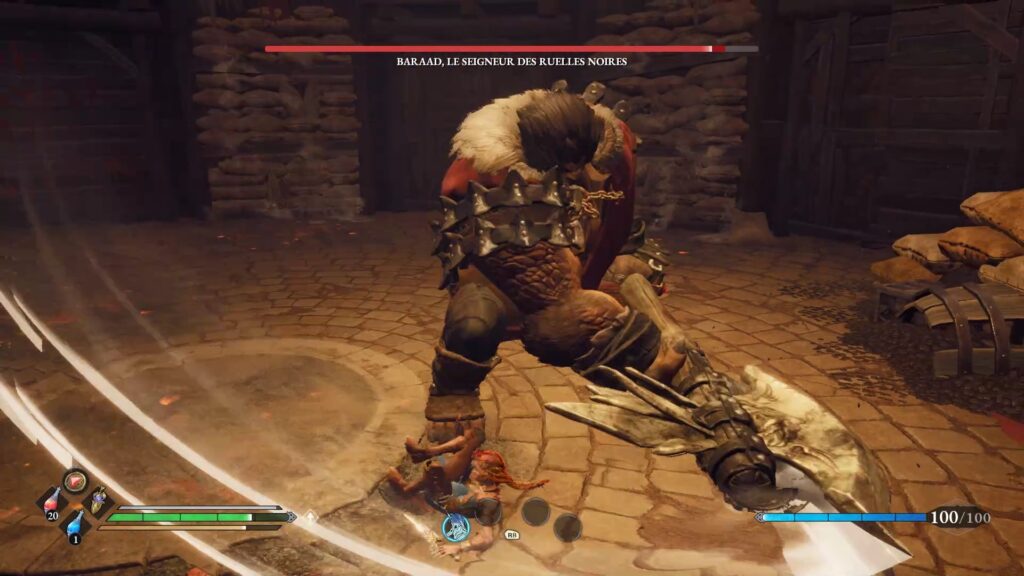
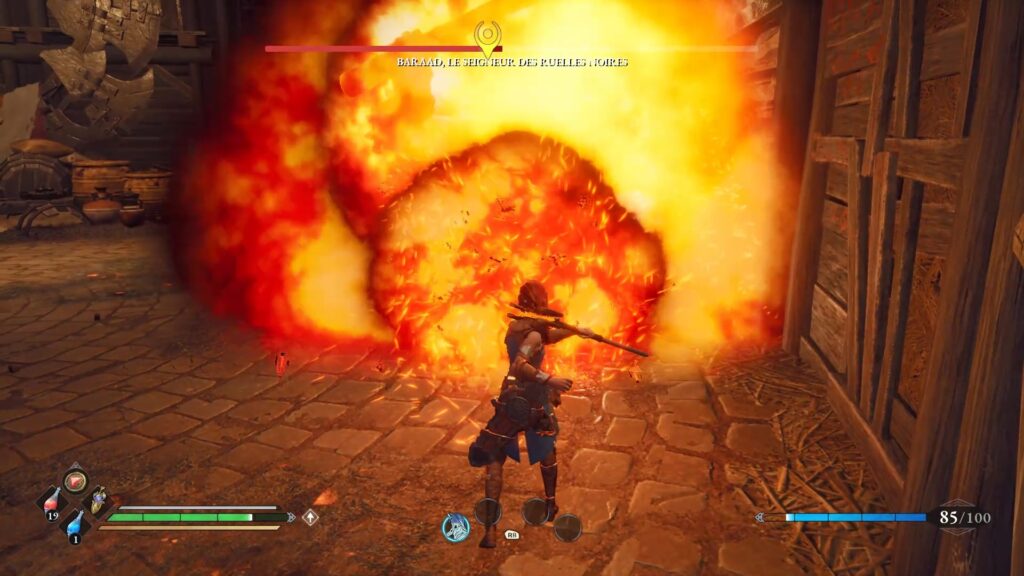
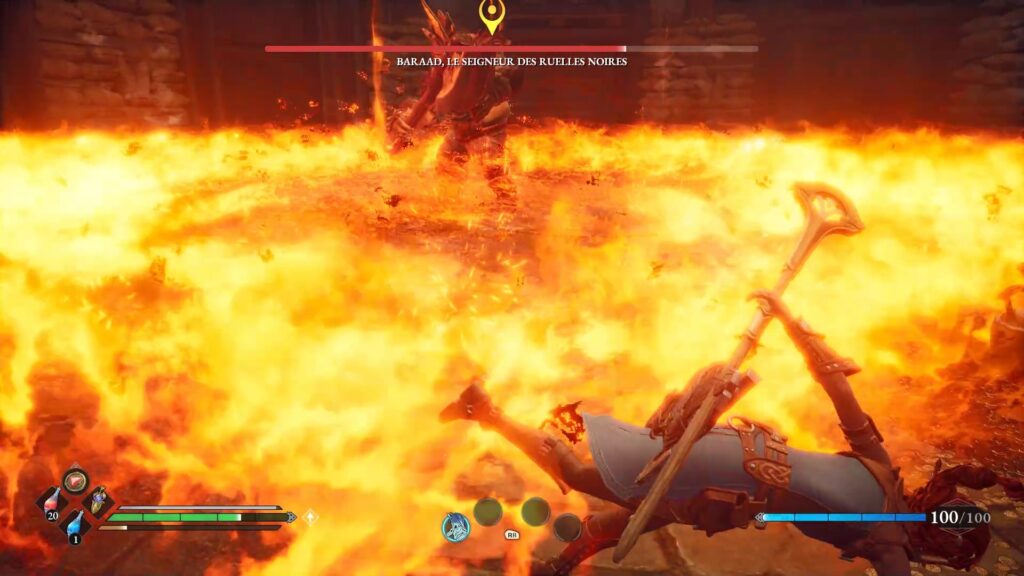
Baraad is the second boss of Asterigos Curse Of The Stars. He is far more formidable than any enemy you have encountered before. Armed with a huge axe, Barad strikes hard. Use your dodges before he attacks you to avoid taking damage. Cause him any damage as soon as he finishes his attacks. You can take a little distance to attack it with your staff and your fireballs. From a distance, Baraad retaliates with a charge that you must dodge to unleash a cloud of powder against the wall. Use your staff and fire ability to create a blast to knock Baraad out. Take this opportunity to smack him. Use sprint or dodge to avoid his fireballs in the second phase. In the event of an area attack, use the protection key to counter his attack.
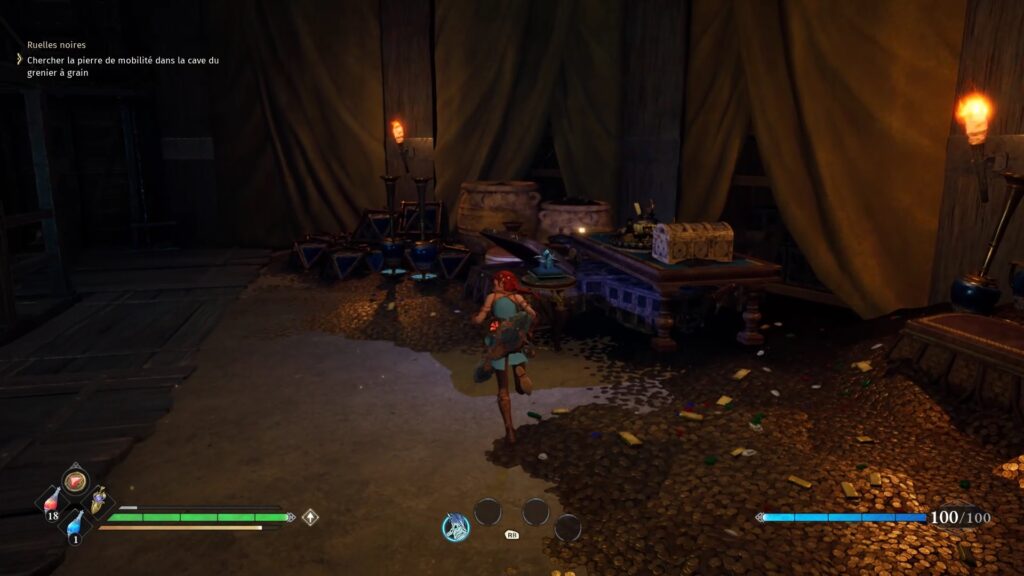
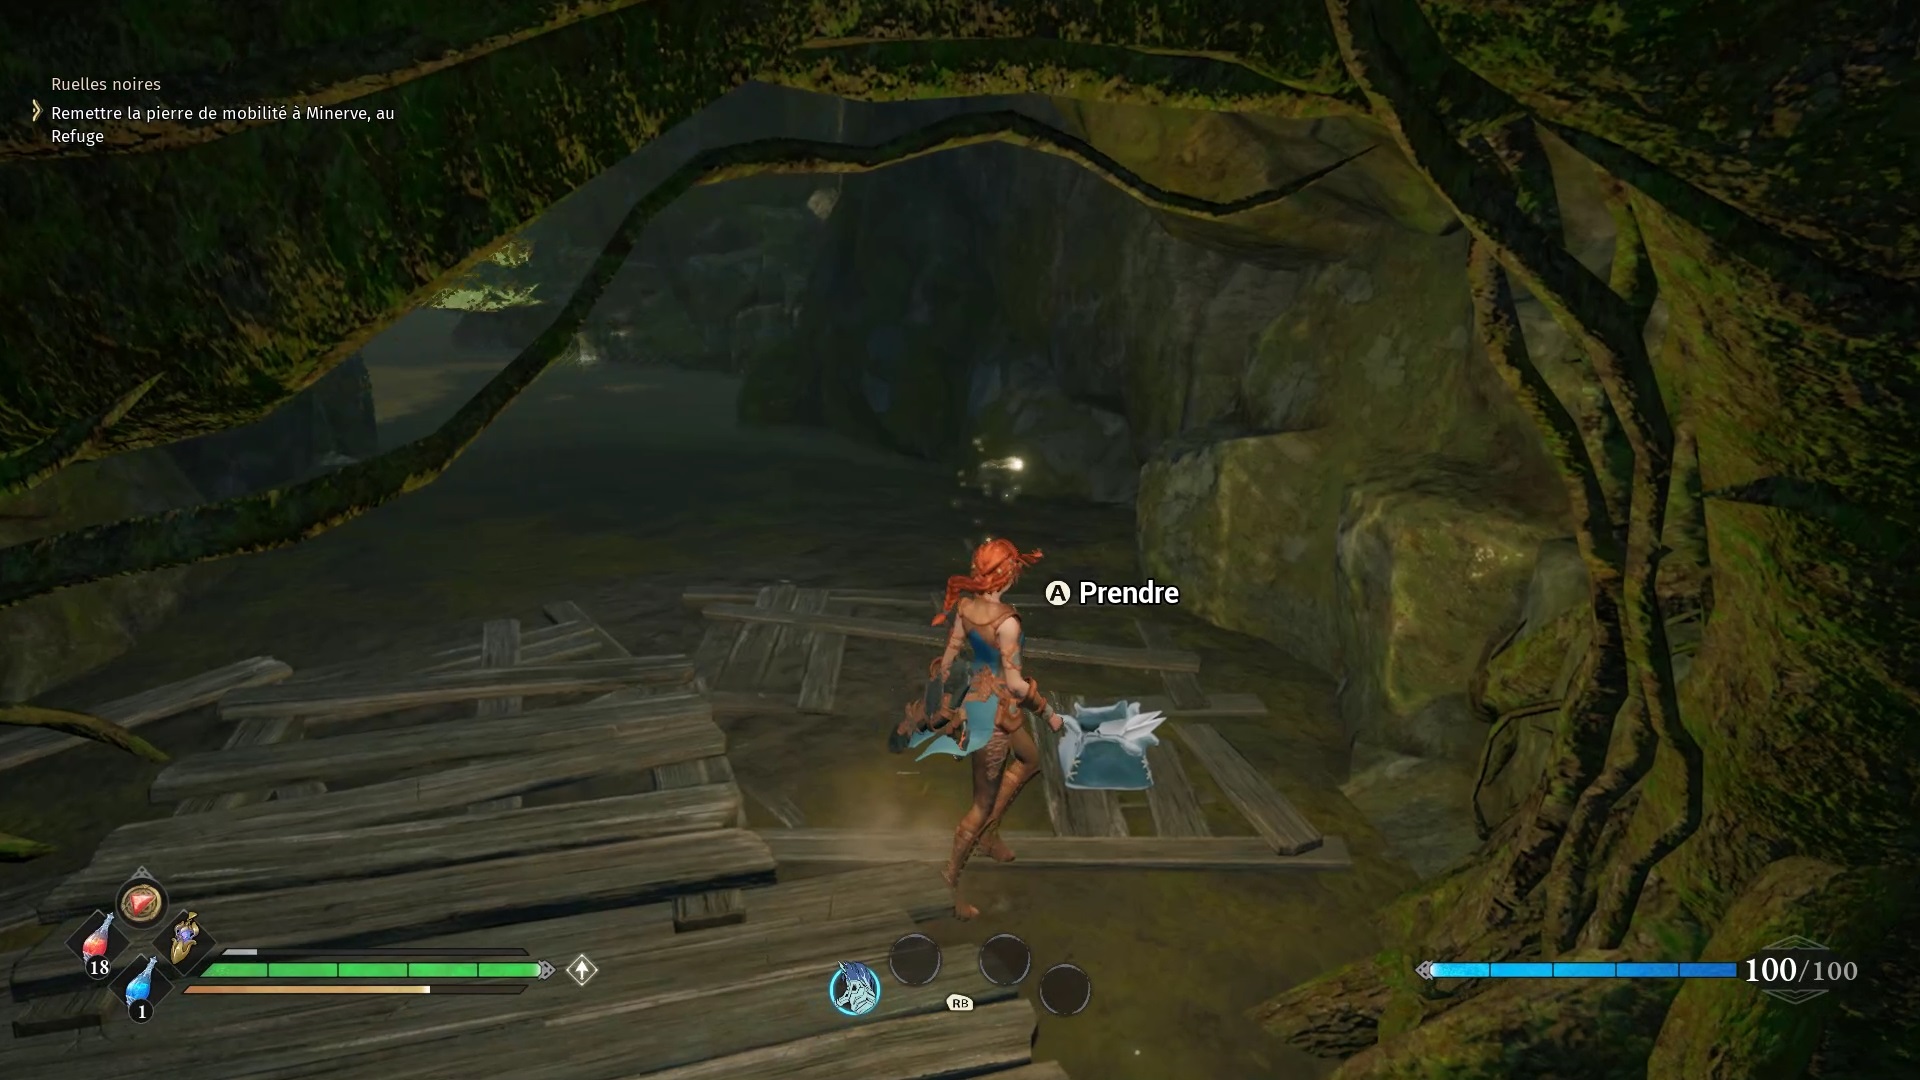
After the fight go down the stairs to find the treasure room. Collect the mobility stone on the right and take the elevator down. At the exit of the elevator on the right path, you will find a chest with a symbol of Rhodos. Use this item to teleport to Minerva at Refuge.
Arges Bazaar
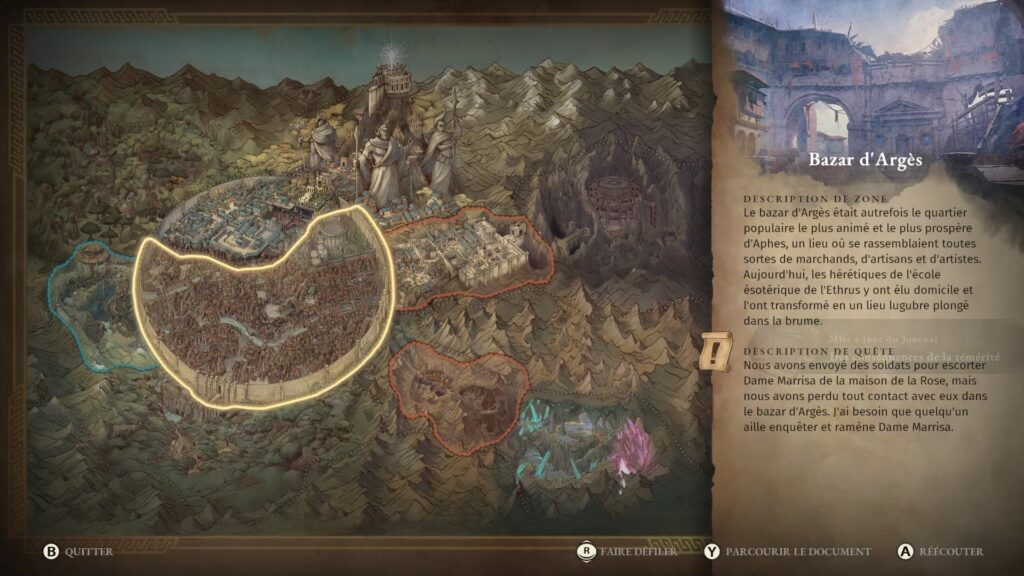
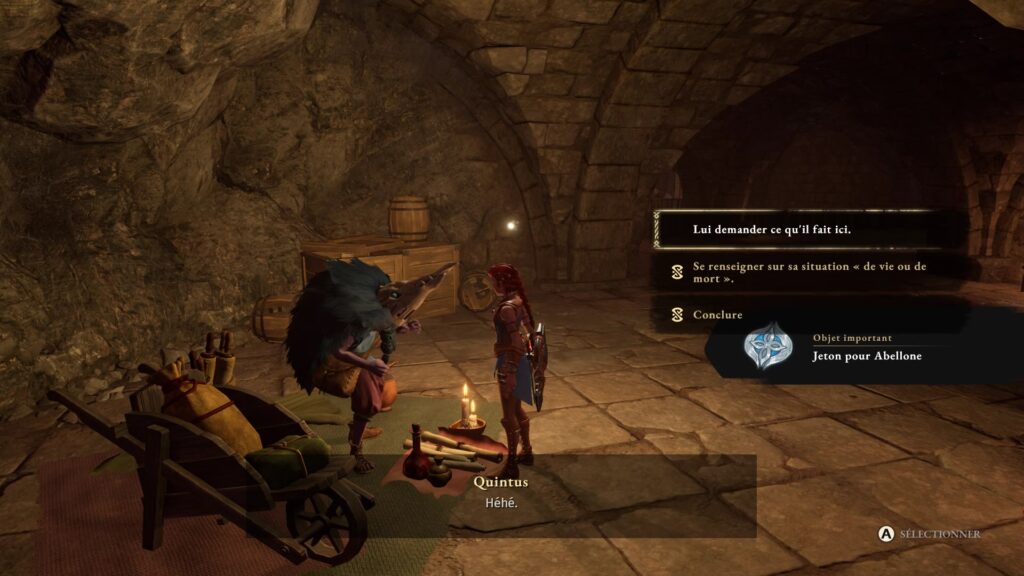
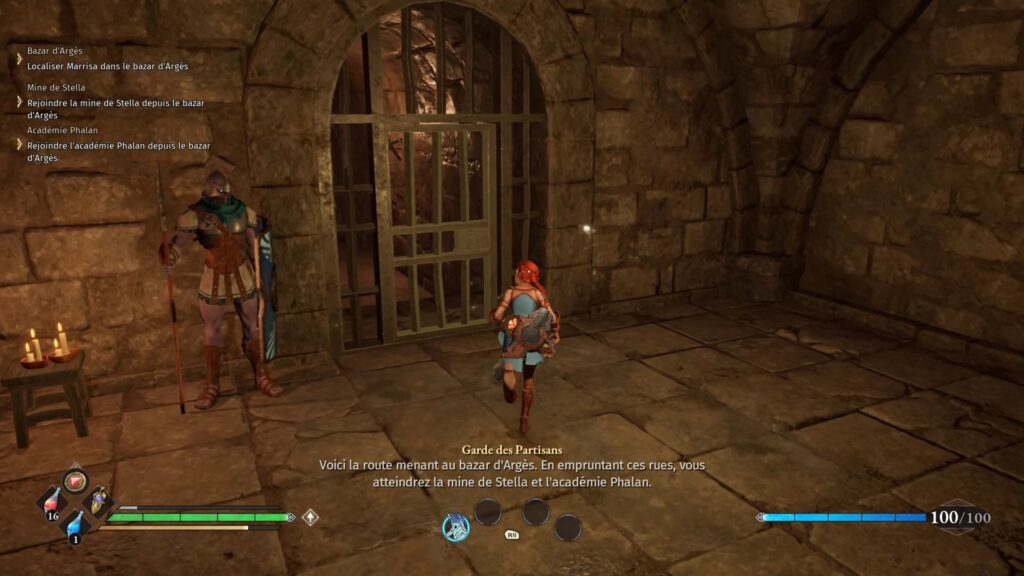
At the Refuge, speak to Minerva at the War Table and learn about the three new missions in the Bazaar of Arges. Quintus meets you in the Refuge. On its right you will find a passage to the Arges Bazaar
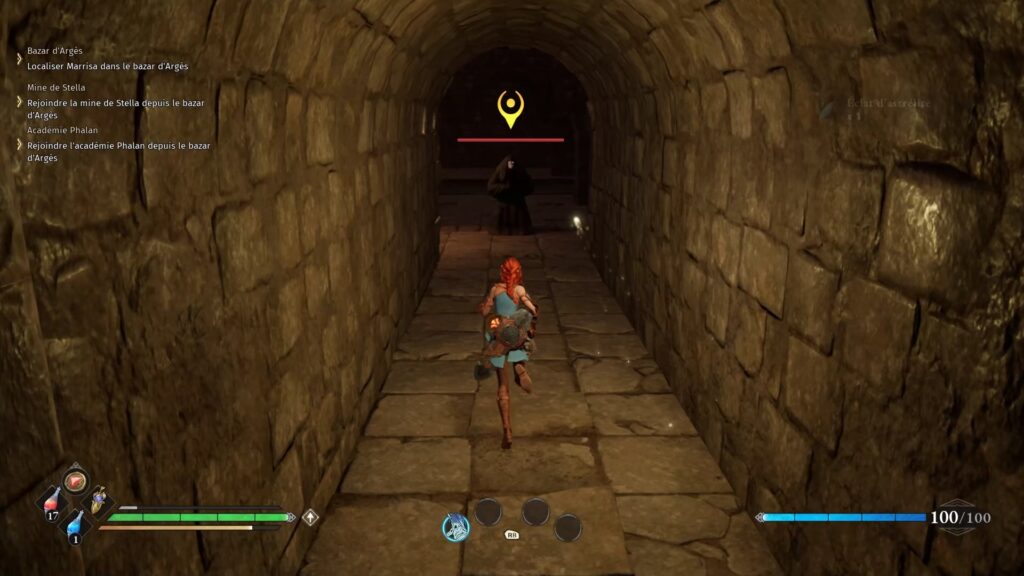
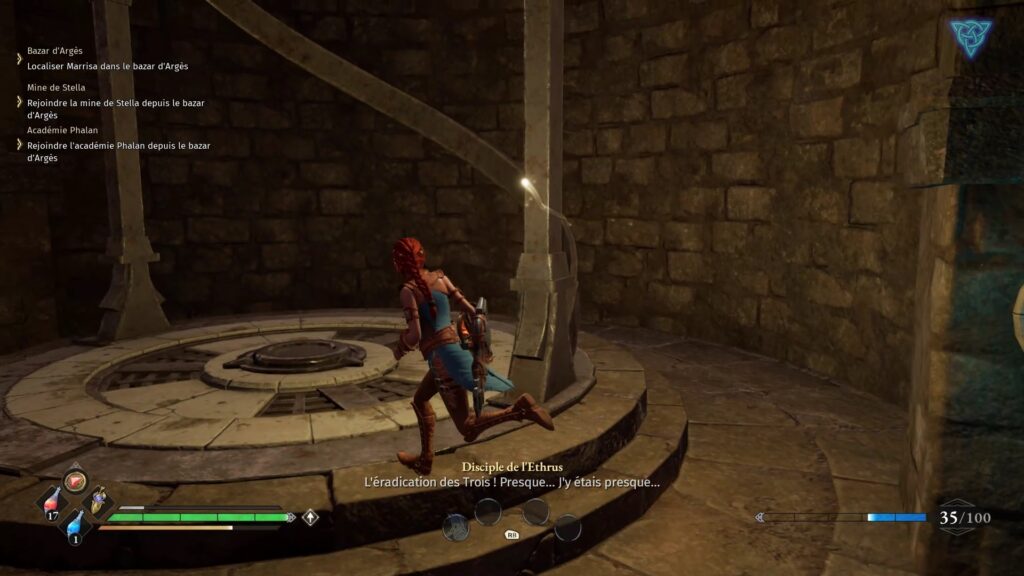
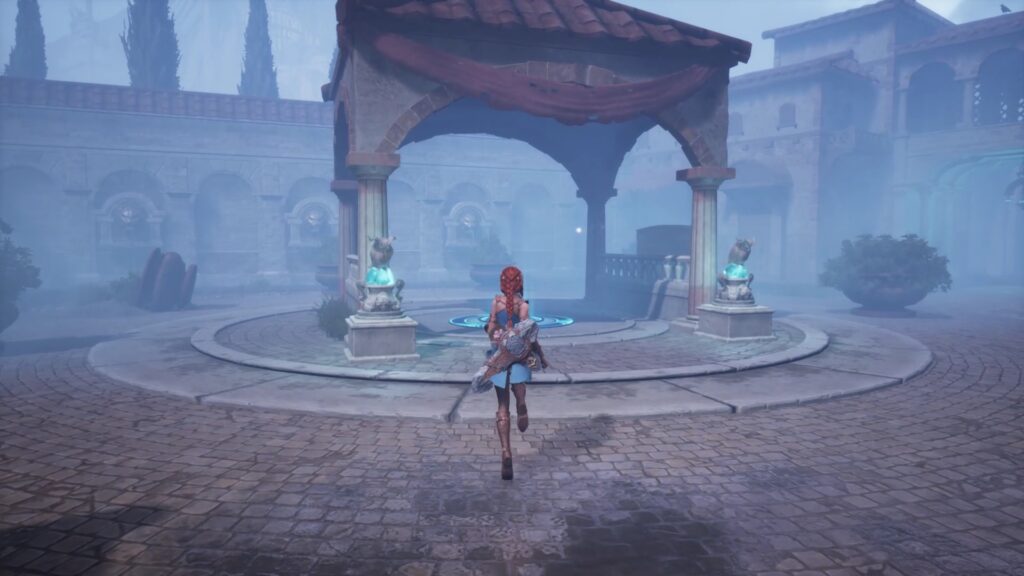
Go through the tunnels to find a new threat. A werewolf appears, defend yourself. After the fight, use the elevator behind to reach the Bazaar. Outside, follow the glowing streetlights to find a new checkpoint.
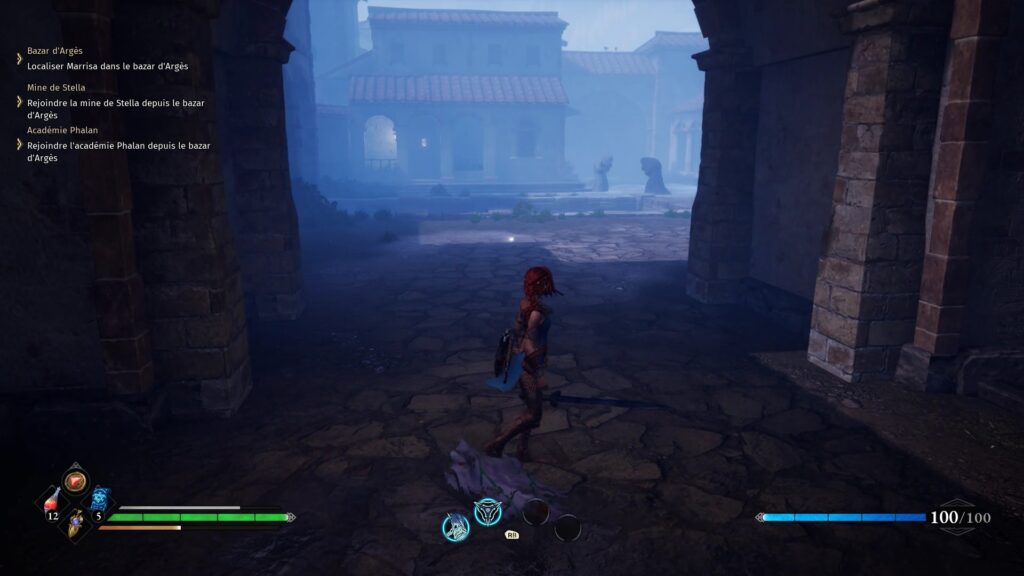
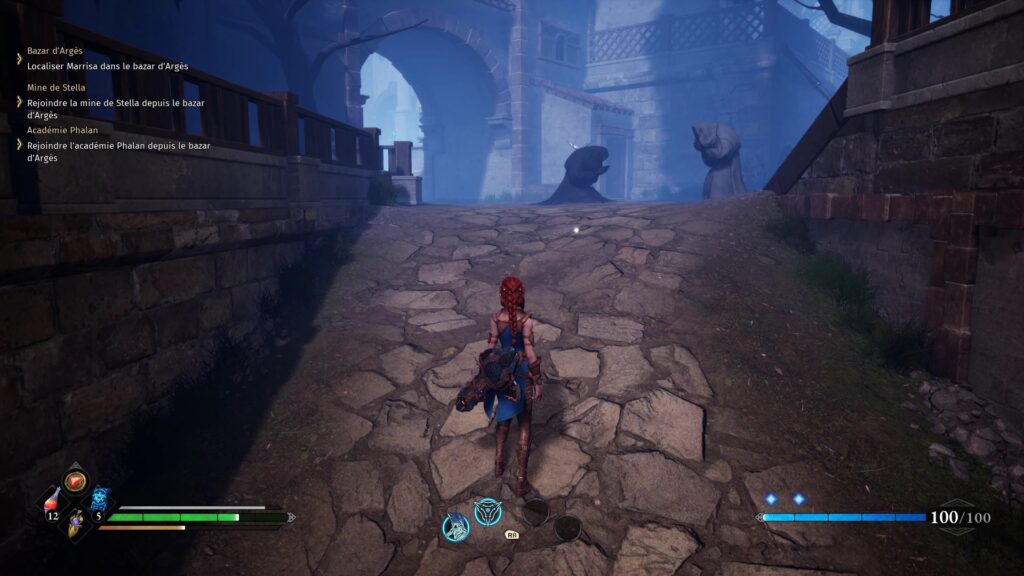
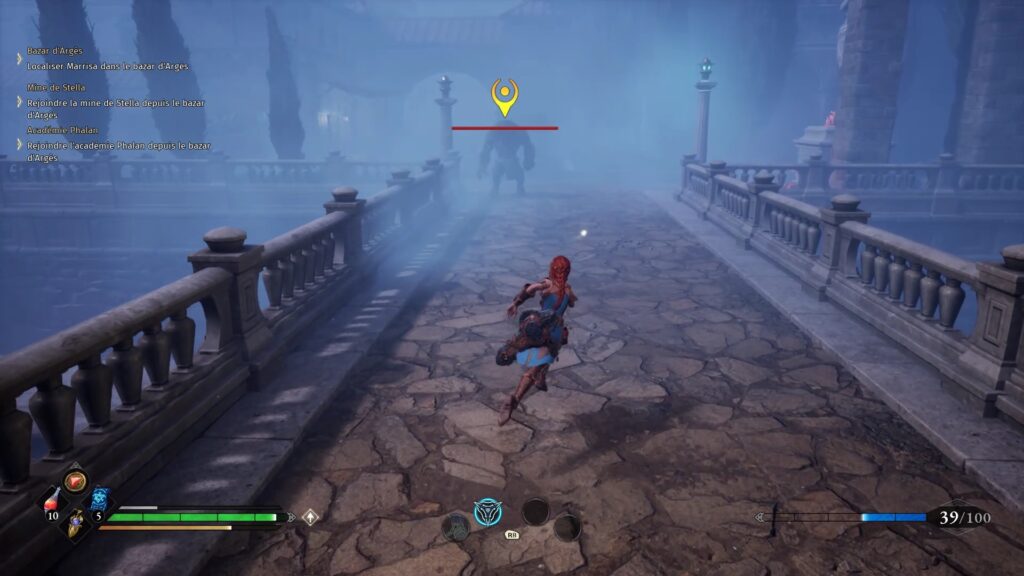
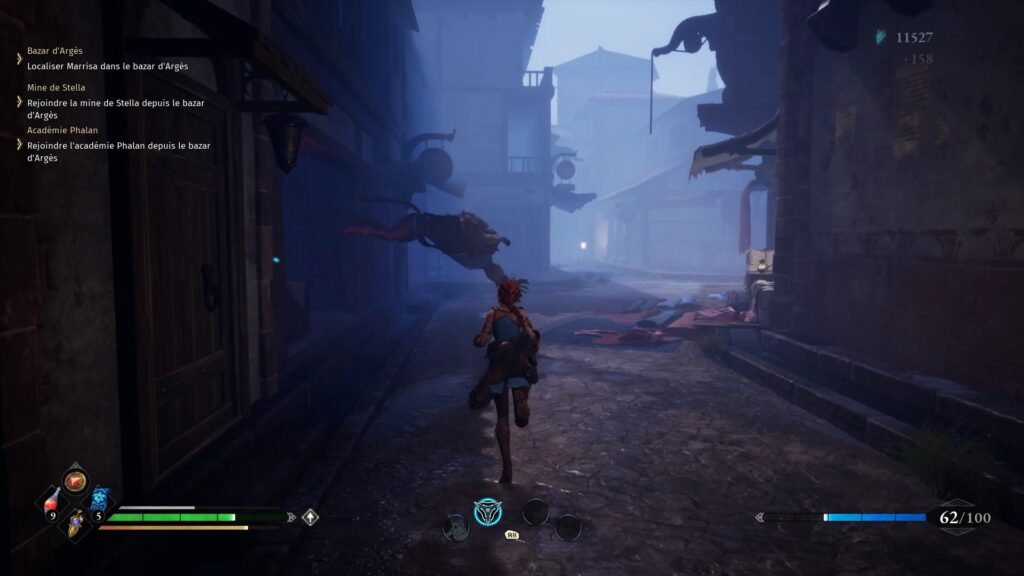
Continue on your way to find disturbing clues about Marissa. A garment and a sword are strewn on the ground. Go in this direction to find the track of Marissa. Eliminate the enemies in your path and continue east to find a slope that leads to a bridge. Confront the bull and continue to the alley to the west. Watch out for the ambush waiting for you straight ahead.
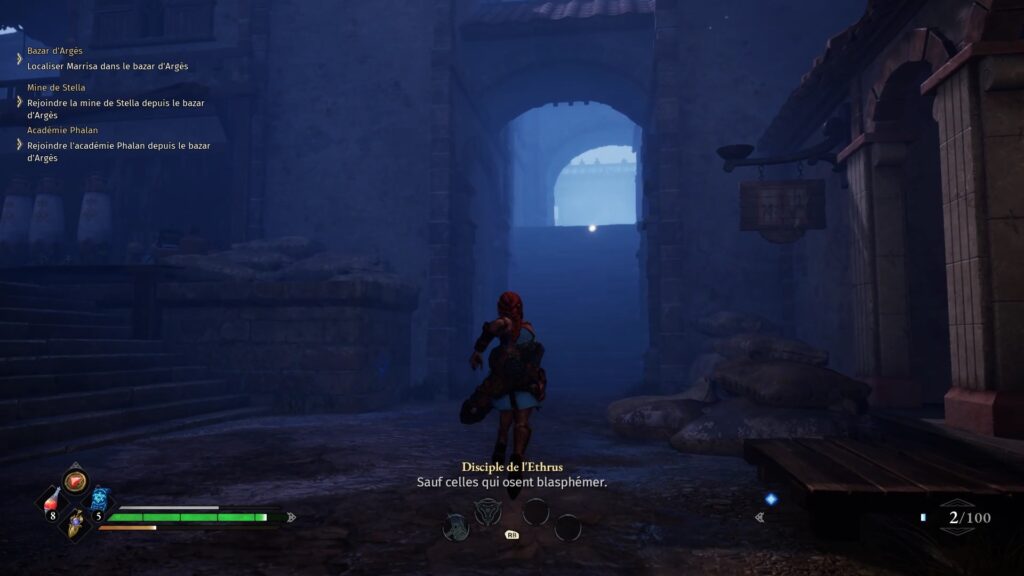
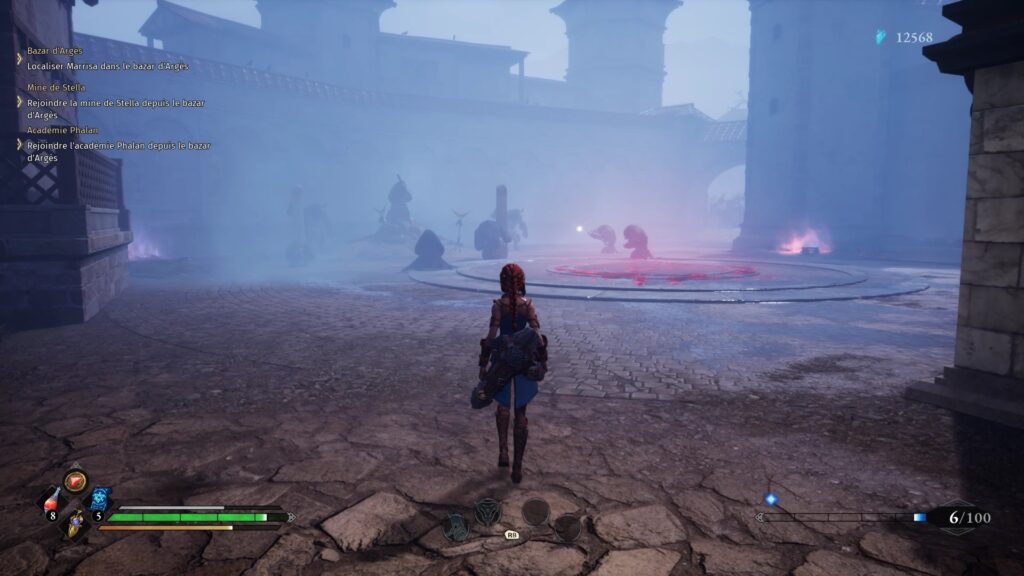
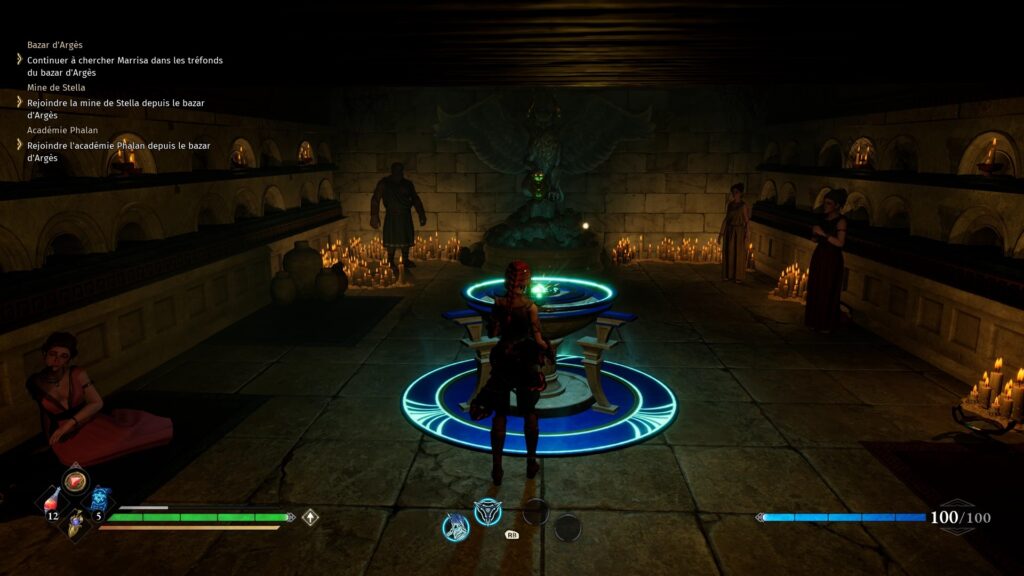
Then go down the stairs to find a staircase leading to the Shrine Guardian . A big fight awaits you, get ready. The High Priest launches several waves of enemies at you. Take a little distance to defeat opponents one by one. Deal with the High Priest to free the shrine. Go inside to find a new checkpoint.
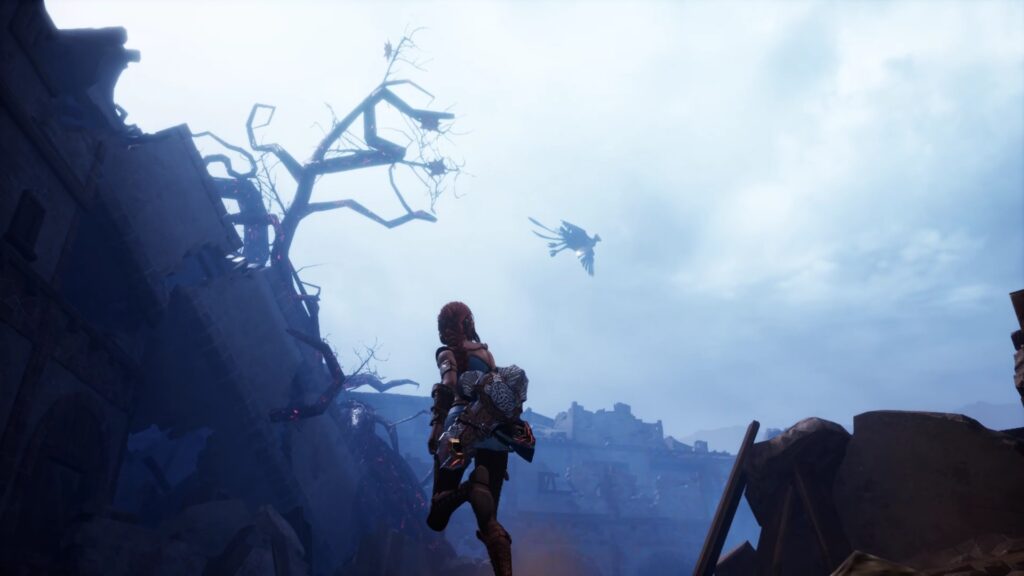
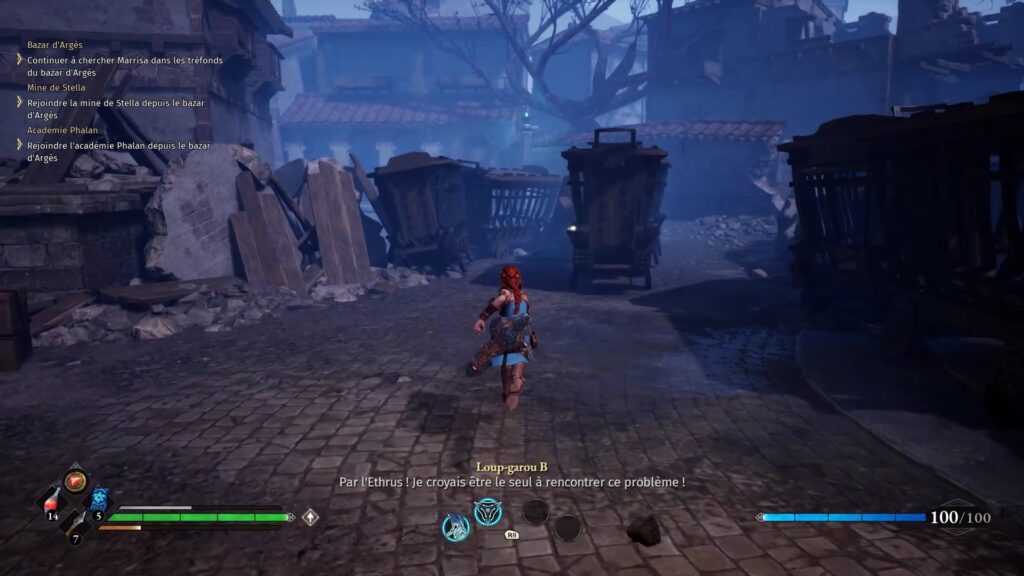
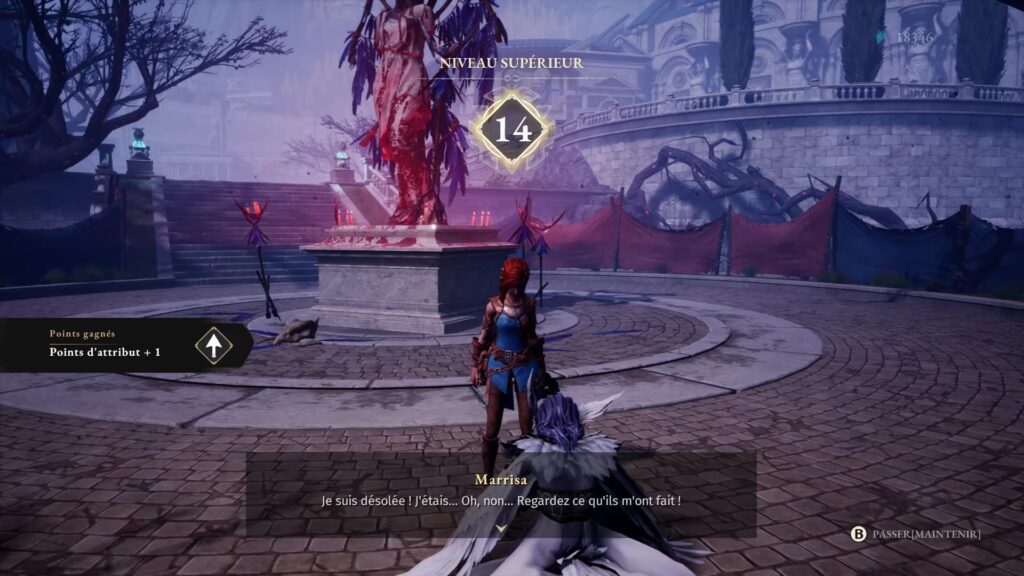
Get out and continue east. A threat is watching you from the sky. Move forward while protecting yourself from sharp feathers thanks to the shelters to reach a path to the east of the square. Watch out for the second ambush. Continue to reach the outer streets. Climb the stairs eliminating the enemies to find Marissa. Interact with the bubble of darkness in the lower right of the statue to release her.
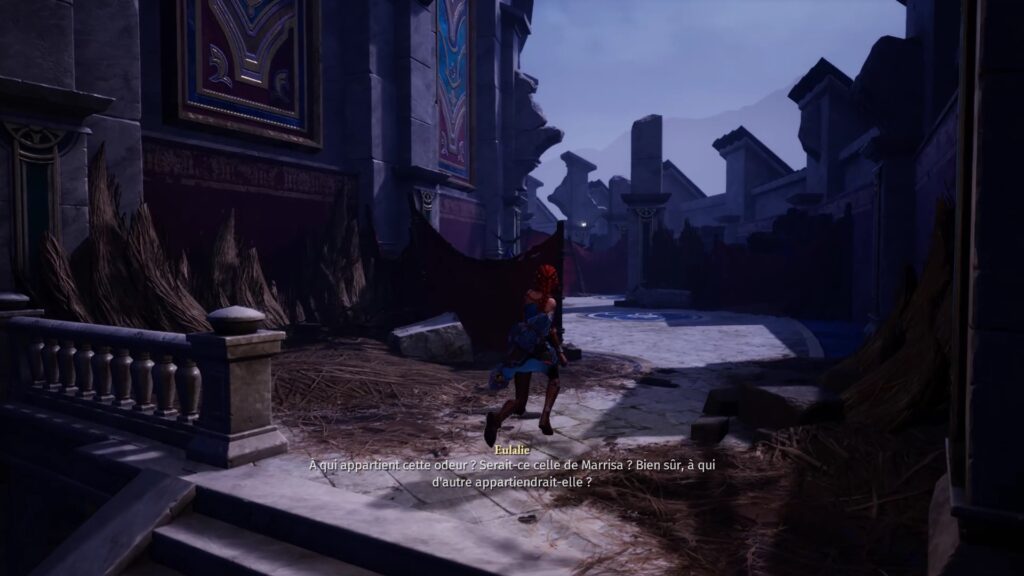
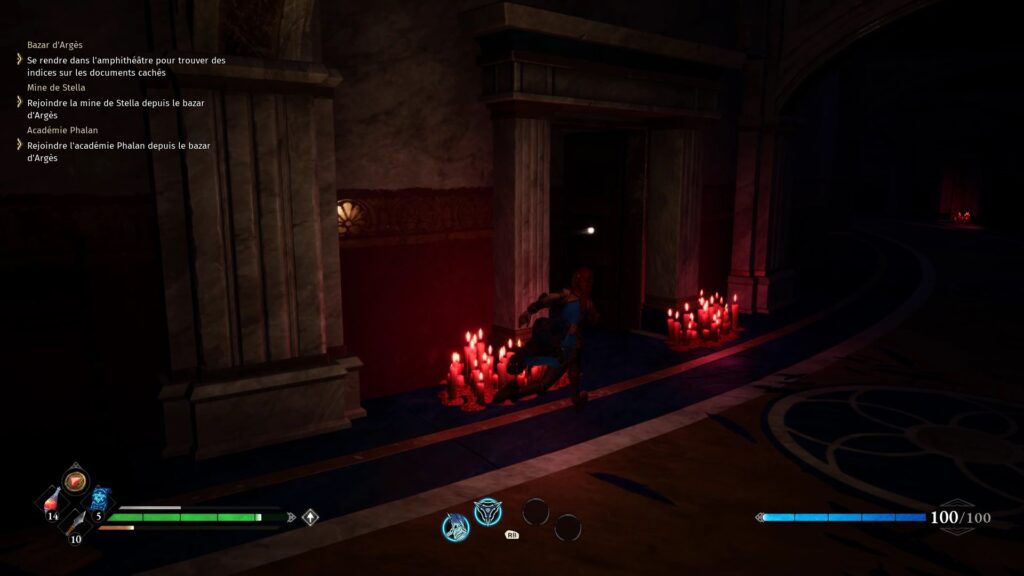
Climb the stairs to reach a new checkpoint at the amphitheater. Go up in the amphitheater to find Eulalia. Fight your way between the barricades while dodging his attacks. On the other side, go down to join a corridor leading you to the elevator of the boss.
Fight against Eulalia the Prayee
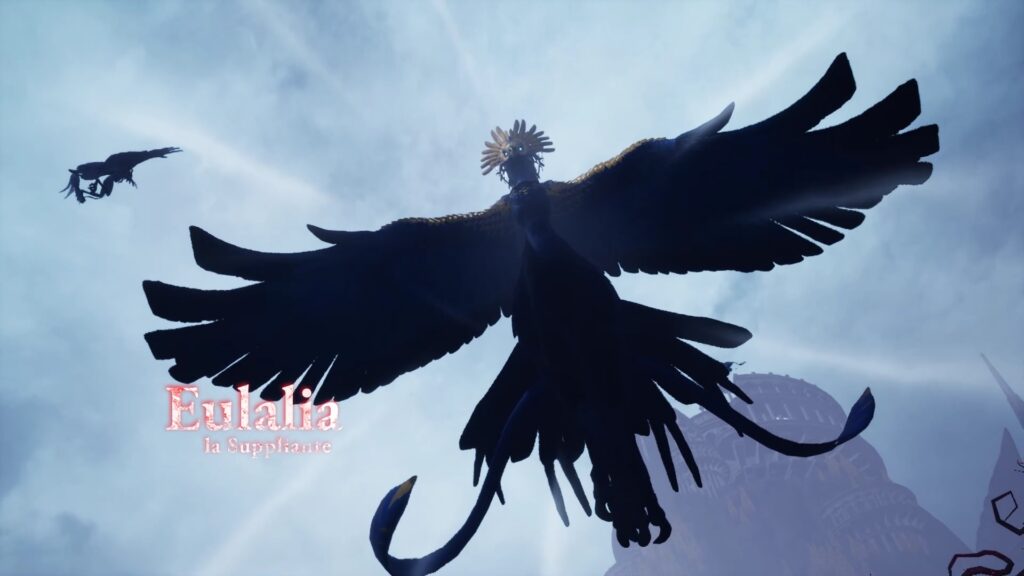
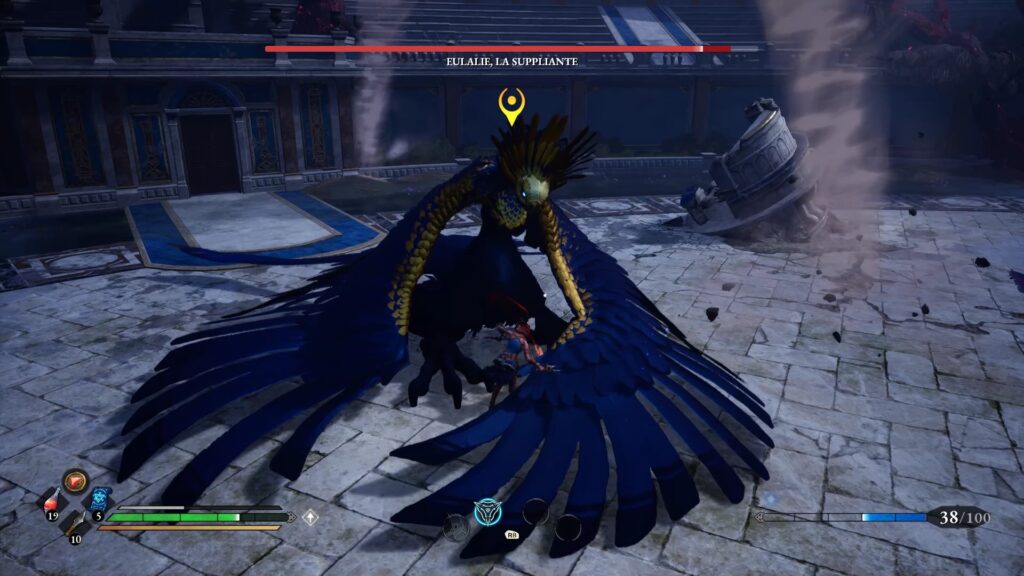
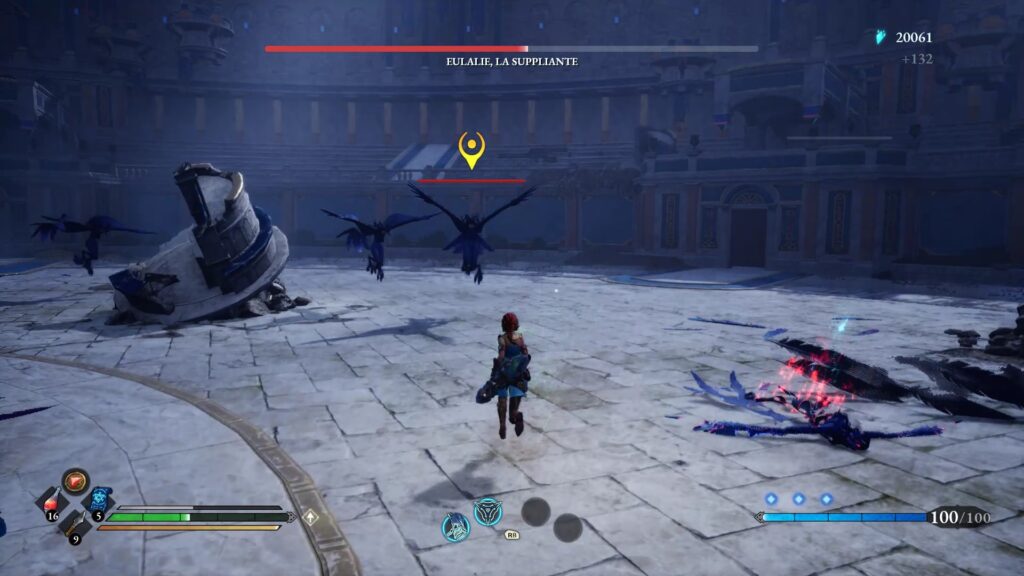
Eulalia spends the start of the fight in the sky. Dodge his attacks by taking cover or running. Beware of the shock waves that you will absolutely have to avoid by dodging. When she comes down to earth, Eulalia is vulnerable. Approach her to beat her. His blows, carried on the ground, are relatively slow and can be easily anticipated. Juggle between combos and dodges to get to phase two. In this phase, the boss calls his minions. Deal with them first while keeping an eye out for Eulalia’s attacks. Back on the ground, start alternating blows and dodges again to overcome them.
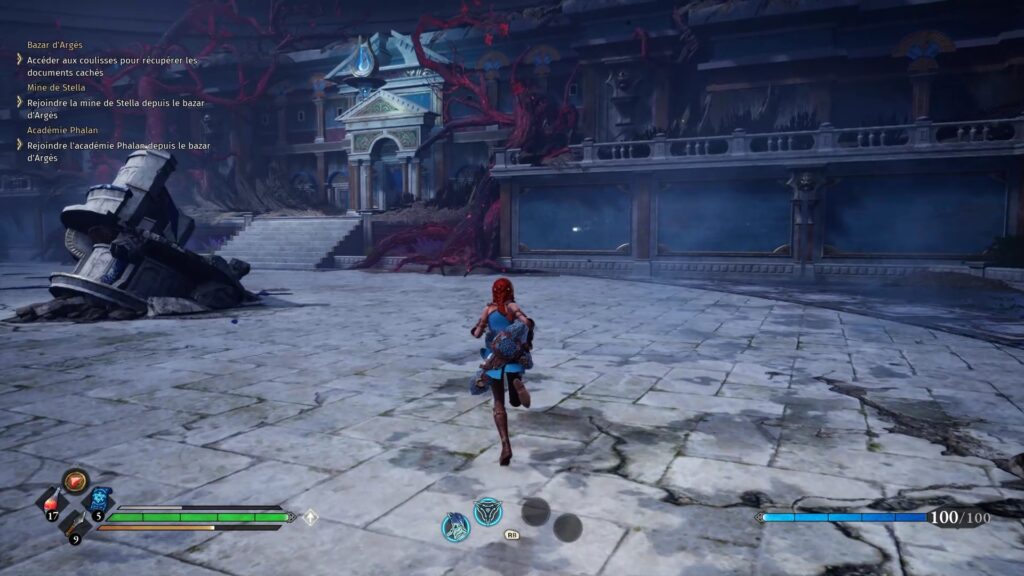
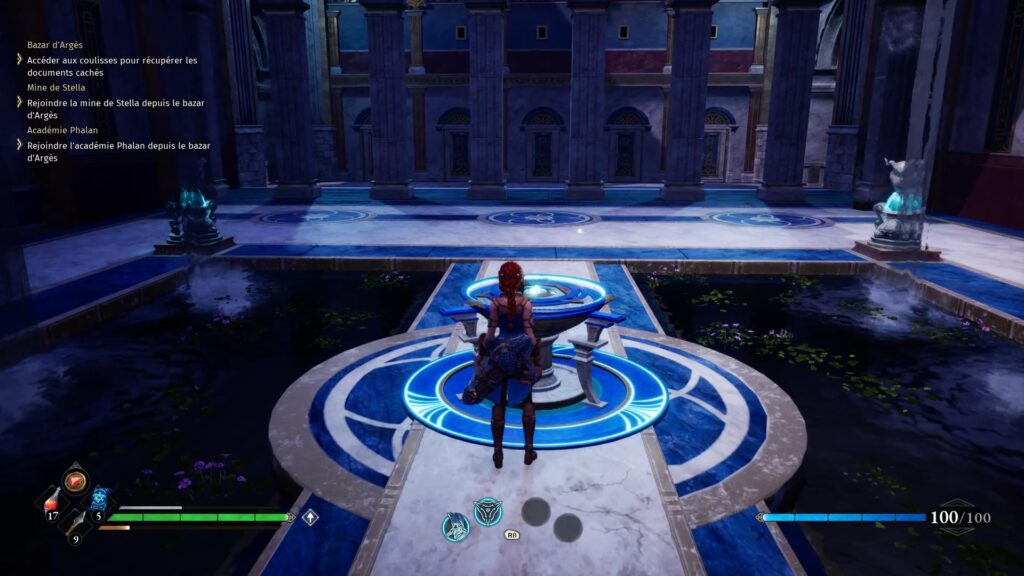
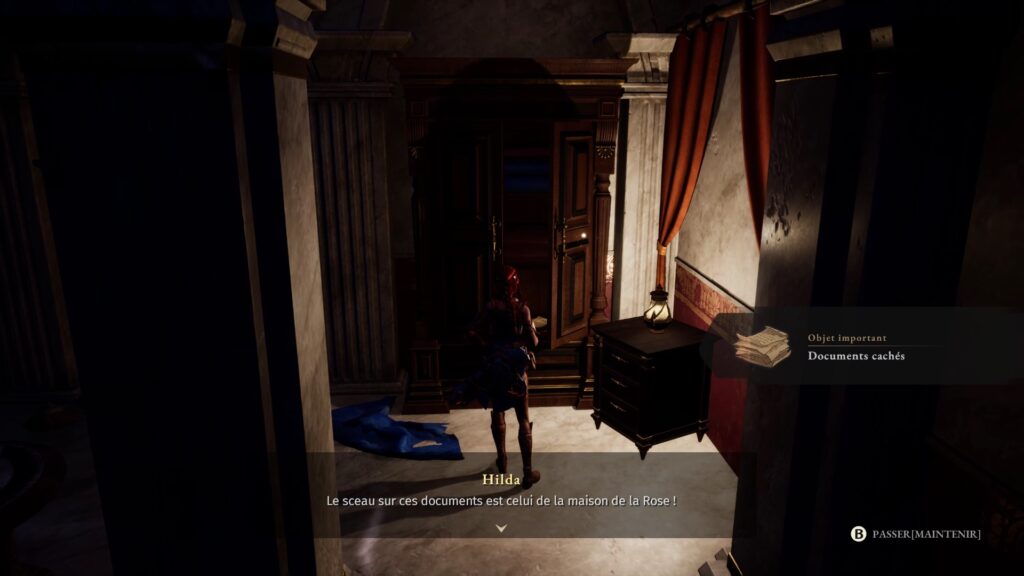
After the fight head to the nest to find a new checkpoint in Pegasus’ garden. Search the halls to find Marissa’s document in a lodge. Go back to the refuge to bring the object to Minerva.
Phalan Academy
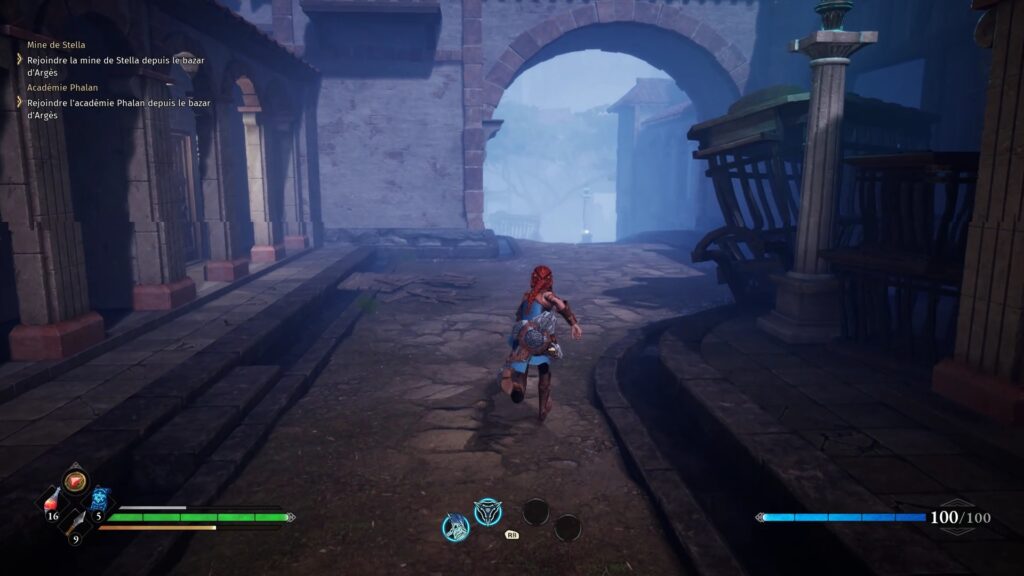
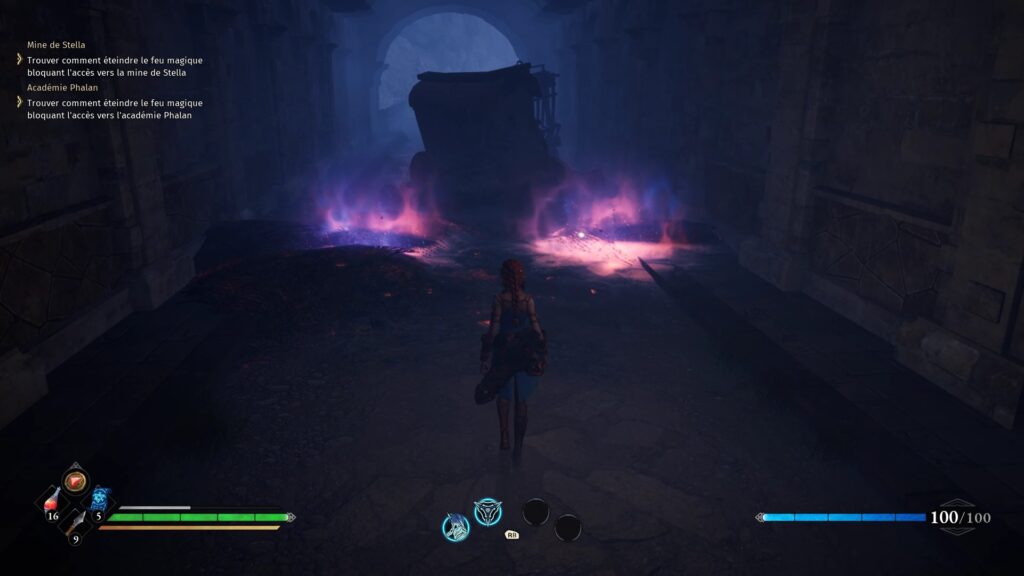
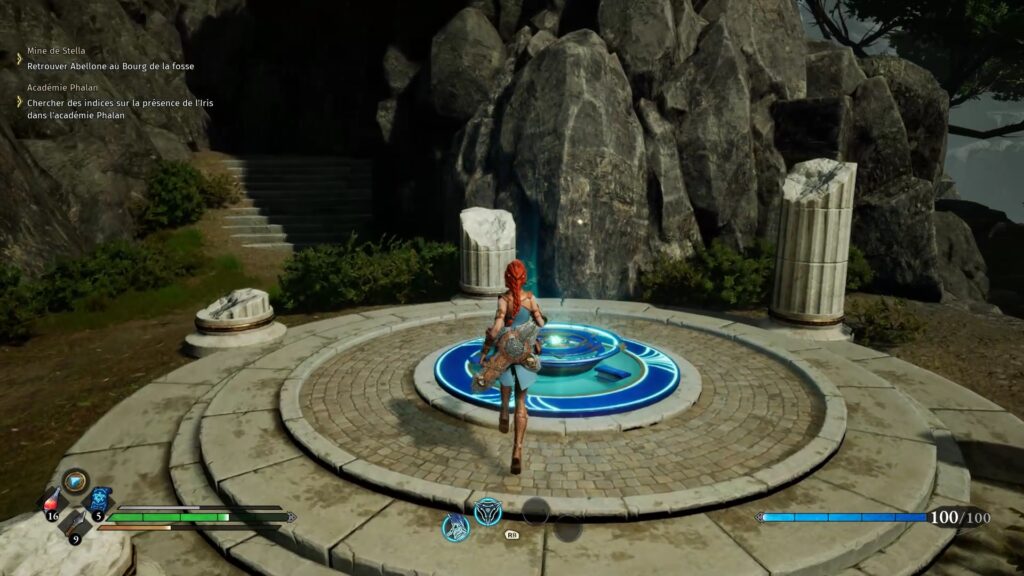
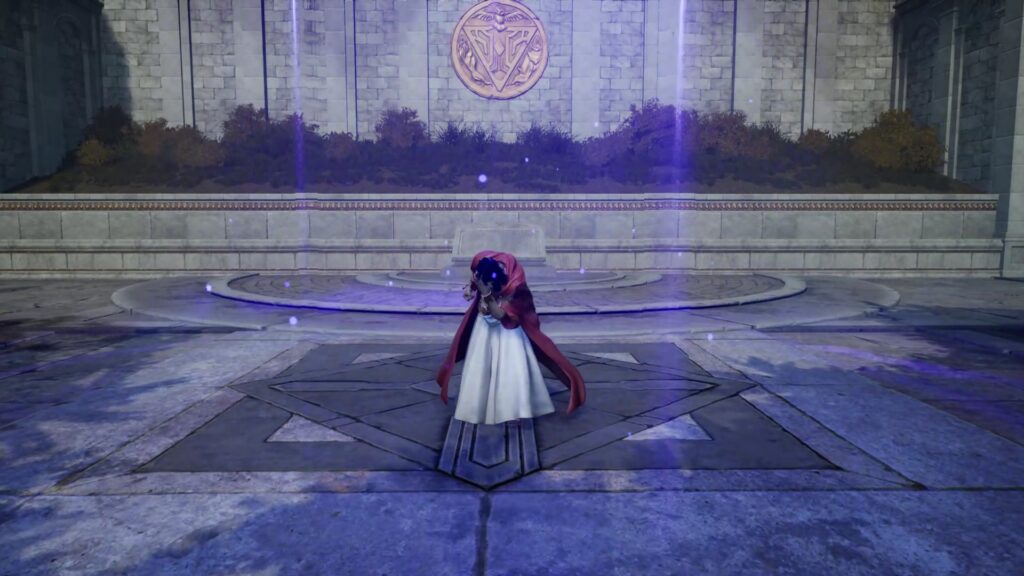
After reporting to the shelter, return to the Bazaar Citizens’ Square checkpoint to take the opposite passage to Marissa’s path. An enemy is waiting for you on the other side, get rid of it. Go to the end to deal with a fire. Use the ice upgrade to freeze the flames using your staff and pass. Activate the checkpoint straight ahead and go up the stairs to meet a strange man.
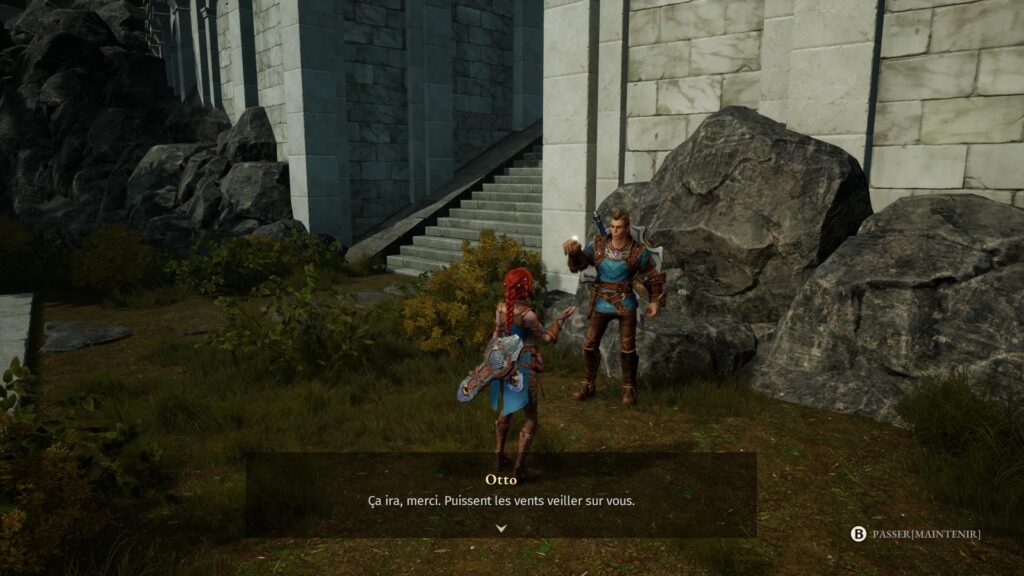
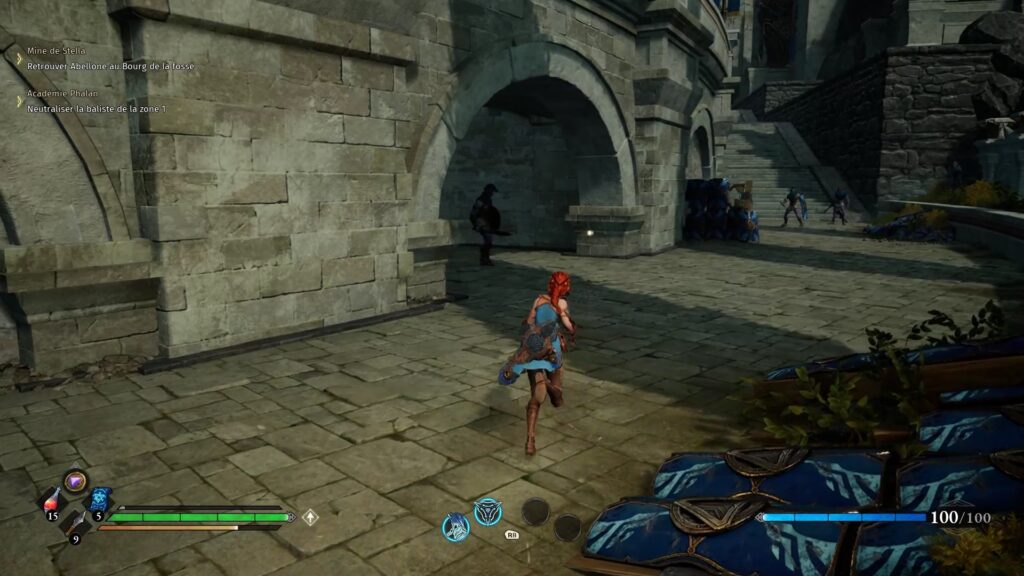
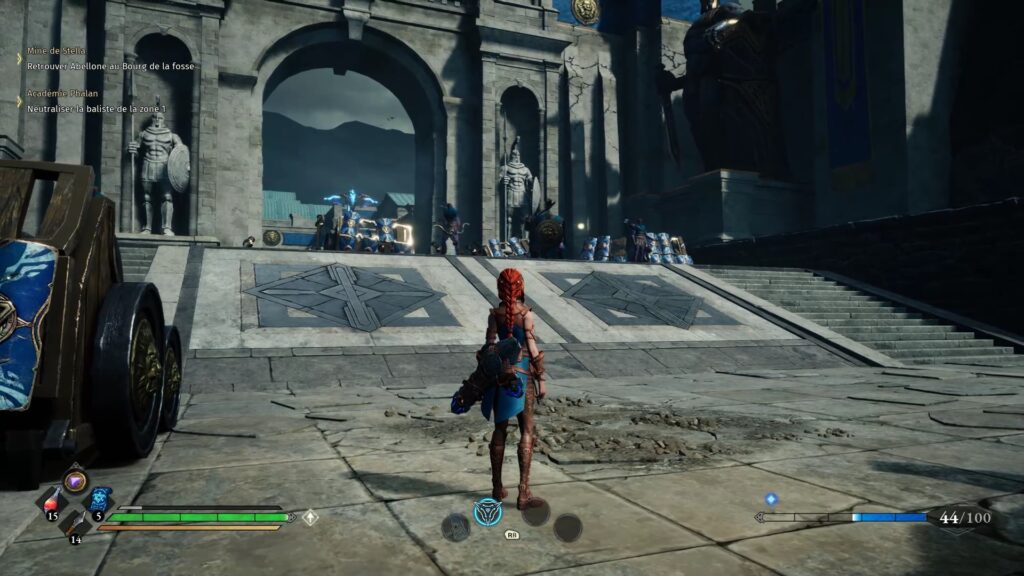
Keep climbing the stairs to the west while challenging your enemies to join Otto near a new save point. You get a new objective. Climb the stairs and go through the tunnel so as not to be seen. Keep going up to get to the big door. You can sneak to the side or take on the enemies that are straight ahead.
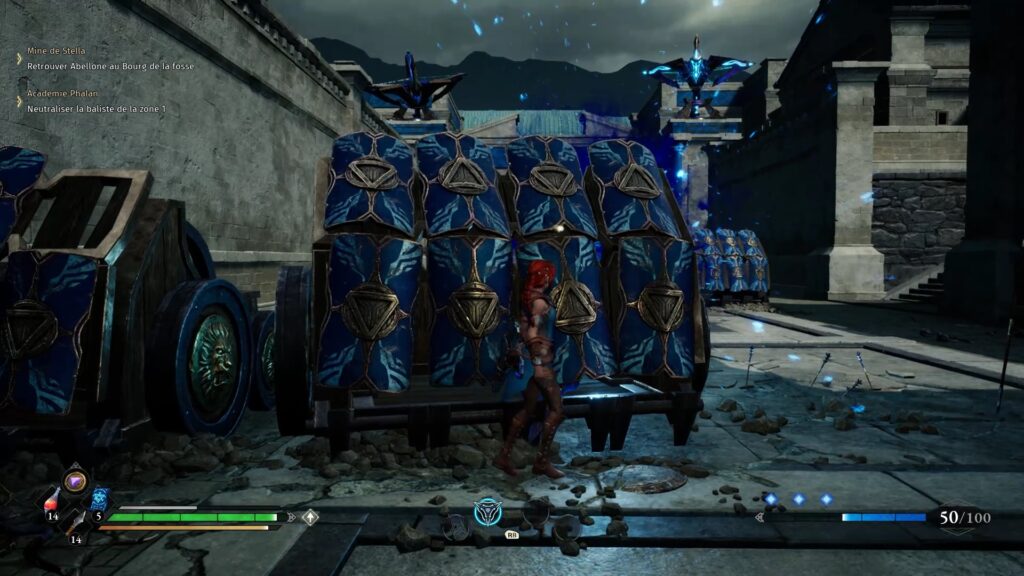
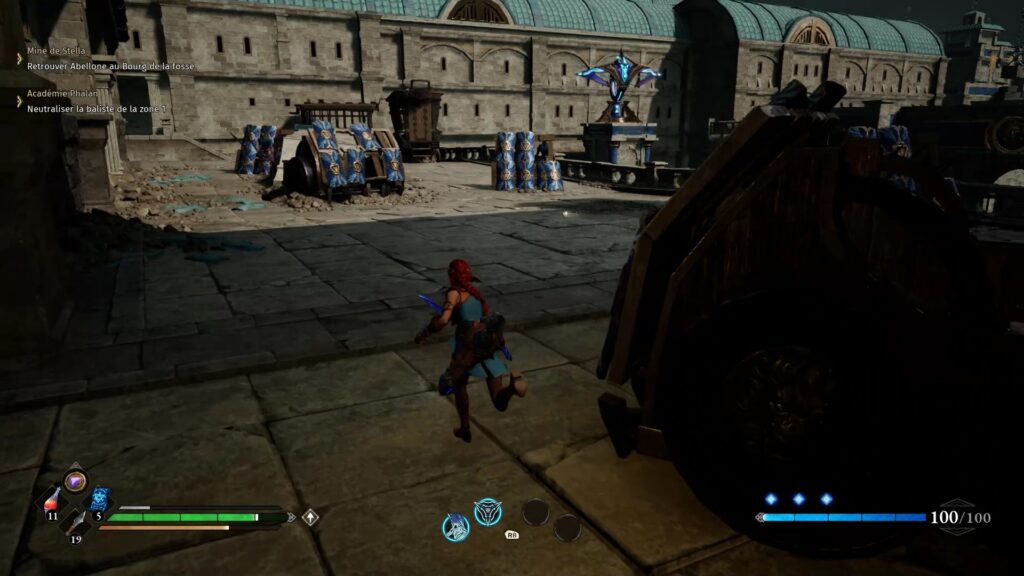
A ballista is aiming at you. Take the tanks for cover and go up the stairs to the west. Kill the enemies to reach the Pride Room.
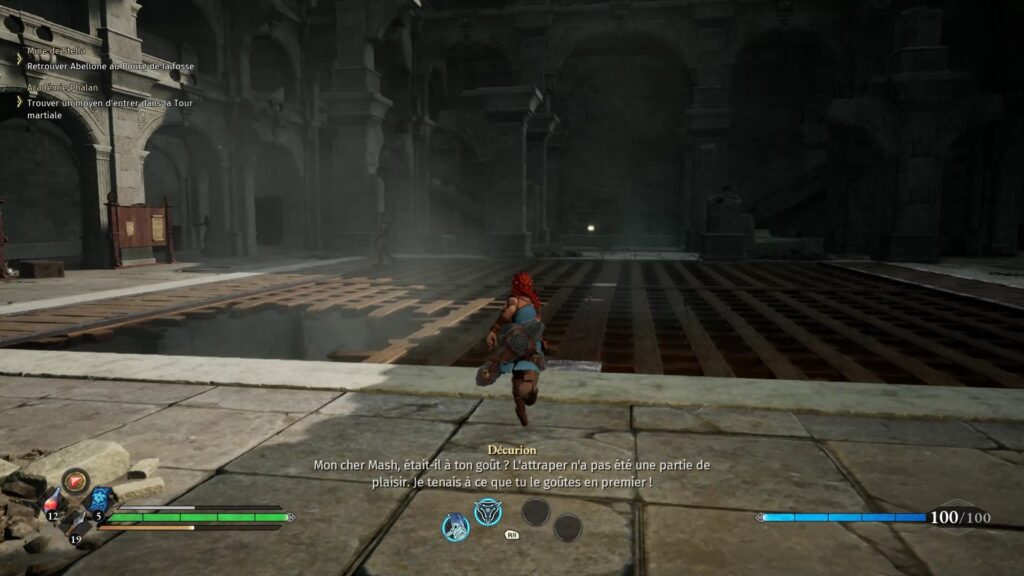
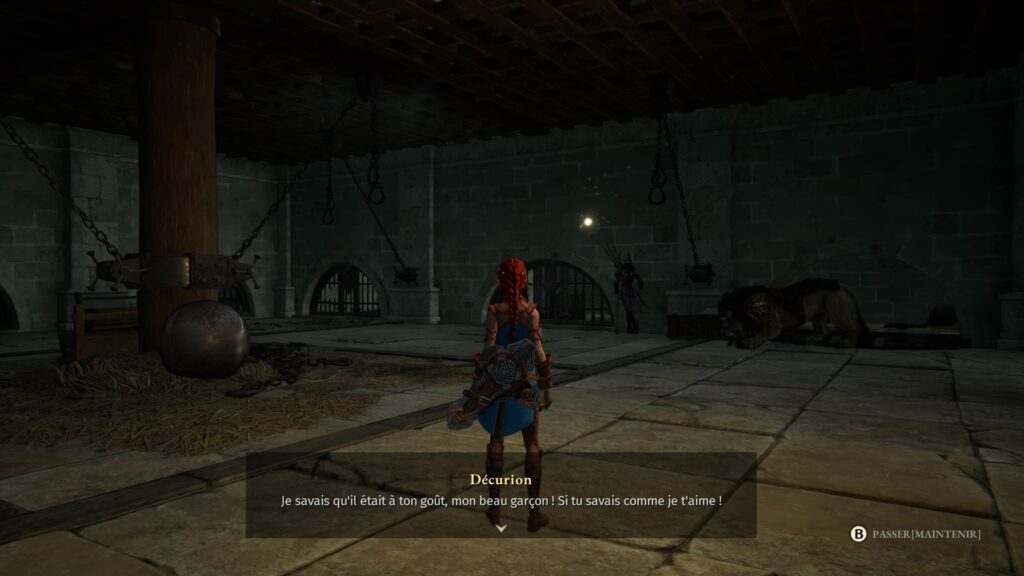
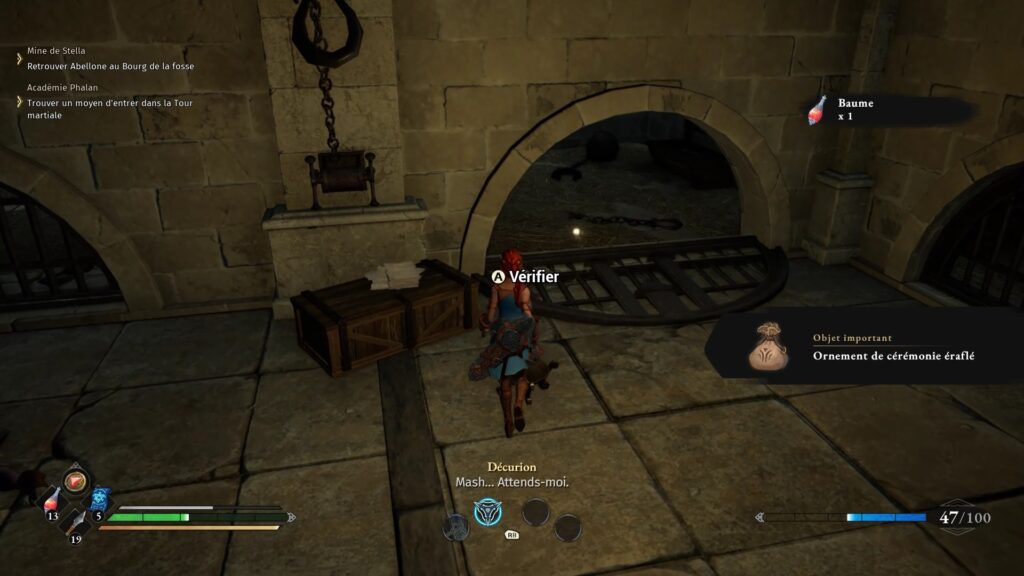
Search the underground below the gate to find Emil’s remains. You get a ring. Go upstairs to find a passage to a balcony.
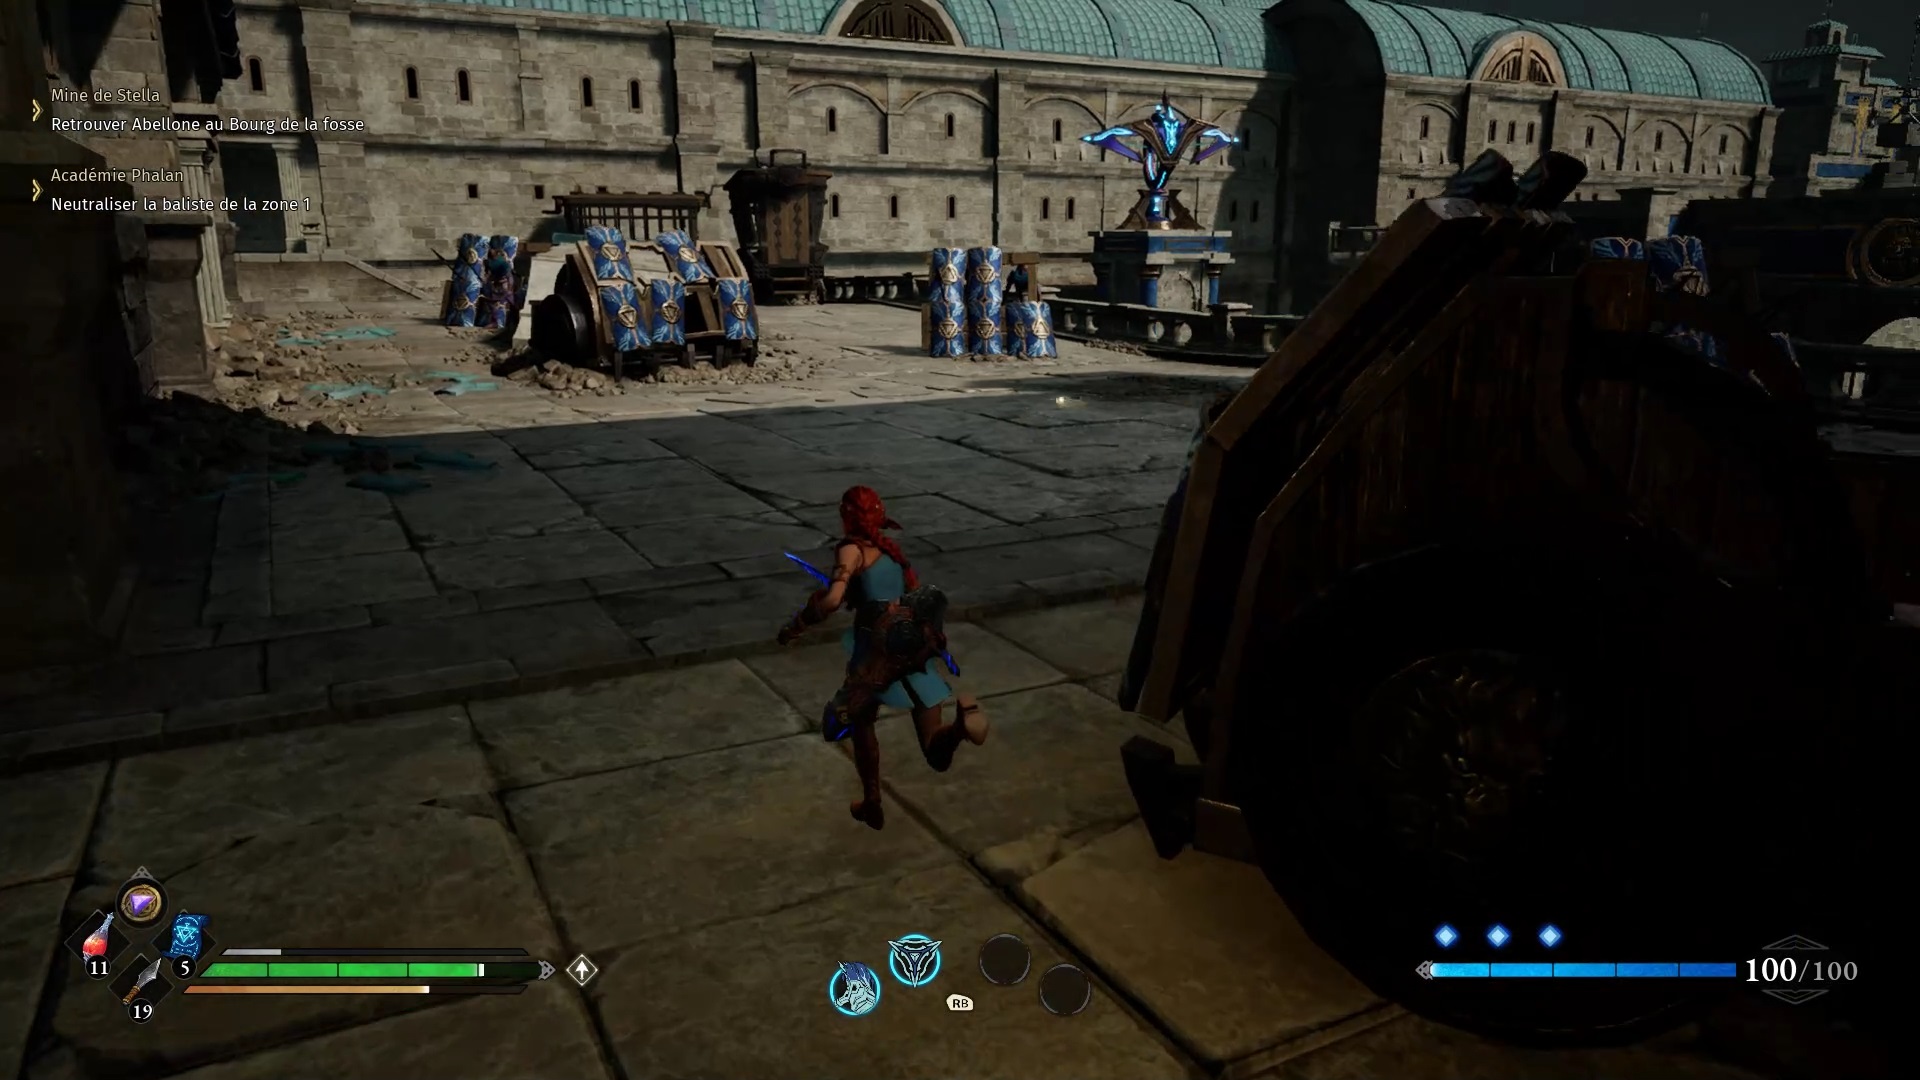
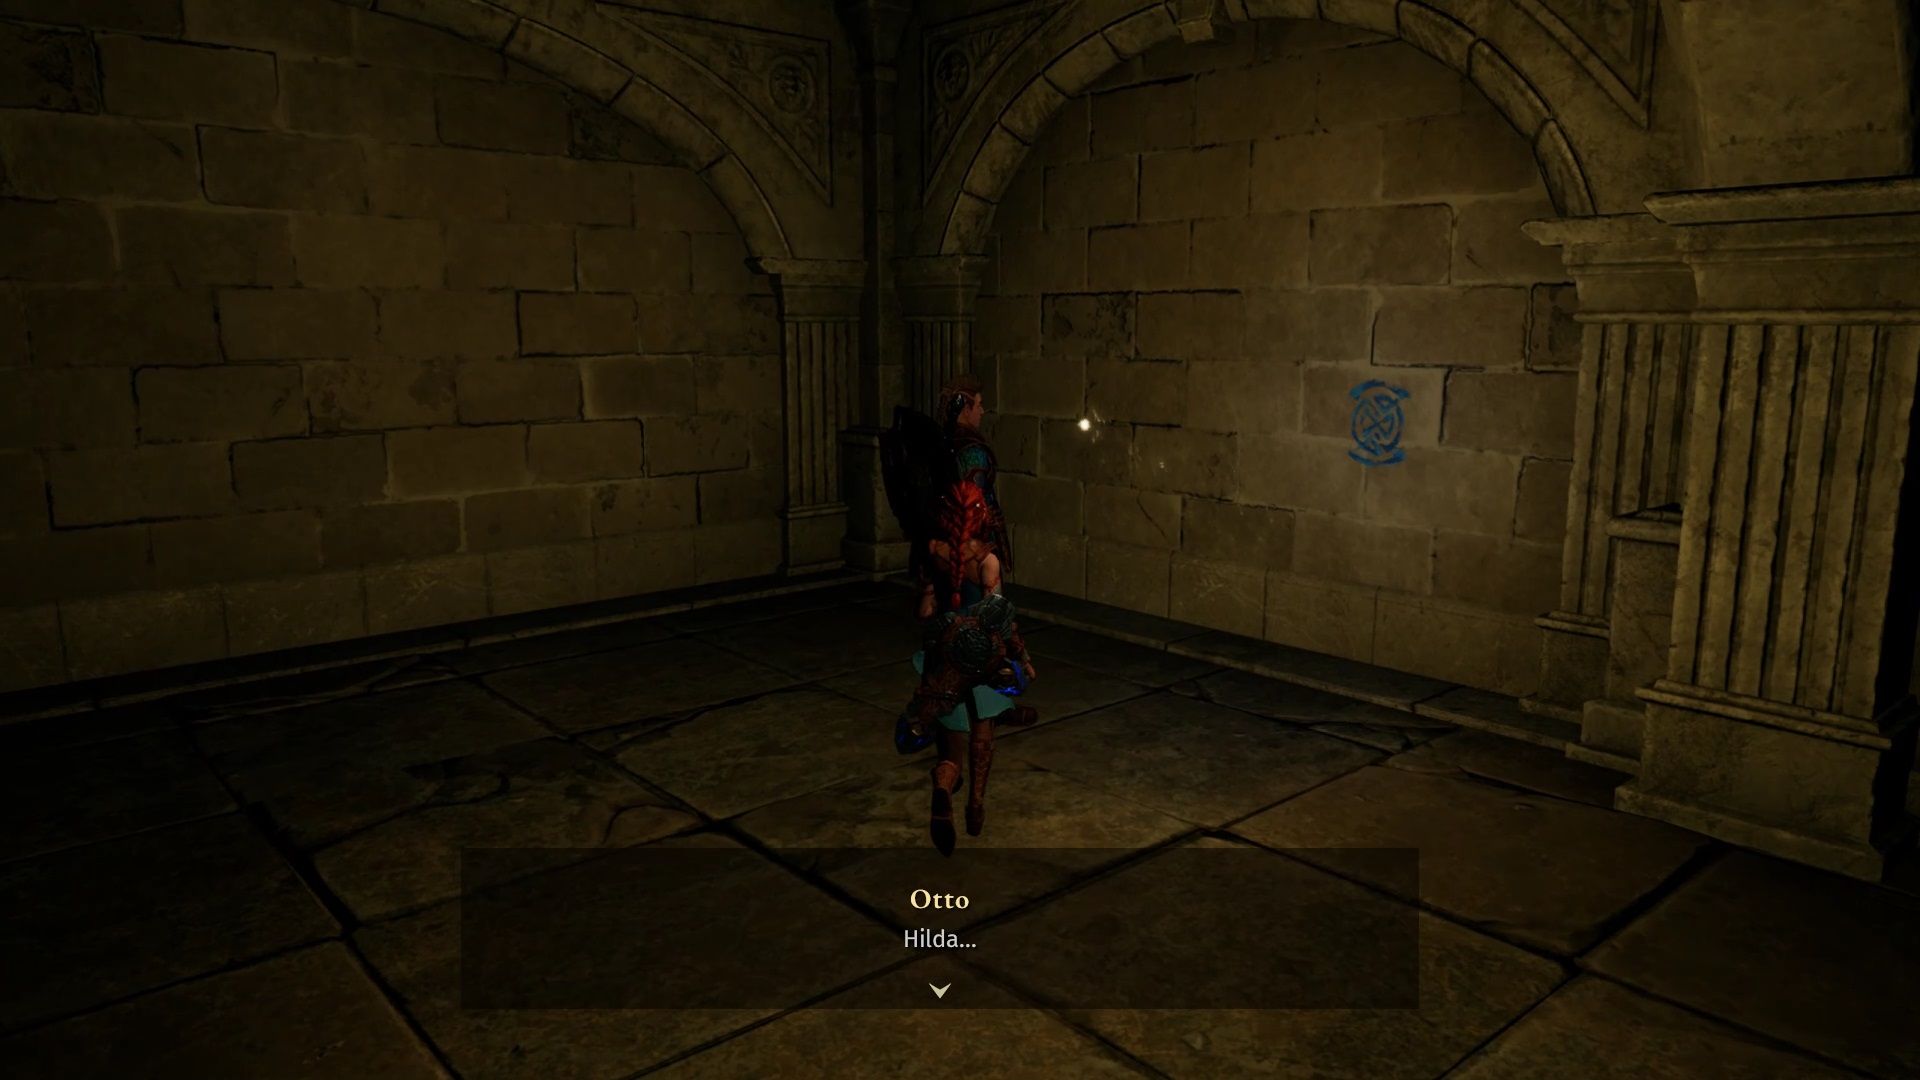
As before, use the tanks to shelter you from the ballista to go to the other side and win the armory. A new checkpoint and Otto are waiting for you inside.
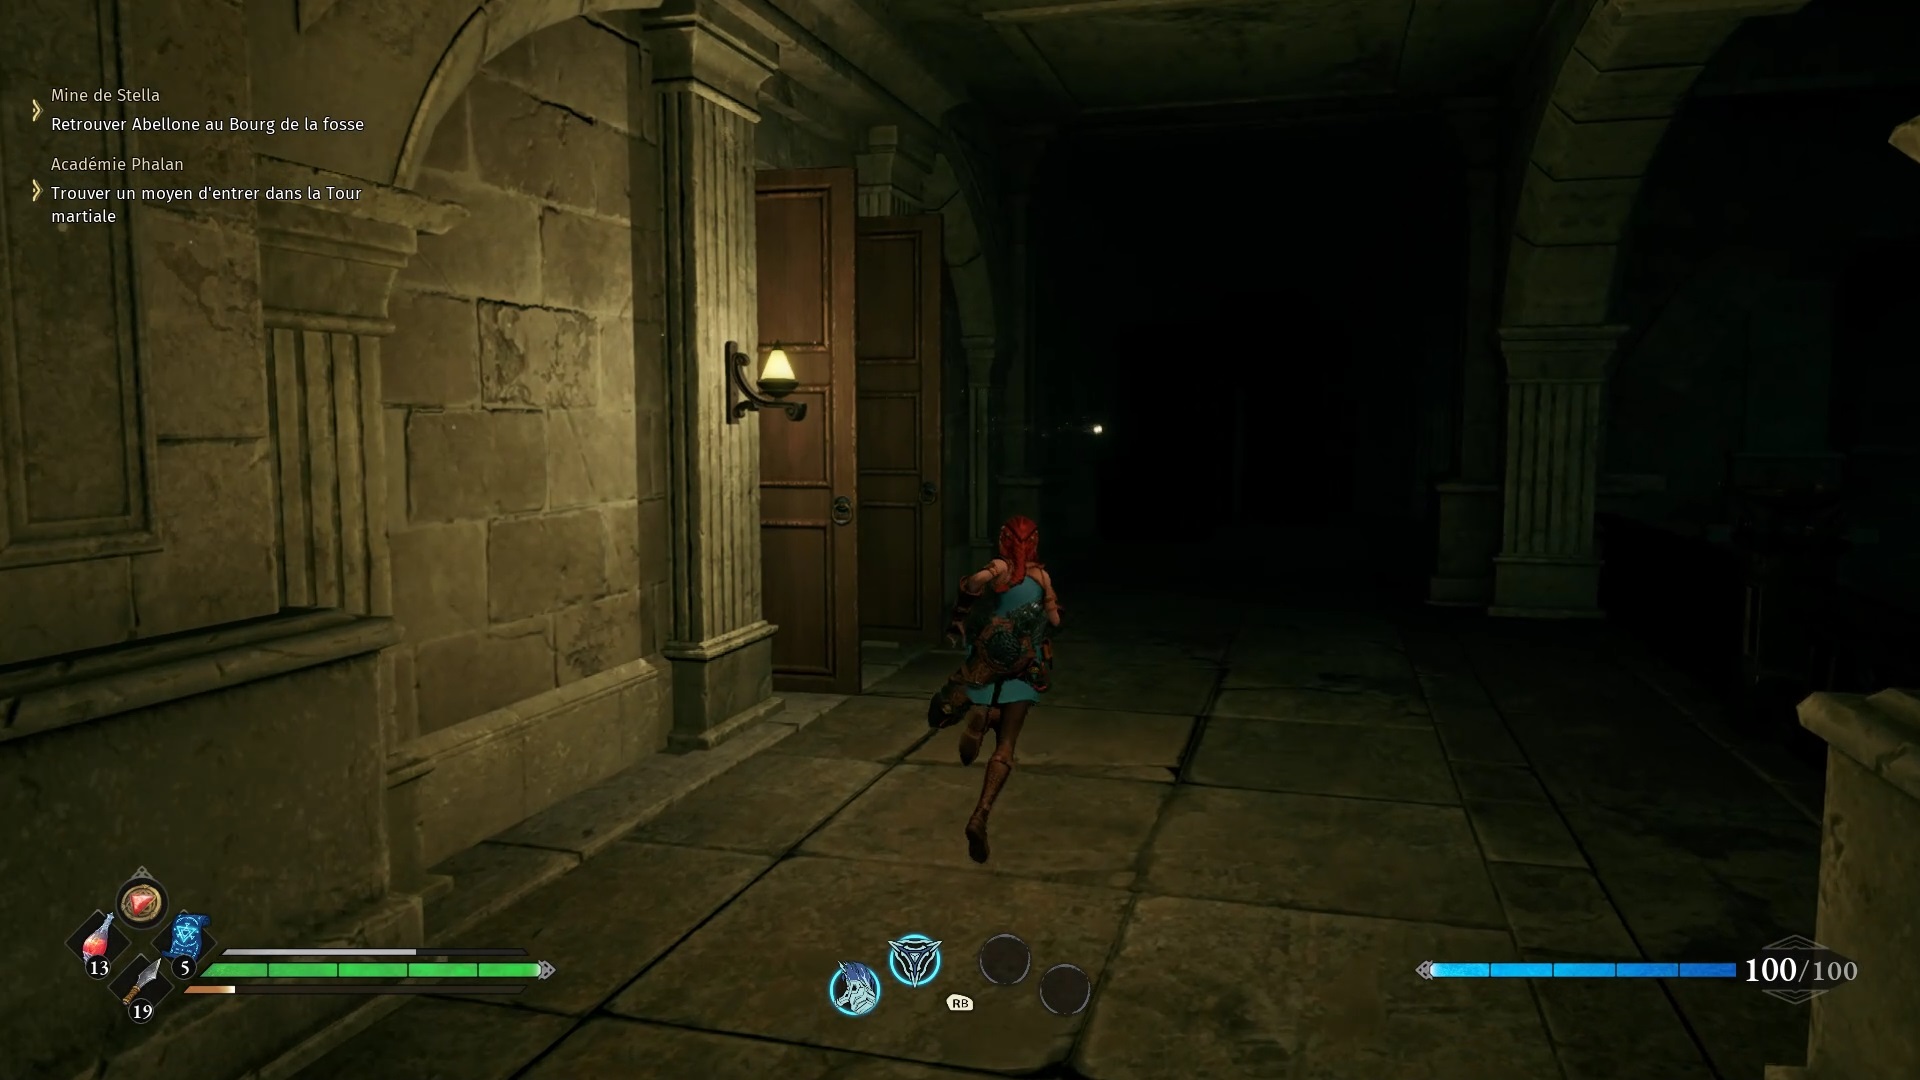
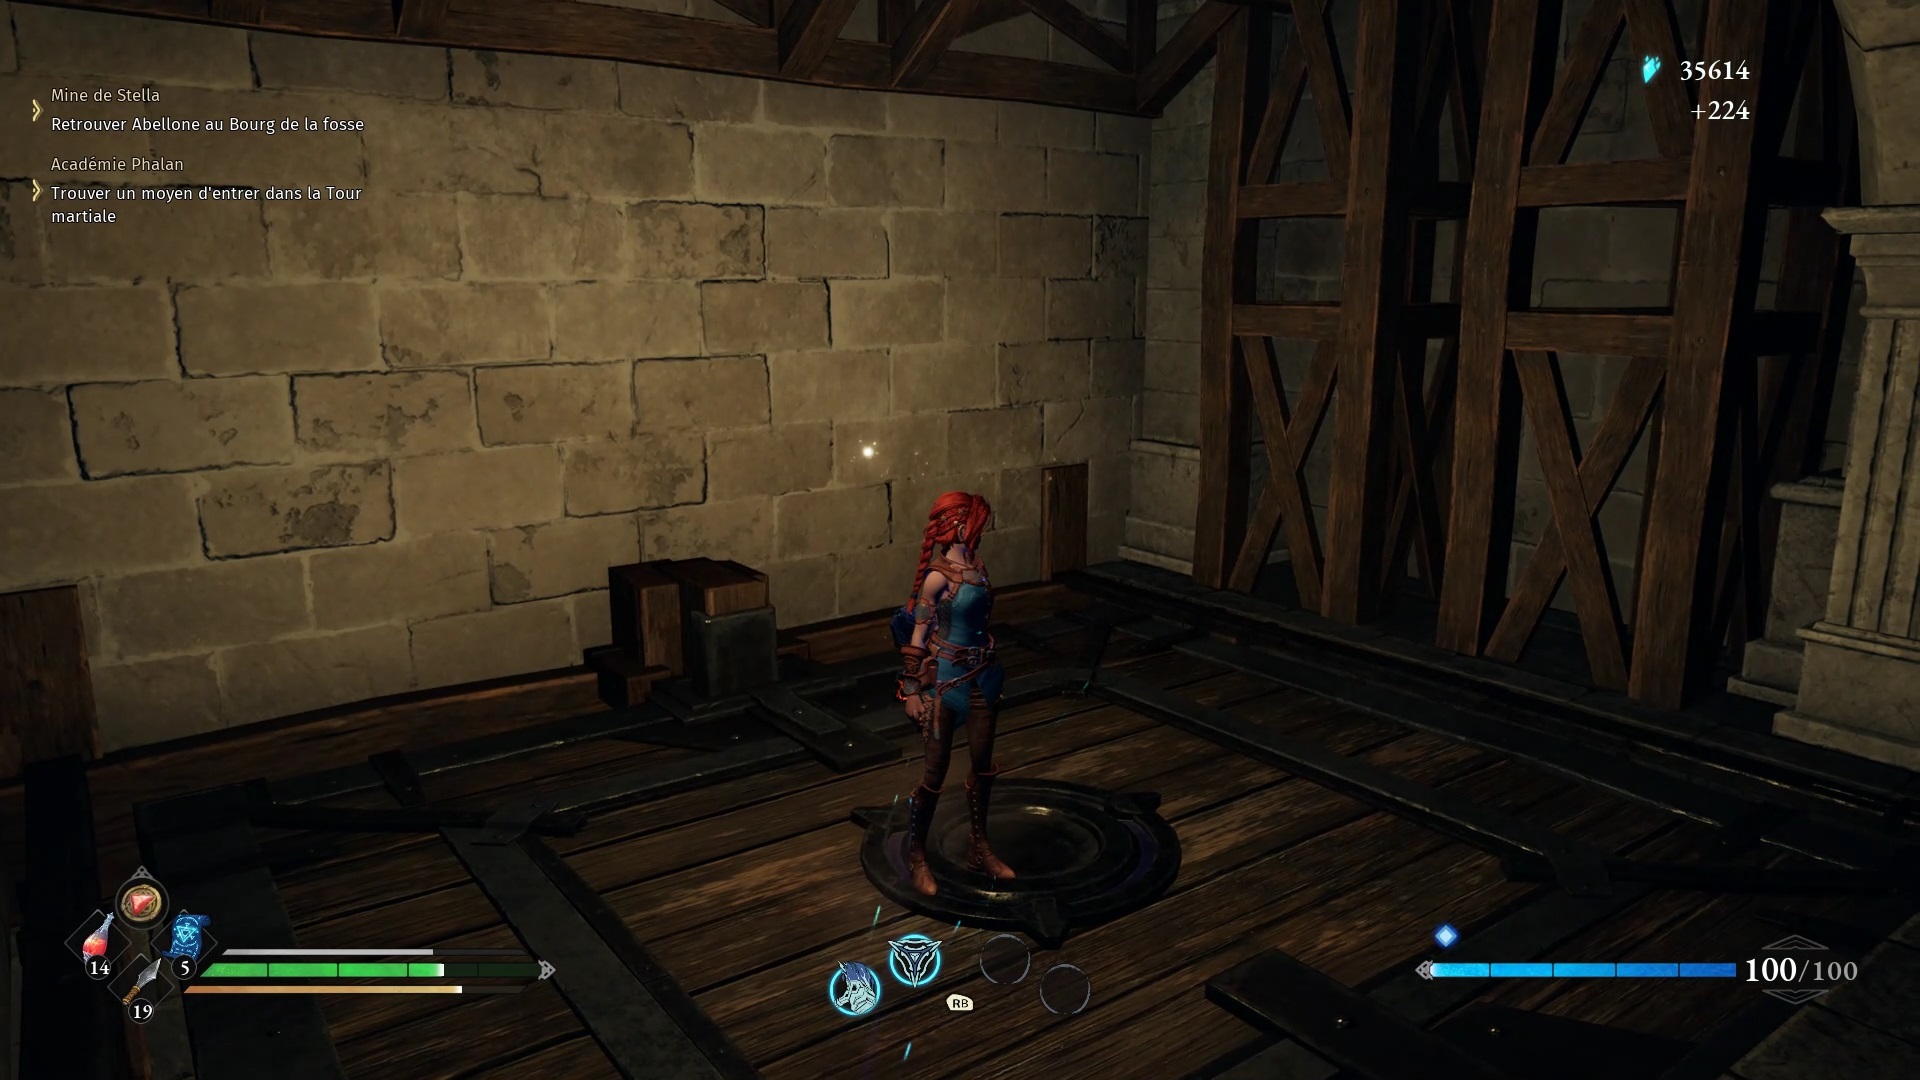
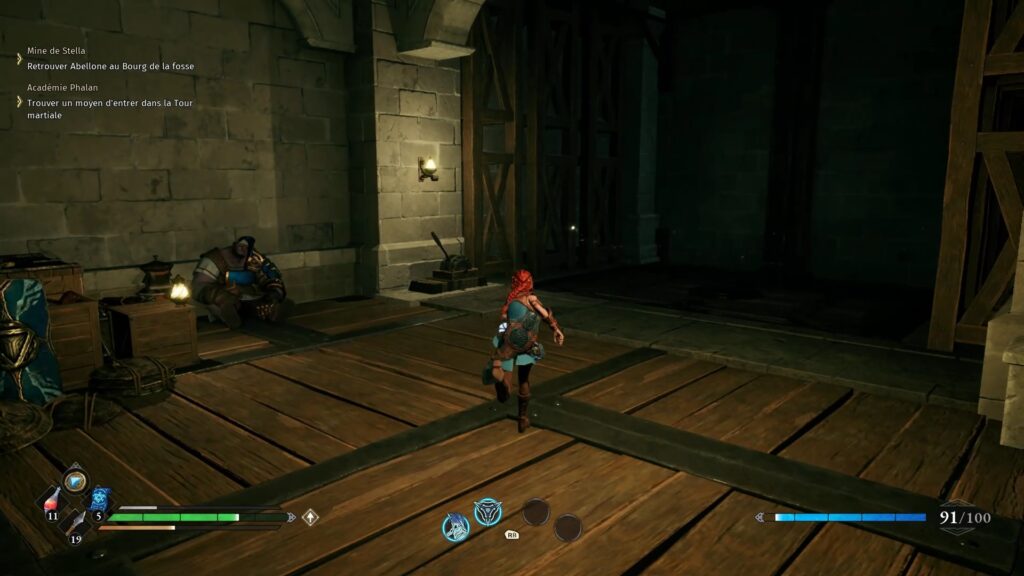
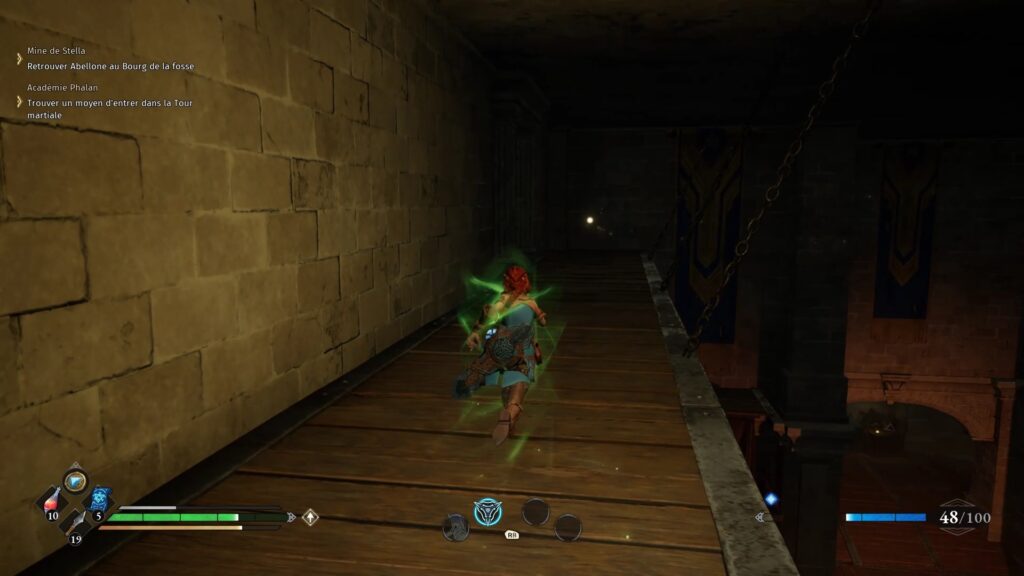
Enter the door behind Otto to reach a balcony. You will find a second door to open on the left. Inside, there is an elevator, to operate which takes you to the lower level. Several blacksmiths await you downstairs. Keep in mind that they are harmless if you don’t attack them. Go to the other side to find a second elevator. Join a walkway to exit to the outdoor balcony.
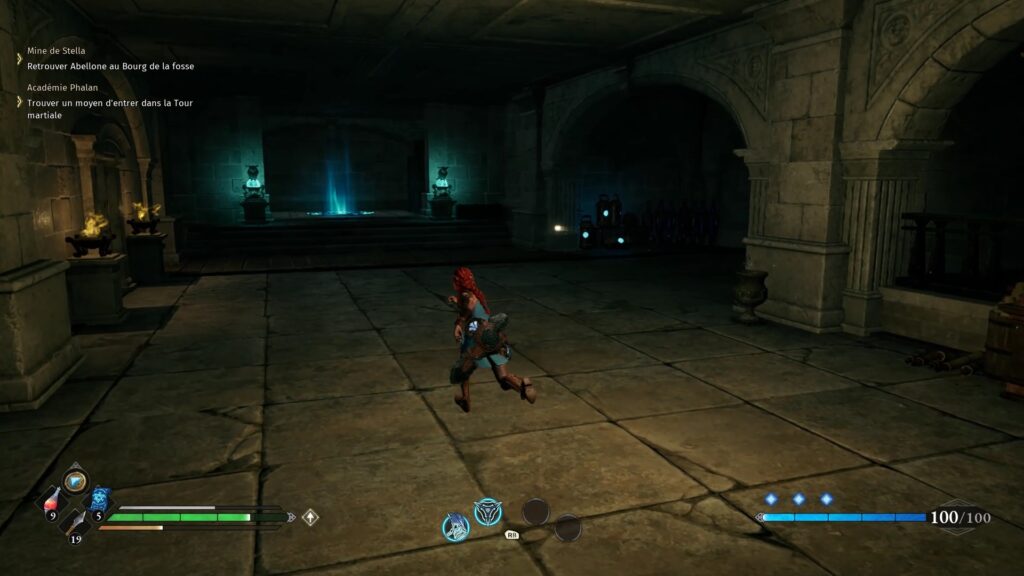
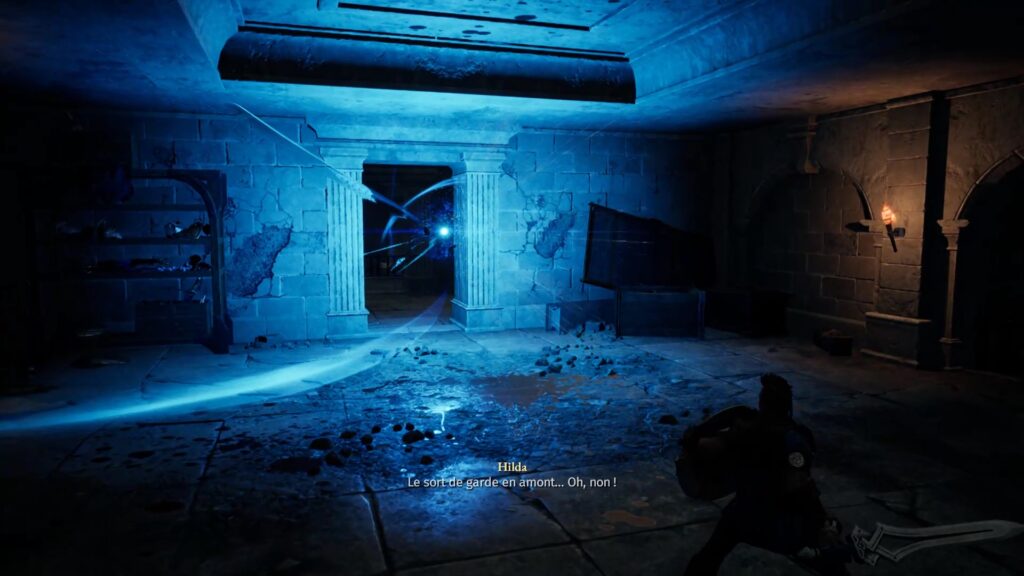
Go upstairs to discover the room of the gunsmiths where a new checkpoint awaits you. Go deeper into the hallways to find a staircase leading down to the armory. Cross the footbridge to reach the martial tower where Otto awaits you. Give Emil’s ring previously found under the gate to Otto. Otto now needs your strength to ward off the guard spell. Fight all enemies that come at you. We noted that a bug can hide some enemies. Don’t panic, he is at the bottom of the stairs.
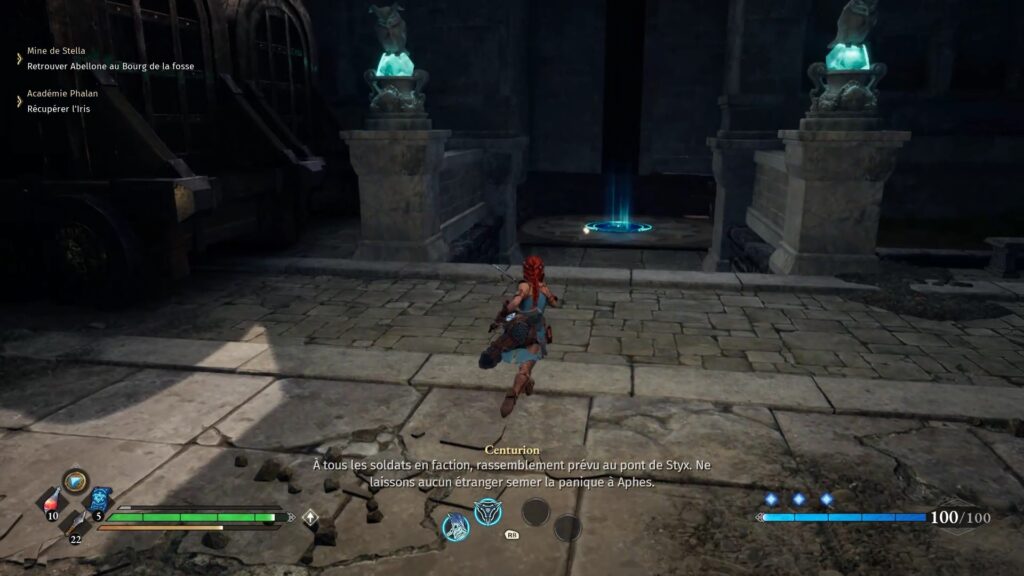
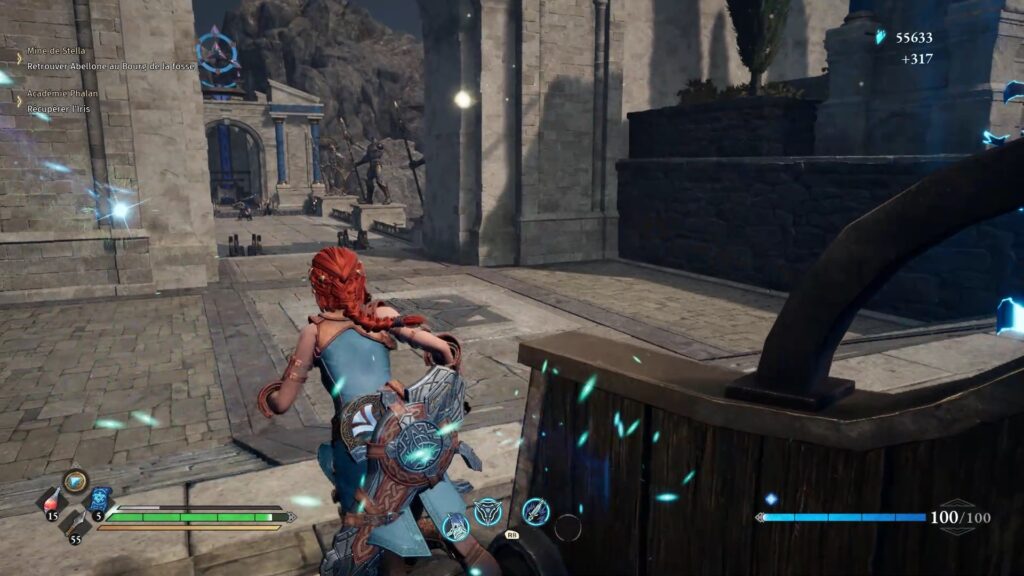
At the end of the fight, move forward to descend from the tower. You will find a checkpoint in the inner courtyard. Use the tanks to reach the Styx bridge located behind an arch.
Fight against Centurion
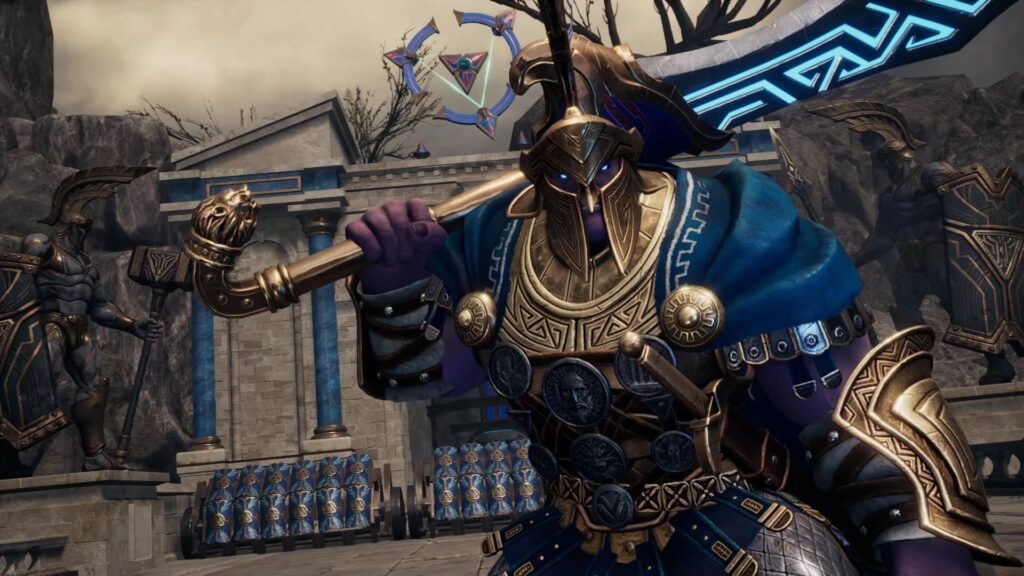
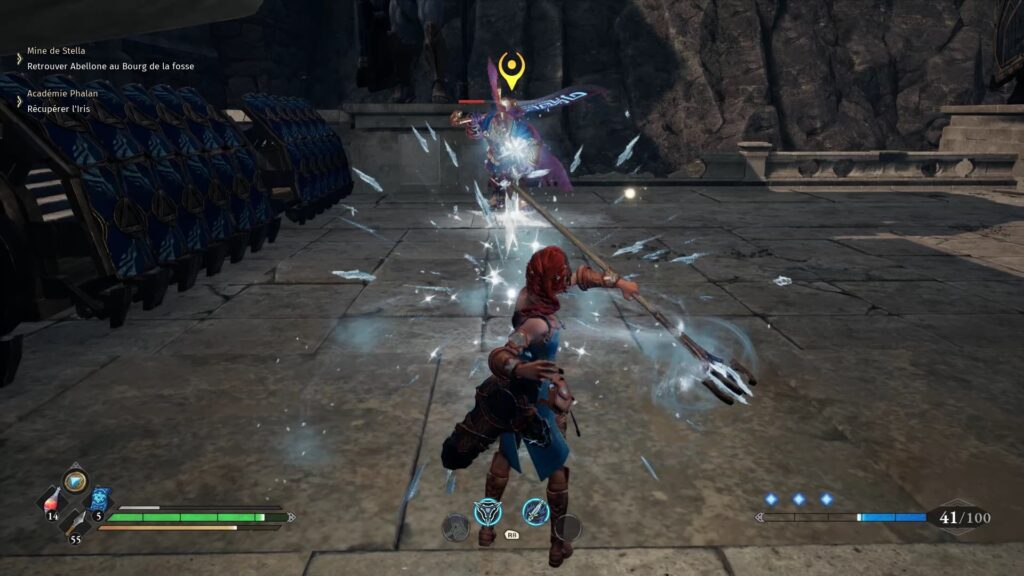
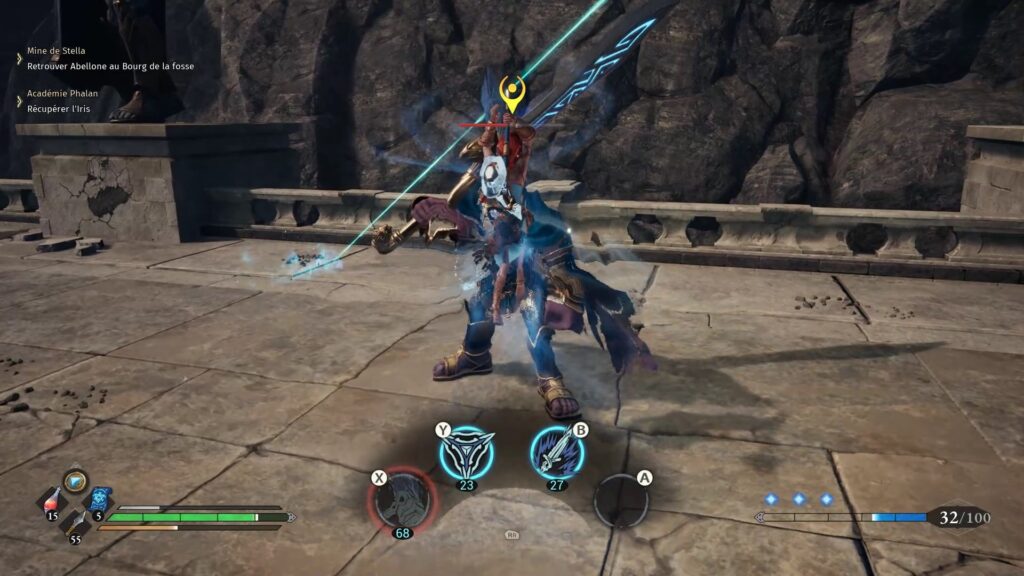
Centurion is a mini-boss that won’t give you much of a problem if you dodge his lasers and are armed with a staff. Take a little distance to hit it with ice without putting yourself in danger. Centurion launches large attacks that are best left unchecked. When you have enough power, launch a special attack. Repeat this technique to keep your strength for the next fight.
Fight against the guardian colossus
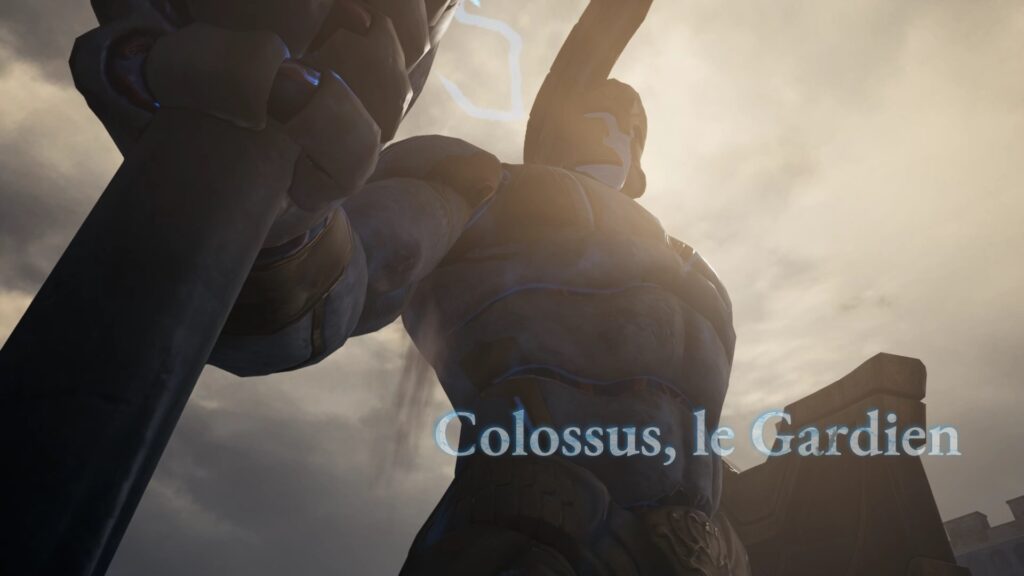
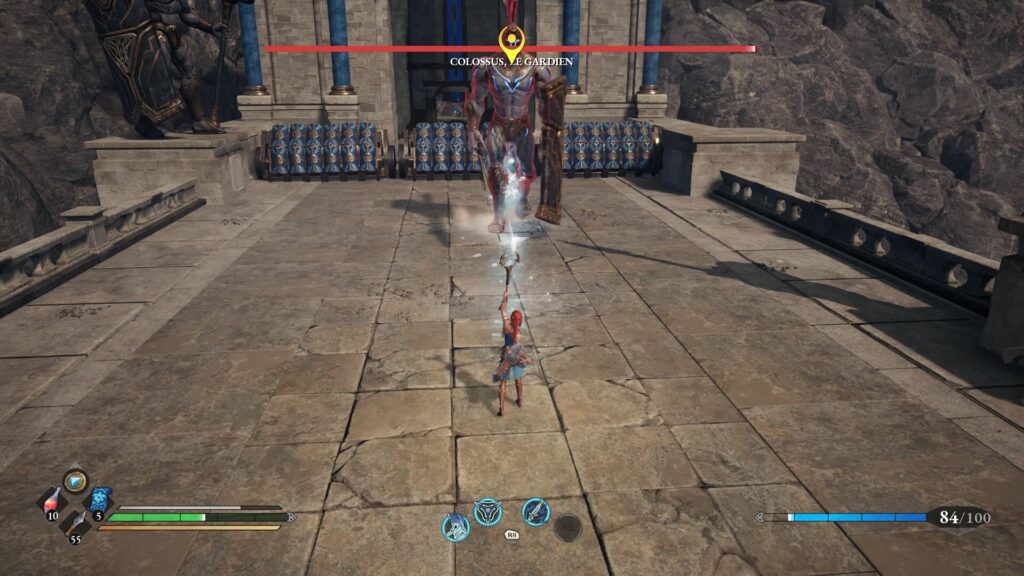
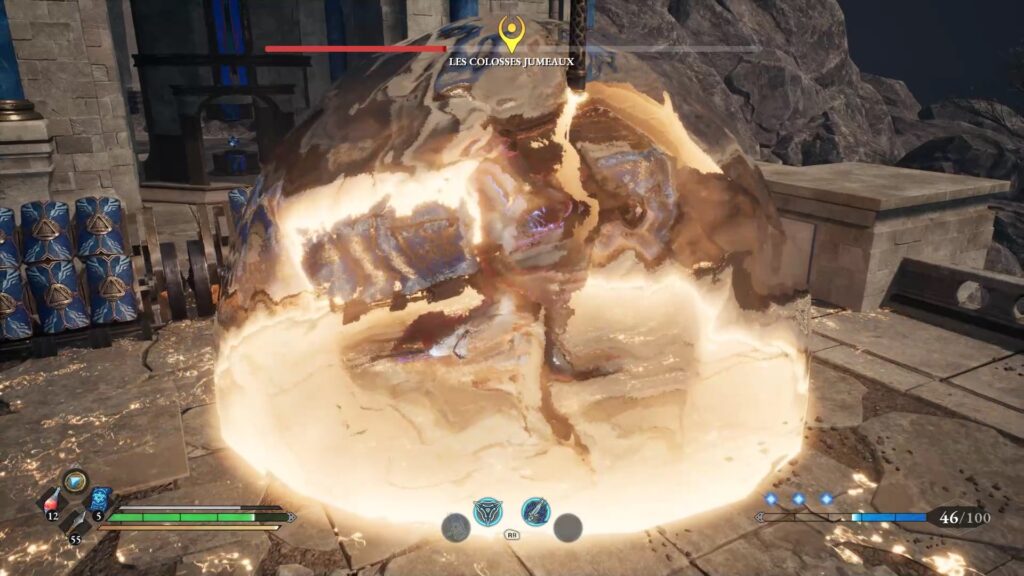
Colossus the Guardian quickly becomes the twin colossi at the start of the fight. Use your staff to gain distance and not put yourself in danger. When an opening presents itself use your close range weapons to cause more damage. Always check the shards of the guardians so as not to find yourself on top and take a shock. In the event of an area attack, take refuge below the colossus’ abacus and chain it with blows. Dodge their hammer attacks with your dodges and beat them as soon as they finish. With a little bit of patience, you will be able to defeat the two Colossi.
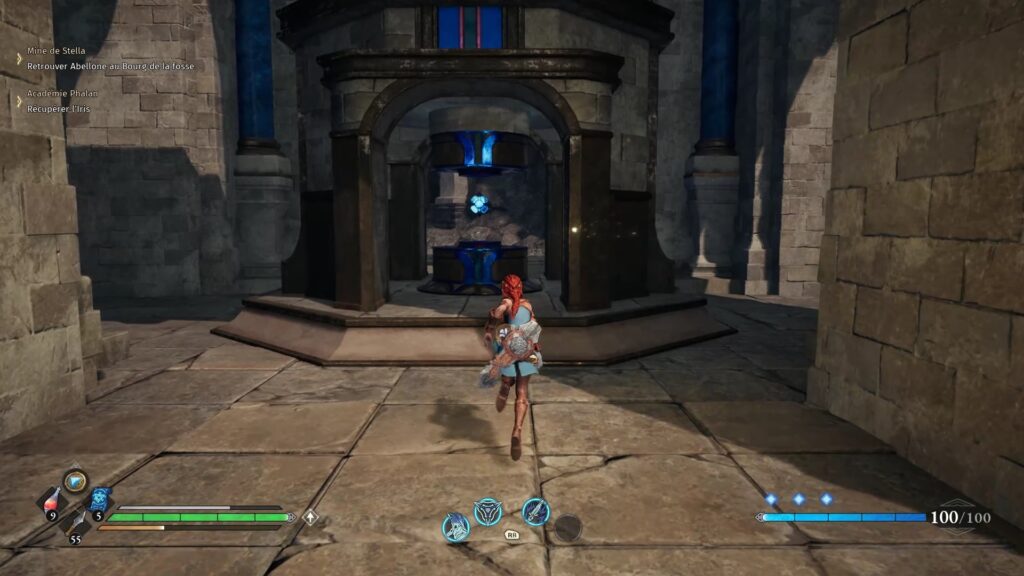
At the end of the fight, collect the Iris and join Otto. Unfortunately, it’s a little too early to join Otto, we have to take care of the last mission for Minerva. Return to the Refuge to deliver the Iris to Minerva and complete the mission.
Stella Mine
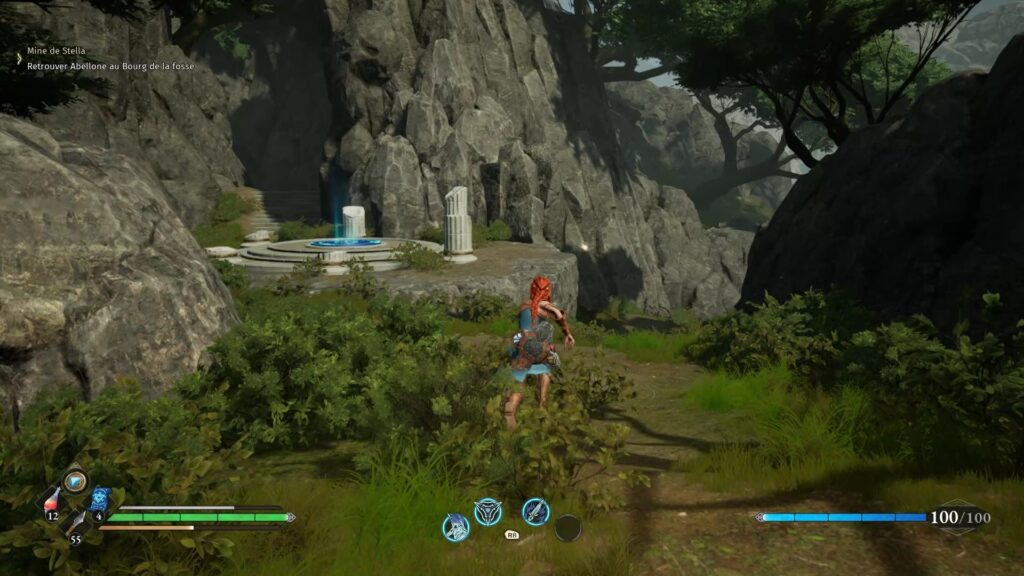
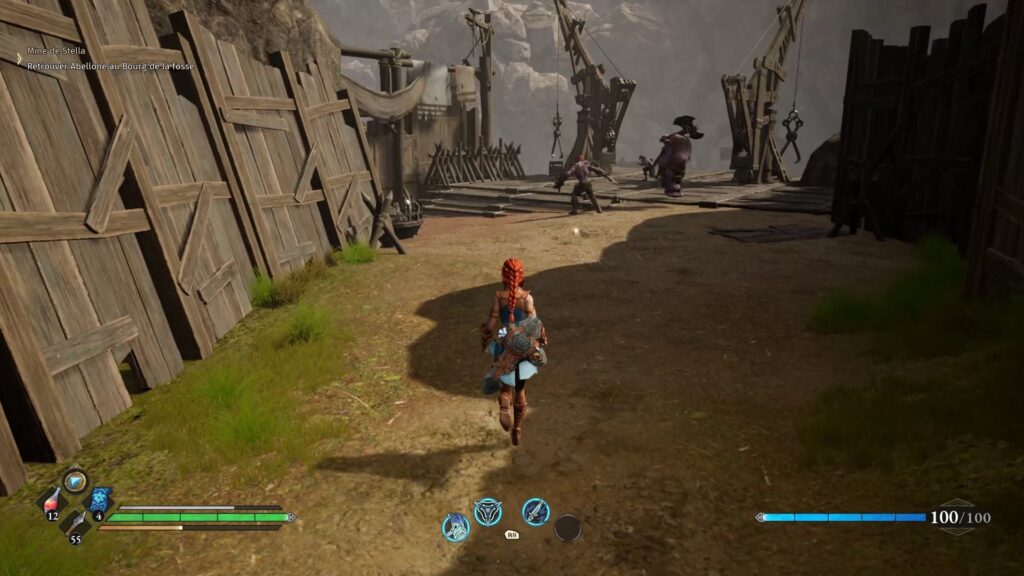
Head to Phalan’s Trail, the checkpoint at the start of the Academy. This time do not take the stairs to go up, but the slope to go down. On site, you will find the entrance to a mine. Get rid of the bandits and interact with the door to access the Pit Village.
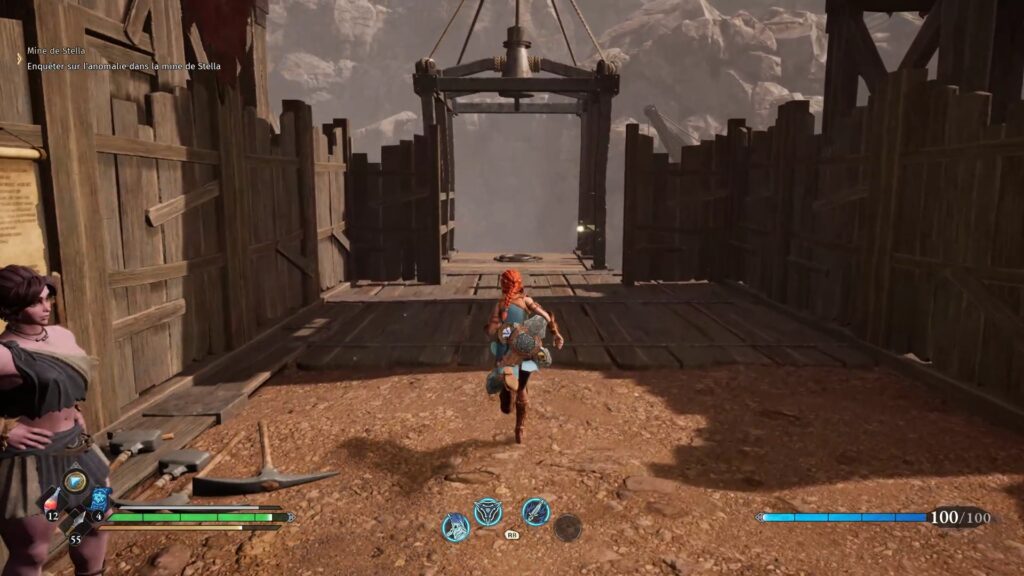
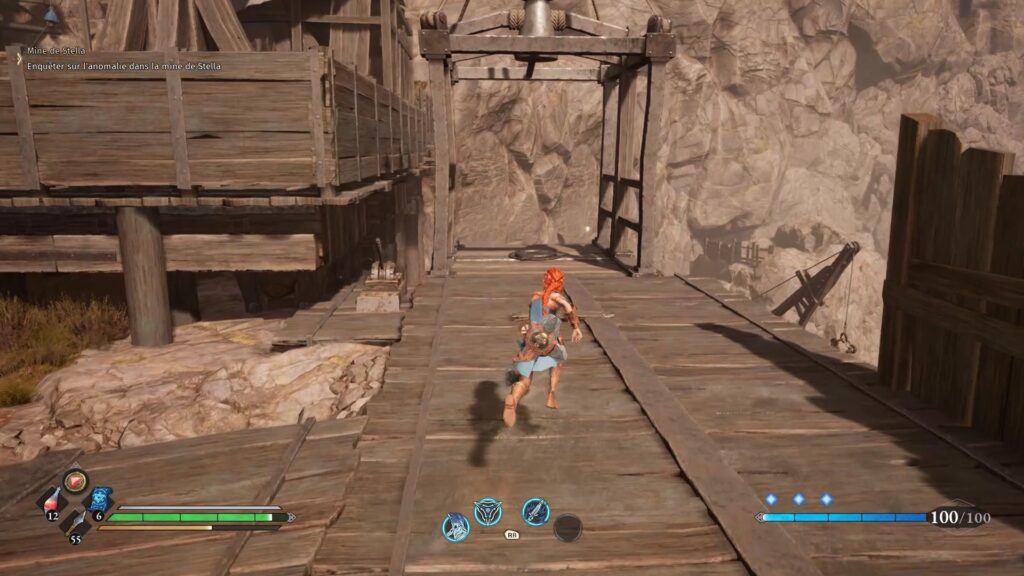
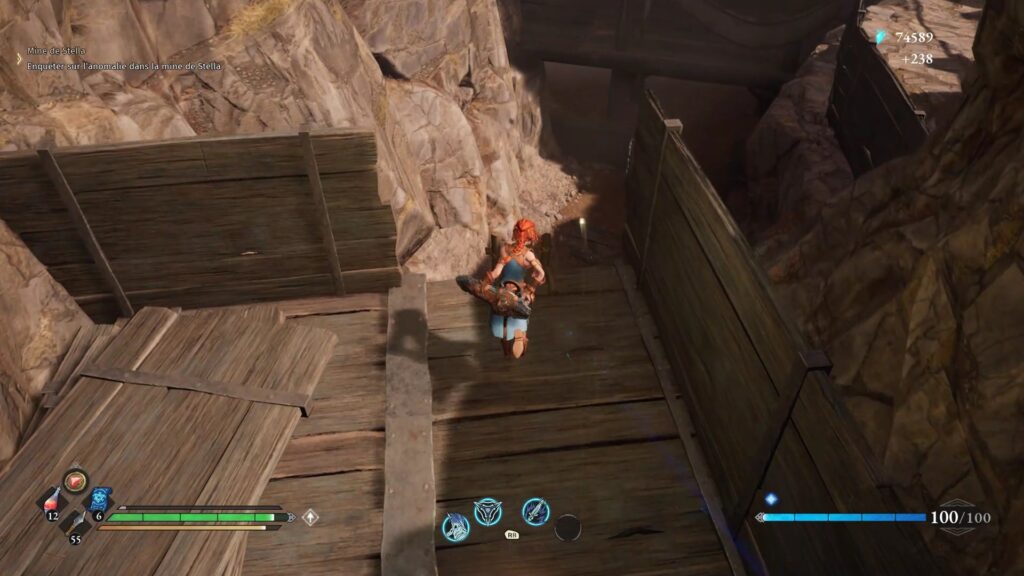
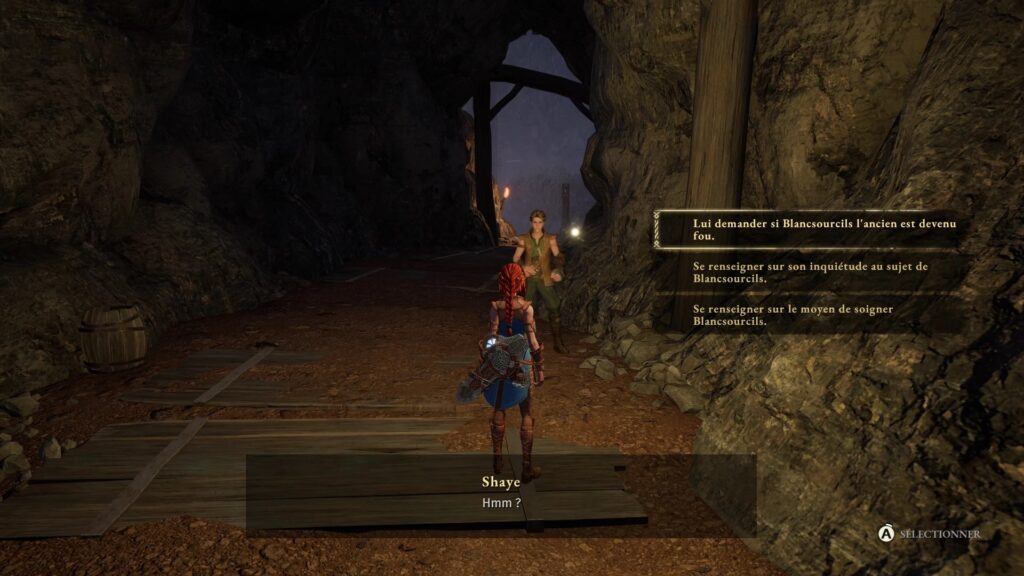
Indicate your intentions to Abellone and descend with the elevator to his right. Clear the square to take a second elevator straight ahead. At the foot of the mine, go under a structure to meet a mysterious character. Take care, it attacks you, defend yourself. The main threats will come from his ranged weapons. Dodge his attacks then attack him to knock him out. After the fight, talk to him to reveal his identity.
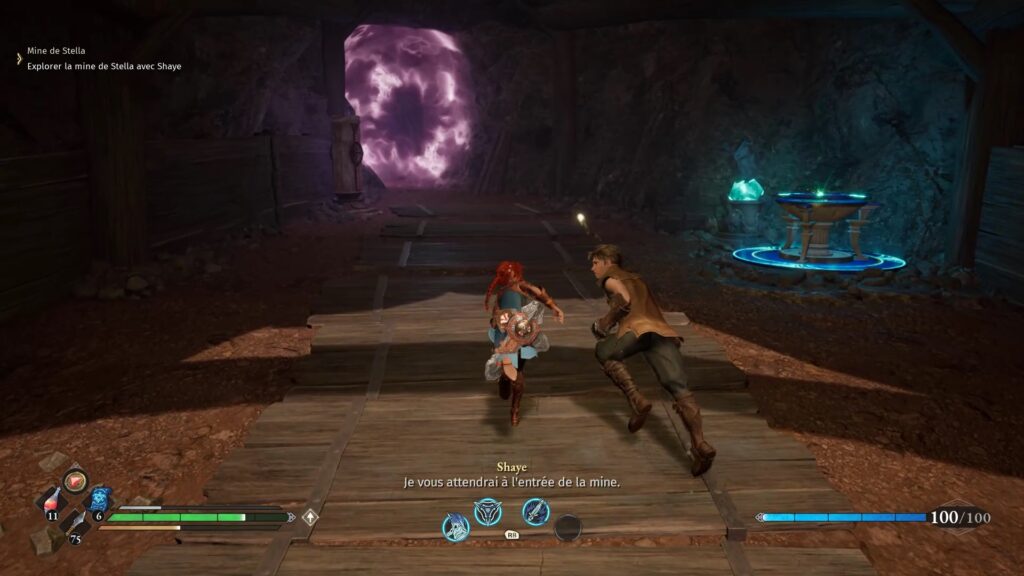
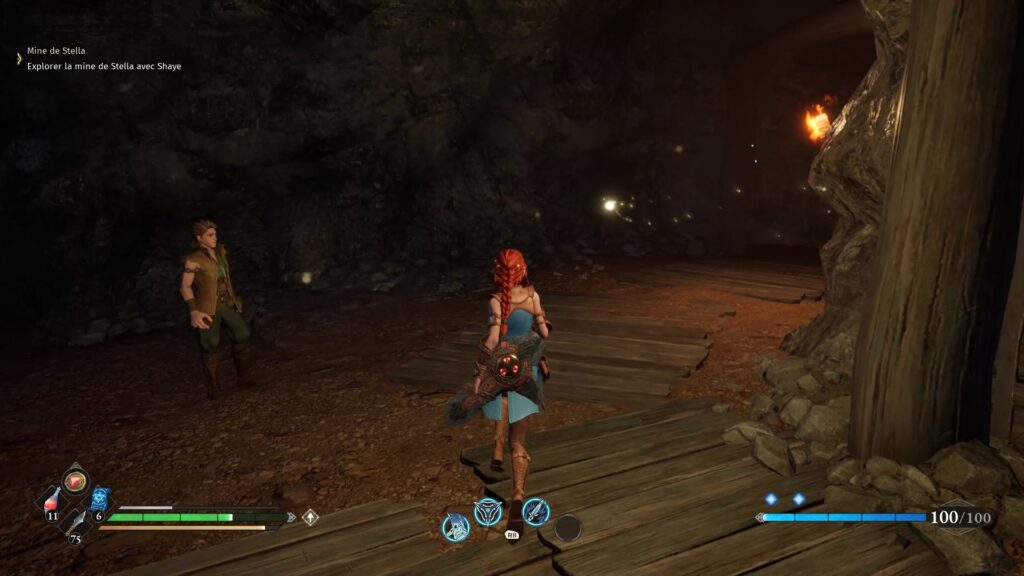
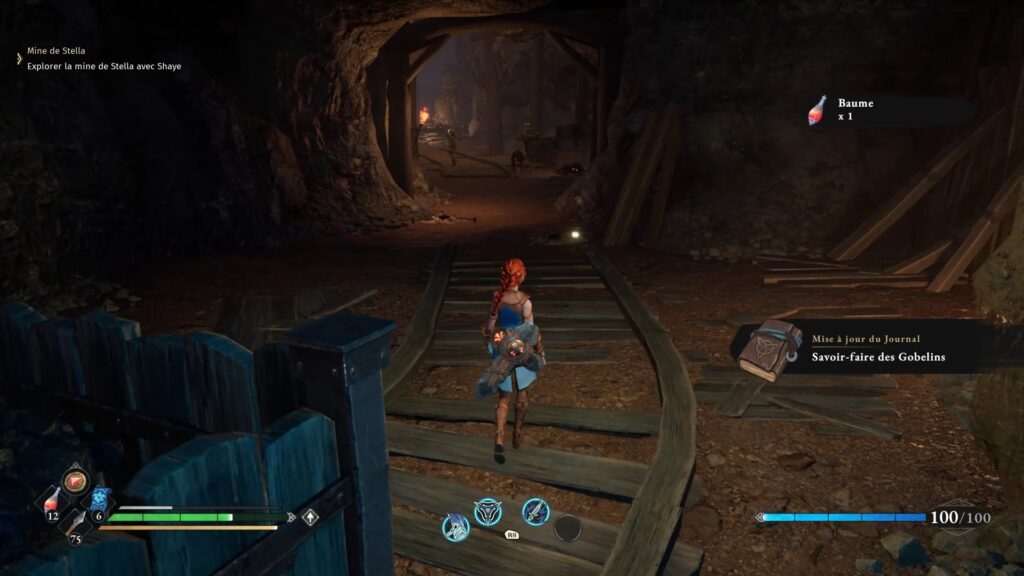
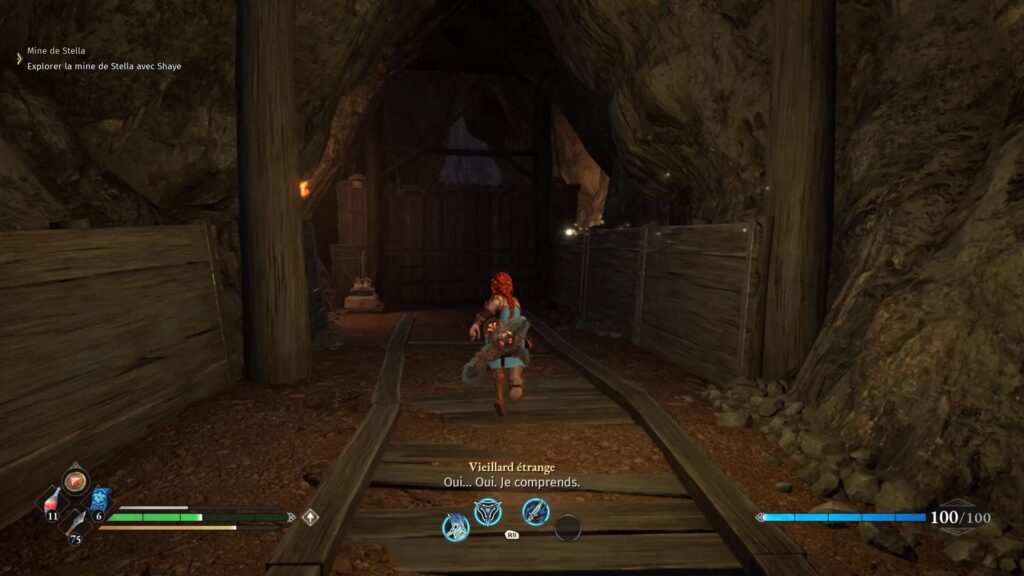
Meet Shaye at the mine entrance to go inside. Take care to activate the checkpoint before. In the mine, the miners will not harm you, do not attack them. At the first intersection, take the right path. Shaye leads the way. Keep moving forward to find a minecart. If you look to his right a barricade is up. Destroy the barricade and sink inside the passage to avoid a confrontation. Be careful, the path is strewn with traps, watch where you are walking. Armadillo-like enemies swoop down on you. Let them bump into the wall to attack and destroy them faster. Continue to find a lever. Activate it to open the door.
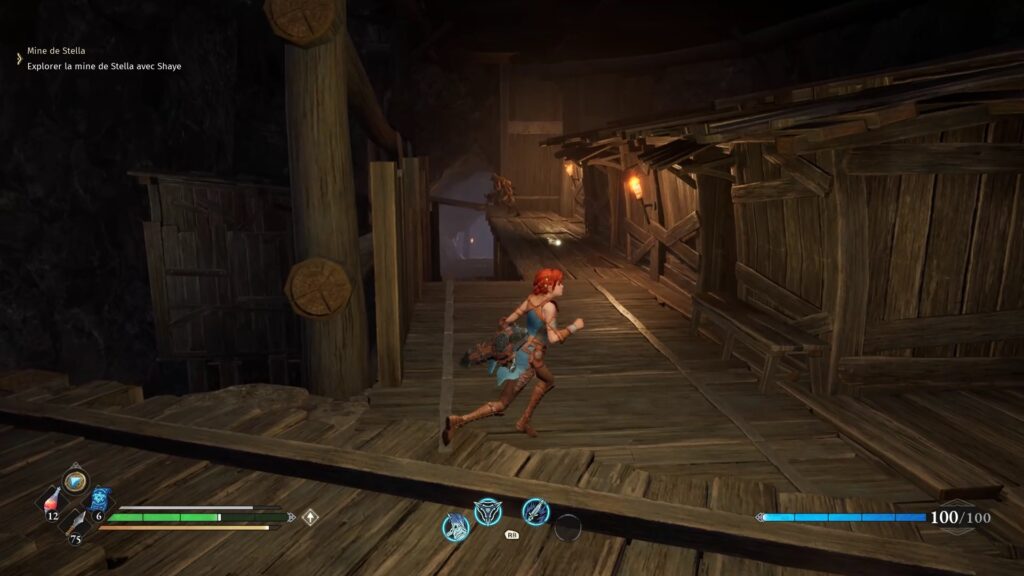
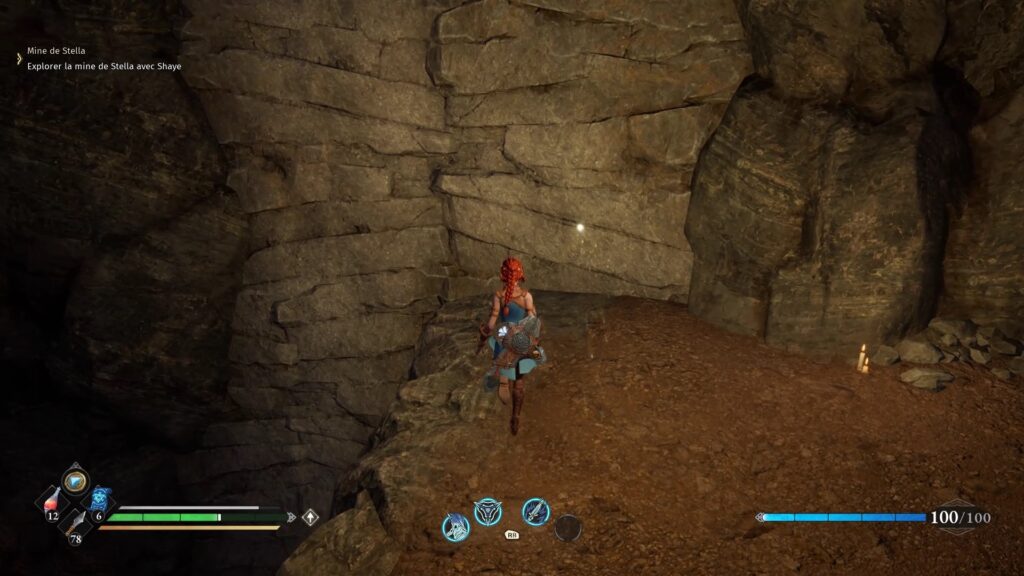
You reach the abyss. Face the enemies on the spot and go down the slope in front of the cabin. Go down and turn left. Take the ladder and hang on to the wall to continue your descent. Shaye will meet you downstairs.
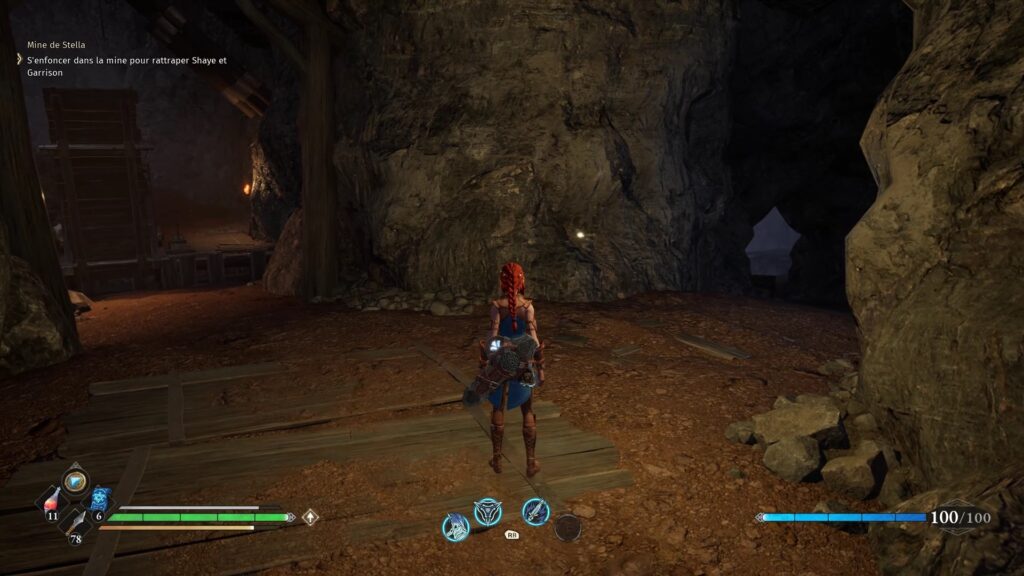
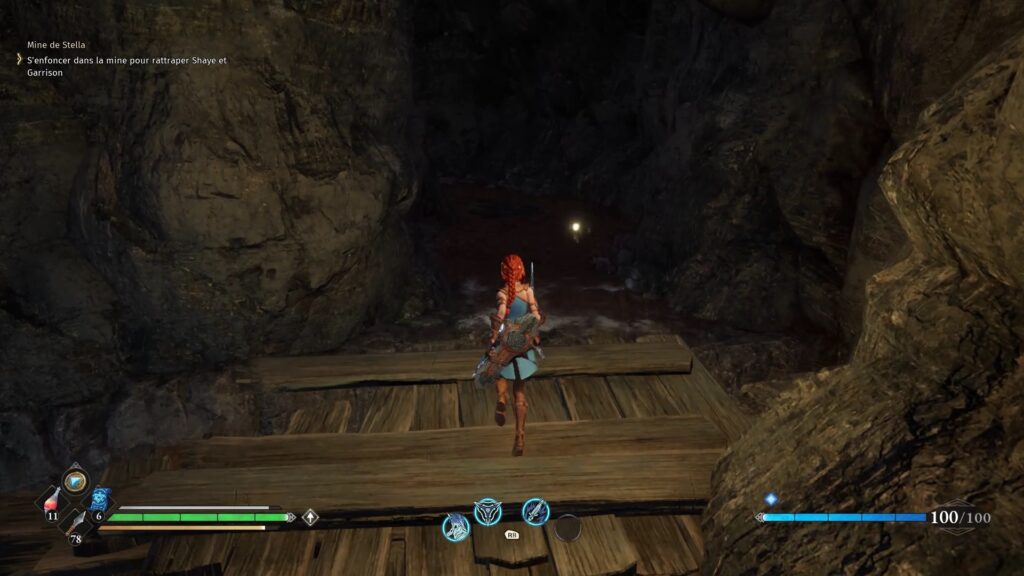
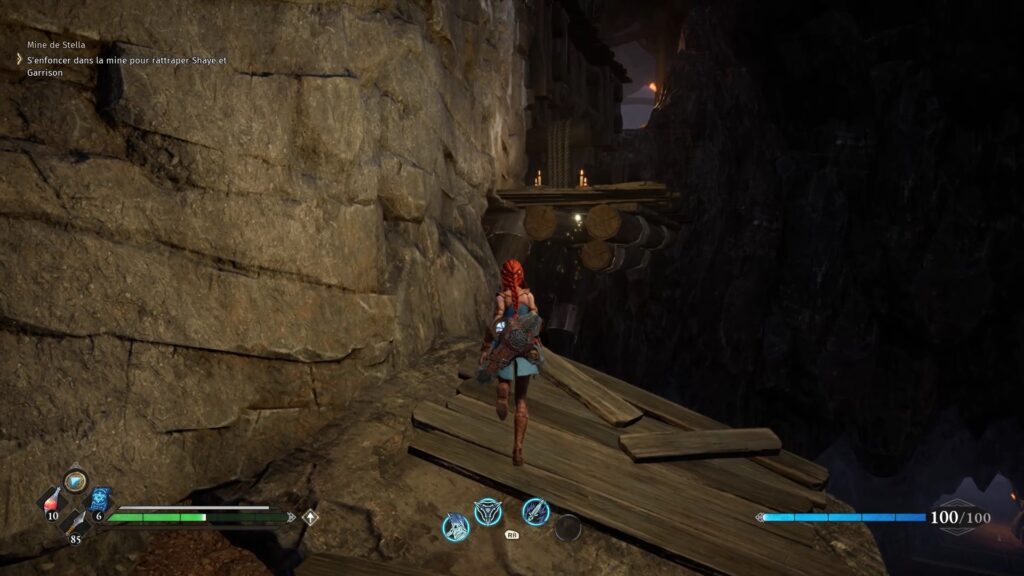
Retrace your steps after the cutscene to find a passage. Move forward and jump over the obstacle. Be careful, a big beast is waiting in front of you to see if you decide to face it or not. After that, keep venturing through the tunnel and climb up against the wall. Don’t jump! Once at the top activate the drawbridge in case you have to start again.
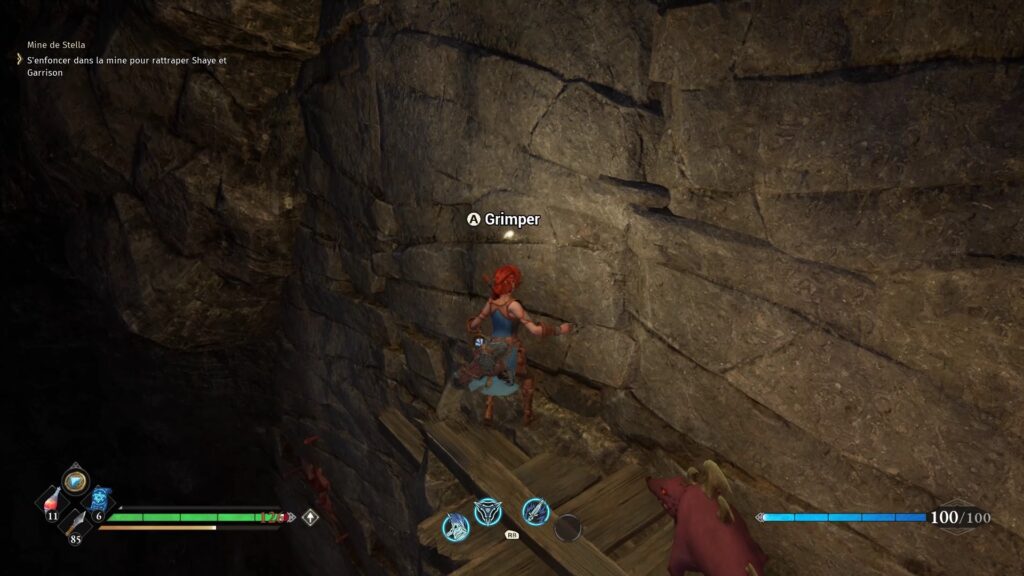
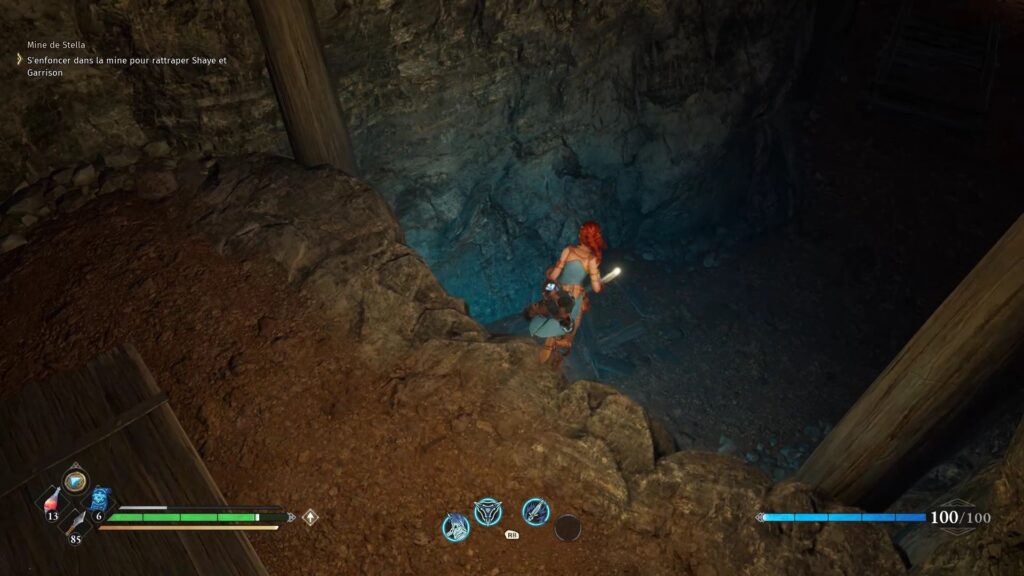
Join the other side to find a new wall to climb on. Carefully descend to the bottom. Beware of the enemies waiting for you and enter the tunnel opposite to find Shaye in the lower mine.
Fight against Garrison
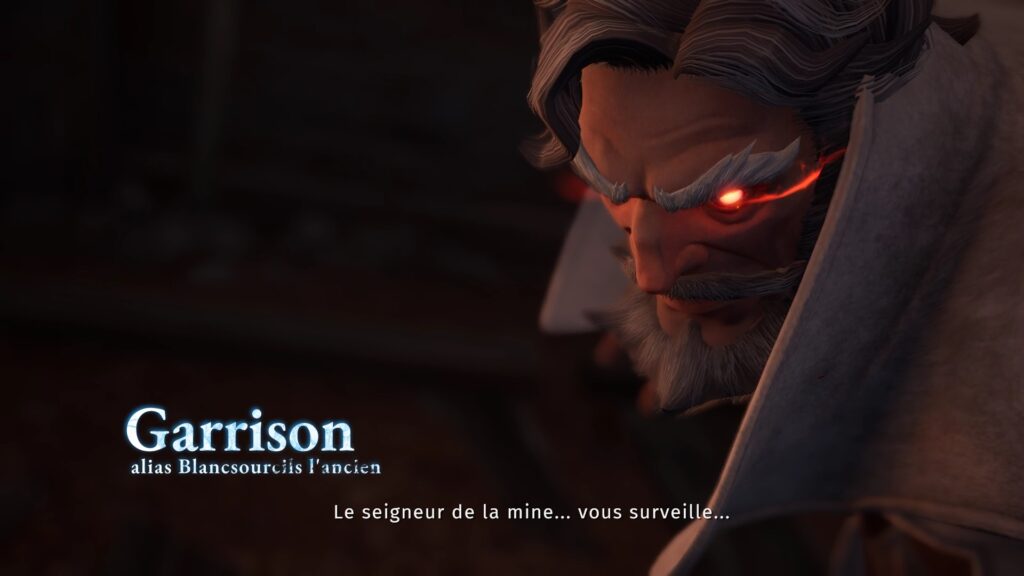
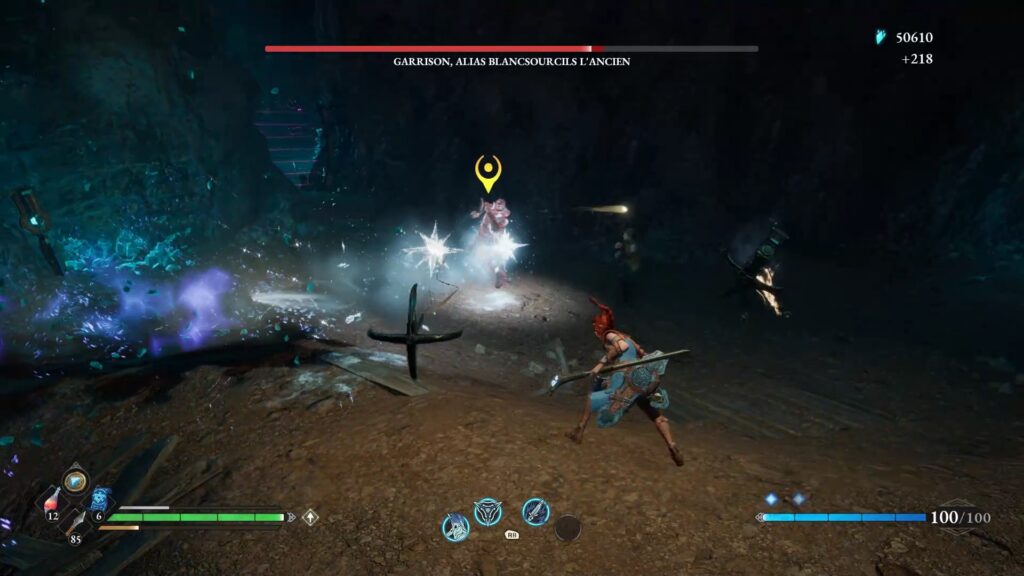
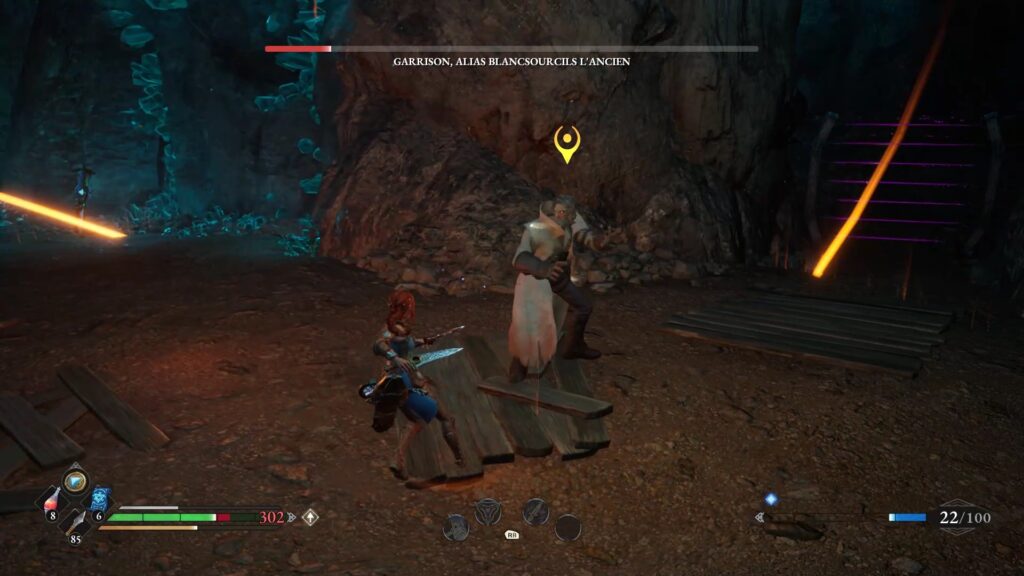
During the first phase, Garisson uses basic attacks that you can dodge. Use your staff to take some distance and let Shaye take the lead. beat the boss when his back is turned. A few hits are enough to move on to phase two. Follow Shaye to find Garisson. Be careful where you step, the place is full of traps. In the second phase, Garrison uses crossbows. We recommend that you take care of crossbows first before facing Garisson. Once you get rid of the crossbows, continue hitting Garisson with your staff. Follow the path to find Garisson. You know the music, destroy the crossbows and take care of Garisson. In the last phase, it is between you and him. Use special attacks to destroy his life bar. Dodge and protect yourself when he attacks. Wait for an opening to hit it and fill your gauge. Start placing special attacks again.
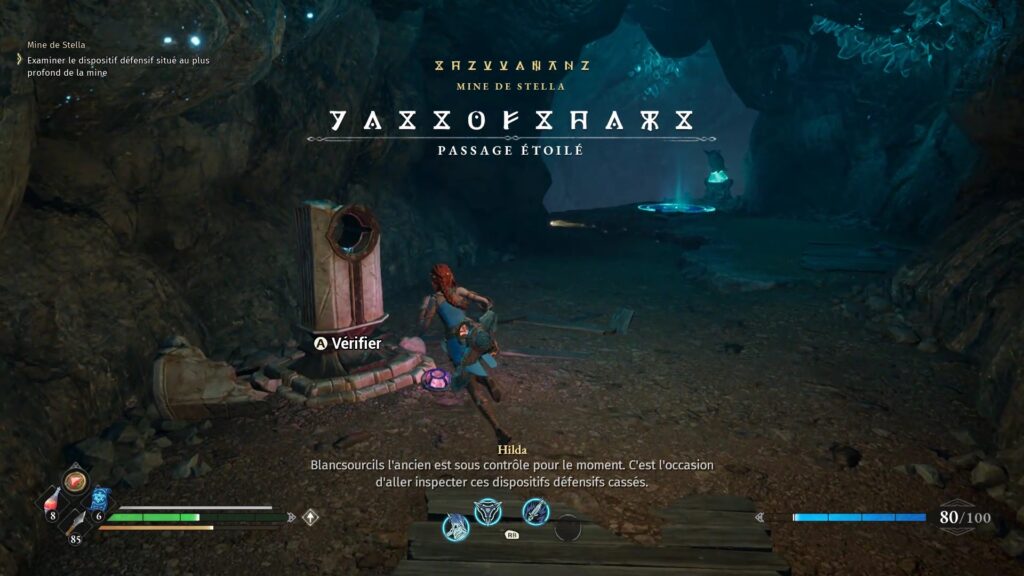
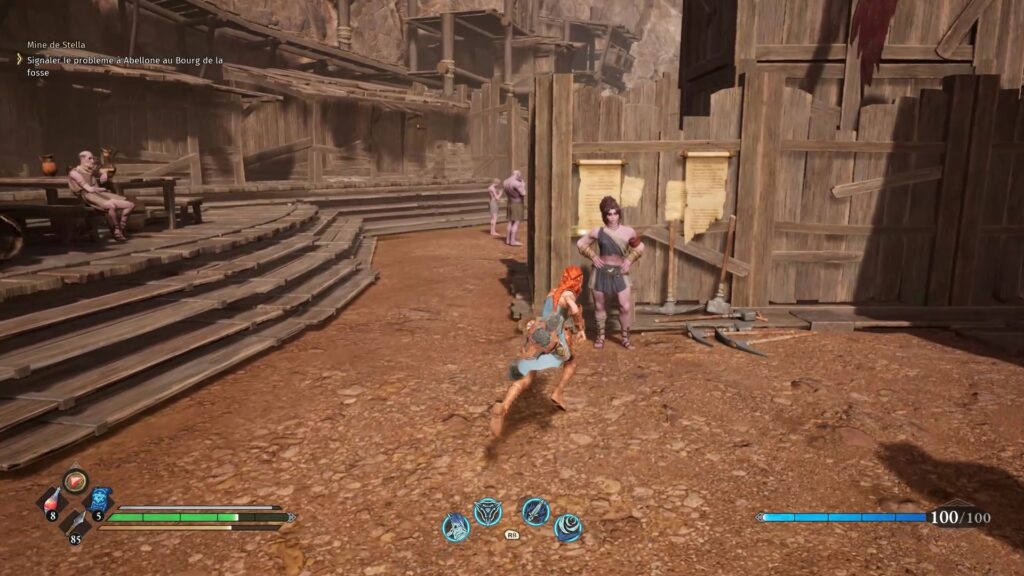
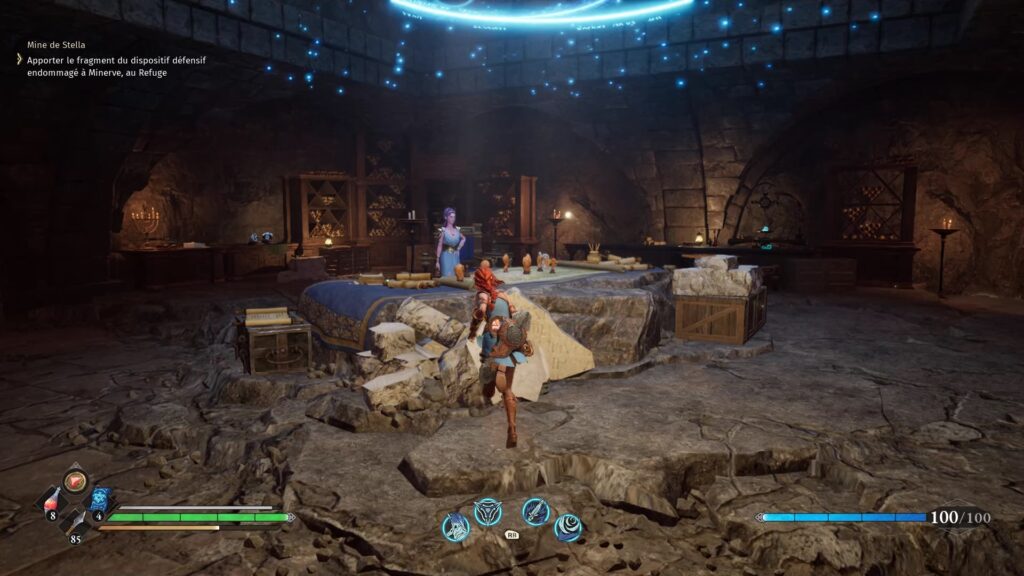
At the end of the fight, sink into the mine to find the defensive device. Report to Abellone and Minerva to complete the mission.
Cloaca Rhodos
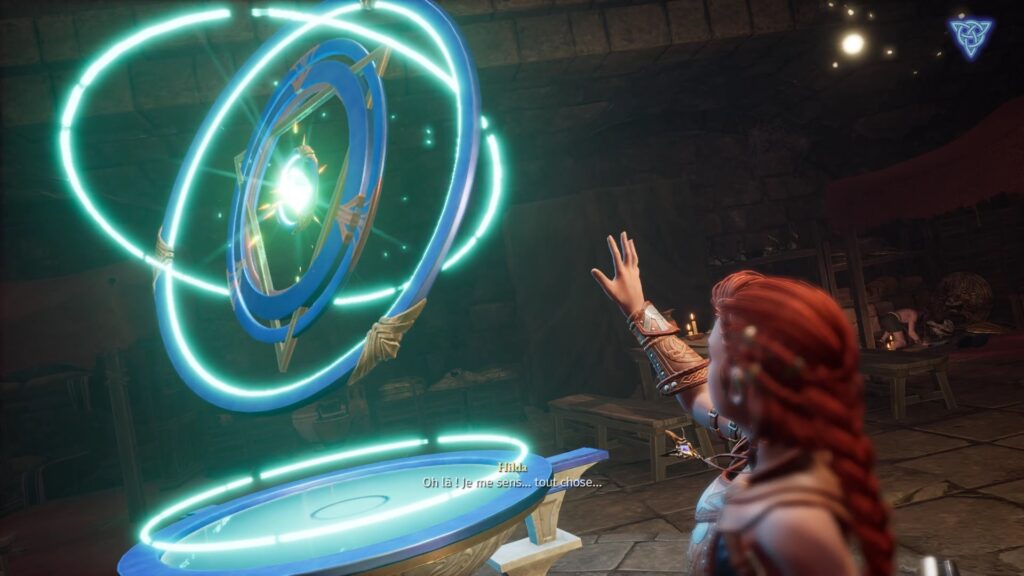
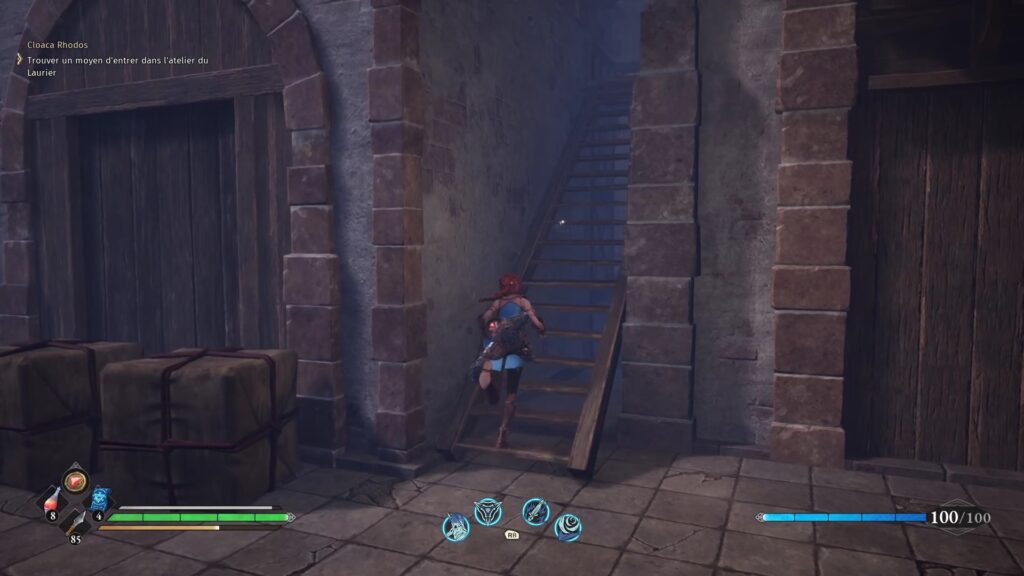
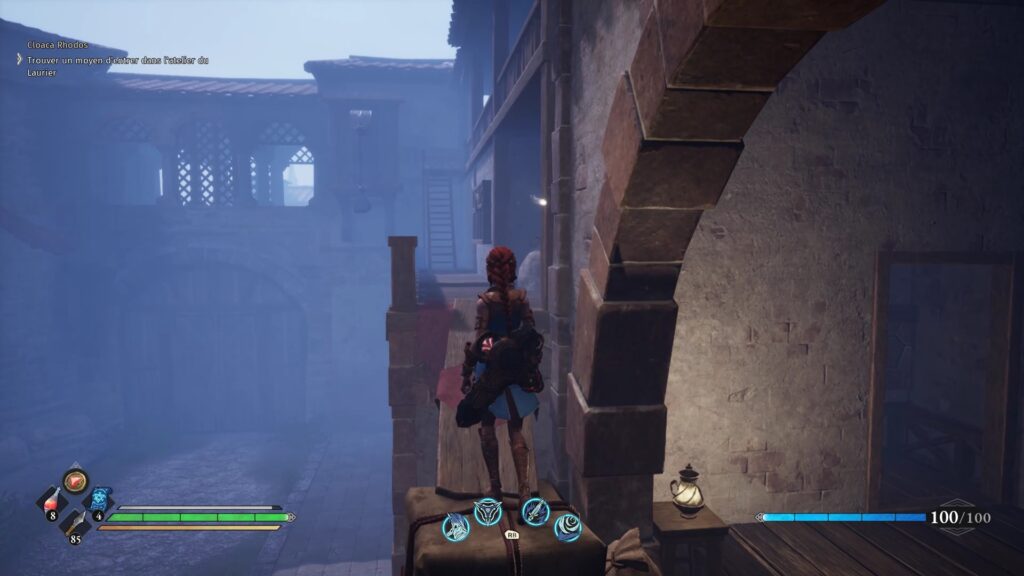
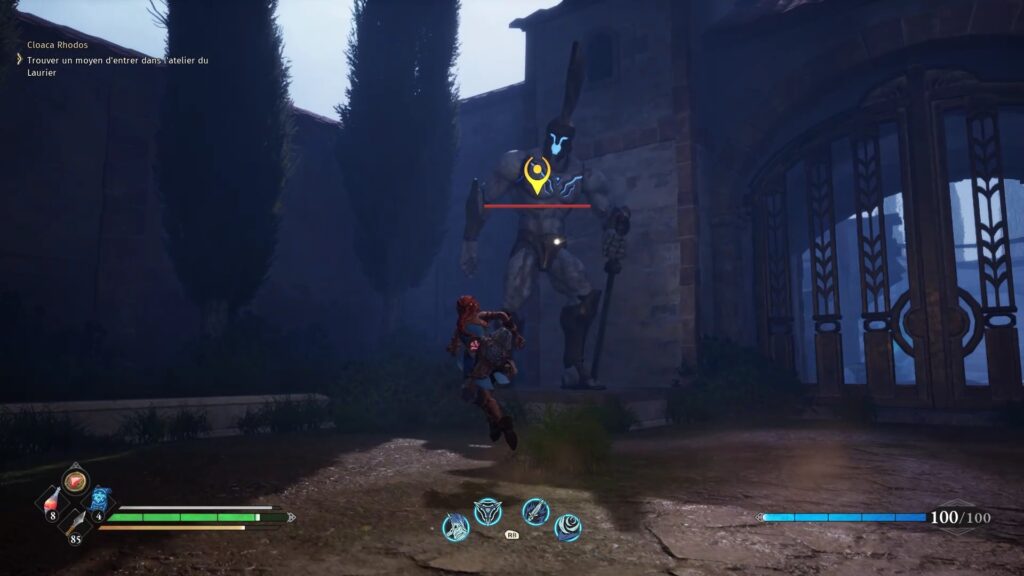
After completing the quests, Minerva sends you to the Refuge armillary sphere. Interact with it to teleport. Once on the other side, you must question Minerva. Next, head up the stairs against the right wall. Climb onto the crates above to reach a balcony. Go to the other side of the wall and fight the Colossus. Luckily for us, he’s not on the same level as the twins. Once defeated, open the gate.
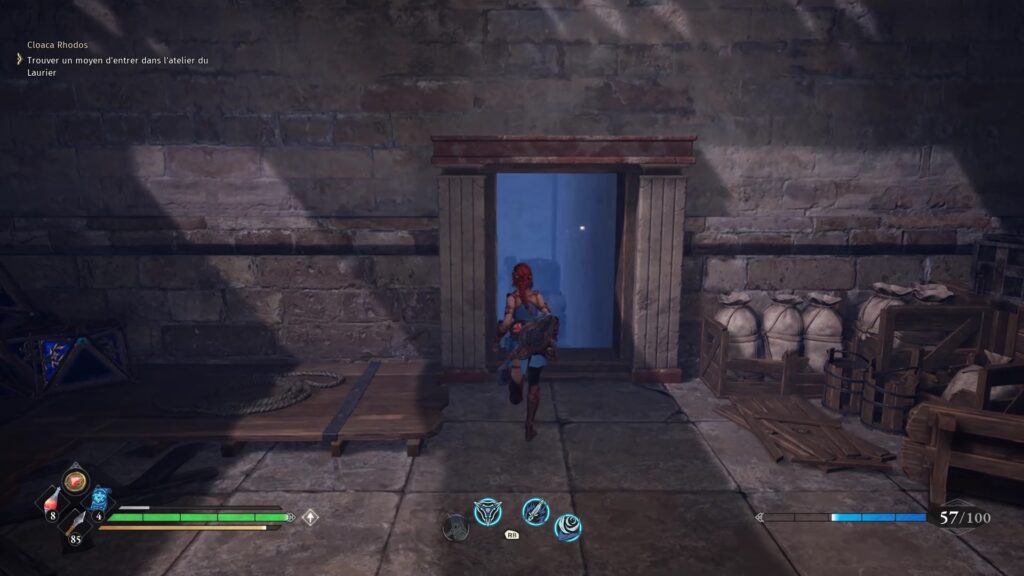
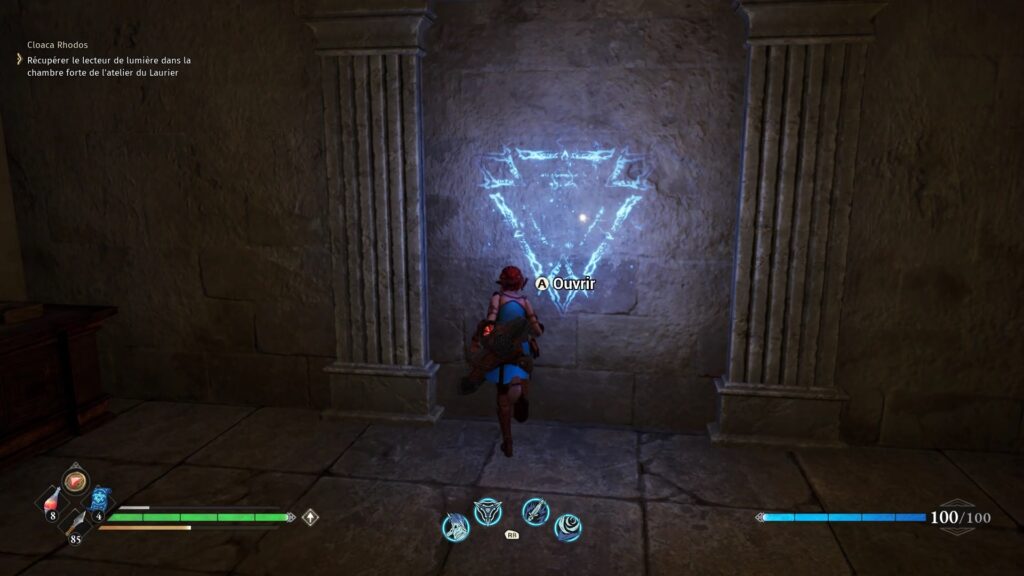
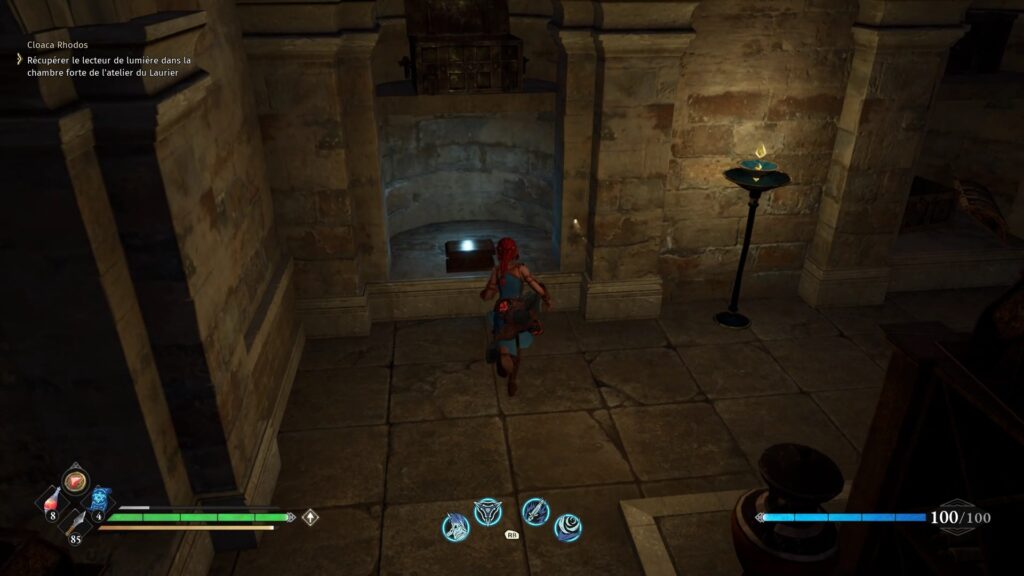
Enter the passage in the alley to access the basement. Head inside to find a mark against a wall. Interact with it to open the wall. Take the container from the chest in front and give it to Minerva. Return to the shelter and discuss the rest of the missions with Minerva.
Sunken Outskirts
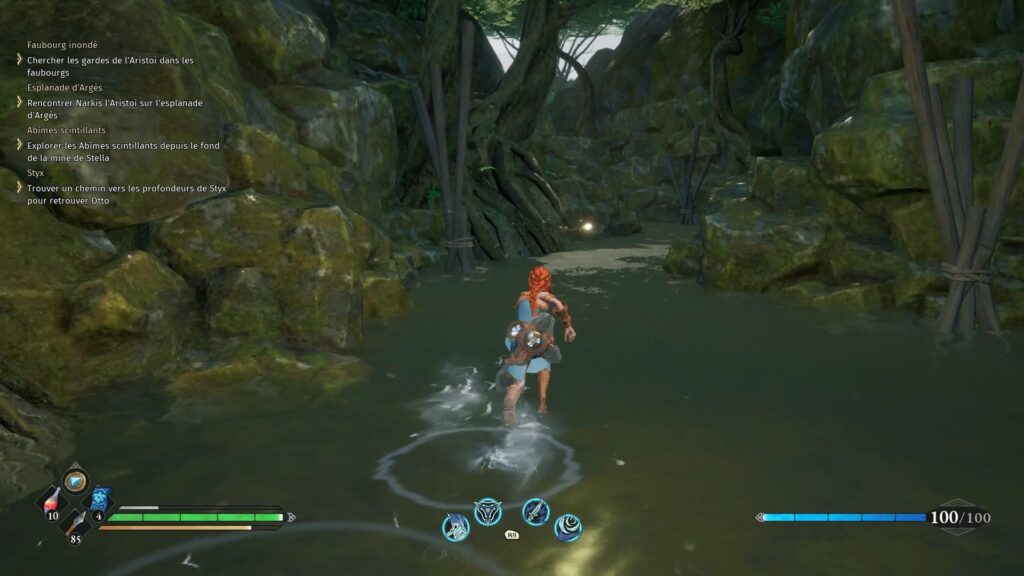
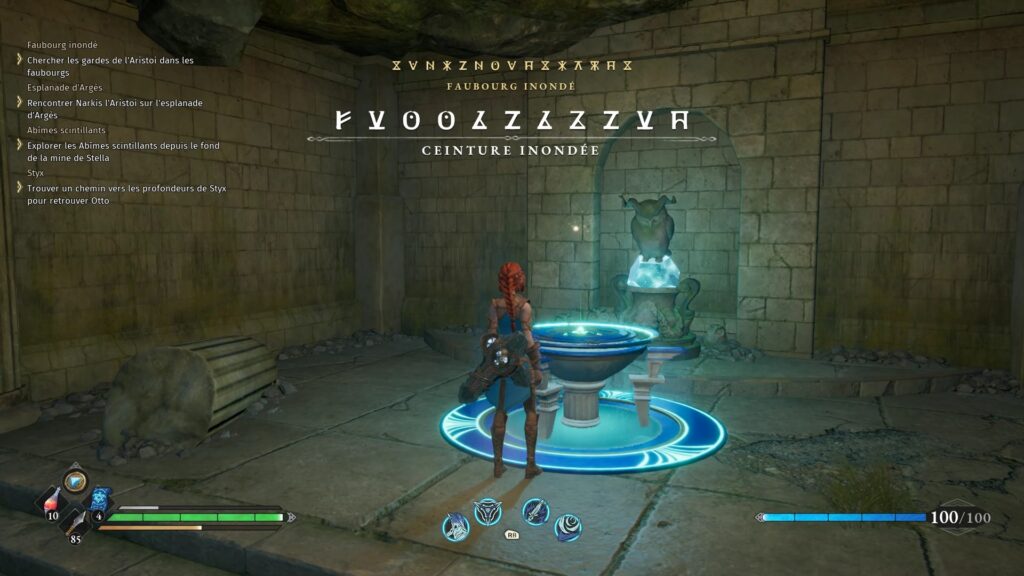
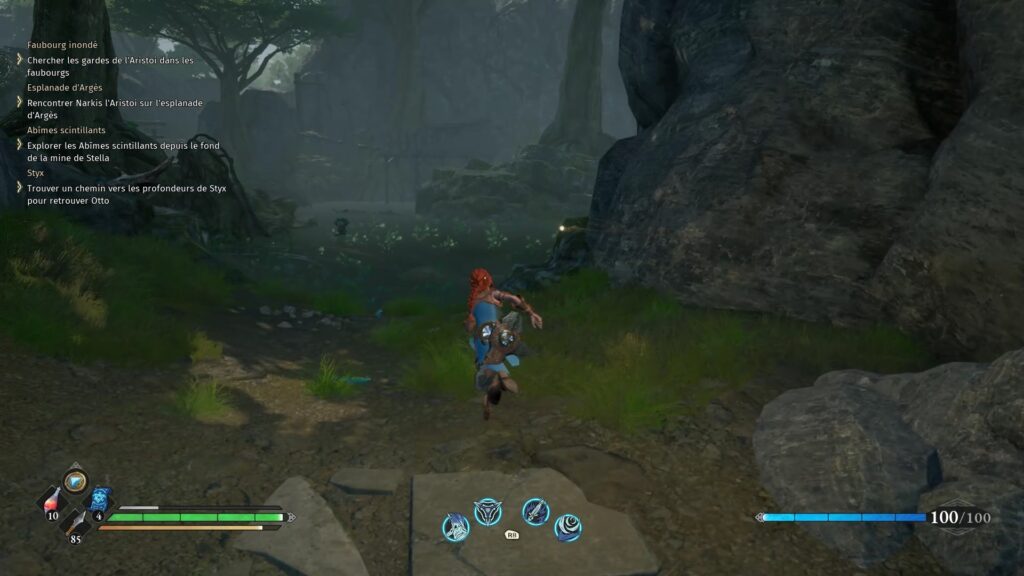
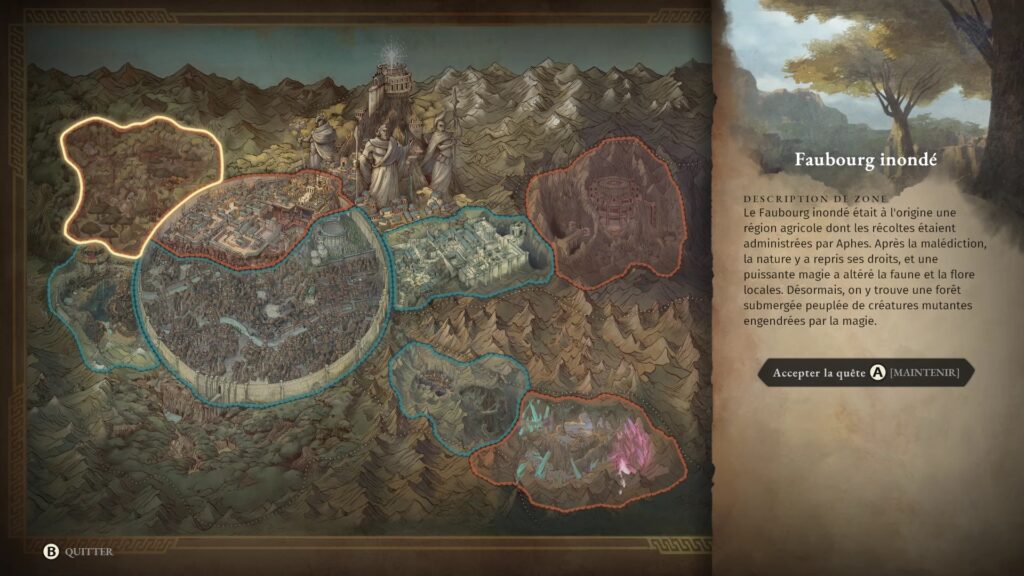
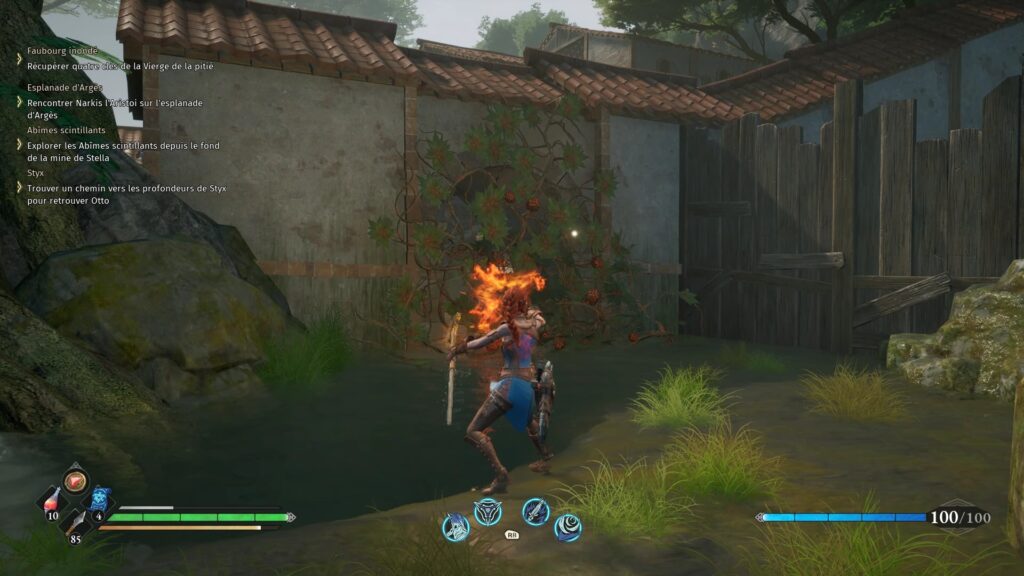
Let’s start with the Sunken outskirts quest. Use the teleport to reach the ancient arena of Baraad. Go down the elevator from the treasure room to reach the black marshes. Use your staff to set fire to the vines on the left path and follow the stream to find the flooded suburbs. Use the checkpoint to create a save point. Then take the right path where a pond and enemies await you.
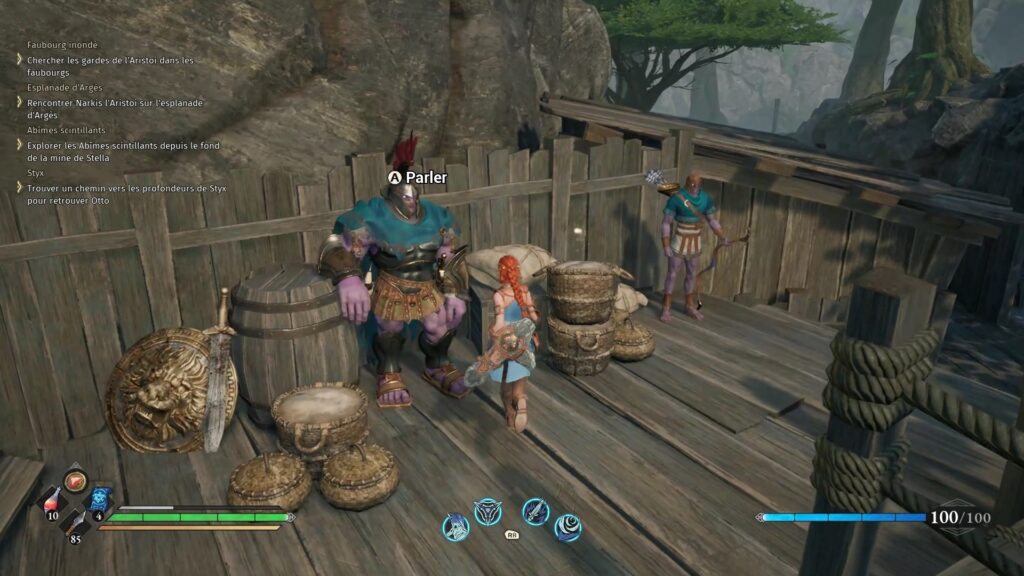
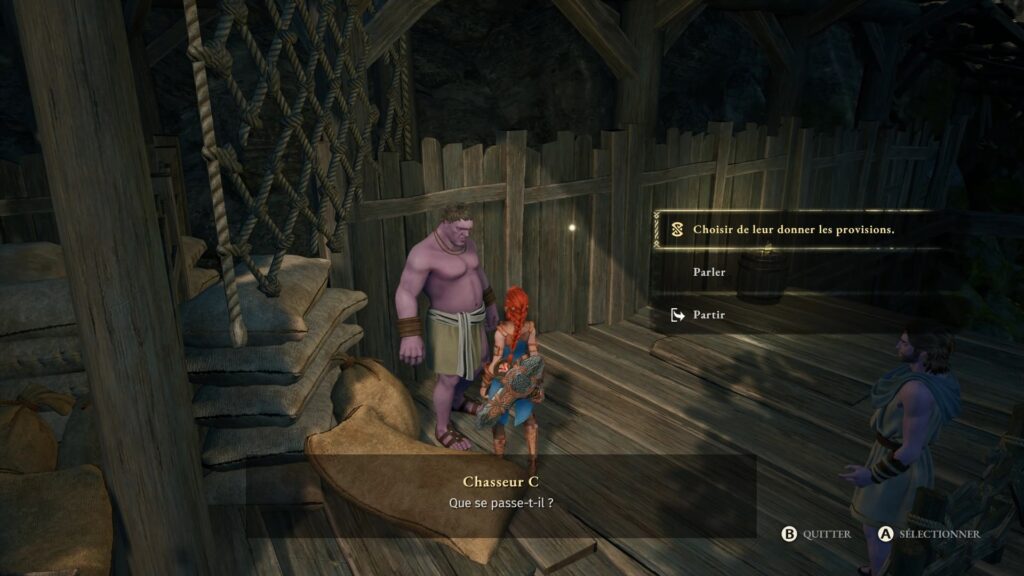
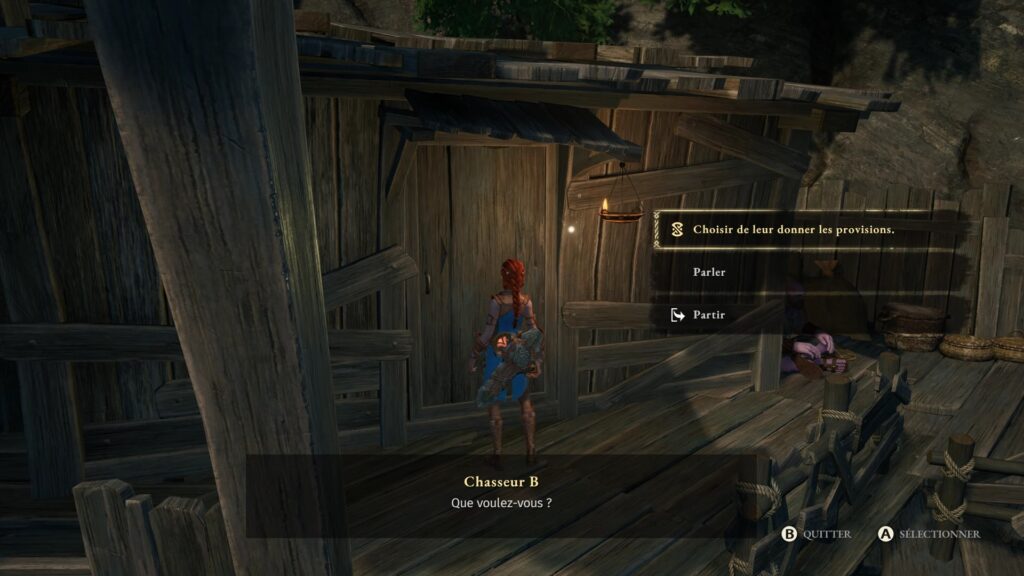
When you’ve cleared the area, climb onto the pontoon. The hunters’ camp is just above. Use the checkpoint for later. Talk to the Perched Centurion to get a new mission. You must find four keys held by four Centurions in the Outskirts. Let’s start with this one. By discussing with you, you will have no choice but to accept his mission which consists in supplying the camp. Talk to the villagers around and knock on the doors of the village to distribute the rations. Once the village is supplied, the Centurion sends you on an egg hunt.
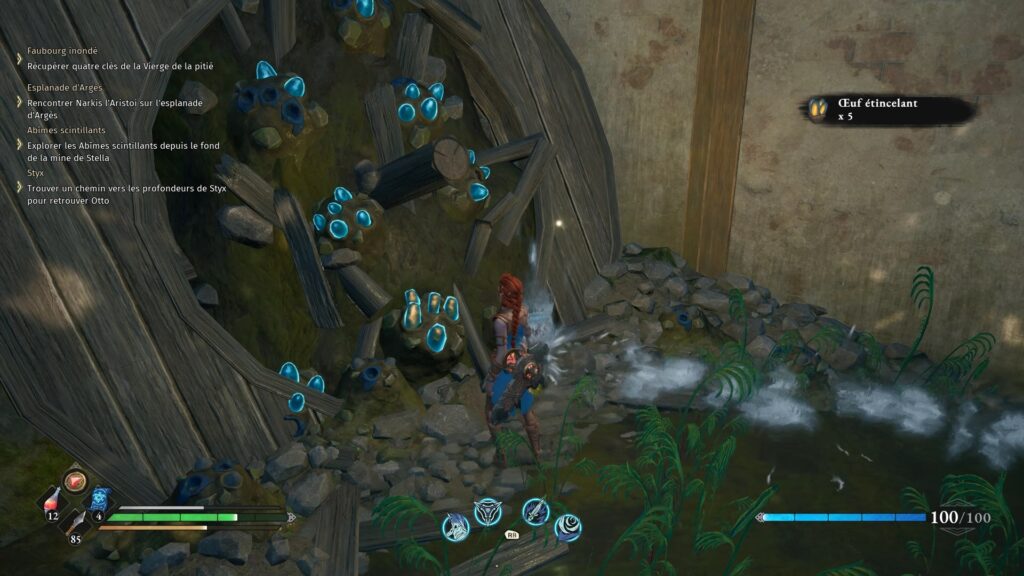
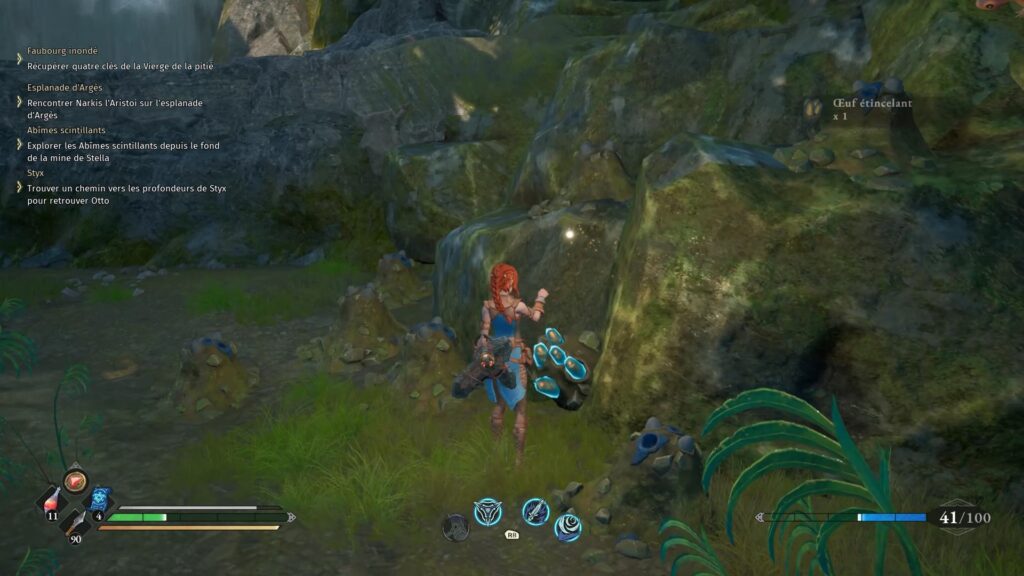
You will find eggs all over the Outskirts. Head down from the village to reach a bandit camp in the flooded mead cellar. Open the passage with your staff and go to the bottom of the cellar to find eggs on a wheel. Eggs are also found in the pond before camp.
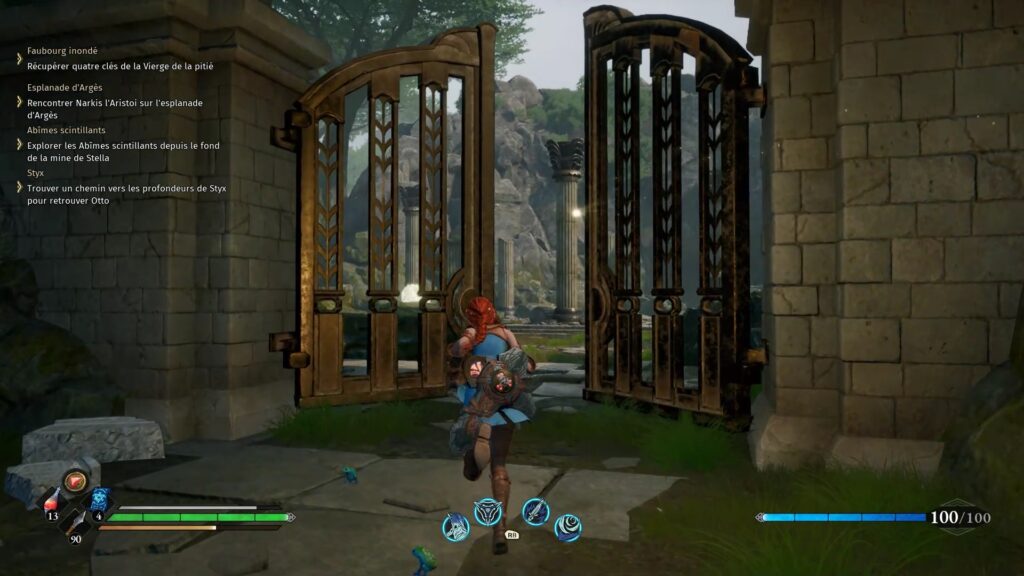
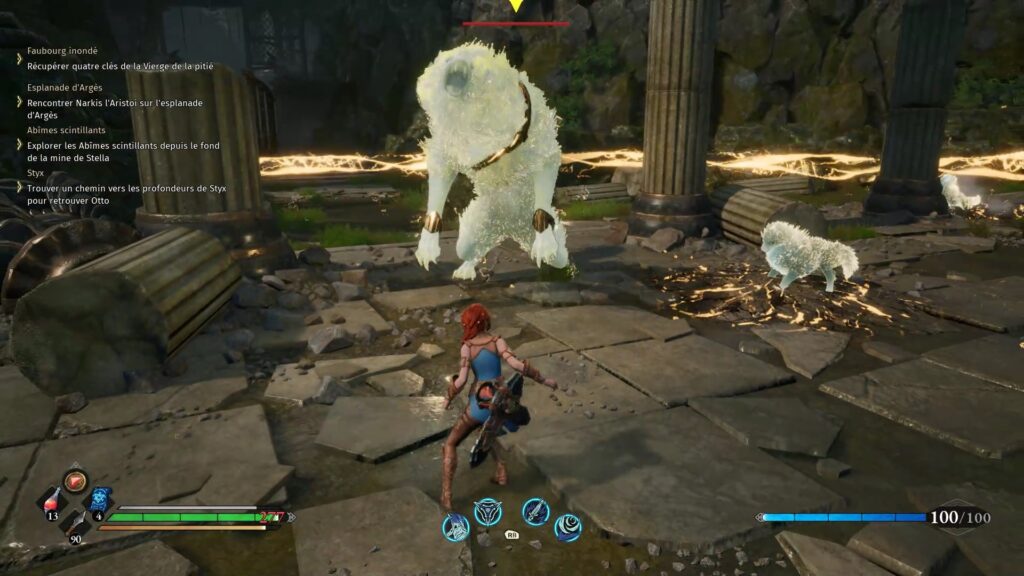
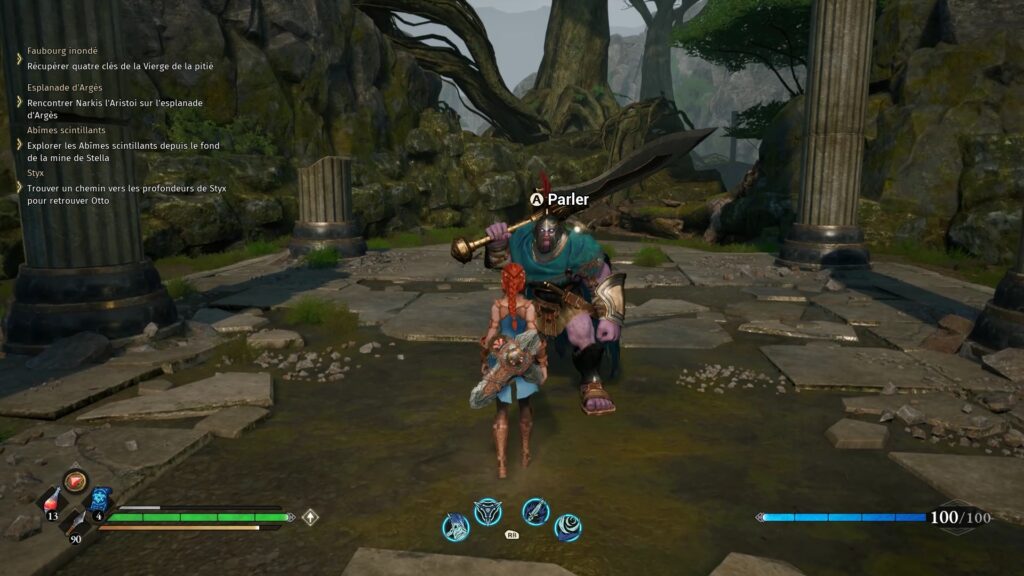
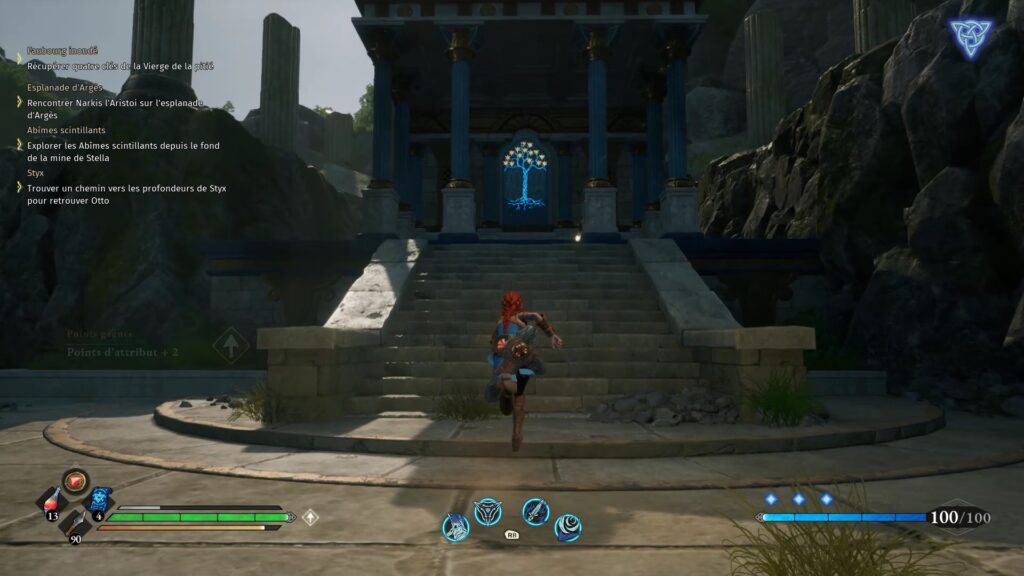
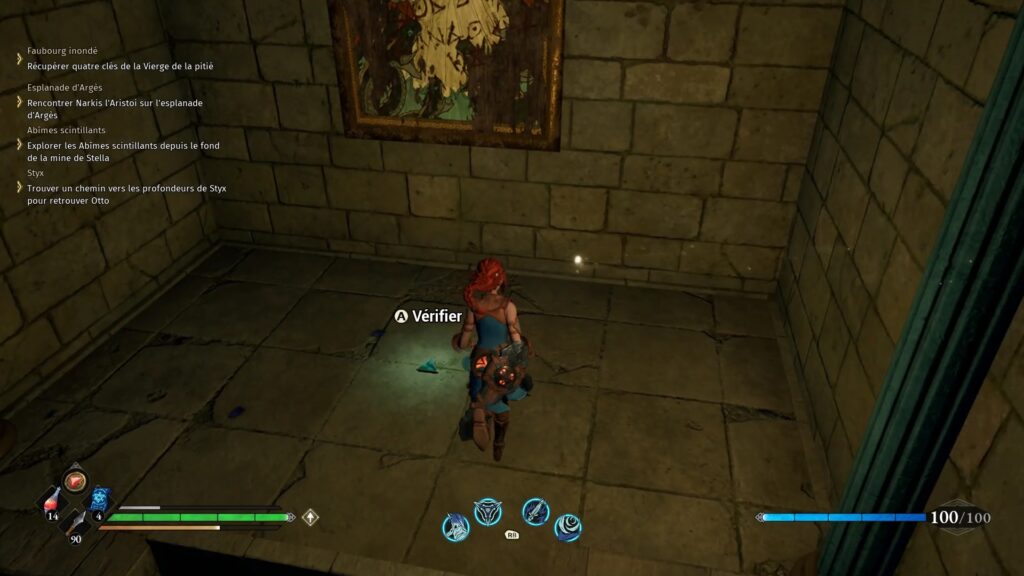
Let’s put this mission on hold to find the other Centurions. Head to the half-open gate of the camp to find another Centurion. A giant dog attacks you. Take care of the smallest dog first so that you can deal more calmly with the bigger one. Once finished, talk to the Centurion and head towards the temple in front of him. A key is inside on the stairs.
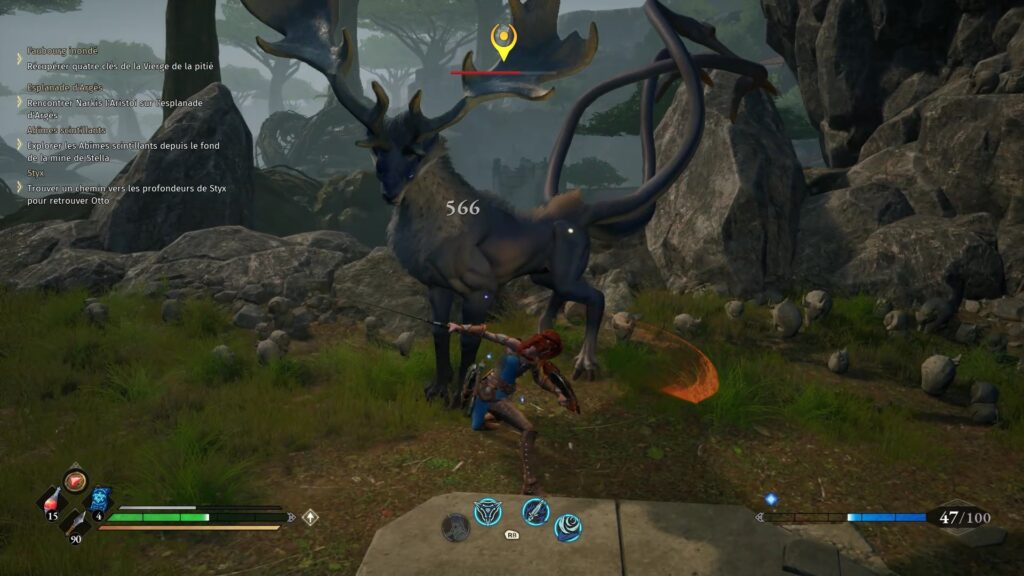
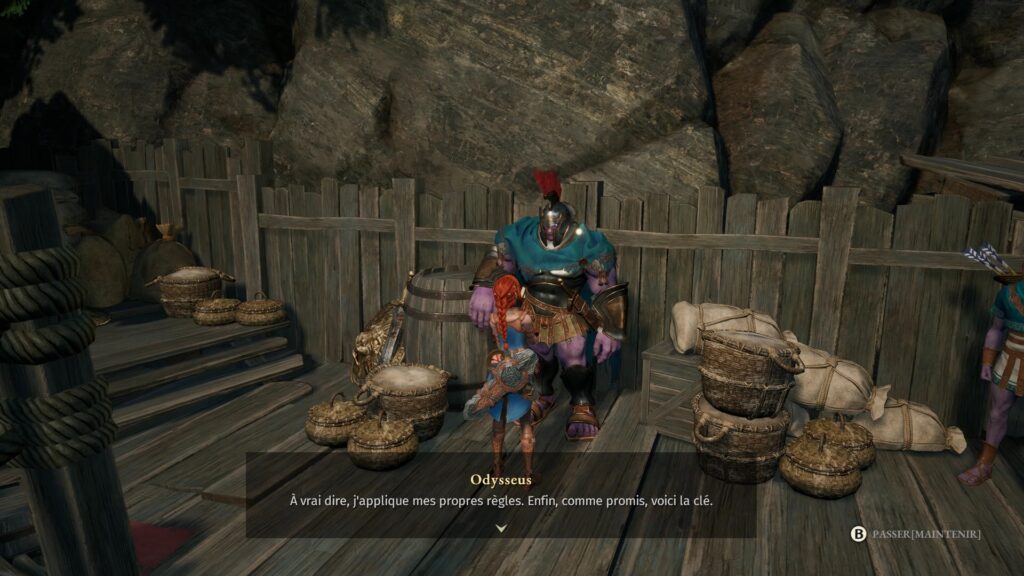
Continue your way west to find a staircase, go up to meet a new person. A chimera appears. Avoid her attacks and don’t stay behind to avoid taking damage. Use your special attacks to knock her out. Then head down the hill to join the Camp Centurion. Report to retrieve a new key.
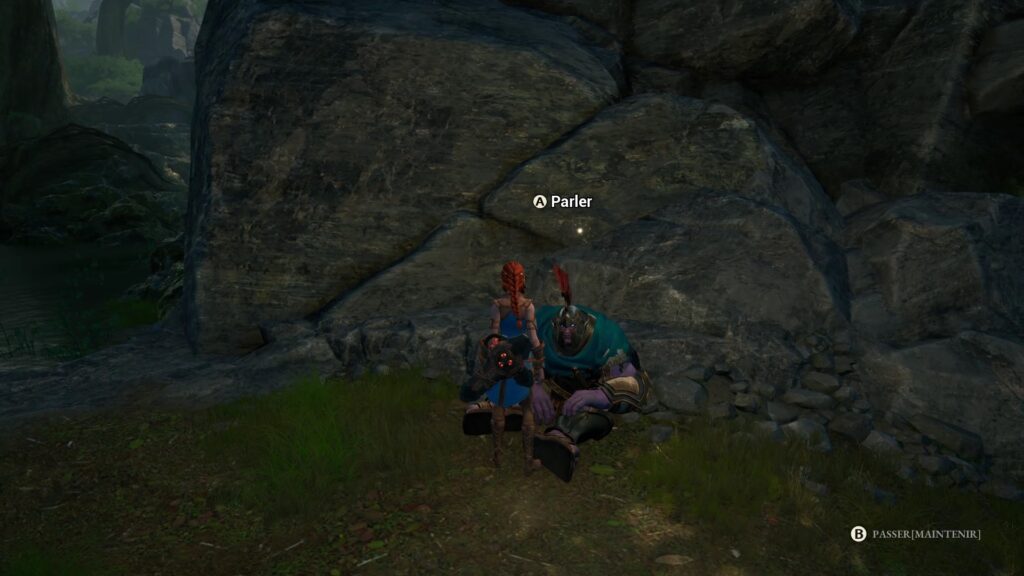
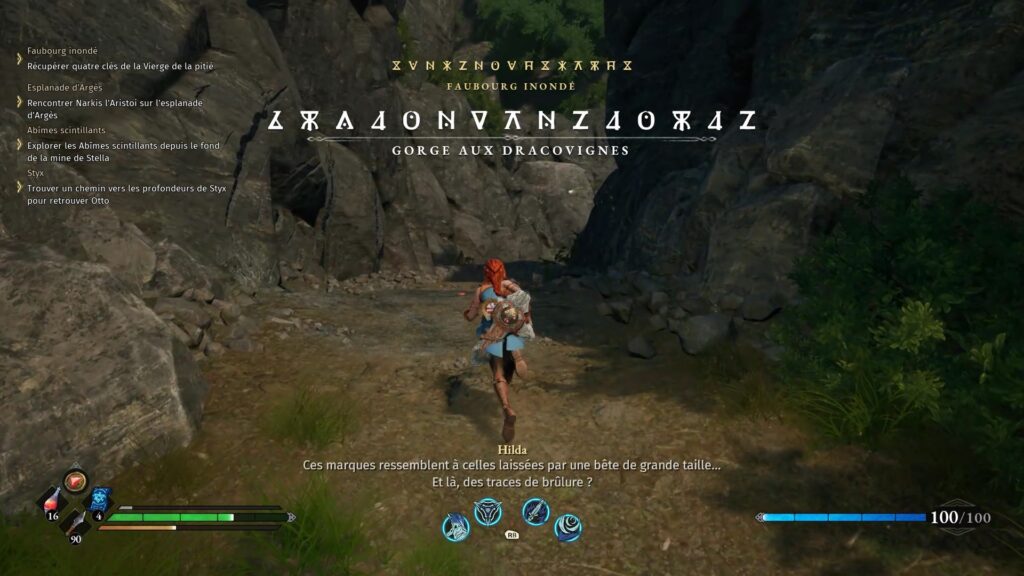
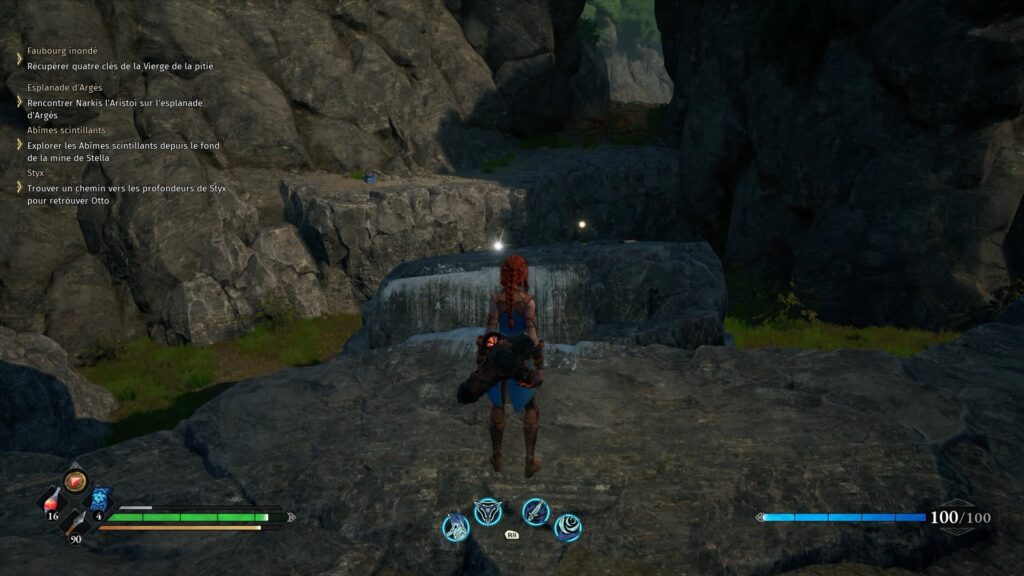
Now join the pond of the camp and get closer to the waterfall. A centurion is hiding behind a rock, go talk to him to find out the last position of his key. To find his key, go to the checkpoint at the entrance to the Outskirts. Take the left path this time. Descend into the Gorge aux Dracovignes. On site, climb to the heights to find the key on one of the rocks. Drop down and continue east.
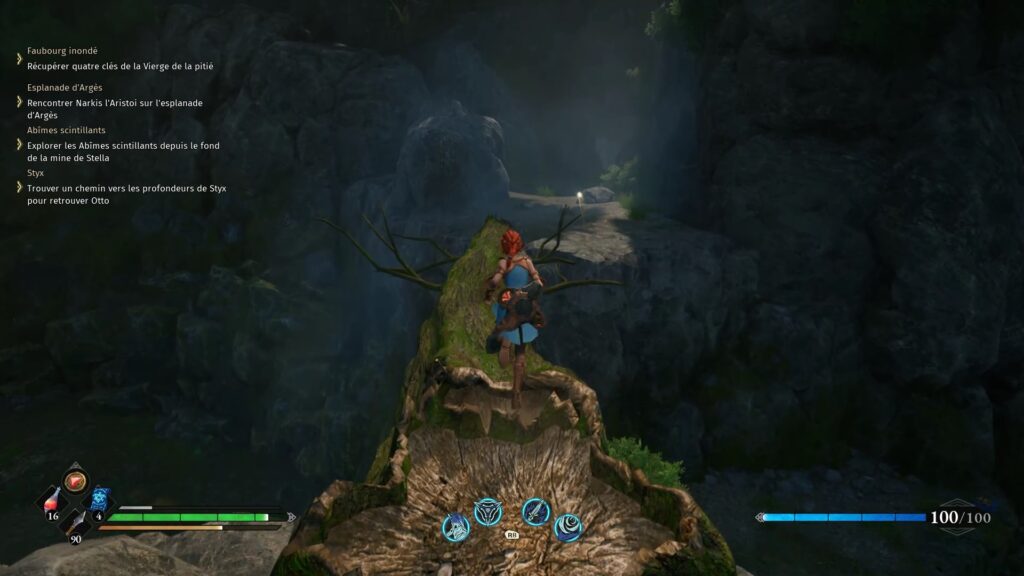
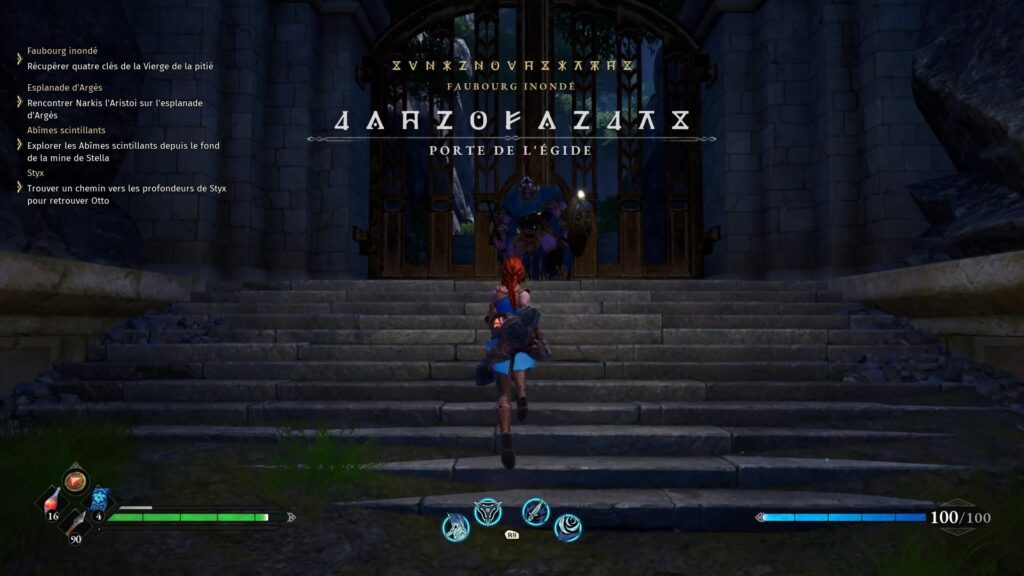
Break the tree trunk to make a bridge. Move forward to find the Aegis door. The last Centurion challenges you to a duel. Win the duel to get the key.
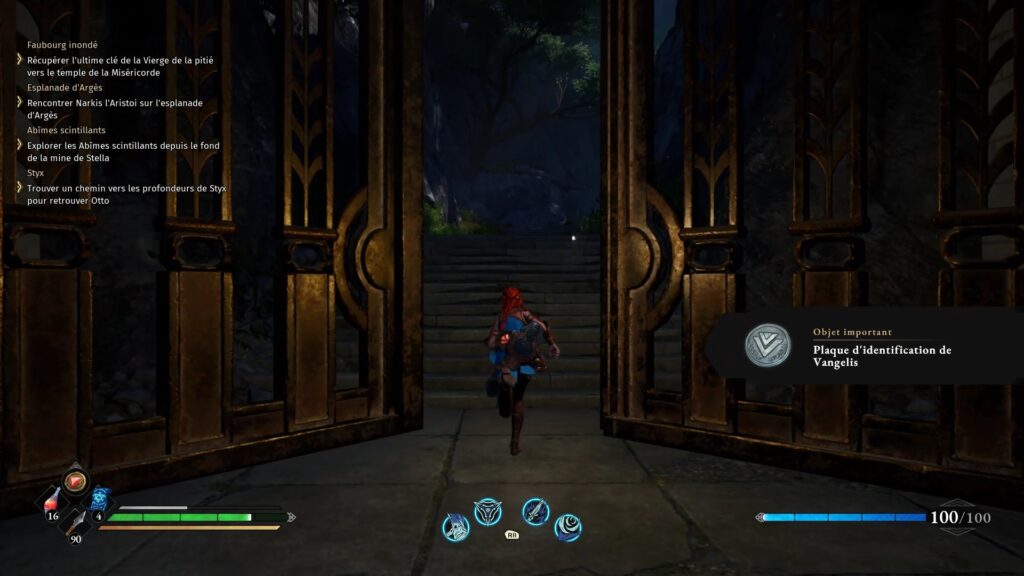
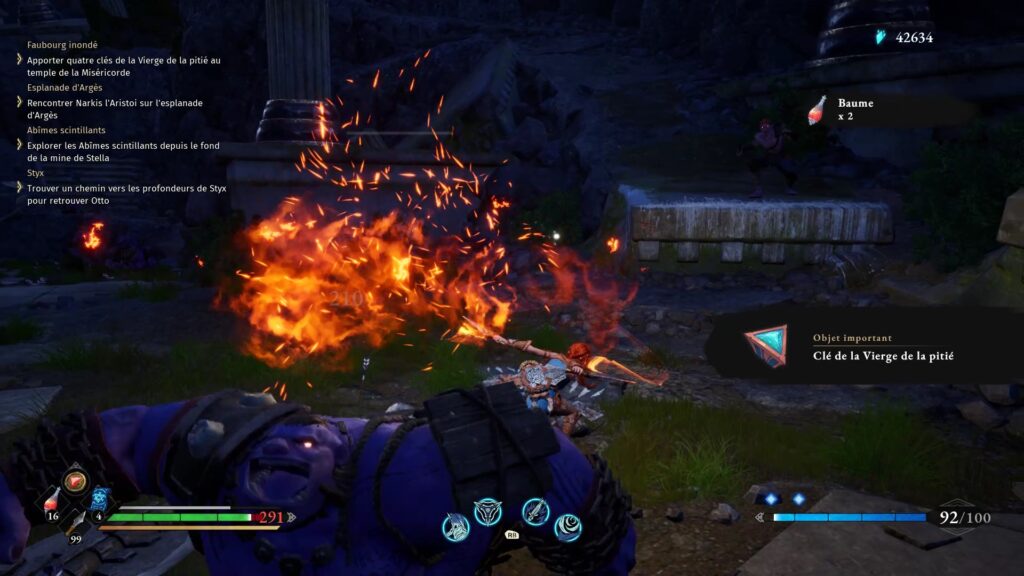
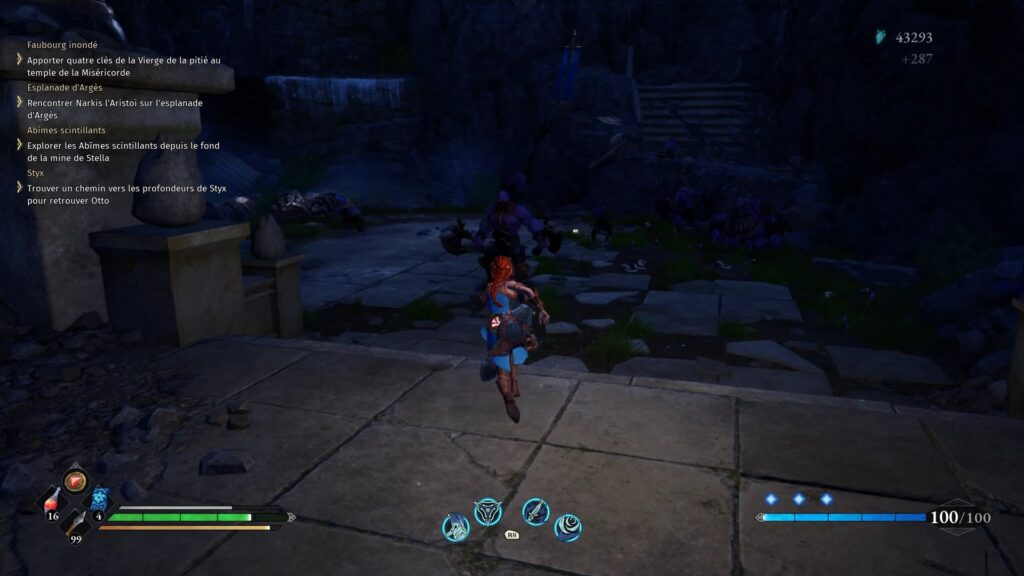
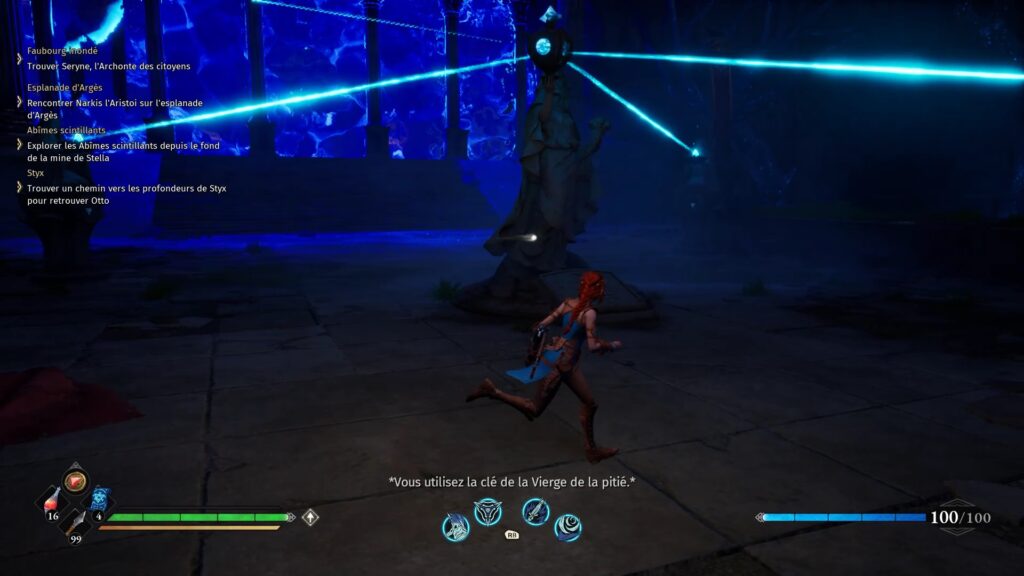
Leave the place then return so that the door of the aegis opens. Fight the invaders. A soldier loses his life in battle, excavate his remains to get the last key. Climb a wall to reach the Temple of Mercy. Place the stones on the statues to unlock the way to the temple. Enter the temple to be confronted with the boss.
Fight against Andreas Butcher of the Saintess
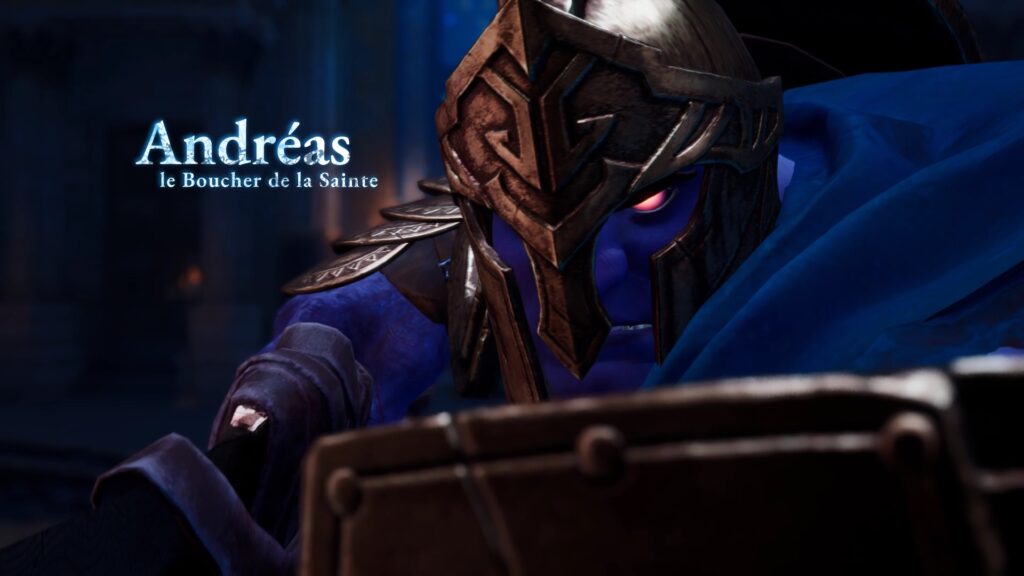
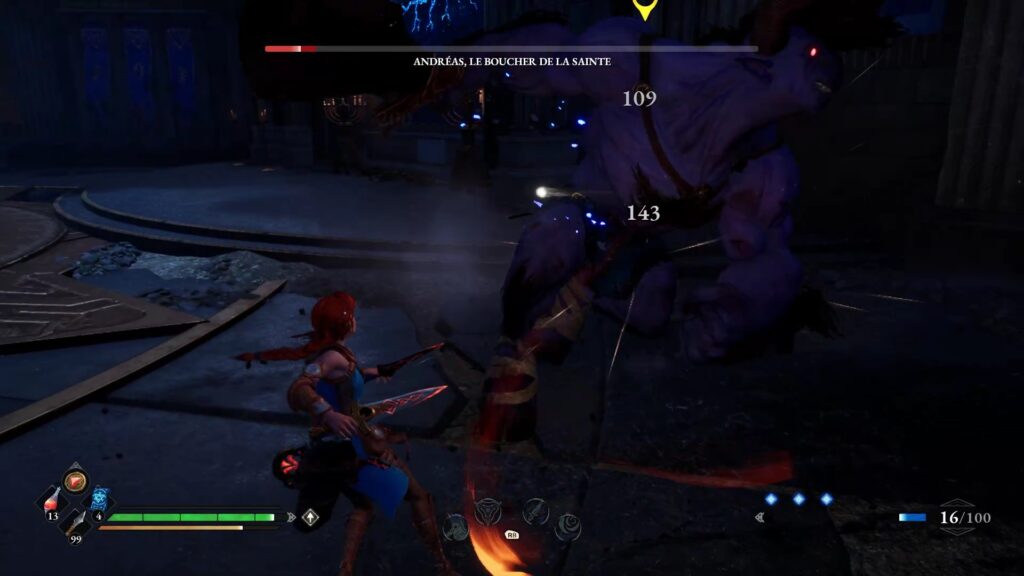
The fight against Andreas is divided into two phases. The first and the second phase are relatively simple. With a little agility, you can easily overcome it. Use the daggers to increase your velocity and inflate your special attack gauge. Aim mainly for Andreas’ back to avoid his blows.
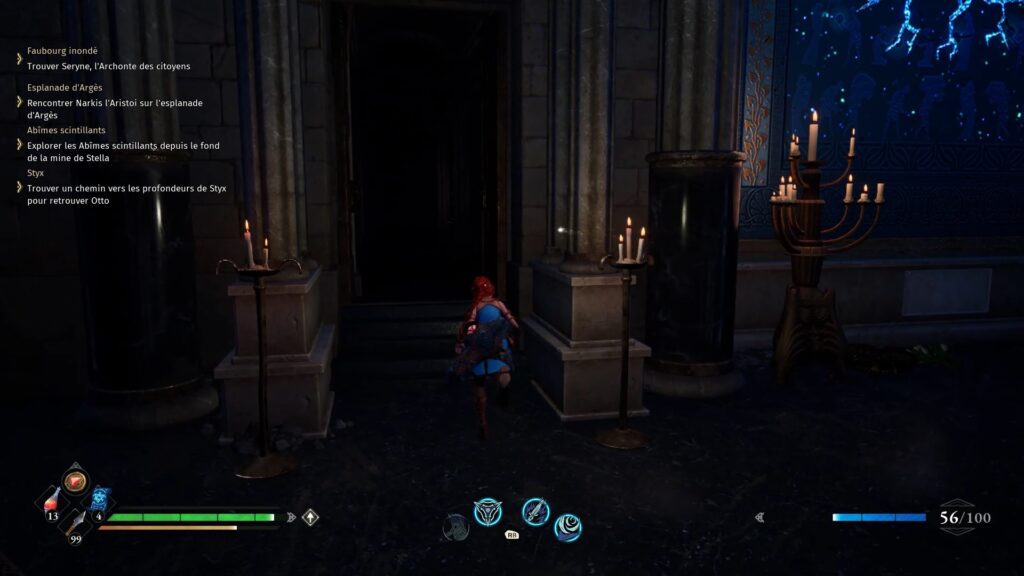
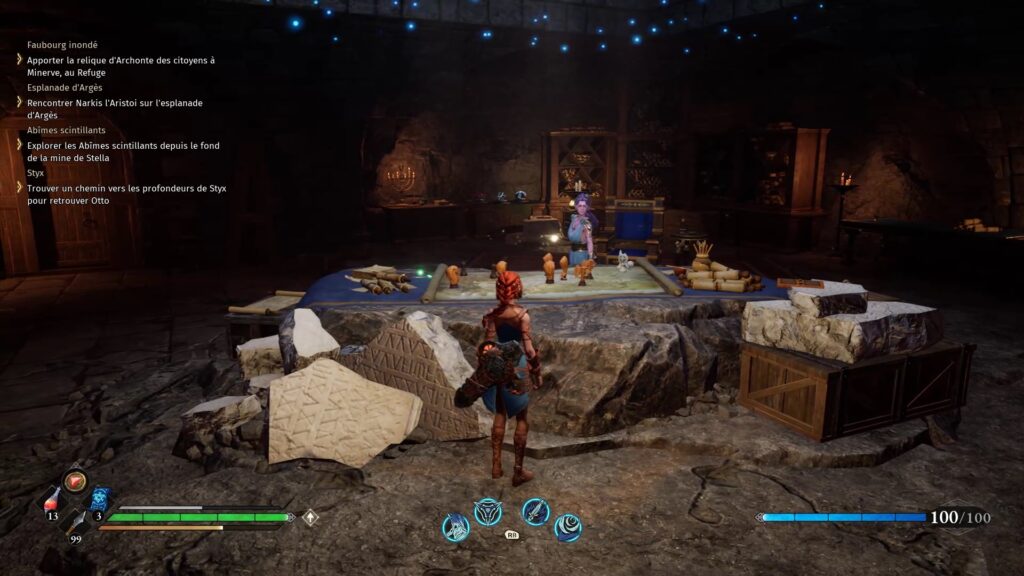
Join Seryne in her lodge and report to Minerva at the Refuge.
Styx
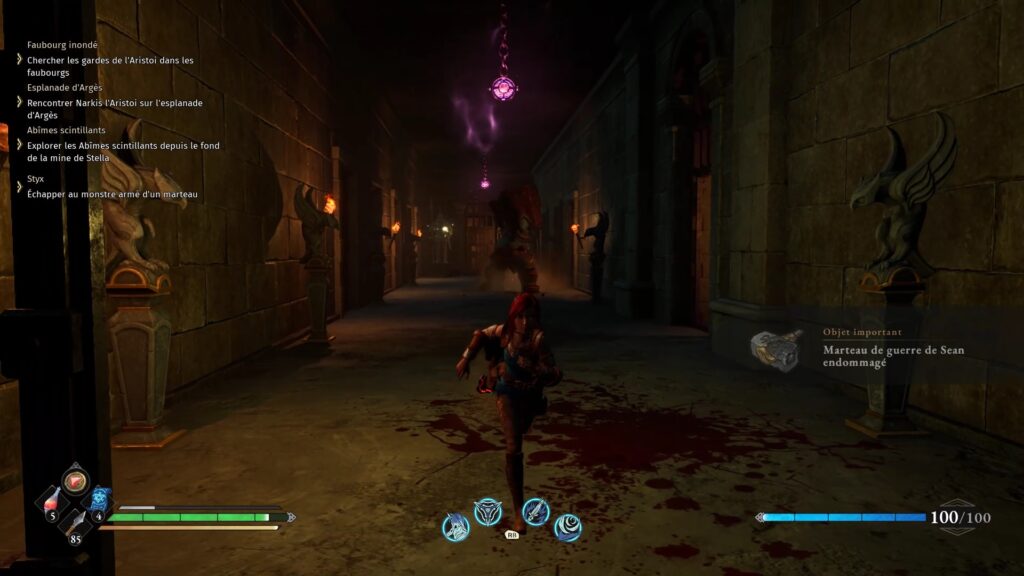
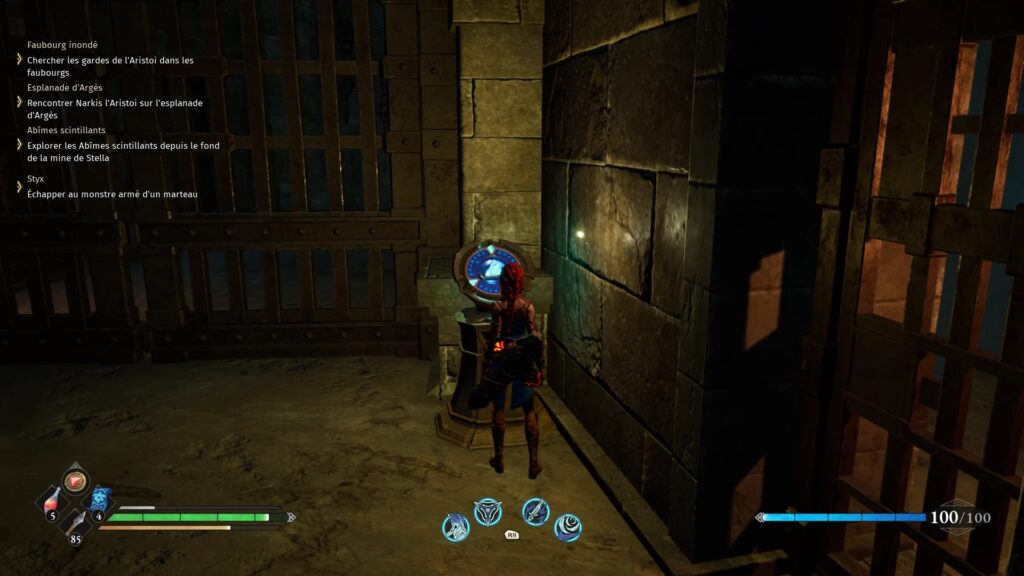
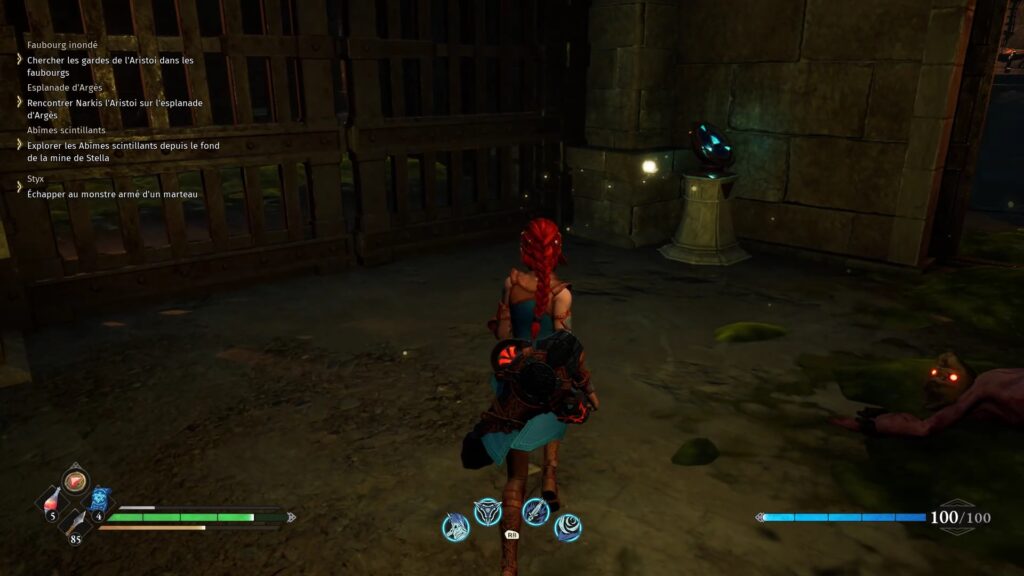
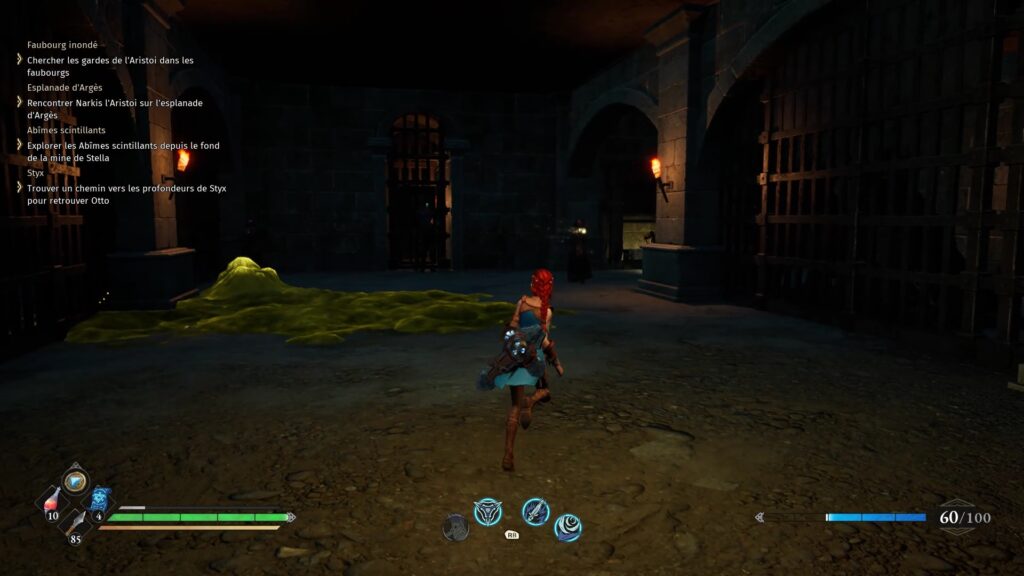
Let’s go back to the Styx where we left Otto. The door is now open. If you don’t have a checkpoint, you can find the passage of the Styx at the Academy. Once at the Styx, climb the stairs to reach the cells. Hilda examines the gun on the ground and a bully falls on top of her. Don’t waste your time fighting him flee to the opposite side. Be careful of the lasers in the hallway and open the first gate. A second grid awaits you at the bottom.
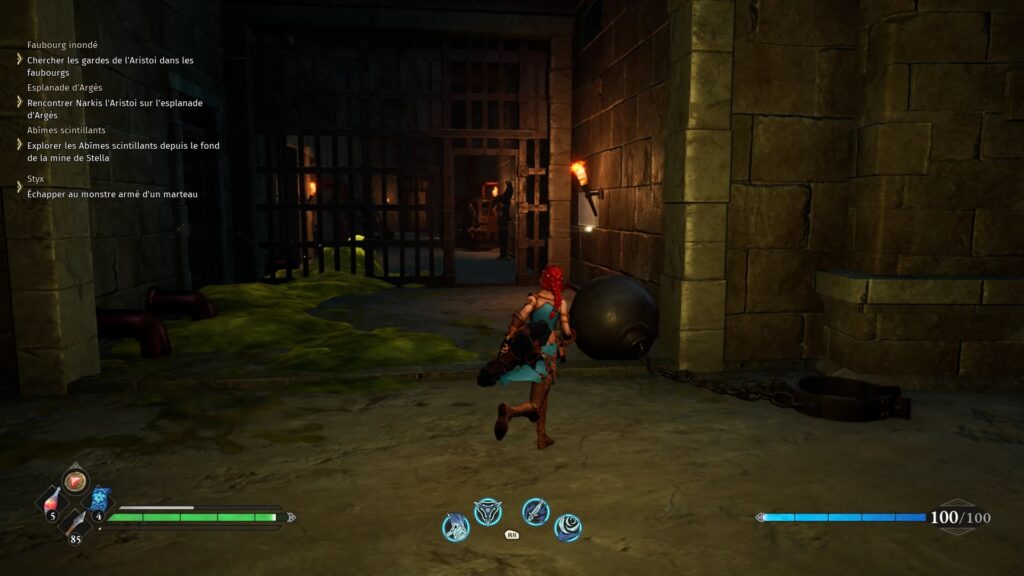
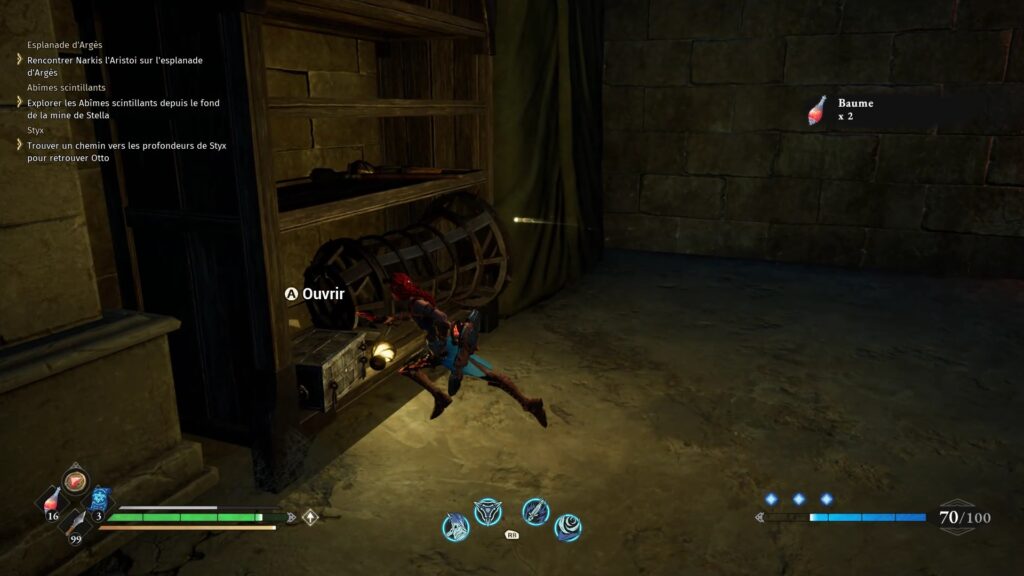
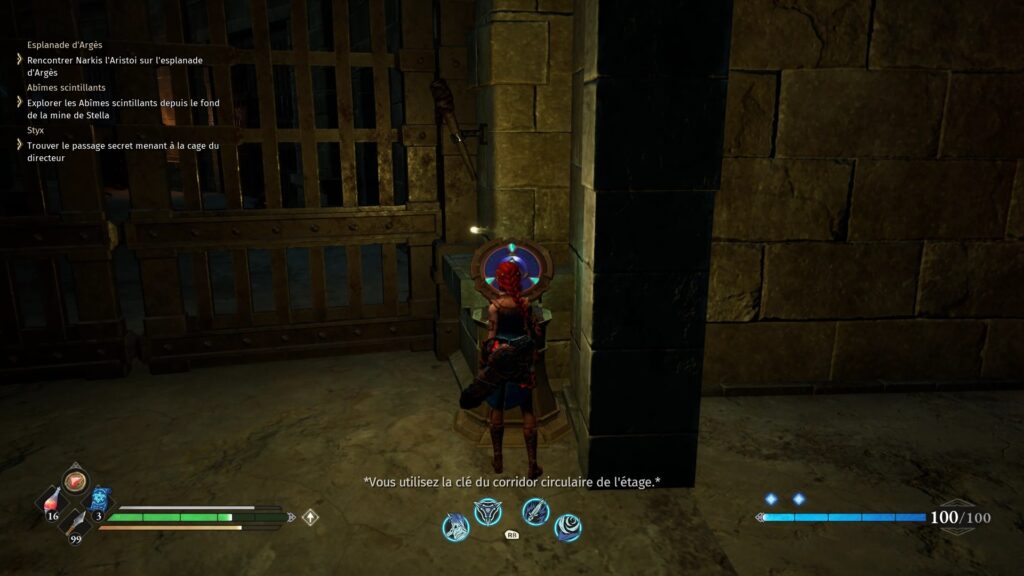
Go down the left hallway to descend a staircase to the lower levels. Beware, the basements are full of powerful enemies. Go west to find two mages and a soldier. Clear the area and search the shelf to find the key to the upper floors inside a chest. Go up the stairs taken earlier to reach the upper floors.
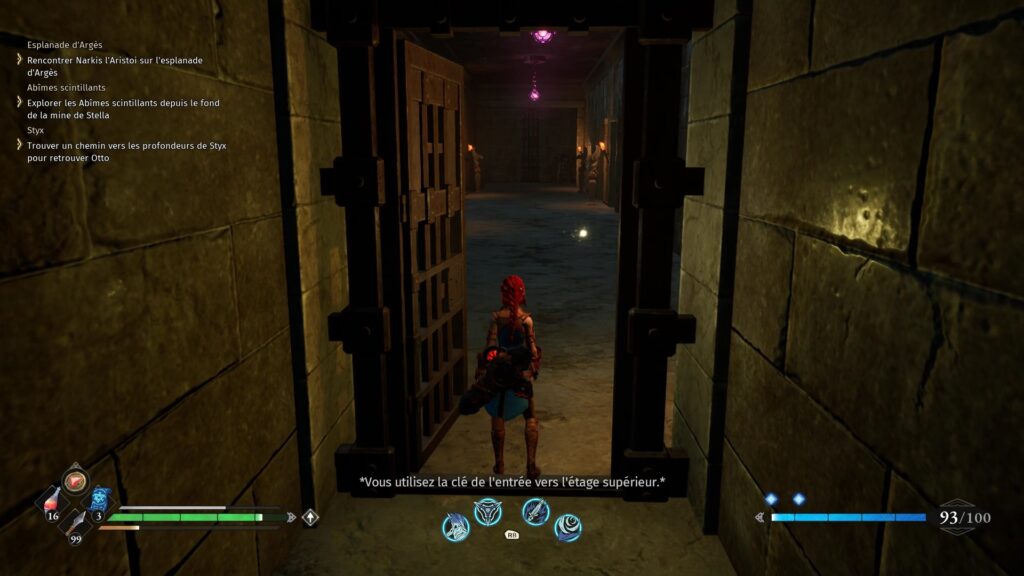
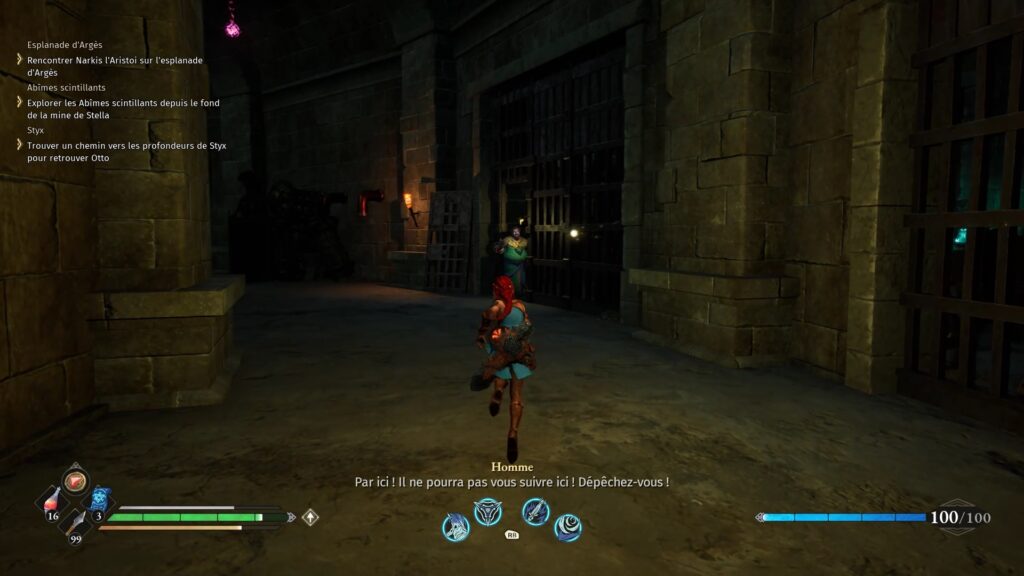
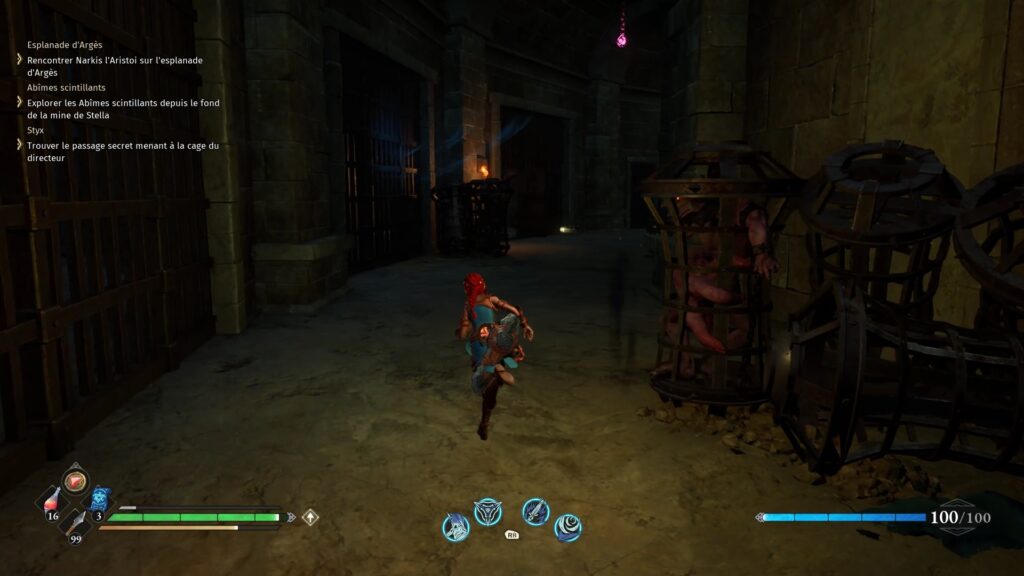
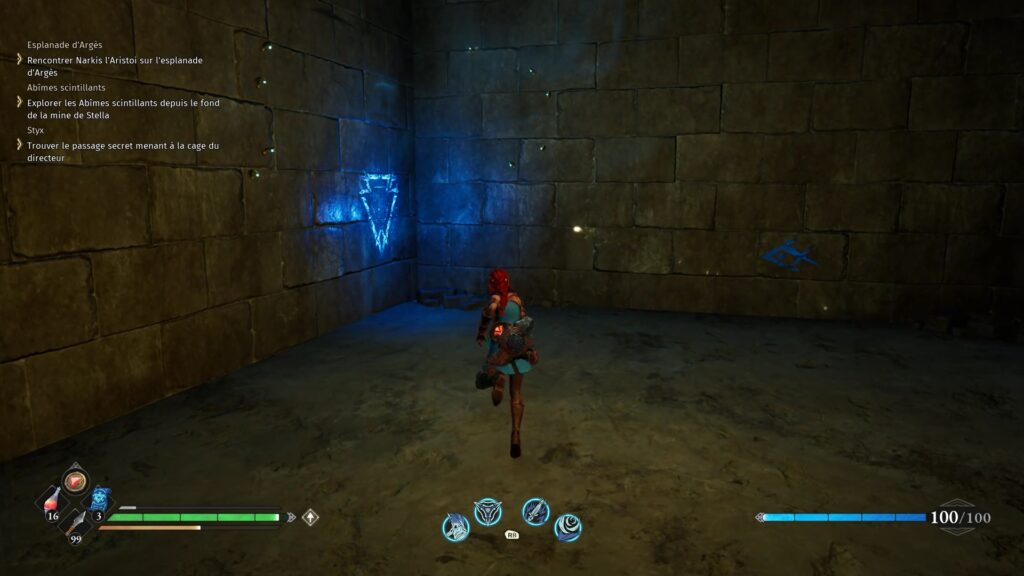
Move forward to find the brute that resurfaces. Run to find refuge in a cell where a man calls you. You find Otto. Discuss with the two men to obtain new objectives. Use the key to unlock the gate at the end of the corridor. In this new corridor, join a cell lit with blue light to find a secret door.
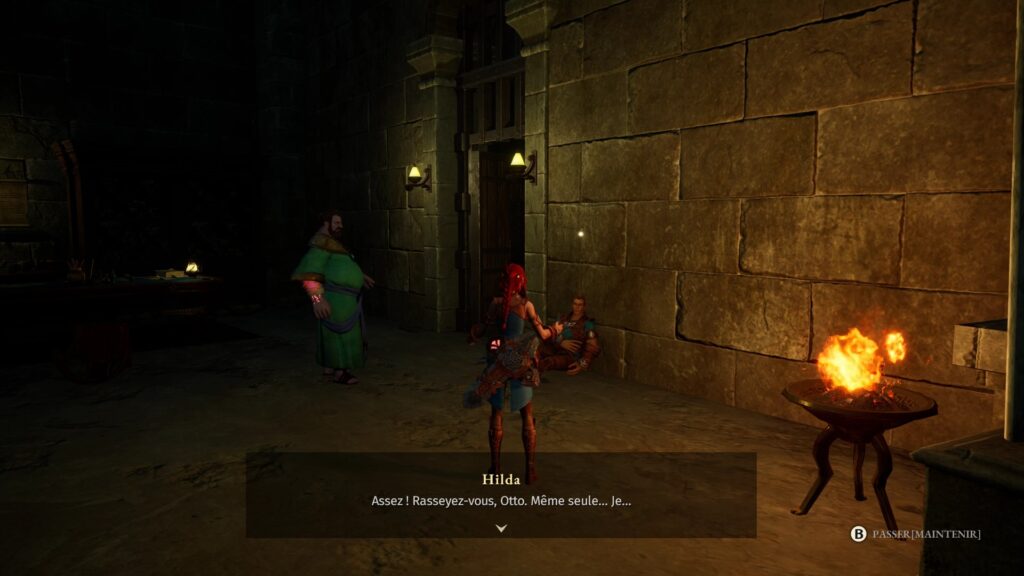
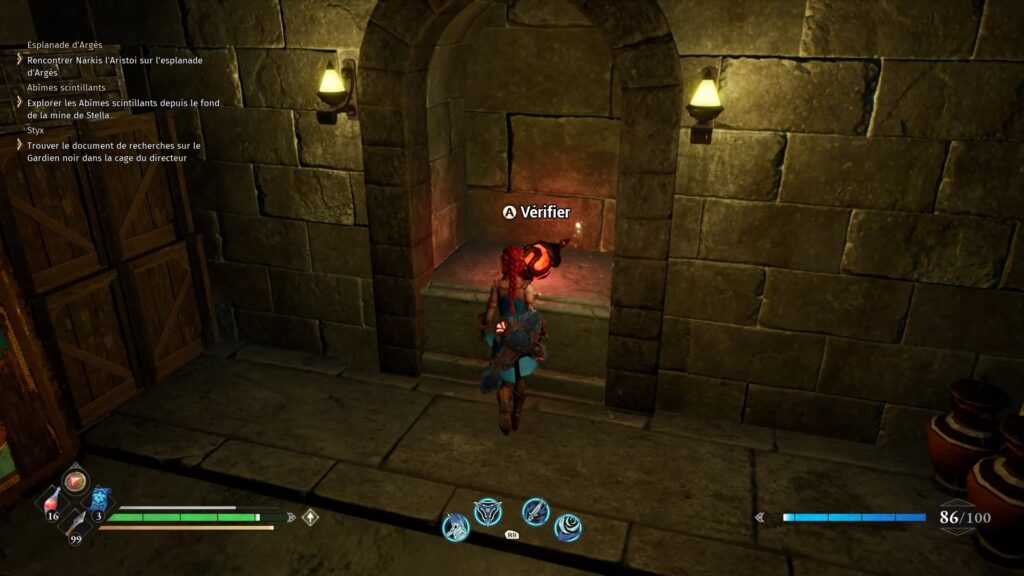
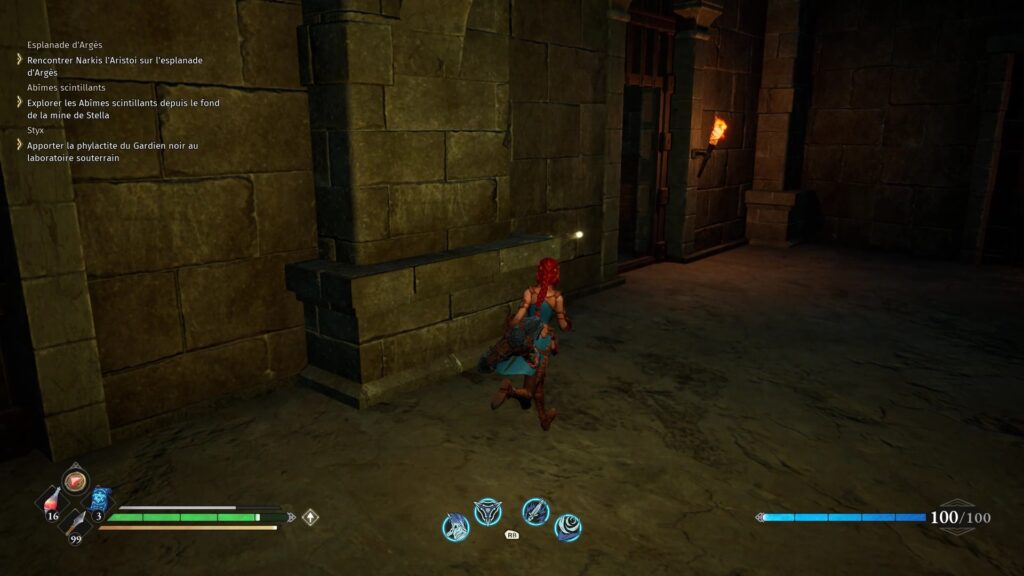
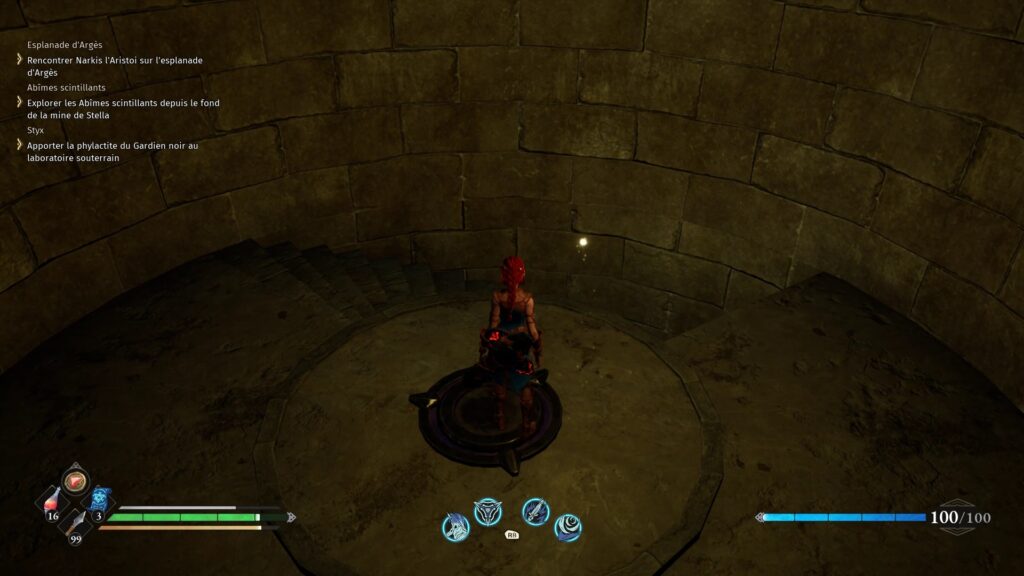
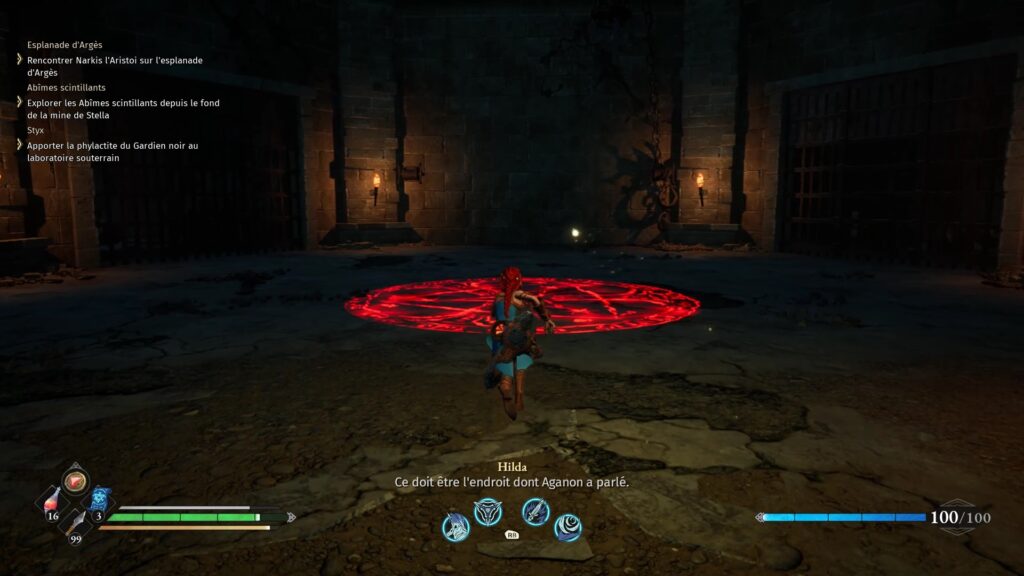
Go upstairs and go to the bottom of this new corridor to find Otto. After the dialogue, take the red tank in the room. Then move towards the door lit by a torch to find an elevator. Activate the elevator and go down the stairs. A checkpoint awaits you, get ready before placing the phylactite tank on the red mark in the arena.
Fight against Black Warden Terror
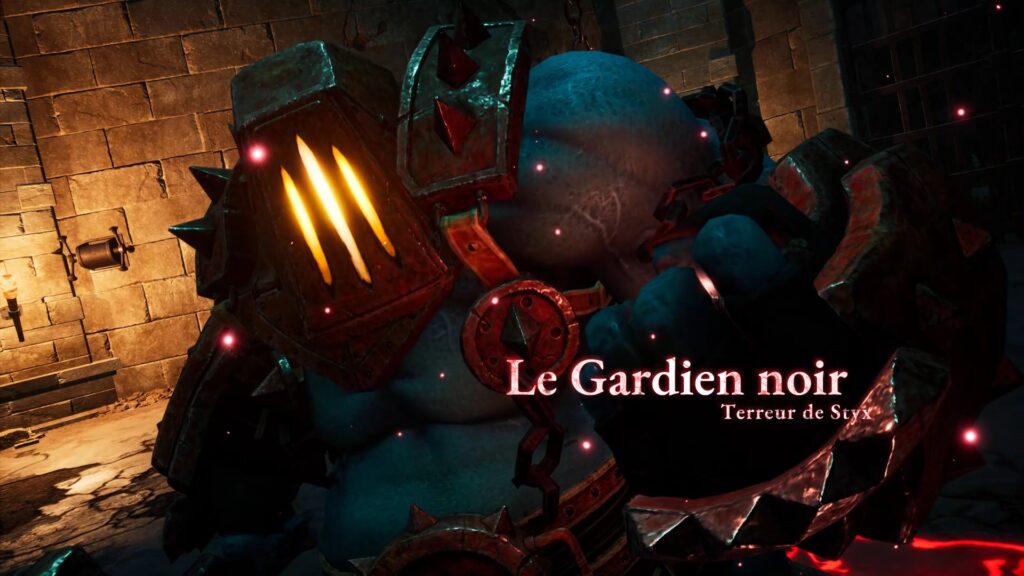
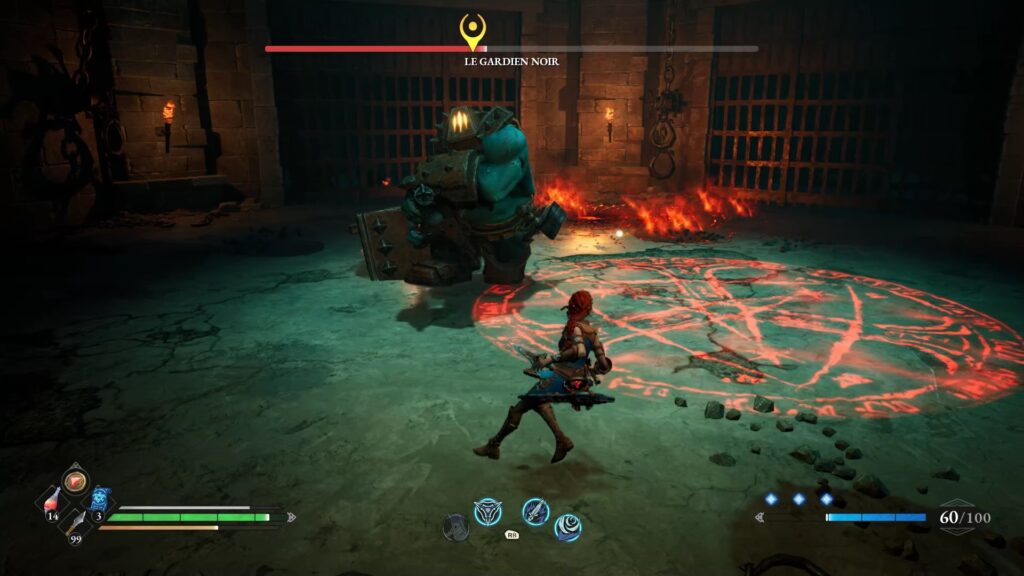
Use the daggers to increase your agility. Dodge the Black Warden terror blows to reach his back. Alternate normal and special moves to reduce his health bar. In its second phase, the Guardian uses incendiary area attacks that must be taken into account when moving. Move the Guardian out of these areas to get out of harm’s way.
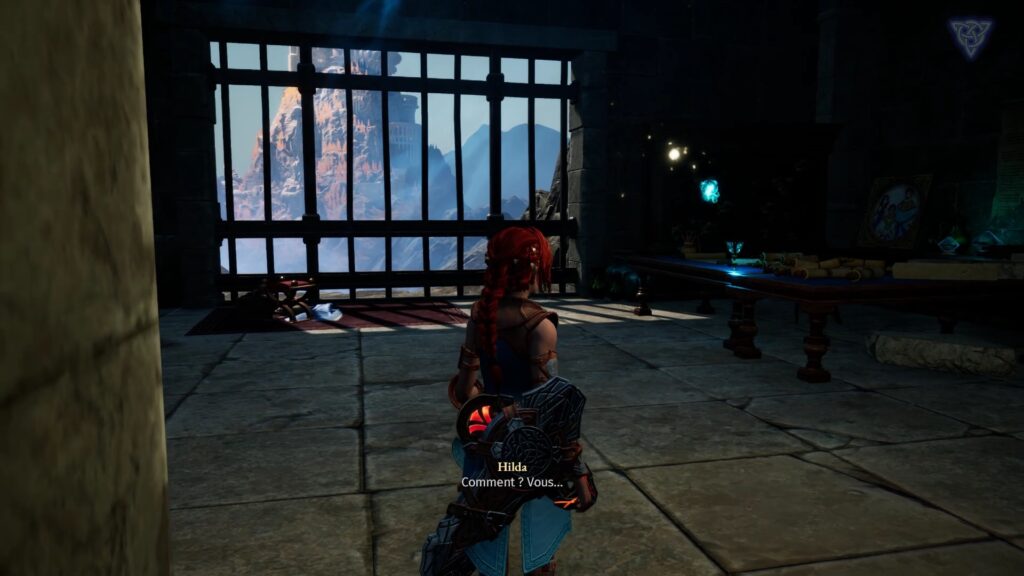
After the fight exit through the stairs and examine the office in Amphisbaen Haven. Complete the dialogue and teleport to Phalan’s Path and walk towards the academy to find Irenaeus in the markets. Return to the Refuge to complete the mission.
The Glittering Deeps
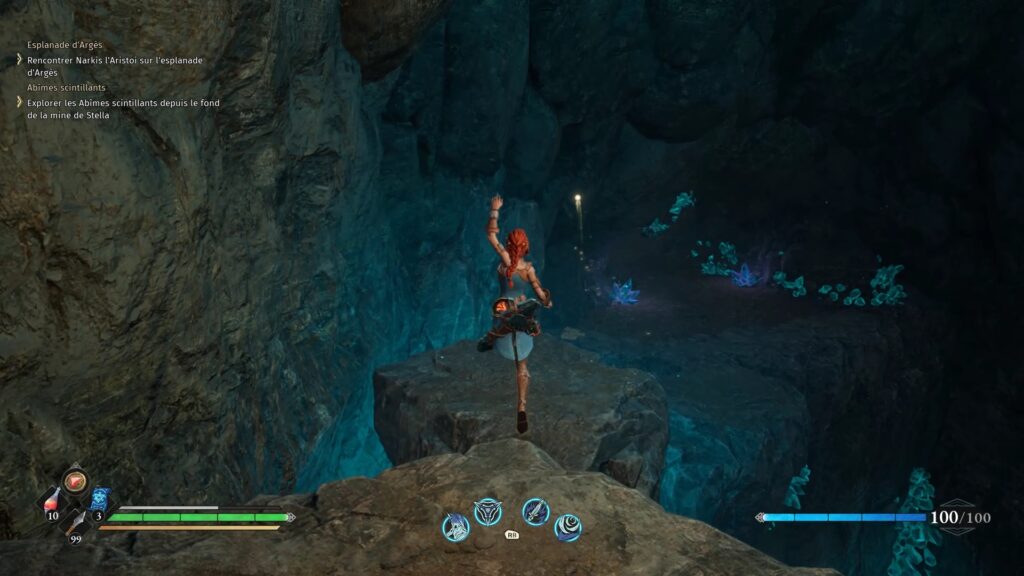
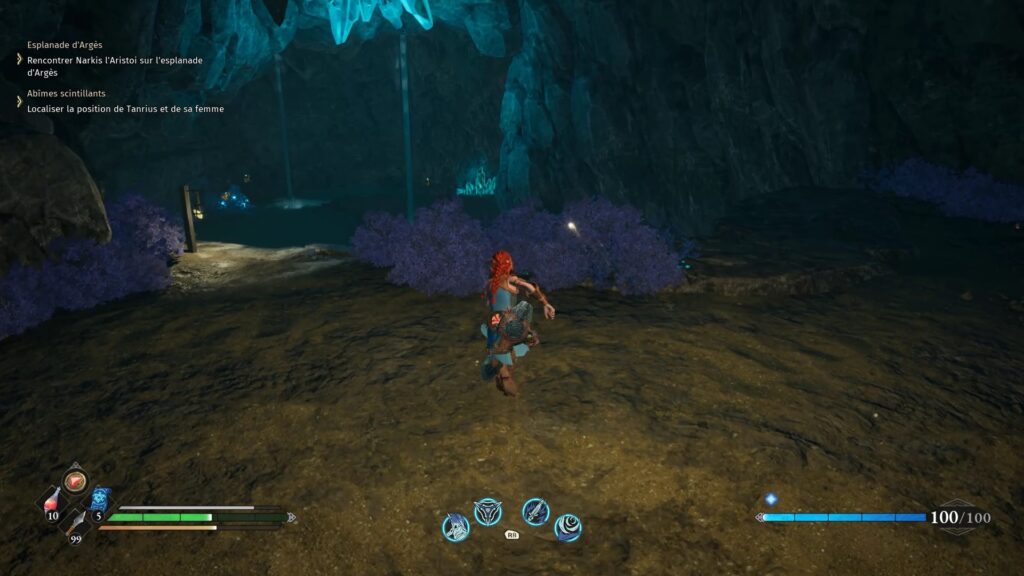
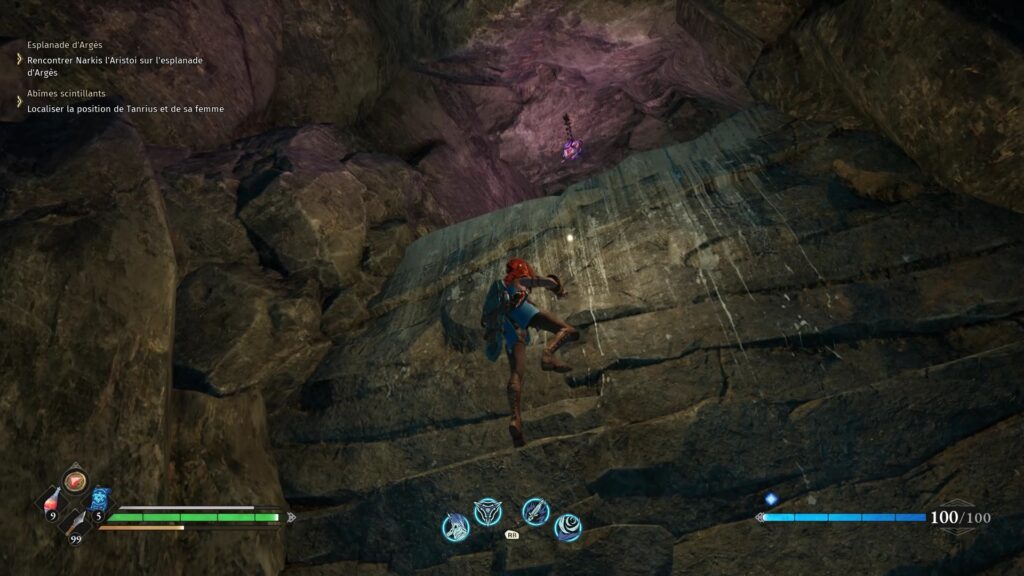
Let’s move on to the Shimmering Abyss. Head to the Star Passage teleporter, where you left Shaye behind. Jump on the platforms to reach a cave. New explosive enemies await you. Hit, but don’t stay close to take damage. Go deeper into the cave to enter a large pool. Go down and up the wall to find Shaye.
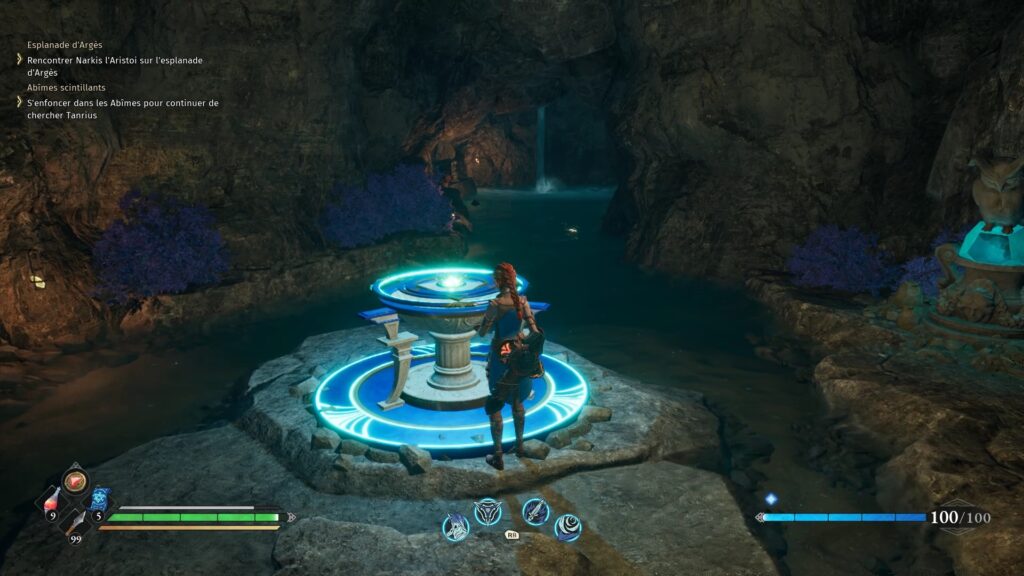
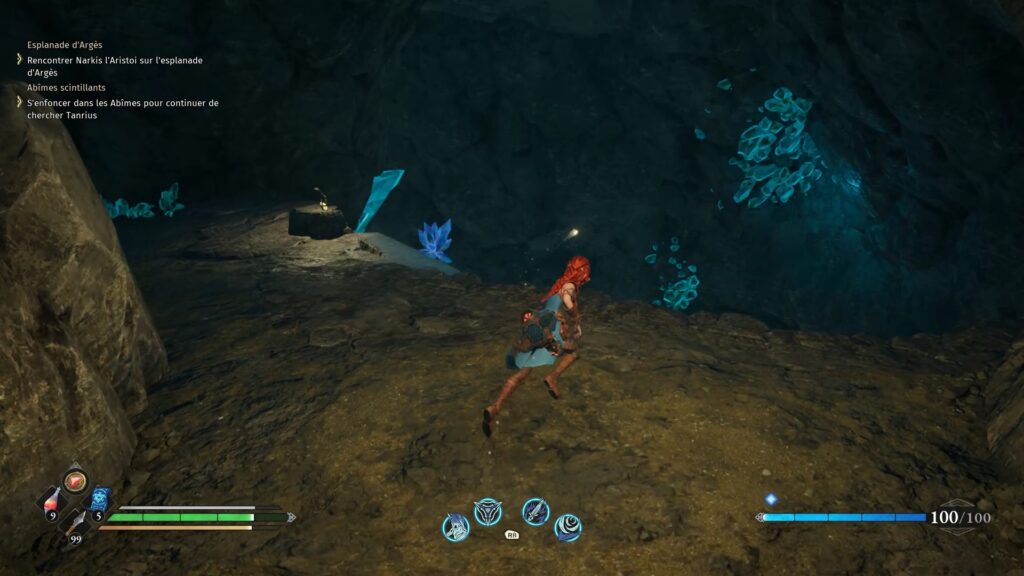
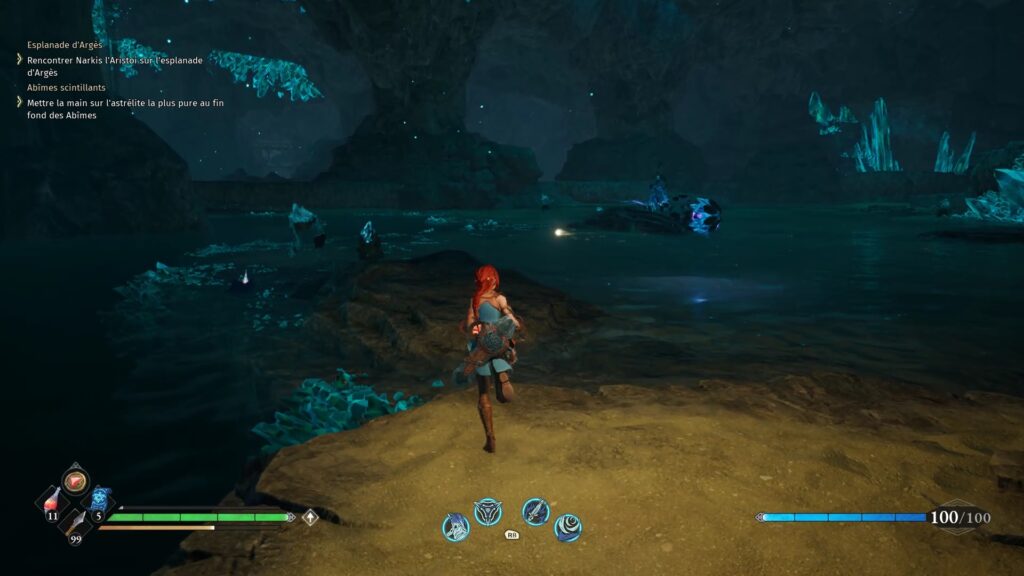
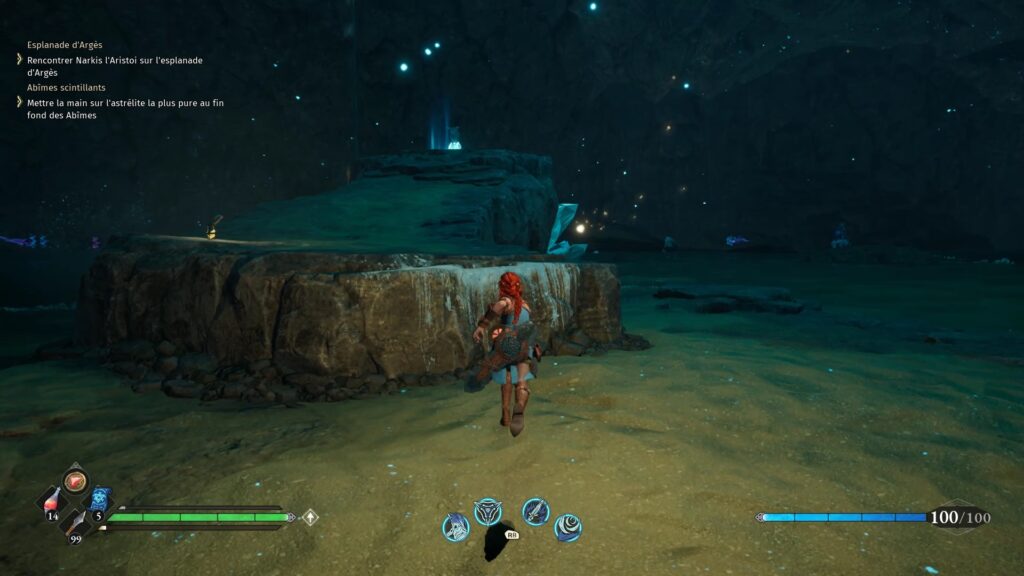
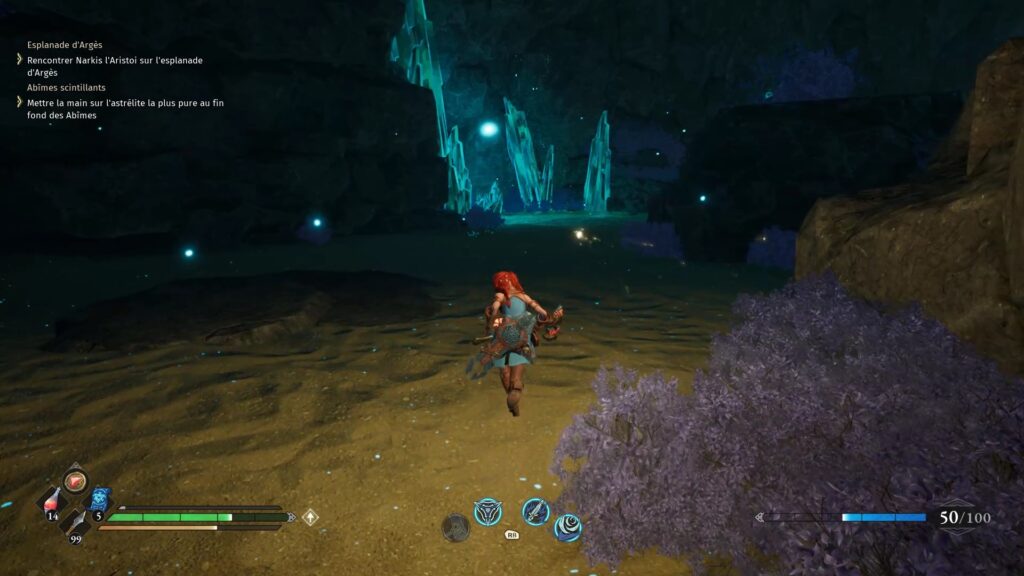
On the other side, activate the checkpoint and move towards a chasm. Descend into the chasm carefully from platform to platform. A second pond extends in front of the underground lake. Follow the crystals to find your way. Take care to activate the checkpoint as you pass over a rock and enter an opening adorned with crystals.
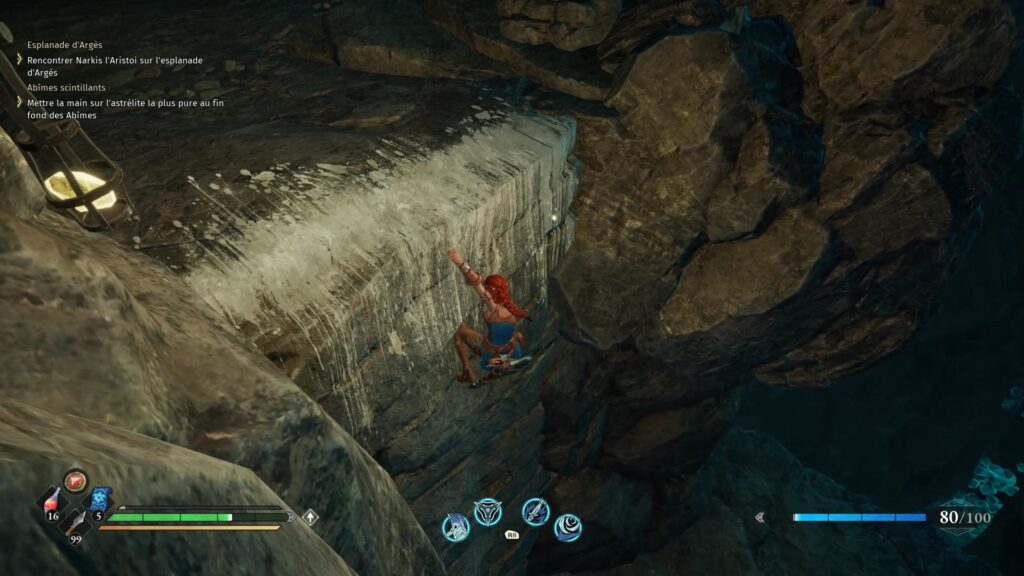
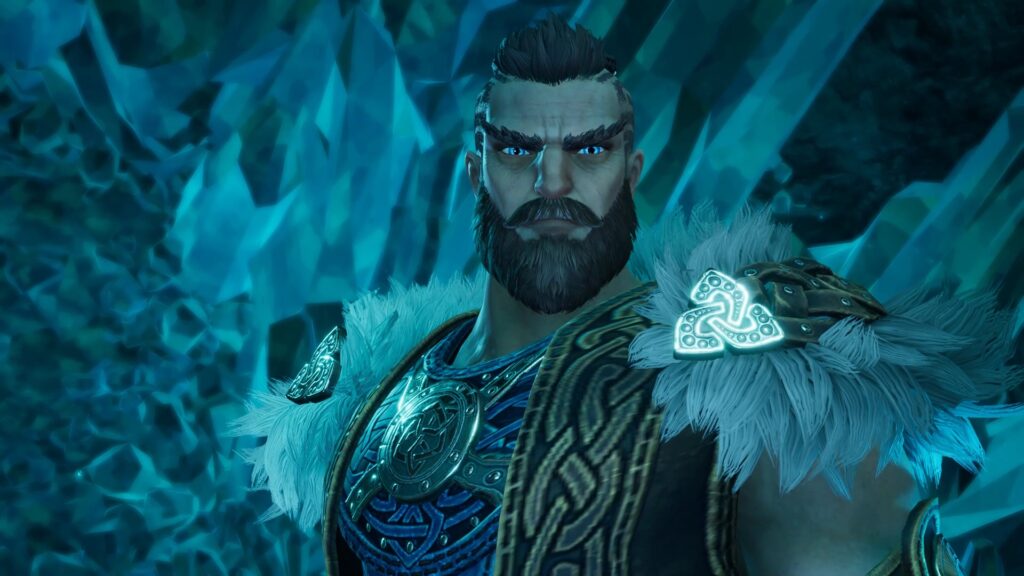
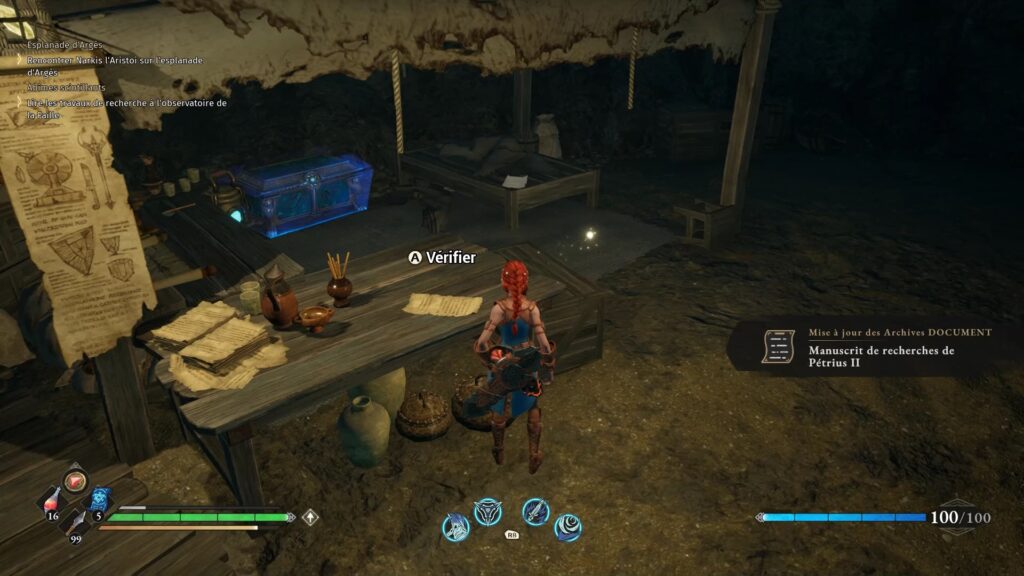
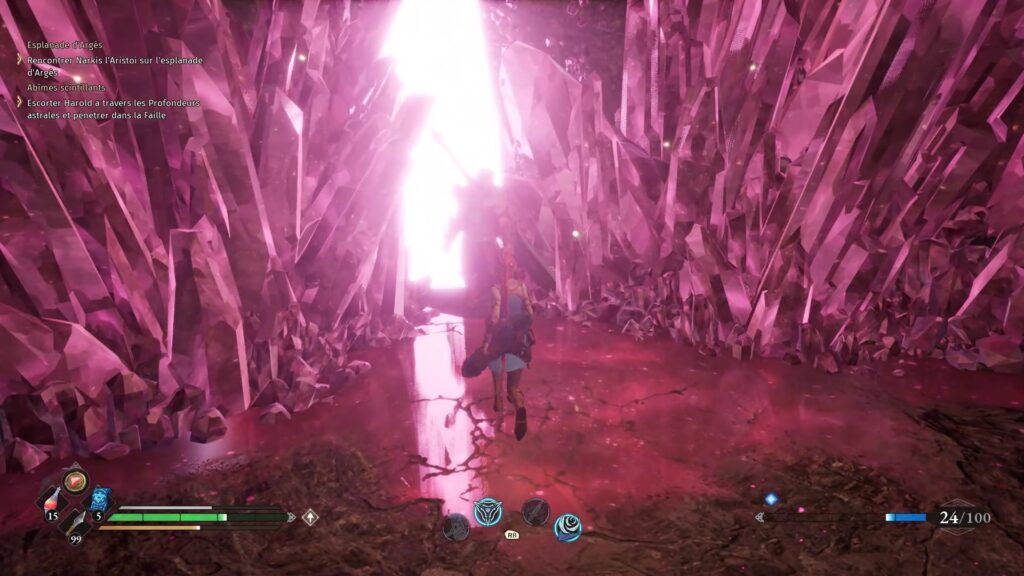
Enter and go down below to find Hilda’s father. Fight alongside him and follow him. The chase stops at the observatory. Search the documents on the desk and check a second desk behind a passage. Then follow Harold into the astral depths. Go deeper into the crack of light to fight the level boss.
Battle against Avatar of Titan
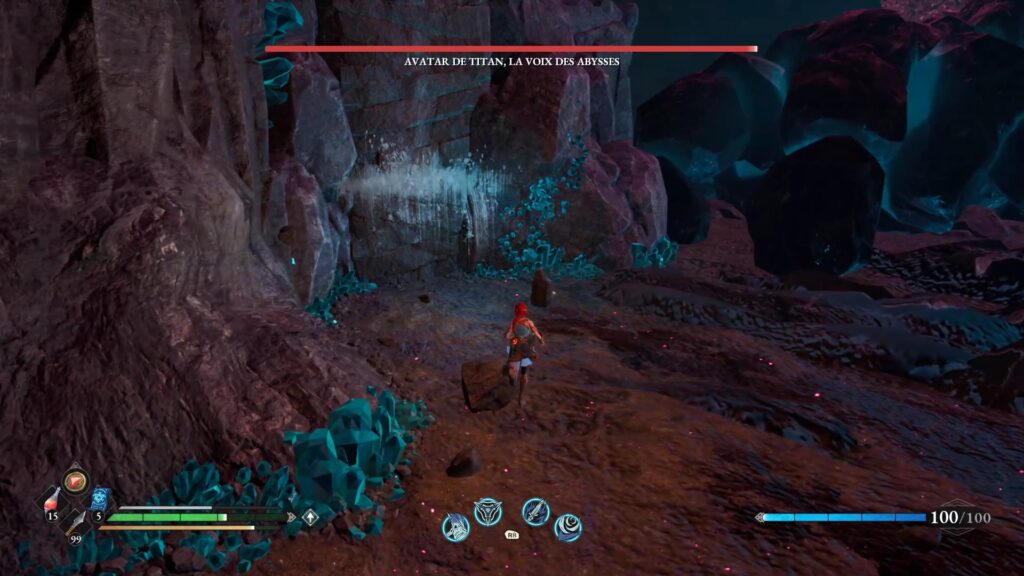
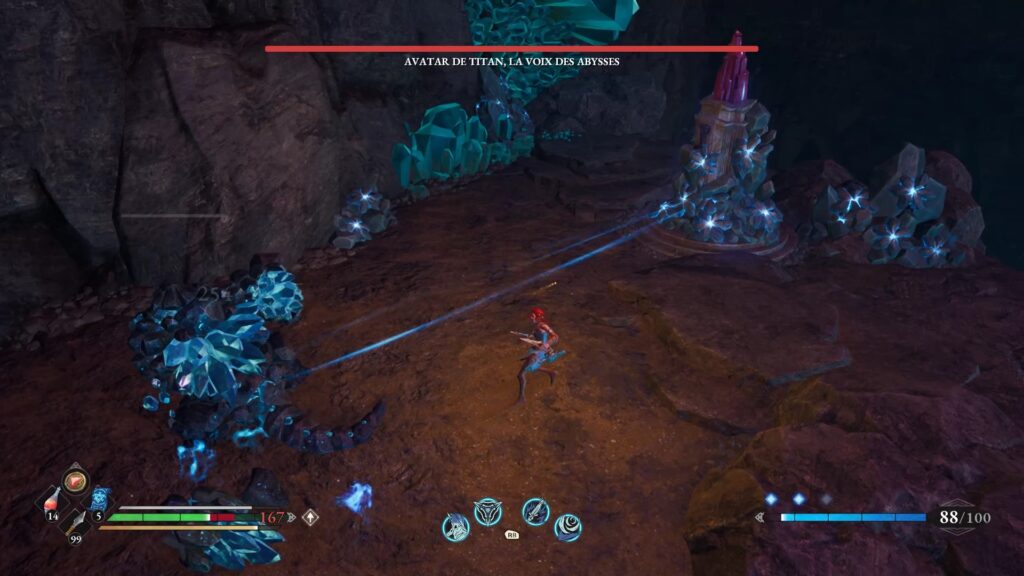
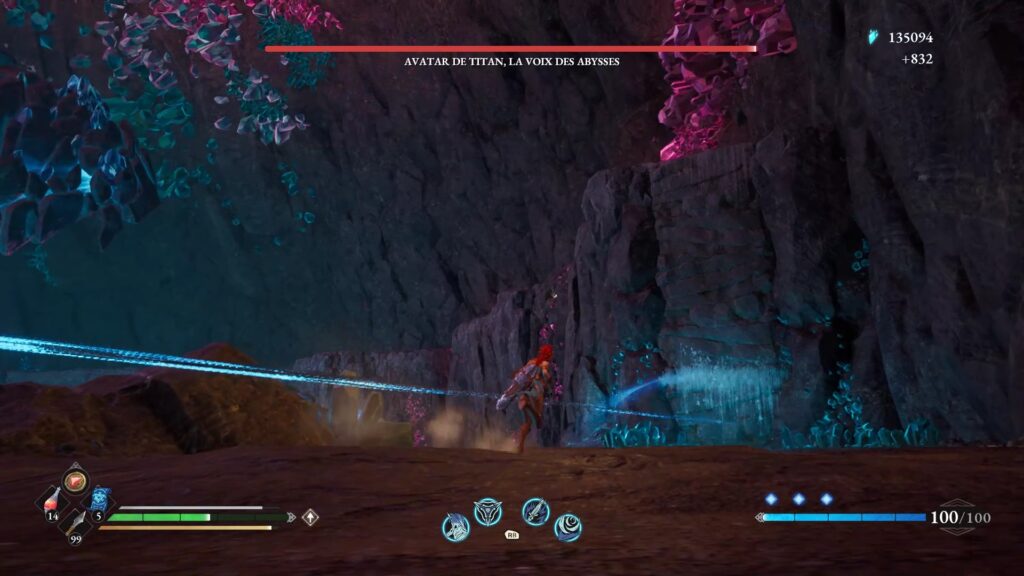
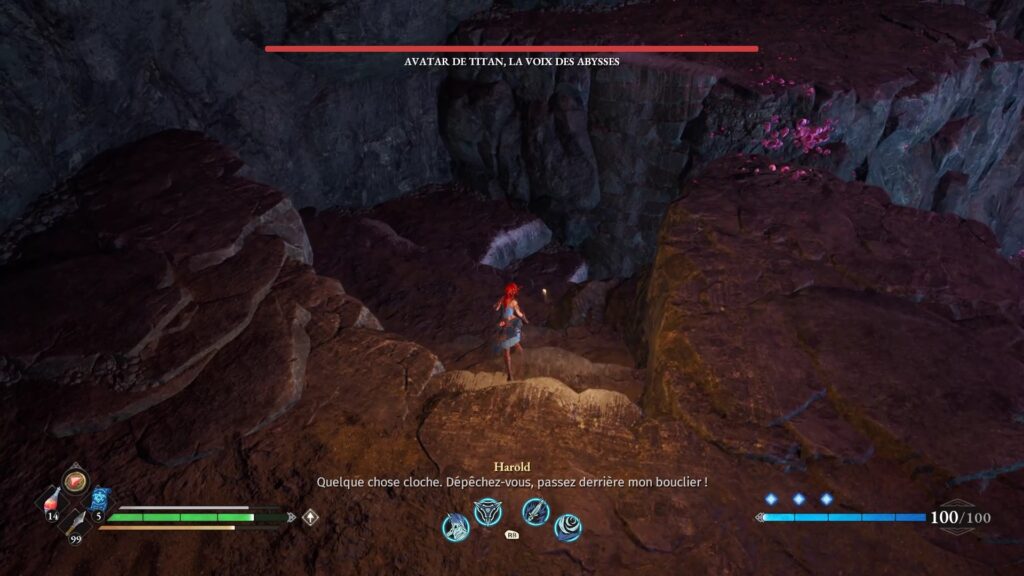
At the start of the fight, go directly up the wall to reach the heights. Free the device by eliminating all the enemies around it. When finished go up to start releasing the second device again. After the device is released, run quickly to take cover in Harold’s shield. Use the steps to avoid causing damage to yourself.
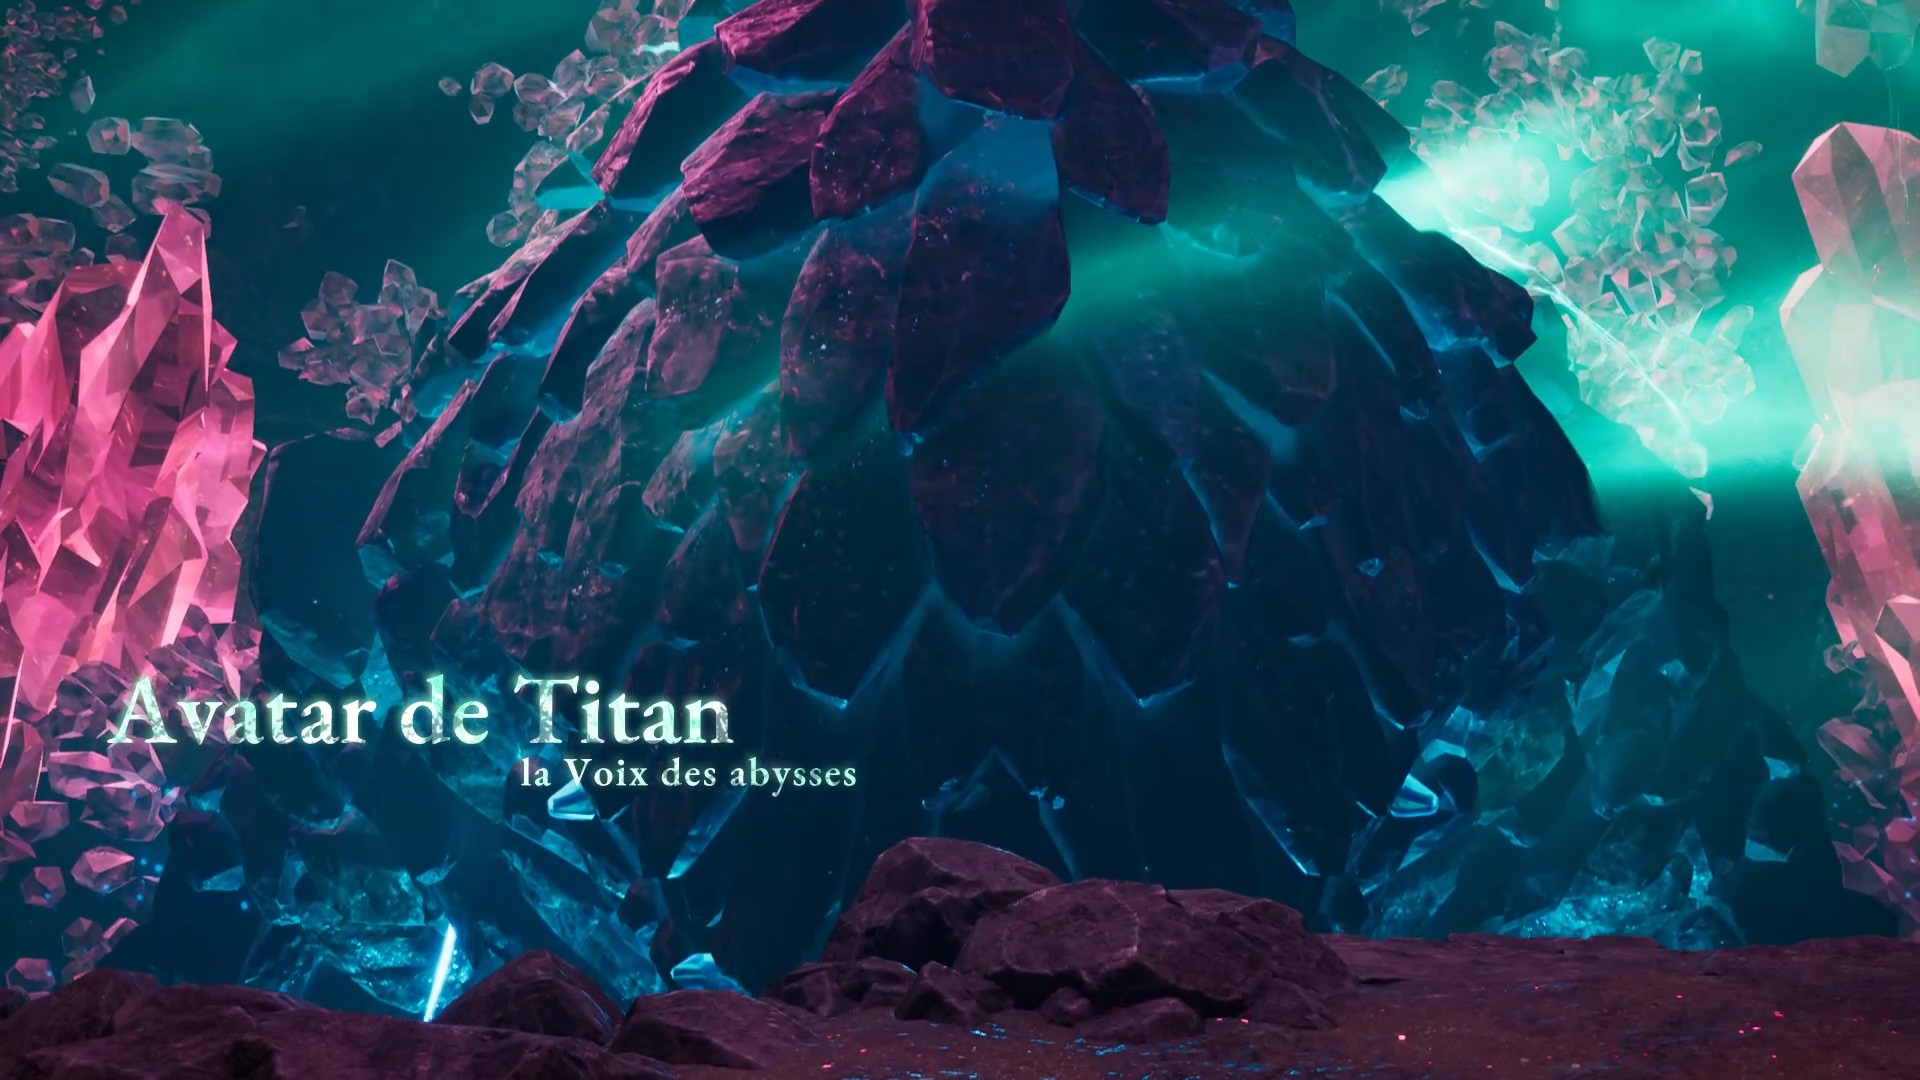
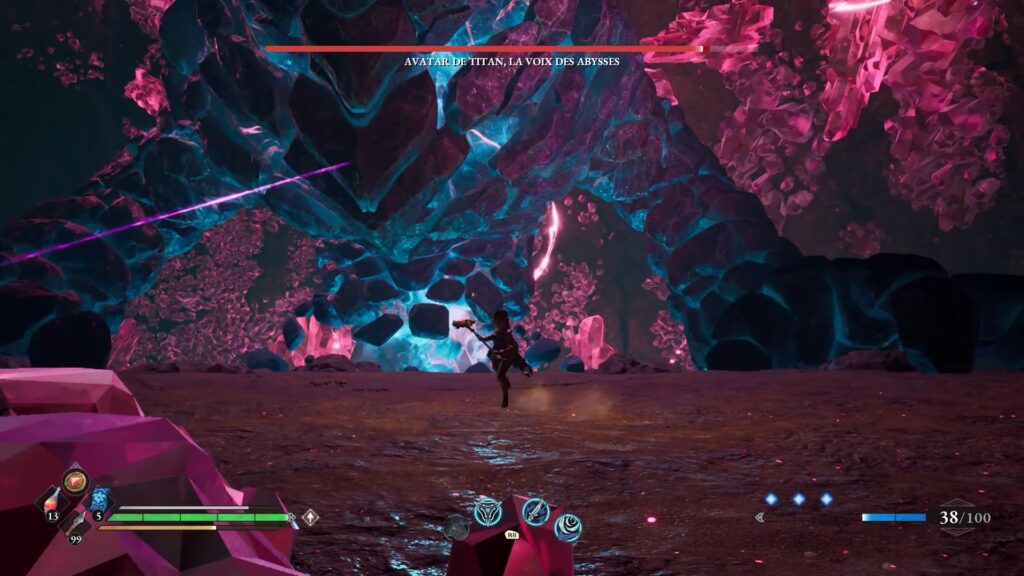
The real fight can begin. Harold lends you a hand during the fight. Throughout the duration of the confrontation, the Avatar’s health bar is reduced. Hit his limbs when you can. Harold will wave to you when the Avatar is weakened to hit his head. Trigger your special attacks to cause him great damage. During the second phase enemies get involved, take care of them first and wait for Harold’s signal. Attacking his head one last time should be enough to end the fight.

Hilda is knocked out at the end of the fight. Return the artifact to Minerva to complete the mission.
Arges Esplanade
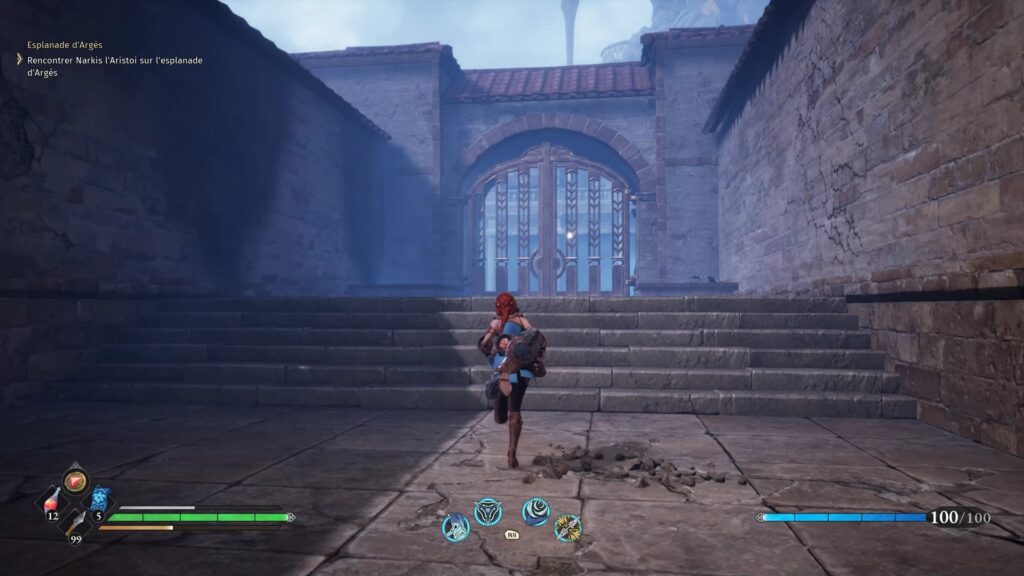
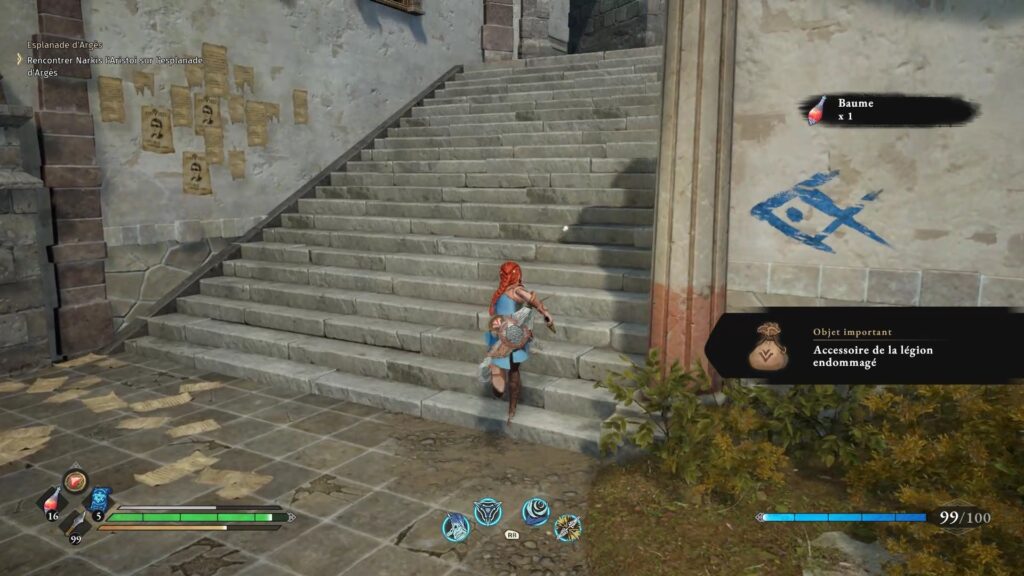
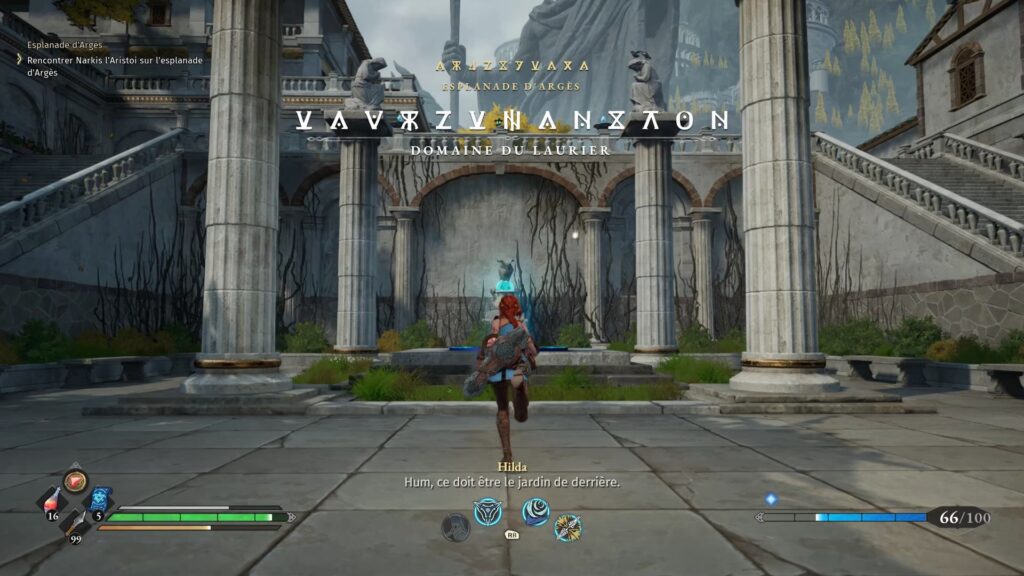
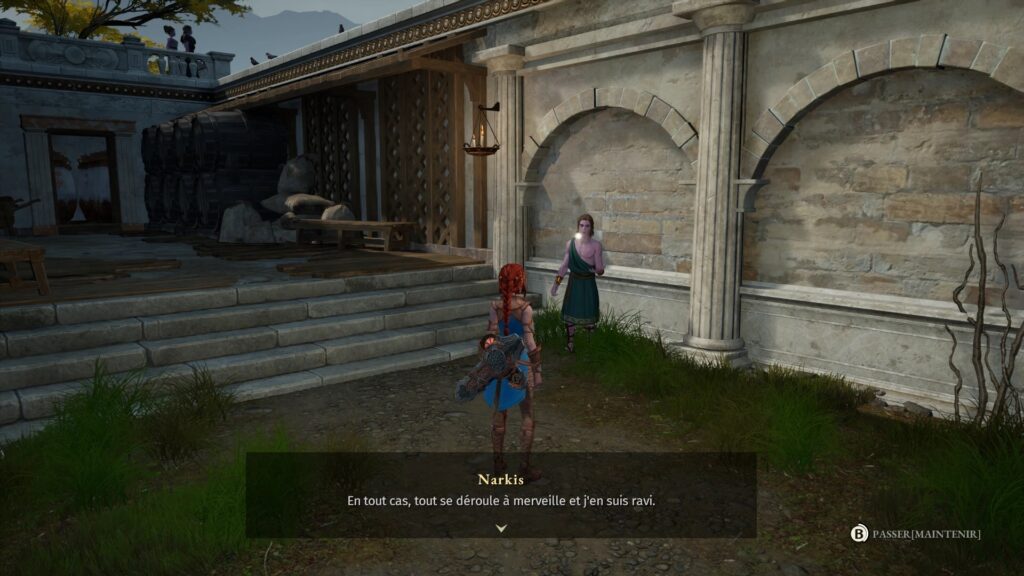
Head to the Atelier du Laurier teleporter in the Bazar d’Argès. Open the gate we left earlier near the passage that led to the basement. Move forward to find a new neighborhood. Face the enemies and climb the stairs indicated by a blue arrow. You reach the Domaine du Laurier. Go up the stairs and talk to Narkis.
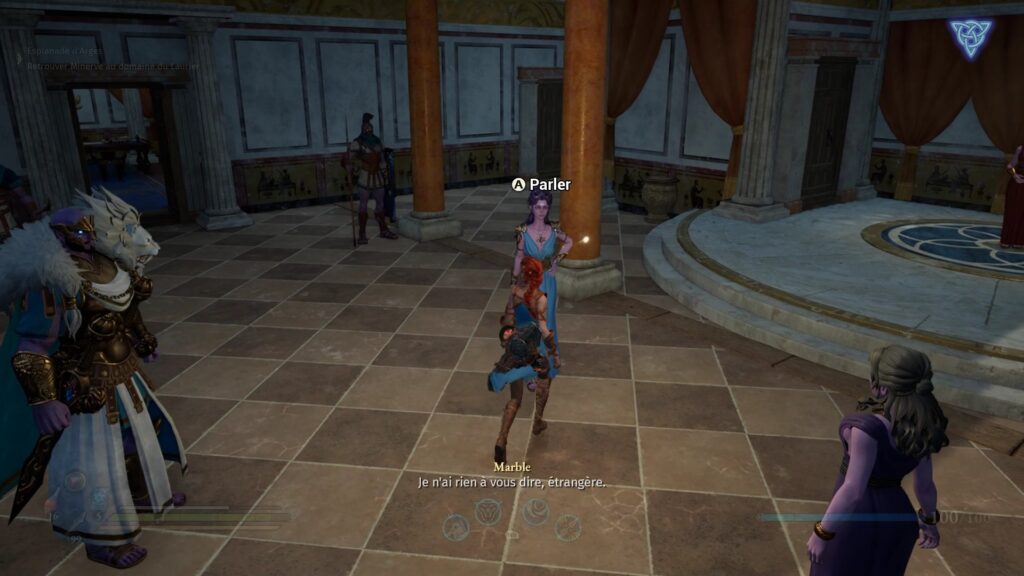
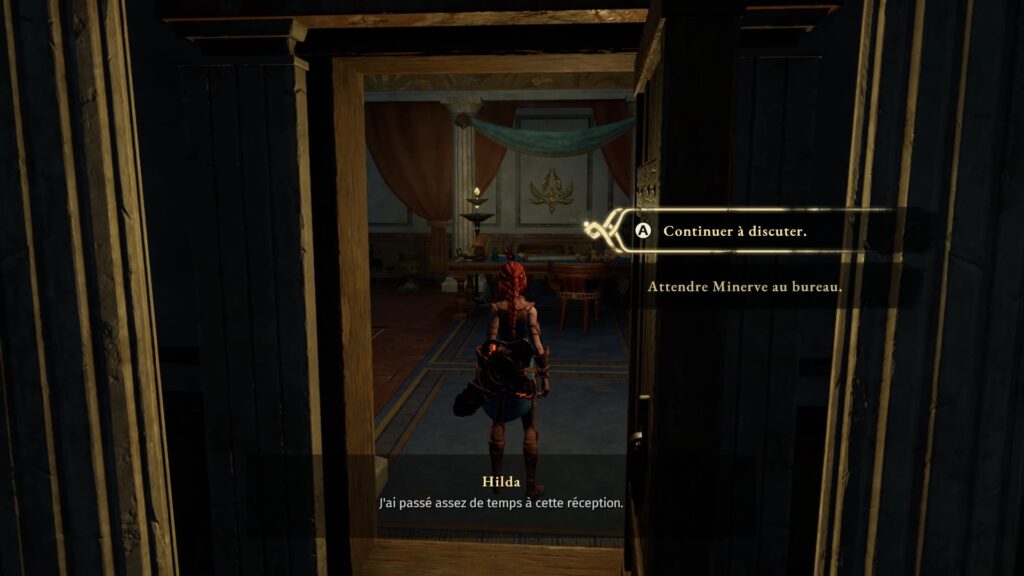
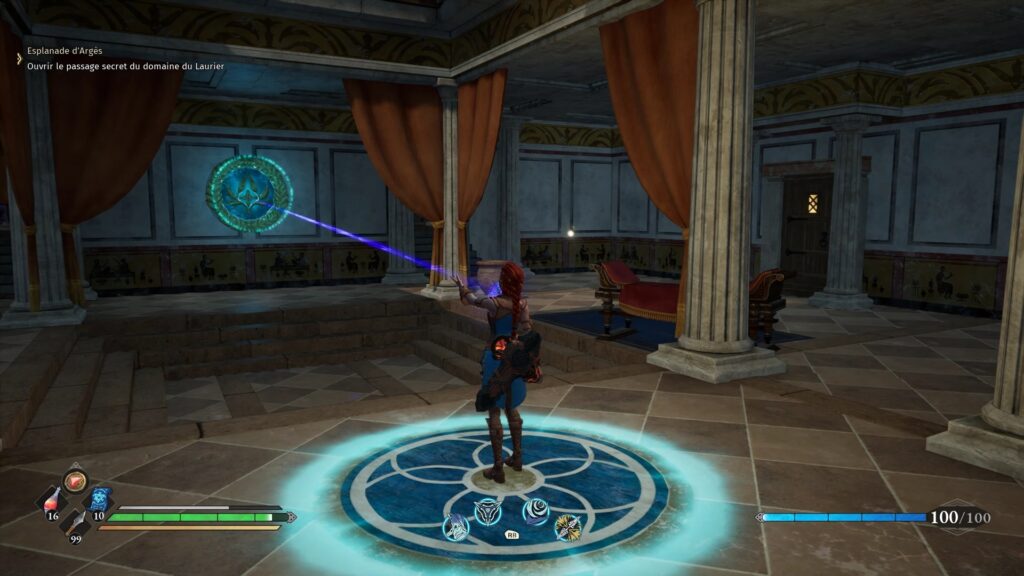
Find Minerva in the field and talk to her. Once done, chat with the villagers around then go to the study room behind Minerva to rest. When you wake up, open the secret passage in the room behind the fountain. Go down to find the sewers.
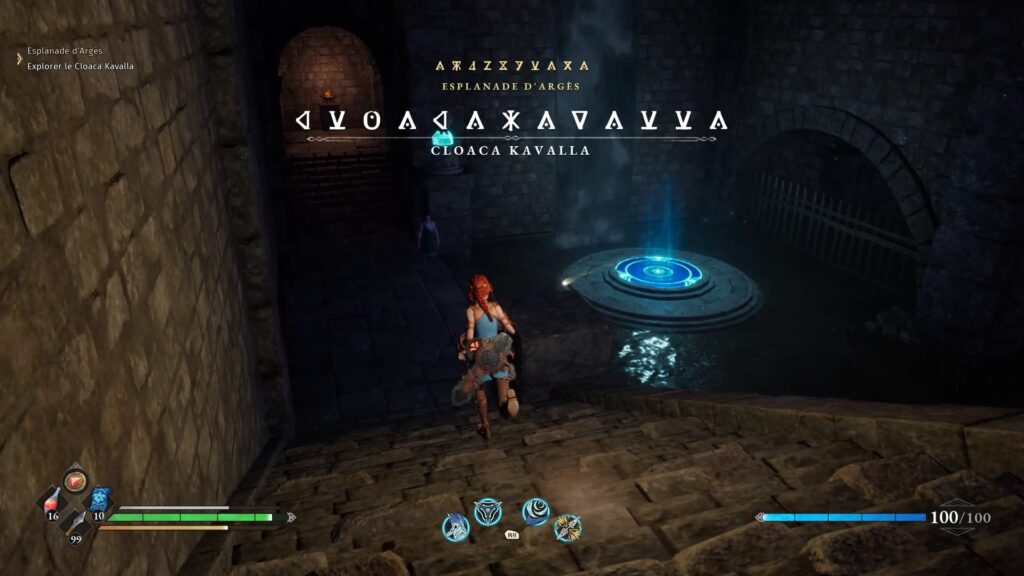
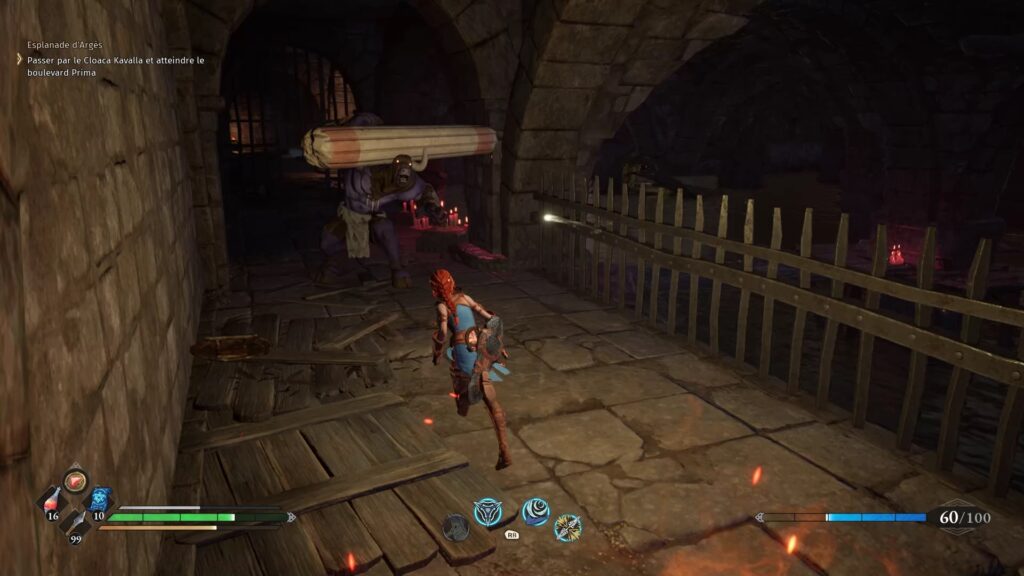
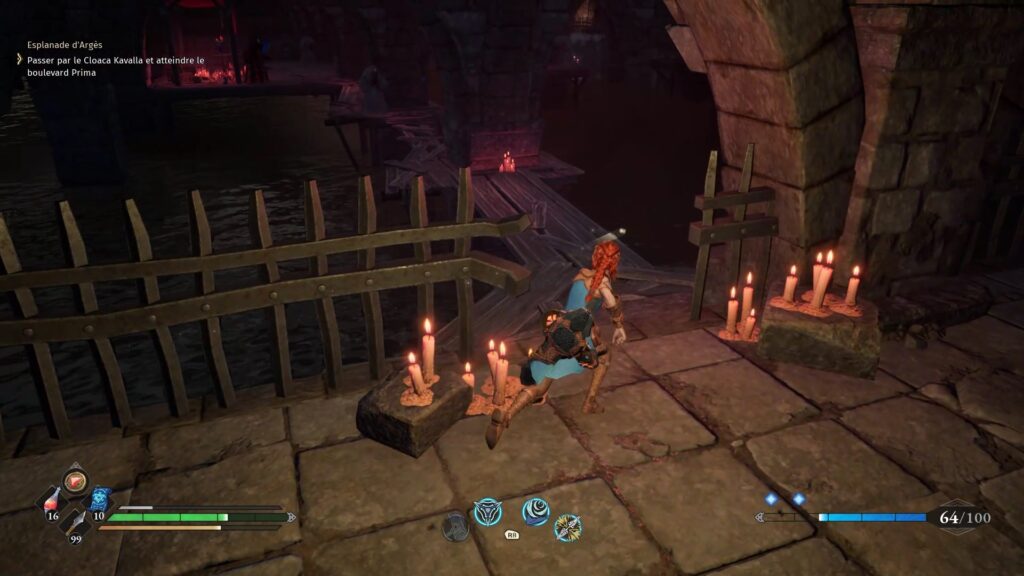
Talk to Narkis and activate the checkpoint. Dive into the sewers by eliminating enemies. Move forward until you face your second horned beast near a pond. Behind the beast, there is a bridge that you will have to cross. Go quickly and carefully to the other side so as not to fall.
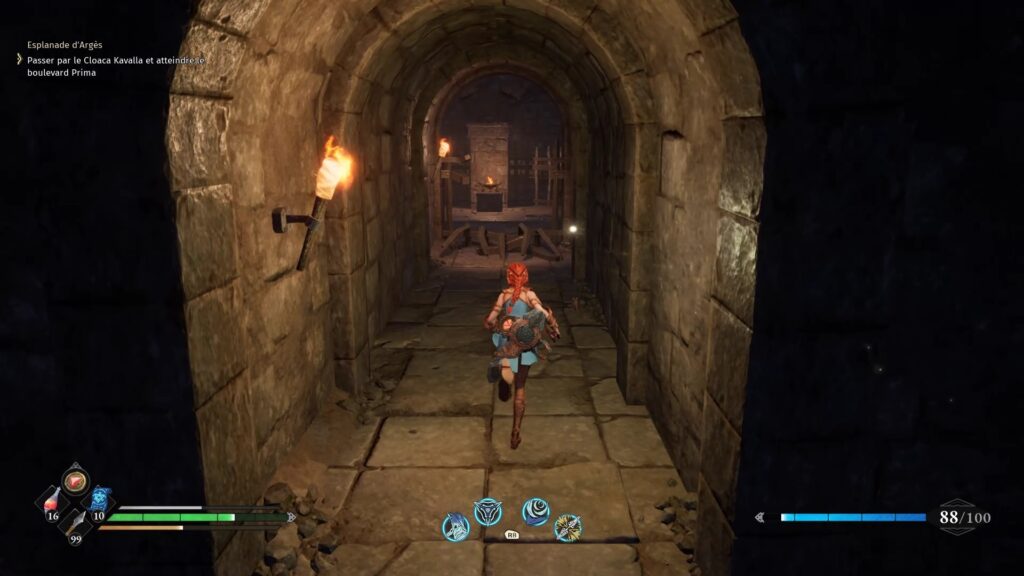
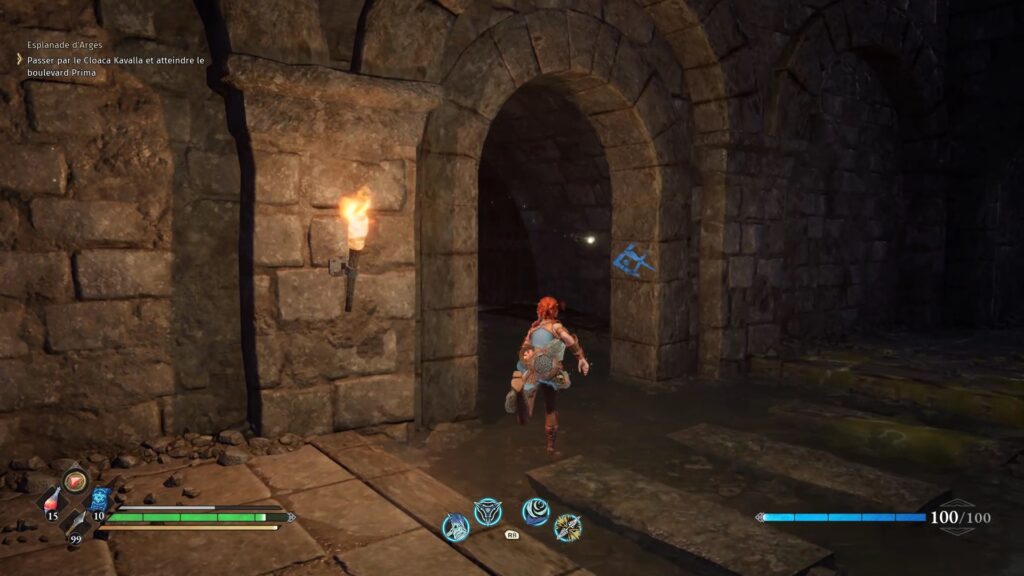
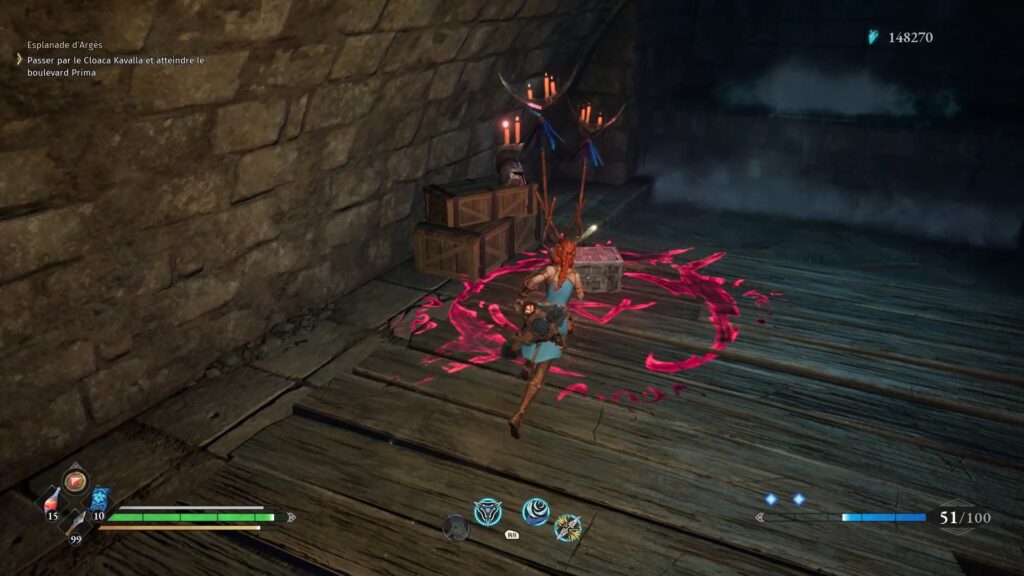
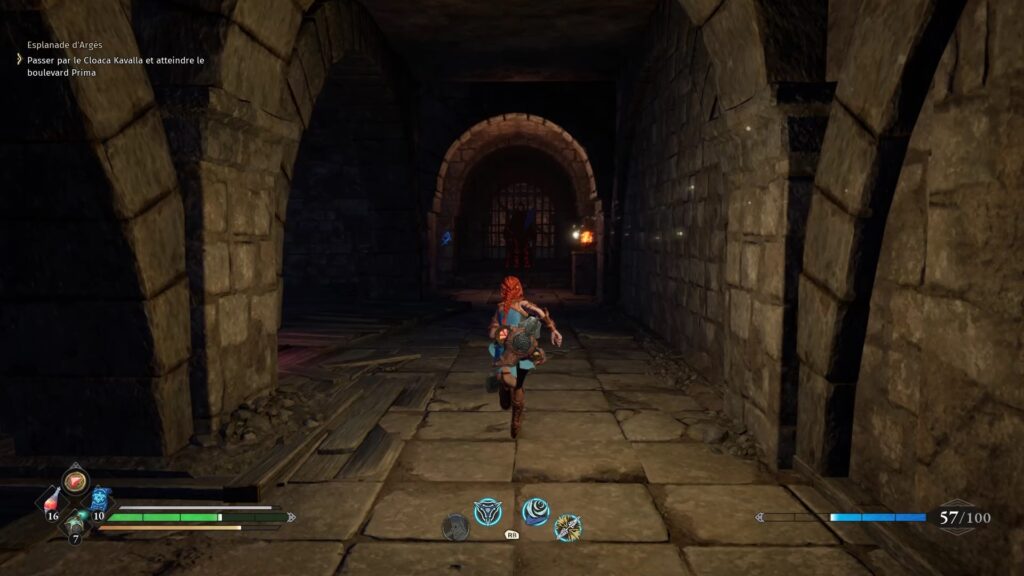
Enter the first entrance and turn into the tunnel marked with a blue arrow. You will find at the end of these tunnels enemies and a chest containing a key for an elevator. Return to the pond and go down the hall to find the elevator marked with a blue arrow. Take the elevator to reach Boulevard Prima. Activate the Checkpoint to recover here in case of failure.
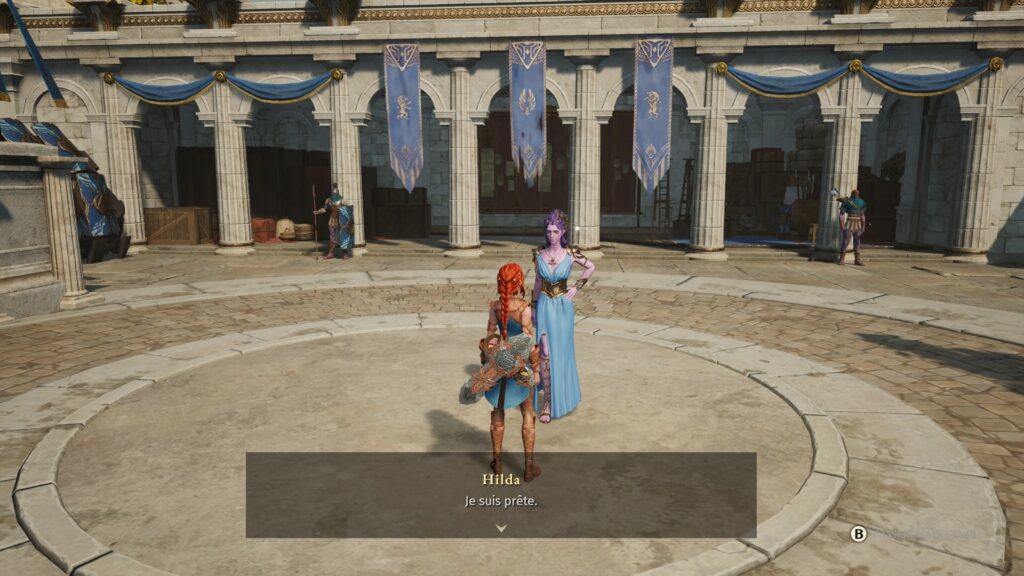
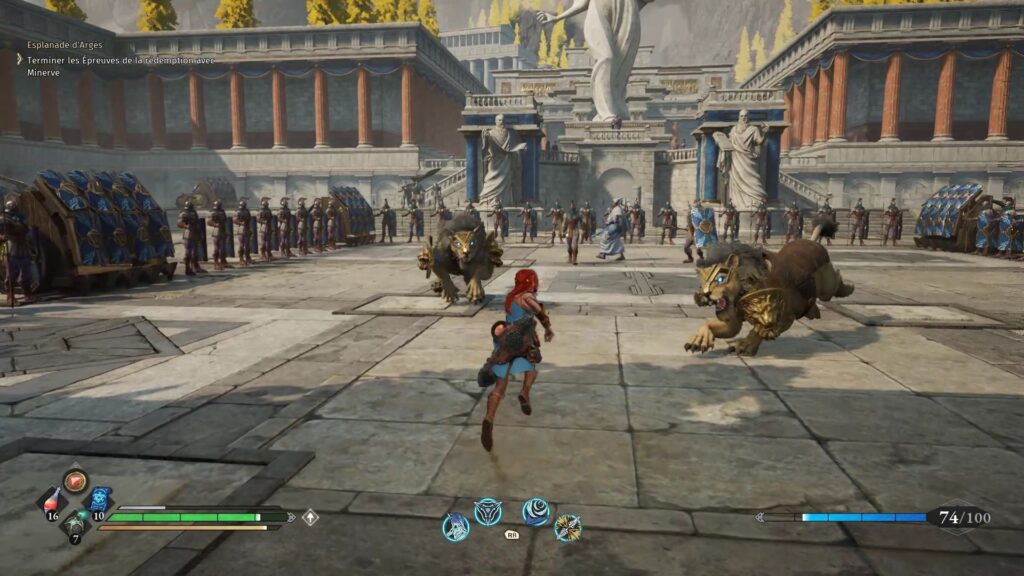
Talk to Minerva to start the challenge. Waves of enemies follow one another all along the climb. Minerva lends you a hand, but you’ll have to do three-quarters of the work.
Fight against Marble the Sole Archon
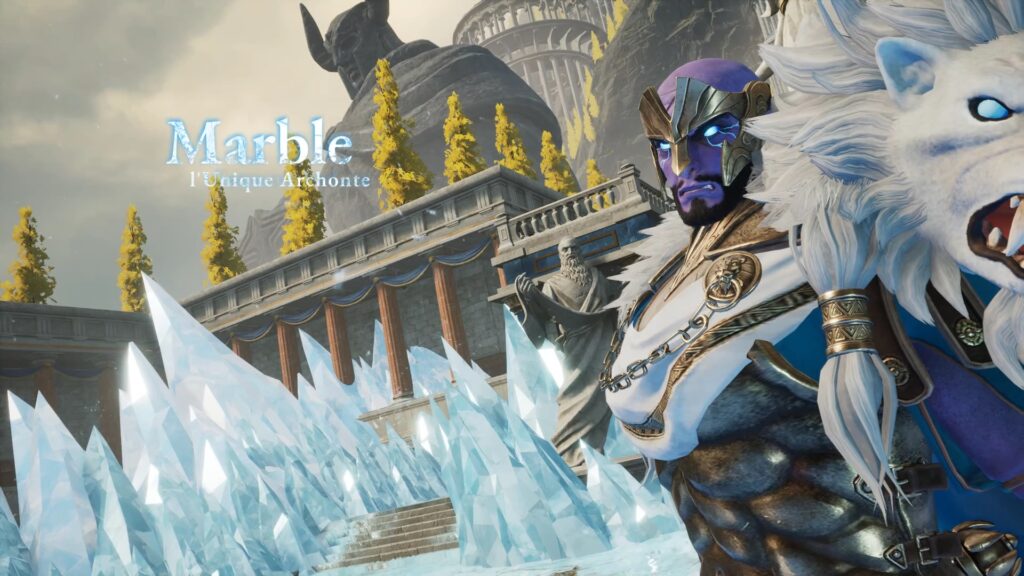
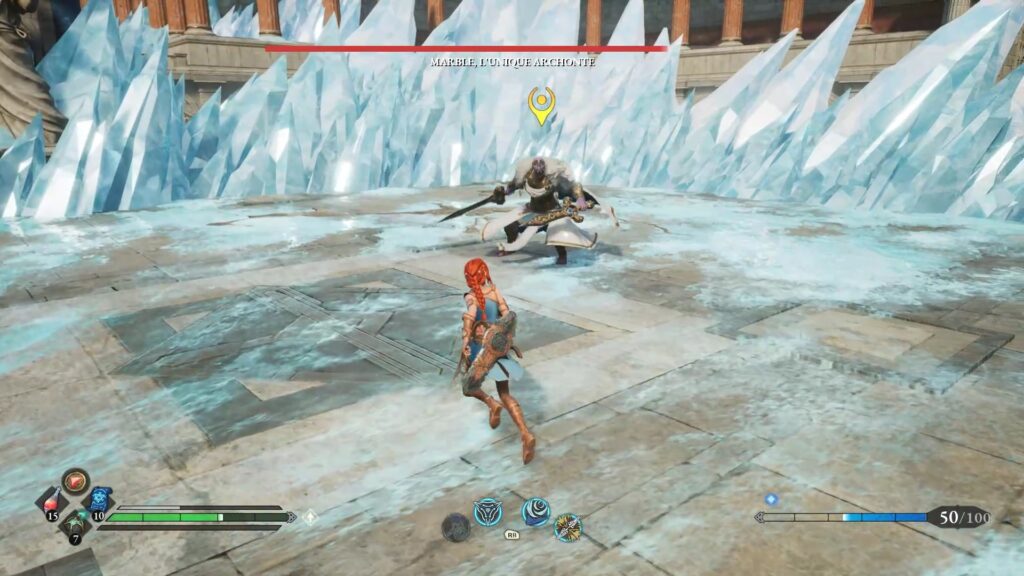
At the start of the fight Minerva is frozen. You can free her with a few blows to catch Marble’s attention. Marble is one of the most aggressive bosses in the game. Wait for the right opening to be able to strike. Use a lot of Special Dagger Attack to lower his health bar. As with the Dark Guardian, try to aim for its back which is the safest place to not lose health. Dodge and pummel him to end the fight.
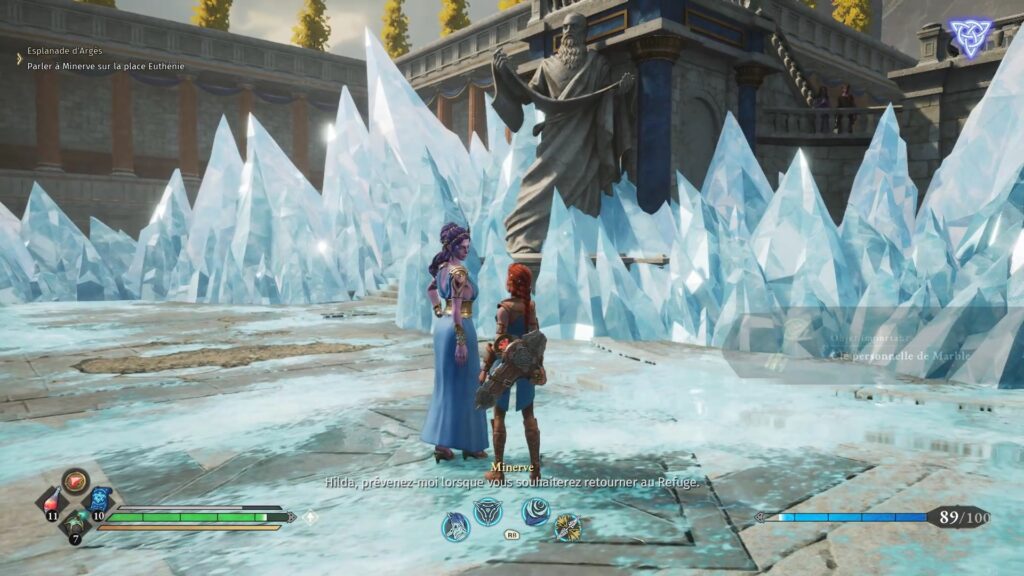
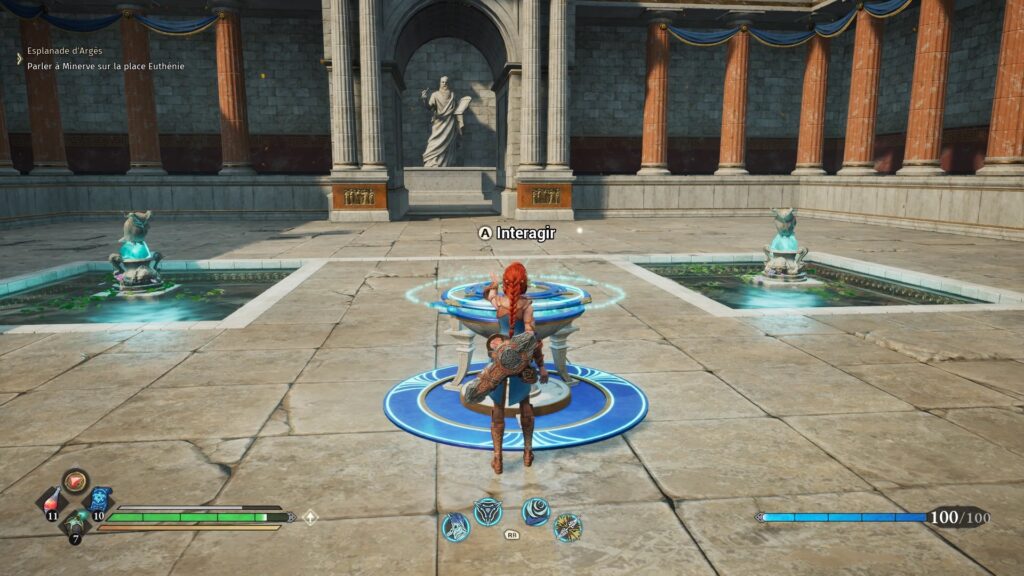
Activate the checkpoint at the end of the fight and talk to Minerva to leave.
Caelum summit
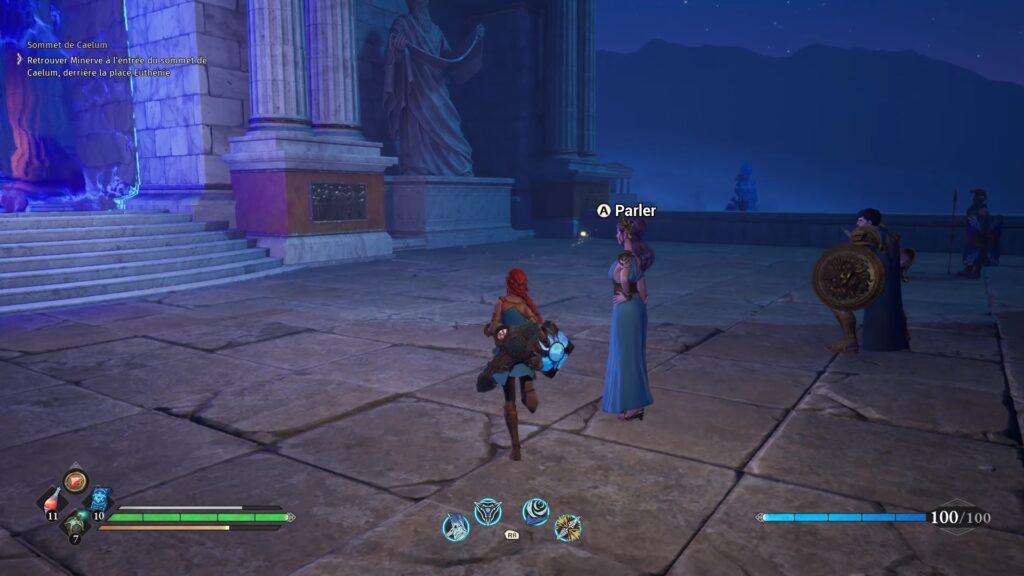
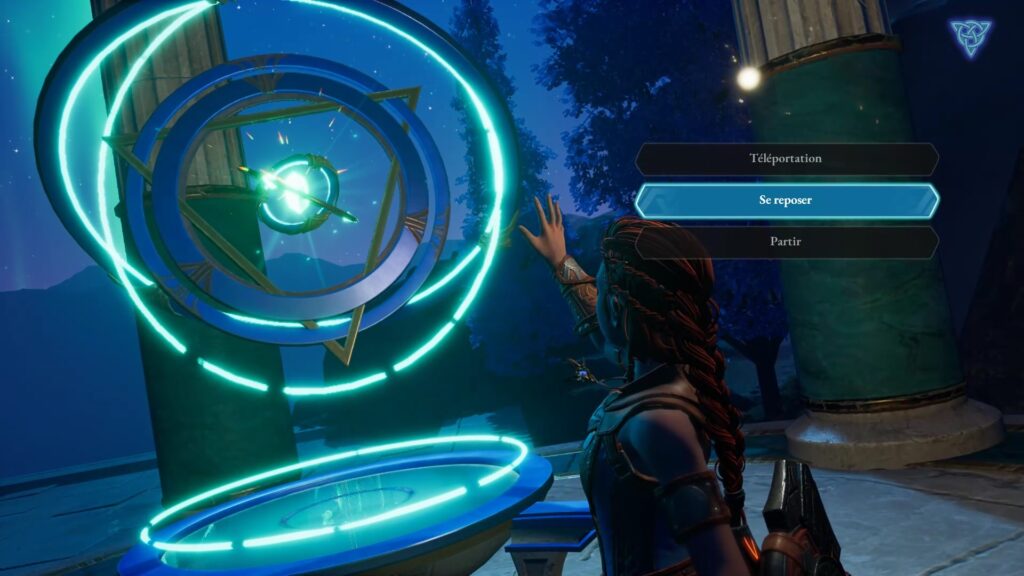
Talk to Minerva to trigger the final chapter. We recommend that you reach level 40 and equip yourself with the Daggers and Blade Dance and Stormbreaker attacks to complete the mission. Head to the Euthenia Square teleporter where you beat Marble. Move to the top and talk to Minerva to trigger the opening of the door. Much like the Marble challenge, the climb involves stringing together waves of enemies along your climb. Prioritize enemies at a distance before attacking others to begin your fights more serenely. Use nearby checkpoints to save your progress. Climb the elevator to reach the first level with a first boss.
Fight against Harold
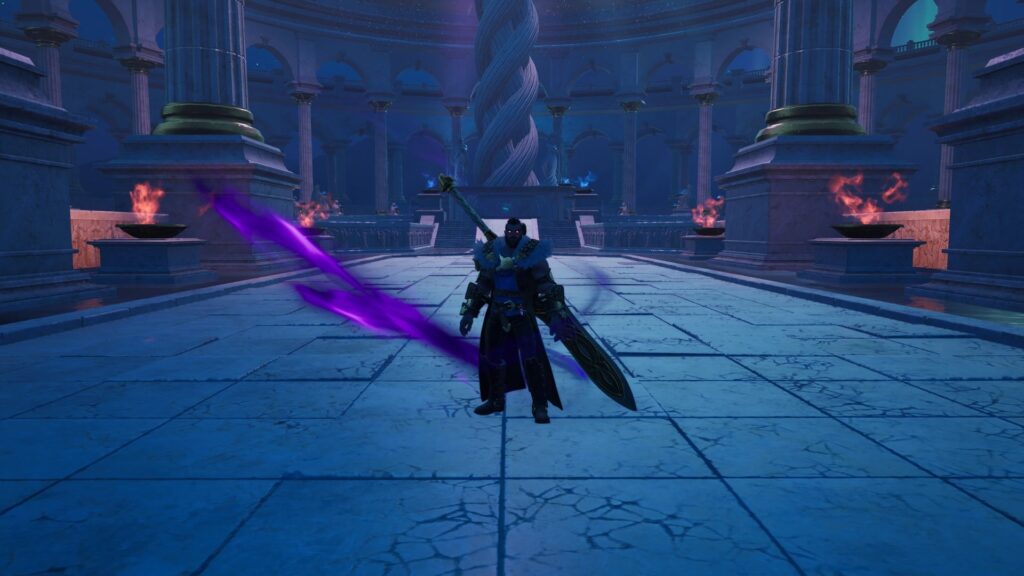
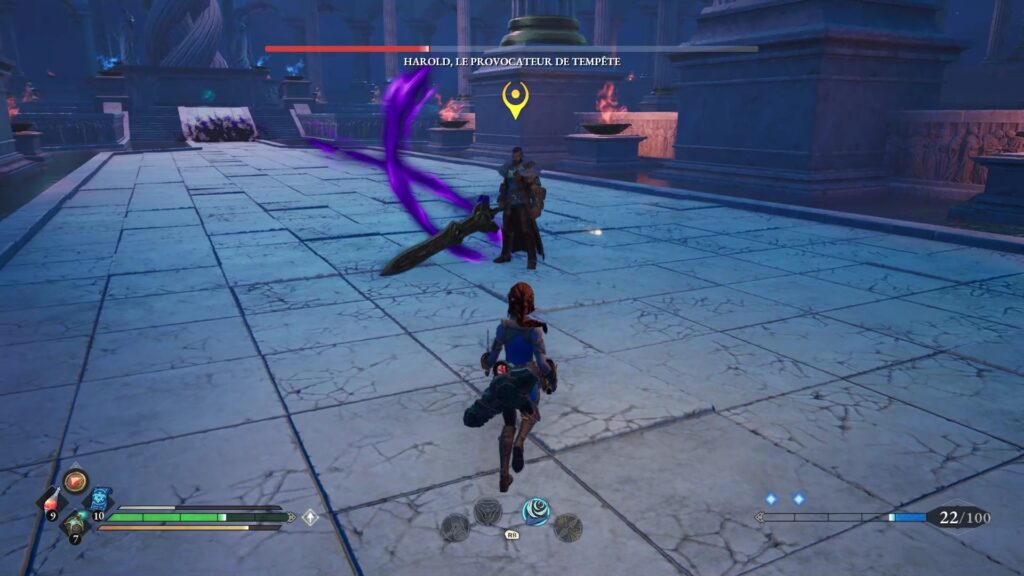
As mentioned before, we recommend the use of daggers for this fight. Velocity is an advantage against Harold who is rather slow. Aim for his back to try and dodge most of his attacks. Use the blade dance which is an ability that recharges very quickly to cause great damage. To temporize the fight, use the storm breaker ability. Juggle between dodges and attacks to quickly end the fight.
At the end of the fight, activate the checkpoint and go up the beam elevator to reach the second level with the final boss.
Fight againts Eumenides the Punished
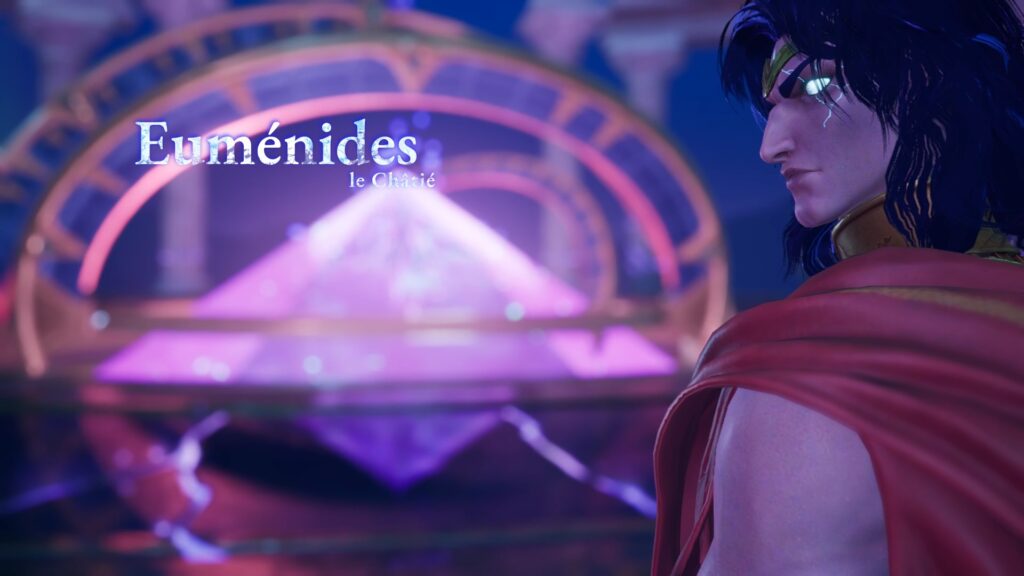
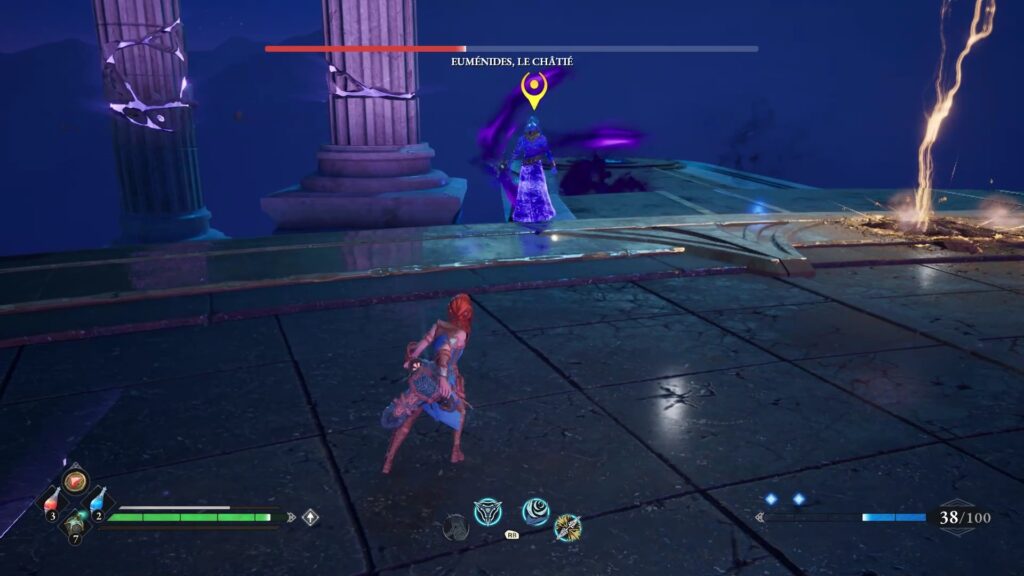
Eumenides is the final boss and also the strongest. It is more than recommended to stock up on potions. In addition to attacking you head-on, this one uses a permanent homing attack that won’t let you rest. A good remedy for his attacks is to use the twin daggers. It will grant you the necessary speed to move and move away if necessary. While it’s advisable to lock down your enemy, we don’t recommend it when Eumenides hangs in the air. Put yourself at a distance with your staff to have a better reading of the fight. Use the storm breaker and blade dance combo which is still as effective as ever to stop attacks in progress. With a little patience and agility, Eumenides will be just a bad memory.
Collect the remains of Eumenides and place the artifacts around the Nexus. Talk to Minerva to trigger the ending cutscene.

Journaliste gameactuality.com




Bloody awful guide, loads missing and actual wrong directions multiple times.
Not all chests locations revealed or when to do side quests and no maps. Other than this it was helping somewhat but I had to use YouTube instead for a video guide.
Since the guide is in English, you could have at least checked the English names of the places. I spent a lot of time trying to find access to the elusive « Bourg de la Fosse », until it finally dawned on me that it was just the French version of « Pit Village ».
Thank you Wondergirl for the wonderful guide, c’est super !